By now, our homes are probably all decorated and ready, right? Time to show it off!
And if not – why not?! Maybe you’re like me and decided that spending 10 days lazing in a tropical environment sounded like a better plan so if your Christmas tree this year is all decked out with lights only (and a few that aren’t working)…it’s okay. Rationalize it. There’s only 4 more days until Christmas. Christmas is peaceful and about family. You know that going to the dark spidery recesses of the basement, messing up the semi-organization to find ornaments will induce stress. So let it be. Rejoice. Bellow out a Christmas tune and admire what you’ve done. Christmas memories aren’t made from perfection. Years from now, we’ll be laughing and joking…”remember that year our poor tree only had lights because you were too sun-baked to trek down a light of stairs, battle cobwebs and destroy the basement looking for our collection of meaningful ornaments only to pack it all back up a week later?” More likely: No one will notice or remember. So, if you’ve had other things going on, you’ve been working hard or different priorities…it’s okay. It’s Christmas. I’m just thankful that you’re here.
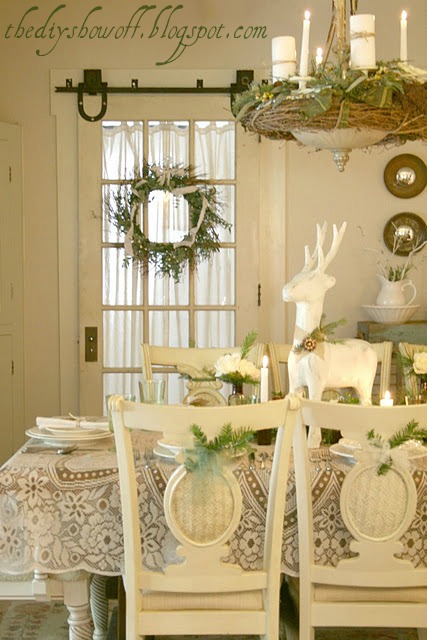
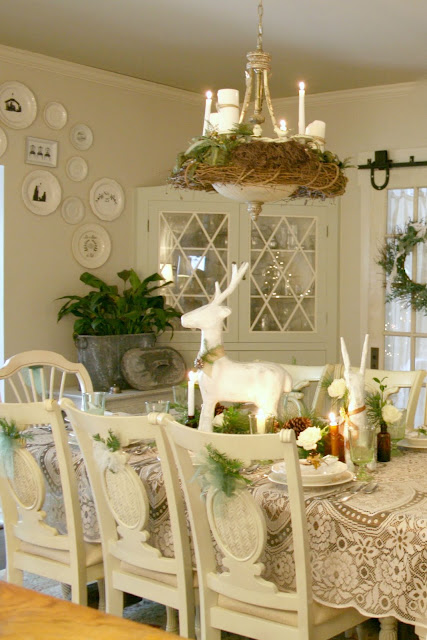
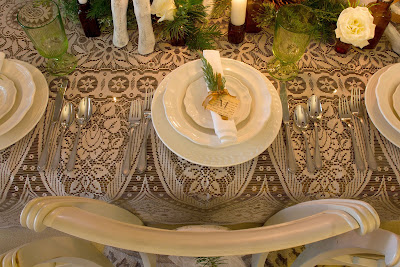
Our Christmas decorating was toned down a bit this year all around. More natural, more DIY, less commercial. What is commercial…is from my collection purchased in past years or recent from thrift stores. I’d offer you a cup of cocoa and some Christmas cookies if I could. Let’s take a tour of a home that’s ‘just good enough’ for the holidays. Looks festive. And if you squint, it might even look clean. It might even look completed. Here we go…


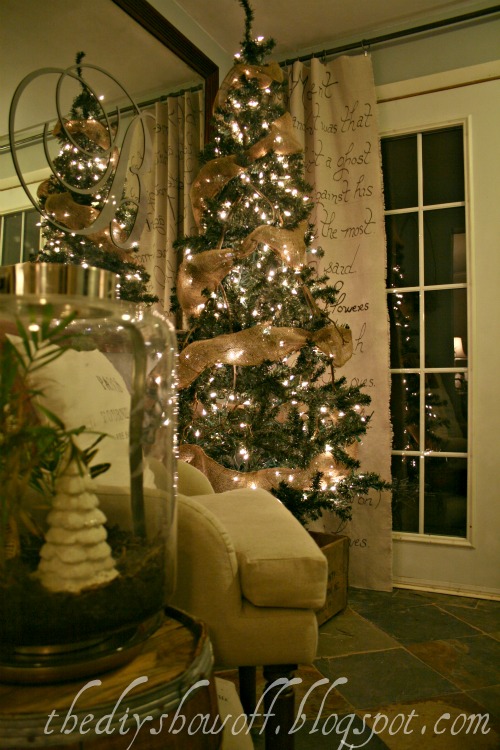
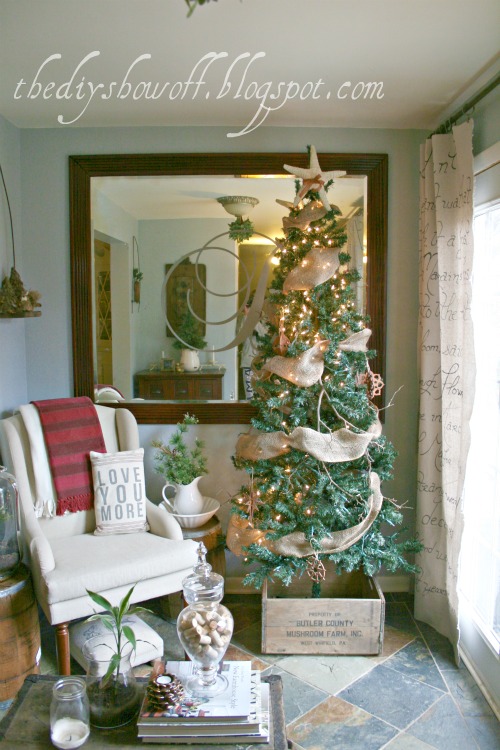
Sitting Room


I‘d love to see your home all dressed up for the holidays! Ready or not – be real. And if you are ready and your home looks like a Better Home and Gardens holiday article – all the more reason to share! Go ahead, brag. You’re super woman and I want you to get some recognition for all of your had work! Then take a few minutes (or hours) to visit the links to drool over celebrate beautiful holiday homes…
- You must use the button above in your blog post or side bar to share the linky love.
- Add your permalink (not your blog url, but your holiday project post url which is the web address that goes directly to your holiday project blog post, not your blog address). Feel free to link a Past Post, just be sure add the DIY Holiday Highlights button to your side bar.
- Or email your link to thediyshowoff@gmail.c
om and I will add it for you. - If you notice your link has disappeared –please check the content of your post. Is it holiday related? Add the link back to The DIY Show Off to your post today with a quick note to your readers about the party and try again!


 (600x450)")
 (2)")
")
")
 (2)")
")
 (2)")
 (2)")
 (2)")
 (2)")
 (2)")
 (2)")
 (2)")
 (2)")
 (2)")
 (2)")
 (2)")
 (2)")
 (2)")
 (2)")
 (2)")
 (2)")
 (2)")
 (2)")
 (2)")
 (2)")
 (2)")