DIY at 5 Days 5 Ways

I love Abbie from

Five days...5 ways

Clever, creative DIY going on over there.  Here are just a couple of things I so happy to show off for her:
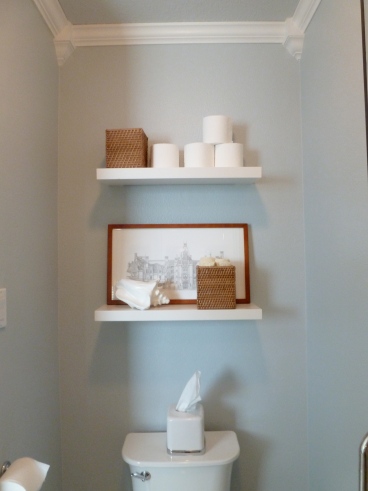
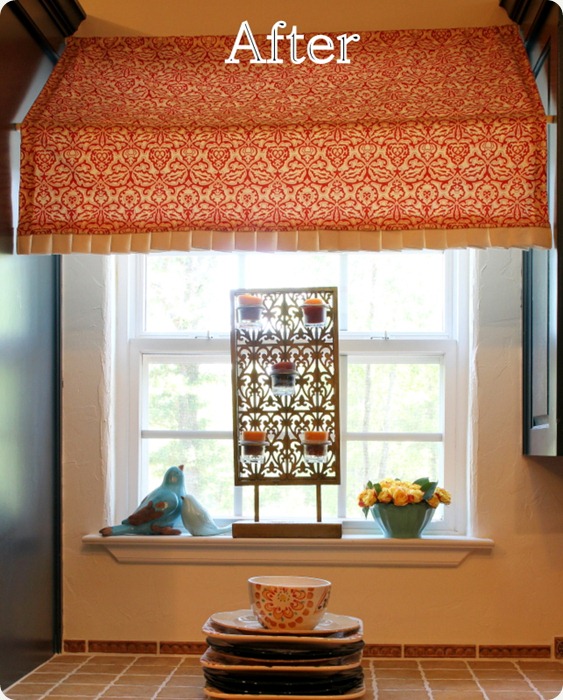
IMG_2930
After
Isn’t this cute?! So easy to DIY with a little sewing and a couple of tension rods between cabinets.

IMG_3279-1
DIY Diamond Tufted Ottoman (with nailhead trim) made from a $40 craigslist coffee table!  
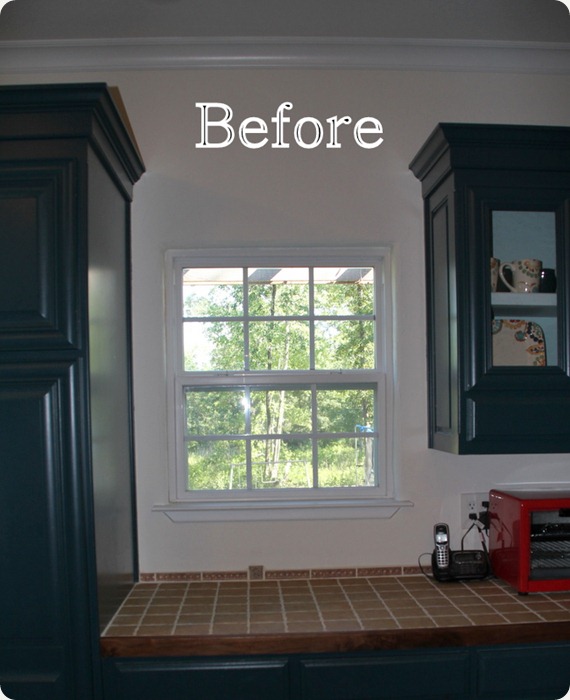
Before = old coffee table
215753_1990390324582_1388075794_32270234_343011_n
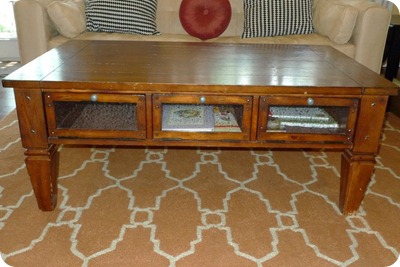
After – awesome tufted ottoman! It looks gorgeous in her living room, doesn’t it?
It’d look fabulous in mine too!  
IMG_3859
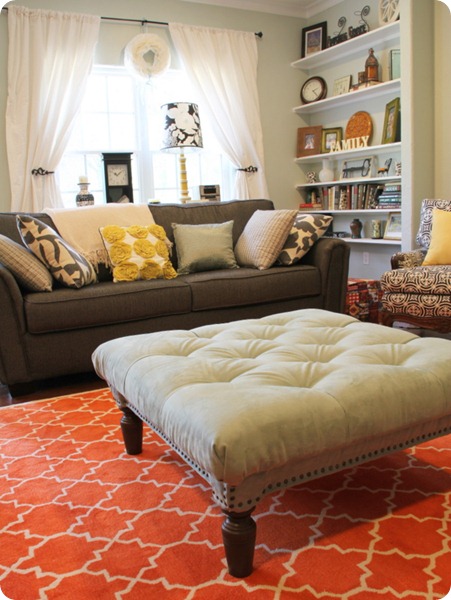
See Abbie’s “how to” and cost breakdown at DIY Tufted Ottoman.
And that’s just a teensy sneak peek.  Pop over and check things out. Another thing I love? Her blog schedule:
She’s also got a really fun giveaway going on that you don’t want to miss!  After you take a minute to enter the business card giveaway – last chance today, Abbie’s hosting a Pleated Poppy giveaway, and you can find out all of the details here.
Enjoy the weekend.  Thanks to Abbie for sharing her creativity and fabulous blog!

If you’re noticing that the DIY Show Off button on your blog is showing black, please grab the code on the right side bar or here:

The DIY Show Off

for a quick fix! I appreciate your patience and hopefully the original code will be fixed and back to normal soon without any action on your part. 

Lawn Twister – fun for Labor Day picnic!

 The DIY Show Off

When my daughter and I saw this on Pinterest, we knew it was a must for her outdoor graduation party so we made our own version!  This would be fun if you’re hosting a Labor Day picnic.

Materials:  
  • Cardboard (middle for circle spinner, the circle-frame to be used as a stencil for spray painting)
  • Upholstery tack (you may find a better solution, we were using what we had on hand – without buying more materials)
  • 3 colors of Krylon spray paint
  • Gorilla tape
Tools:
  • Utility knife
  • Dinner plate to trace
  • Markers
  • Ruler/yardstick
How To:
1.  On a large piece of card board, trace a dinner plate in the center and cut out circle using a utility knife.  The circle itself is used for the spinner.  The large cardboard with the circle cut out becomes a stencil for the painted twister circles.
2.  Using a ruler and pencil, divide the circle into 16 pie shapes.  Define sections using markers and write in names of colors (same as paint colors chosen). We love the recycled cardboard giving it a vintage toy look!
3.  On another rectangle square, trace the cardboard circle in the center.  Divide the rectangle into 4 sections. In the corner of each section label one of the following:  left foot, right foot, left hand, right hand. 
Close up of after it’s all together:

4. Cut out an arrow from a thinner piece of cardboard.  
5.  Using an upholstery tack, connect arrow to the circle then to the rectangle cardboard. It will fall out when upside down. However, it survived intact the duration of the party. 
6.  Gorilla Glue tape on the back prevents pinpricks!

7.  Decide on a flat large area of the yard. Place the stencil in the upper left hand corner and choose your first color. We chose red.
8.  Measure to the right of first circle 6 inches to place the circle stencil (the left inside circle border placed at 6″ as shown).  Spray paint another color. Repeat for desired size.  We did 4 different colors across. (Or decide on a pattern as shown in the Pinterest inspiration.)
9.  Start the next row with the 2nd color used in row one, ending with first color used in row one. Repeat.  We originally did 16 circles but then doubled to 32 for a larger playing area.  
10.  Let dry.
Time to play!

Spinner Tip:
(push arrow with fingers)

Fun!!!

One more day to enter the UPrinting.com Business Card Giveaway!

Bathroom Before and After

Lindsay from Tell’er All About It just shared her bathroom reveal. Nearly every detail is DIY. ::clap clap clap!:: So much hard work but take a look at the beautiful result. So worth it!  Here’s a sneak peek:

Before: boring builder grade

After: Bathroom showroom!

Before: Clean. Nothing really “wrong” with it. 


After: Surrounded by soothing blue and calm white, it’s relaxation waiting to happen. 


Before: closed for business


After: Calm.
Visit Lindsay to get all of the details, see TONS more pictures and to see the progress and entire transformation.  It’s such a beautiful peaceful space to get ready in the mornings and to prepare for sweet dreams in the evenings. 
It’s gorgeous, Lindsay!  I have a similar color in our powder room and just love that shade of blue. It looks fabulous with your rich espresso vanity and beautiful white tile.  All of your hard work accomplished a beautiful update! Great job! I love the picture of your DIY super hero in action!

~*~*~*~

Spirit Solar
cut your energy bills with solar panels