How was your weekend? Productive? Definitely here…so productive in fact that I’m ready for Monday to be Saturday so I can have a weekend! Anyone reading have magical powers to make that happen? No? Doesn’t hurt to ask or dream. But here is one of the things I checked off my DIY To-Do list this weekend:
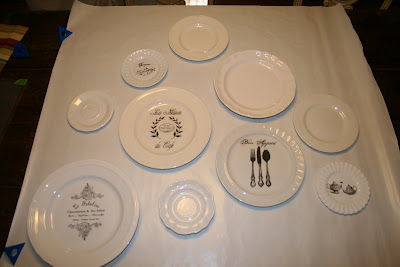
My Decorative Plate Wall…
I put up some decorative plates although I’ll be taking them back down to re-paint the dining room walls (dining room makeover in the works!) but sometimes I can’t wait to see how something looks…do you get that way? We’ll call it eager. Not impatient. 🙂
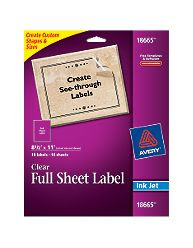
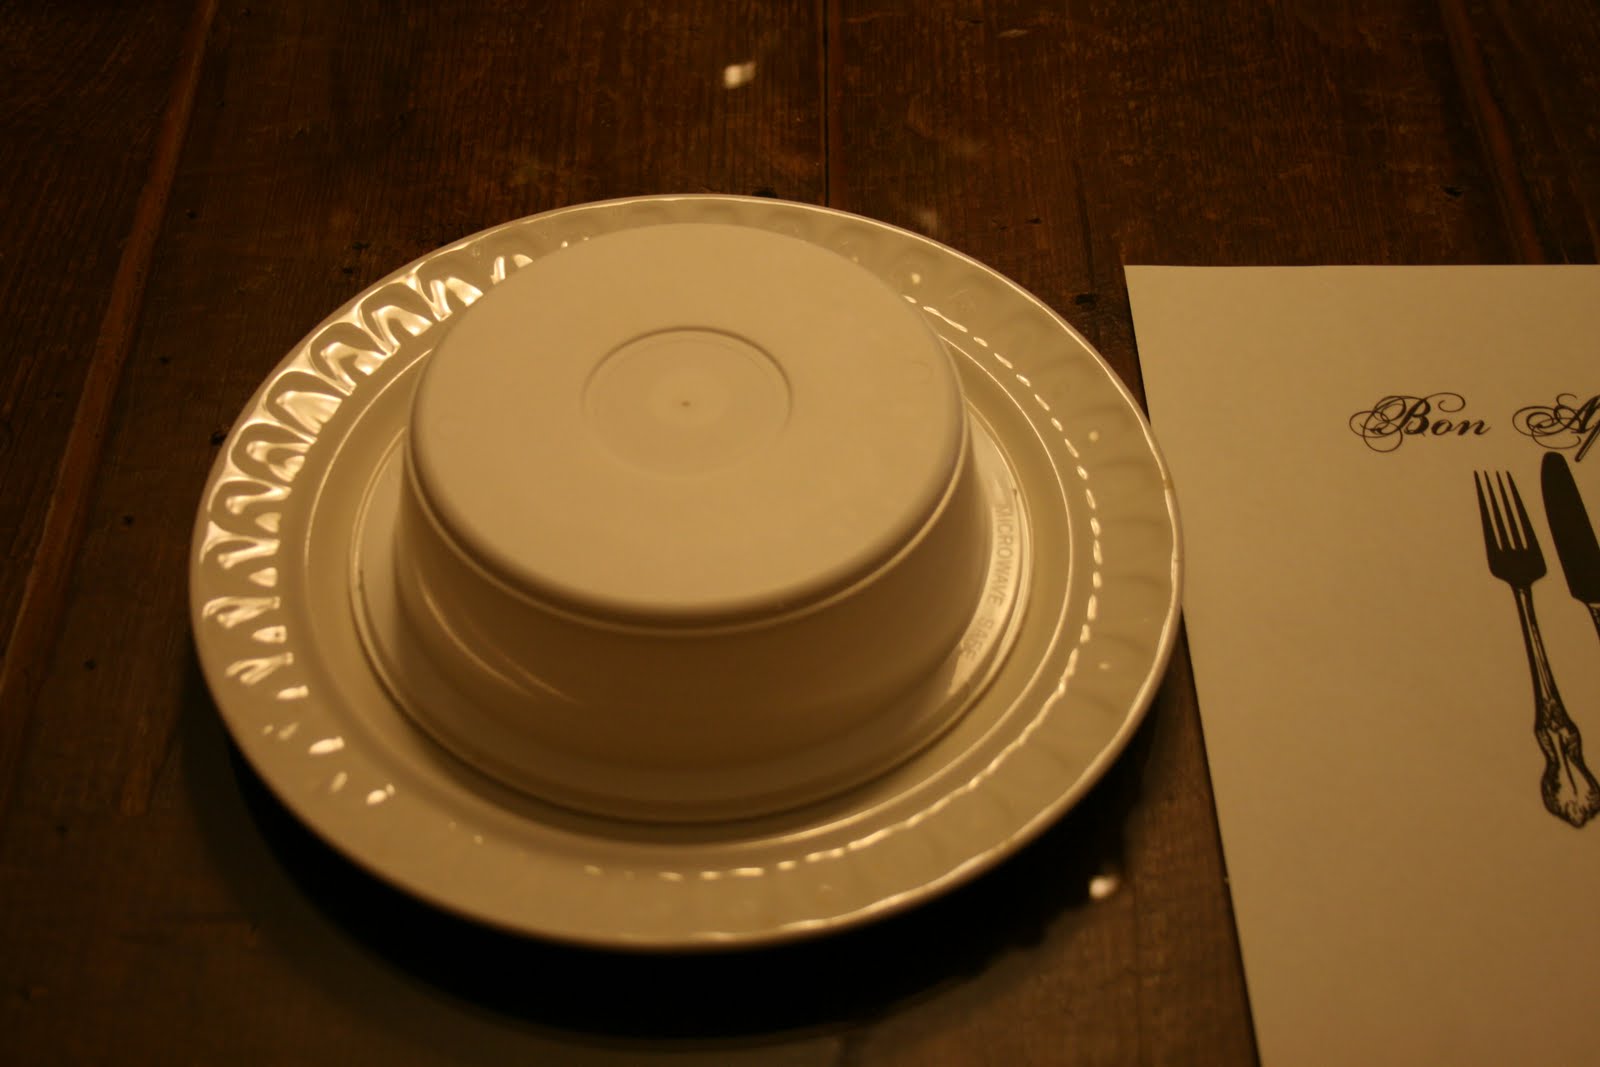
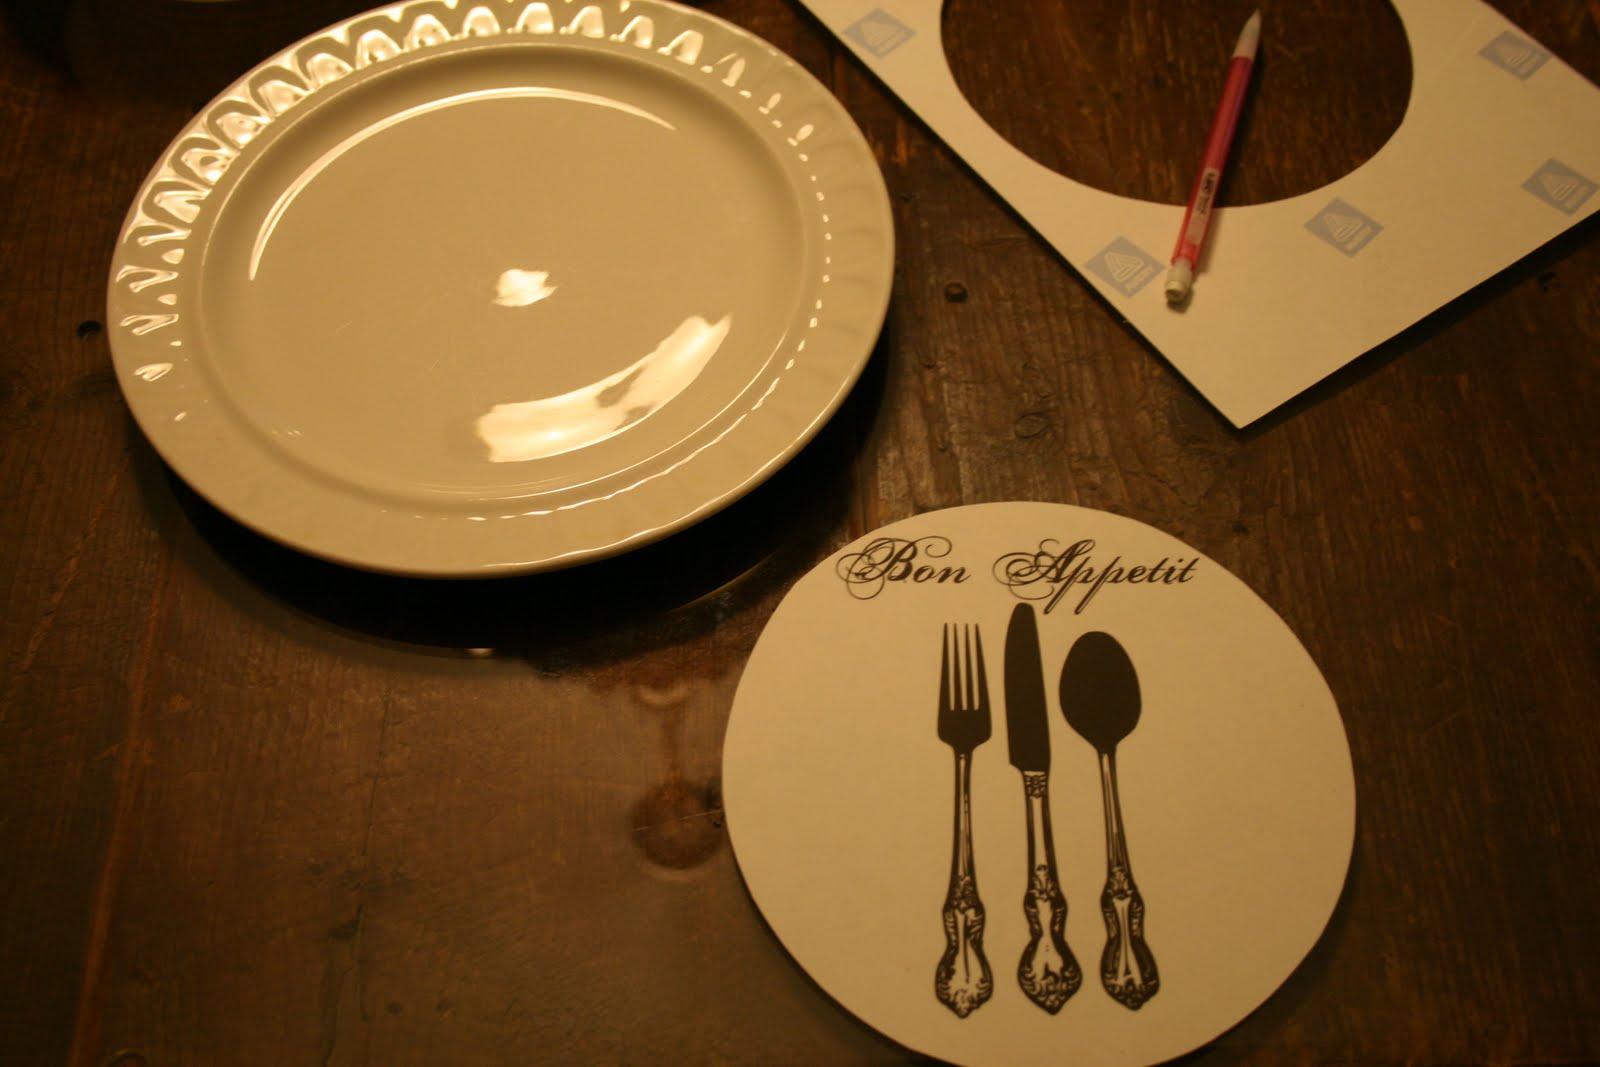
I found a bowl that was the right shape of the flat part of the plate. I traced the image on the clear mailing label (centering around the image) and cut it out.
Peel off the paper backing and place onto the center of the plate.


Easy, right?
Rub out the bubbles.
If there is a stubborn bubble, use an xacto knife to make a small slit and rub again…bubble gone!
I‘m sure by now you’ve heard of dischangers to hang plates. They make it so easy. I love that you can’t see a brassy plate hanger. They’re reasonably priced and easy to use too!
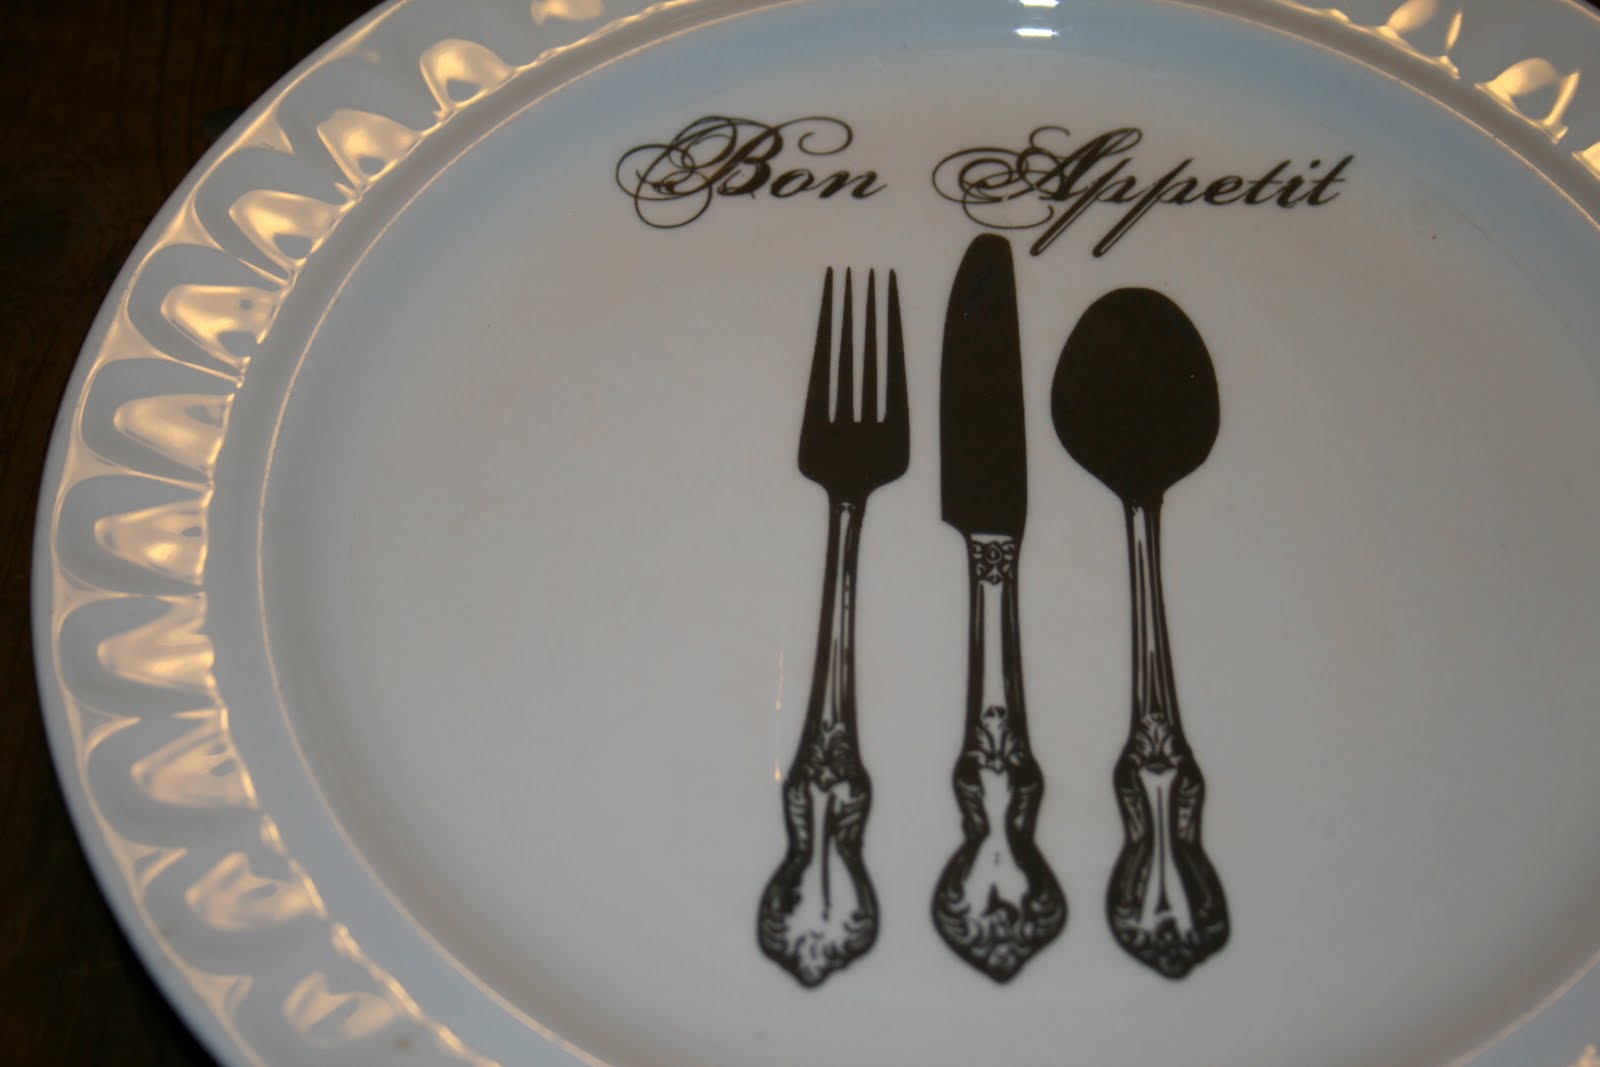
Using a finger, wet the back to activate the glue. Place on the back of the plate (if you have a design on the front, make sure that it’s place appropriately). Let dry over night.
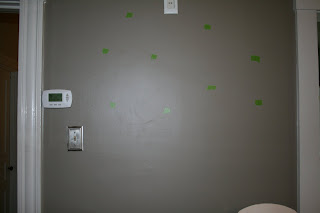
To hang my plates, I laid out a pattern that I liked on the back of a sheet of wrapping paper. I traced them and labeled them so I’d know where each plate goes (to use as a guide after the nails are in the wall).
My wall is plaster. I used a pen to mark onto the wall through the wrapping paper where the nail would go. Then I mark a dot on a piece of tape and line it up with the hole on the wall then hammer into the tape. Using tape with a very sharp tiny black nail (I think it’s actually an upholstery tack), ensures that chunks of my plaster wall don’t crumble. Remove the tape once the nail is in place.
And finally – my wall of plates!
Tip: If you note that your dischanger is crooked with the design on the front of your plate, use a small piece of poster-tacky-stuff on the back to straighten it on the wall. I may be speaking from experience. I’m sure you noted that with my technical term “poster-tacky-stuff”…maybe.
What do you think? I love this look. Is it original? Nope. But it IS original to my friends and family and that’s who sees it. 🙂
As I mentioned, my plates are purely decorative and this would work for plates that can’t be heated and only dusted with a dry cloth but Jenn from
Rook No. 17 discovered an amazing product for using transfer images on ceramic dishes. Check out her post
here. Speaking of Jenn, random.org chose this as the winner of the Gorilla Glue Giveaway:
Congratulations Jenn! It’s your lucky day! 🙂
~*~*~
So…care to share your DIY project? I’d love to see it!
SHOW IT OFF! What did you DIY lately?
If you’d like to link YOUR DIY project post to The DIY Show Off Project Parade:
- You must use the button above and link to this post to share the linky love.
- Include your name or blog name and project title. Add your permalink (not your blog url, but your DIY project post url). Feel free to link a Past Post, just invite your readers in a current post with a quick note.
- Or email your link to thediyshowoff@gmail.com and I will add it for you.
- If you notice your link has disappeared – please add the link back to The DIY Show Off to your post today with a quick note to your readers about the party and try again! I love when everyone participates and readers check out everyone’s links, but I think the return favor of linking back is the nice thing to do so everyone plays fair and enjoys all of the projects and links. Also – this blog party is for DIY projects only. Links not related to DIY will be deleted.


 The shipping palettes were a must in the design of the space! I think that is what made the Serena and Lily room so unique! I got such a kick out of my husbands response when I called him outside to help me unload them from the truck:-)
 This light fixture turned out really nice, if I may say so myself! It’s the Melodi pendant light from Ikea. I have a tutorial coming up later this week on how I “hacked it”!

 Do you notice the closet?! You can’t have a nautical themed room without stripes! Taking note from the inspiration room again, I knew that I had to bring in the stripes. But, the price tag of the duvet didn’t work with the amount I had to spend on one;-) So with $20 and a little sweat, I think that the look was acheived and you can’t tell this was my first attempt at painting stripes (can you?)!
 I haven’t decided if I want the storage cubes to remain in the closet or on this wall below
 (I need a chair for that corner!)
 Here are a few close ups

 Mrs. Limestones photography is the best!
 Isn’t this the cutest hermit crab?!