Dressing up a Mirror

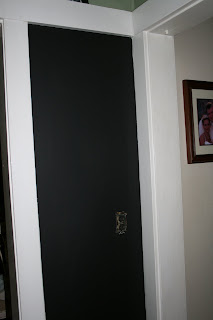
The mirror in my daughter’s room is in a great spot (between 2 closets) but it’s so boring!  It has tiny plastic holders and it sits low/close to the duct work/register.  So…I decided to frame it inside the plastic holders and dress it up.  A frameless dressing mirror in a princess room just looks out of place.  Now it looks like this:

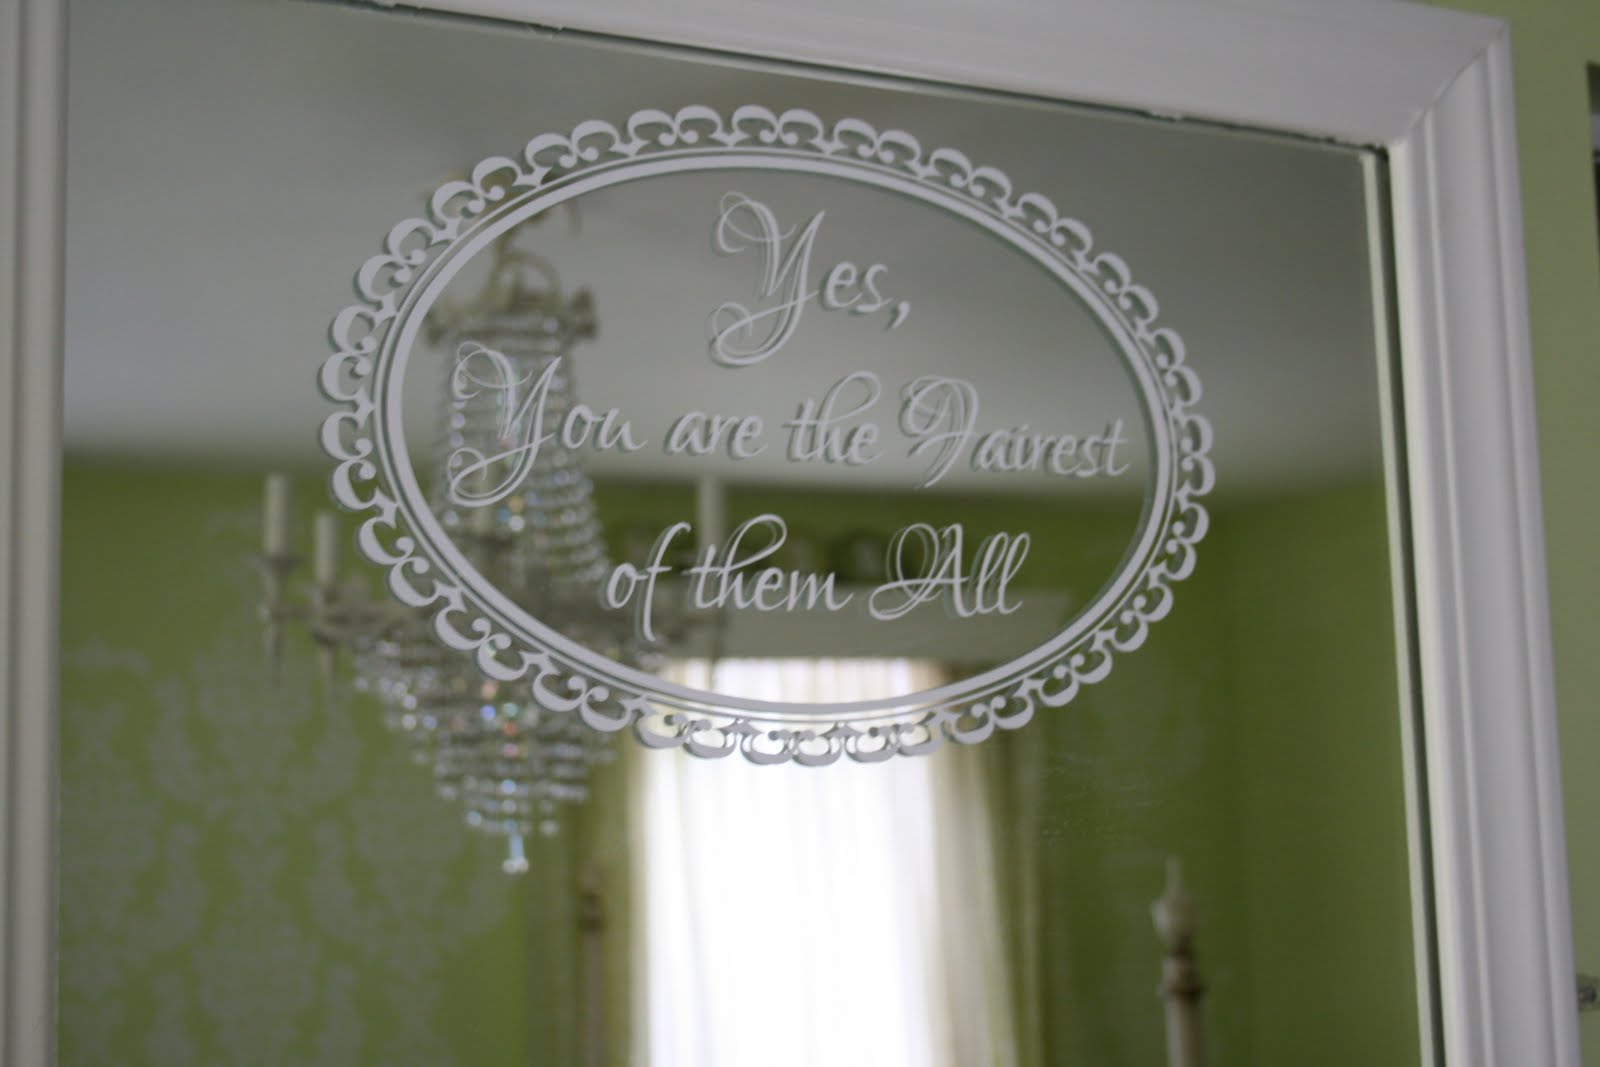
I love the little message.  Who can’t use a little boost in self esteem once in a while? I may even have to get dressed in there.  Here’s how I did it.
  
Using a dry erase marker, I measured and drew a line where I wanted the decorative trim to be placed.  I measured that area so I knew where to make the miter cuts.

Then I psyched myself up to use the miter saw which is up there on my list of fears.  Right beside spiders and sitting in traffic on a bridge.  That scared! But I DID IT!  And it wasn’t nearly as bad as I thought. Truthfully, I made Mr. DIY do the cuts so I could watch and get brave again.  Then, I noticed that the frame was too big. I sort of didn’t want to tell Mr. DIY and I was ready  to be a big girl, so I re-measured and stood up to the big mighty miter saw.  
Here I am in my cool pink safety glasses…safety first!

Next, I painted the four pieces of trim.  Since I’m applying the trim directly to the mirror, I painted near the edge on the back as well (so it would reflect white when glued to the mirror itself). 

I love this pretty white from Mythic.  It’s the same interior semi-gloss that I used on the trim in my daughter’s room.  It’s Mythic Sweet Silence.  I didn’t see a disclaimer that it’d bring “sweet silence” from your teenager’s room but it is non-toxic and low VOC. 

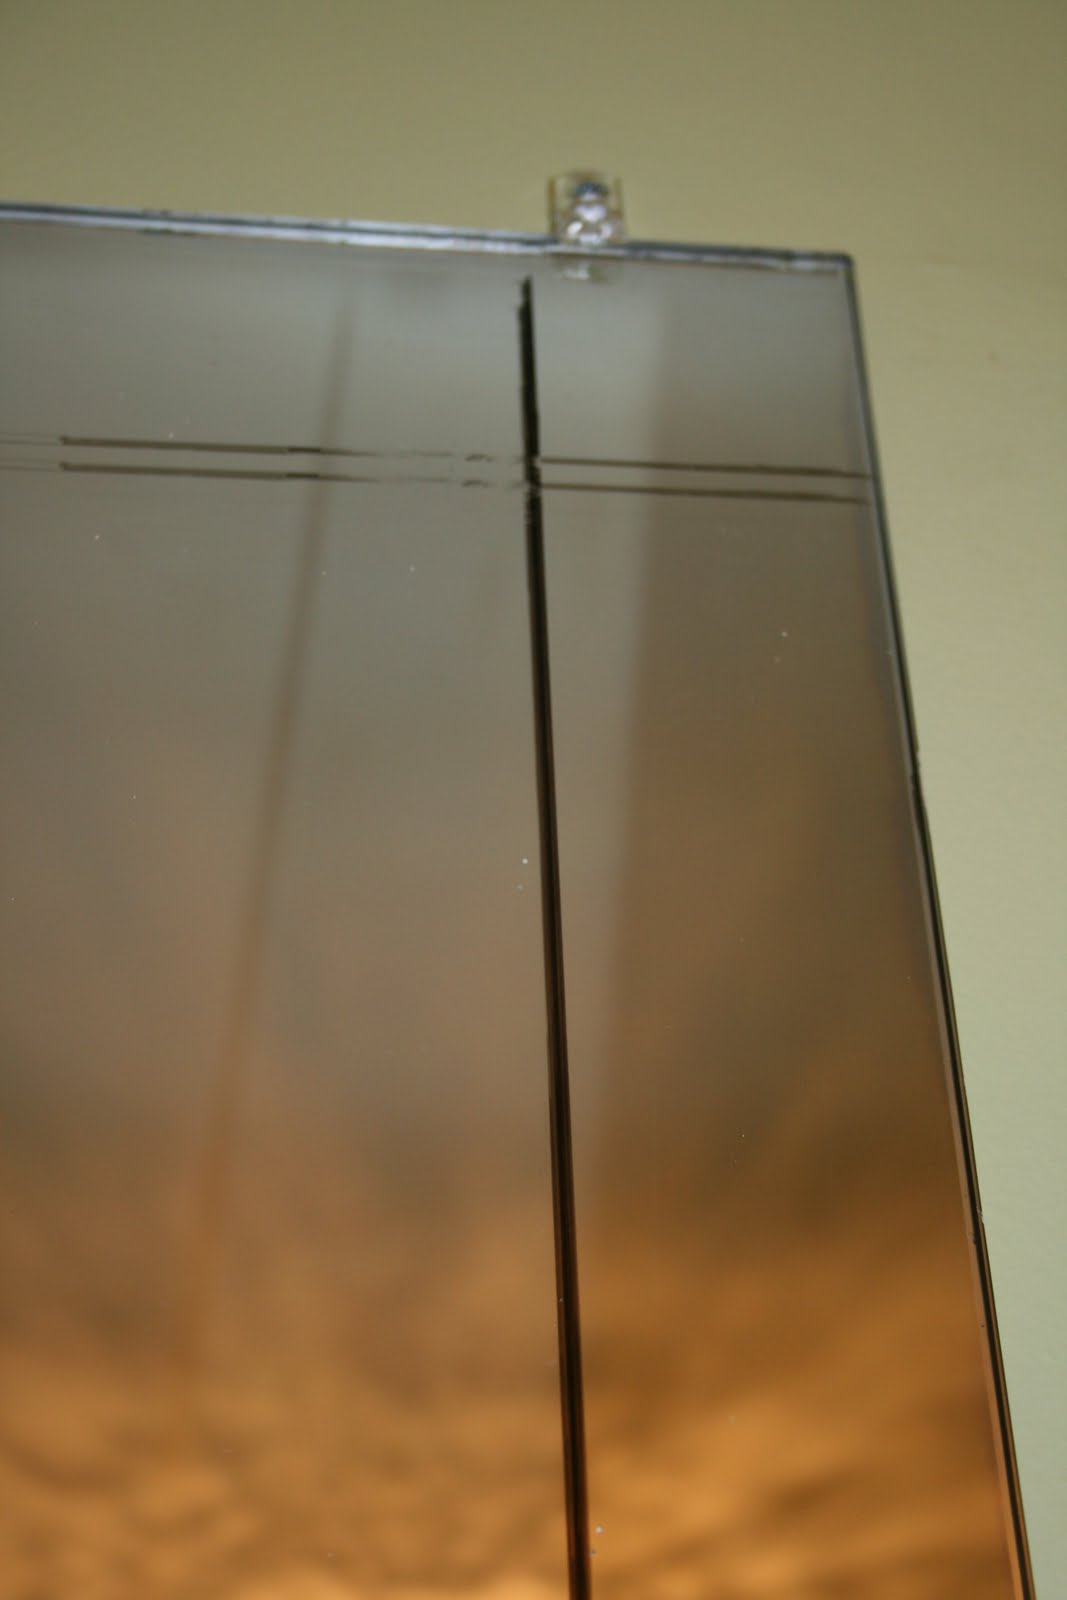
Once it was dry, I applied the White Gorilla Glue to the mitered edges to form a frame.  I don’t have clamps for this purpose so I taped the edges and used paint cans to weight the glued areas.  I did this on an unfinished concrete floor so if there were a few places where I used too much glue, I was able to pry it up.  I let it dry for a few hours. 

Next, I took the frame upstairs and flipped it so the back side was facing up.  I added White Gorilla Glue to the back of the entire frame.
With my daughter’s help, we placed the frame onto the mirror (I did erase the dry erase marker lines before this).   We held the frame tight against the mirror and taped it to hold until the Gorilla Glue dried.

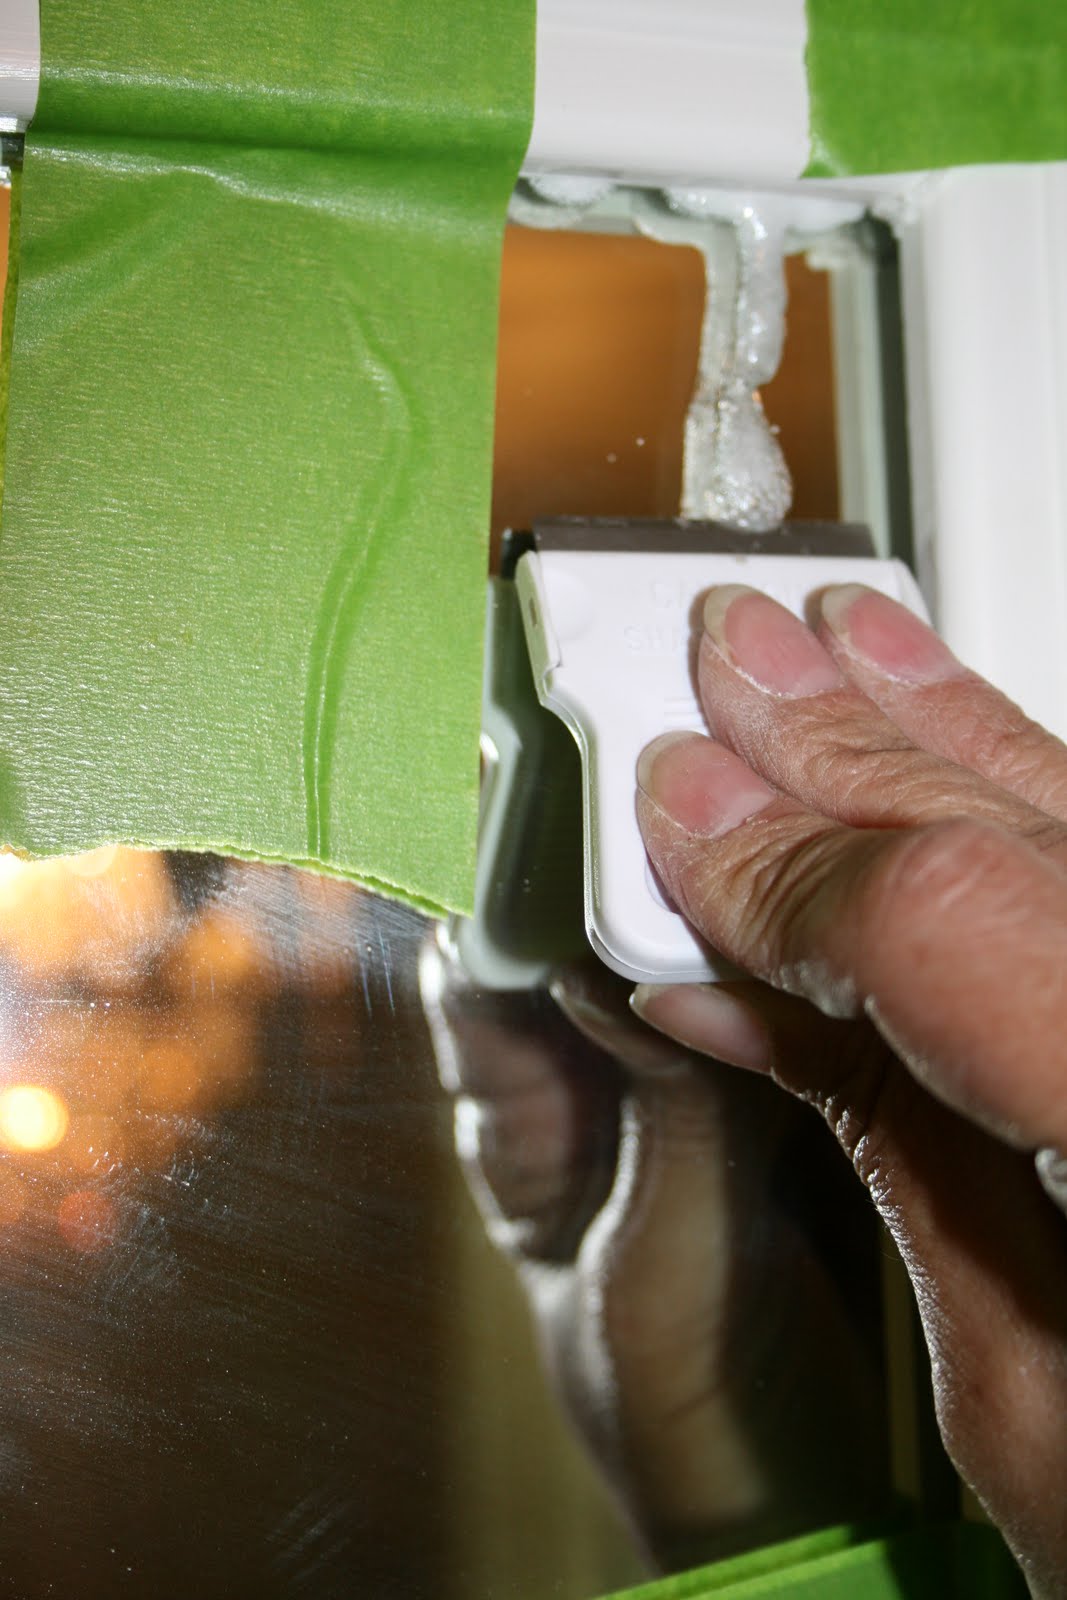
If some of the glue drips, let it dry.  It’s easy to scrape off of the mirror with a razor blade.

All done.  Much better!  There isn’t enough room to frame the outside border of the mirror due to closets on both sides and the heat/air conditioning vent below so this was the best way to add some detail.
But…not quite girly enough for my princess.  The solution?  The easiest way to decorate a mirror – vinyl!  This pretty vinyl art from Design Divas is perfect.  It comes in so many colors.  There are lots of other designs to choose from too!

Just peel of the paper backing.

Using a level, we placed the vinyl decal where we wanted it.

Rub with a credit card.

Peel the wax paper back

and…tada!  Now it’s perfect!

 The DIY Show Off

thediyshowoff.blogspot.com

~*~
 http://diyclubinc.com/

A DIY Pond – Blue Loom

I got a letter and photos from Kinga and Joe from Blue Loom and I turned green with envy (although I checked my thumb, and it’s still black…no luck with plants darn it!). They put a beautiful serene pond in their backyard.  Not only is it gorgeous, they make it look so easy. 
I want this in my backyard.
(Excuse me a moment.  Attention:  HGTV’s Landscapers’ Challenge, if you’re reading, “HELP ROESHEL”!)

Here is their letter:

“- our biggest landscaping project completed in 2007. It was our design and we did it ourselves with a big help from Joe’s dad who came to visit that summer from Europe. We used all natural stones and river rocks. We love to sit outside and enjoy the sound of water. It’s like having a little cottage in our own backyard. Our pond attracts many birds. They love to have a bath on top of the waterfall.
Here are their pictures:
  A hole for the pond…
 The liner…
Fill ‘er up and landscape with pretty plants and rocks.
All done


Their own personal park!  The birds seem to enjoy it!  Peaceful oasis.  The waterfall is so cool!  And that water sprout…fun!

 Even a Prince Charming…
Bird bath!  ” Hey Dilly, Is my backside clean yet?”

I‘d love to hang out back there all.the.time!  Know what I’d be dreaming about?

Shrinking!
Beautiful job Kinga & Joe!  Hold on tight to summer (it’s not over yet) and enjoy that pond!  Thank so much for sharing your hard work!

A little DIY project inspires a big change…Part 1

Thanks to True Value, we’ve added giving our 1980’s kitchen a much needed makeover to our DIY list, or at least up a few notches from where it was (near the bottom). SO exciting! Our dream kitchen knocks out walls/etc. so we haven’t done much in there since moving in three years ago but I’m ready to make a change.  Because the dirty-looking-even-when-clean 20 yr old white linoleum floor (duct taped in places by previous owners) and blue laminate countertops are my biggest embarrassment.  Our kitchen is functional but it’s butt ugly!  We’re still saving for the dream kitchen but in the meantime, a tight budget mini makeover is just what it needs.  Our first trip to True Value = “wow!  Where do we start?”  We came home with a few things to get us started and this

and our plans evolved from there.

Here’s the wall before (new kitchen paint color coming soon)!  It’s the skinny wall between the two doorways.

Nothing useful going on there. (you get a peak into the dining room – another  mini makeover in progress) There was a Pottery Barn phone hanging on this wall, however we don’t have a phone line to the house any longer and there isn’t one even there behind the phone.  Probably the reason it never rang, huh? Purely decorative and now it resides in the basement junk pile awaiting an ebay debut or yard sale.  Oh man.  More work!

I filled the nail hole and lightly sanded the wall.

Then using a paintbrush and chalkboard paint, I cut in around all of the trim and used a foam roller on the larger middle section. 
AH!  Hide your eyes!  You can see a peek of linoleum that I NEVER show!  Dingy white and country blue flowers!  Look Away!  I line my paint tray with foil.  Easy to cover between coats and keeps paint/roller/brush fresh!  Paint clean up is one of my least favorite tasks so I keep it to a minimum!
 
I let it dry for about 5 hours then added another coat and let that dry.  It felt a little rough to me so I lightly sanded again and put on a third coat.  Then life got busy and crazy so I let the paint cure for a few days.
Love the sanding attachment for my Dremel Multi Max.
Sanding with the Dremel Multi Max makes the job easy and quick!  It fits perfectly in my hand too. I love that it’s not awkward.  More on that guy in another post.

With the side of a piece of chalk, I rubbed all over the chalkboard area then erased with a chalkboard eraser. I’ve skipped this step in the past and the writing was difficult to completely erase.  This works!

Love how it turned out.  Perfect place for writing down the day’s events, shopping list or even the menu du jour when Mr. DIY cooks. 

It’s little projects like this that get my DIY mojo refueled, spark my creativity and motivate me to want to move forward with the kitchen, tiny budget and all.  I love the little chalkboard wall but it looks out of place with it’s surroundings.   Every time I walk in there, I feel my big 80s poof growing back!  Plans to do something about that!  Stay tuned!  Oh –  I conquered my fear of the miter saw monster so there’s no stopping me now!

~*~*~*~*~*~*~*~*~*~*~*~*~*~*~*~*~*~*~*~
I was one of the bloggers selected by True Value to work on the DIY Squad. I have been compensated for my time commitment to the program as well as my writing about my experience. I have also been compensated for the materials needed for my DIY project. However, my opinions are entirely my own and I have not been paid to publish positive comments.