Awesome DIY Kitchen Makeover

I received this note from Kinga and Joseph from BlueLoom about their awesome DIY kitchen makeover.  Sometimes budgets are small but results are HUGE!  Take a look!

When we bought our house, we knew we had to do something about the ugly kitchen from the 70s.

We didn’t want to spend thousands of dollars on a complete renovation, so we decided to do it ourselves.

Total kitchen reno took us more than 2 years but we saved a lot of money. The biggest project was to restore the existing kitchen cabinets which were solid maple, so we were able to send them and apply white paint. See our original blog post here:

http://blueloom.com/index.php?p=93&more=1&c=1&tb=1&pb=1

Money saved on cabinets allowed us to hire contractors to install spanish tile floor and new windows.

We did the rest:

  • restored kitchen cabinets and replaced hardware
  • installed the backsplash
  • installed new counter top
  • replaced all light fixtures and added two new ones above the sink
  • removed one kitchen cabinet and installed a dishwasher (originally there was no dishwasher in our kitchen). We also built the new cabinet for the dishwasher.
  • replaced the old trim
  • replaced electrical switches
  • removed wallpaper and painted the kitchen

The sink and faucet were pretty much the only things we kept. 

Here is the kitchen before:

First, we removed all cupboards and hardware.  We used electric sender to send cabinets to bare wood. It was a very time consuming process but eventually saved us a lot of money, and we were pleased with the result.

This is how the cabinets look like after sending. They were ready to be painted.

We applied one coat of primer and two coats of paint and installed new hardware. We also installed backsplash a replaced countertop ourselves (more on that in the near future).
 New tile

Here is our new kitchen:
Once our window was replaces, we installed two identical light fixtures above the sink. We paid lesss than $100 for both lamps at Home Depot.
New light fixtures
Old cabinets, new look
New table


If you purchased your first home and like us inherited an old kitchen, you don’t need to spend thousands of dollars by putting a brand you kitchen in. We saved a lot of money by painting old cabinets. The only expenses were primer, paint and new hardware.
WOW!  All of their hard work paid off because it’s a beautiful transformation, isn’t it?  Gives me hope for my own old kitchen.  Thanks for sharing Kinga & Joseph!  You guys rock!

——————

This post is brought to you by
 

Feeling a bit cold coming out of the shower? Get a new bathroom radiator from UK Bathrooms

DIY projects by Little Miss Momma

Have you seen this blog?  
 
So many cute & easy DIY ideas and tutorials!
Click the links for more details:

Tutorials

Stencil Canvas Wall Art Tutorial
So easy to create – and pretty!
Anthropologie Inspired Frame and
 Ashley – thank you so much for sharing SO much creativity!  Little Miss Momma rocks!  🙂
——————

This post is brought to you by
 

Need a new mirror? Check out UK Bathrooms’ bathroom mirrors.

Pretty Bedroom Makeover full of DIY details

Maria at 
sent over her pretty bedroom makeover.  Painting the furniture made a huge impact and I love her silhouette art and beautiful pillows.  Check it out:

DIY Bedroom Makeover

Welcome to our bedroom! Just about everything was a DIY project.My husband’s biggest request is we had to keep the brown comforter. I wanted to get a new bedroom set but we couldn’t afford to replace any of the furniture. So, after I got help choosing a color palette, this is what I came up with.BEFOREAFTER
The biggest project was painting all furniture and replacing the hardware. Here is a better picture of the night-stand. I took step-by-step photos of painting one of the drawers. Would that be helpful or is it pretty self-explanatory?BEFORE
AFTER
Here is how I did the candle wraps. I really love how it turned out. I wish my photos were better. It is such a nice, relaxing place now.BEFORE
AFTER
Follow these links for the large silhouette artwork, the smaller framed art, and the pillows. I used the same pillow covers for the large pillows but I adjusted the size.
 
Thanks for sharing your beautiful makeover, Maria!  I love how the furniture now pops against your mocha colored walls and the blue and brown accent everything perfectly!  Great job!

——————

This post is brought to you by
 

UK Bathrooms supply a wide range of bathroom furniture.

RH Inspired Zinc Dresser at Freckled Laundry (and Niski update)

I fell in love with a nightstand.  And a blog.  I want this…

in my house, beside my bed stacked with my decor magazines and scented candle.  (Since I’m dreaming, we’ll nix the alarm clock.)  I NEED it there.  Did I ever mention I’m using a cardboard box as a night stand?  Can you understand my longing for this?
Jami from 
freckled laundry
linked up to the DIY Project Parade last week with this beauty:

 If I can’t have it, can I be inspired by it?  Can I copy it? 
Yes. And Yes!
What about that GORGEOUS paint treatment?
I‘d love to copy/paste her tutorial but instead, I’ll send you over to check it out.  Click HERE to see her faux zinc painting tutorial. Thanks for sharing your creativity, Jami!
Thanks for your sweet comments about Niski.  She is slowly improving.  She’s not walking or standing longer than a few seconds.
She is still on crate rest and meds but…she wanted to take a minute from her crate in order to show you how she is doing.   
Please forgive my poor DIY video skills with bad lighting and sample audio clip.  
I’m just a beginner with no technical skills whatsoever and still learning!   Only the 2nd video in my entire life.
I spent more time than I would like to admit to even show you this much and when the screen goes black, that’s the end, despite the fact that it plays a lot longer – oops.
For right now – I don’t let her walk.  It’s too soon but I wanted to give you an update.  When crate rest is over, we will use a scarf under her tummy to help her walk when permitted.  🙂

And if you can’t see it …I apologize.  I don’t know what I’m doing!

~*~*~*~
This post is brought to you by
 

 Need a new bathroom cabinet? Check out UK Bathrooms

DIY Project Parade

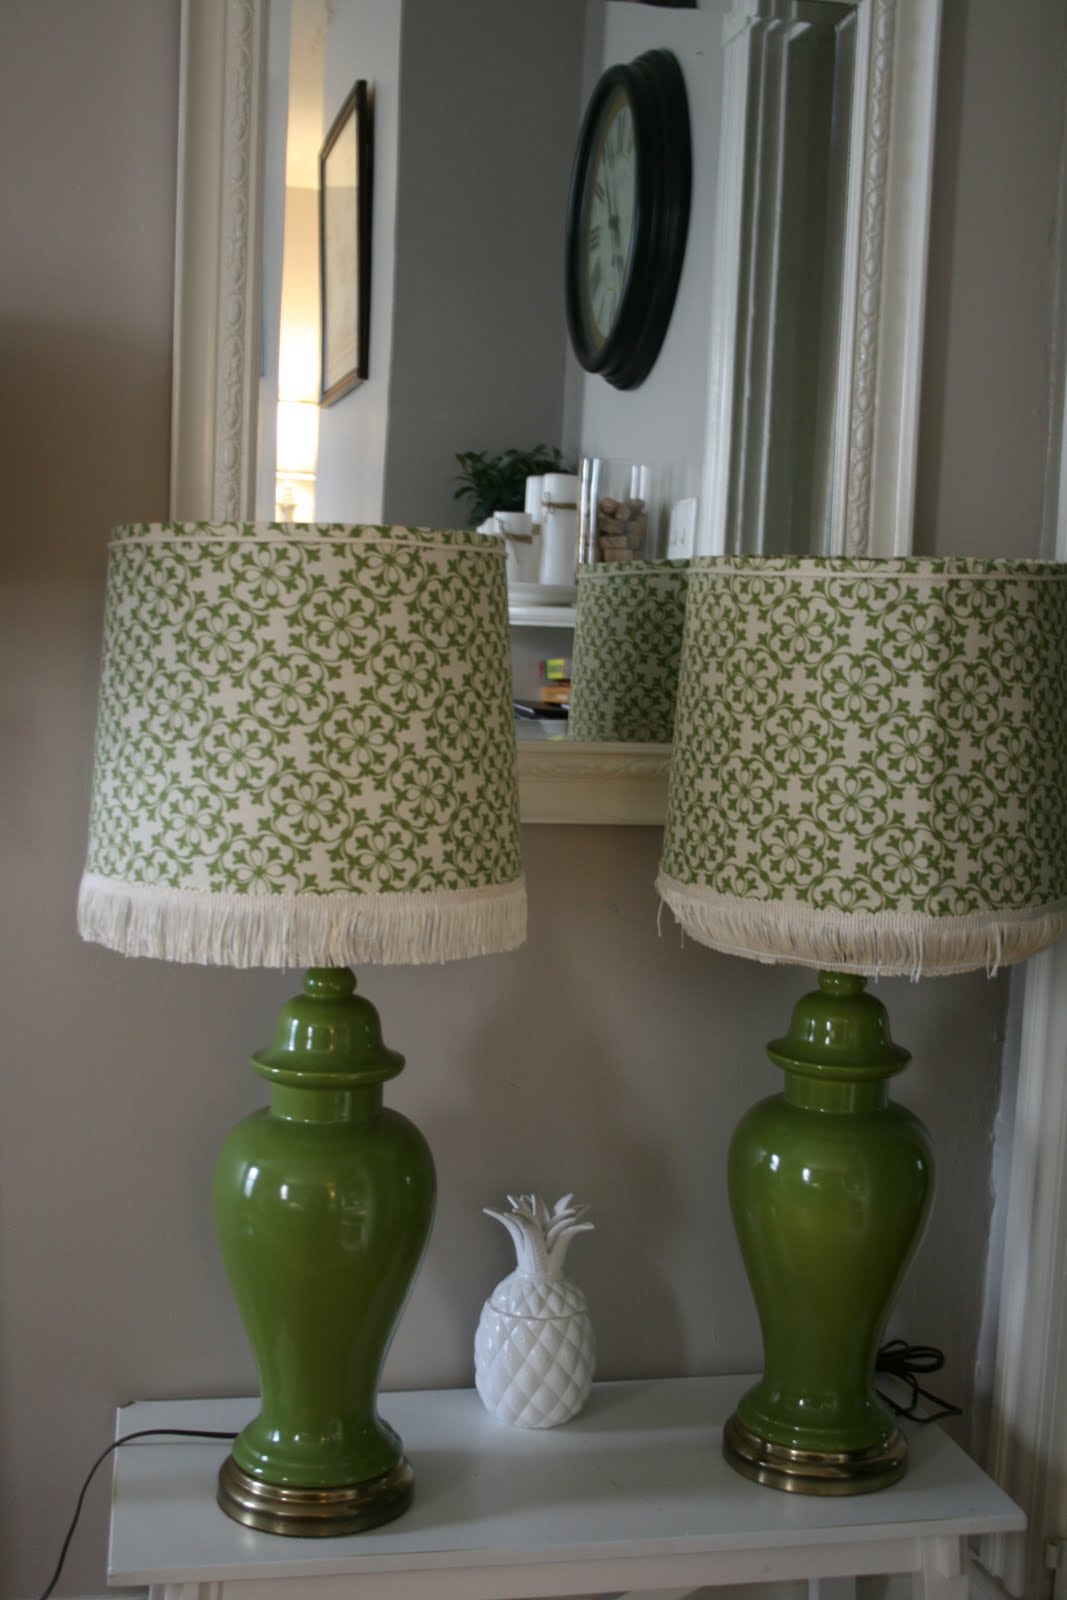
I have so many DIY projects planned and can’t wait to actually get busy and share.  For this week, I have a little one. My daughter, Bri, and I gave some old lamp shades a new look. I loved the burlap texture before  (and seriously considered buying her new ones so I could snag these but I didn’t get around to it in time. Darn!) Her style is different so here is what we did.

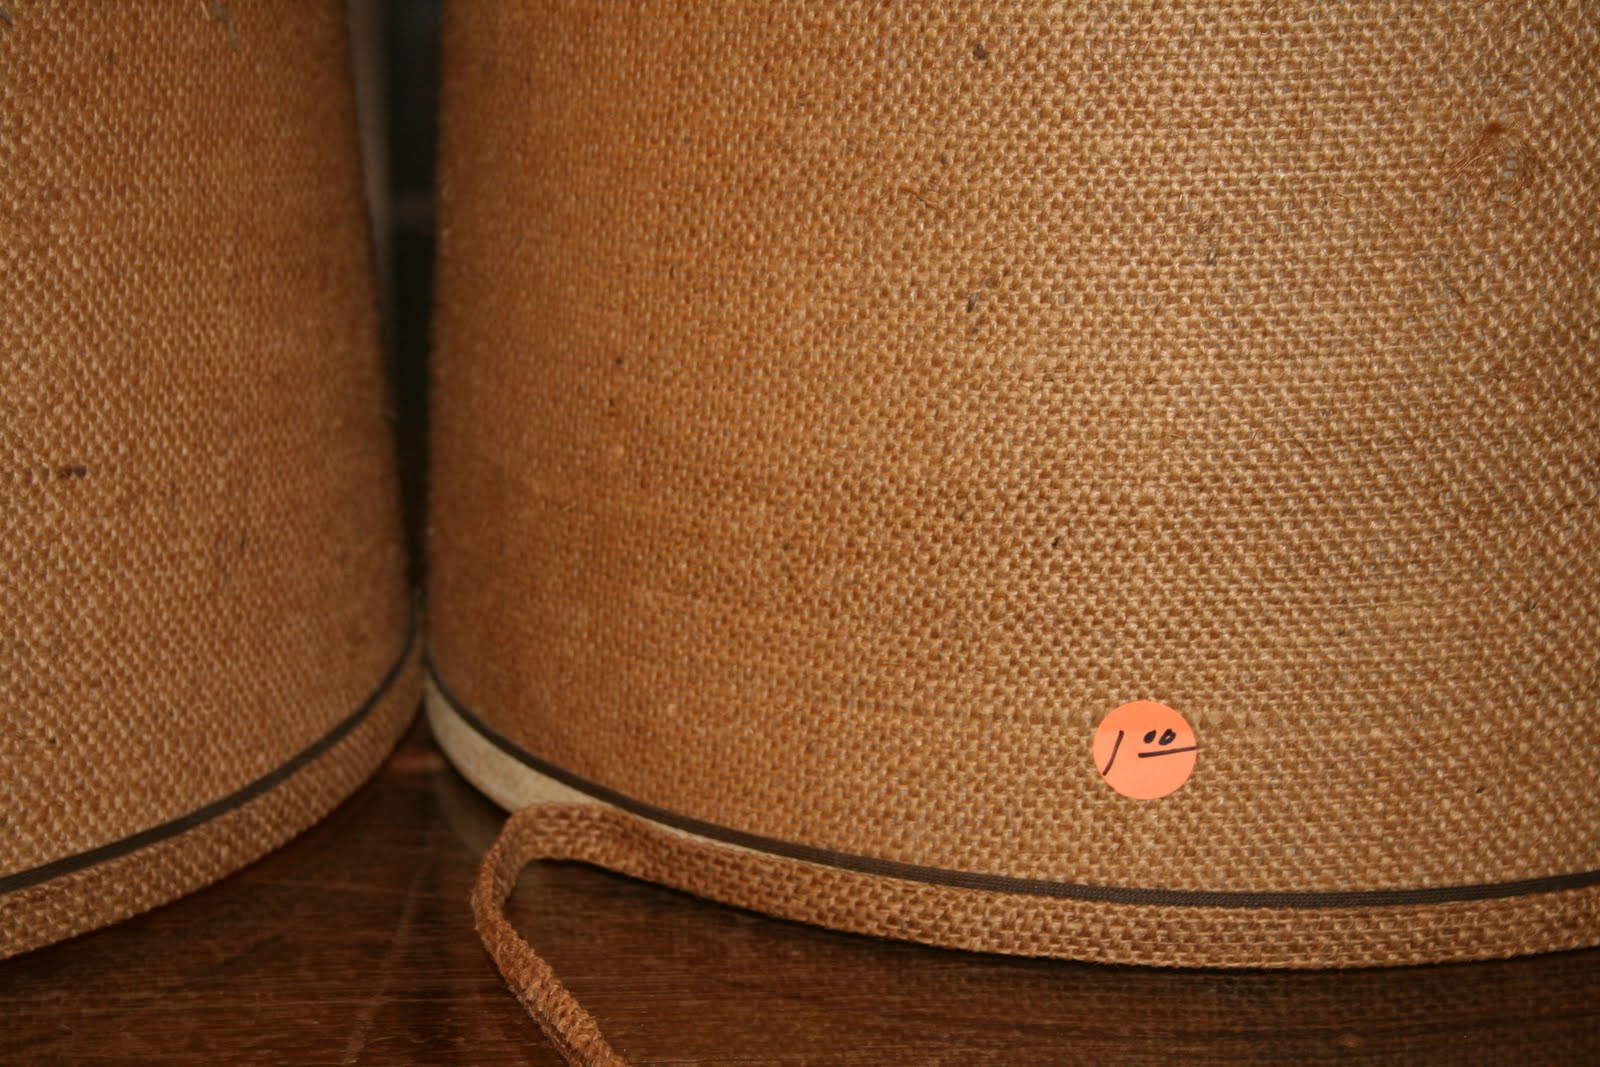
$1 yard sale lamp shades before:

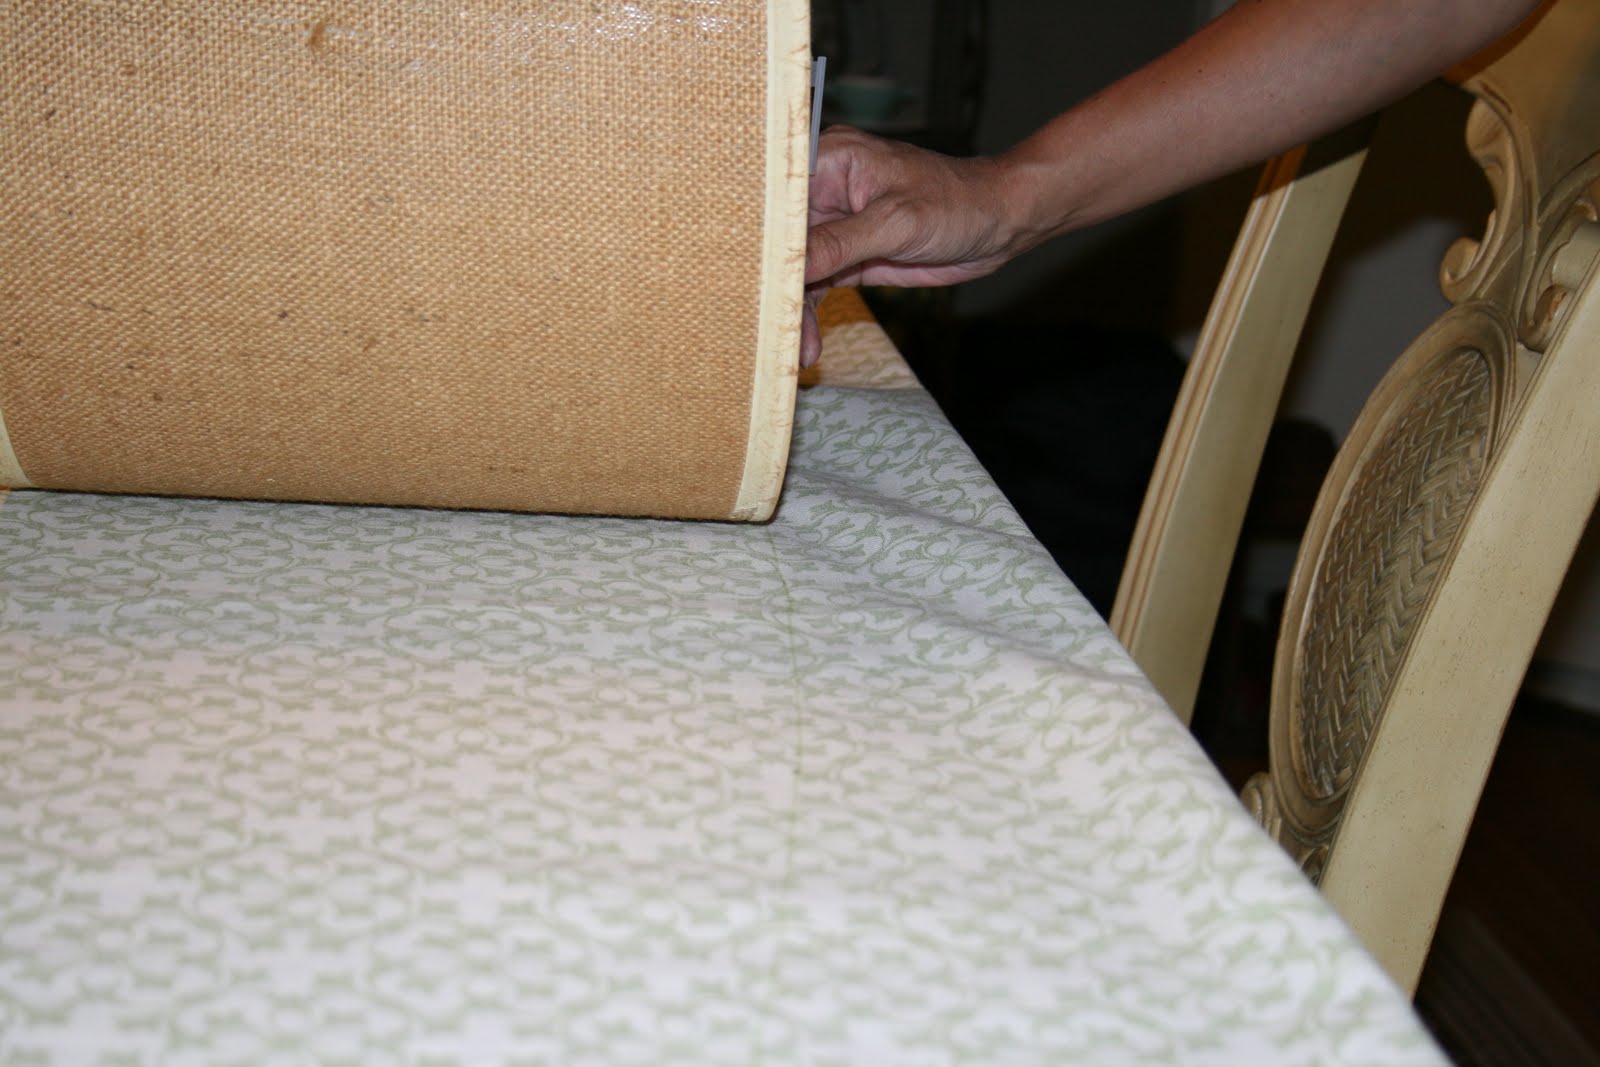
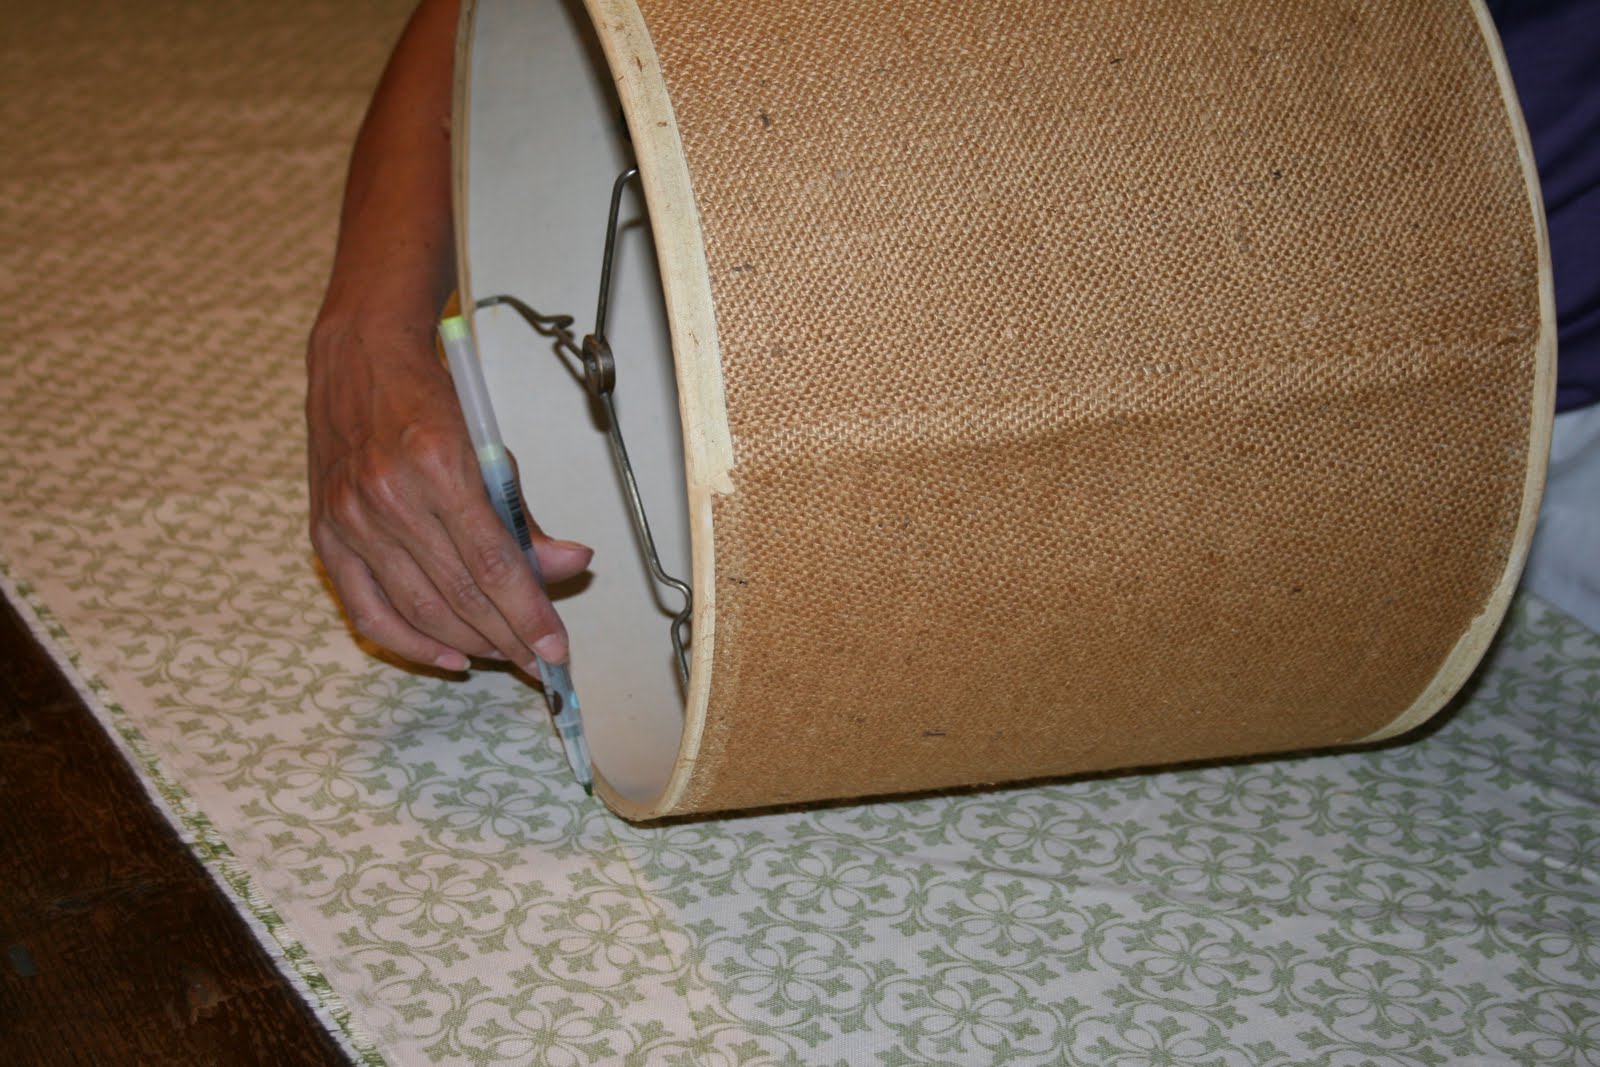
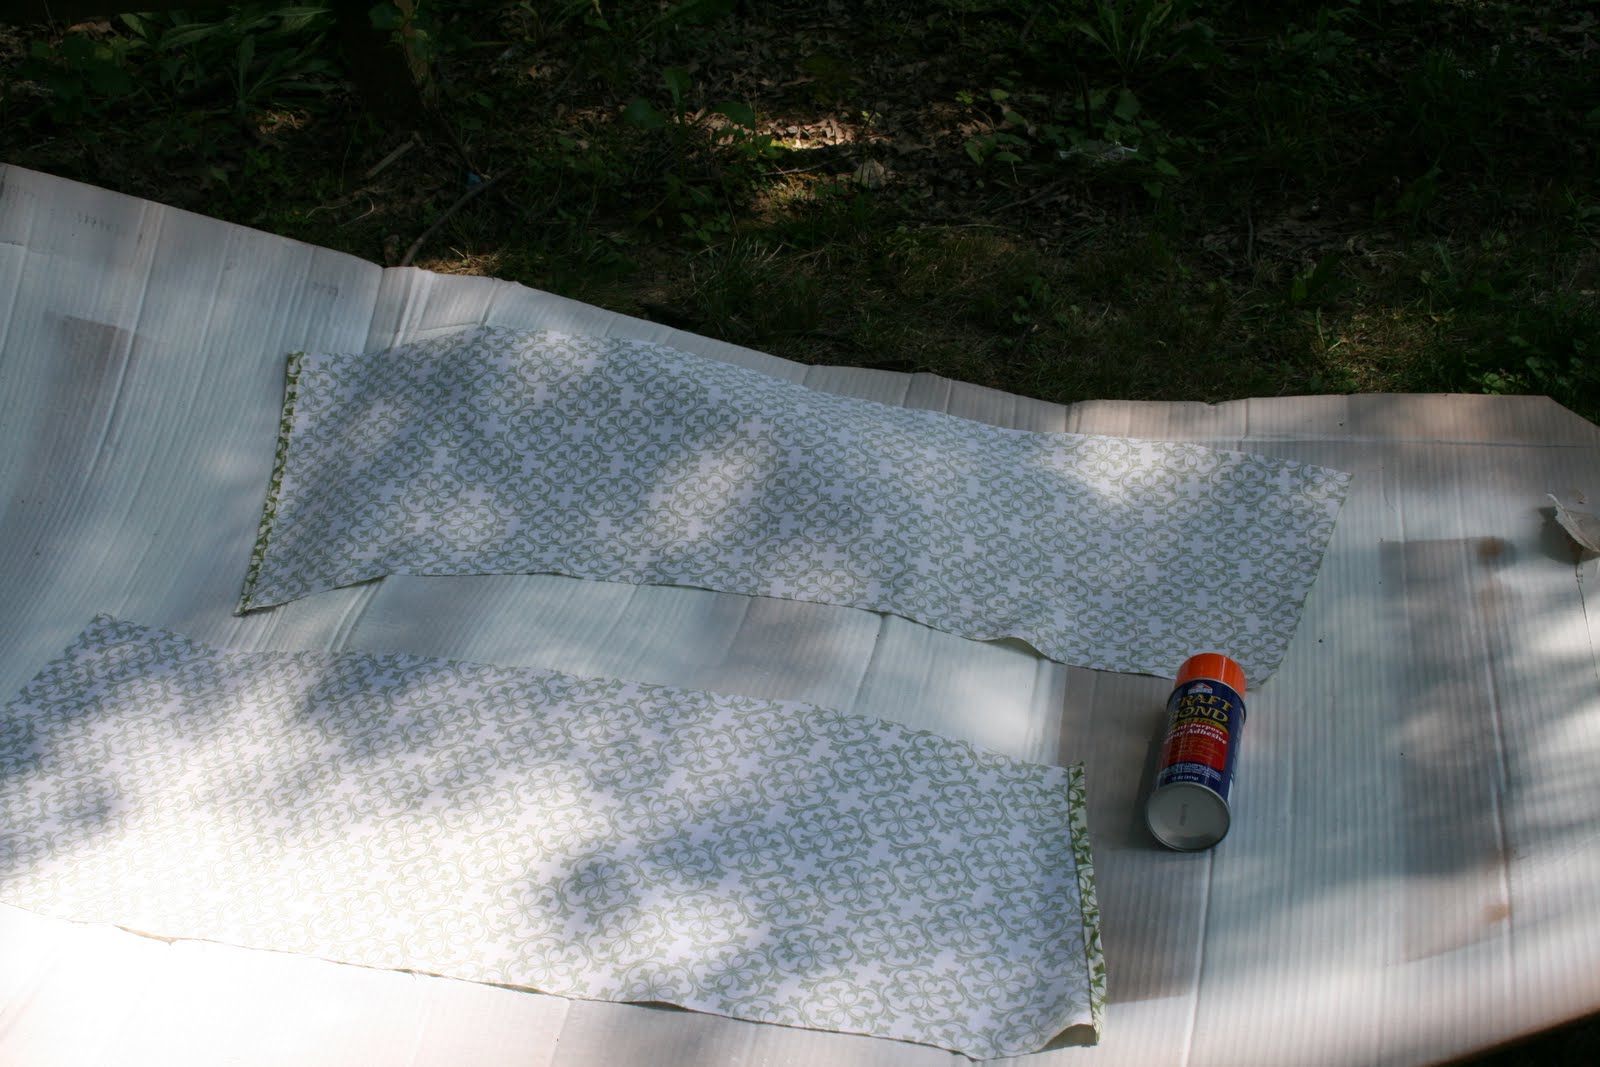
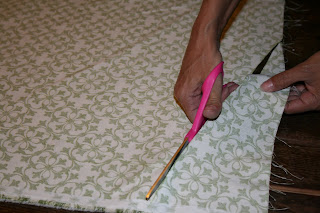
We ripped off the old trim and laid it out on the new fabric.  Using a light marker, we rolled the lamp shade on the fabric, tracing the bottom then top shape.  These lamp shades had a slight taper, so this is the best way to ensure the new fabric covering is the right shape/size.
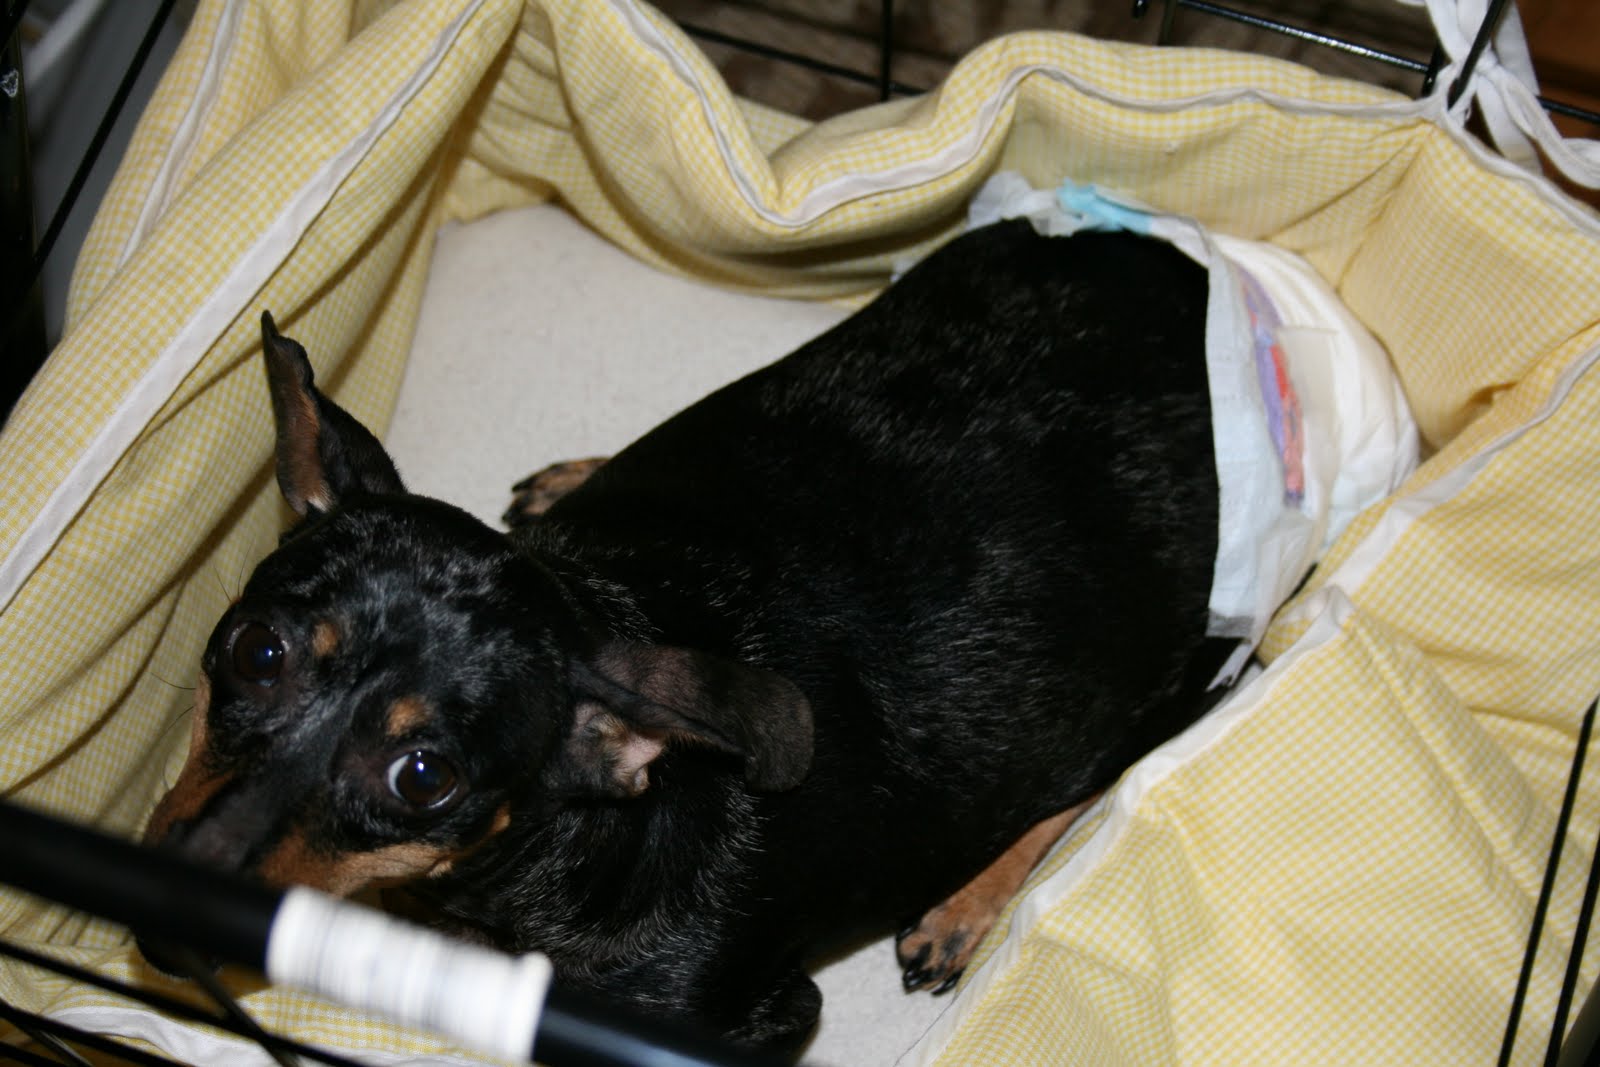
Niski was partricularly interested in this step.  “Are you making me a dress?”
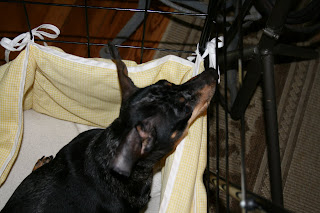
She says she’s a DIY doxie and should be included in this post because the D in DIY is for distraction according to doxies.
Back to the lamps (sorry Niski)…
Cut out the shape BUT cut about 2 inches from the line drawn to create the fabric so that you have an allowance to fold over the top and bottom of the lamp shade. Our fabric was folded so 1 pattern = 2 new fabric cutouts for the 2 lamp shades.

This is how it looks (pardon the chandelier checking her reflection in the glass top table).

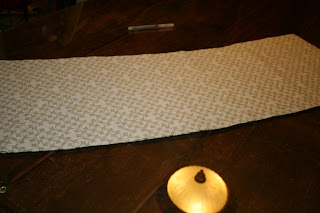
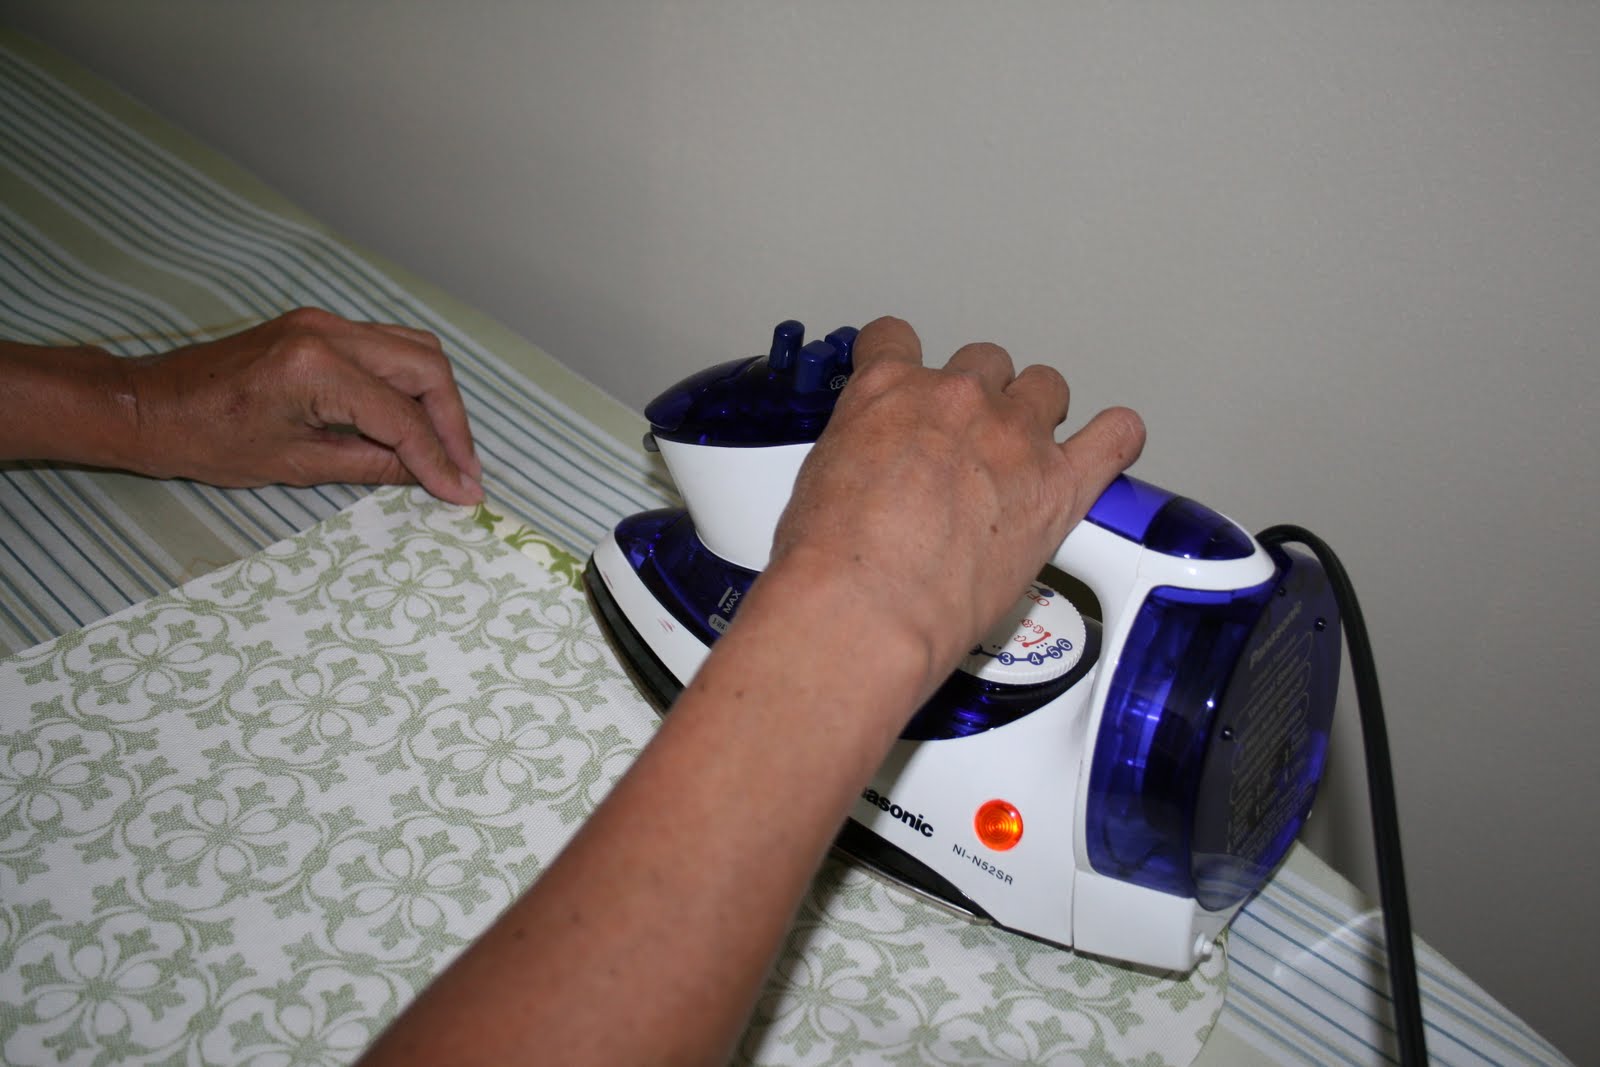
Iron a hem on one of the side seams.
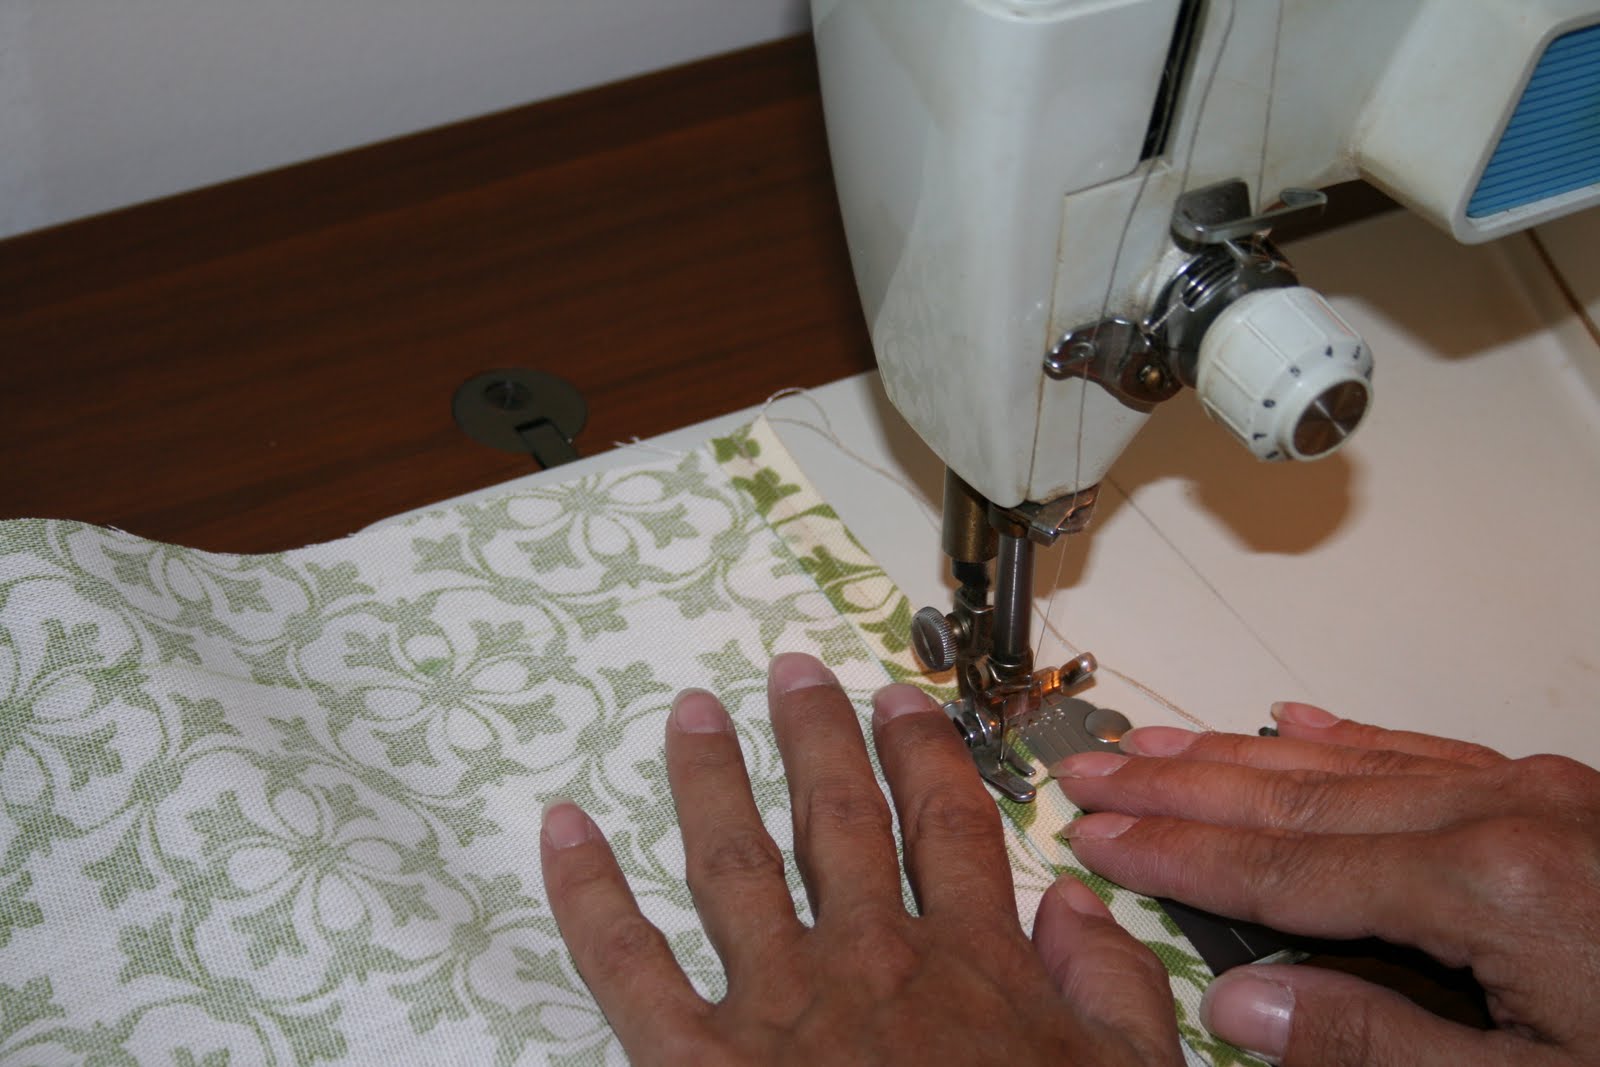
Sew the hem.

Next, we used spray adhesive to attach the fabric to the lamp shade.

Now, we do not recommend that you get distracted by the ‘fun’ part of making the lamp shade pretty and by one of these (pictured below) and abandon the camera.

But here are the next steps:

Wrap the lampshade in the new fabric, using the hemmed side to cover the unhemmed side.
Clip the overhang on the tops and bottoms so that they can be folded on the inside and lie flat. Use hot glue to secure.
Using hot glue, decorate with ribbon and/or fringe.

Lamps were $5/pair at used furniture store!  Great thrifty find!

All done:

(More to come soon on where these are going!)

~*~*~*~
And some amazing highlights from last week’s DIY Project Parade!  Click the links for more details.
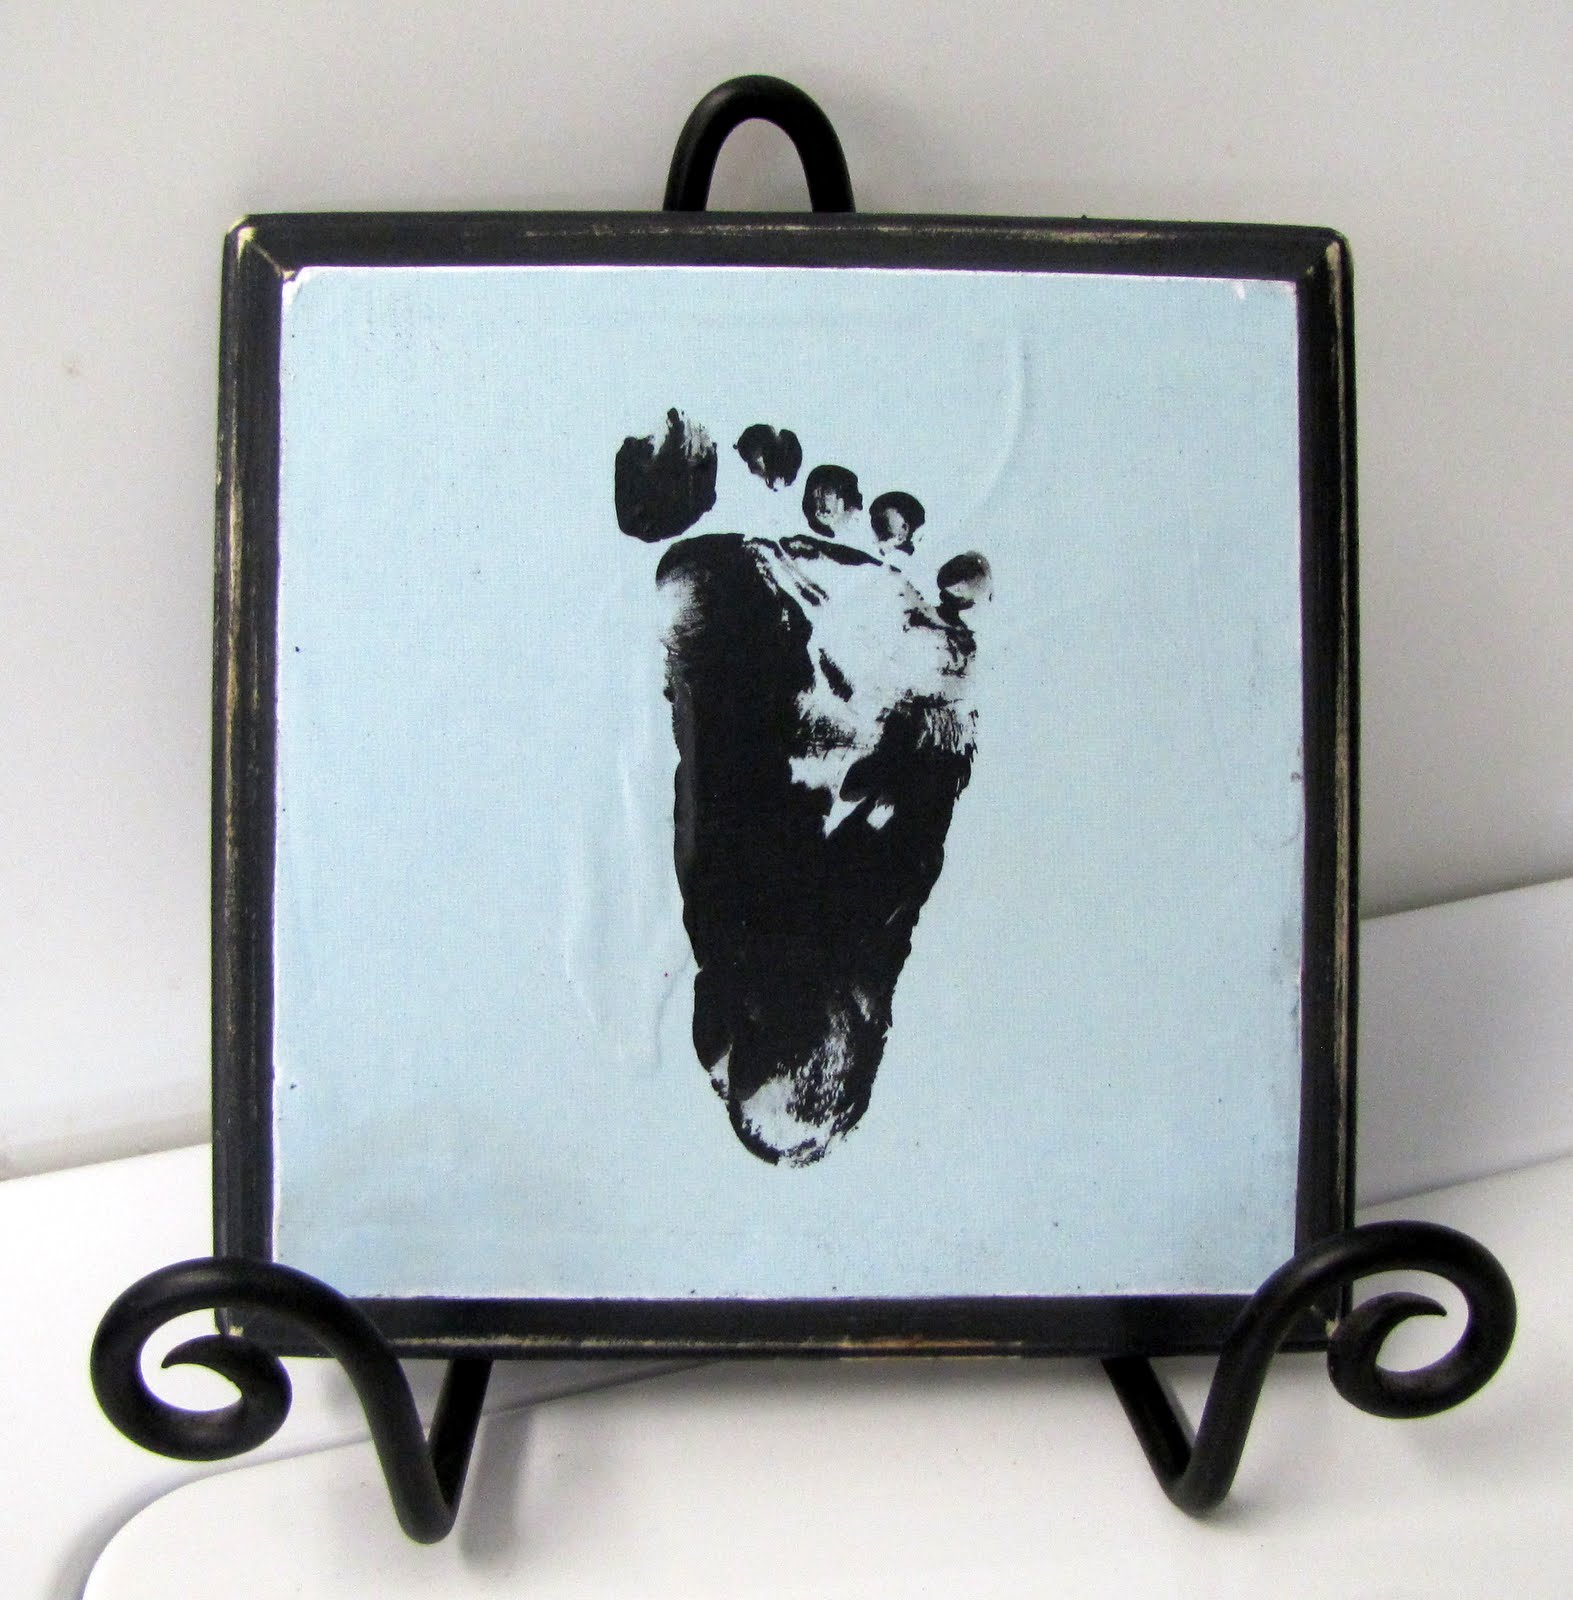
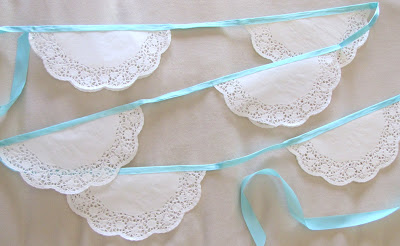
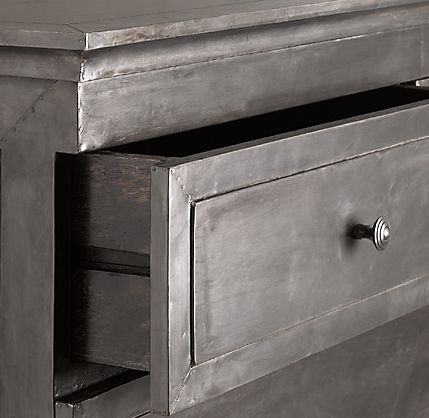
So pretty –
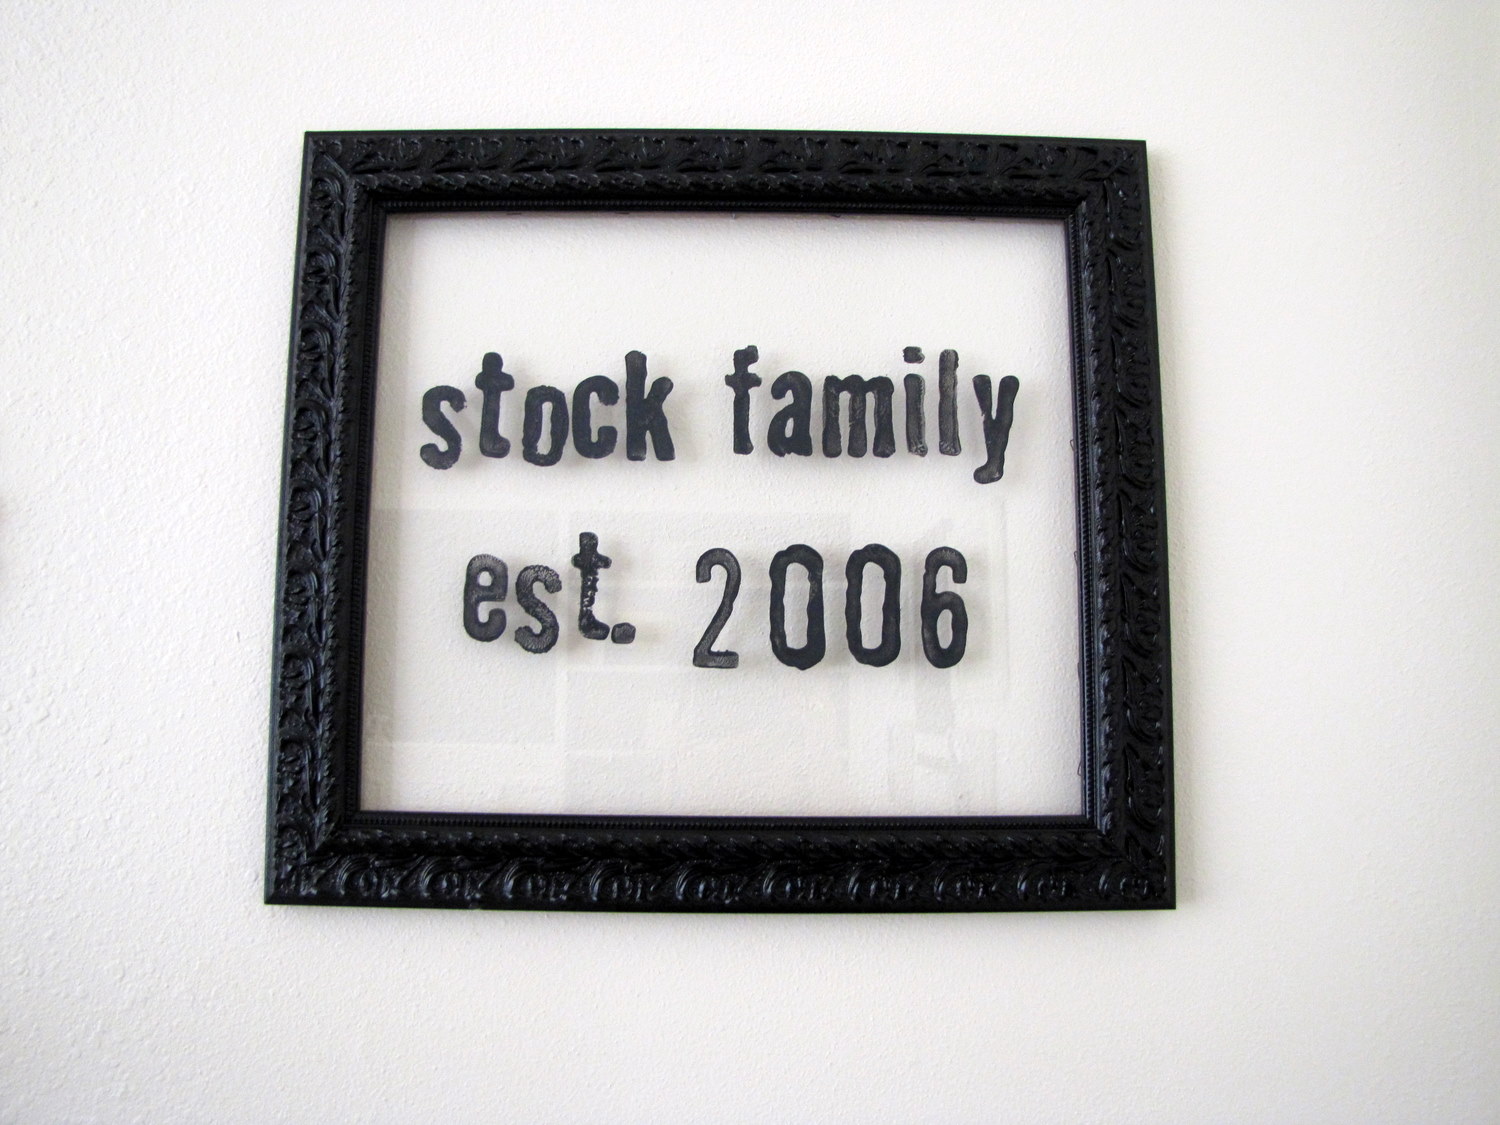
a drawer turned candle holder at Decor Chick

Pretty monogrammed nesting tables at The White City Project

More pretty nesting tables – numbered! at Posh Pieces

Beautiful chandelier makeover at Thrifty Miss Priss
DSC_2287
Creative curtain headboard at Pregnant with Power Tools
There are more highlights I want to share with you – I’ll do it sometime this week!
~*~*~*~
So...What have you been up to?  Feel free to link up!

The DIY Show Off

If you’d like to link YOUR DIY project post to The DIY Show Off Project Parade:
  1. You must use the button above and link to this post to share the linky love.
  2. Include your name or blog name and project title. Add your permalink (not your blog url, but your DIY project post url). Feel free to link a Past Post, just invite your readers in a current post with a quick note.
  3. Or email your link to thediyshowoff@gmail.com and I will add it for you.
  4. If you notice your link has disappeared pleaseadd the link back to The DIY Show Off to your post today with a quick note to your readers about the party and try again! I love when everyone participates and readers check out everyone’s links, but I think the return favor of linking back is the nice thing to do so everyone plays fair and enjoys all of the projects and links. Also – this blog party is for DIY projects only. Links not related to DIY will be deleted.
~*~*~*~
~*~*~*~
Brought to you by
UK Bathrooms supply high quality bathroom accessories