Happy Winter Solstice!
Thyme & Mint Meditation Room Makeover
Oh you guys, I enjoy hosting at our short term rental, Suite Thyme, here in my small hometown so much! It’s such a joy to make someone’s visit to Butler a memorable experience and to share what I love about where I grew up. The apartment is tiny but big on character and guests love the trendy luxury design and comfortable atmosphere. I really love pampering guests and making them feel so welcomed and special, much as a guest in our own home. I enjoy developing friendships with many of our guests – even if we’ve never met face to face. Although sometimes I’m available for a quick meet and greet, especially if they’ve added services to to their stay. More on that below.
![]()
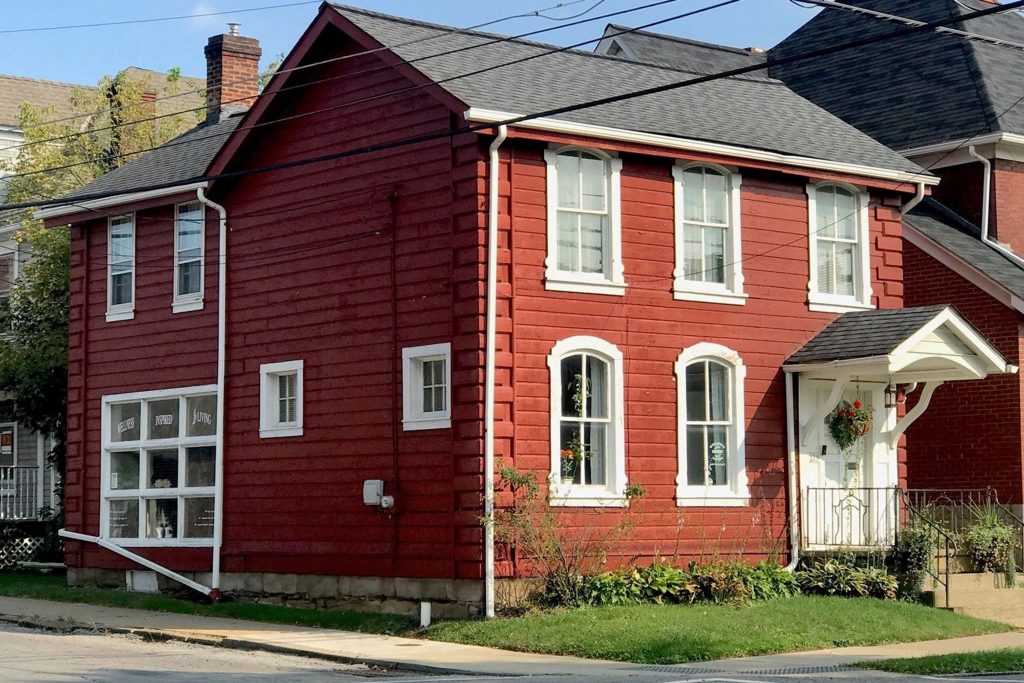
The apartment is located upstairs. There is a wellness studio on the main floor for my office and a place where we hold essential oil classes. We also collaborate with several small business owners and wellness practitioners to offer a “create your own personal wellness retreat” with a la carte menu services in a self care package we refer to as “Thyme & Mint”. Services include yoga from Ambur Waves (Yoga.Movement.Sound), Evangeline (reiki master) from The Lunar Fae Shop and Becca from The Wandering Bramble, Dorothy’s Herb Shop and Herbal Apothecary. We also offer essential oils education, Aroma Freedom and iTovi scans from Wellness Inspired Living. Guests can purchase herbal bath soaks, crystals and essential oils (packaged with their choice of intention collection) in advance and have them ready upon arrival.
The update:
As a member of Butler County Tourism, Suite Thyme recently had the opportunity to put together a proposal for a grant that would enhance Butler visitors’ experiences. I love a creative challenge! The room that is utilized for reiki, sound baths and guided meditation was a bit of a mish mash and in need of some TLC. I designed a medication room with purpose. I submitted by design and plan and was awarded a small grant to make it happen!
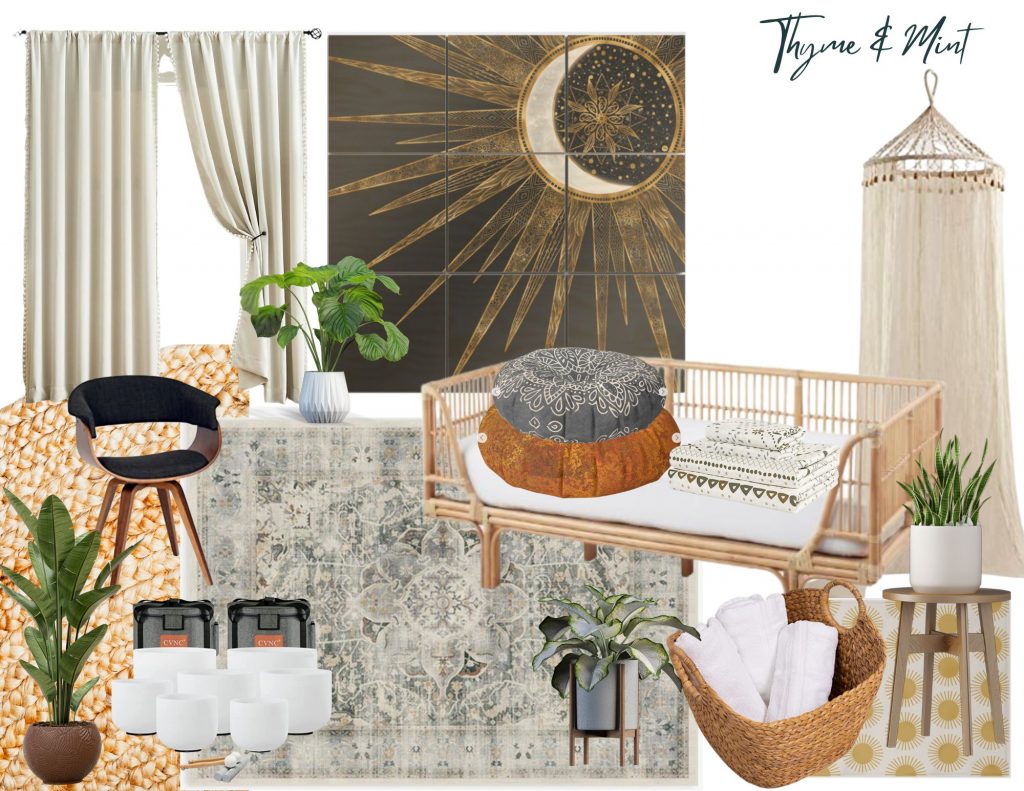
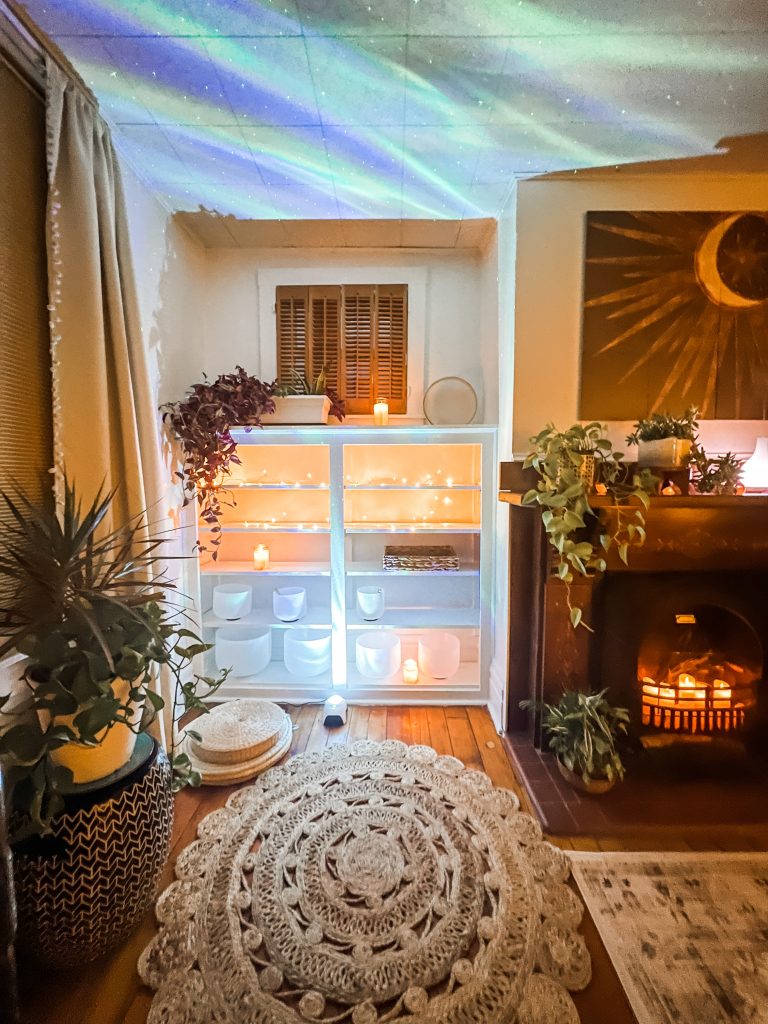
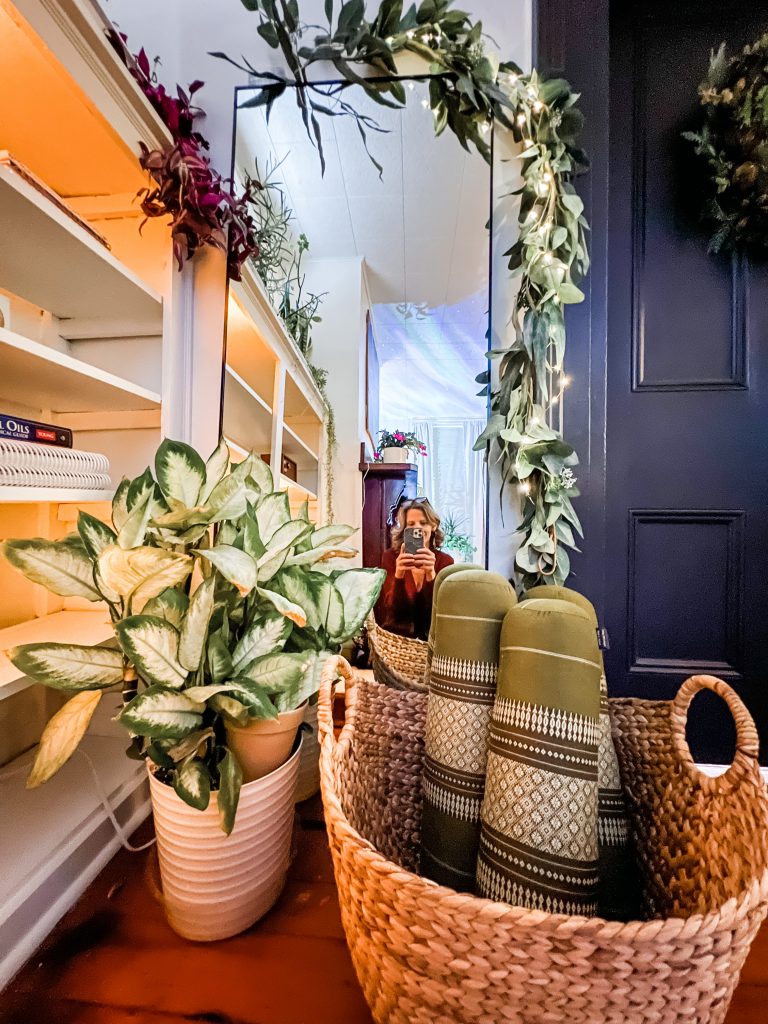
Ready for some meditation room eye candy? Let’s go!
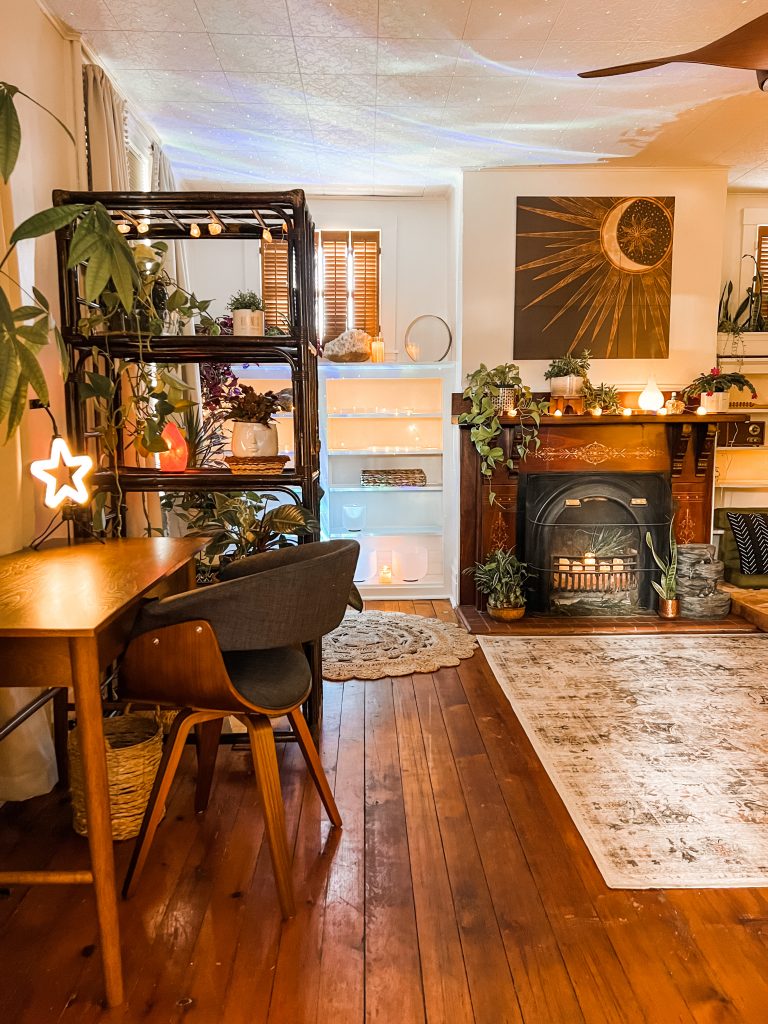
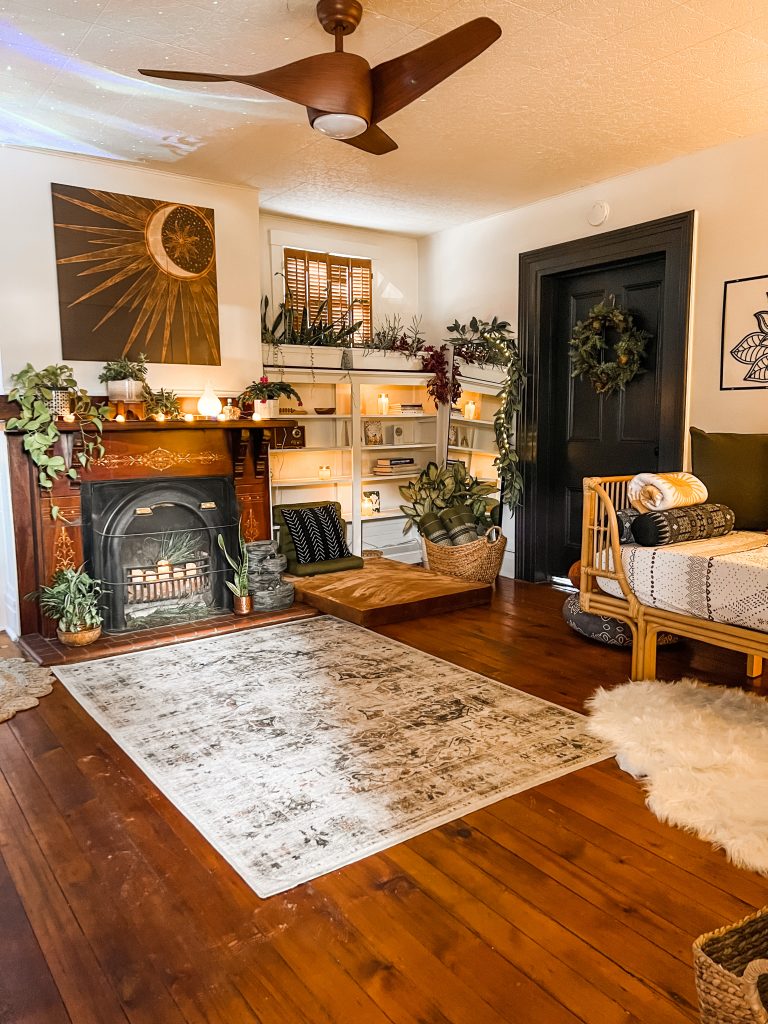
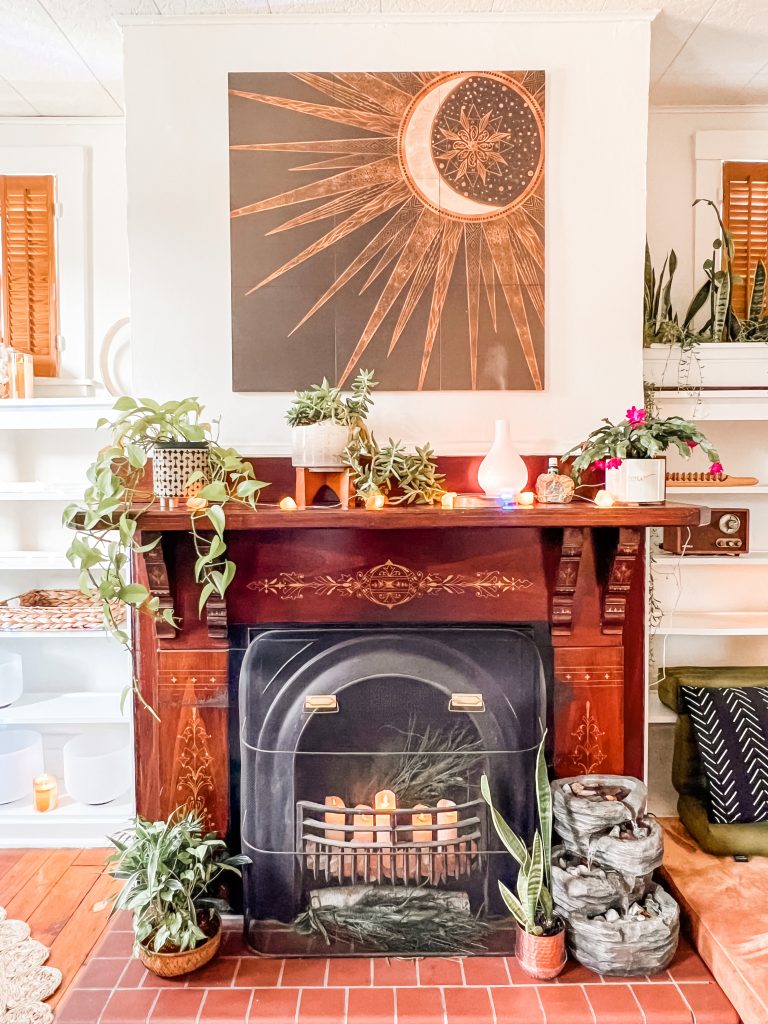
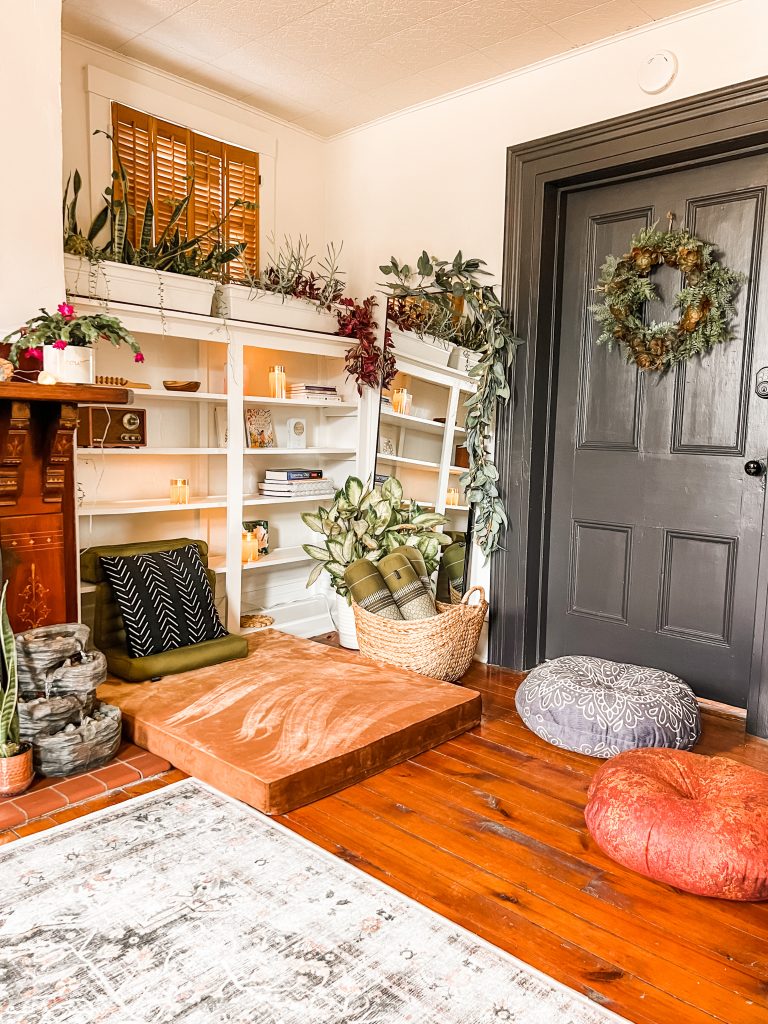
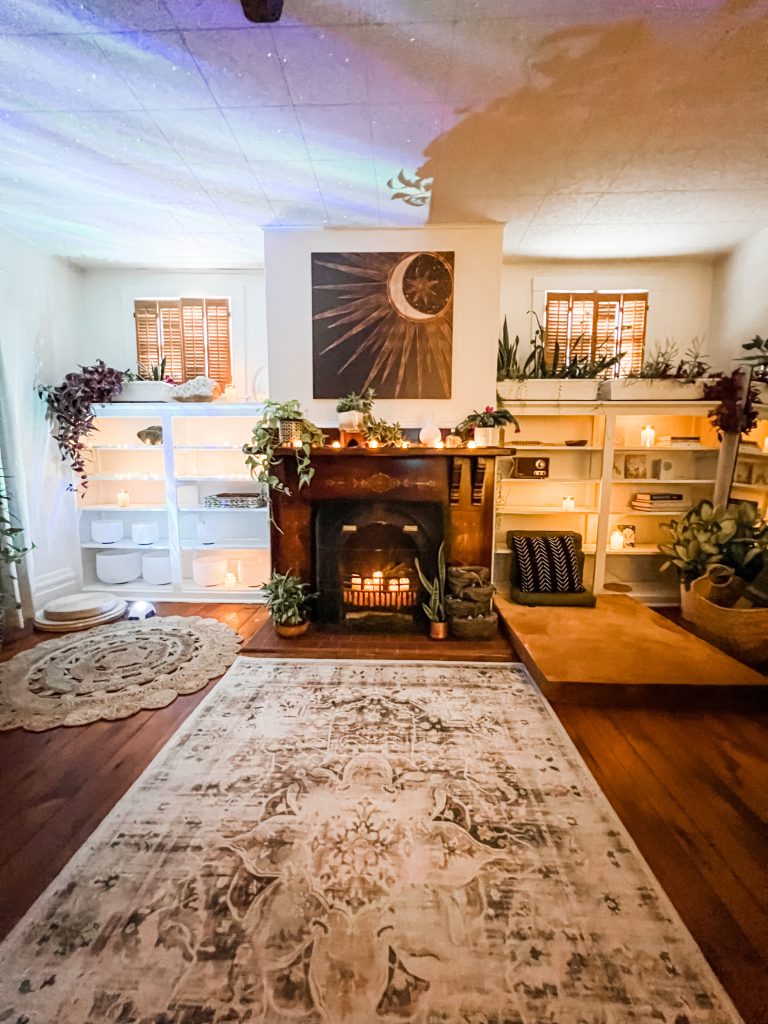
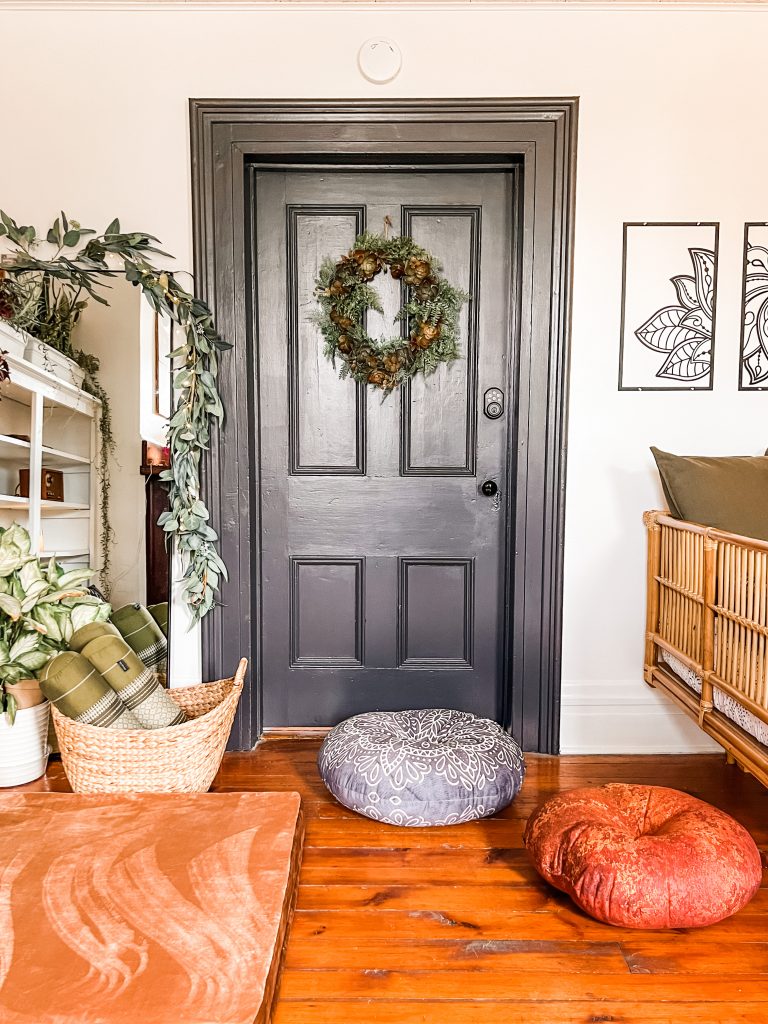
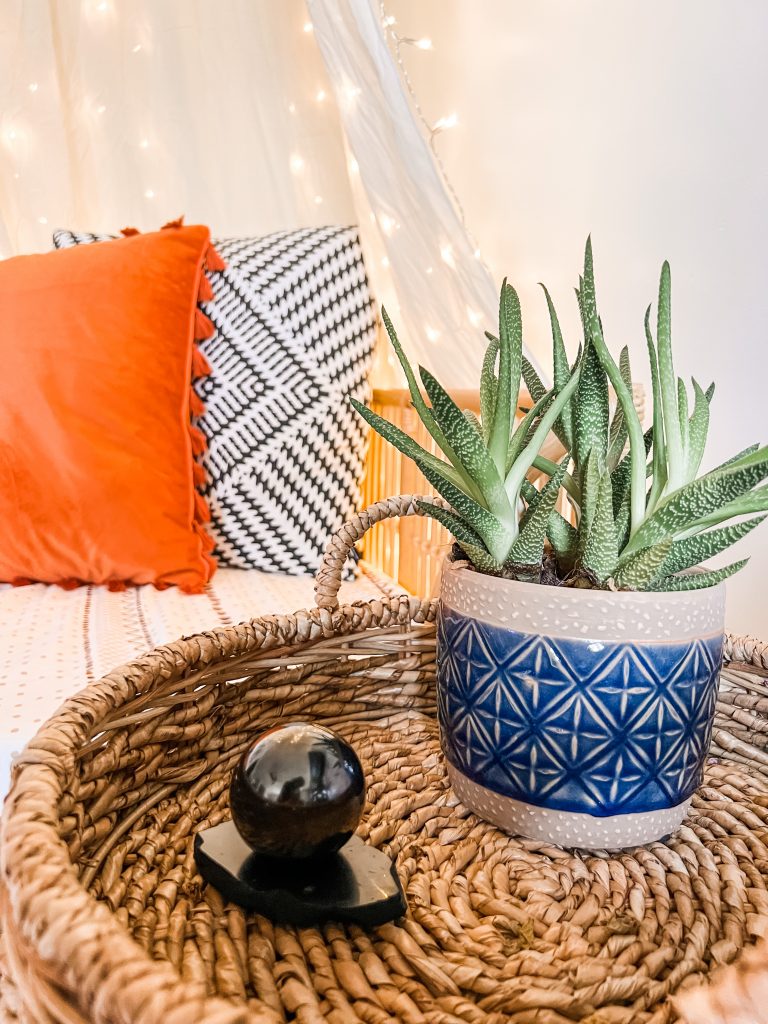
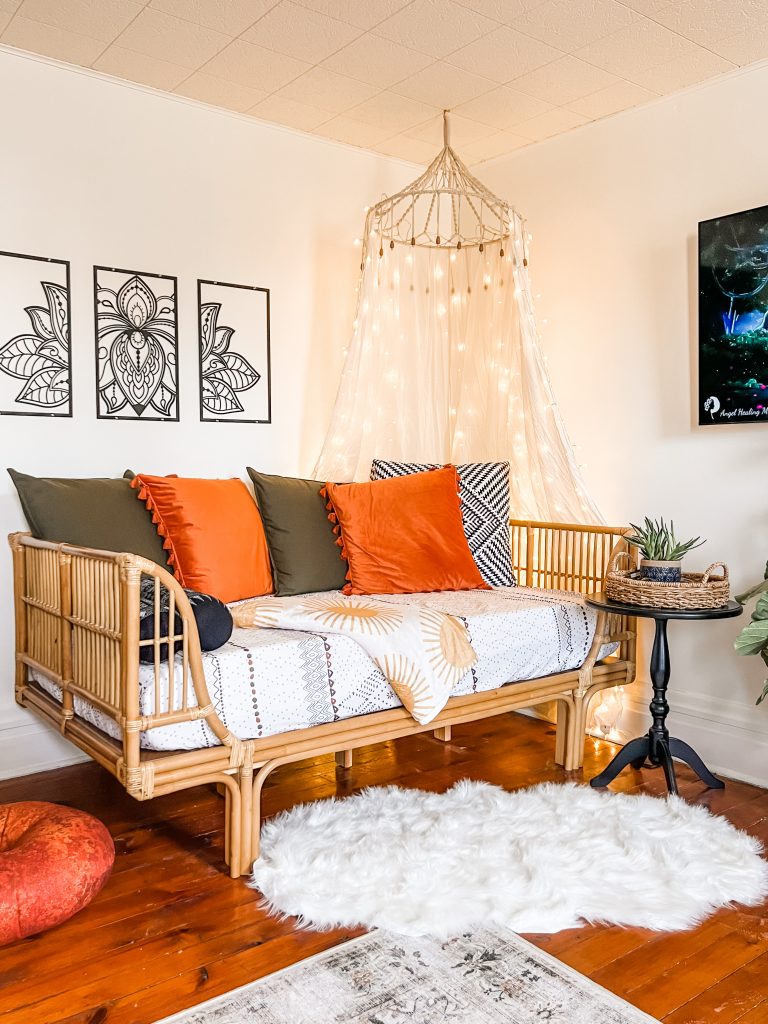
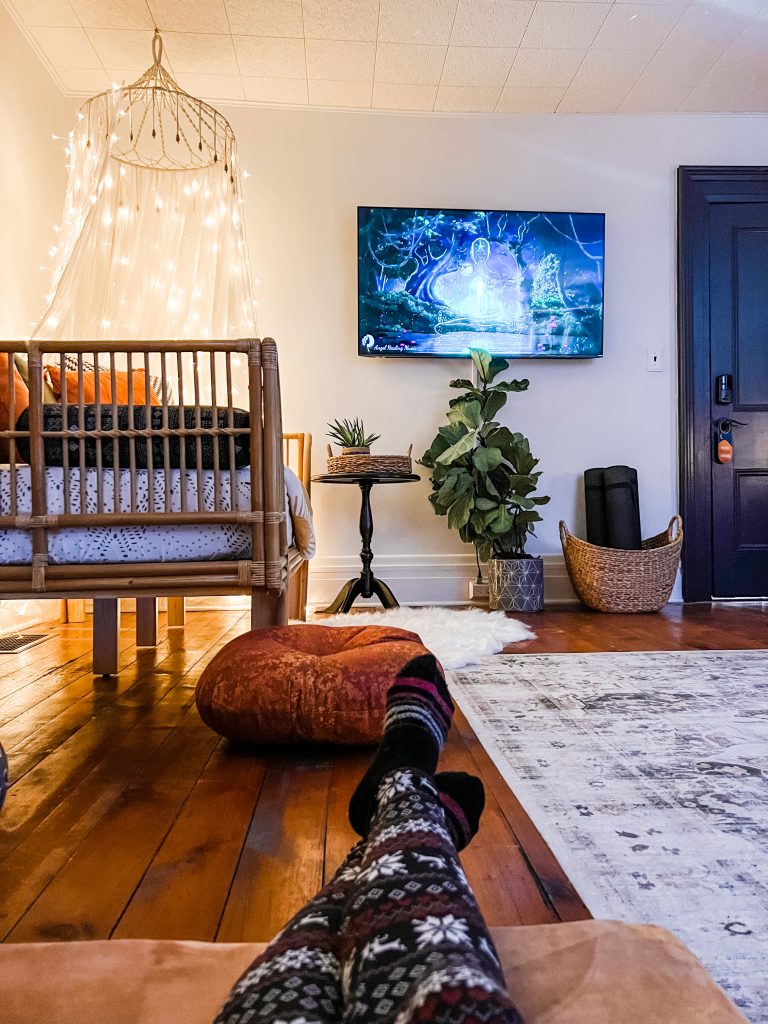
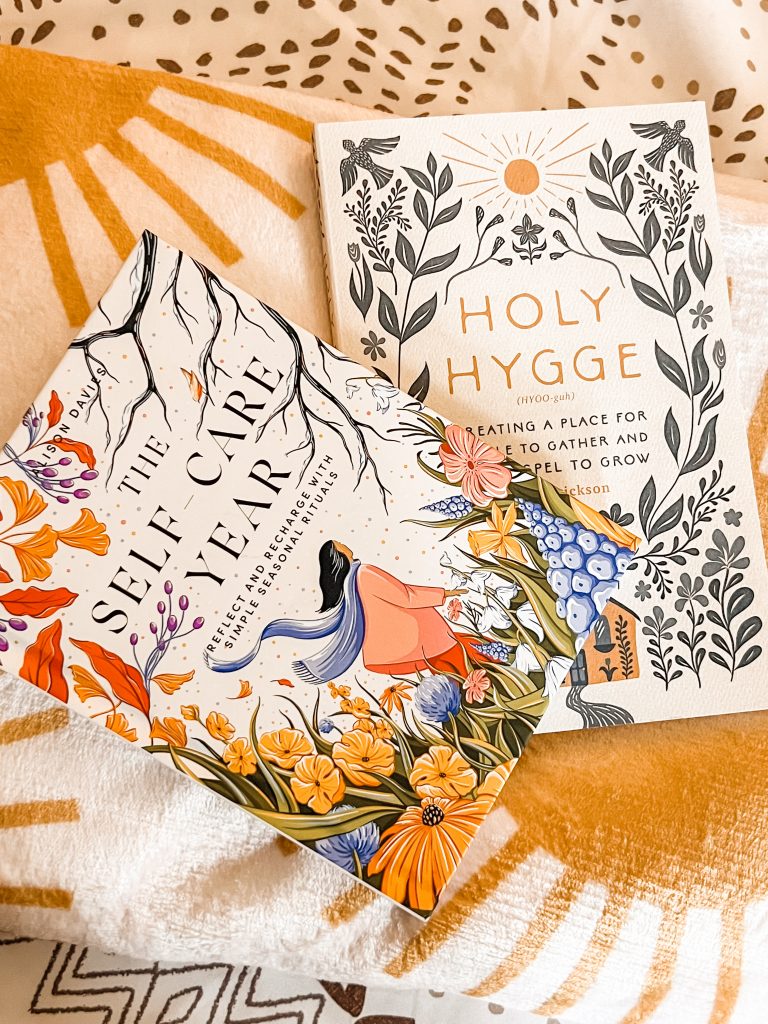
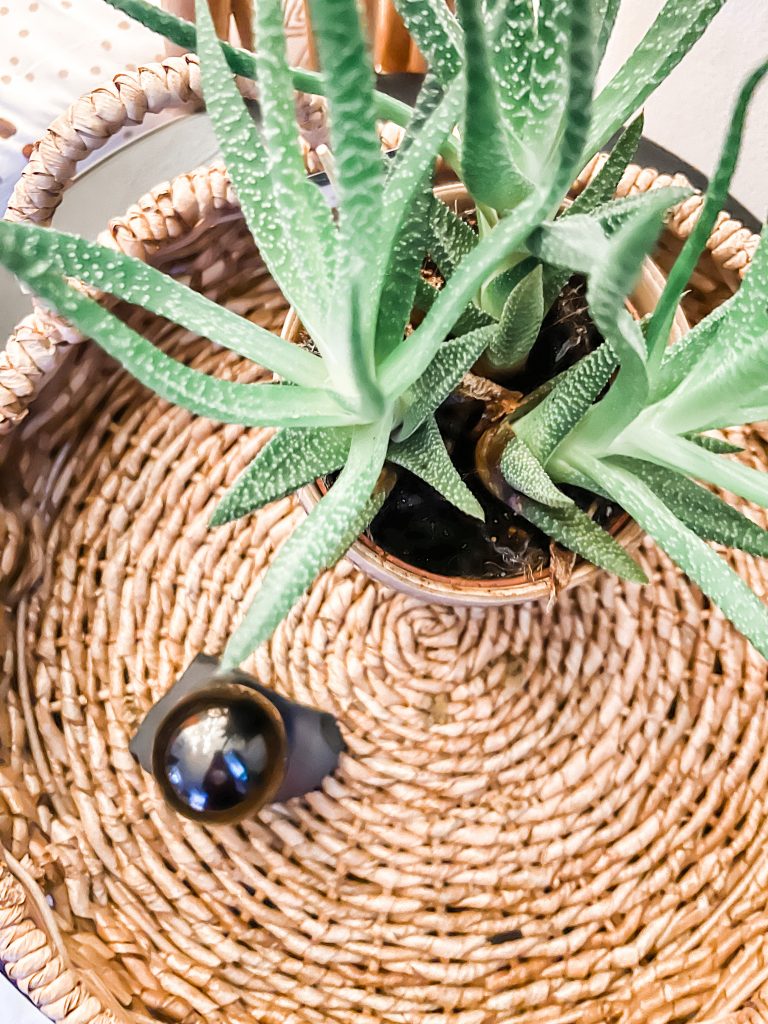
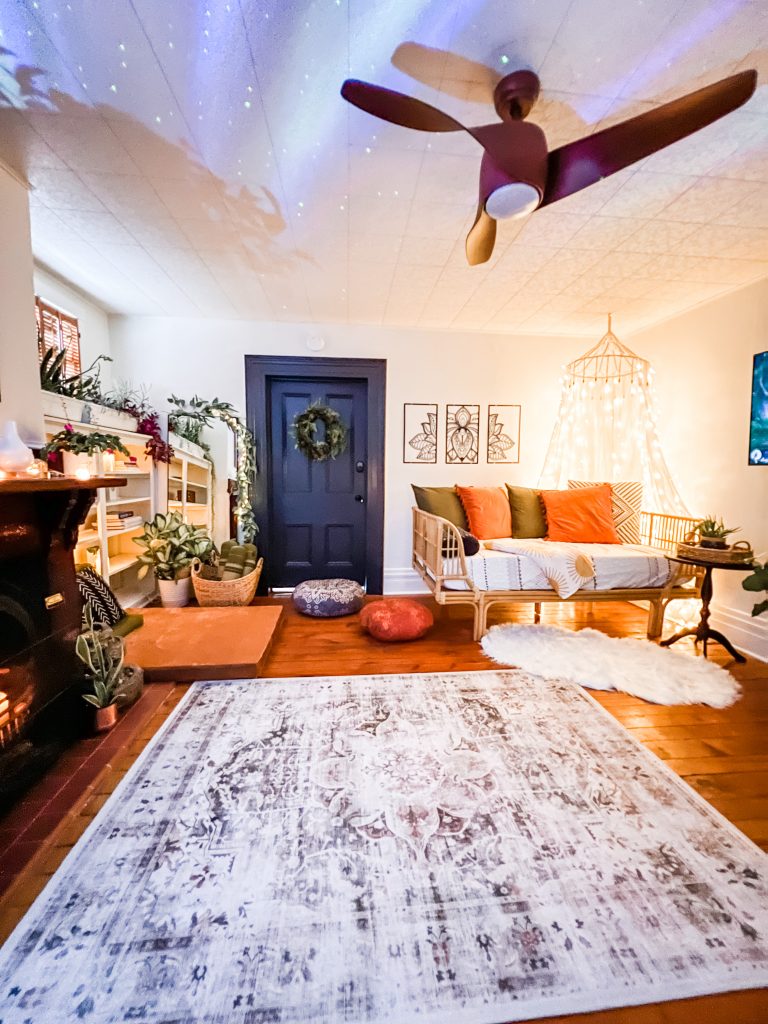
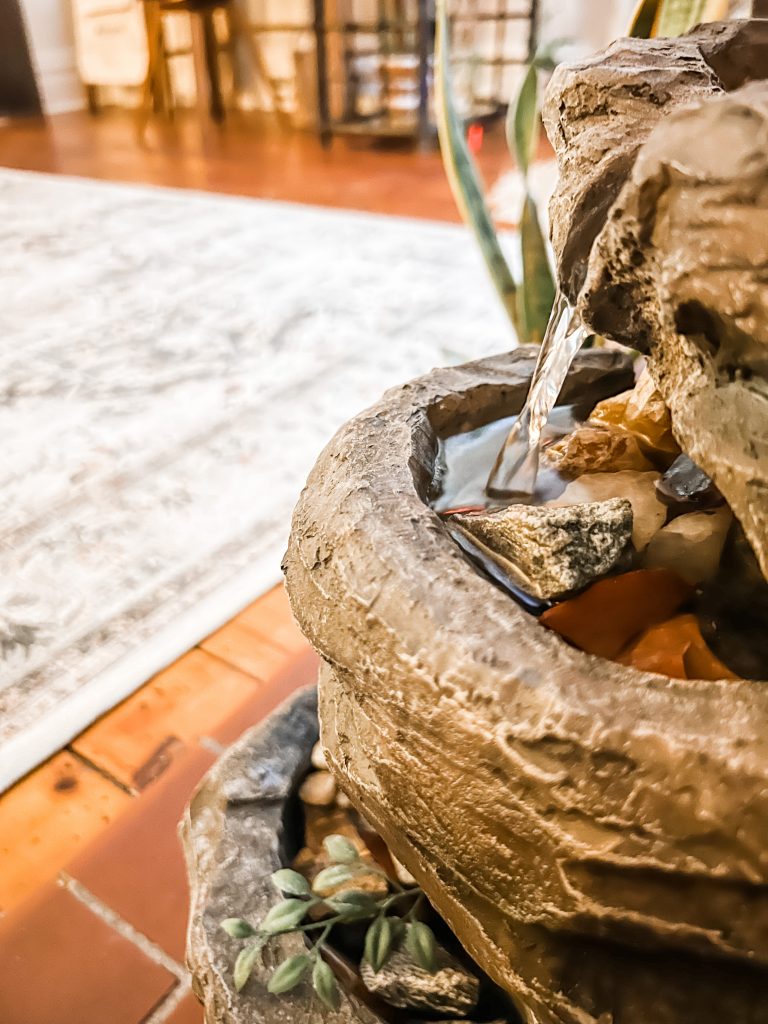
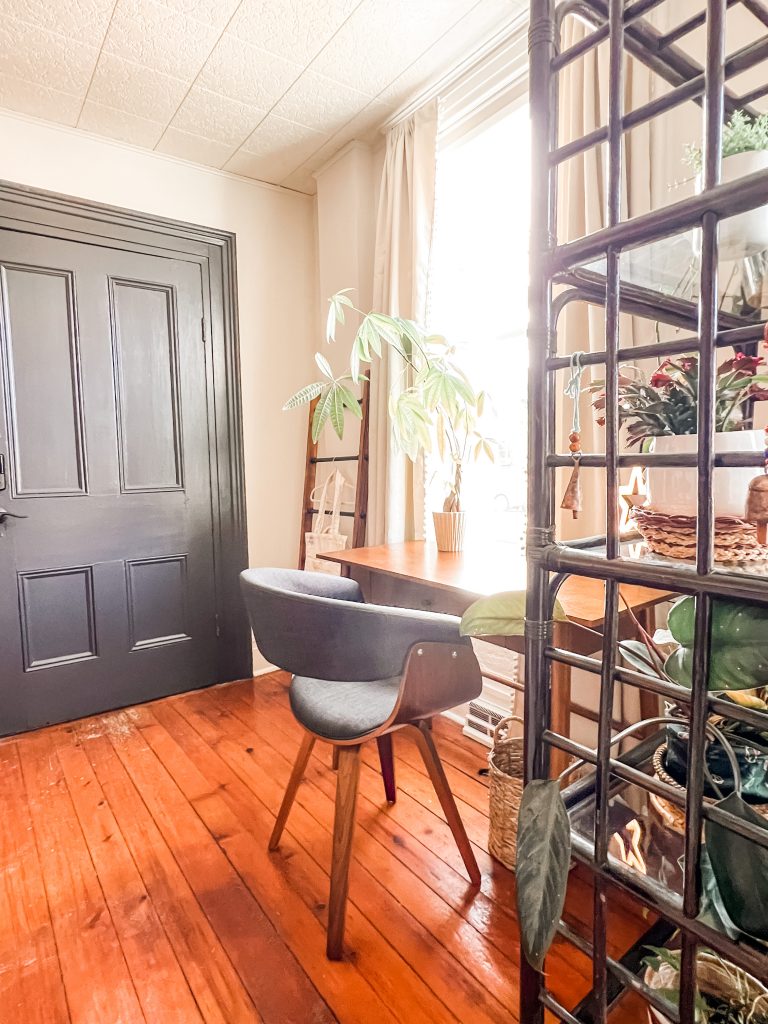
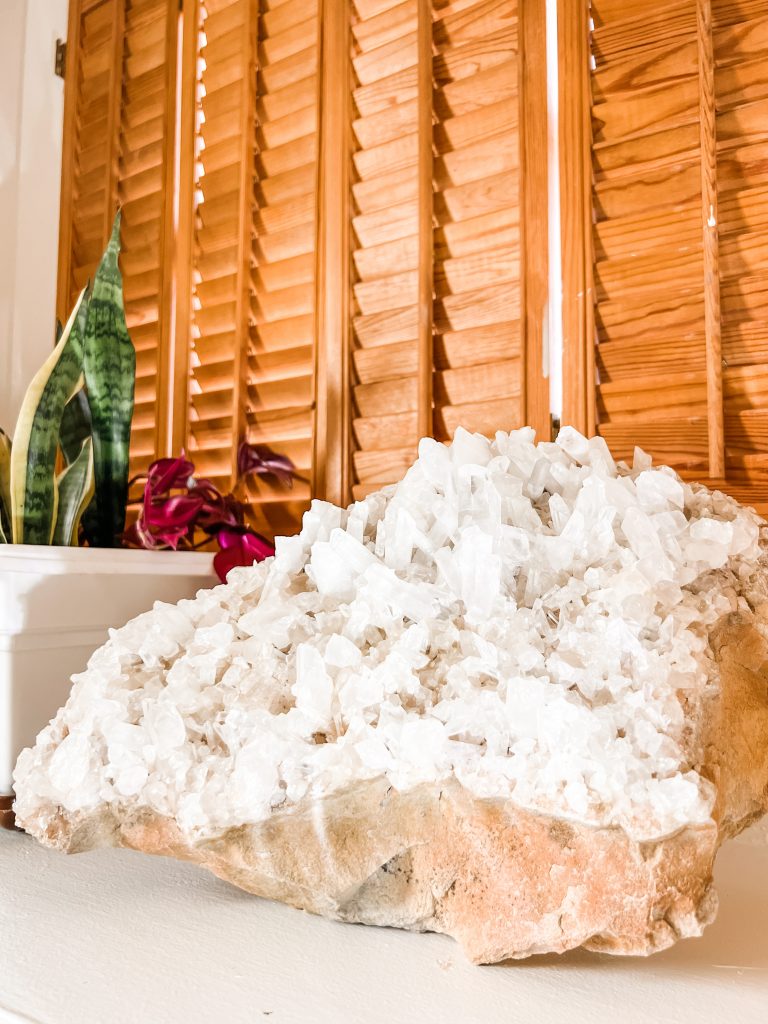
The space went from looking like a living room with a sofa and chairs with a small crystal retail area and shelves filled with essential oils and accessories (a DIY essential oil bar) to a tranquil space dedicated to reiki, sound baths, crystal healing, private yoga and meditation There’s even a cute spot at the window with a desk for journaling. Shelves are lined with crystals, plants and self care books. There’s a small library nook with comfy floor cushions, an area for yoga with a basket of yoga mats. I added a daybed for relaxation, a tv for meditation/yoga videos or relaxing music with a bluetooth speaker, a white noise machine with northern lights projector. There are crystal singing bowls for sound healing, a mini waterfall for blocking out small city traffic noise, black out blinds for closing out the busy street. It wasn’t part of the grant, but we invested in new windows for the property as well this year.
Additional purpose and function of the space:
The apartment is small and at times a bride books the apartment for her special day. Things are tight to say the least as the space is a better fit for 2-4 people! Now, this extra room can be added on for an extra fee to act as overflow space and more square footage for bridal party prep. Or if a guest is staying with family but requires a quiet separate area for work, they have the option to add on a separate private ‘office’ and quiet workspace.

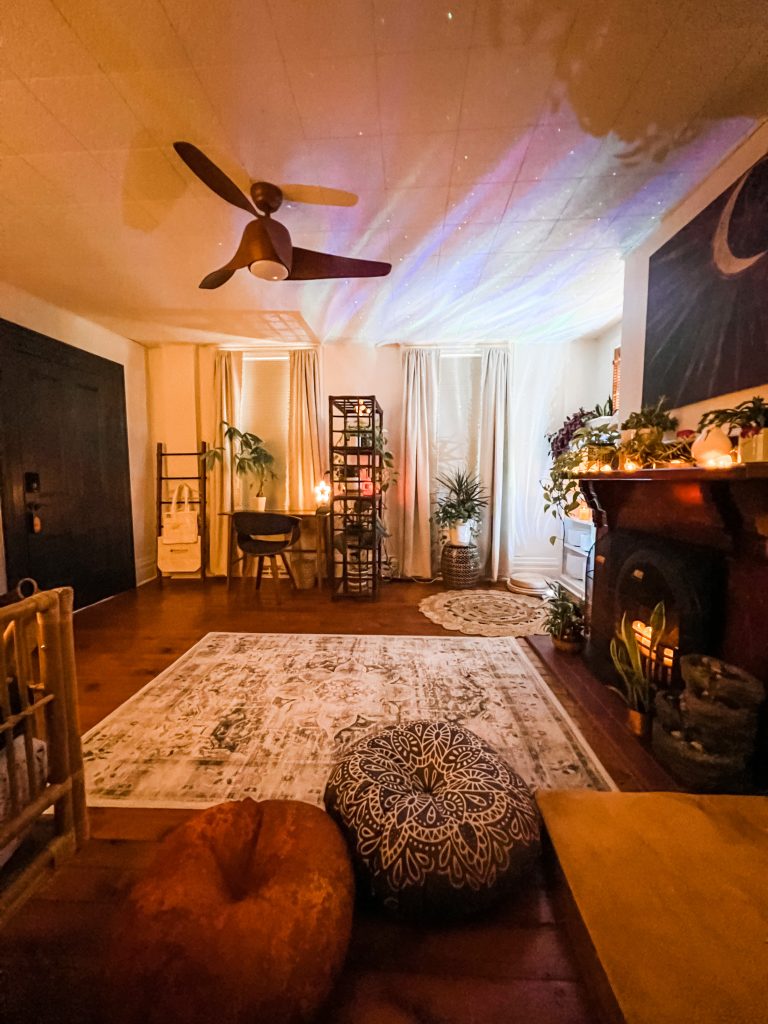
The room is now so magical and peaceful…an experience of a calming energy the minute you step through the doorway.
Suite Thyme
The second story of this updated 1880s home boasts a trendy newly renovated efficiency apartment loaded with charm. It’s located just steps from the main thoroughfare of downtown Butler’s best eateries, antique shops, breweries and more. Perfect for festival-goers and travelers looking to enjoy a small town vibe.
This 2nd floor eclectic space located above a quiet by appointment only wellness studio is loaded with personality and beautiful style. Sleeping arrangements include 2 queen beds in the bedroom + a queen sleeper sofa in the living room for peaceful night’s rest and sweet dreams. There is a beautiful fully equipped modern kitchen area tucked into a combined living room/kitchen/dining area. Bathroom includes a clawfoot tub for soaking away tension. Plus, it’s just a short stroll to Butler’s historic Main Street district.
Traveling to the western PA area? Looking to book a self care getaway? I love showing off my hometown pride! Book Suite Thyme HERE. Now booking!
Wishing you a year filled with wellness, peace and happiness!
Gratitude:
A HUGE thank you to Butler County Tourism for the generous funds to create a special space as well as all they offer to promote Butler County and small business owners. So much appreciation for all you do! See more at VisitButlerCounty.com.
A special thank you to my Mr. DIY for his assistance and support. Thank you to my dear friend Shelby for encouragement and brainstorming with this project. To contractor Troy Douthett for his help, thank you! Thank you to Evangeline at The Lunar Fae for her knowledge and input too! So much appreciation for all of the attention and assistance in making this magical transformation a reality! xo