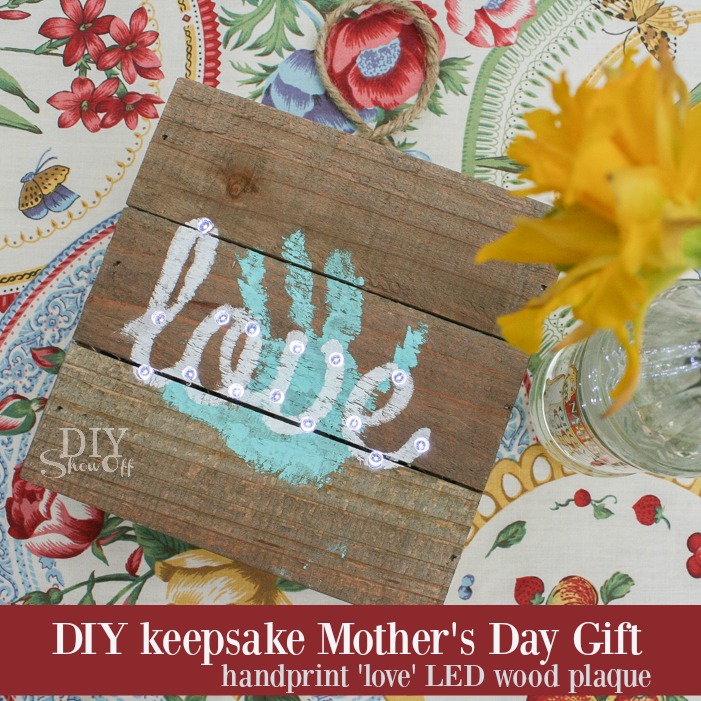
The Michaels’ Makers’ April Challenge is all about Mother’s Day and this project will be for celebrating my daughter who’s now a mom too (Ali, don’t look! lol). I couldn’t resist scooping up this opportunity to get creative and practice a little DIY influence on the littlest one in our family by making up a DIY keepsake Mother’s Day gift.
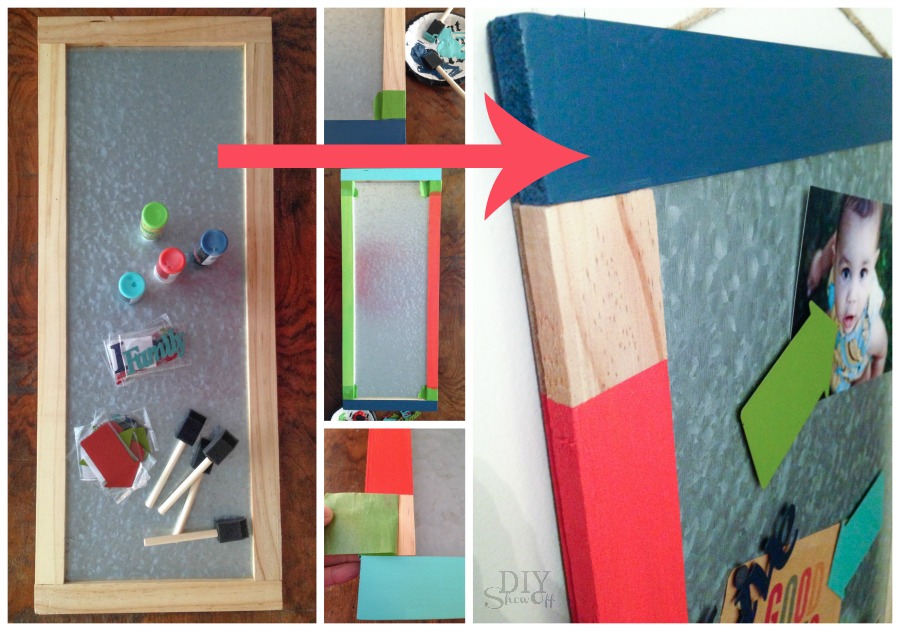
Materials we used:
- MAKE Market LED wood plaque kit – LOVE (Alphabet Soup Collection) available at Michaels’ Craft Store
- 2 colors of paint and 2 foam brushes (or sponges)
- painter’s tape
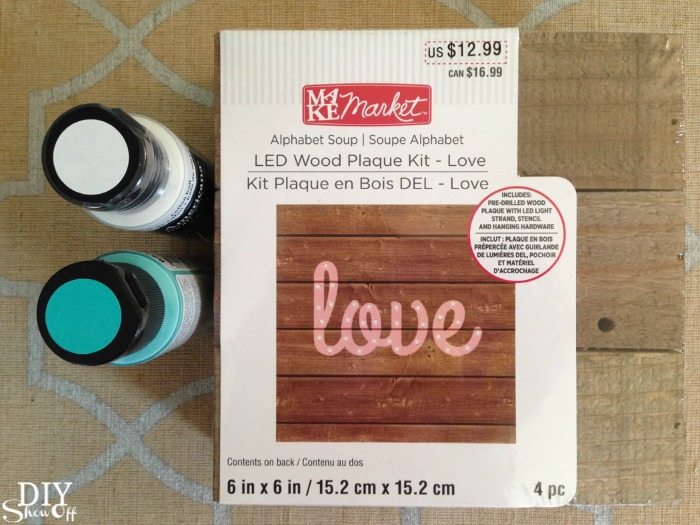
What we spent: Under $15
Time we invested: Less than an hour (+ paint drying time)
What we did:
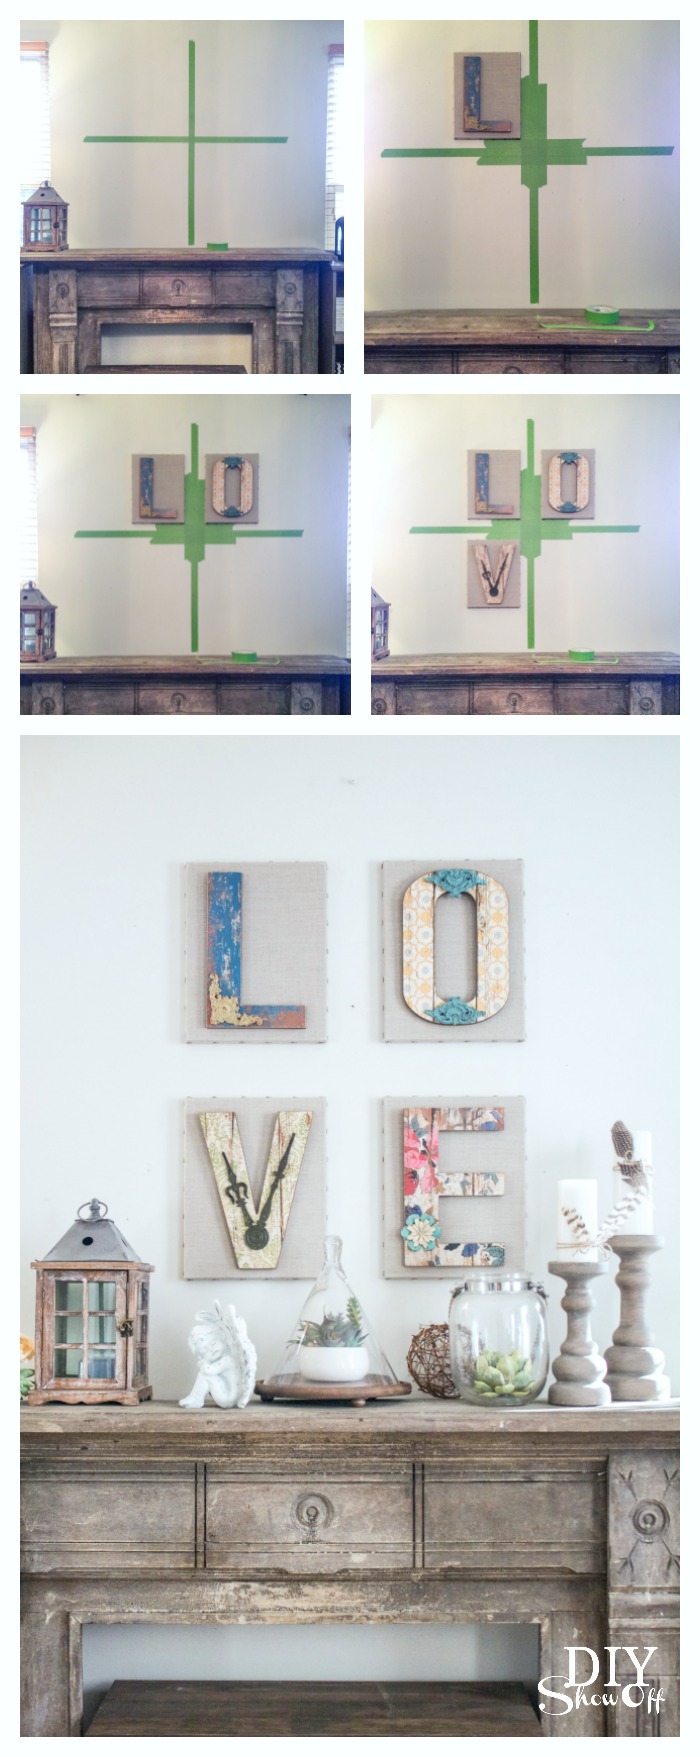
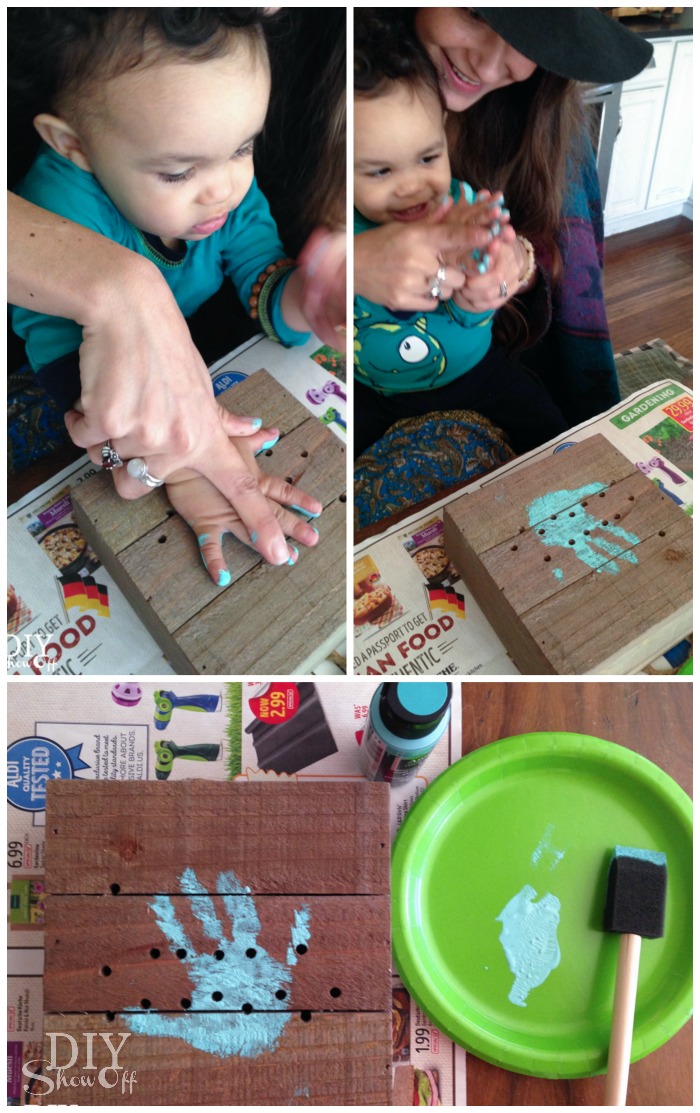
1. We protected our work surface and applied a thin coat of paint to his little hand then carefully pressed it to the wood plaque. We washed his hands immediately and let painted handprinted plaque dry.
2. Using painter’s tape, we secured the stencil to the plank sign, lining up the word “love” so we could see the drilled holes in the empty stencil space.
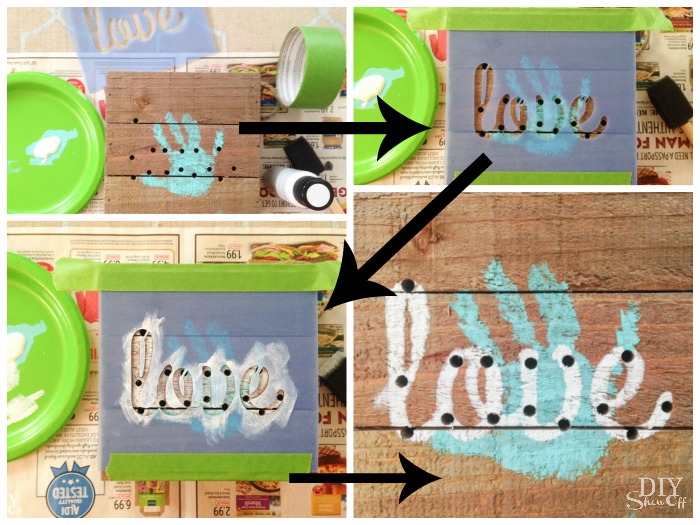
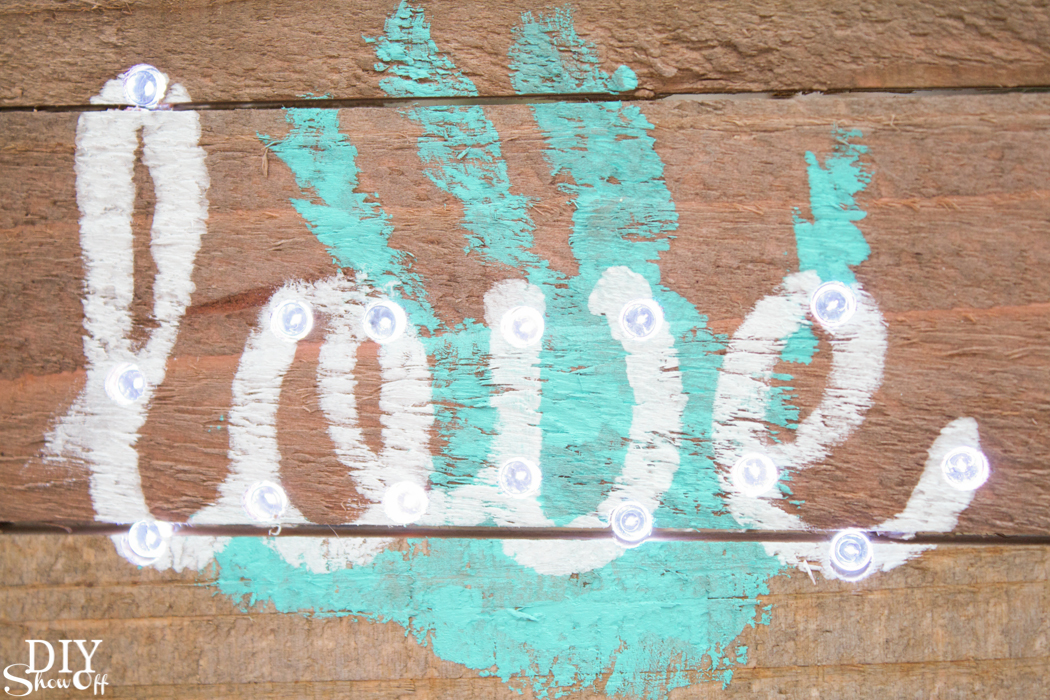
3. Next, with a foam brush we applied paint to the stencil (using a sponge technique using a little paint…don’t glop it on or it will seep under the stencil) to paint on the word “love”. We removed the stencil, filled in any spaces and let the paint dry.
4. Last, we pushed the string of LED lights through the drilled holes from the back side and added 2 AA batteries.
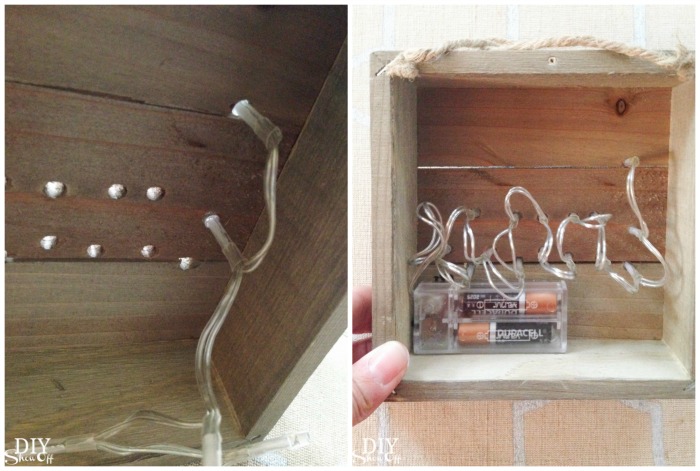
5. The kit comes with hanging hardware and foam/felt for protecting the wall. Attach according to packaged instructions.
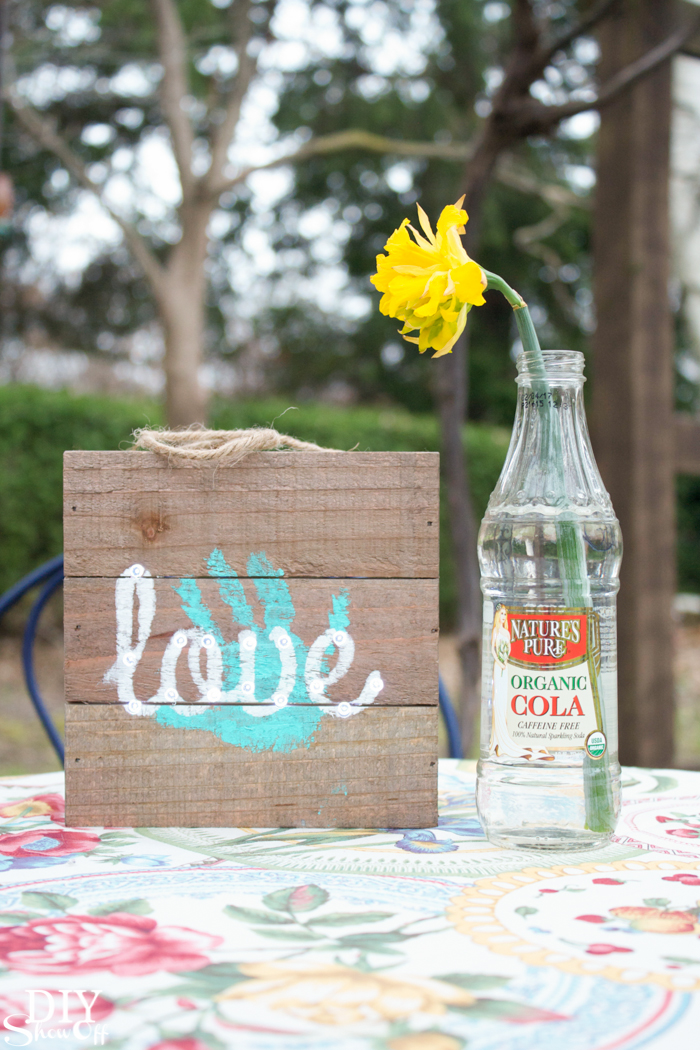
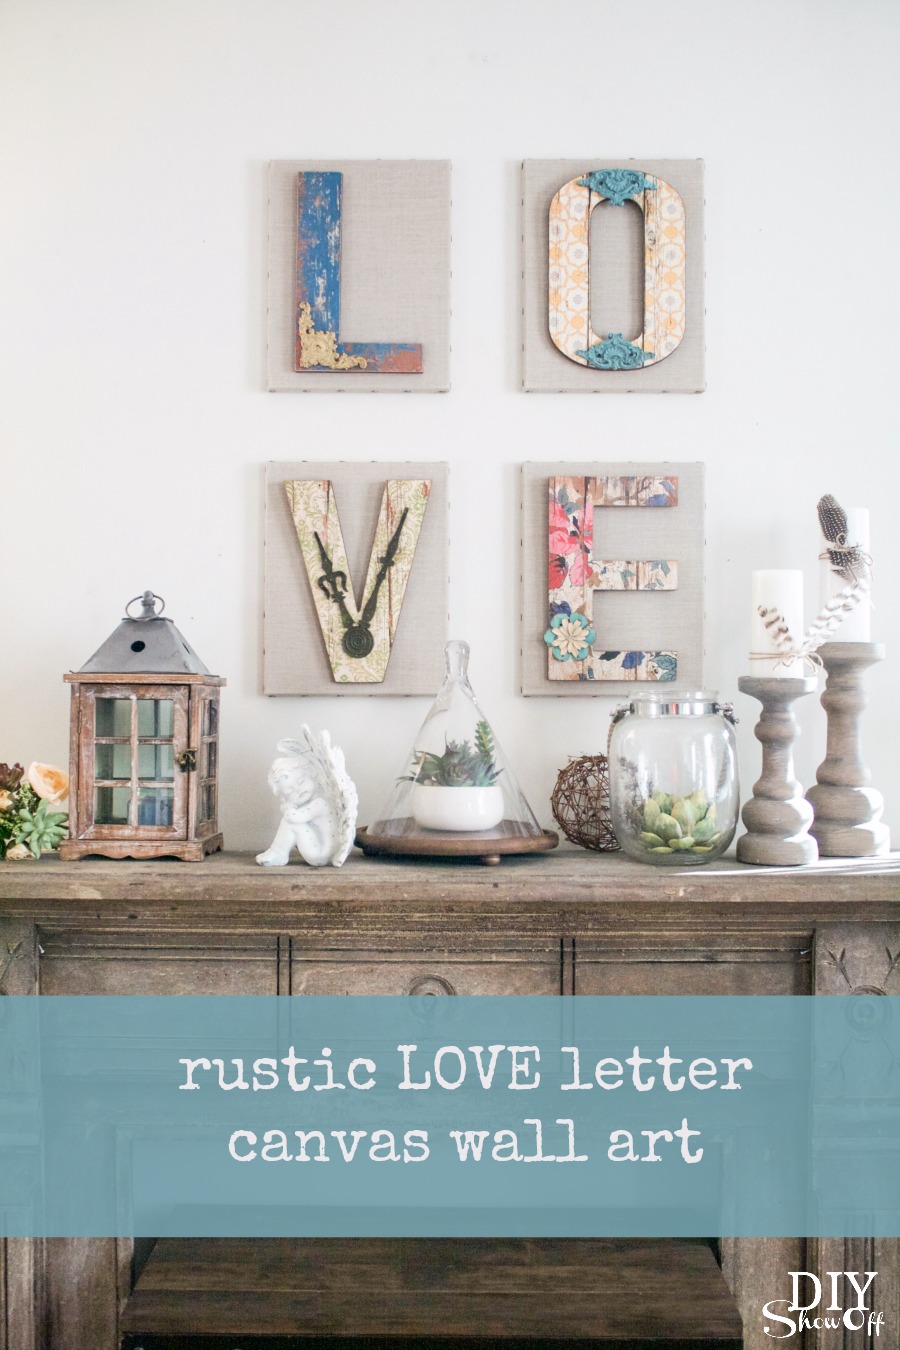
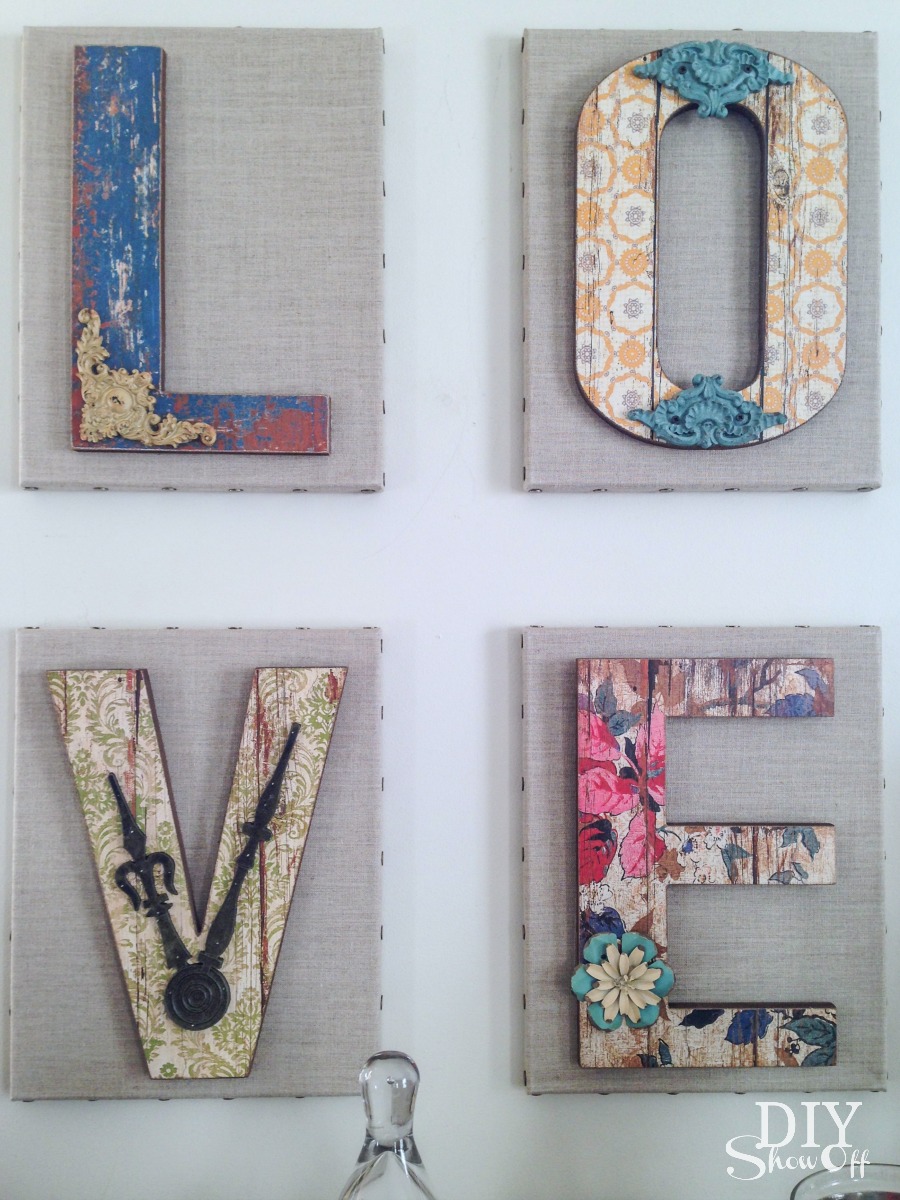
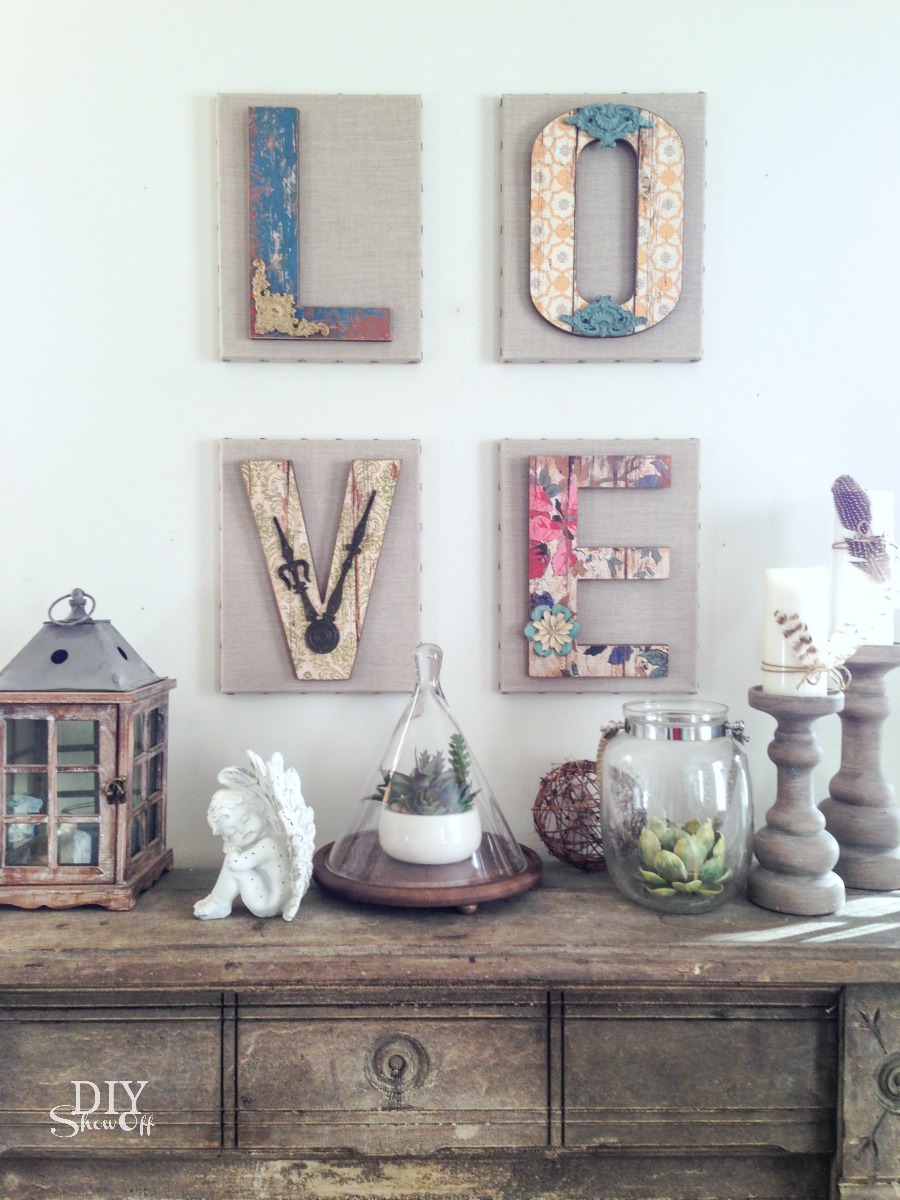
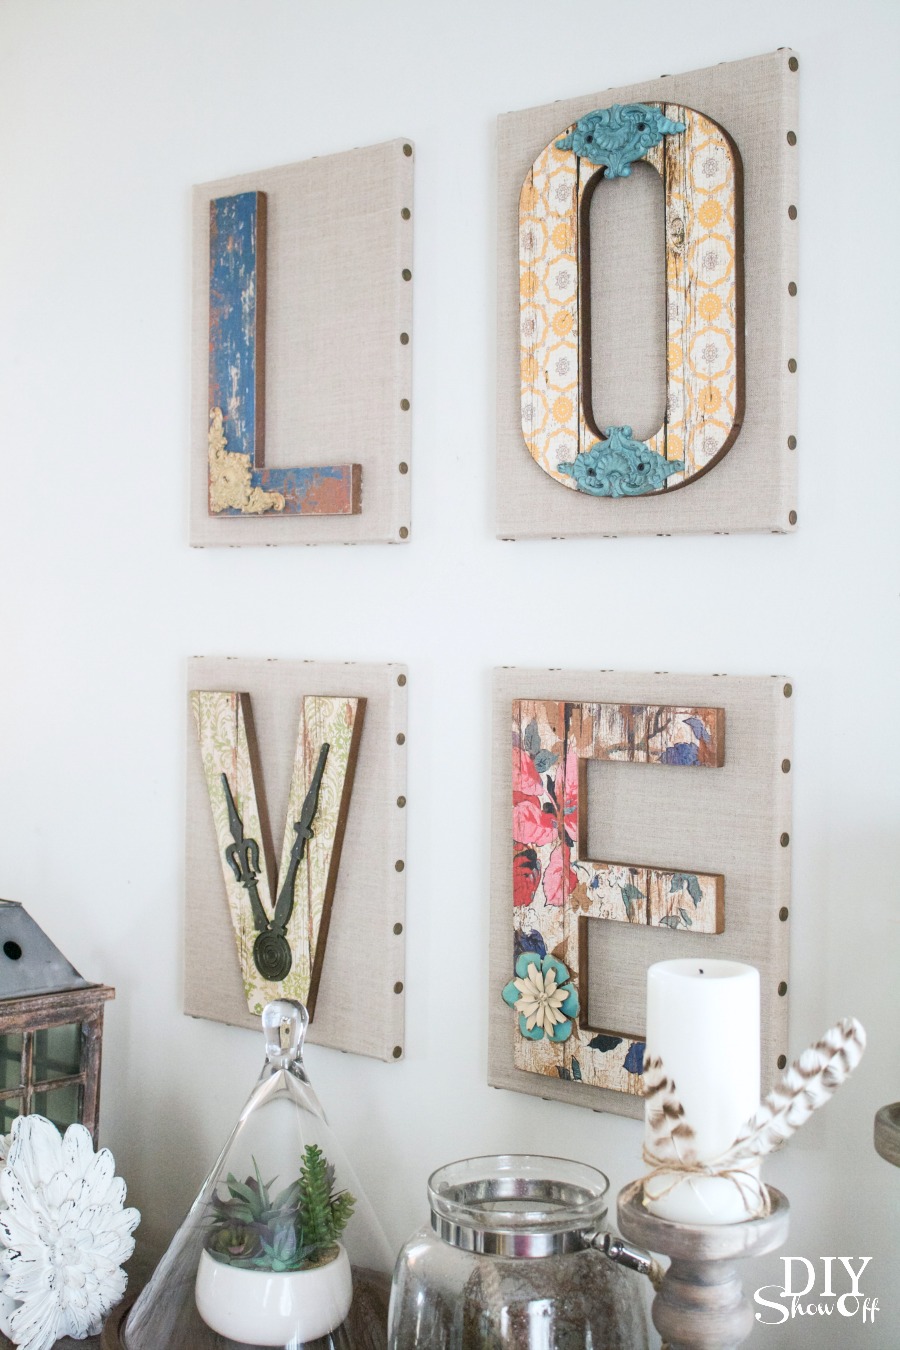
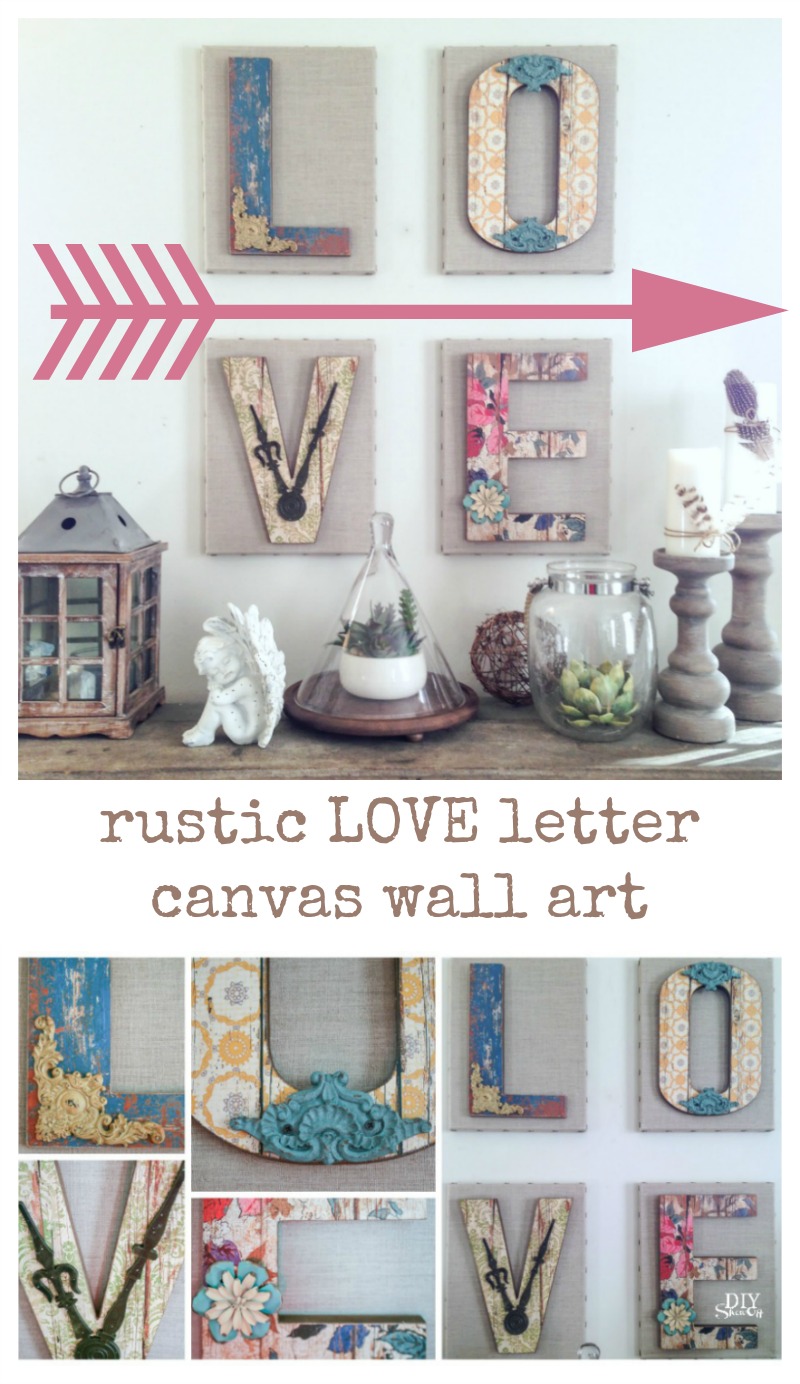
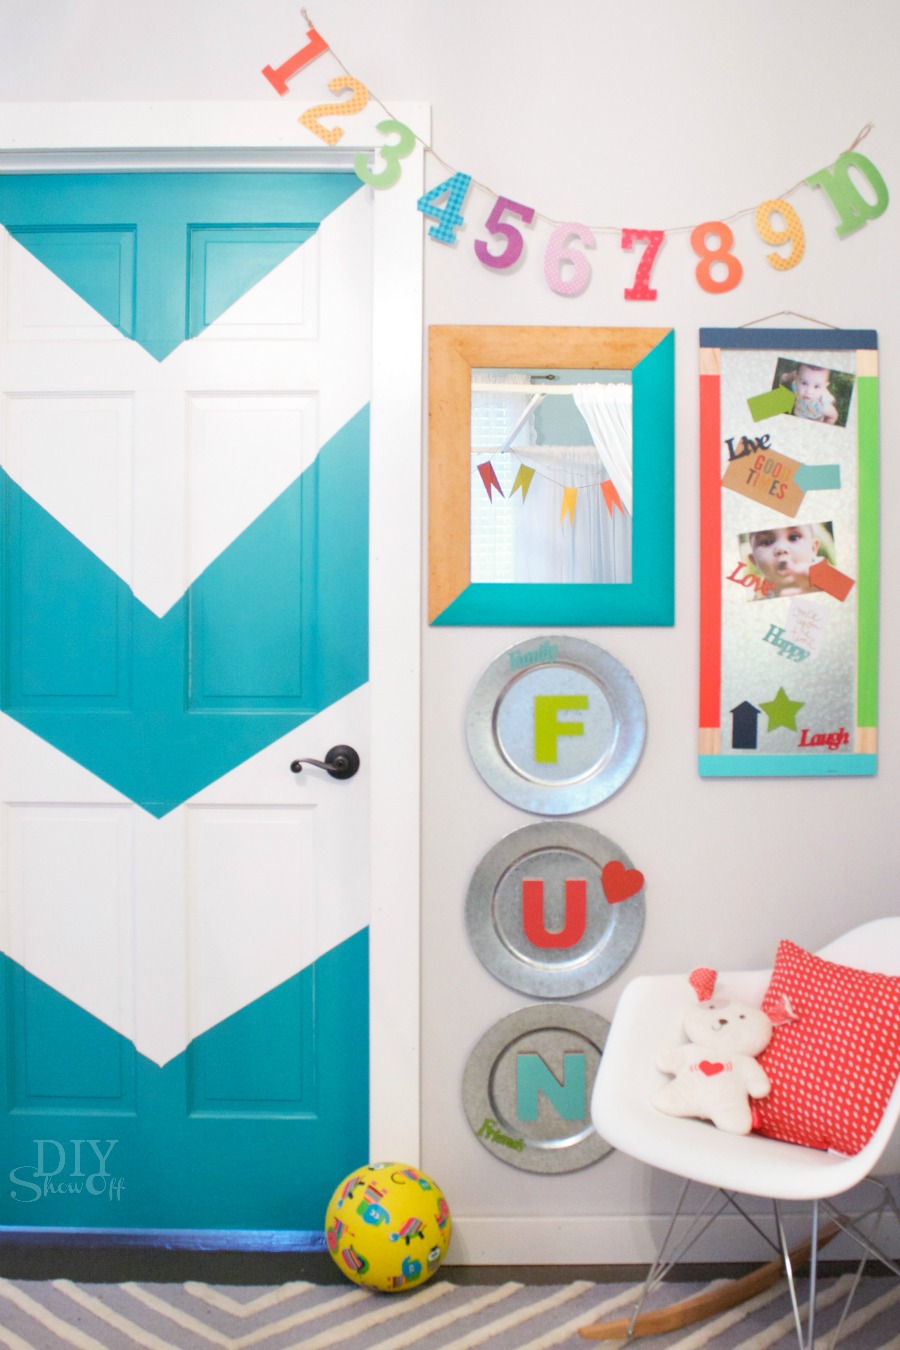
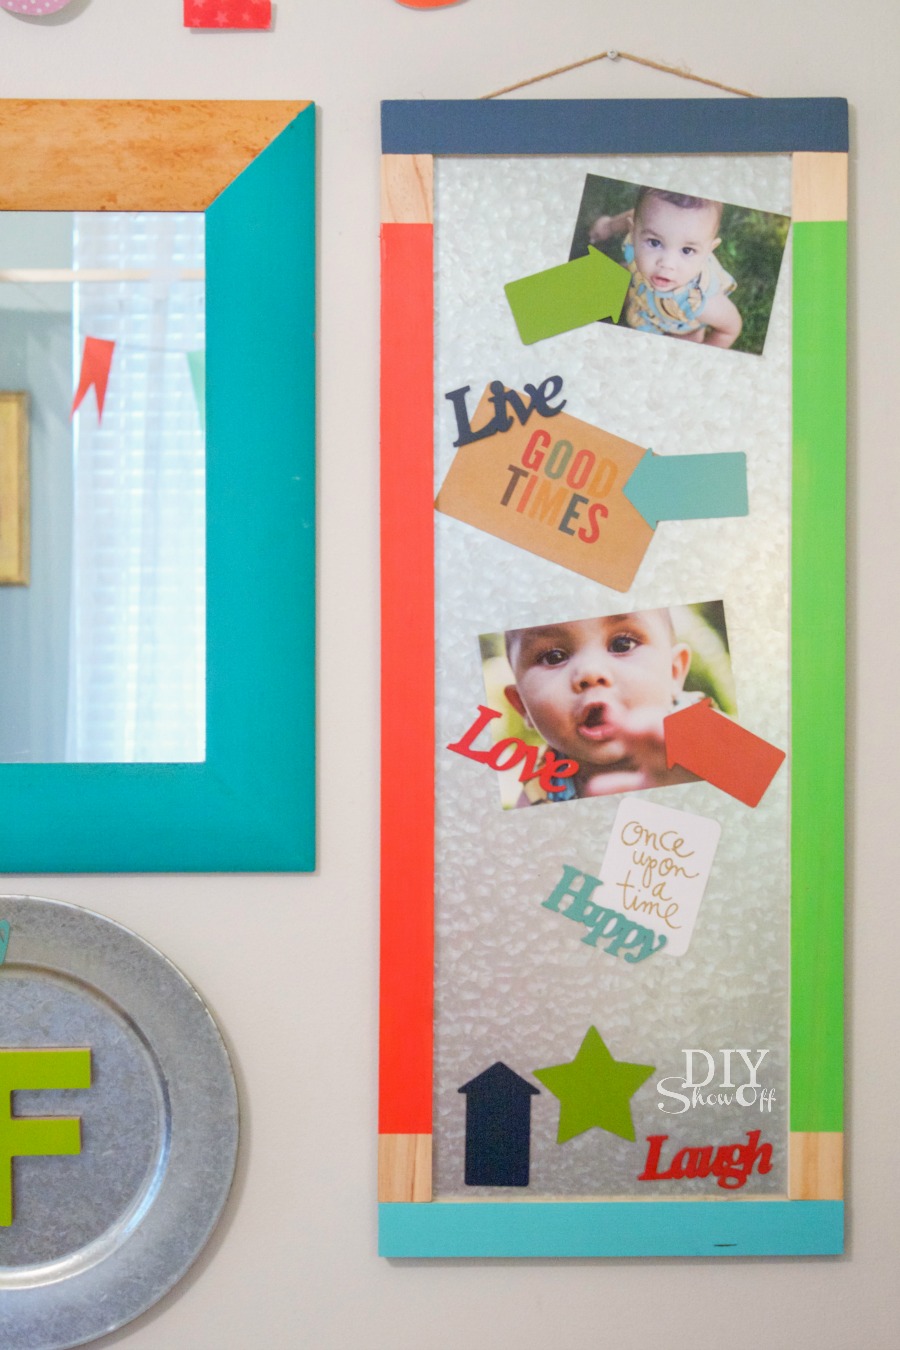
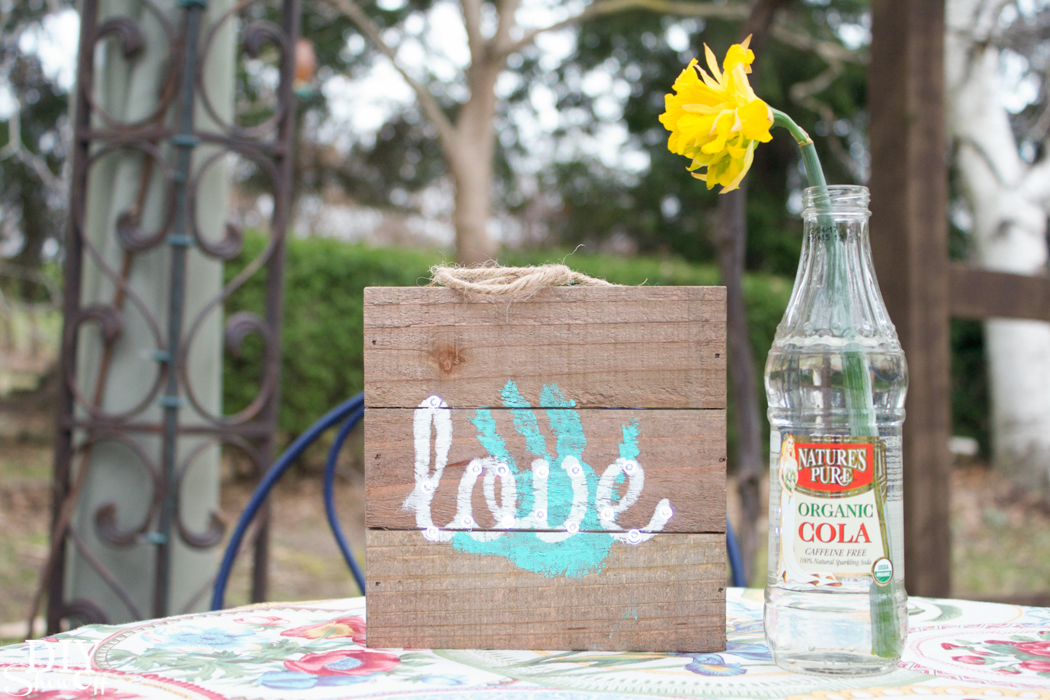
Very simple. Very cute. And a special keepsake from baby to mom. Display on a shelf or add to a gallery wall. So sweet!
Those little LED lights provide a powerful glow in the dark!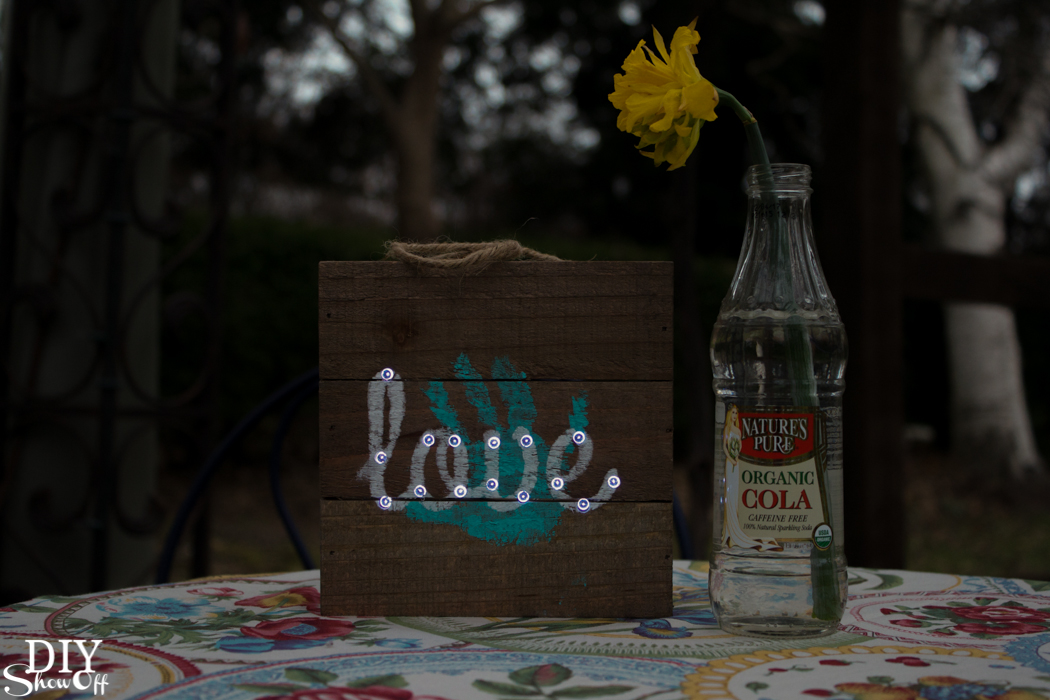

 Michaels has everything you need to craft the perfect handmade gift that will make Mom’s day! Grab your coupon, shop and get creative. Handmade gifts are my favorite for Mother’s Day!
If you don’t know where to begin, you can always take a look at some of the fun projects on Michaels.com or the other 49 Makers’ ideas on The Glue String for to see how they personalized their crafts starting at 10 a.m. EST April 1, 2016:
 Loading InLinkz ...