Weekly That DIY Party

PARTY TIME! Woo hoo! It’s my favorite time of the week. Time for lots of DIY inspiration! Let’s see YOUR hard work and creativity and browse some links for DIY ideas.

that diy link party

DIY Show Off Weekly Recap:  This week’s DIYShowOff posts included:

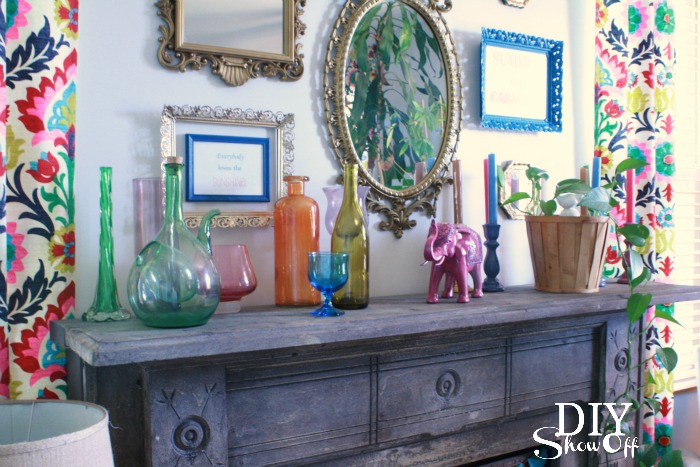
A fun, colorful and eclectic summer carnival themed mantel.

summer carnival mantel

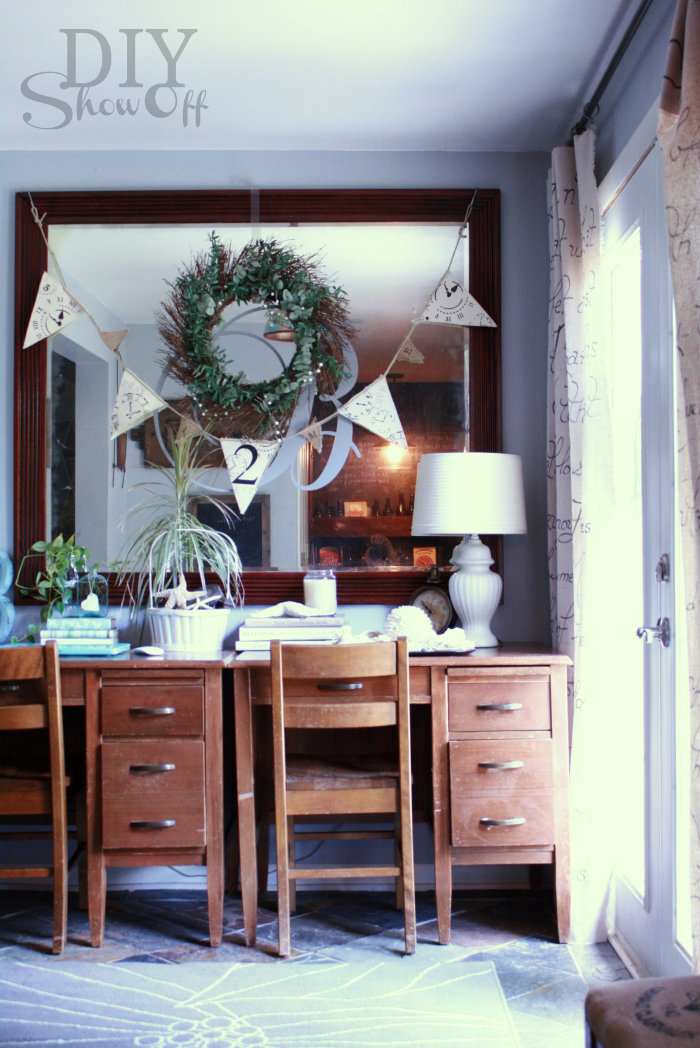
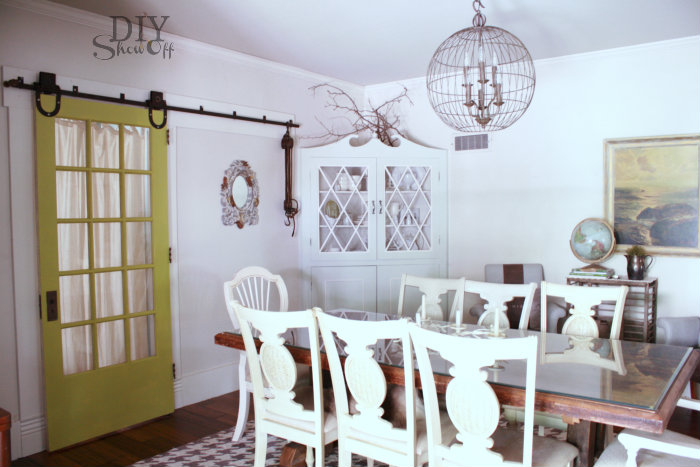
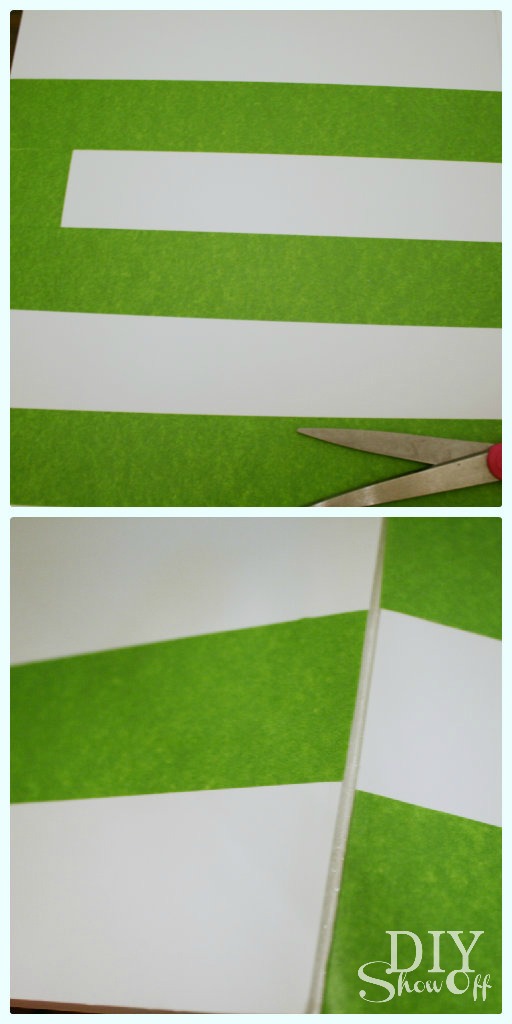
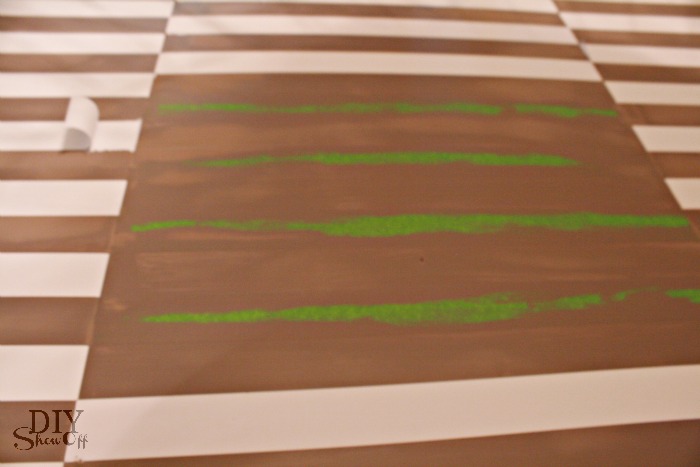
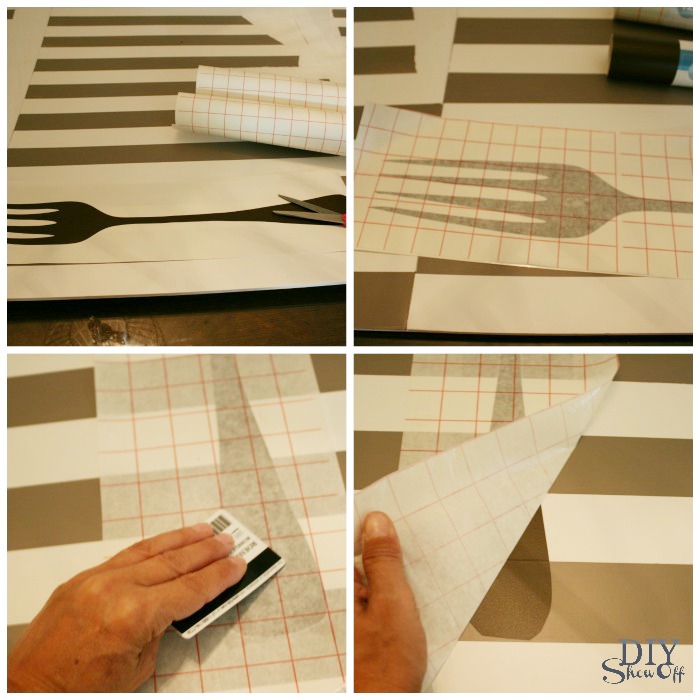
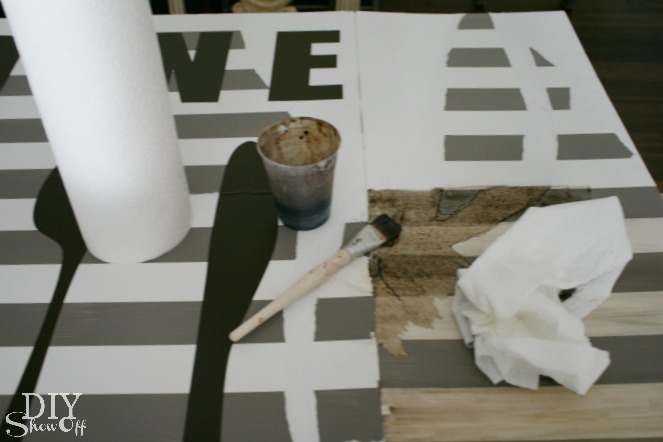
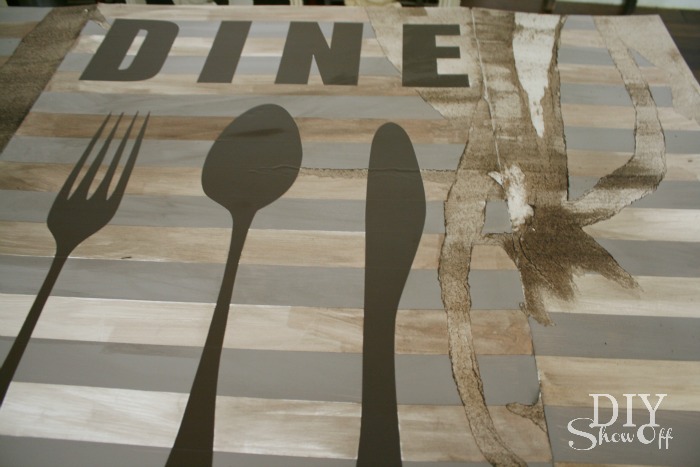
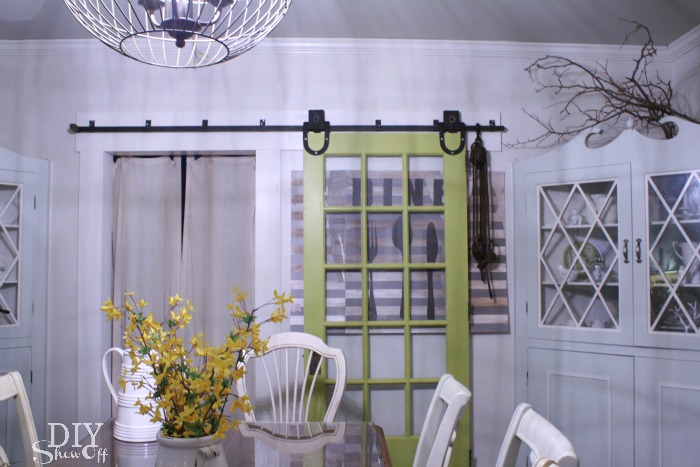
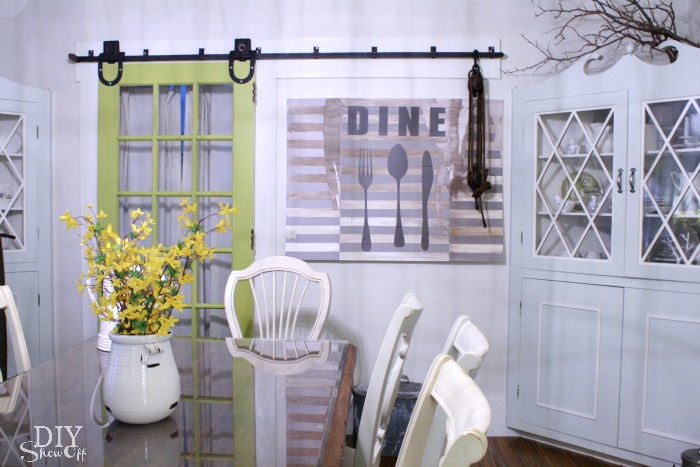
Foam board art work for the dining room that’s a perfect fit behind a sliding door.

easy DIY dining room art

A little DIY humor.

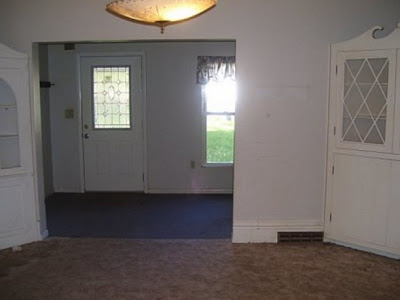
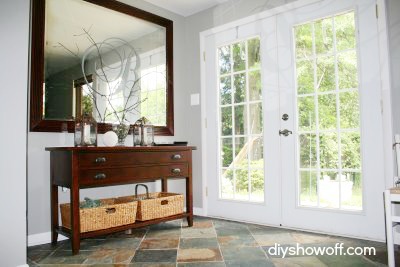
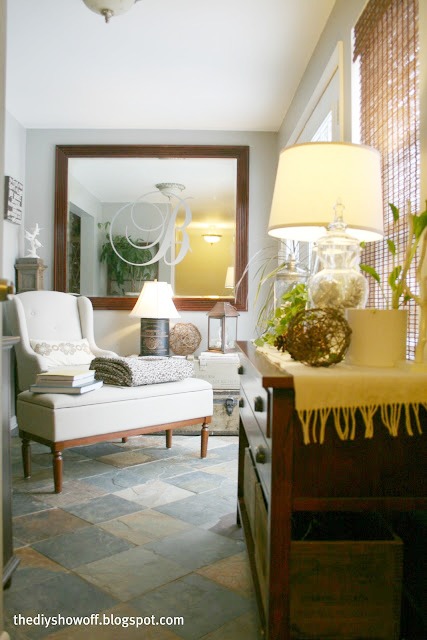
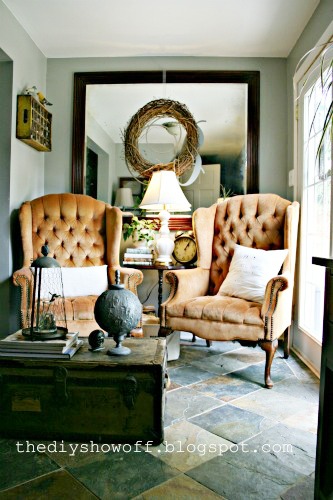
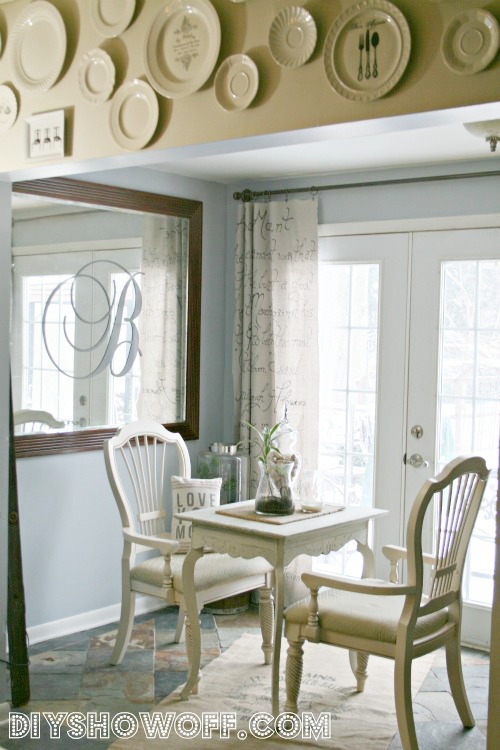
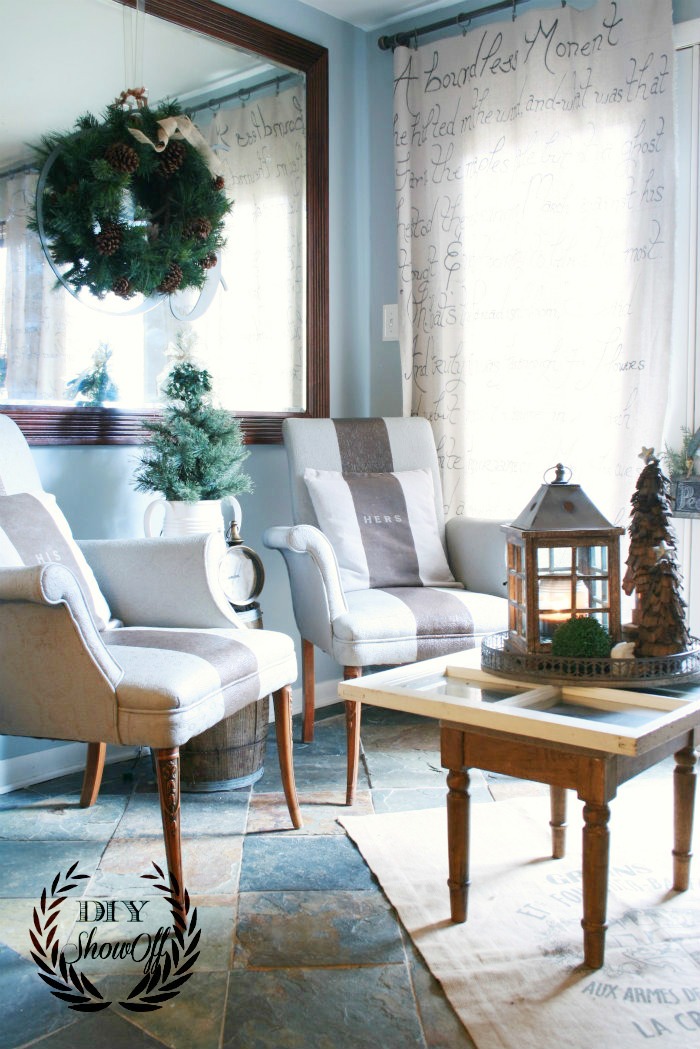
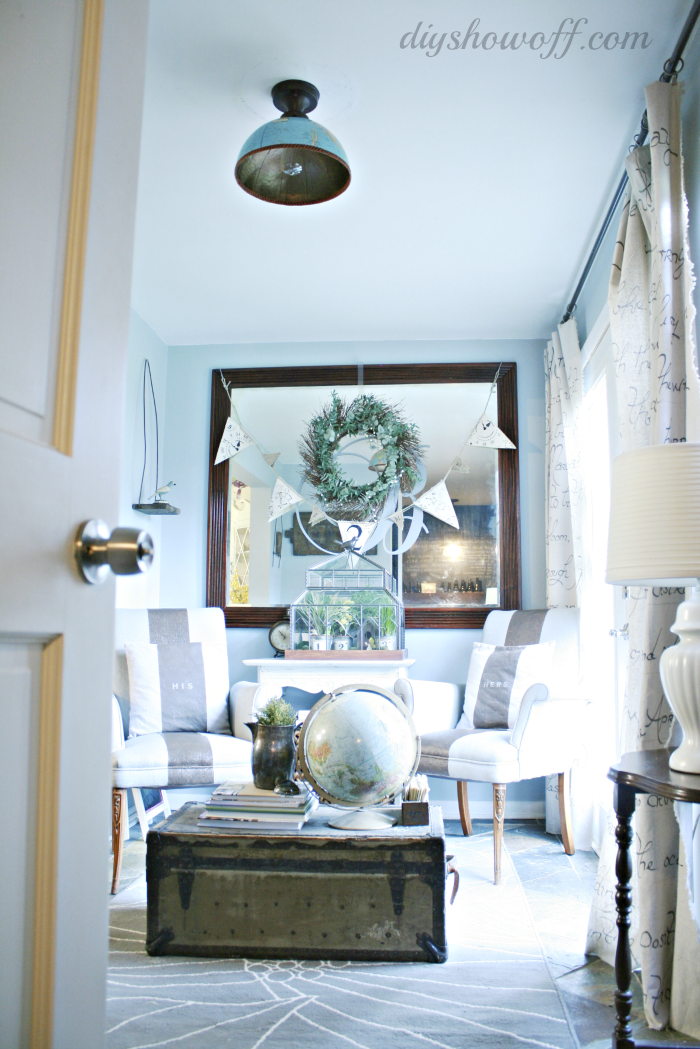
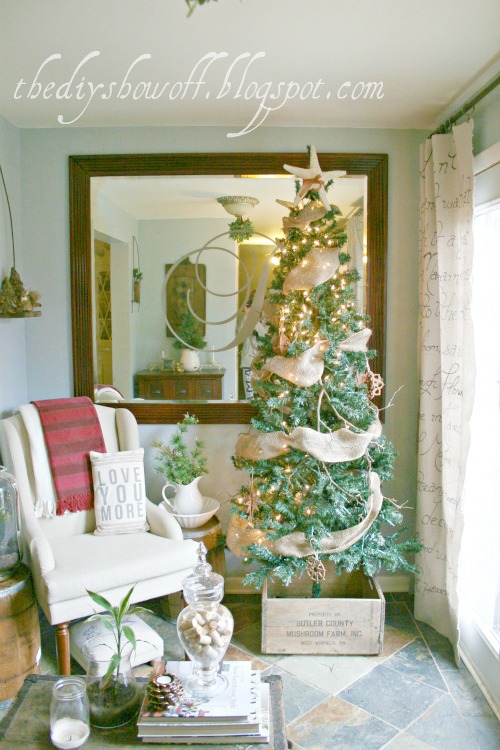
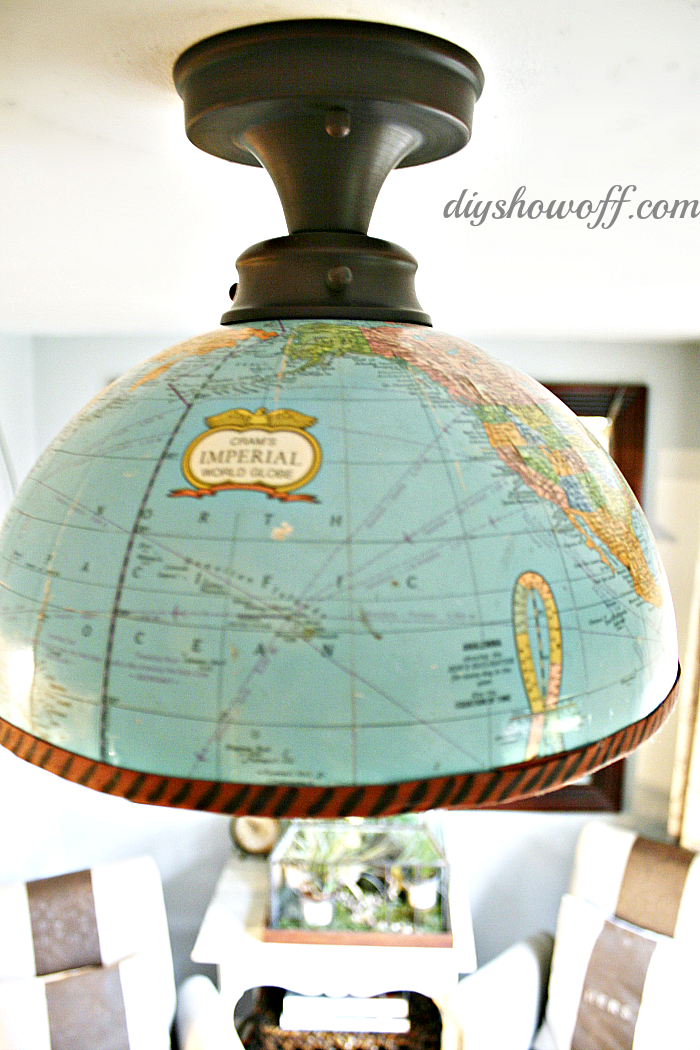
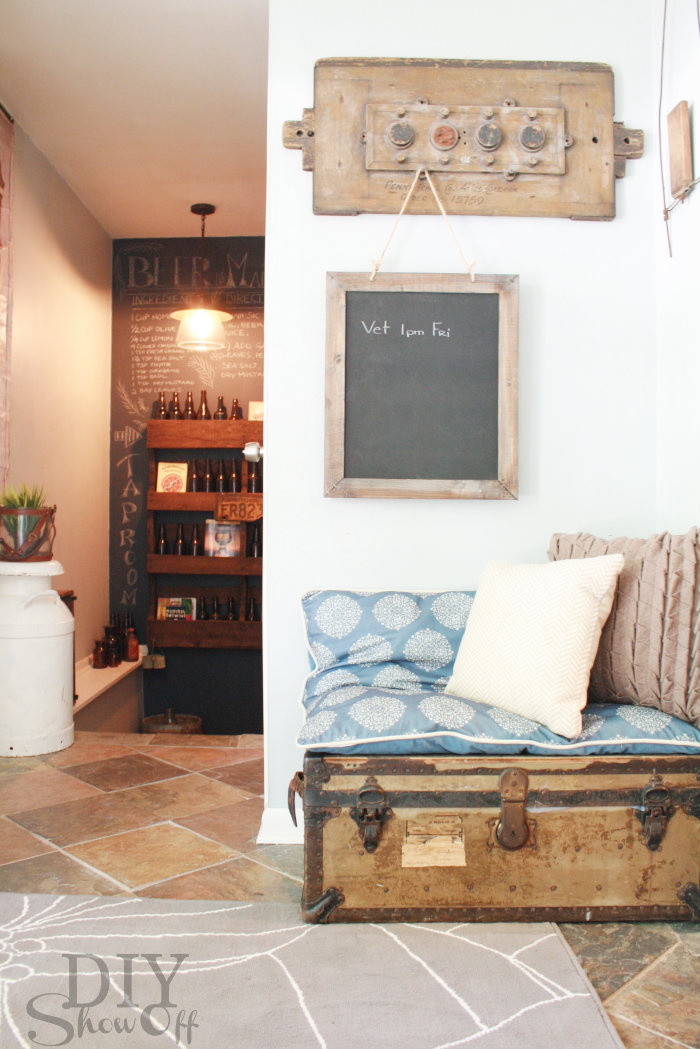
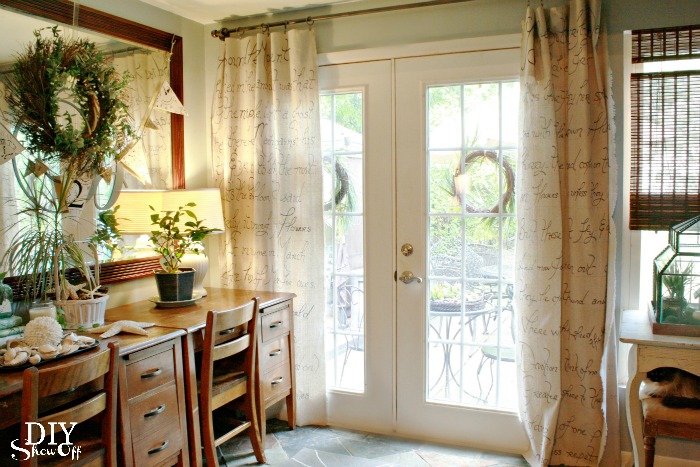
One room’s 6 year decorating history…

DIY script drop cloth drapes 

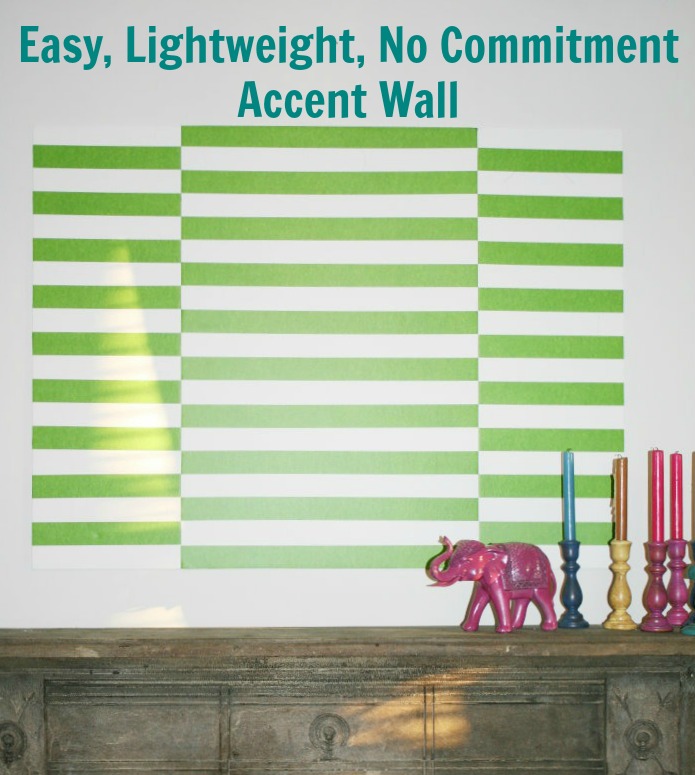
and using foam board for a no commitment accent wall and gallery wall template.

foamboard wall art tutorial

SHOWING OFF: I will be sharing DIY highlights from last week’s party tomorrow and I have some fun DIY projects coming up this week.

Oh! And Michaels is now carrying fourteen styles of craft fabric, including cotton, canvas, burlap, felt, faux fur, crushed velvet and tulle! I’ll be working on a fun project with some awesome fabric too. 

Stay tuned!

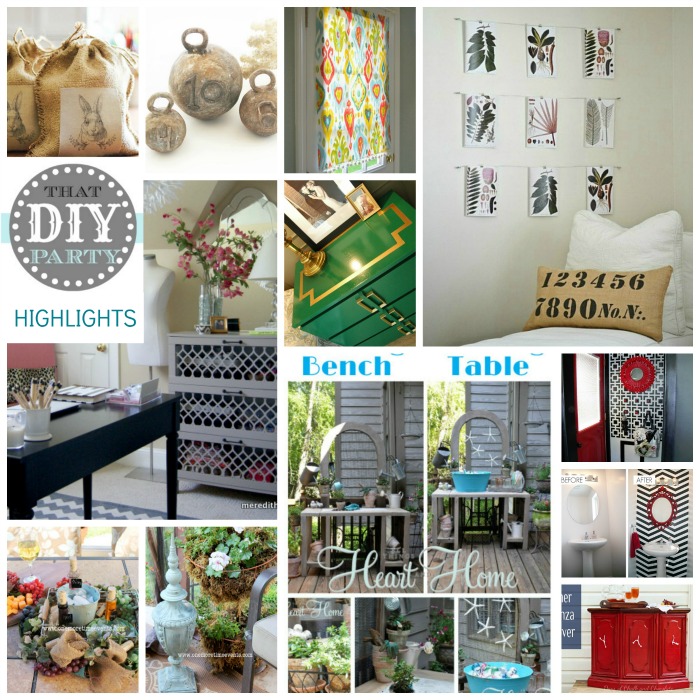
Previous week’s DIY highlights if you missed them. So much creativity!

DIY PARTY HIGHLIGHTS

THAT DIY PARTY: Now let’s see what you’ve been up to!

DIY Show Off

<div align="center"><a href="https://diyshowoff.com/category/other/that-diy-party/" title="DIY Show Off"><img src="http://i899.photobucket.com/albums/ac195/Roeshel/thatdiyparty125button_zps360f71b1.jpg" alt="DIY Show Off" style="border:none;" /></a></div>

1. Please use the button above or text and link to this post to share the linky love. Here is the link: https://diyshowoff.com/category/other/that-diy-party/. I’m not one to double check and will feature your DIY project if I love it whether you linked back or not. However, I’d love for you to share a link, share on FB or by tweet or pin too! Invite your friends!

2. This blog linky party is for DIY projects only. Links not related to DIY will be deleted. Please share your link one week only.  Please do not link recipes, giveaways, linky parties, promotions or a collection of inspiration that isn’t your own DIY project. 

3. By joining the party, you give permission for your project to be featured and ‘shown off’ via blog highlight, Twitter, Facebook, Pinterest, G+ and the possibility of being featured on a new DIY feature site coming soon! 

4. If you’ve been featured, feel free to proudly display a DIY Show Off “I’m Featured Button” found here.


One Room…Many Ways

This little room right off of the dining room really doesn’t have a function and gets a makeover more often than any other room in our home. As in…made over on a nearly monthly basis…since I like to re-arrange and move things around so often. Here’s a look at this room’s decorating history…

It started off looking like this when we bough our home:

sitting room before

We installed French doors, slate tile and a rescued a giant mirror…

entryway

Sometimes it displays my latest thrifty treasures…

sitting room

thrifty sitting room

Or acts as an extension to our dining space…

dining nook

Or a rarely used sitting room…

sitting-room

sitting-room 

At Christmas time, it’s my favorite space to decorate…

christmas sitting room

And currently it’s a little work space…

DIY script drop cloth drapes

DIY no sew drop cloth {script} curtains.

office space

with a cute DIY globe light fixture cover

globe light cover

Here’s what the other side of the room currently looks like: {wall mounted pallet shelf}

eclectic hallway

It’s like playing with a life sized doll house. Do you switch it up routinely? 

I’m joining in the party:

restyled space link party

(thin) DIY wall art

We have a sliding door in our dining room…

eclectic dining room

It slides to the right to open. Which means, I can’t hang most things like framed art or a clock or mirror in that space if I want to slide the door open. Shown above…I can’t push that door any further than the mirror, otherwise, the door will knock it right off of the wall.

Earlier this week I shared a DIY foamboard project that I used as a fun gallery wall template/background…

foamboard wall art tutorial

Which made me think…foam board is lightweight AND thin and would work great in our dining room. Perfect wall art material fitting behind a sliding door.

This is how I also know that painting foam board isn’t such a great idea. It warps and bows but I’m still loving my project.

Using FrogTape, I taped off alternating stripes, making sure to press down the edges securely to activate the PaintBlock Technology (to keep the paint from seeping under the tape). 

FrogTape Wall Art

Then painted my stripes. (I think using a Sharpie or decorative tape would be a better option.)

DIY foam board art

I then removed my FrogTape. It did remove the paper backing in places which is what gives my finished project an aged, distressed look. Even though it didn’t go according to plan, I didn’t give up. 

Using my Silhouette Cameo, I created vinyl decals (flatware silhouettes and the letters “D I N E”). Vinyl and transfer paper provided by Happy Crafters

applying vinyl decals

Then I used a glaze to ‘stain’ the bright white stripes and the areas where the paper pulled off with the FrogTape. 

diy foam board art

So where the paper pulled away gives it a distressed look:

distressed dine sign

My foamboard is bowed so I did try adding weight for a while with books. Fail. It didn’t help. But I hung it up anyway using command strips. Even with the warping, it’s still a great fit behind the sliding door…

easy DIY dining room art 

With the sliding door open…

dining room sliding door wall art

Not bad, right? Lesson learned: don’t paint foam board but I do love that it’s lightweight and thin so I’ll definitely be creating another DIY foam board project for this space. Perfect behind my sliding door. 

*This post is brought to you by FrogTape. FrogTape provided by Shurtech. The opinions are completely my own based on my own experience. For more FrogTape projects ideas, check out the FrogTape Blog Squad.

 FrogTape Blog Squad

*This is a sponsored post. Vinyl and transfer paper provided by Happy Crafters.

HClogopngsmall