


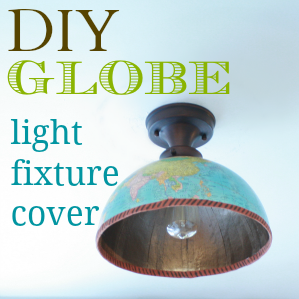
DIY Globe Light Fixture Cover
After I completed the wall mounted-pallet shelf, I updated some of the light fixtures including the one in the sitting room…
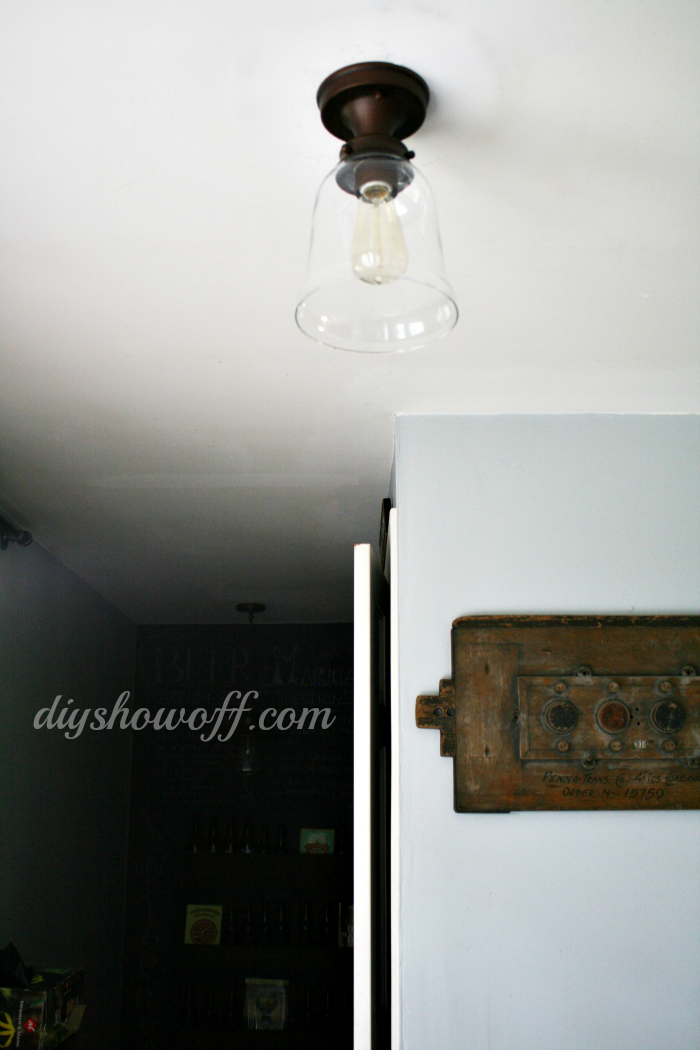
Allen + Roth Edison Oil Rubbed Bronze
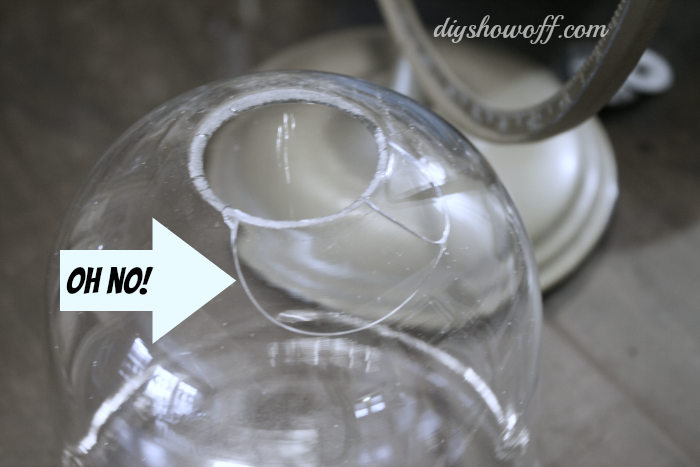
However, the glass on this specific light is very thin and it cracked during the final stages of assembly, just by screwing in the light bulb. The crack was located in such a way that it wasn’t safe. I feared the entire glass piece was going to come crashing down.
So, one rainy day, I gathered some supplies from around the house and created a new cover? fixture? globe? well, northern hemisphere at least.
Here is what I did:
Materials:
- LOW WATTAGE light bulb
- old globe (I have an addiction. I can’t pass up a globe at the thrift store, thus a collection on hand.)
- craft paint (I had DecoArt’s Patio Paint/rich espresso on hand.) A high heat/temperature paint is a better, safer option.
- double fold bias tape (Again…I had brown left over from a patio cushion project.)
- hot glue
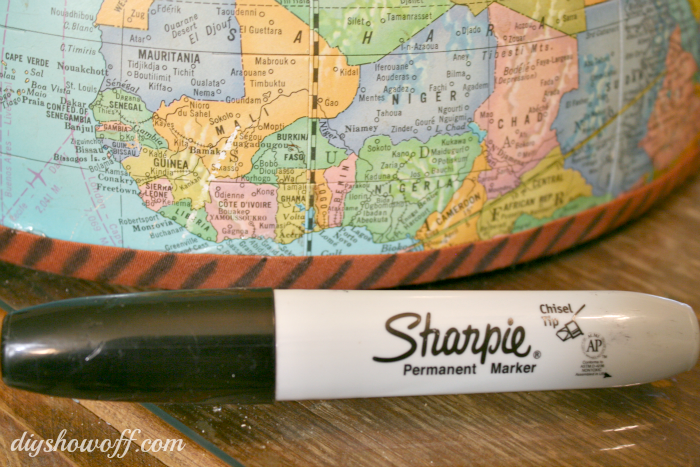
- Sharpie
- Edited to add: Flameproof coating
Tools:
- Utility knife
- Needle-nose pliers
- Scissors
- Glue gun
- Craft paint brush
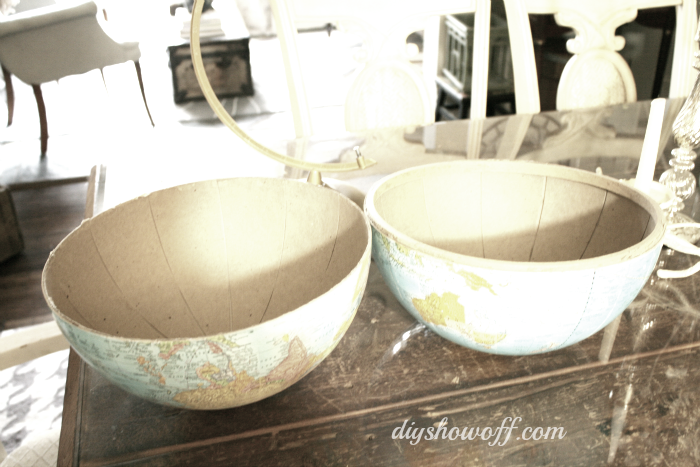
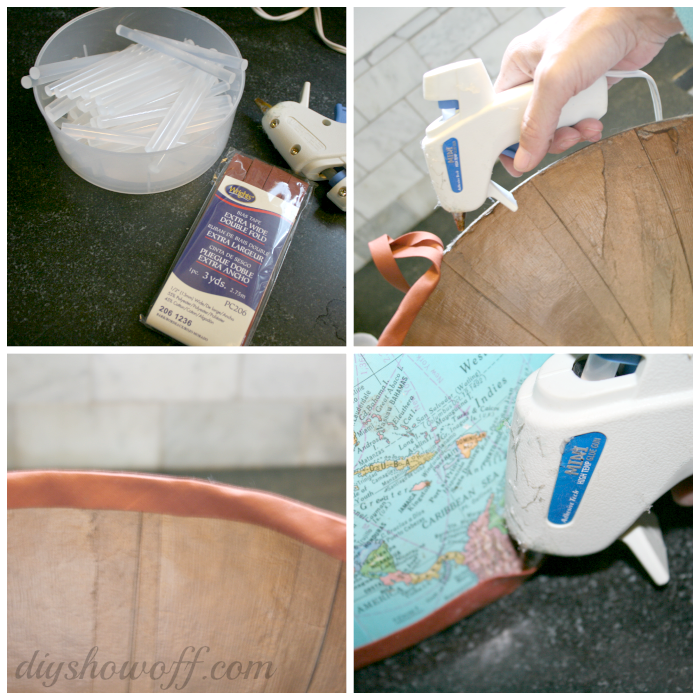
I started by disassembling the globe by gently pulling the frame from the north/south pole. My globe popped right out.
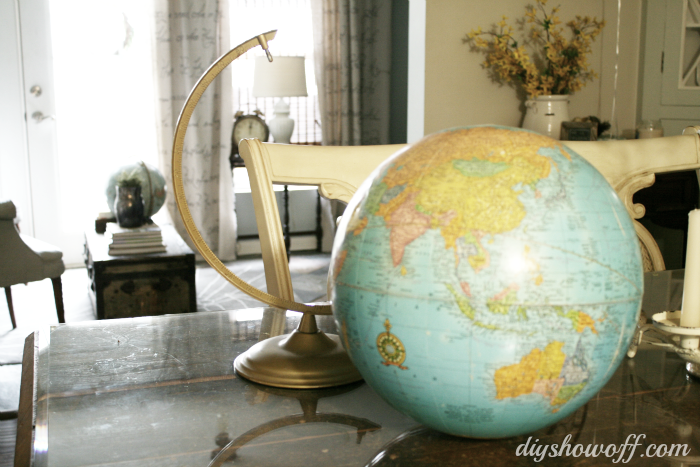
I also chose a globe that wasn’t in the best shape, so the north and south hemispheres just pulled apart. (Cut seam along the equator with a utility knife if needed.)
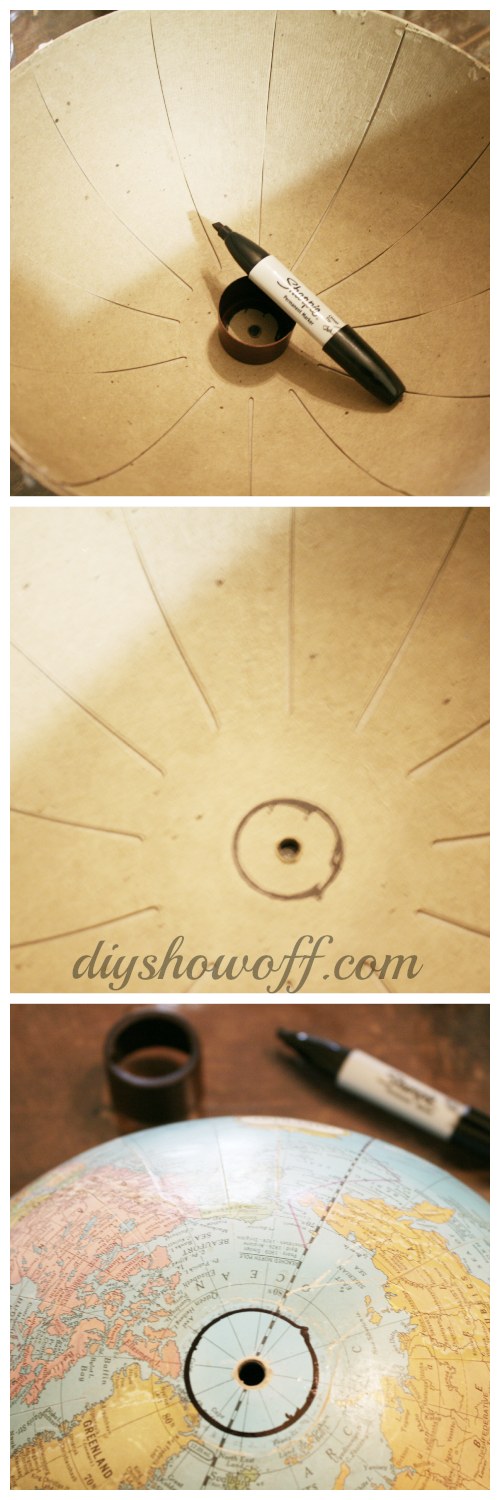
Next, using a Sharpie, I traced the fitting (or draw a circle the size of where the globe will be held into place on the light fixture).
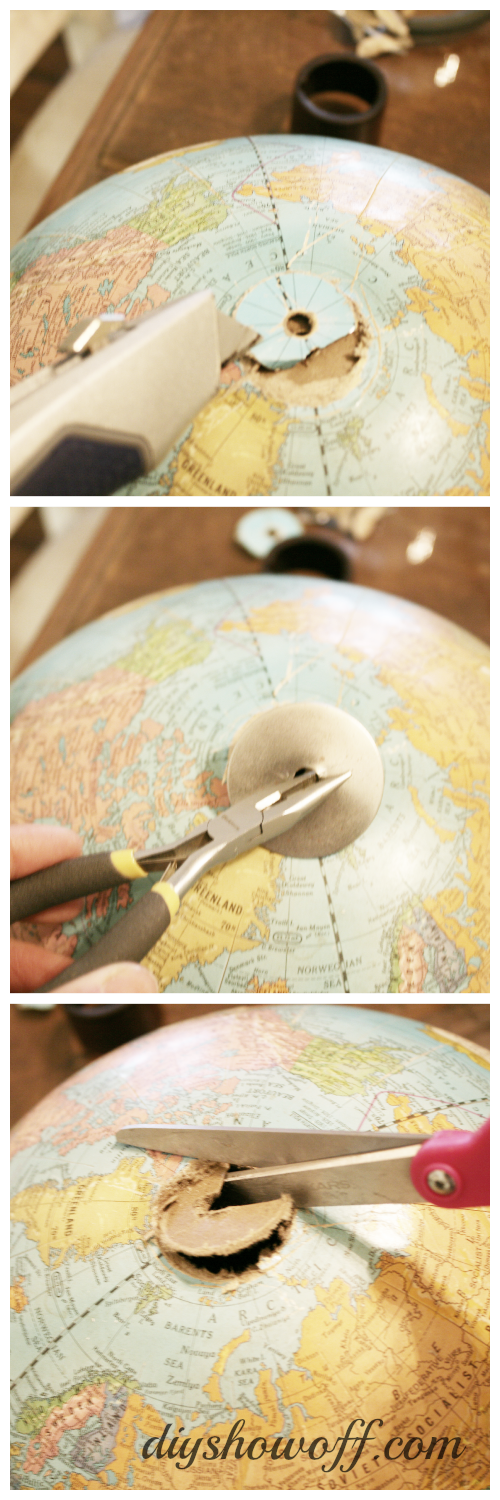
I used a utility knife to remove some of the map/cardboard and discovered a metal circle underneath. I was able to remove it with pliers. Then cut away the rest of the cardboard/paper with a pair of scissors.
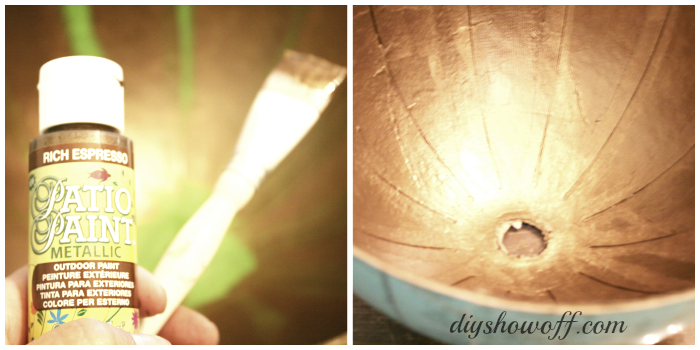
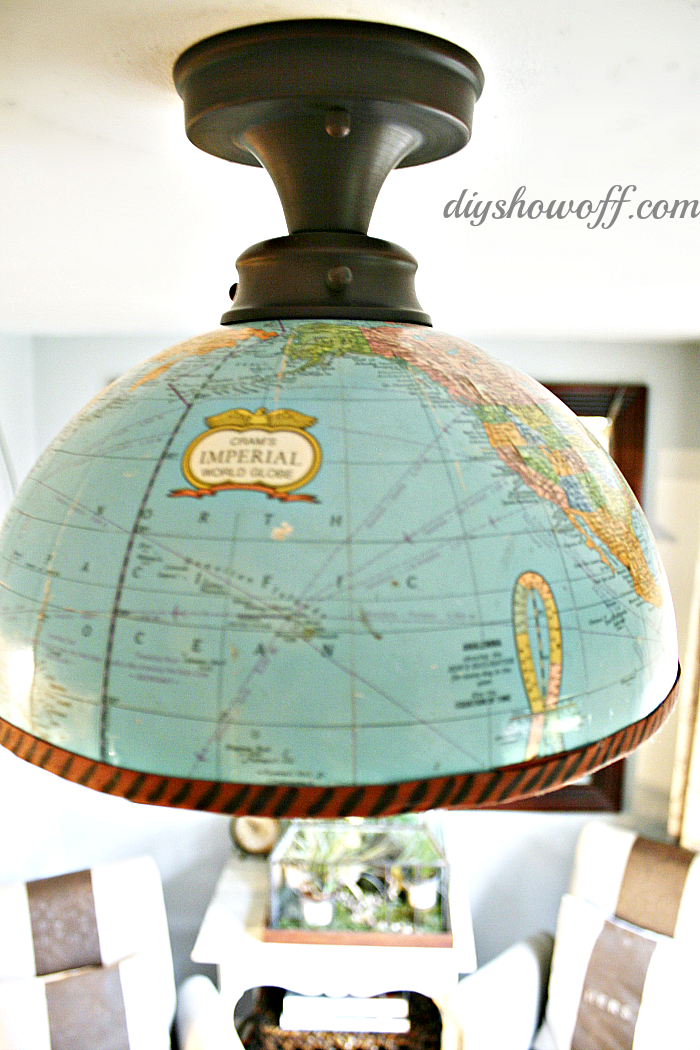
I painted the inside of my globe and let it dry (well, sort of. I may have been too eager to move on to the next step)…
Then attached the bias tape around the perimeter with hot glue.
Since I was impatient with waiting for paint to dry and had a little “oopsy”…paint on the bias tape, I used a Sharpie to create a design to distract from the accidental smudge. Imperfection adds character.
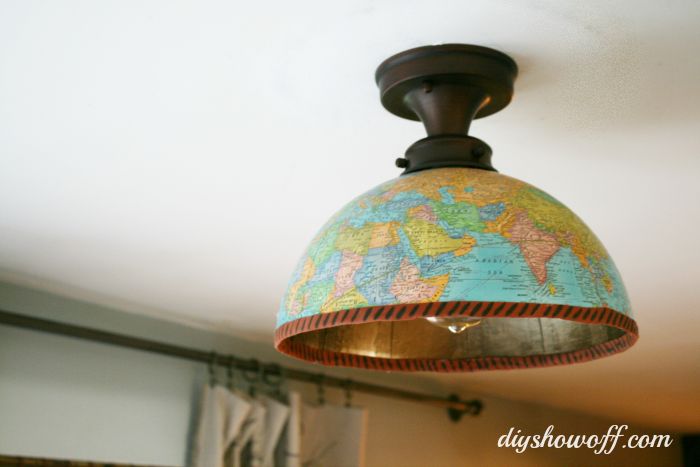
Ready to install.
Heading to the basement: This is also the path to the basement and I can breathe a sigh of relief that the cracked glass isn’t going to hurt someone when it comes crashing down or that it’s no big deal if my 6’2″ husband carrying a ladder accidentally hits the globe. I kept worrying he’d ‘ding’ that thin glass on his way through…now, it’s okay.
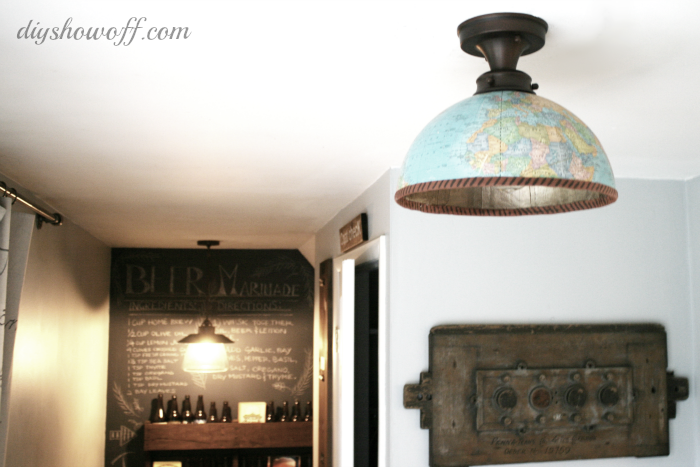
It fits with the style of our sitting room too…
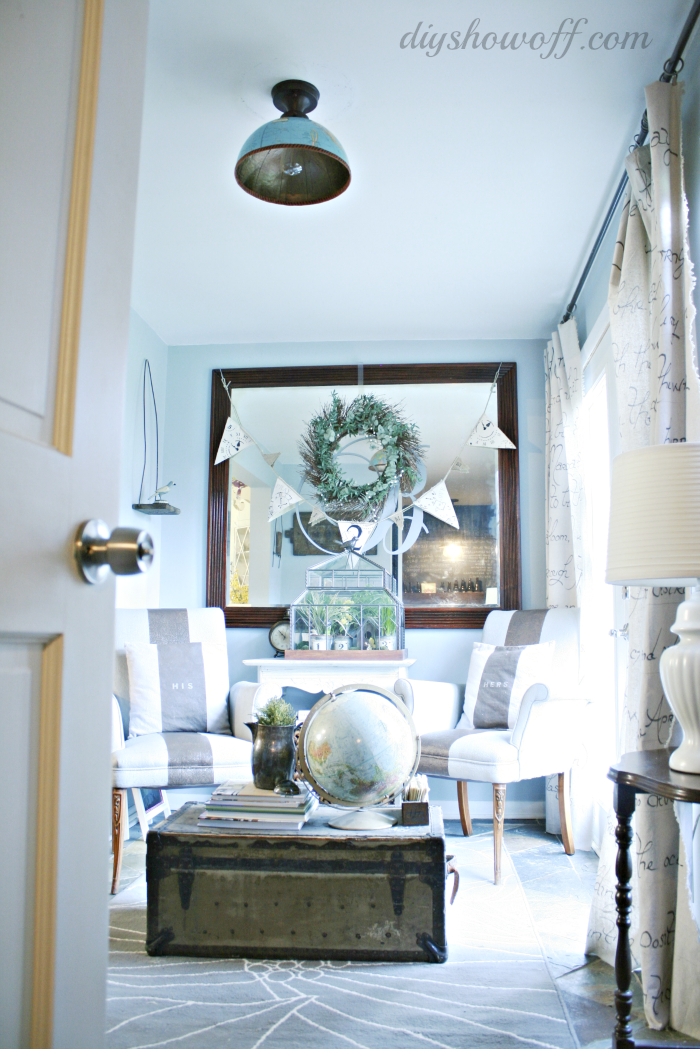
Easy enough. (Would also work as a lamp shade…decorative only.}
Mystikit: Purchase the materials and tools needed to make this half globe light fixture cover.

*more DIY projects in this space:
- repurposed bookcase to pet gate/sign
- no sew drop cloth script curtains
- pipe curtain rod
- painted upholstered chairs
- his & hers painted pillow covers
- fairy garden/spring terrarium
- how to get an area rug to lay flat
- wall mounted pallet shelf
*This light shade is mainly decorative. In our home, it is rarely turned on for more than a few minutes at a time. Please do your homework and consider safety in your own home before using a globe as a light fixture.
![]()
Sharing here:
Home Stories A to Z Tips & Tutorials party

What an amazing idea! I have been going back and forth on what light fixture to put in our study and this is the perfect thing! Thanks so much!
Super cute – I love this idea!
So cute! What a nice outcome from a broken fixture. My husband would absolutely love it as he has a fascination with maps and globes. Thanks for sharing & blessings to you, Patti
I love that! What an awesome idea!
This light fixture cover is awesome! How clever you are!
Leslie
Very cool Roeshel!!
Roeshel, I am absolutely in love with this project! Your instructions are perfect and the use of bias tape around the edge is a great idea. I have a couple of globes and now you have me thinking! Thanks so much for the inspiration!
What a great idea
I love it!!
Roeshel, I love this! What a great idea. It looks perfect in the room! (You’re giving me an idea for a small lampshade…)
THAT is TOO COOL!!!! I love it!! I’m mentally picturing where I can do this at in my house. Thanks for sharing!!
ROESHEL! This is fabulous! Love it! 🙂
This is very attractive and right up my alley. That said, I contemplated the very same thing, but consulted a seasoned lamp maker, as I was worried about fire safety. Not to rain on your parade, but I wonder how much of a fire hazard this light fixture is. I made my own as well, but did not use it, as I was afraid of burning down the house. I hope that you, too, can see that this may not be a safe light fixture for the possibility of causing an unintended fire (especially since the inside is only cardboard – highly flammable). My consultation with the lamp maker did yield one way to possibly make this work. She suggested that a seven (7) inch diameter hole be cut out of the top (essentially the Arctic Circle [or Antarctic Circle, dependent upon which end of the globe you are using) to aid in the escape of heat from the light bulb. I wish you the best and love this idea. It really does look lovely in the room, but I worry for your and your family’s safety. I hope you take my comment with the spirit of which was intended and not as a criticism.
Thanks, Christine! This light is practically never turned on in our home (out of the way space, filled with light from French doors and a window during the day and the dining room fixture lights up this space at night). But I have edited the post to mention using a high heat/high temperature paint and a flameproof coating (which I just ordered through Amazon to coat my fixure) as well as a low wattage bulb.
Thanks. I even suggested the same (high heat paint and low wattage bulb) to the lighting expert and she cringed and suggested it was better to be safe than sorry. I appreciate you responding and editing your post with an abundance of caution. It does look great!
I love this interesting ceiling light shade and would love it as a lamp shade, too. Thanks for the great tutorial.
Guess I am glad someone else thought of safety because I wouldn’t have… I was totally taken by how fabulous and adorable it looks and how well styled your whole room is. I often buy old lamps and fix them up and if I don’t trust the wiring on them I just don’t plug them in… I love it!!
Krista
So super cute! It is the perfect addition to the room! Life to the full! Melissa
That is so pretty and very clever. I want one now, but where I would put it is a mystery in itself. I really do love it and wish I had a globe now.
This is such a cute idea. I love the gold underneath. That just makes it pop and glow so well. Makes me want to be a little more ambitious in my home.
Beautiful creation. I want to make one now. Love maps and globes.
This is such a clever idea! I love how you repurposed the old globe.
NIcely done! I have been thinking about doing something similar for awhile and never did, but I love how yours turned out!
I LOVE this!!!
OMG Roeshel! Our 13 yr. old daughter just stood on our Earth globe and broke it. We taped it back together, but now you have me thinking! lol
Oh My Goodness! How very cool and wordly! 😉 I love it. You do such cool things Roeshel! Forgive me if I find a thrift store globe and copy you. I want one of my own!
I finally got to read this post. It looks FABULOUS!! Great job, Roeshel. 🙂
What a cute idea! I’m glad you noted the safety issues, but this does lend some great inspiration for other lampshades or projects. Well done!
What is the globe made from? How safe is using it on a light fixture?
Hi Terry! As stated, it’s a light that is rarely used in our home so we’re personally ok with it. That room gets very little use and there is enough light from the French doors during the day. You’d need to decide for yourself about safety in your home and if you have any doubts, please do not implement this idea. As the instructions note, you will also want to use a flameproof coating on the inside of the globe. I hope that helps. 🙂
That’s so creative! Love the look; thanks for sharing.
Just stopping by to let you know I included this post in my favorite craft projects for February. These were the most popular posts on my Facebook page during February as well, so thank you for such a great project! You can see the round up here http://craftsbyamanda.com/2014/03/great-craft-ideas-february-2014.html 🙂
I LOVE your creative idea and I’m copying it for my garden shed. I just have one question. How did you attach the globe to the actual light fixture? Is it glued in place? Mine doesn’t go all the way up into the fixture where I can screw it in to place. Any help would be much appreciated.
Hi Tisha!
My existing light fixture has a piece that screws on to hold the glass cover in place (the glass cover is what cracked and inspired this project). So, it’s not glued. It’s light fixture in the ceiling, globe, piece that screws on and holds the globe then light bulb. I can’t speak from experience but maybe some type of light bulb extender? Although I’d double check/research safety issues first!
I’ve recently made a hanging (from a chain) globe lamp to use over a window seat. The new globe I bought from World Market ended up being made of very solid acrylic. I couldn’t cut it with an exacto knife, and it didn’t separate at the equator, but a wood-working friend cut it in half with his table saw. He did a beautiful job lining it up and cutting exactly along the equator. I spray painted the insides of both halves with heat-resistant paint, but I love your metallic paint, so I think I’ll go find some to add. I used a hanging lamp kit from Lowe’s with an LED bulb so it gives plenty of light without emitting any heat. I plan to use the other half (Australia) to put on a floor lamp–like a bowl shade, so Australia will be right side up! I got glass bead trim from Hobby Lobby for the dangly shade and bias tape (like you did) for the bowl one, but I plan to cover it with a cute multi-colored braided trim that will pick up the colors of the globe. I haven’t seen too many tutorials on how to do this, so I really appreciate that you did one (even if I didn’t find it till I was done!)