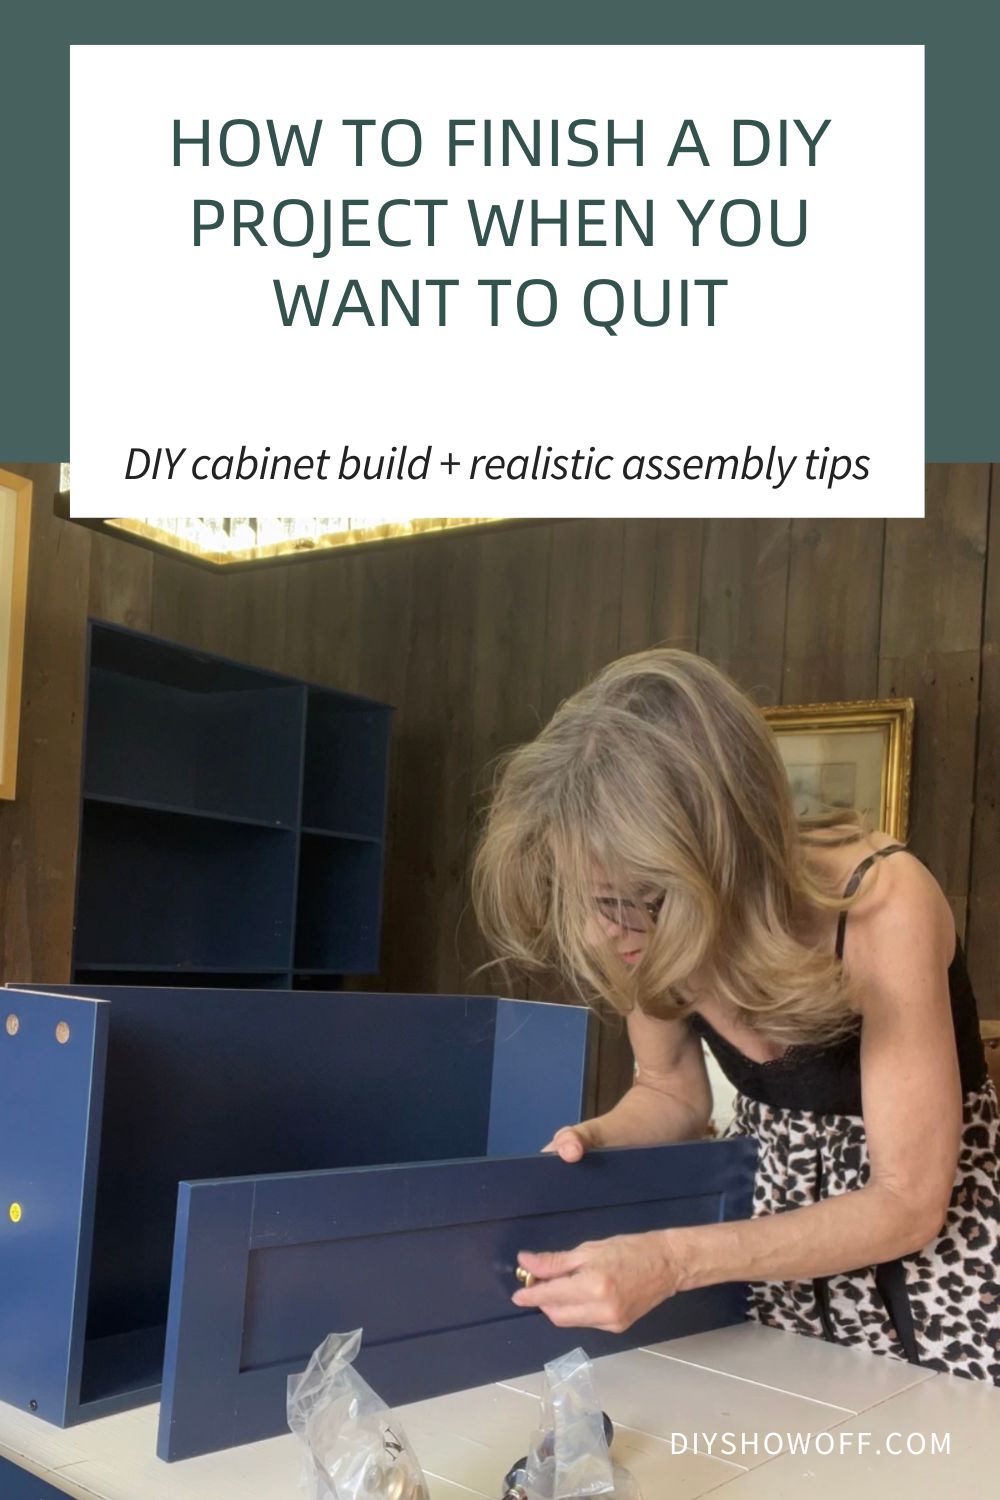
In part 1 (Wanting to Quit), I shared the messy middle of this cabinet build, the part where the instructions felt overwhelming, the (too many) pieces all looked the same, and I hit that familiar moment of wondering if I should just give up.

But this part matters too: what happened next.
Not because everything suddenly got easy, but because I kept going.
This project reminded me that progress usually doesn’t happen in one big breakthrough. It happens one small step at a time.
Picking Back Up (Even When You’d Rather Walk Away)
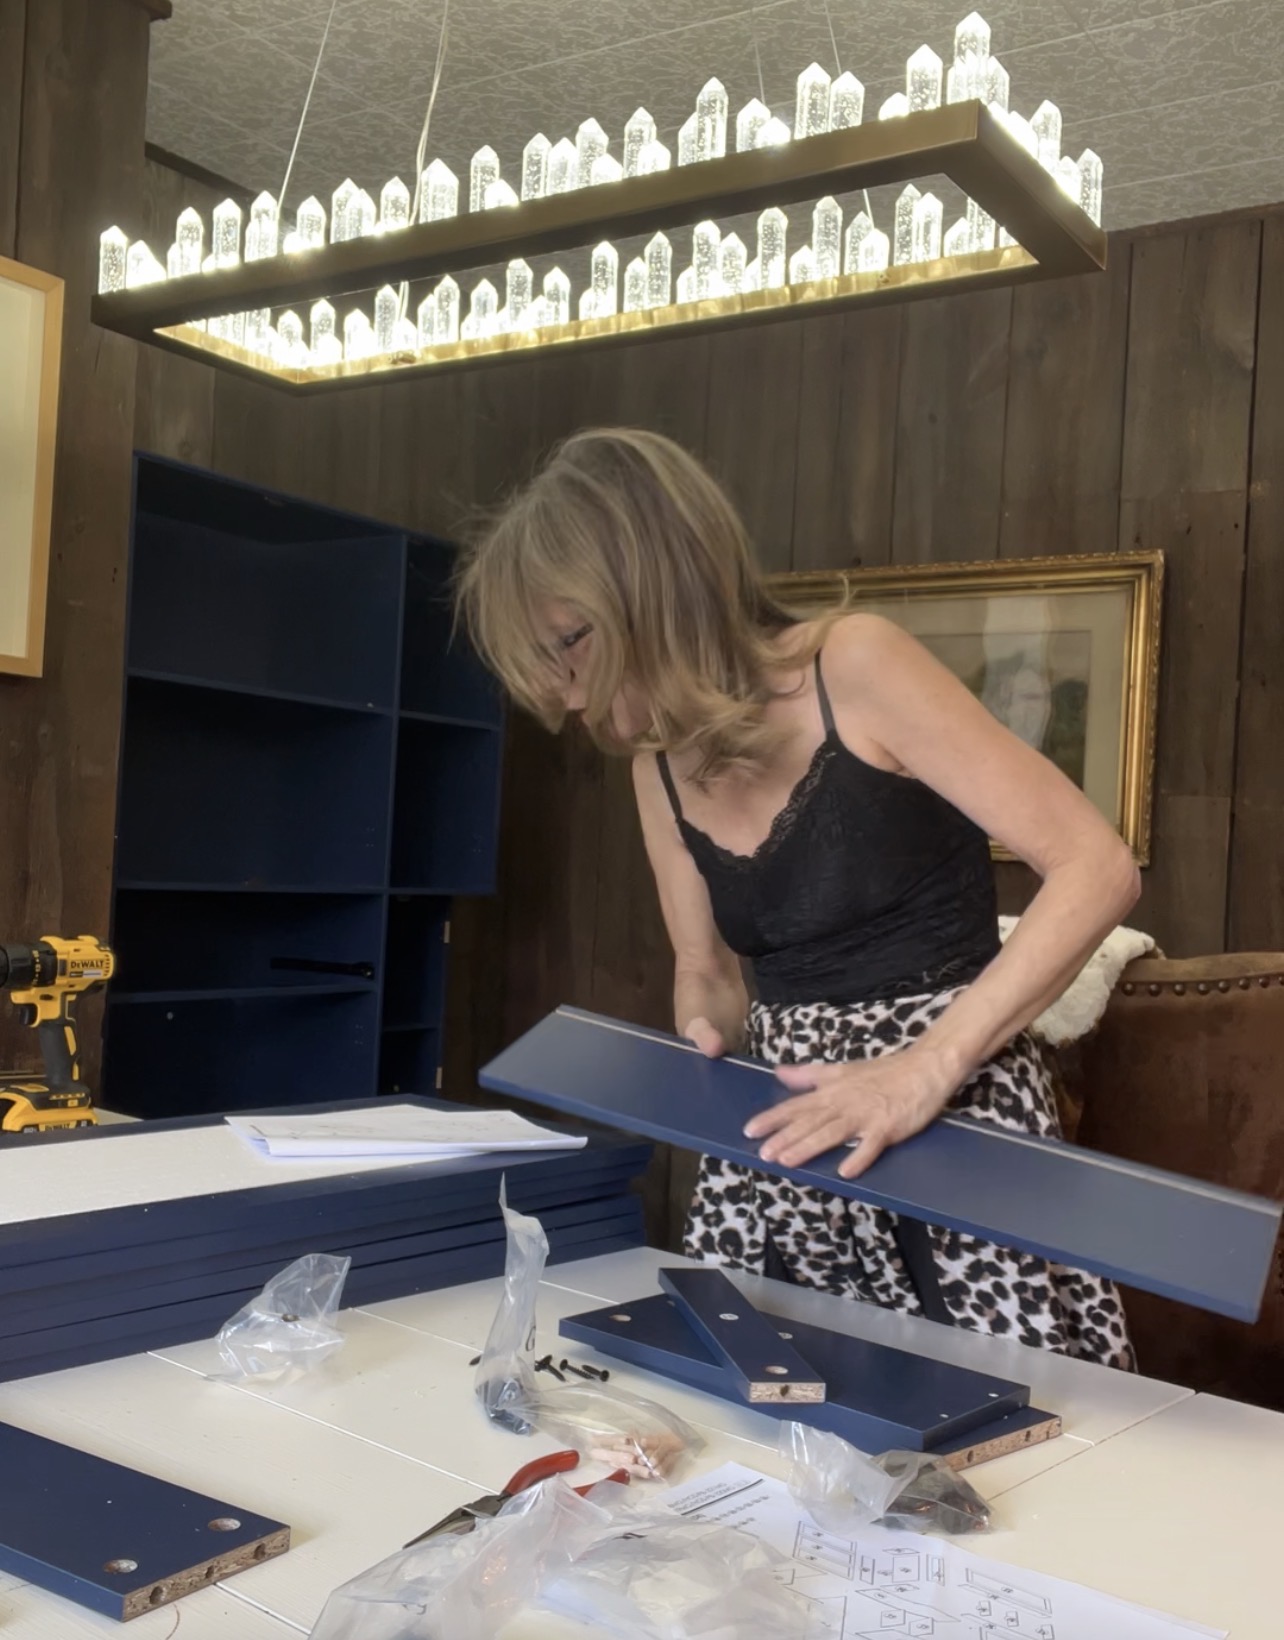
After taking a break and stepping away for a bit, I came back with fresh eyes.
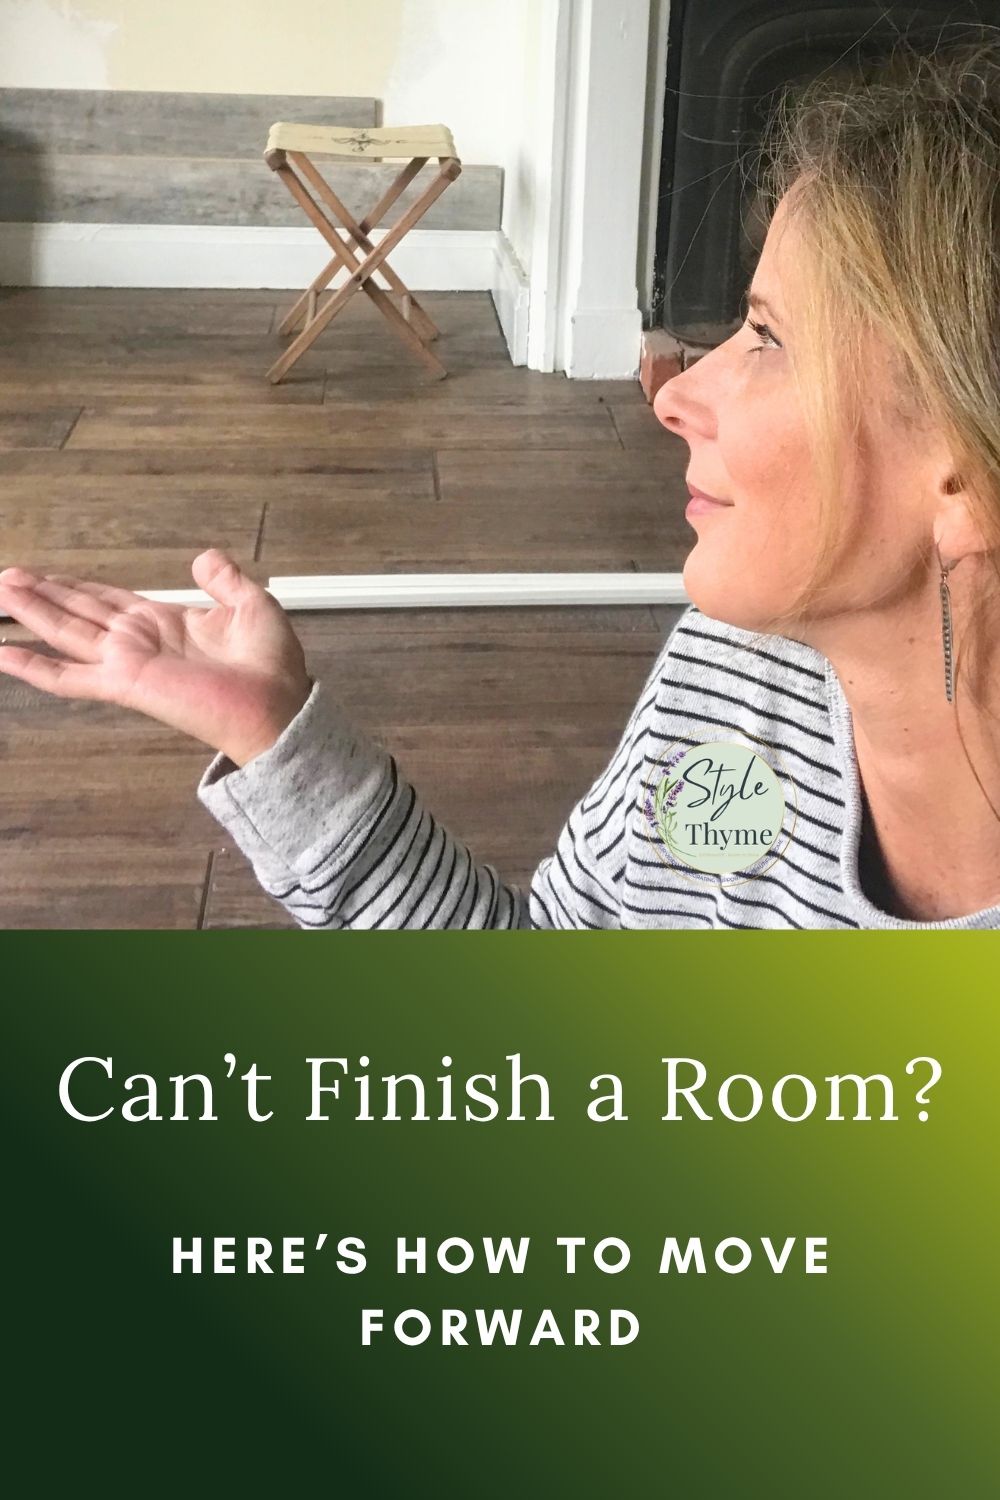
Feeling stuck like this? Start here.
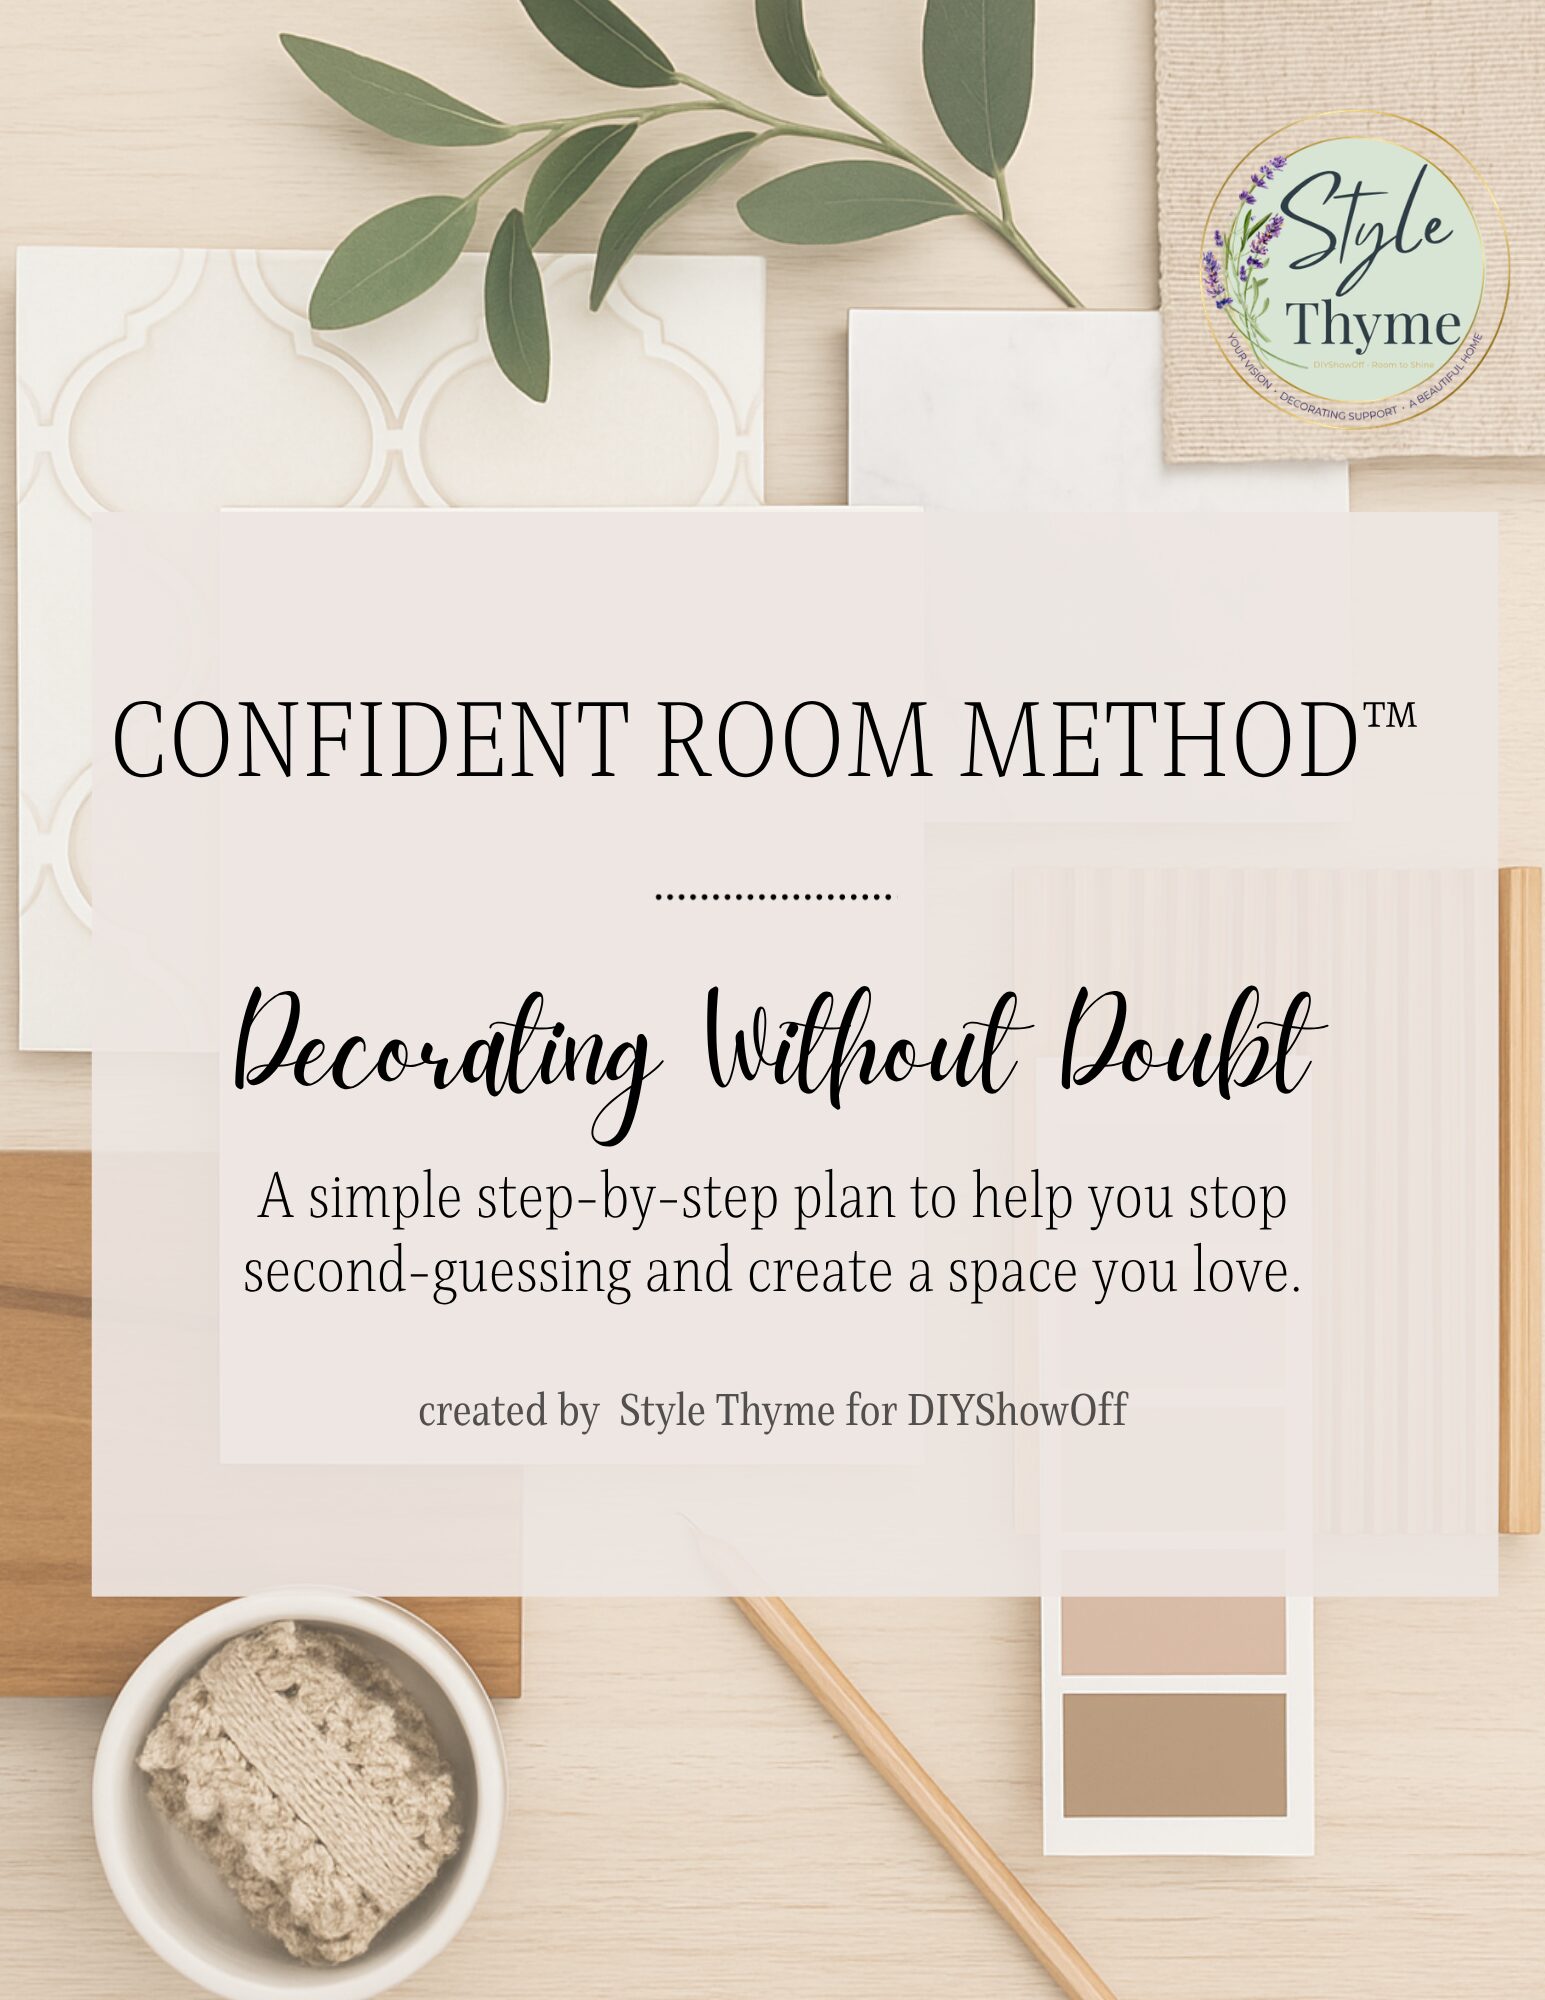
Projects like this always remind me that creating a home you love doesn’t happen all at once. It happens one small choice at a time, one project, one corner, one room. If you’ve ever second-guessed every decision in a room, you’re not alone. That’s exactly why I created the Confident Room Method. It’s not about getting it perfect, it’s about finally having a simple plan so you CAN move forward with confidence. Get the Confident Room Method printable guide here.
That helped more than forcing myself through frustration ever would have.
Instead of thinking about the whole cabinet, I focused on the next step in front of me: assembling the drawer.
Sometimes that’s really the difference between quitting and finishing. Just choosing the next step instead of trying to carry the whole project at once.
Assembly: Slower Than Expected, But Worth It
Assembly took patience.
There were a lot of pieces, hardware to sort, instructions to double-check, and plenty of moments where I had to slow down and make sure everything was lined up correctly.
A few things that helped:
- laying out all pieces first
- keeping hardware sorted by label
- hand tightening before fully securing screws
- checking alignment before moving on
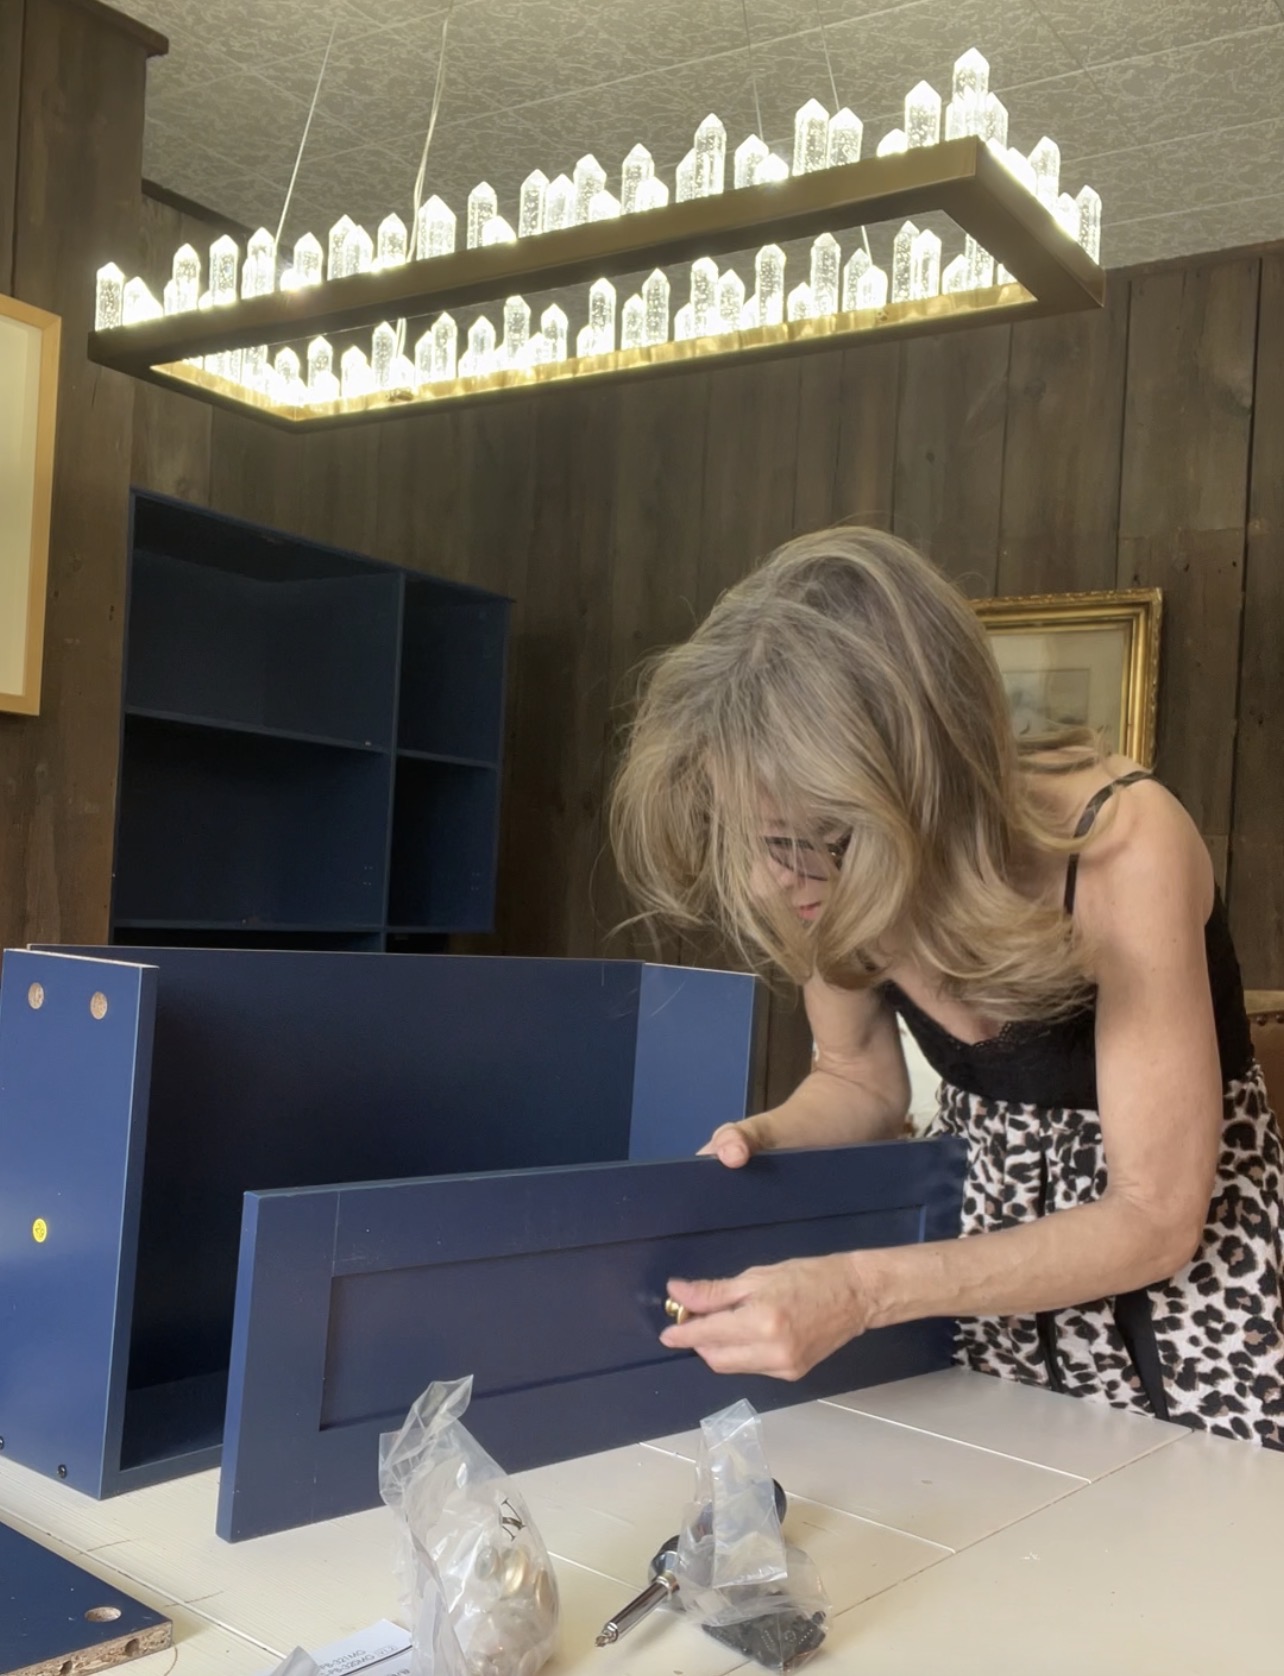
It wasn’t glamorous, but seeing it come together made the whole project finally start to feel real.
Knowing When to Ask for Help
One thing I’ve learned over the years… whether it’s home projects, decorating, or life in general, is that doing things yourself doesn’t have to mean doing everything alone.
I handled the bulk of the cabinet build myself, but for the heavier lifting and final adjustments, I was glad to have an extra set of hands.
That’s not giving up. That’s finishing wisely.
There’s strength in starting something. But there’s also strength in knowing when support makes sense.
The Best Part: Seeing It Come Together
There’s always a moment in a project where things finally shift.
The parts that felt random start making sense. The hard work starts to look like something.
That moment happened when the cabinet was fully assembled and in place.
Suddenly, all the frustration from the beginning felt worth it.
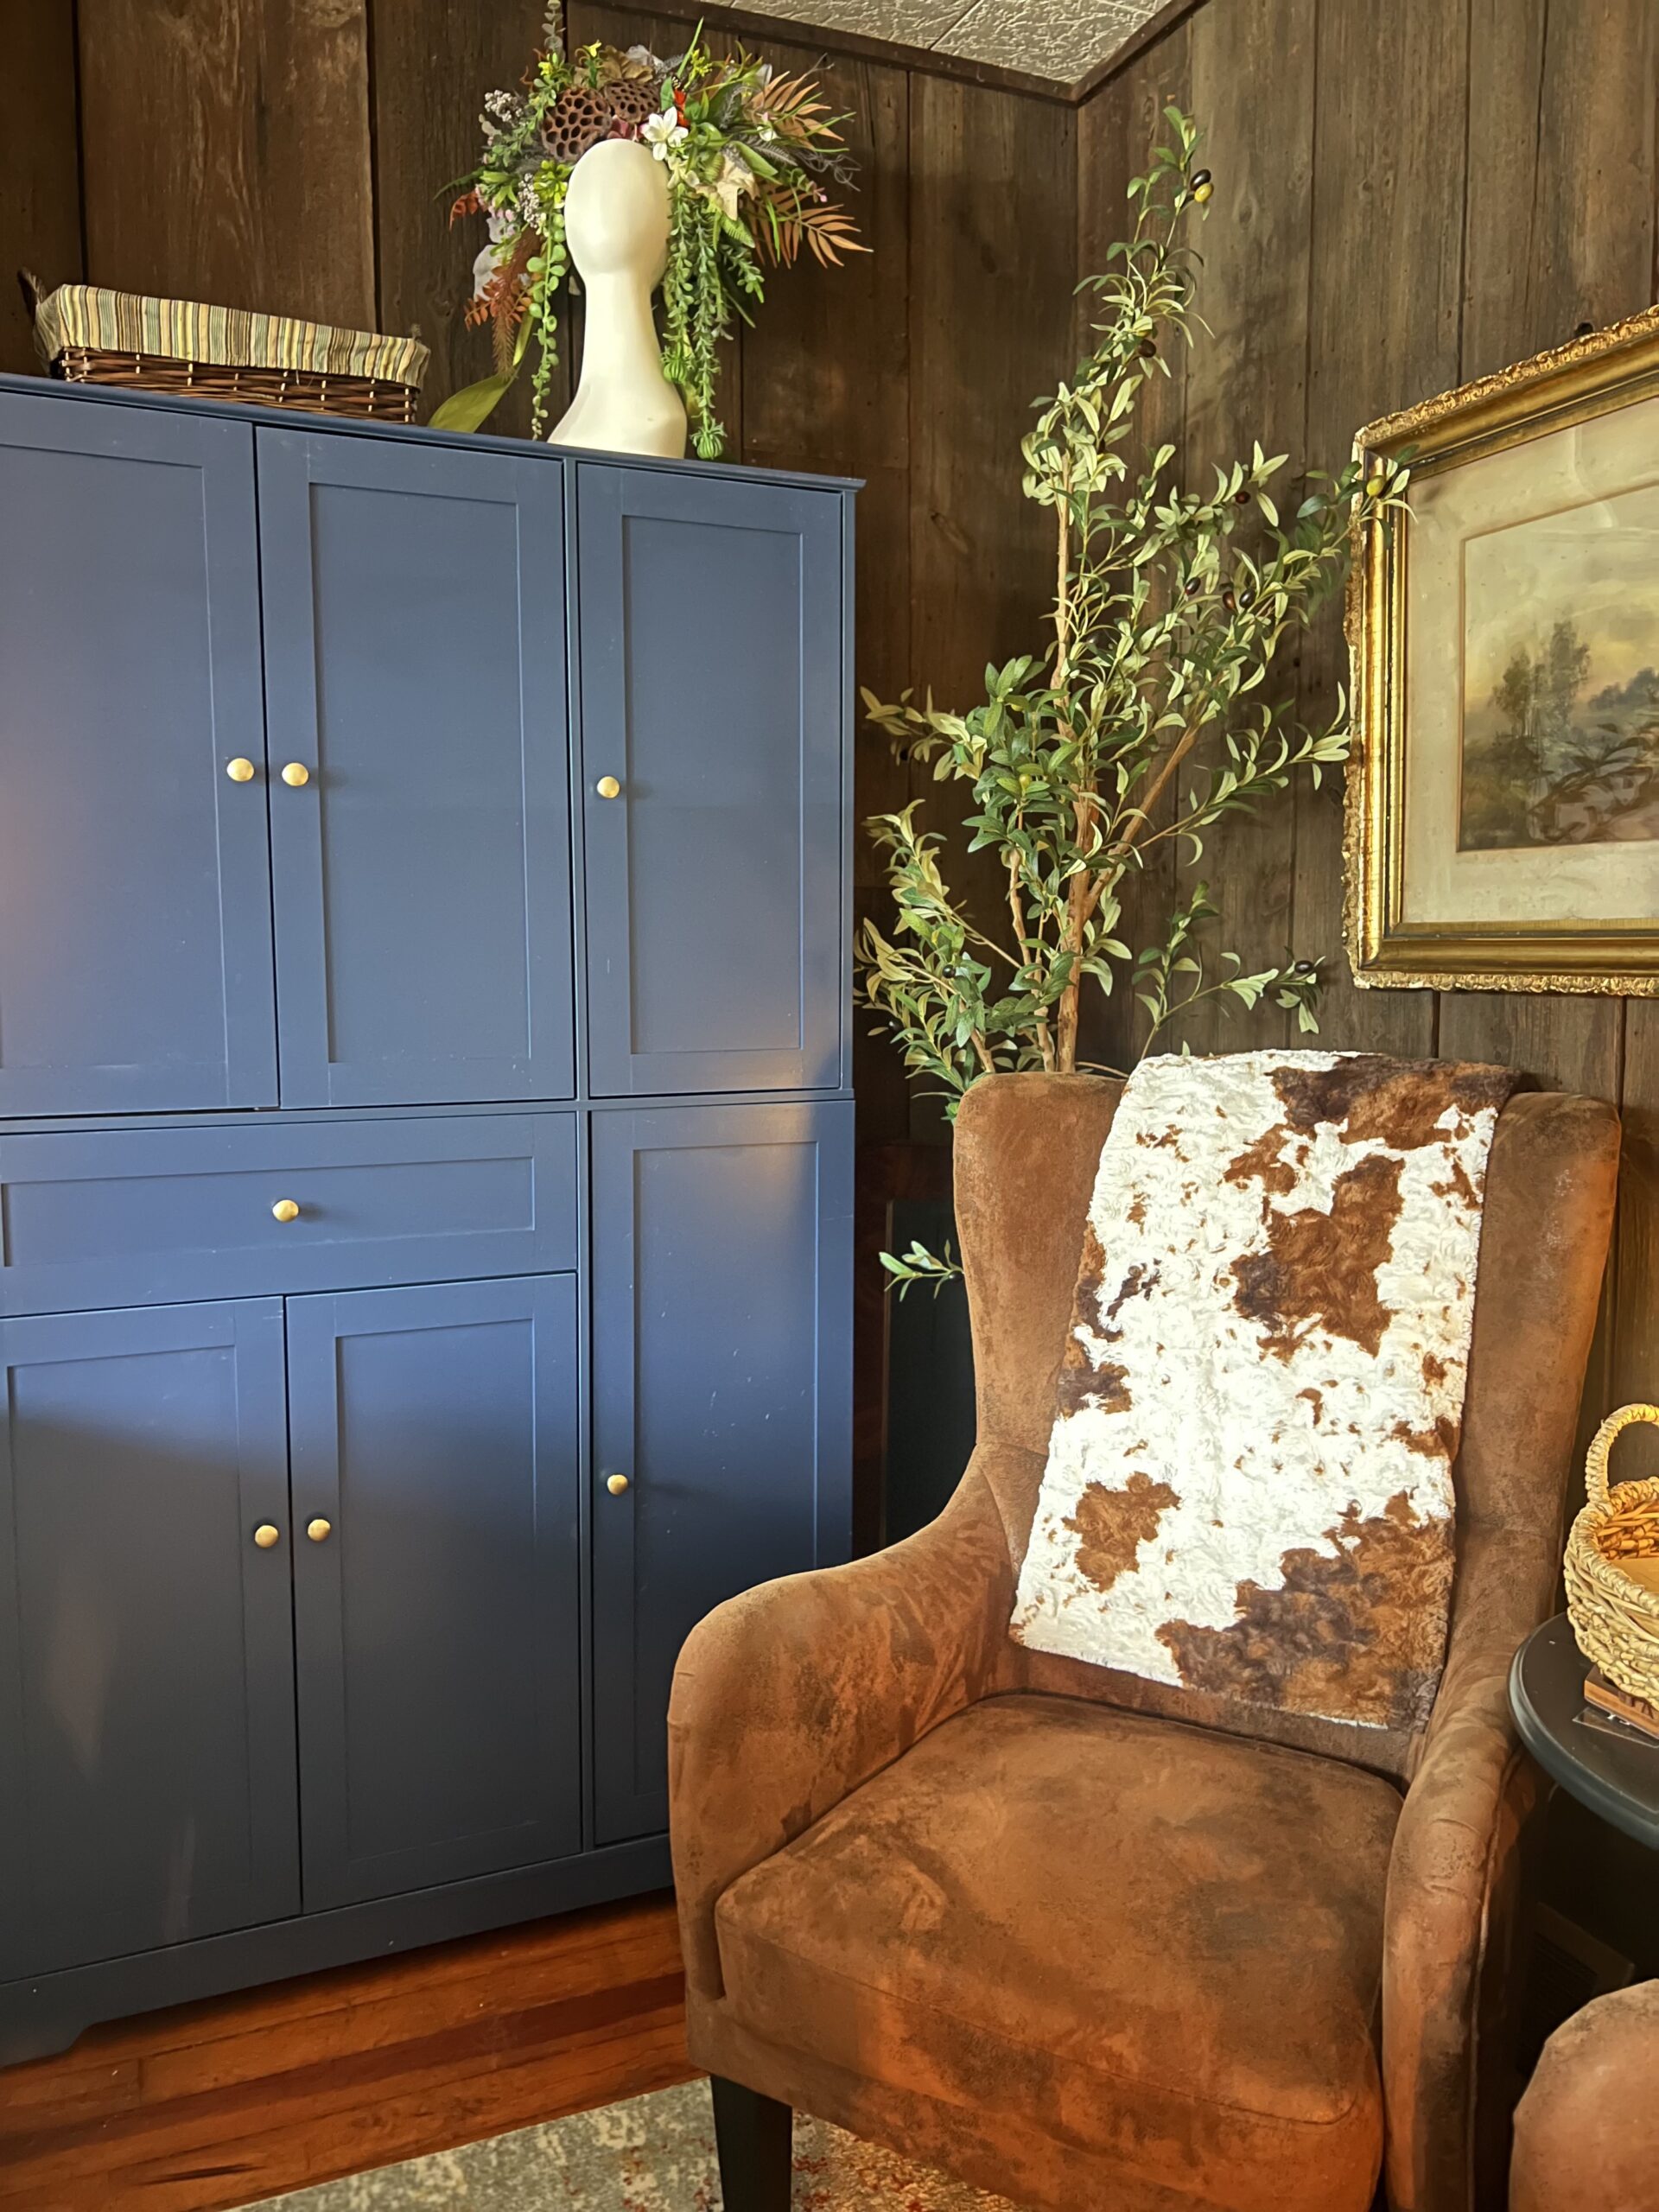
Just now noticing it needs a wipe down from assembly smudges. lol BUT seriously, I love the deep blue color against the warm wood tones in this room. It adds storage, function, and a finished look without feeling bulky.
A Reminder for More Than Just DIY
This project was a good reminder of something I come back to often:
You don’t have to finish everything all at once.
You just have to keep going.
One drawer. One hinge. One step.
Sometimes the middle feels messy because that’s what building looks like.
And sometimes the most satisfying part is simply proving to yourself that you can stay with something long enough to see it come together.
Cabinet Details + Sources
For anyone considering a similar project:
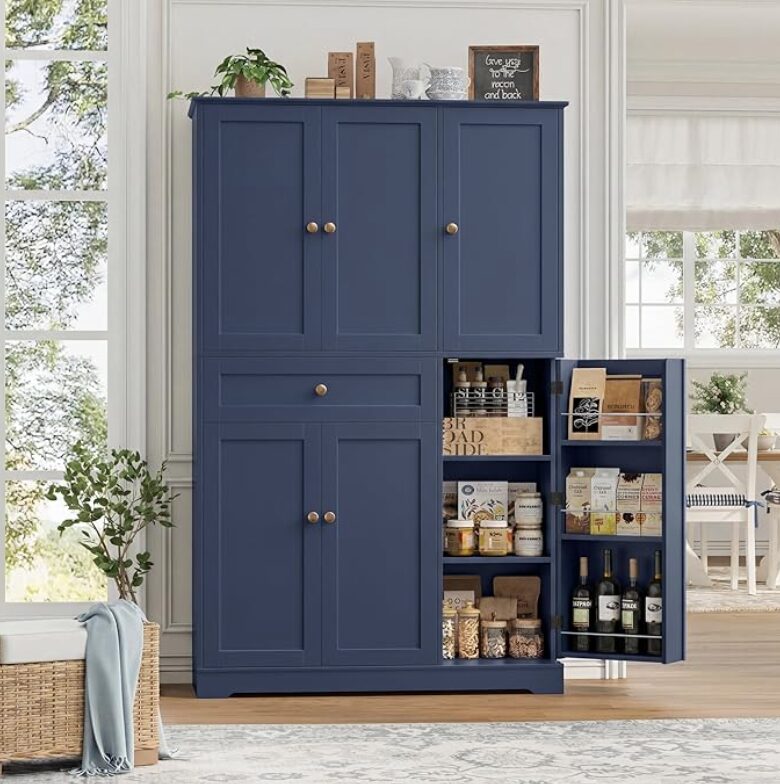
- cabinet source: Kitchen Storage Pantry (affiliate link)
- color/style: Modern, Navy Blue, Gold Hardware
- total assembly time: It took me about 4 hours total (split into 2 days).
- tools used: Phillips screwdriver, level
- size: approx 41″ wide by 68″ tall by 16ish” deep
- difficulty level: For the most part I found it tedious but overall not too challenging. (Difficult parts mentioned below.)
Helpful Tips:
• Particle board is not forgiving. I had a few pieces assembled, probably only at around step 1 or 2 and decided to move to a more open area. TIP: Do not shift or attempt to move what is partially built. It will shift, shred the “wood” and screws will pop out. I was able to continue to build but do have to address a weakened damaged area.
No shame in asking for a second set of hands and help:
• Assembly begins upside down and is separated into top and bottom of the unit. It will require 2 people to flip and place top section on top of bottom assembled piece.
• Remember to hold your screwdriver straight. Screws in the drawer slider kept going in at a bit of an angle. However, those specific screws need to be flush so the drawer glides on the slider/track.
• The door hinges are adjustable which is super helpful. It’ll take some small adjustments with the screwdriver to get doors level.
• For this cabinet, all pieces were included. However, on the last door with storage shelves on the door, one section of pilot holes was missing. And one of the metal dowels for the door shelves was 1/2 inch shorter than required. Just keep in mind you may have some minor troubleshooting and fixes to address.
Would I do it again? Yes. Just with snack breaks, lots of patience, and a second person on standby.
Feeling Overwhelmed?
If you’re feeling stuck on where to start in your own space, that’s exactly why I created the Confident Room Method. It’s a simple, step-by-step guide to help you make progress without the overwhelm.
You can get it here: CONFIDENT ROOM METHOD
Related Posts You’ll Love
The Part Where You Want to Quit

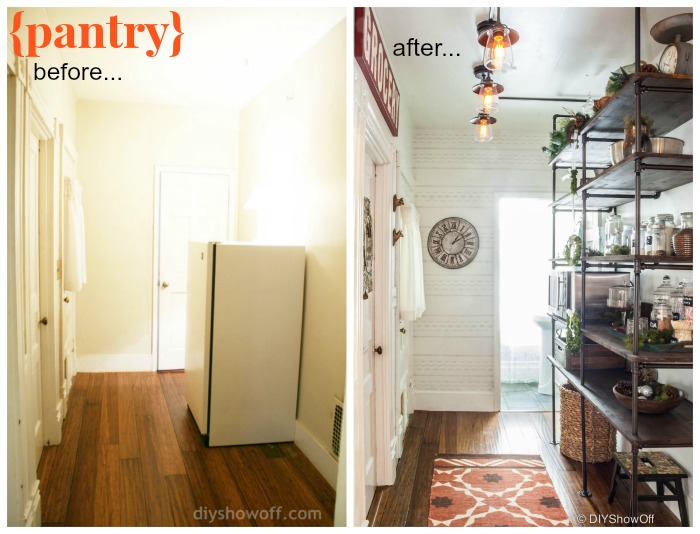
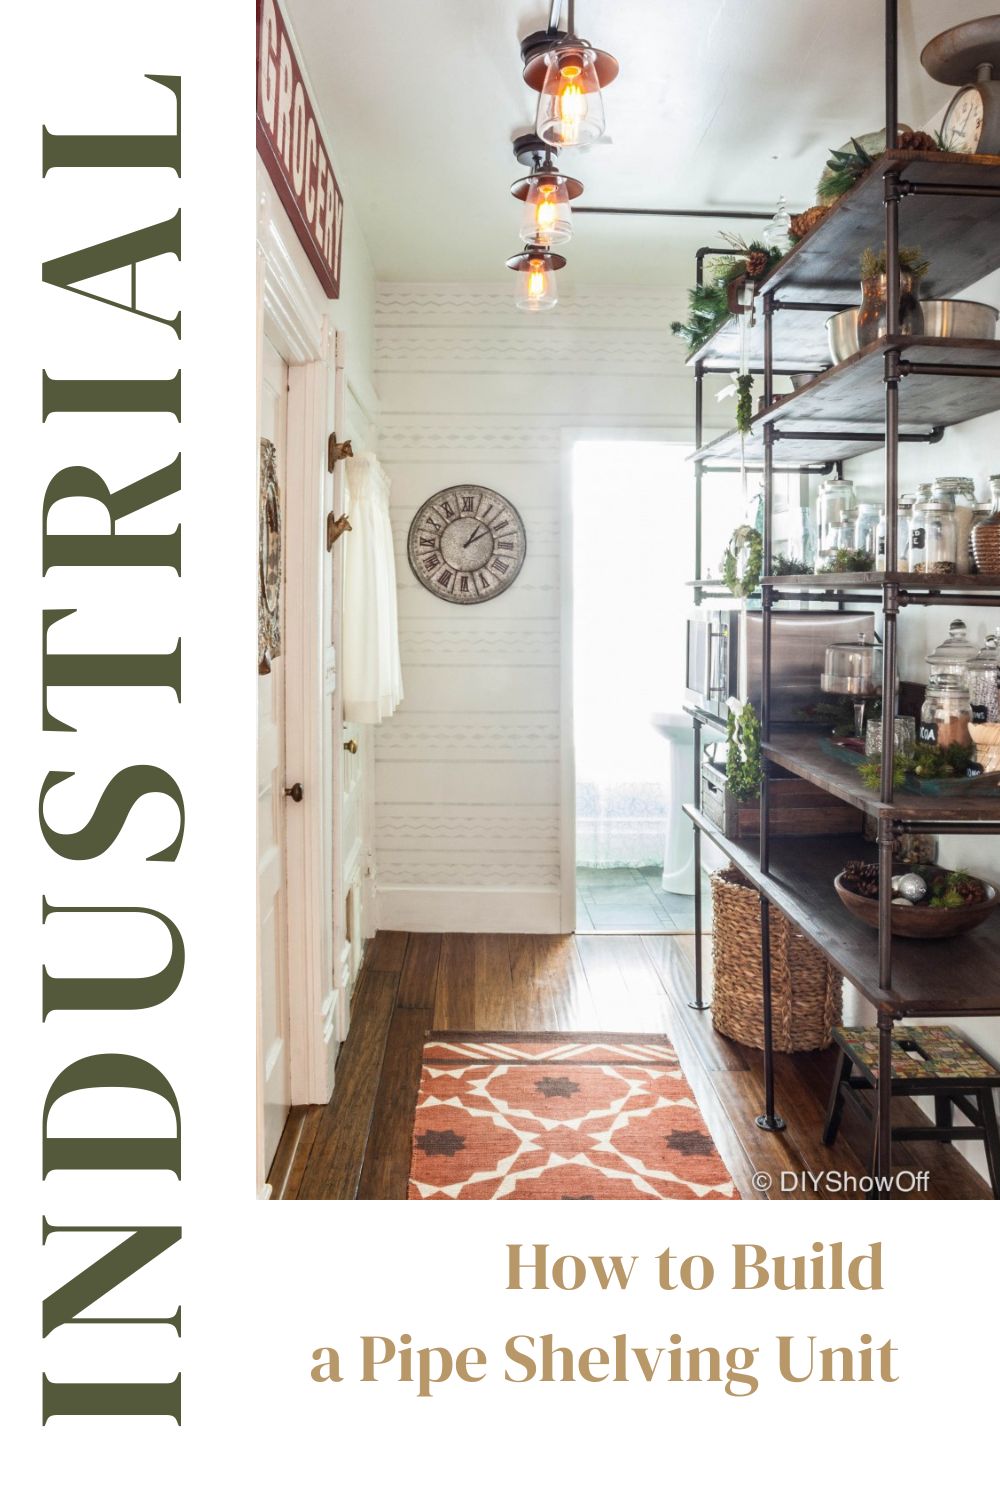
How to Build an Industrial Style Pipe Shelving Unit
Pantry Before & After Makeover