Fall Home Tour

Wow! It’s been a week of fall here at DIY Show Off. Today, the October’fest of fun starts as a grand finale of home tours hosted by Debbie-doos!

If you’re a frequent DIY Show Off reader, I know you’ve seen these as I’ve posted them, but here is my fall recap to-date all in one place…

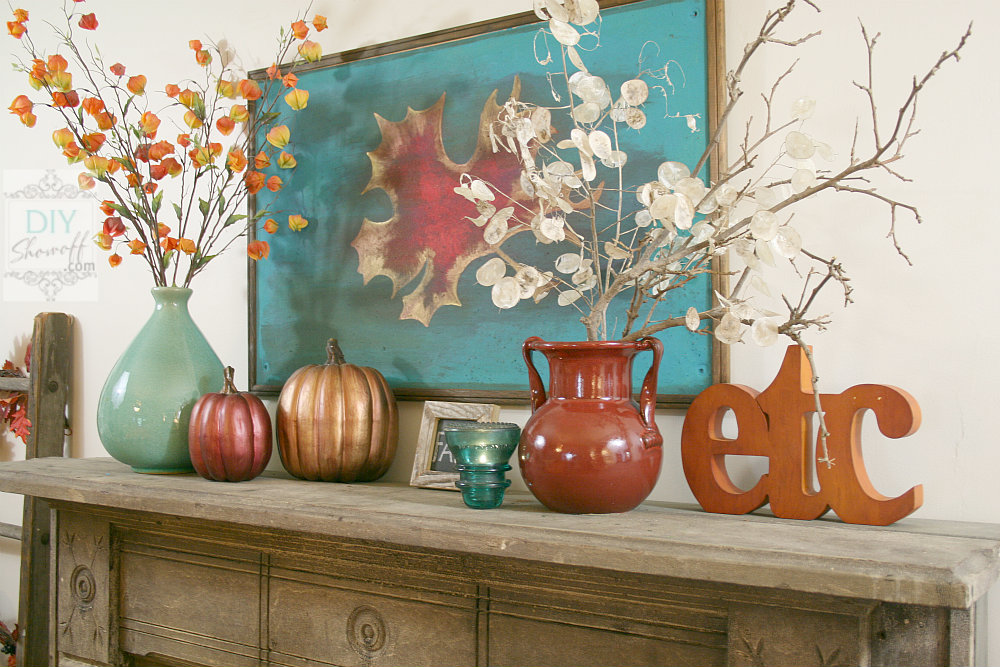
Autumn warmth – fall mantel 

red and teal fall mantle

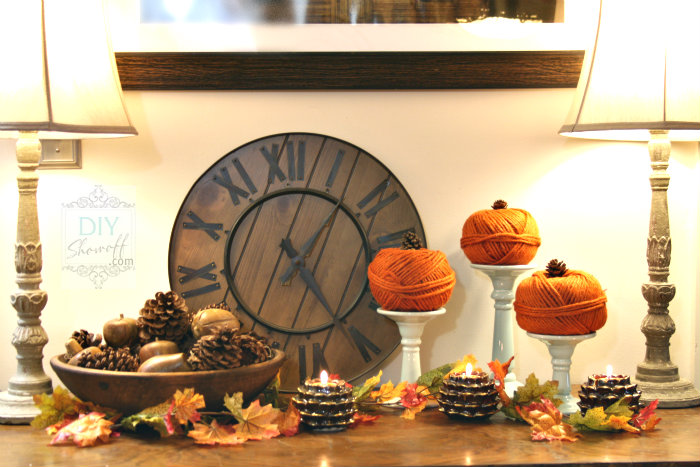
Fall vignette with DIY yarn pumpkins

yarn pumpkins

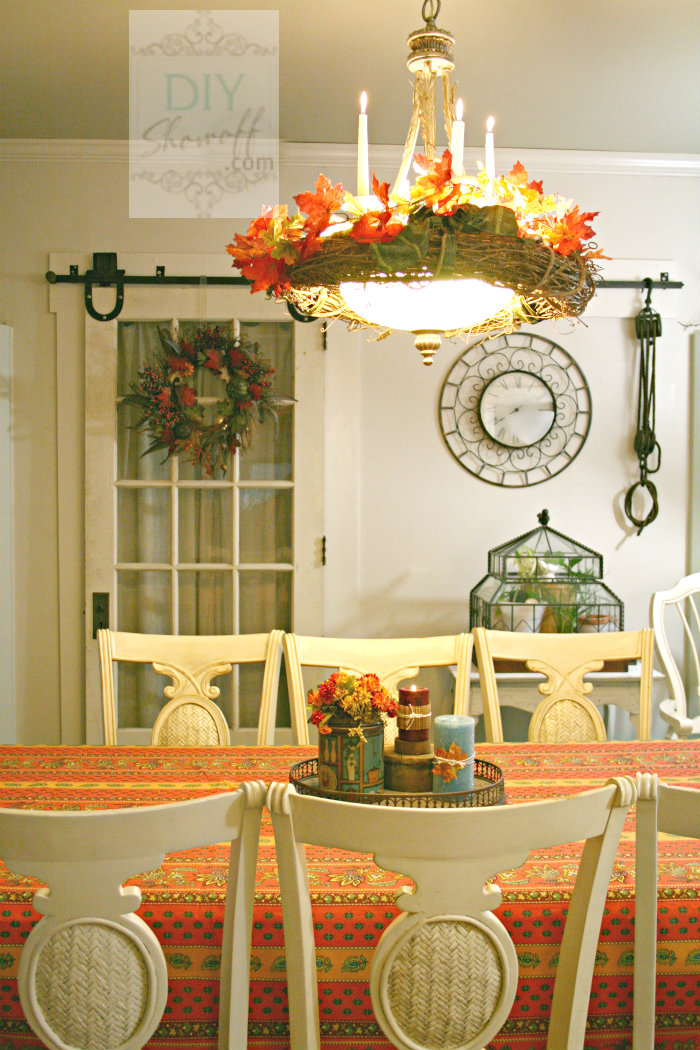
Dining Room

farmhouse fall dining room

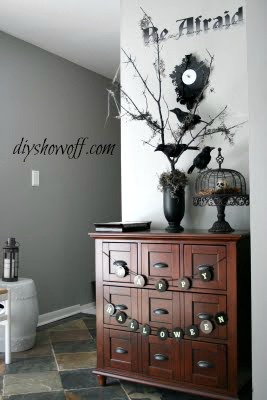
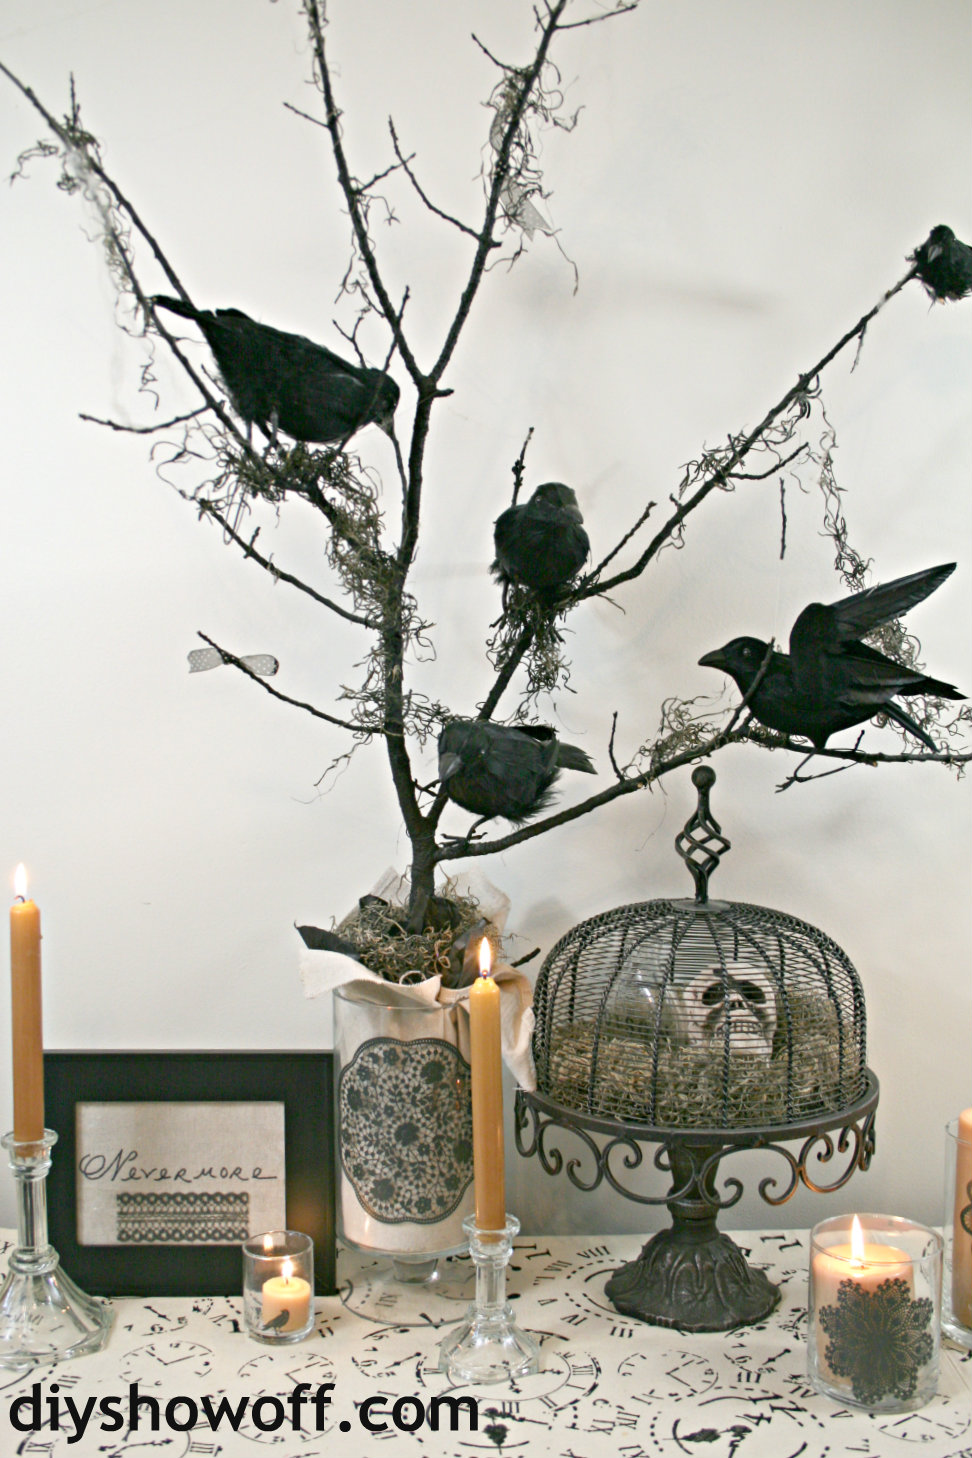
Halloween vignette – DIY nevermore tree and black lace candle holders

DIY Halloween Nevermore Tree

And I recently updated our regular home tour page too! You’re welcome to stop by anytime. Speaking of home tours!

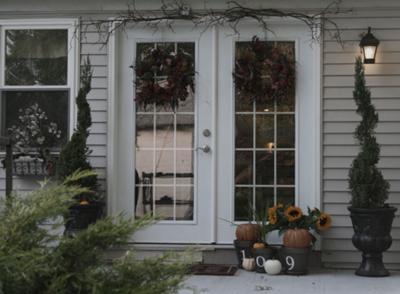
back porch fall decor

TIME TO GET EXCITED! We’ve been renovating an apartment since July and next week is the BIG HUGE AMAZING reveal! I can’t believe it’s the same little place. Neither will you!

Pop over to see MORE fall home tours, Debbie’s beautiful home and to link up yours…

octoberfest of fun link party

All Hallow’s Eve Nevermore Craft

Once upon a mid-day dreary, a Halloween “Nevermore” tree served as a lonely focal point in a spooky Victorian vignette but nevermore thanks to the rare and radiant craft maiden, Martha Stewart Crafts!
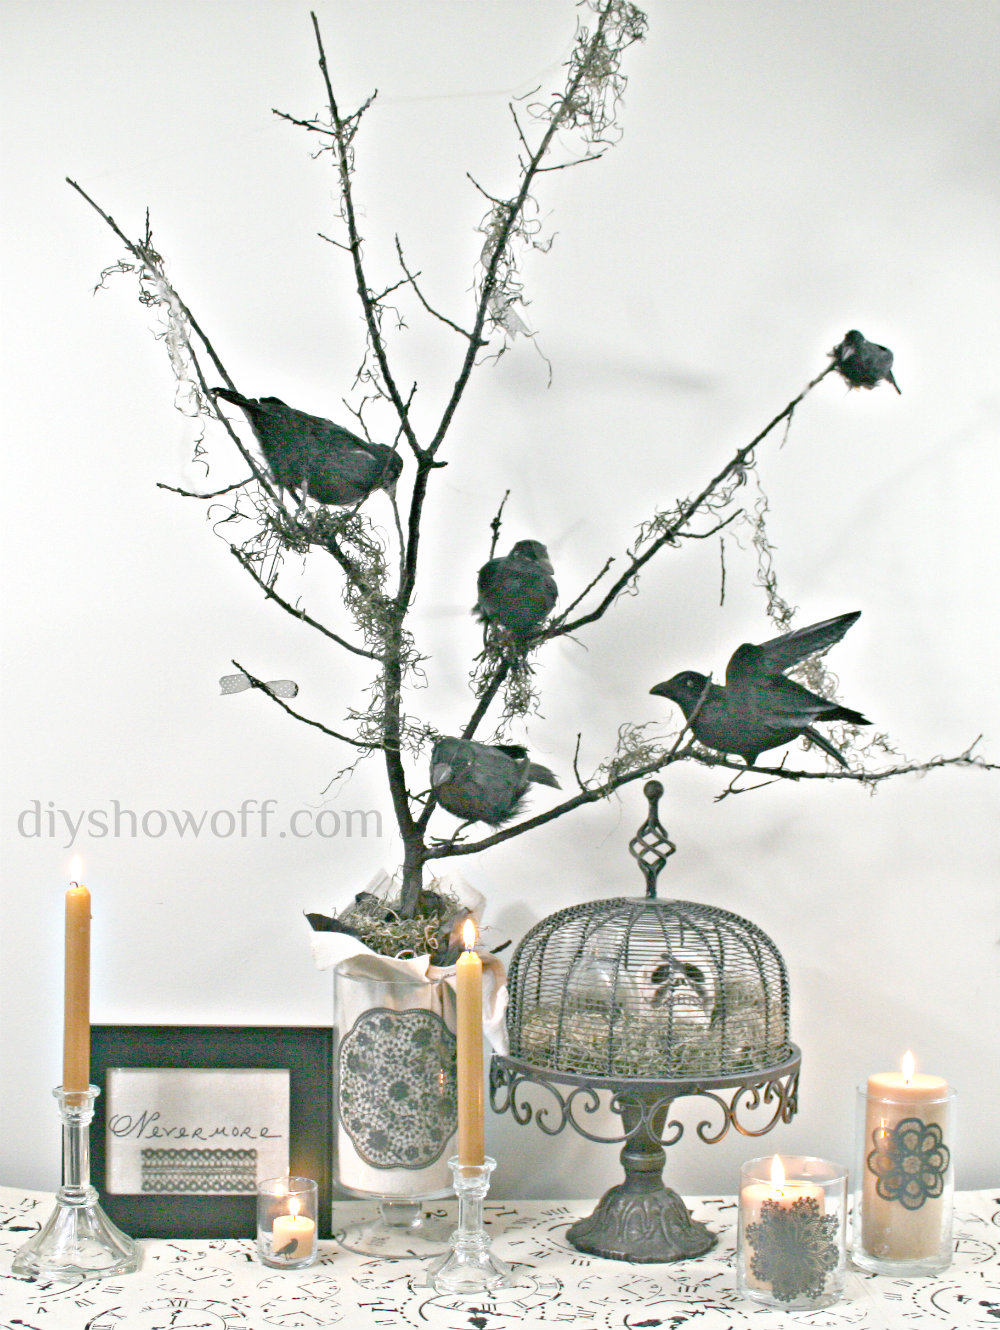
DIY Halloween Nevermore Tree

Now, there’s an eerie glow with the addition of candlelight.
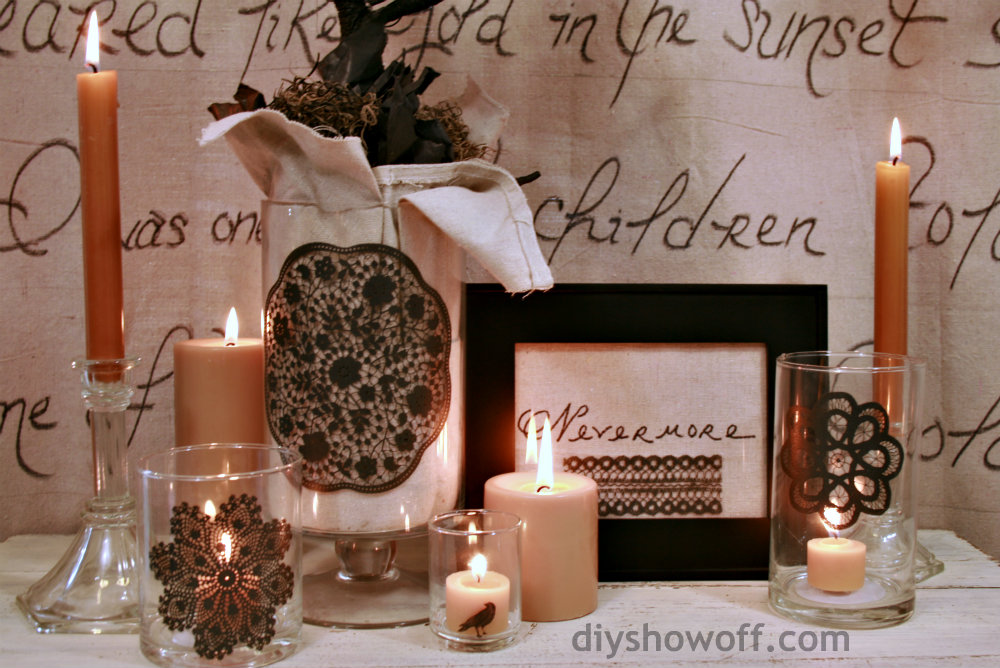
painted glass

It felt more like Christmas than Halloween when a stash of Martha Stewart Crafts supplies arrived at my door…
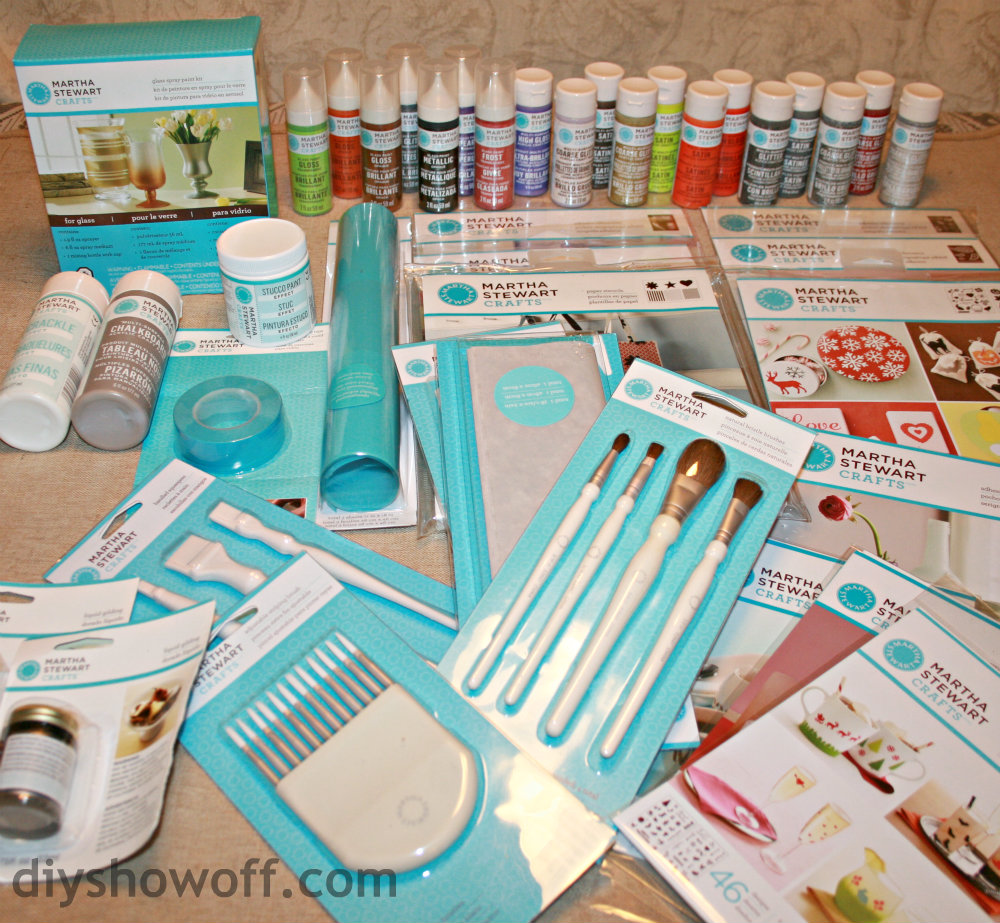
martha stewart crafts

This is my kind of trick or treat goodies!

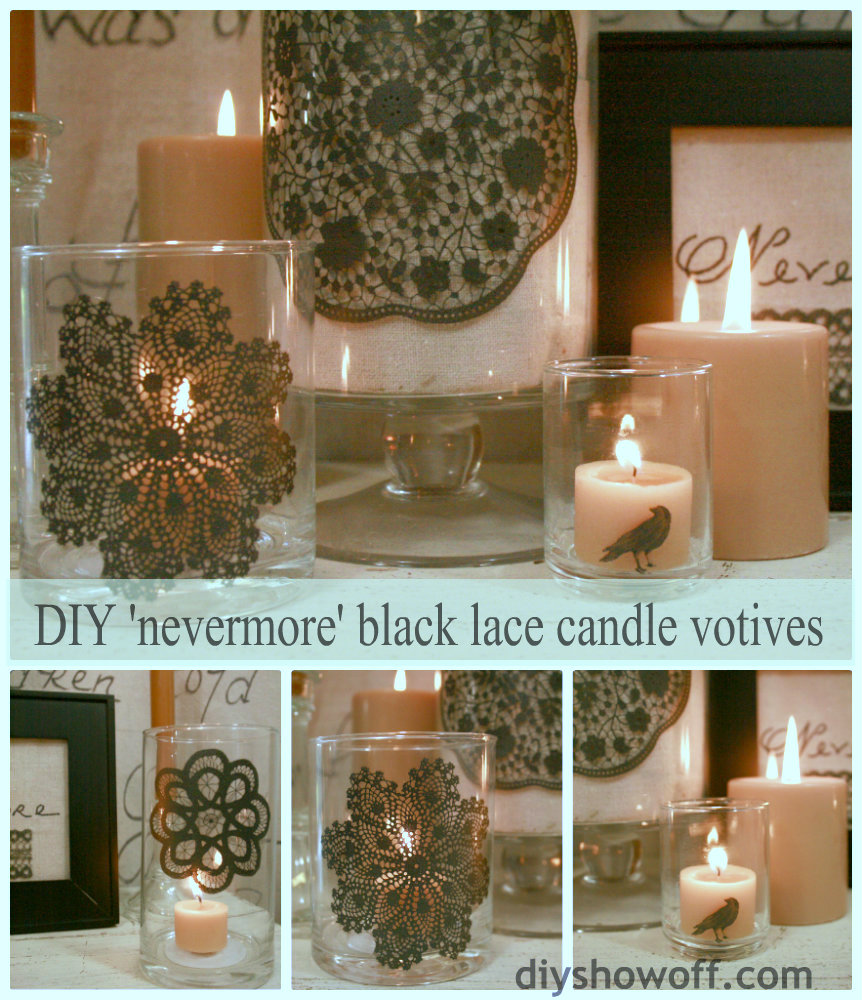
I chose to accessorize glass candle holders with an Edgar Allan Poe/Victorian Halloween vibe with black lace accents {love Halloween that’s not so “Halloween-y” and can be re-used all year round}

DIY nevermore black lace candle votives

Materials:

  • glass candle holders, jars, vases (with a smooth surface)
  • squeegee
  • Martha Stewart adhesive silkscreens (lace doilies)
  • Martha Stewart metallic glass paint (black nickel)
  • Martha Stewart adhesive stencils (small holiday collection)

Tutorial:
1. Prep: Cut apart adhesive silkscreens. Peel away the backing of your adhesive silkscreen. Clean glass with rubbing alcohol.2. Place adhesive silkscreen onto glass and smooth into place with a squeegee. They are re-position-able so if it looks crooked, just peel it away and replace. You may also want to tape the side to further secure into place but I didn’t find it necessary until after several washings.
>3. Apply a small amount of glass paint to the outer edge. Using the squeegee, pull the paint vertically, then horizontally, filling in the pattern. Up and down, left to right, down and up and right to left…the silkscreen dance. painting glass craft
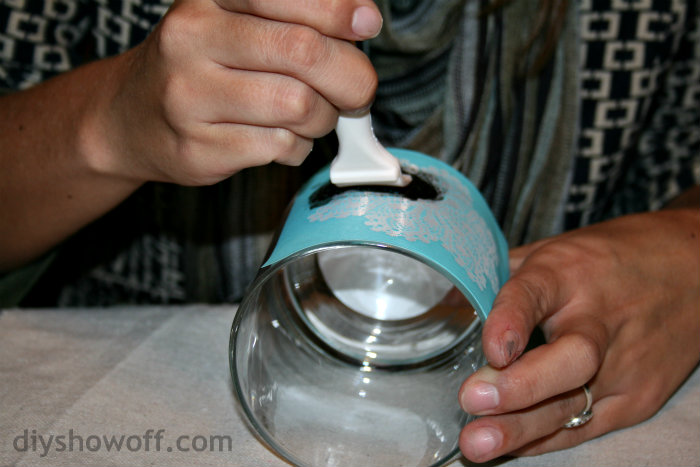
4. Carefully peel away the adhesive silkscreen.painting glass
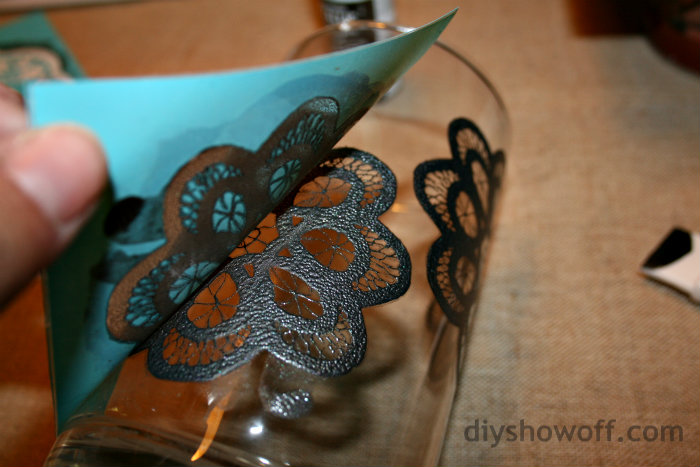
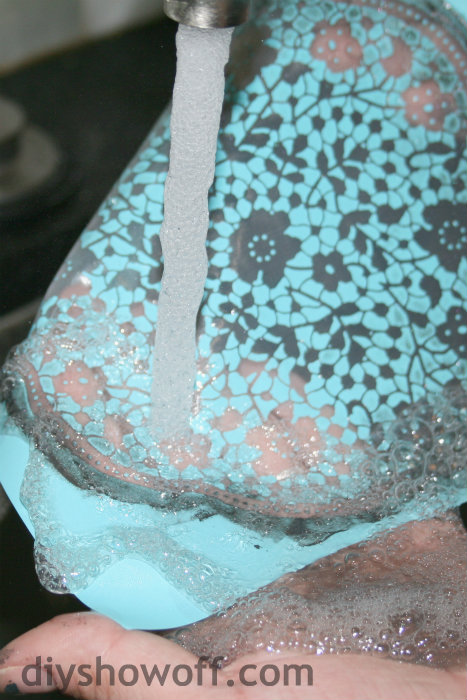
5. Immediately wash the adhesive silkscreen with water (I just ran mine under the faucet and used my fingers to help clean away the wet paint). washing adhesive silkscreenSet aside to dry (and replace on original backing to store).< 6. Let glass dry. Glass paint air cures in 21 days or you can speed up the curing process in the oven (follow instructions). I love the metallic shimmer of the Black Nickel glass paint...Martha Stewart lace doily silkscreen
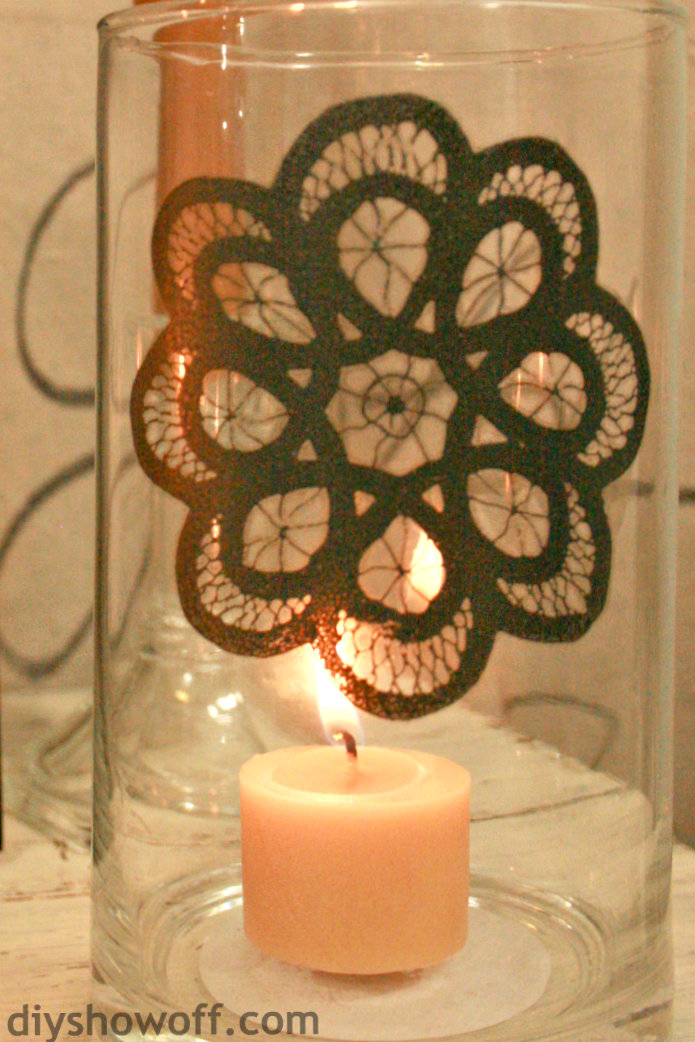
So pretty and the perfect accent to complete a Victorian Halloween vignette, don’t you think?
style=”text-align: center;”>The Raven "Nevermore" Halloween craft decor
style=”text-align: center;”>
style=”text-align: center;”>{DIY Halloween Nevermore Tree tutorial}
style=”text-align: center;”>
I also used the adhesive stencils (the crow) for a smaller glass votive holder…
style=”text-align: center;”>crow candle votive
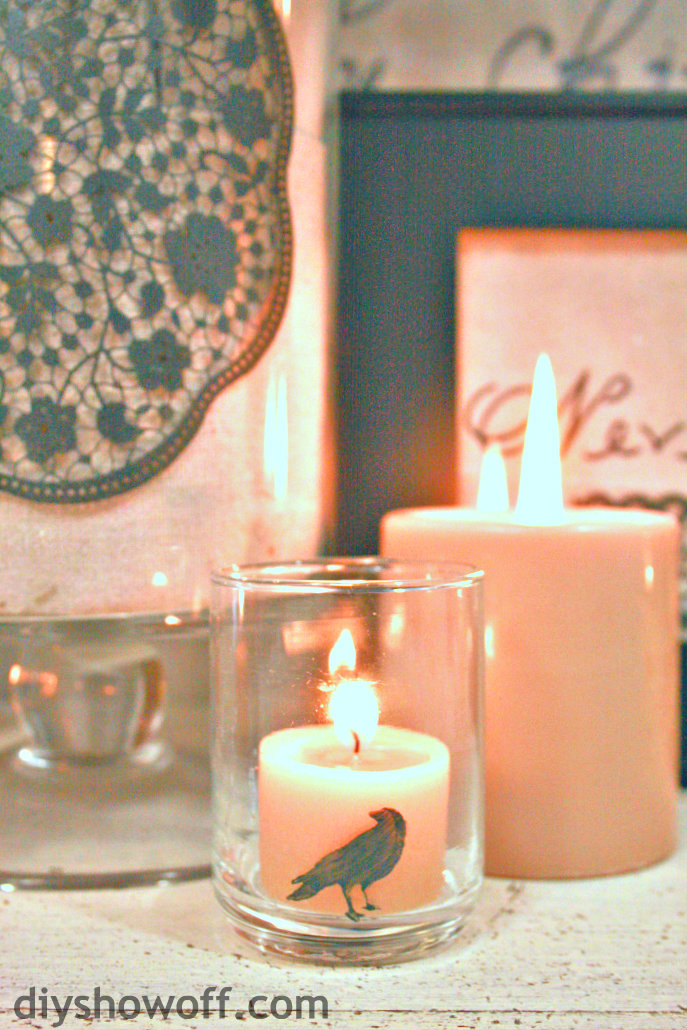
And now the Raven tree is accessorized all the more.
The adhesive silkscreens and adhesive stencils are so fun … you’ll want to go crazy with them! I can’t wait to try it on fabric. Bri tested the adhesive stencils on painted/distressed wood scraps. So cute!
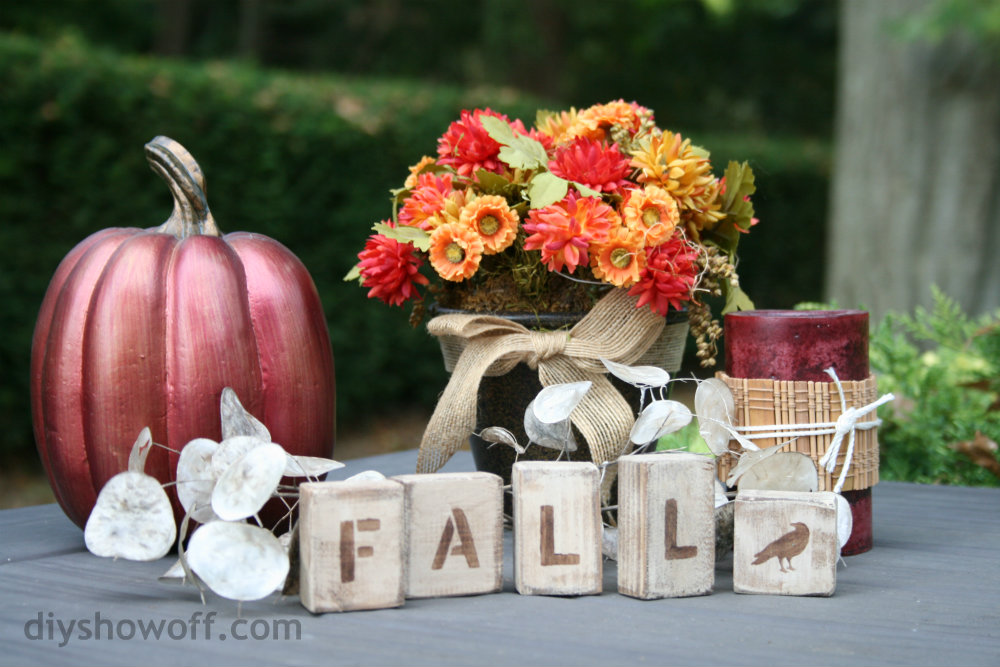
wood scrap fall letters

See more Martha Stewart Halloween craft ideas…


;

I received product and payment for my participation via The Blueprint Social for this post, however experience and opinions are 100% my own. 

Sharing here:

October’fest of Fun! {Theme: Fall Crafts}

Welcome, DIY friends! In lieu of the regularly scheduled DIY Fall Festival this week, I’m super excited to be kicking off and hosting the October’fest of Fun with some of my blog friends! Today’s theme is “crafts”. All fall crafts, including spooky!
DIY Halloween Nevermore Tree
I decorate one area for Halloween every year, one small fun Halloween vignette. This year, I’m bringing back my “nevermore” tree that I made a few years ago. I swapped out the container, added a few more crows. Here are some tips on how I made mine for making your own:
Materials:
  • Vase, container, urn. I used glass this time but any container for holding small branches works. A few years ago, I used an old thrift store vase and spray painted it black…

DIY Halloween decor

  • Small branch (desired size that fits your container). Choose one that has several branch-offs to look more like a tree.
  • Black spray paint
  • Styrofoam cone
  • Handful of dry moss. Other options: shredded newspaper, crinkled paper
  • Dollar Store accessories: faux crows, plastic spiders, cotton spider webbing, ribbon
  • Optional: low temp hot glue
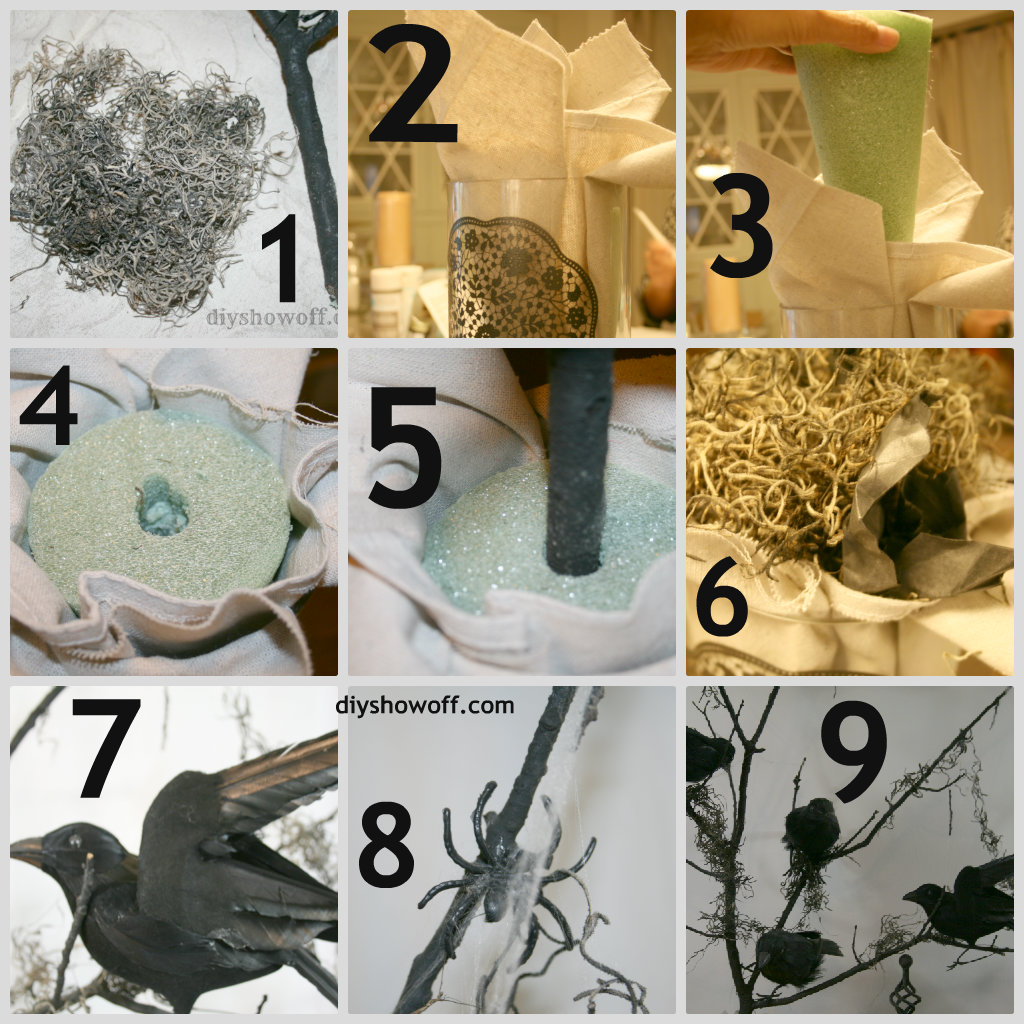
Tutorial:DIY nevermore tree tutorial
1. I started by spraying my branch black and adding a touch of black to my dried moss and let them dry.
2. Because I used a glass container, I lined it with a scrap piece of dropcloth.
3. Paper, newspaper, moss would also work.
4. Using the bottom of my tree branch, I poked a hole into the circular side of my cone. Insert the Styrofoam cone into container with the circular side/hole facing up. You can secure your foam to the container. I didn’t.
5. Insert the branch into the Styrofoam hole. Secure with hot glue if needed.
6. Cover styrofoam with dried moss, crinkled paper or shredded paper. Glue into place if desired.
7.  8.  9. ACCESSORIZE: I strung more dried moss and spider webs to my branches (drag the spider webbing). Attach crows. I used black twist ties to attach some of my crows, others are just propped on branches. I did use hot glue to attach a few plastic spiders and added a couple of snips of sheer ribbon here and there for a little added whimsy.
Stand back and admire!
DIY Halloween Nevermore Tree
Do you decorate for Halloween? Any fun fall crafts to share?
  • Note: Today’s theme is “crafts” – Fall or Halloween crafts only please {ALL FALL DIY FALL FESTIVAL resumes next Wed.}
  • Please link back using the button below or permalink to this post. Thanks!
DIY Showoff
<div align="center"><a href="https://diyshowoff.com/" title="DIY Showoff"><img src="https://i237.photobucket.com/albums/ff107/smnf/Octoberfestoffunbuttonsidebarsize205x_zps2e9f4157.png" alt="DIY Showoff" style="border:none;" /></a></div>


Don’t forget to visit these blog friends this week:
Thursday: Link up your fall mantels with Shannon @ Fox Hollow Cottage

Friday: Share your fall tablescapes with Kristin @ My Uncommon Slice of Suburbia

Saturday: Debbie @ Debbiedoo’s – share your fall home tour!
OneCreativeMommy.com