Transforming Home Decor

Who doesn’t love the power of paint? Need a quick change in your existing decor? Pick out a decorative accent and give it a coat of spray paint for a fresh new look. 

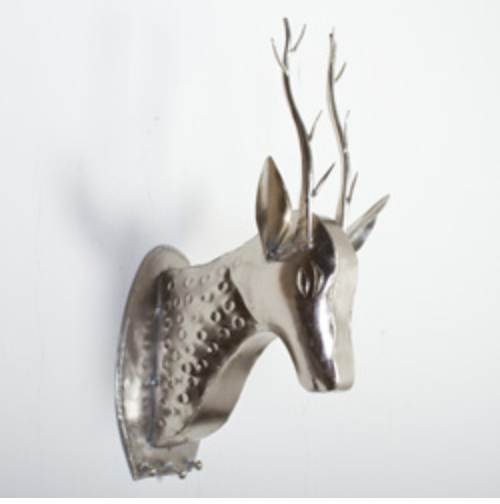
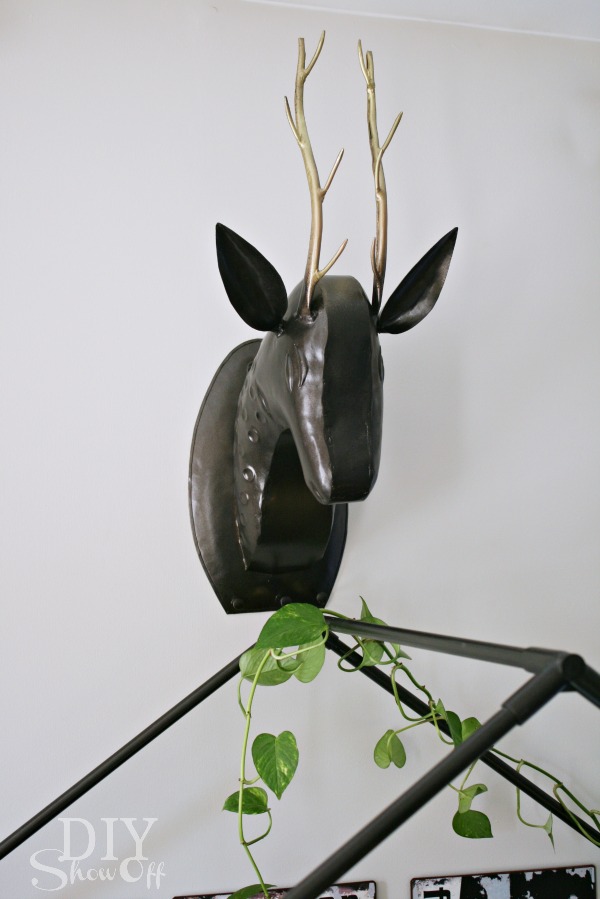
This deer head was pretty and shiny in silver but I wanted a more custom look: oil rubbed bronze with gold antlers to be exact.

wall mount faux deer head

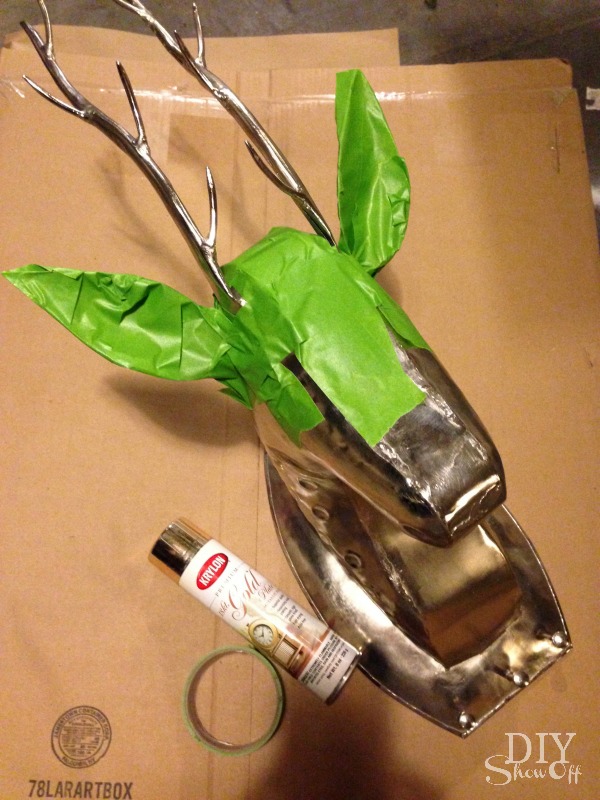
Using FrogTape®, I taped off the deer’s head then gave the antlers a quick coat of gold spray paint.

spray painting home decor

I removed the FrogTape and did two coats of oil rubbed bronze on the deer head without taping…so it could fade up into the gold.

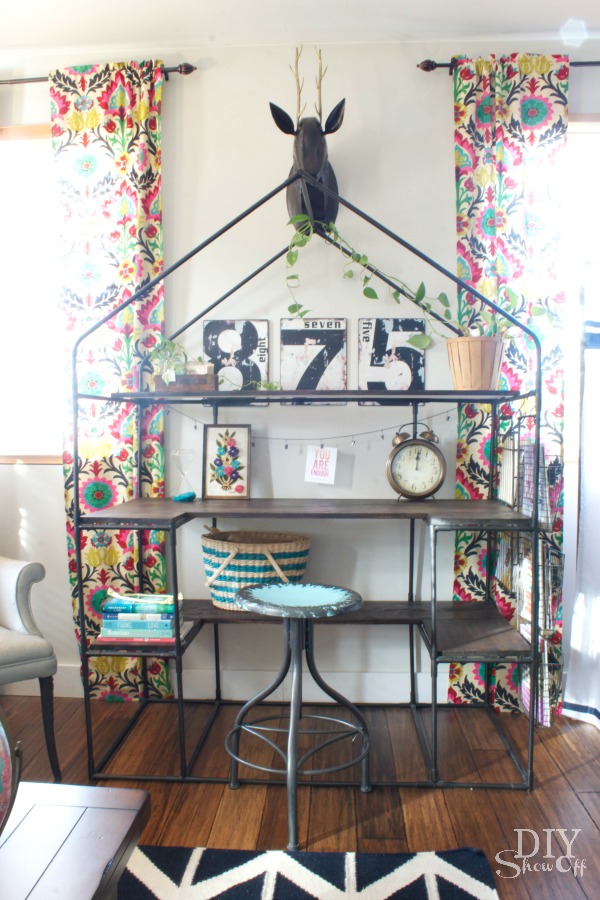
family room makeover

Much better for the space above my greenhouse frame turned desk. workspace

See the entire family room makeover here

FrogTape Blog Squad

Disclaimer: I received compensation to complete this project for using FrogTape® products. All opinions, projects and ideas are based on my own experience.

Kerry’s beautiful tree for the Christmas Tree Party & Contest

Kerry's Christmas Tree

Personalized Trick or Treat Bags

Trick or Treat is coming up at the end of the month. I sure do miss having little ones at home. We don’t even get trick-or-treaters in our neighborhood but I do have two nieces and one nephew, all under the age of 5. With help from FrogTape® and Happy Crafters, I whipped up a little Halloween surprise for them. They’re going to love these personalized trick or treat bags!
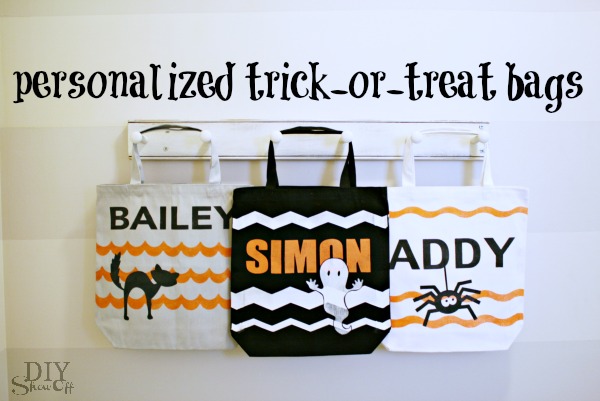
DIY personalized trick or treat bags

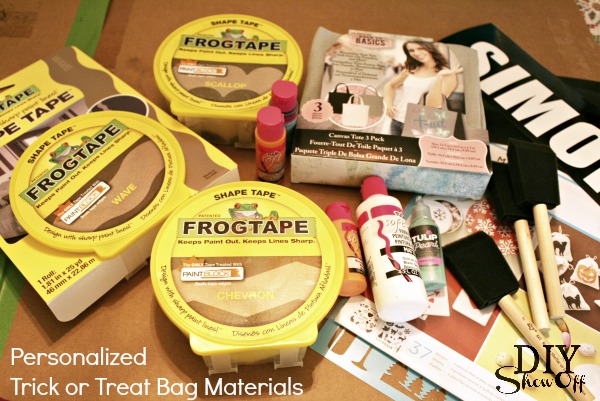
Materials:DIY personalized trick or treat bags

  • canvas/linen tote bags
  • fabric paints
  • FrogTape® Shape Tape (I used all 3 patterns: chevron, wave and scallop)
  • stencils (I created my own stencils using glossy black vinyl and transfer paper from Happy Crafters)

Tutorial: (please pardon the poor lighting…it’s raining today)

Part 1 – Shape Tape

Iron the tote bags to remove wrinkles.

Insert cardboard into the tote bag (to block bleed-through to the other side).

Cut a piece of FrogTape Shape tape a little wider than the bag. Decide placement. Remove half of the strip of wax paper backing from the Shape Tape. Position and press into place. Remove the other half of the wax paper backing and smooth into place. I found that securing the edges of the tape to the table underneath on the sides, kept my tote bag from sliding around, holding it in place for painting.
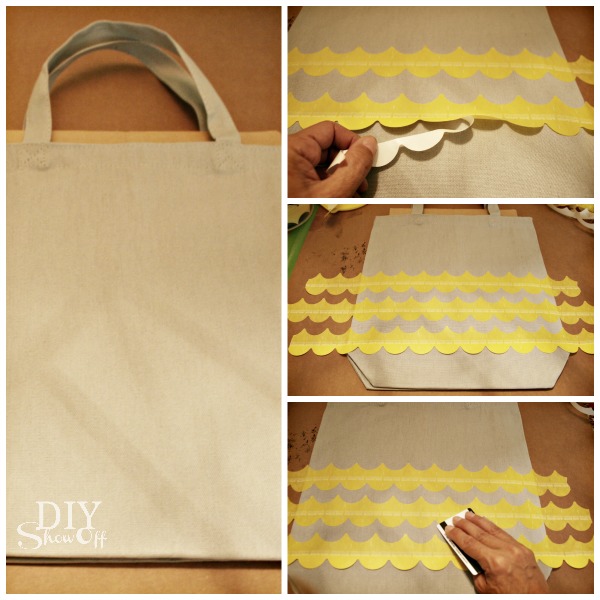
DIY personalized trick or treat bags

Repeat step 3 to create a ‘stencil’ border/line for the design. 

Using a credit card, I rubbed the Shape Tape to make sure it was nice and secure, sticking to the canvas…check closely to be sure the Shape Tape is complete adhered to the canvas. 

Paint! Be careful not to lift the Shape Tape with brush strokes. It helps to move the paint brush from ‘on the tape’ moving to the fabric rather than starting on fabric and pushing paint to the tapeline. 

Remove Shape tape. Nice crisp lines!!! Let the paint dry. DIY personalized trick or treat bags
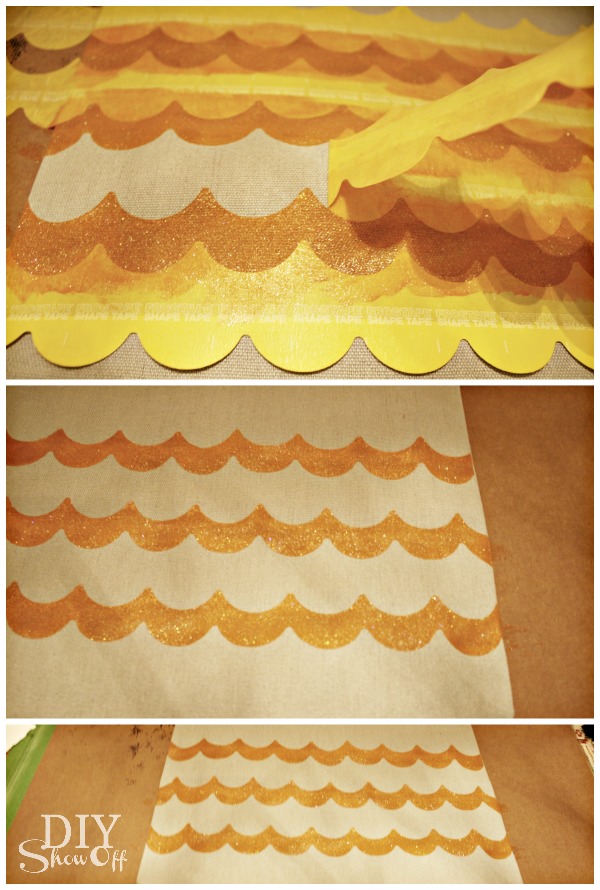
Part 2 – vinyl stencils

Using my Silhouette designer studio software, I created name stencils as well as purchased a few Halloween shapes from the Silhouette American online store. Then sent it to cut to create vinyl stencils. DIY personalized trick or treat bags
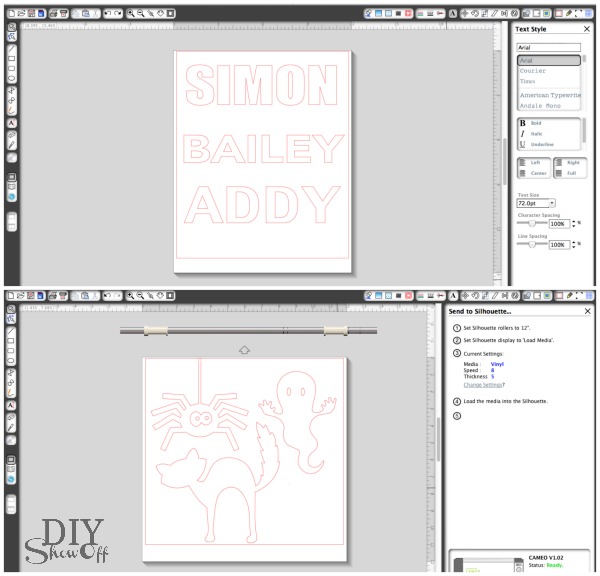
Peel away lettering and design to create a stencil. Using transfer paper, position vinyl stencil on tote, rub with a credit card and remove transfer paper – leaving the vinyl stencil in place on the canvas. DIY personalized trick or treat bags
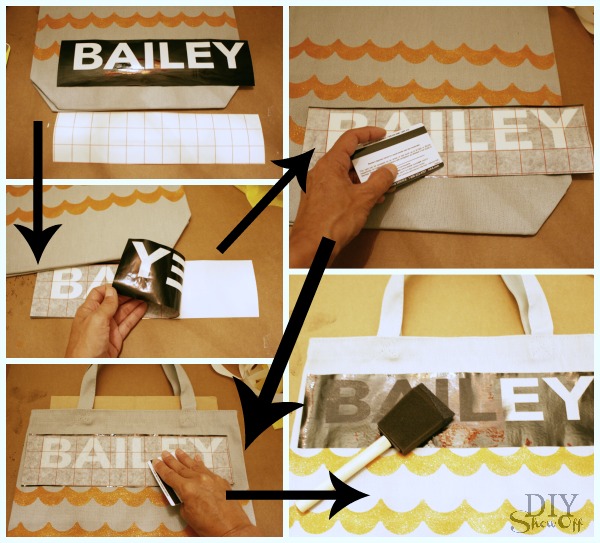
Paint and remove vinyl. Allow paint to dry 4 hours. 
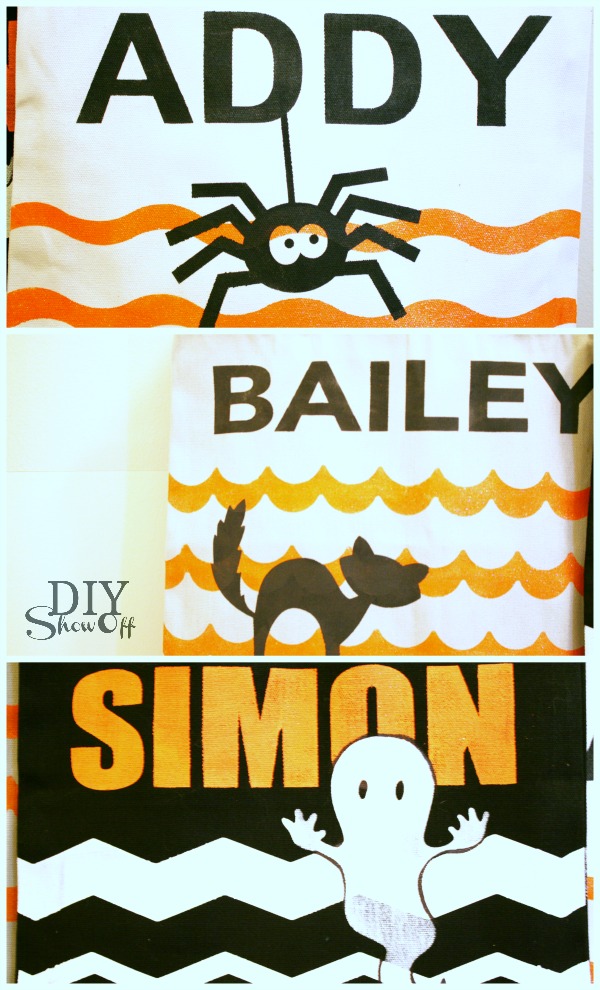
DIY trick-or-treat bags

*Using a black Sharpie, I traced around the ghost where his white body met with the white chevron. 

DIY trick-or-treat bags

Aren’t they darling? Years of use! Machine washable (inside out) after 72 hours. Cute.Cute.Cute!DIY personalized trick or treat bags
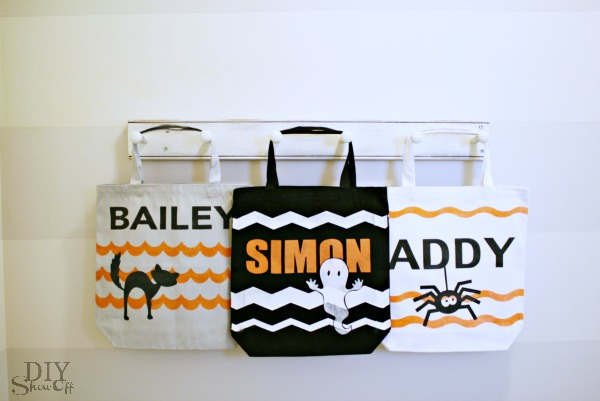
 

Now I have three little trick-or-treaters! Treators? What’s your favorite kind of Halloween candy?

FrogTape Blog Squad

*I’m a member of the FrogTape® Blog Squad. This post is sponsored by FrogTape®. As always, the opinions are completely my own based on my own experience. See more DIY from the FrogTape® blog squad.

*This post is sponsored by Happy Crafters. Tutorial, experience and opinion is my own. See more projects at Happy Crafters blog.

HClogopngsmall

Fall Chevron DIY

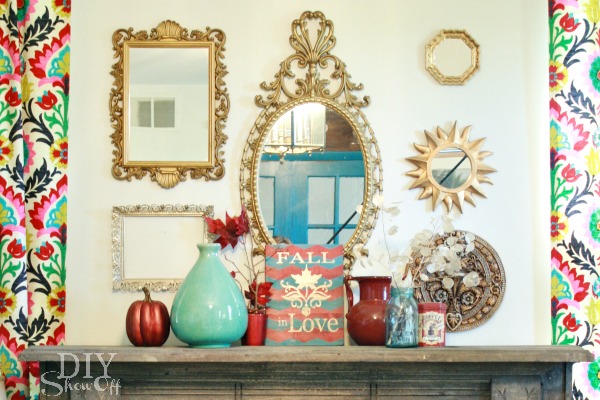
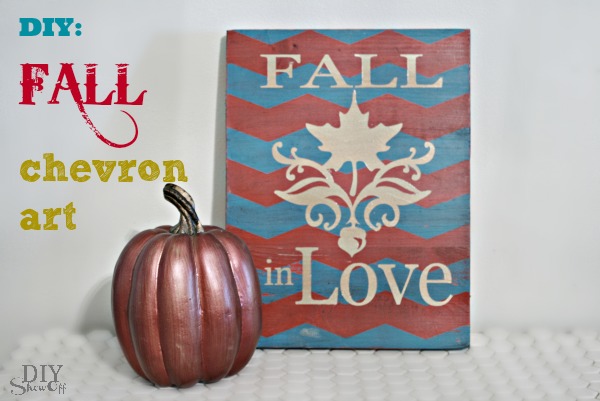
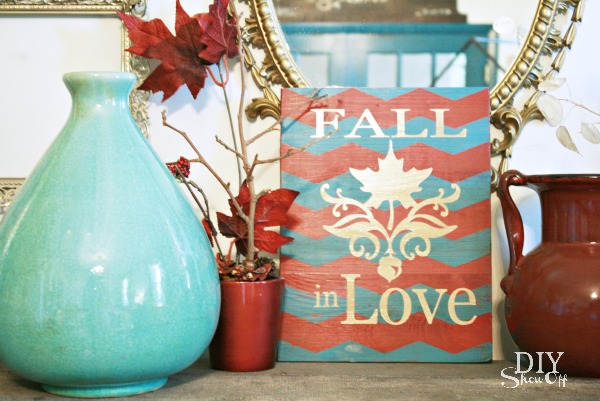
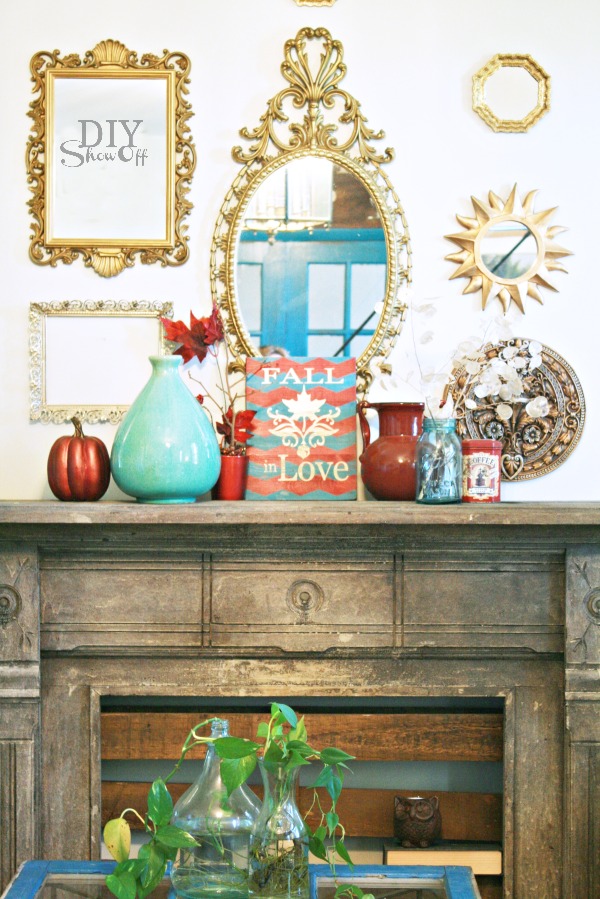
Earlier this week, I shared my fall home tour. Did you happen to see the DIY chevron “Fall in Love” plaque on the mantel in my family room?

colorful fall mantel

Tutorial:

DIY Fall chevron Art

Materials:

  • Scrap wood
  • FrogTape® Chevron Shape Tape
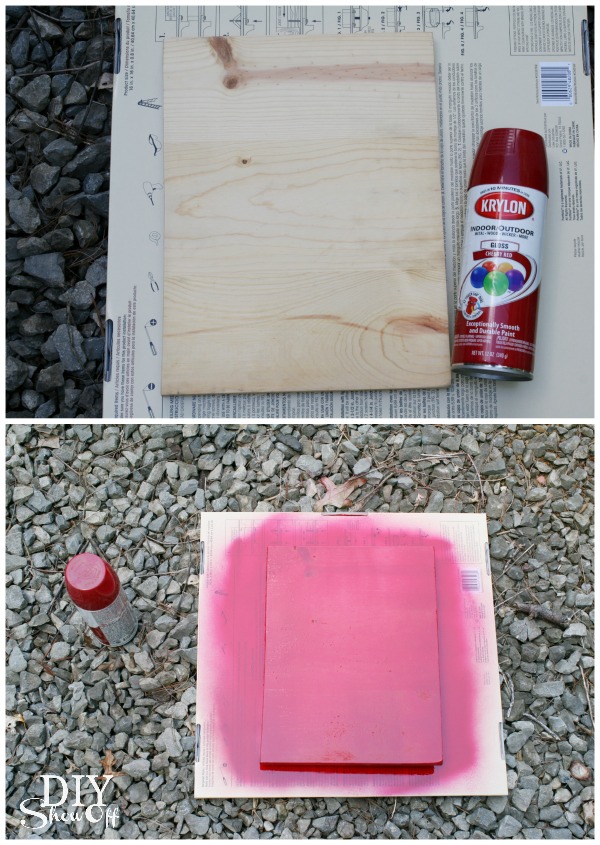
  • Paint (I used glossy Krylon cherry red spray paint, turquoise DecoArt Americana Desert Turquoise acrylic craft paint and a gold spray paint)
  • Fall stencil (I created/cut a fall vinyl stencil using my Silhouette. Leaf damask design from Silhouette America online store.)
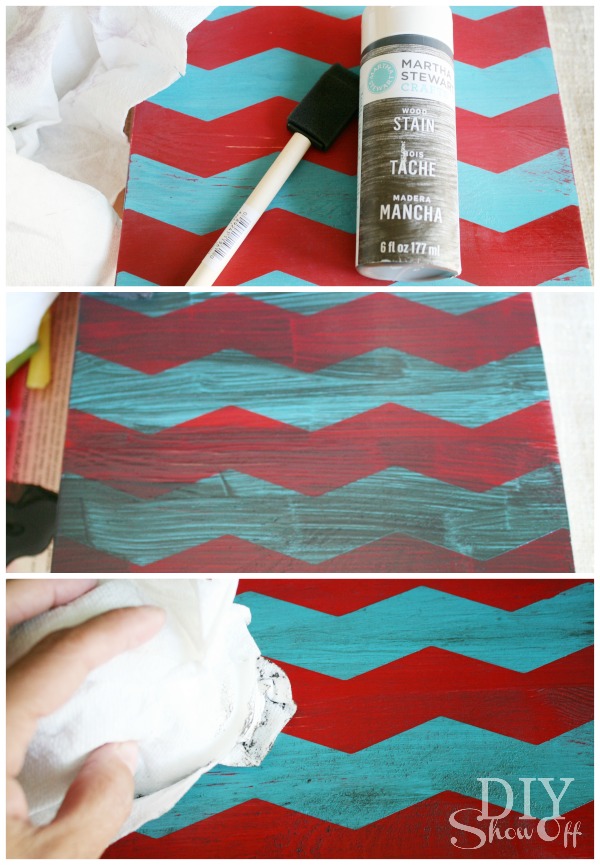
  • Martha Stewart Crafts Wood Stain 

Here’s what I did:

1. I sanded the edges of my scrap wood (left over from a shelf DIY).

2. I spray painted my wood plaque red and let dry for about an hour. 

DIY Fall Art

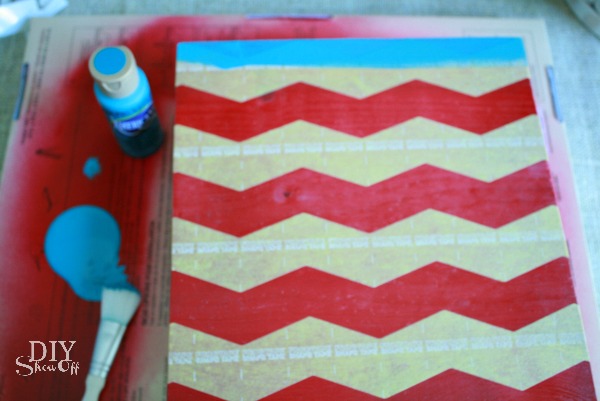
3. Starting at the top of my plaque, I applied the FrogTape® Chevron Shape Tape. Cut to size, remove half of the wax paper backing, place Shape Tape, remove other half of the wax paper backing and smooth into place. 

DIY Fall Art

4. and just kept adding rows by placing the zig zag design exactly as my first piece and just eye-balling the distance. To get a chevron pattern, line up the zig zag.

5. Using my thumbnail, I made sure the edges of the Shape Tape were secure. 

6. Then painted my chevron using turquoise craft paint. I did three coats to completely cover the red paint underneath. 

DIY Fall Art

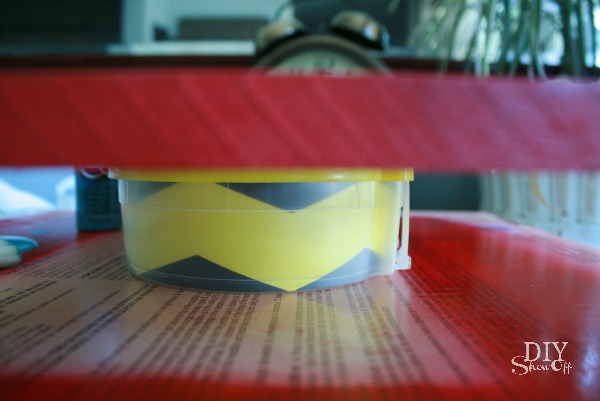
Tip: Elevate the wood using the tape container to paint sides.

DIY Fall Art

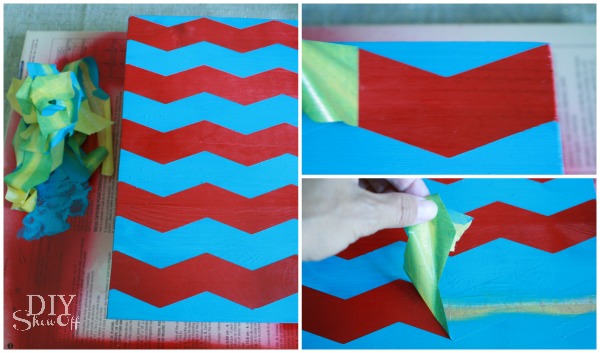
7. I peeled away the Shape Tape after the third coat of craft paint while the paint was still wet and let it dry. 

DIY Fall Art

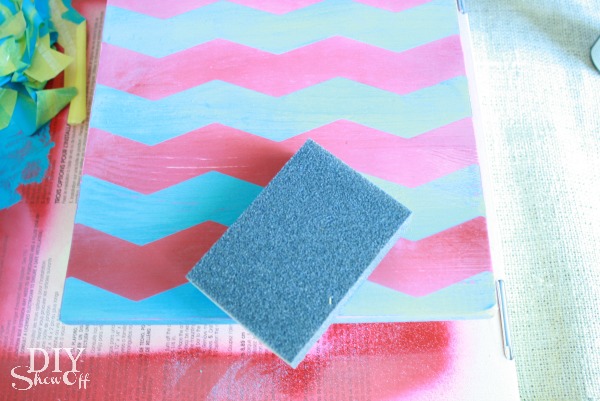
8. Once dry, I sanded the the entire plaque for a bit of distressing.

DIY Fall chevron Art

9. Then brushed on the wood stain, let it sit for a few minutes then wiped it off for an aged look.

DIY Fall chevron Art

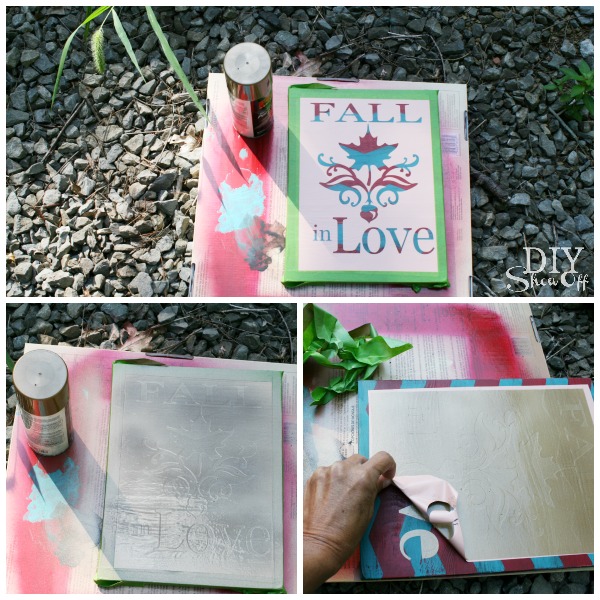
10. Once everything was dry, I applied my vinyl stencil and taped the edges of my wood plaque with FrogTape® Multi-surface.

11. Then spray painted the design using gold spray paint. 

12. Remove tape and vinyl stencil.

DIY Fall chevron Art

It perfectly coordinates with my red/aqua fall mantel display…

DIY Fall chevron Art

red gold turquoise fall mantel 

Sharing at the Fall Mantel PartyFall Nesting Party and Home Stories A to Z

FrogTape Blog Squad*This is sponsored by FrogTape®. FrogTape provided by Shurtech. The opinions are completely my own based on my own experience.