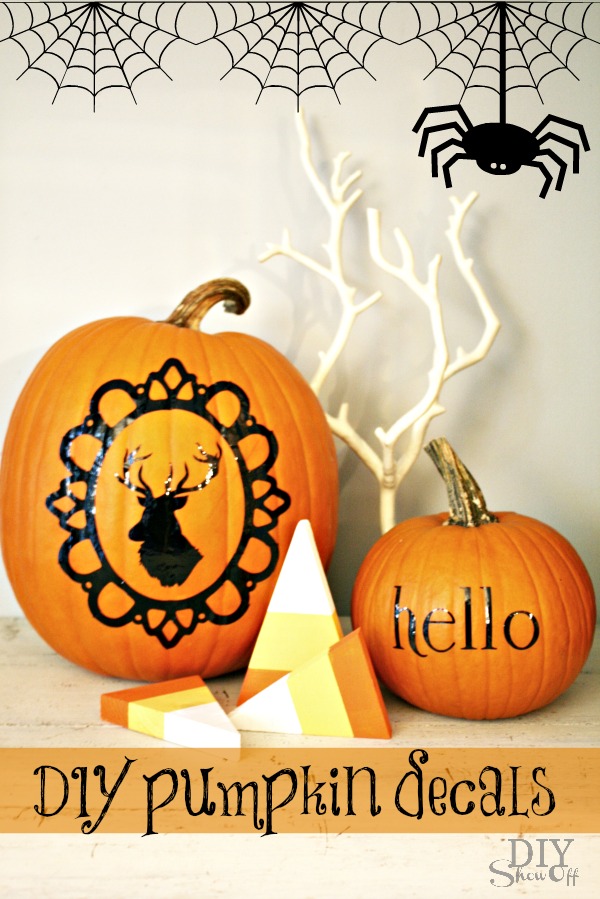
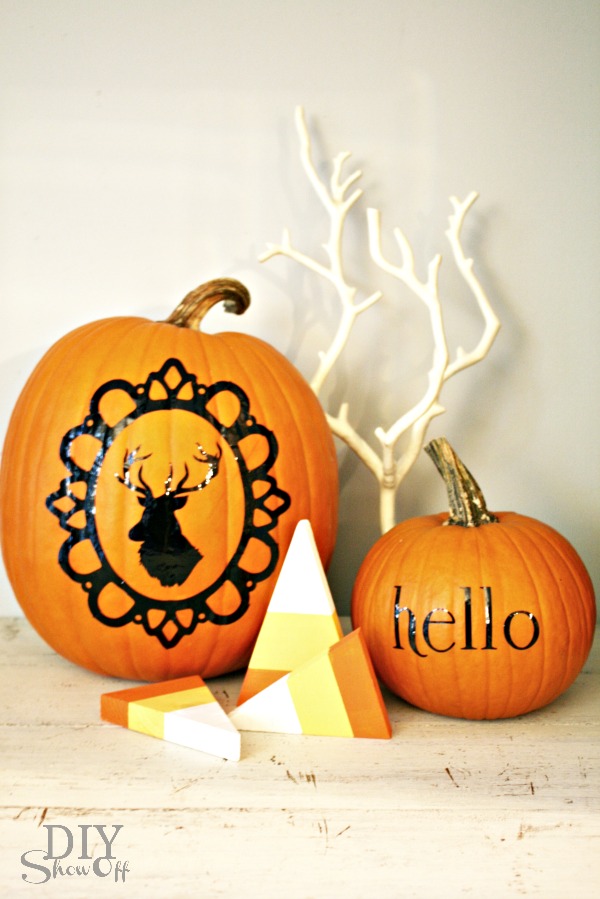
With the girls all grown up and on their own, I have little desire to carve a pumpkin to create a jack-o-lantern. And my pumpkin carving skills are a bit juvenile so I’m loving this alternative to carving…my pumpkins look so pretty!
Materials:
- large glossy adhesive vinyl from Happy Crafters
- transfer paper
- pumpkins
Tools:
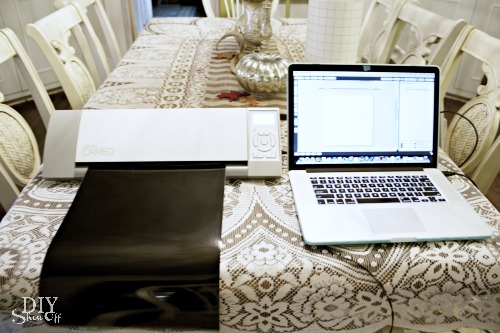
- Silhouette Cameo
What I did:
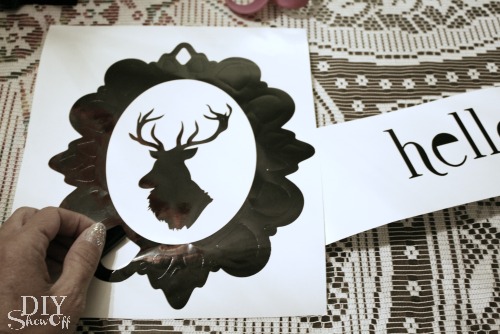
1. I purchased a deer silhouette and frame from the online store and sized them in my Silhouette Studio designer software to fit my pumpkins.
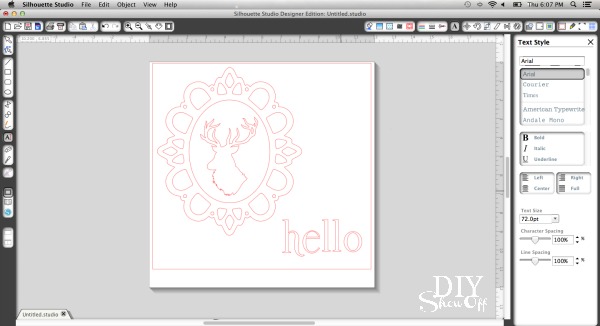
2. Then sent my decals to “cut”.
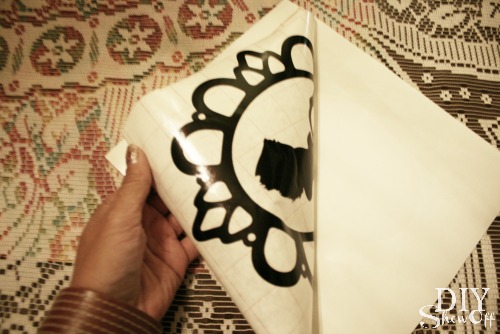
3. Peel away (weed) the negative part of the design.
4. Cut transfer paper to size. Peel away wax paper backing and smooth transfer paper into place.
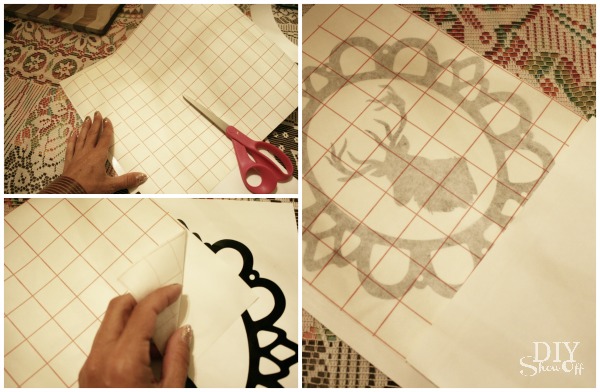
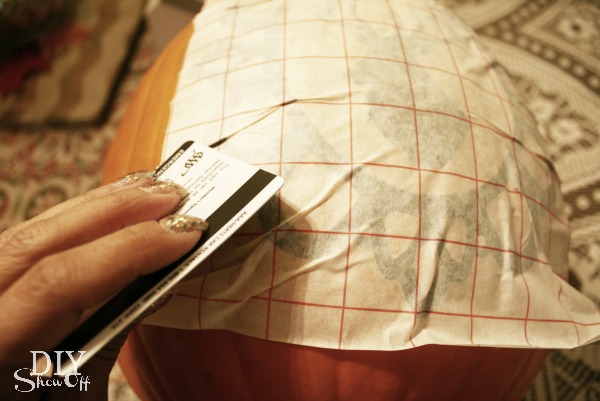
5. Rub design with a credit card.
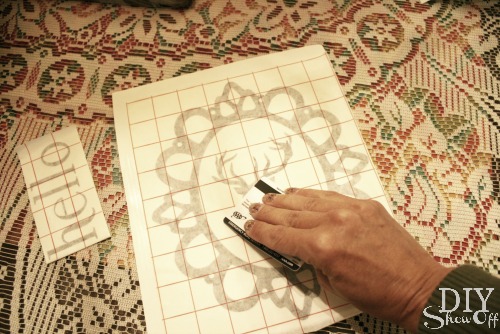
6. Peel away paper backing from the vinyl decal, transferring it to the sticky transfer paper.
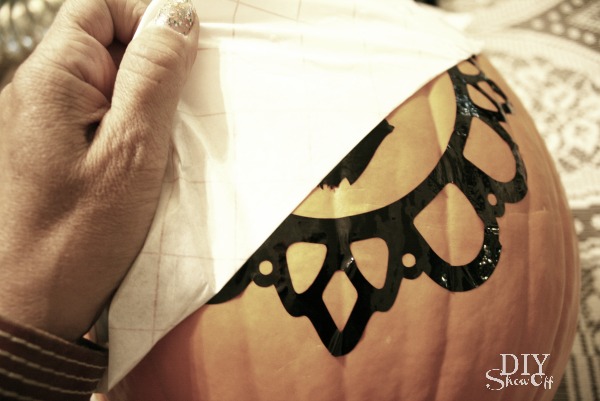
7. Position on pumpkin and lightly rub decal with a credit card.
8. Peel away transfer paper. This might get a little tricky because of the pumpkin’s uneven surface. You may have to use your fingernail to help with the transfer.
9 .There are also wrinkles in my vinyl decal…but it doesn’t take away from the design. I just smoothed it down the best I could using my fingernail and credit card.
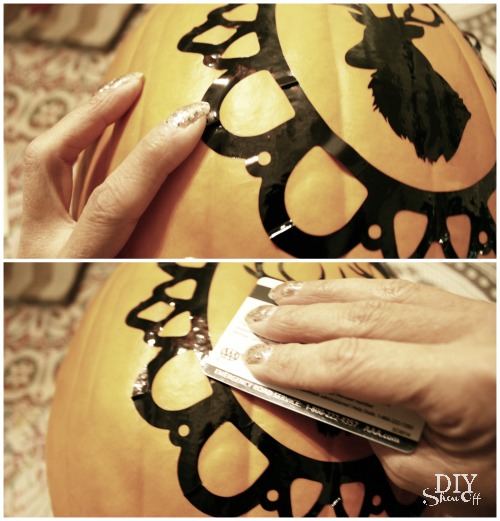
All done and so cute! SO many options. I noticed that the Silhouette America online store even had sets of eyes, noses and mouths for jack-o-lantern faces. A monogram or spooky ghost or black cat would be great too!
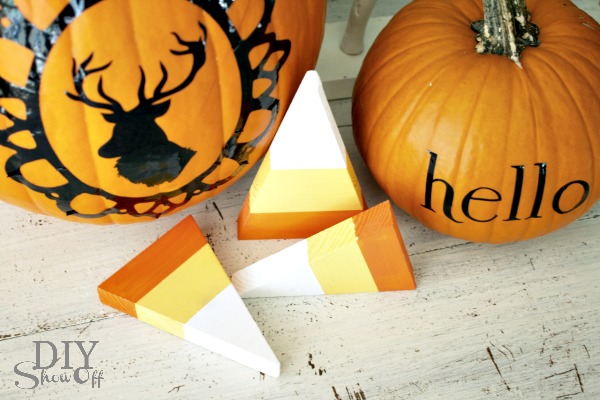
See the tutorial for the candy corn here.
Linking up to the Lettered Cottage, Pumpkin Party and Cuckoo4Design Pumpkin Parade.
*This post is sponsored by Happy Crafters. Tutorial, experience and opinion is my own. See more projects at Happy Crafters blog.