DIY bath sign and $50 Wallums Giveaway

THIS GIVEAWAY IS NOW CLOSED. 🙂
Your 1 winners on “DIY bath sign and $50 Wallums Giveaway” is:

1) Tara

DIY bathroom sign

I recently had the opportunity to try my choice of vinyl from Wallums. Wall’ums is a San Francisco based company specializing in 100% removable, unique and custom wall decals.

wallums

Continue reading

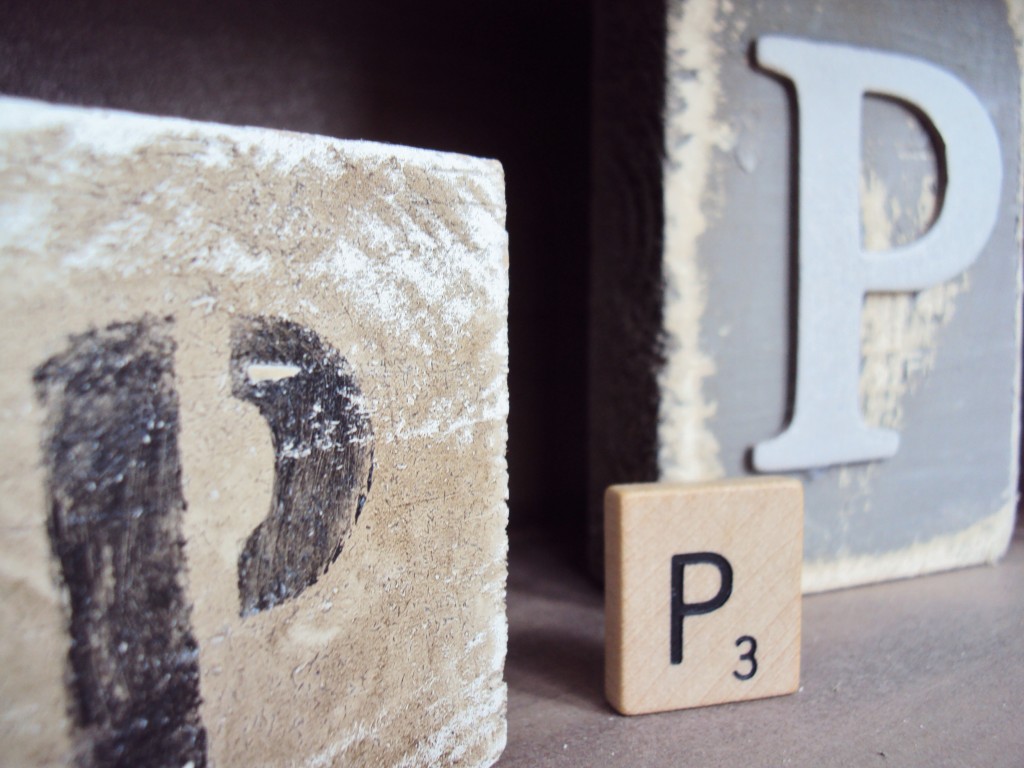
Distressed Vintage-Looking Alphabet Blocks by ThistleWood Farms

I am so excited to have Karianne from 

visiting today. You may know her recently as one of the hostesses from the fun “Imagine the Possibilities 2012 Challenge” and her beautiful cottage bathroom makeover {it’s Pinterest Popular recently!}, a finalist in the WhisperWood Cottage First Project of 2012 Contest and a beautiful inspiration (see the bathroom reveal here). I love her style and she’s very sweet too…so if you’re not friends, hop over and introduce yourself.

Today, Kari is sharing a super cute tutorial for Distressed Vintage-Looking Alphabet Blocks. I love these. Here she is:
Project Details:

  • Scraps of left over wood free
  • Sample paint left over from projects free
  • Hot glue gun free
  • Scrabble tiles $1.00 at yard sale
  • Chip board letters from Hobby Lobby $1.99
  • Little bits of worn chippy typography for the hallway priceless
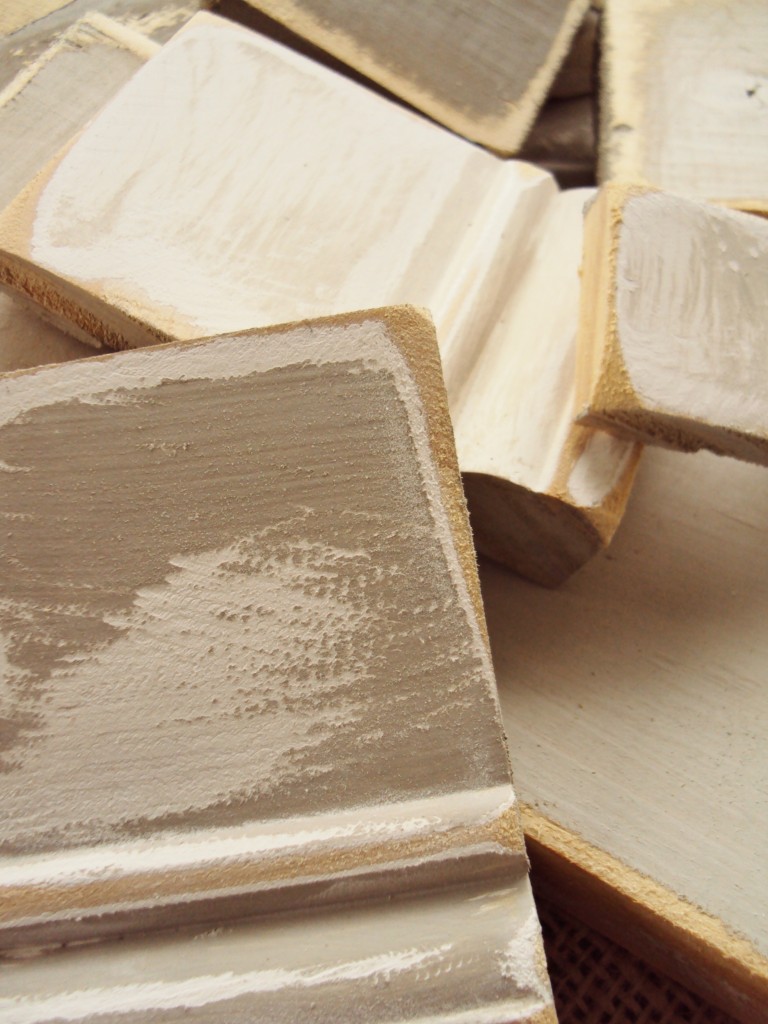
Step 1: Go to your workroom/garage/craft room and find the wood left over from projects. I used pieces of molding from other projects and scraps of wood that were just piled in the workshop.

Step 2: Cut wood into squares or rectangles or perhaps an octagon or two if you are feeling especially adventurous.

These blocks are 2″x 2″ and 3″x 5″ and 3 1/4″x 2 1/4″ and 5 1/4″ x 4 1/4.”
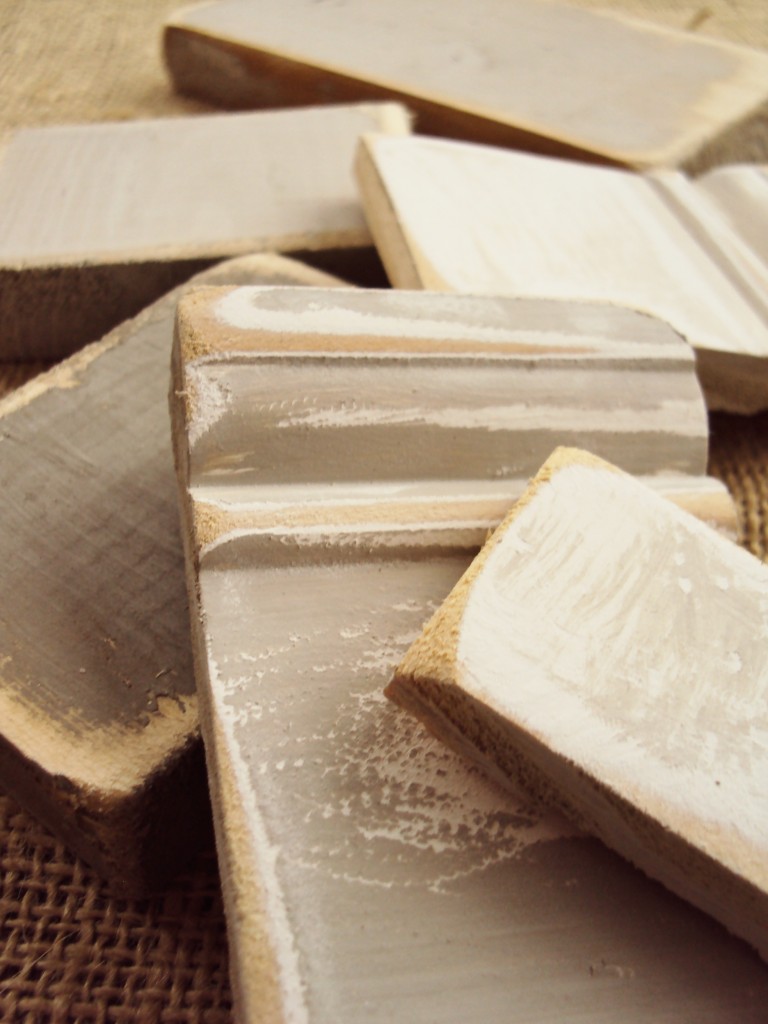
Step 3: Paint the leftover wood.

Leftover paint is the best. I used SW 7045 Intellectual Grey, SW 7015 Repose Grey and SW 7046 Anonymous. These were the sample cans I used to test out colors in my dining room. Yep. Leftover wall paint at its finest.

Step 4: Distress. Distress as much or as little as you like. You can see….I like a lot. I was going for the “wood left out over winter in the rain look.”
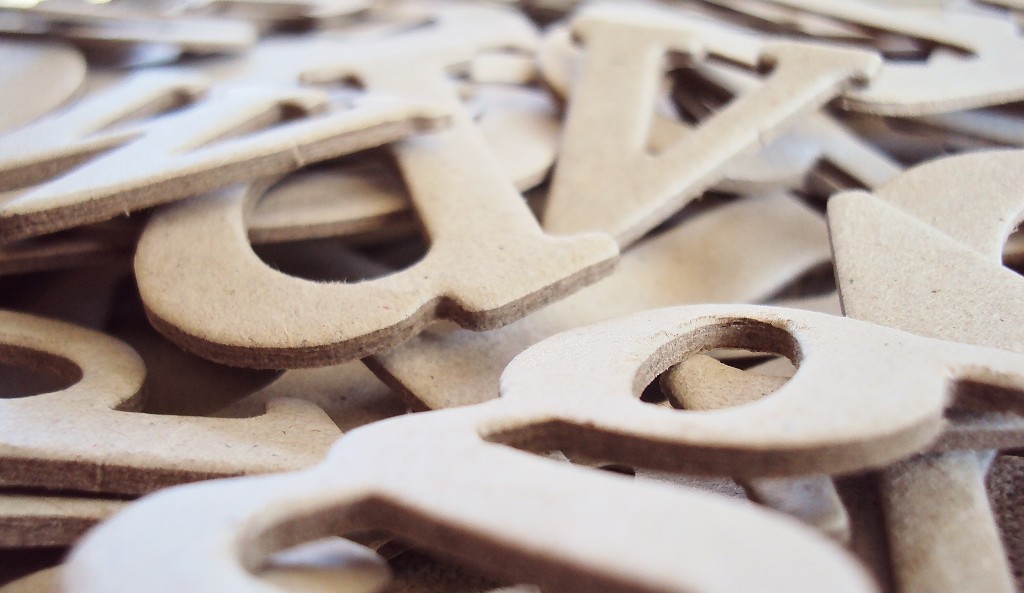
Step 5: Paint your alphabet.
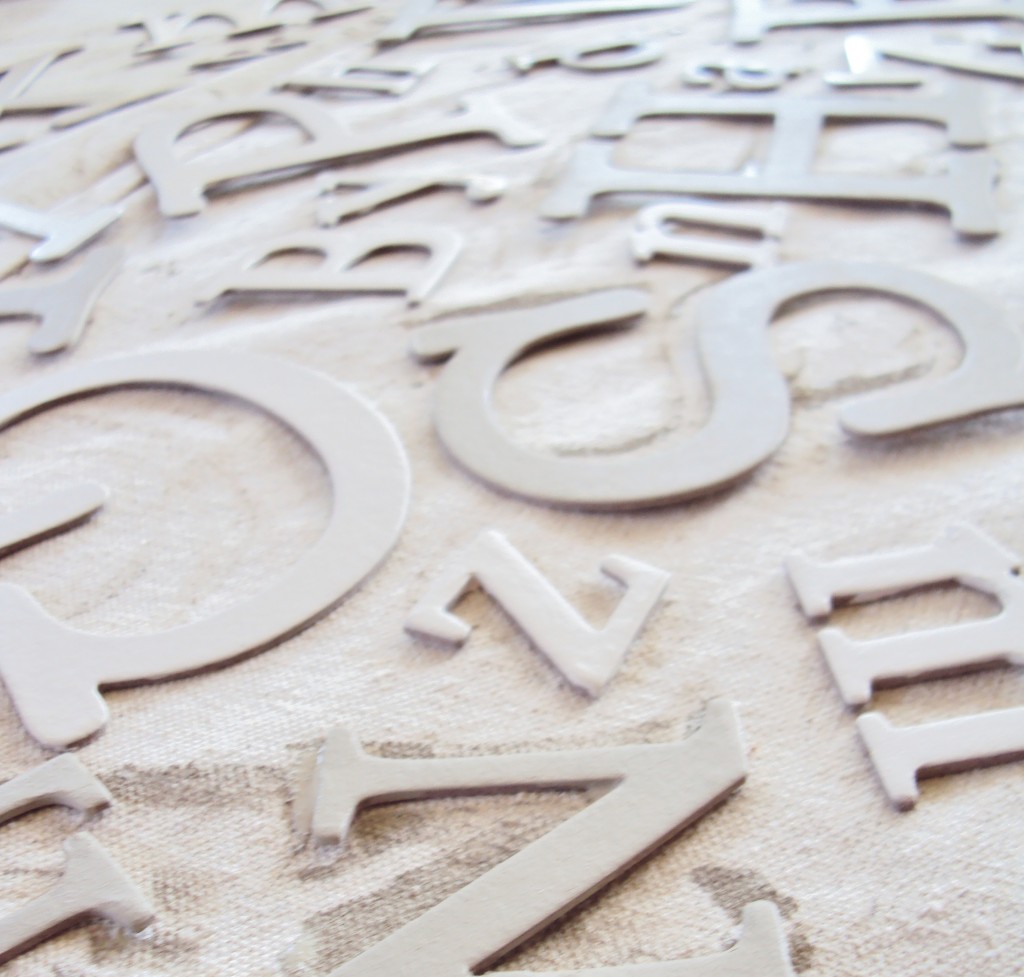
I bought these chip board letters at Hobby Lobby (for 50% off in the scrapbooking section) in a variety of sizes and fonts.

And I painted them using the same leftover paint.

On my dining room table.

On what used to be my dining room curtains…..

…but that’s a post for another day.
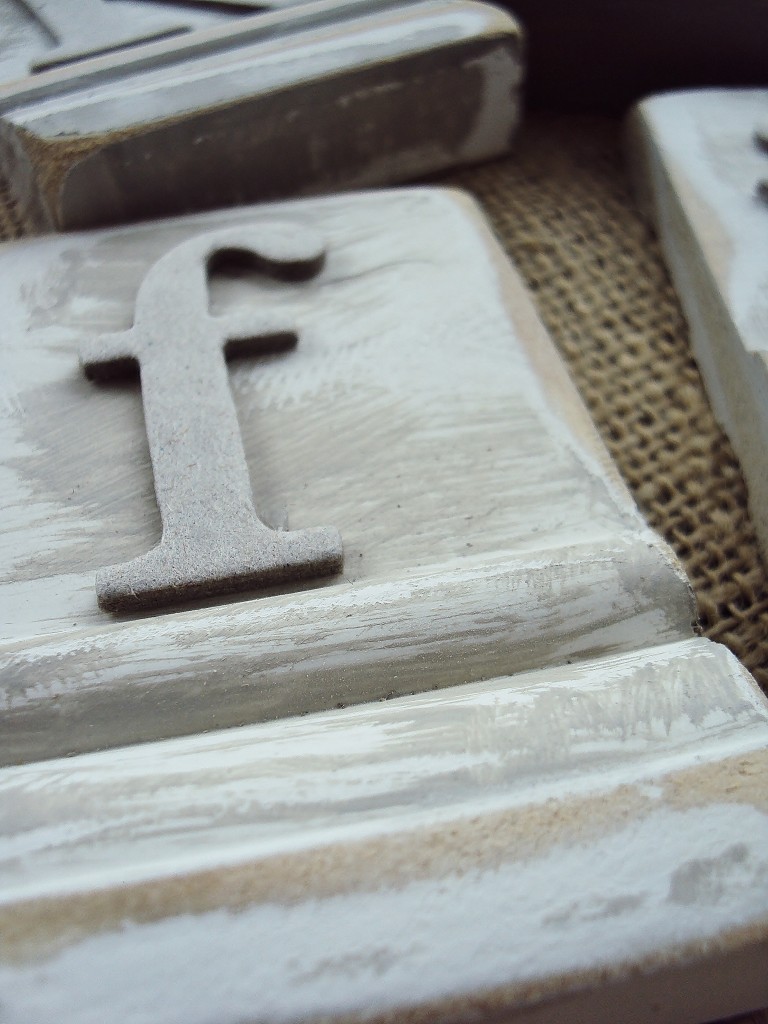
Step 6: Hot glue your letters to your painted and distressed wood.
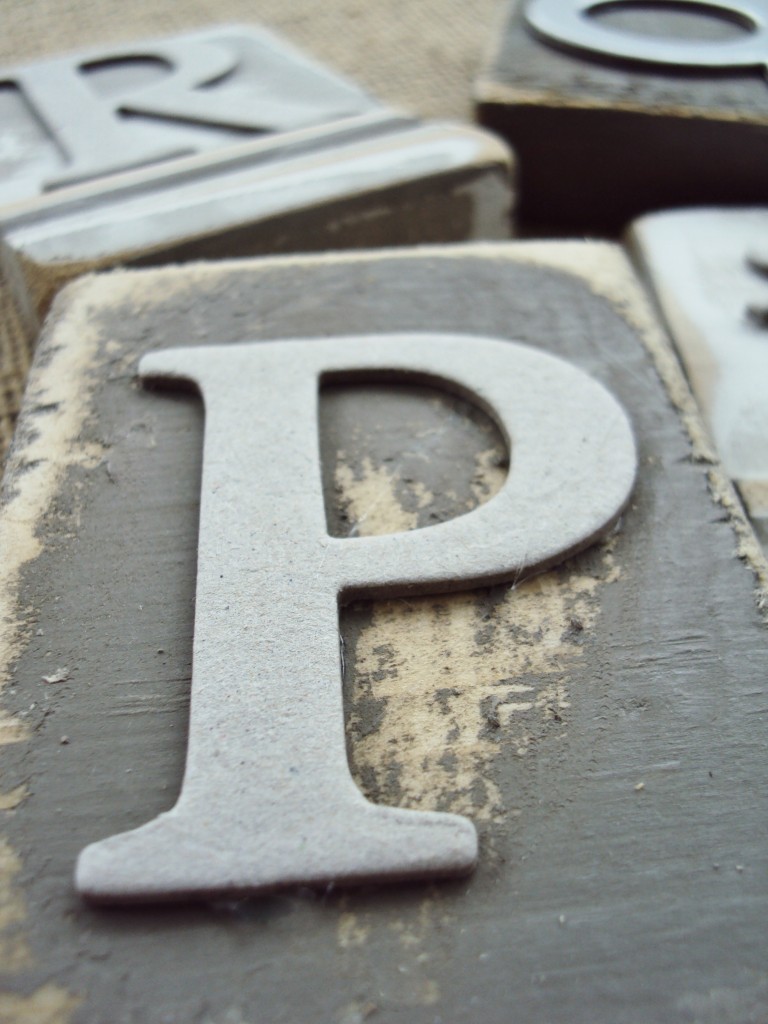
Or you can hot glue them to your really, really painted and distressed wood.
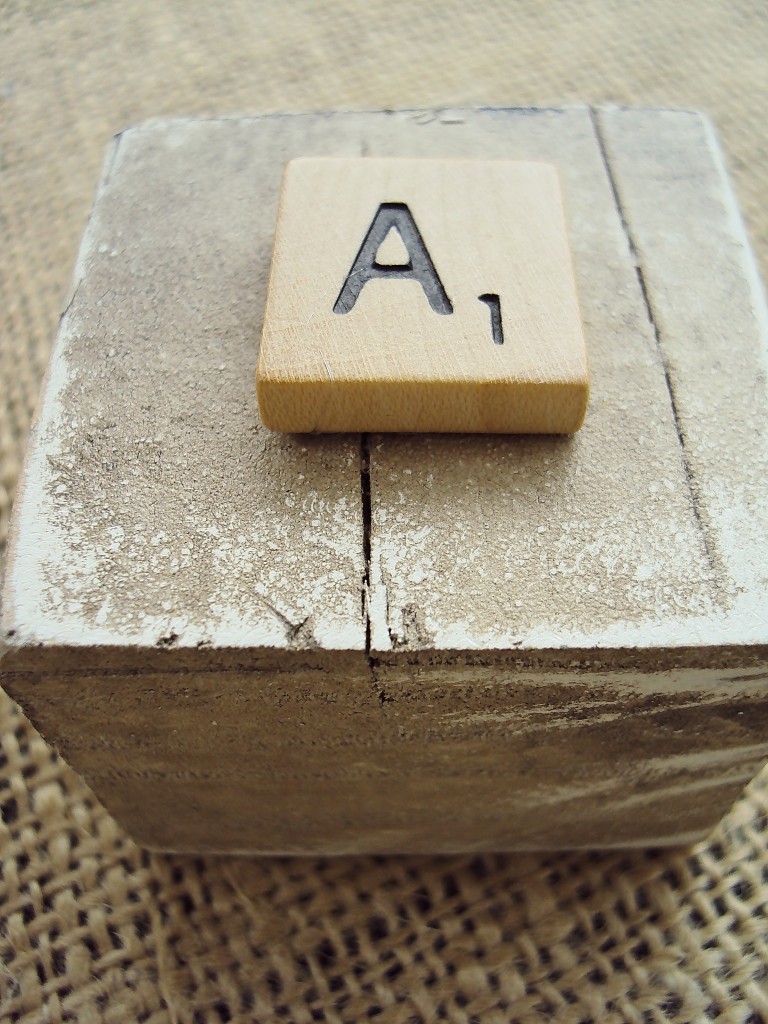
You can also glue scrabble tiles to the wood to mix it up a little.

That’s it.

Here are the letters in my PB knock-off/used to be an advent calendar/typography holder.
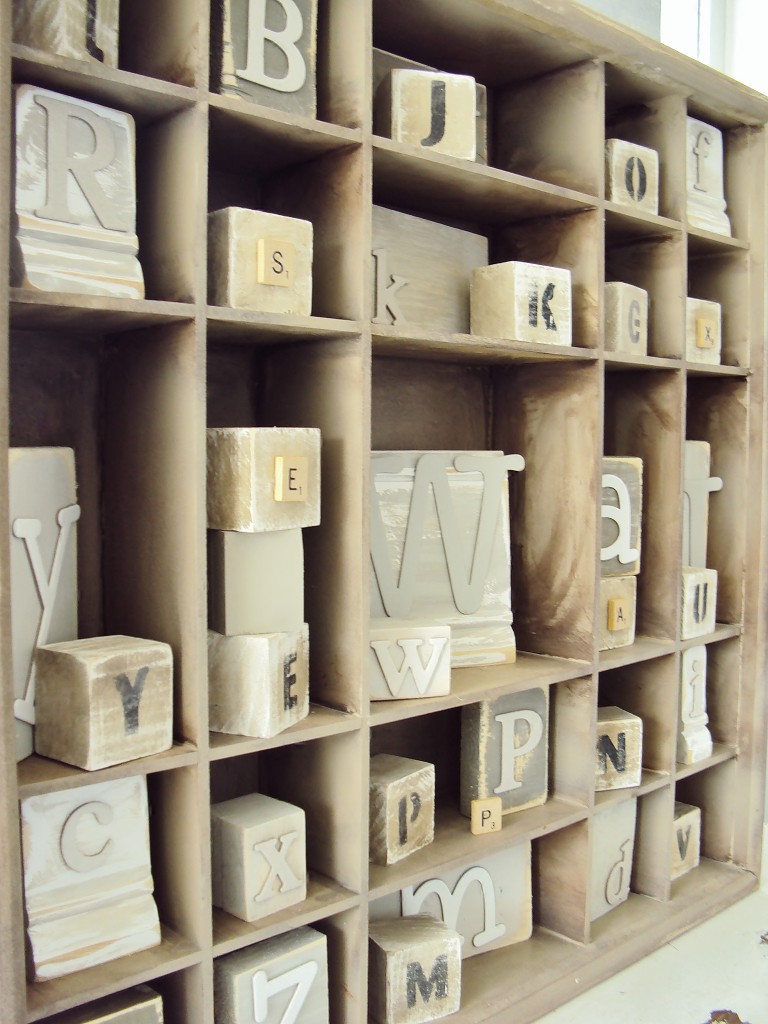
I love this project.

It met my requirements.

Easy. Check.

Cheap. Check.

Good use of my dining room curtains. Check. 🙂

Thanks for joining me on my journey through the alphabet. If you want to hear a funny story about this project, stop by my blog….thistlewood farm.

And lastly, a big shout out to Roeshel for letting me post about my little bits of chippy, painted typography.

She is a true rockstar and diy diva.

14 Days of Love…Blue Valentine {ribbon wreath tutorial}

I don’t normally really decorate for Valentine’s Day but when Ashley from Cherished Bliss asked if I wanted to join 14 Days of Love, I just couldn’t resist! Visit the link below to follow all 14 days of fabulous Valentine projects…she did a fantastic job organizing this fun blog event! {Thanks, Ashley!}

Pin It

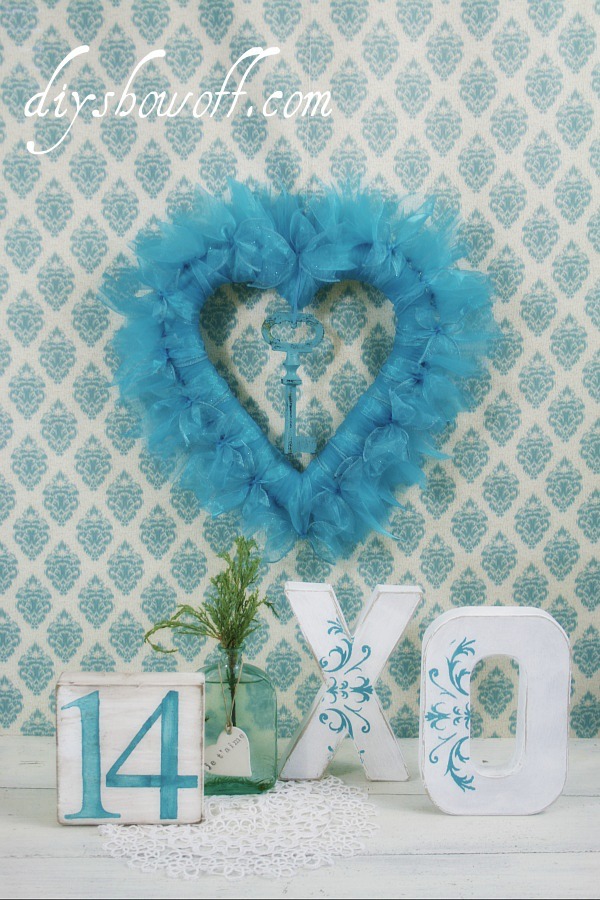
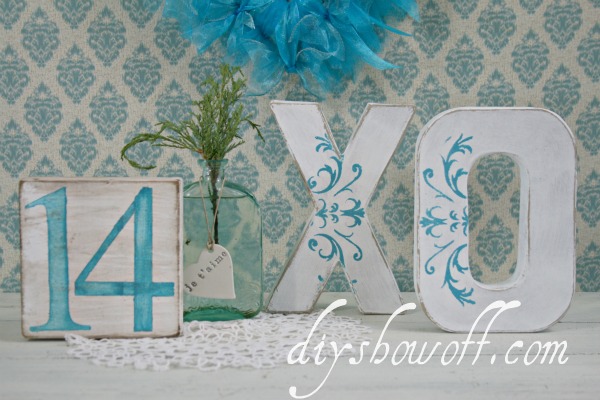
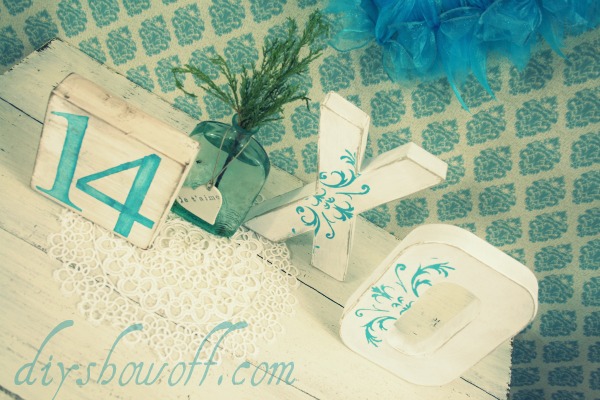
You can see my “14” tutorial and X’s and O’s how-to over at the DIY Club today where I used some Deco Art Americana acrylic craft paint, Stencils and Glamour Dust.  
Ribbon Wreath Tutorial  

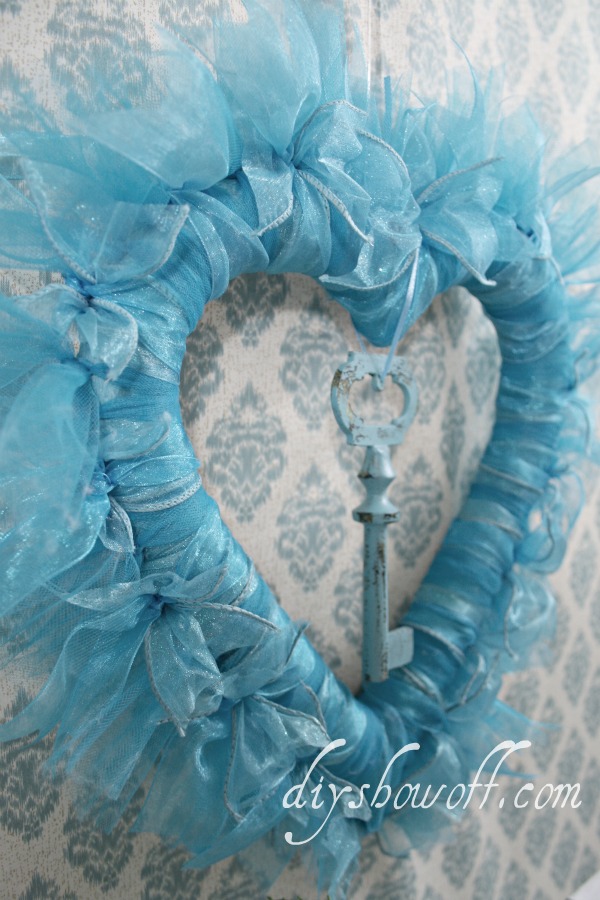
Pin It {key to my heart wreath}

I used:

  • Styrofoam heart
  • 2 spools of organza ribbon {you can choose different types/all one type – up to you!}
  • 2 spools of glittery wired ribbon
  • 1 spool of toile
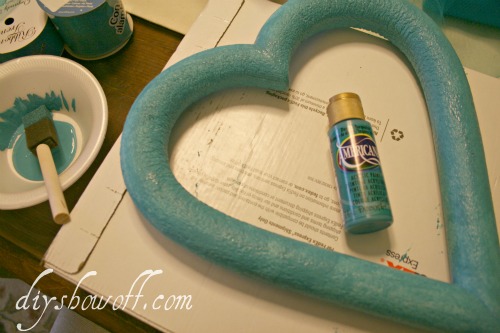
  • Deco Art Americana craft paint (Desert Turquoise)
  • Embellishments (I used a decorative key)
  • hot glue
  • paper clip
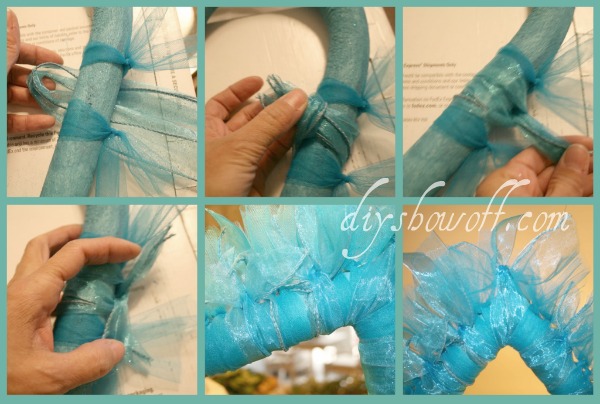
1.  Since I’m doing a non traditional Valentine turquoise, I painted my wreath form {Desert Turquoise by Deco Art). The wreath will show through in a few spots as a finished project, this camouflages the white foam form. Let. dry.
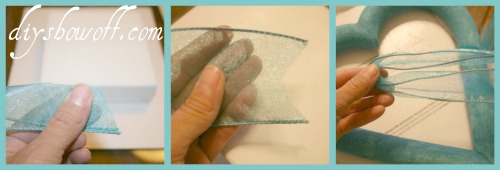
2. I cut ribbon into approx. 12″ pieces and cut the toile into approx. 8″ pieces.
{Tip: fold ribbon in half lengthwise, snip ends at an angle to create an inverted “v” on the ends.}
3. I alternated organza, wired ribbon and toile, tying it around the wreath form, experimenting with different ways of tying (regular knot, looping around, adding 2-3 pieces of ribbon at a time) but I kept a consistent pattern.
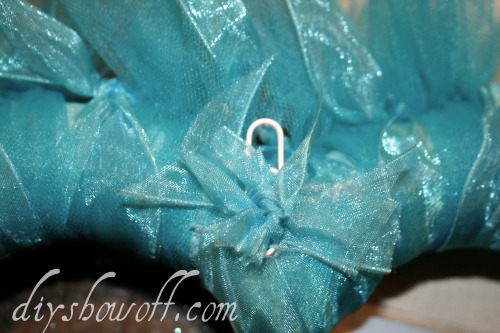
4. I attached a paper clip to the back/top/center for use as a ‘hanger’ with hot glue.
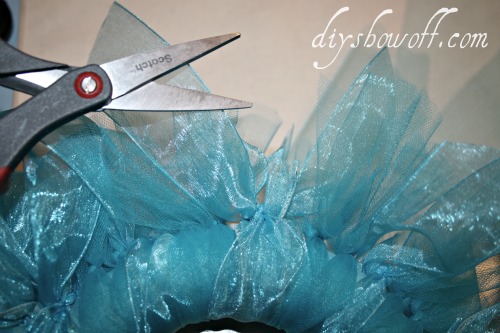
5. Trim ribbon as needed and ‘fluff’.
6. Embellish as desired. I added a decorative key.
Ta-da! Key to my heart {ribbon} wreath.
The thing about this wreath is I can leave it up a little longer since it shares my March birthstone color. 🙂

What do you think? {yes, that’s my fancy/schmancy DIY photo backdrop…but for all you know, it could be a wall in my home, right? These accessories are really displayed on my mantel in real life.} Want more Valentine inspiration?  Visit the creative blog friends shown on the button for more fun ideas!

Cherished Bliss

See Aimee’s SUPER cute MR.&MRS. {in the bedroom – G rated, I promise} at It’s Overflowing shared yesterday and tomorrow ~ check out the sweets at See Kate Sew then get ready for an awesome HUGE giveaway at My Cherished Bliss on February 7th!

DIYClub

Other news:

The Lucky Linky Follower Giveaway has added a $50 cash prize to the pot!

Project Pinterest at The DIY Club
Starts today! Blogging not required.
Partying here:
The DIY Show Off
    its so very cheri


One Project Closer: http://networkedblogs.com/tNKWi