Step Stool Makeover

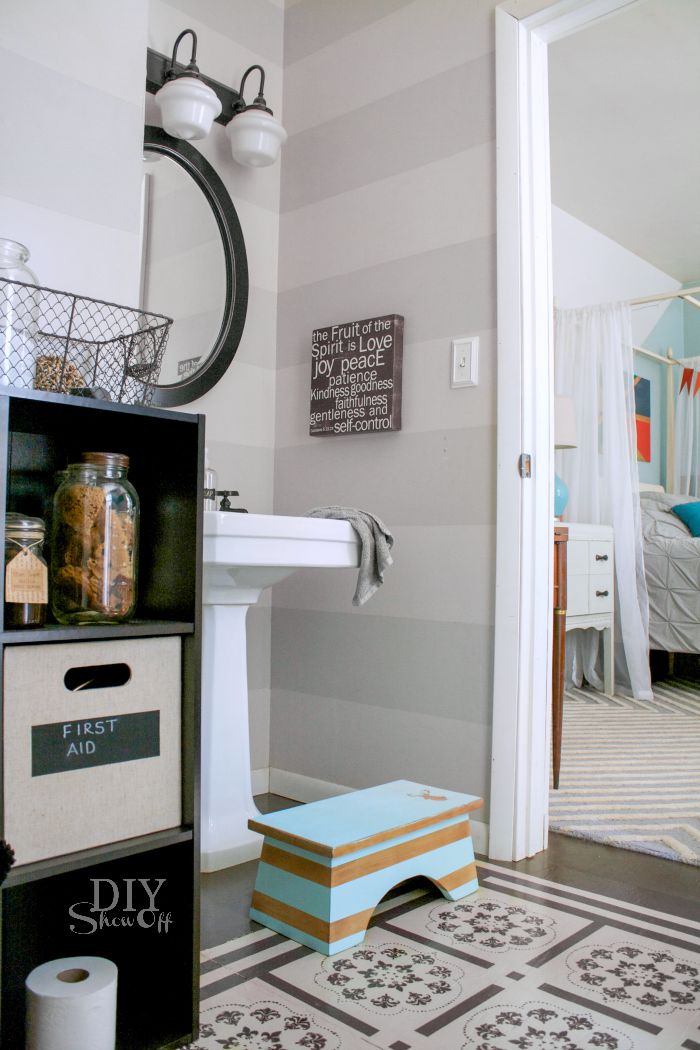
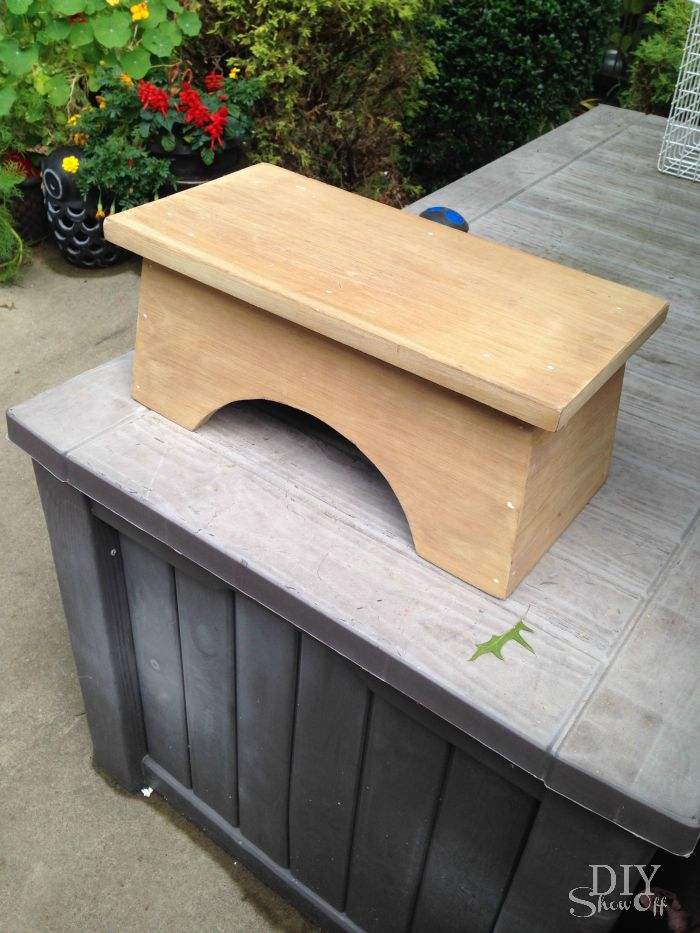
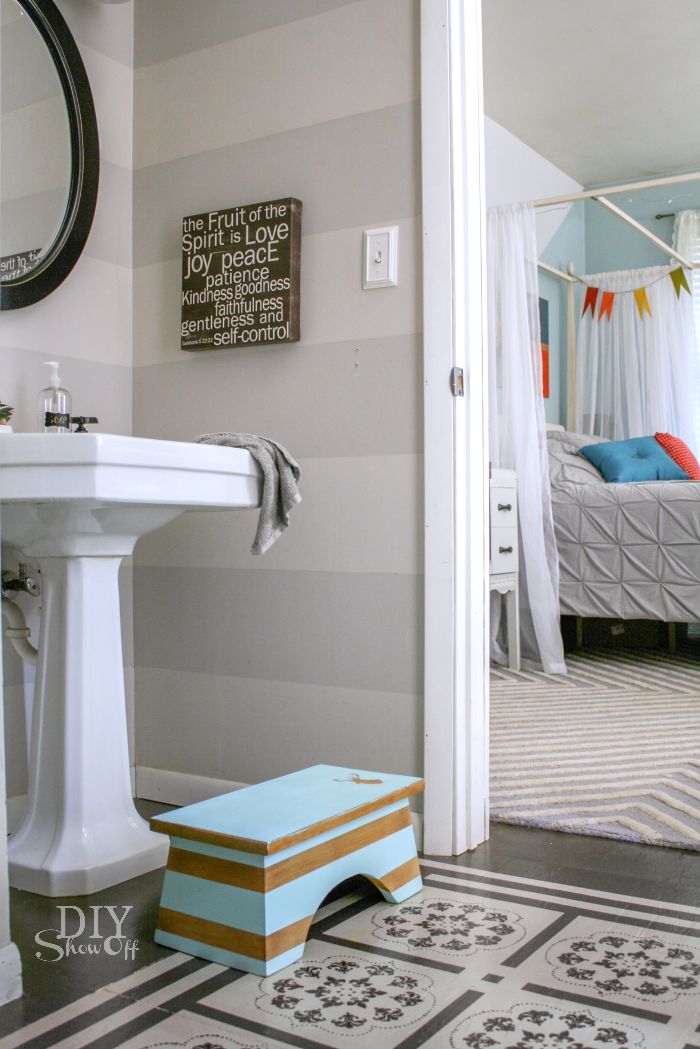
Scoop up a step stool at the flea market, yard sales or thrift stores and give it a makeover. Thinking ahead, sweet grand baby is going to need a step stool to reach the bathroom sink to wash his little hands. This wooden flea market treasure is perfect. And of course I can’t resist the opportunity to take it from blah to cute with a little paint and FrogTape®.

flea market step stool makeover @diyshowoff

Materials I used:

  • wooden foot stool (sanded and wiped clean)
  • FrogTape and scissors
  • vinyl decal 
  • paint (I used Valspar Sea Kiss in a satin finish) and paintbrush
  • spray lacquer 

What I did: 

1. I convinced Mr. DIY to do the sanding for me. He’s much faster at that task than I. He simply sanded away the varnish leaving me a clean blank slate.

flea market step stool makeover @diyshowoffflea market step stool makeover @diyshowoff

2. Then I wiped away the saw dust with a damp cloth. 

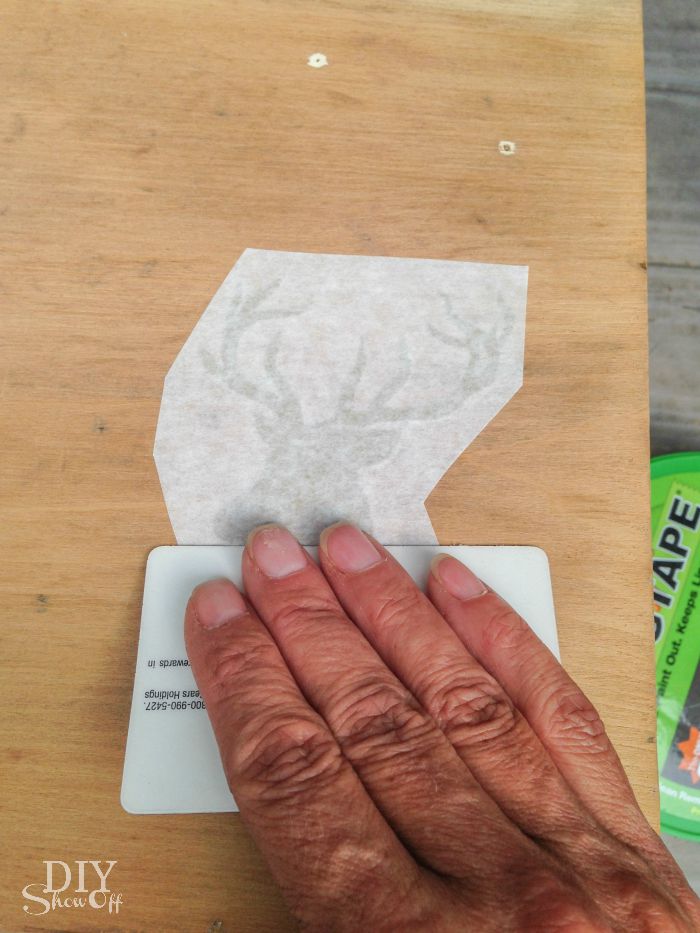
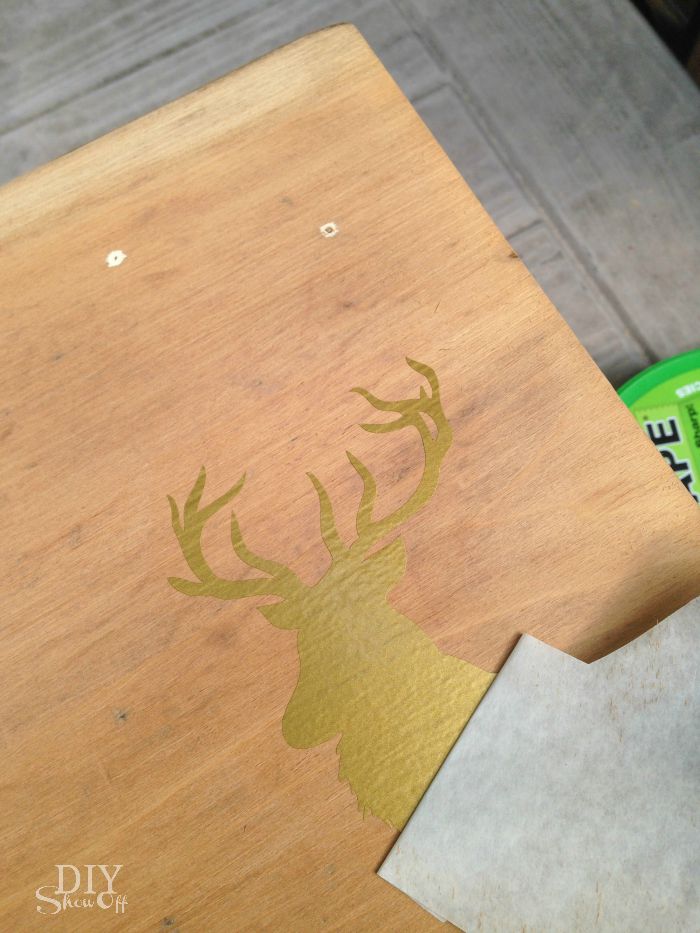
3. Next I applied my vinyl decal to the top, burnished it and pulled away the transfer paper. 

flea market step stool makeover @diyshowoff flea market step stool makeover @diyshowoff

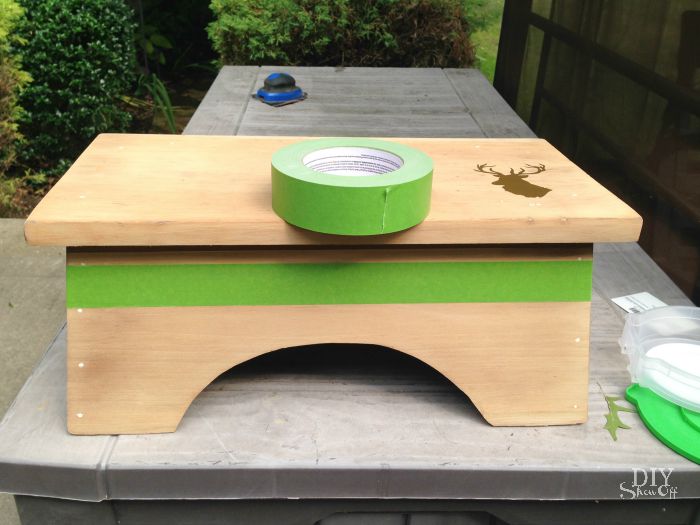
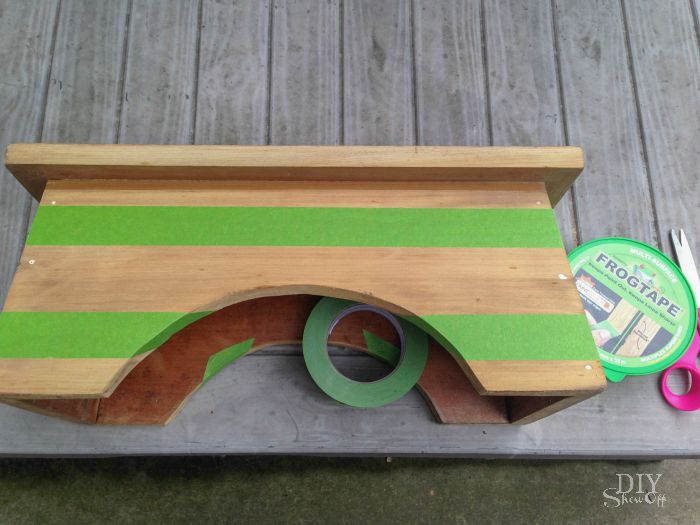
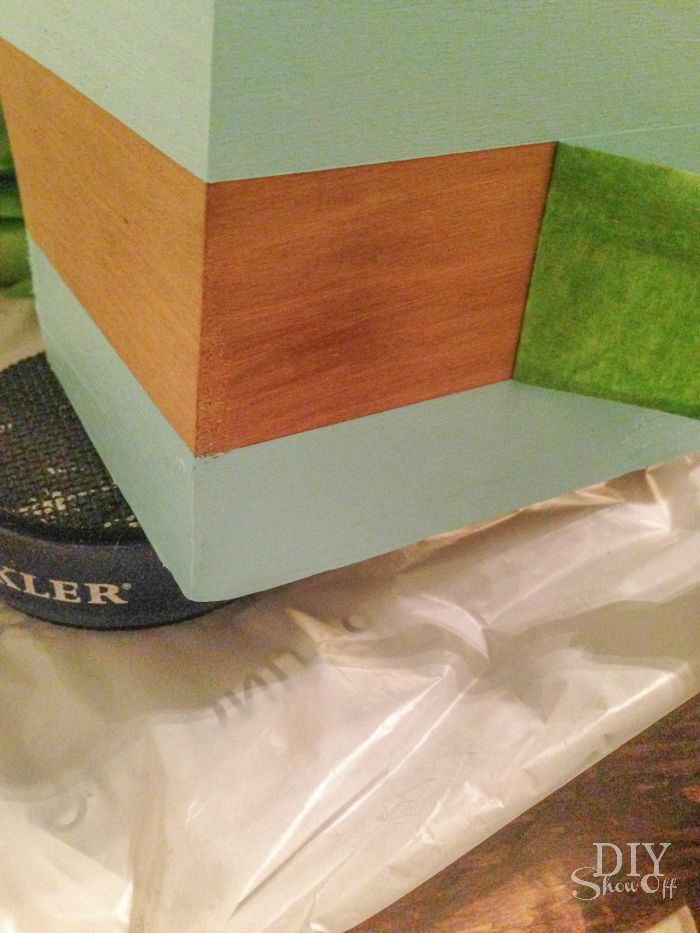
4. I taped off stripes using FrogTape Multi-Surface. Since the sides aren’t 90 degree angles, here is what I did: Tore off a piece of FrogTape longer than needed. I placed it in a straight line (I just eye-balled it) and folded the edges over on the ends. Using my thumbnail (or credit card), I rubbed the FrogTape on the corner. Then I gently lifted it up and using scissors, cut along the ‘white’ line. Replace and burnish tape. Repeat on each of the four sides, two rows of stripes. 

flea market step stool makeover @diyshowoff flea market step stool makeover @diyshowoffflea market step stool makeover @diyshowoff

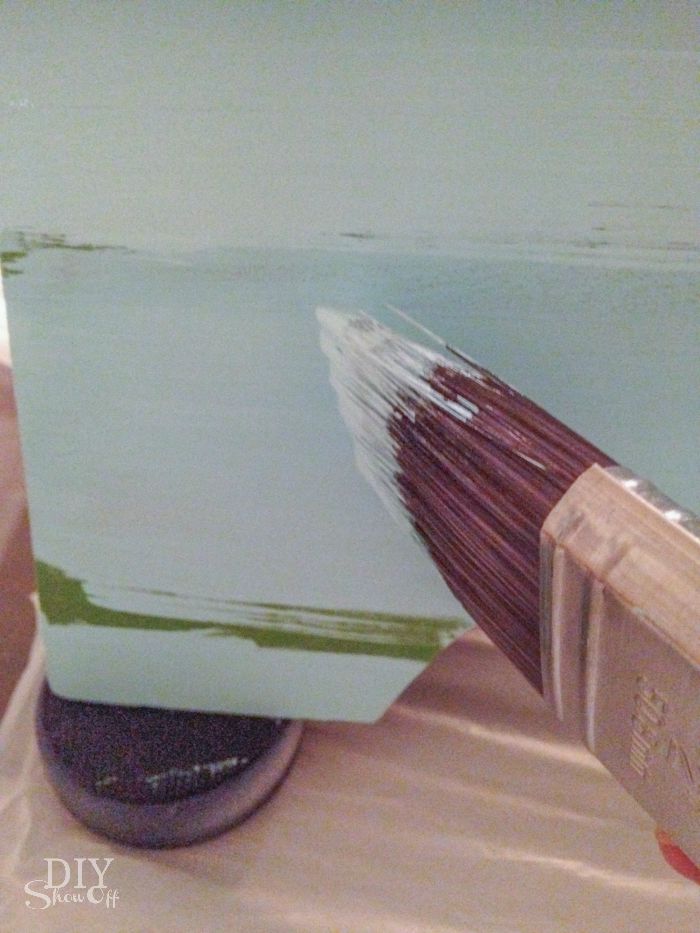
5. Paint a coat. Let dry. Paint a second coat. 

flea market step stool makeover @diyshowoffflea market step stool makeover @diyshowoff

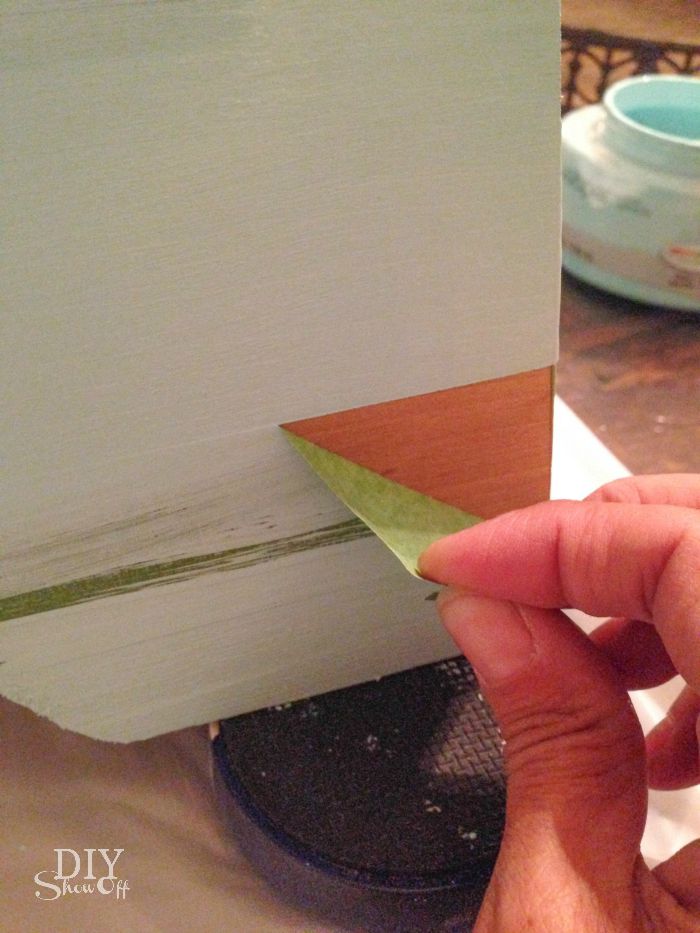
6. While paint is still wet, carefully remove FrogTape and vinyl decal. Then allow paint to dry over night. 

flea market step stool makeover @diyshowoff flea market step stool makeover @diyshowoff

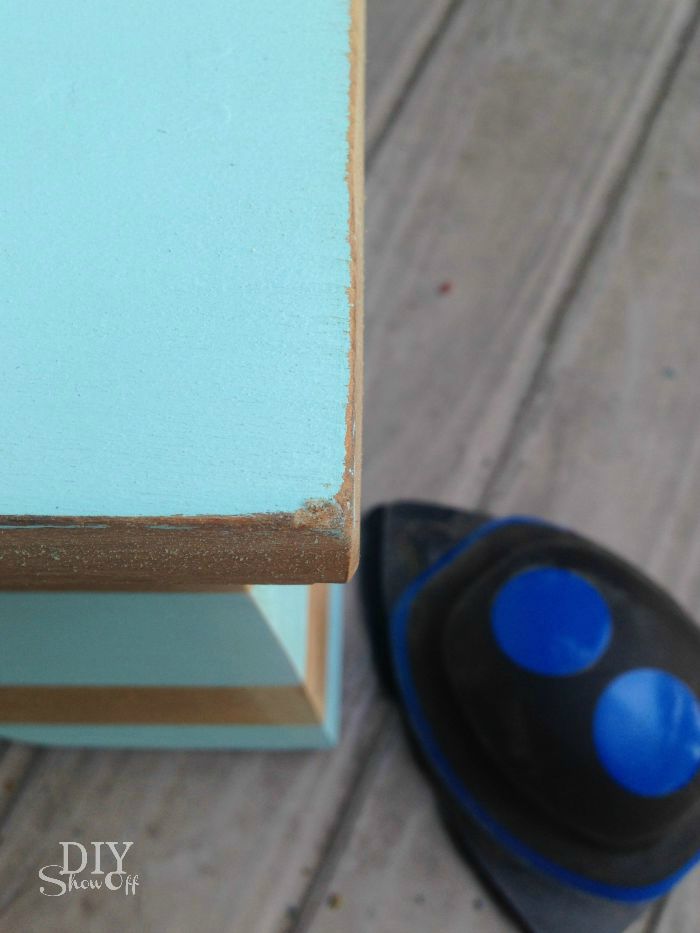
7. Optional: sand edges for a distressed look. 

flea market step stool makeover @diyshowoff

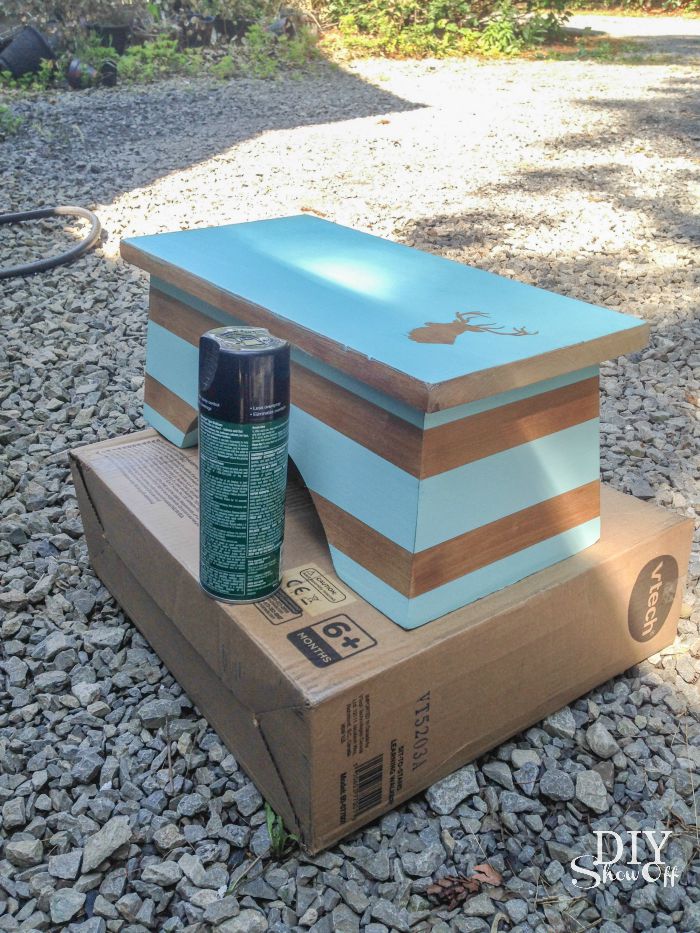
8. Apply two light even coats of spray lacquer, allowing dry time between each coat according to instructions on the can. 

flea market step stool makeover @diyshowoff

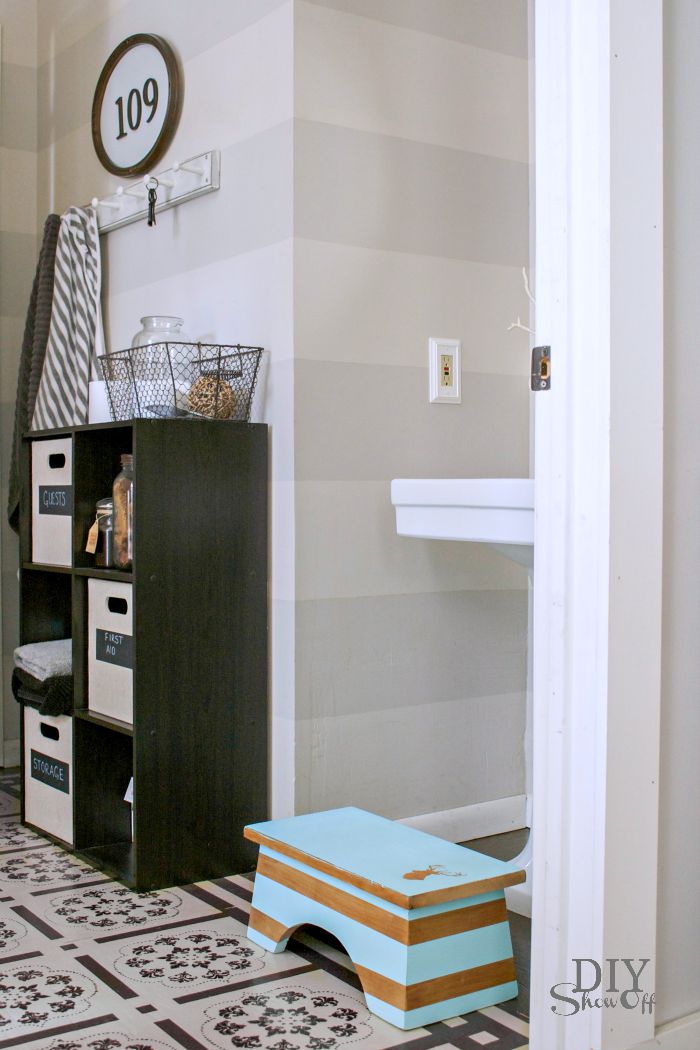
Ta-da! A cute addition to the bathroom sink for little ones. 

flea market step stool makeover @diyshowoff flea market step stool makeover @diyshowoff

*I received compensation to complete this project for using FrogTape® products. All opinions, projects and ideas are based on my own experience.

 FrogTape Blog Squad

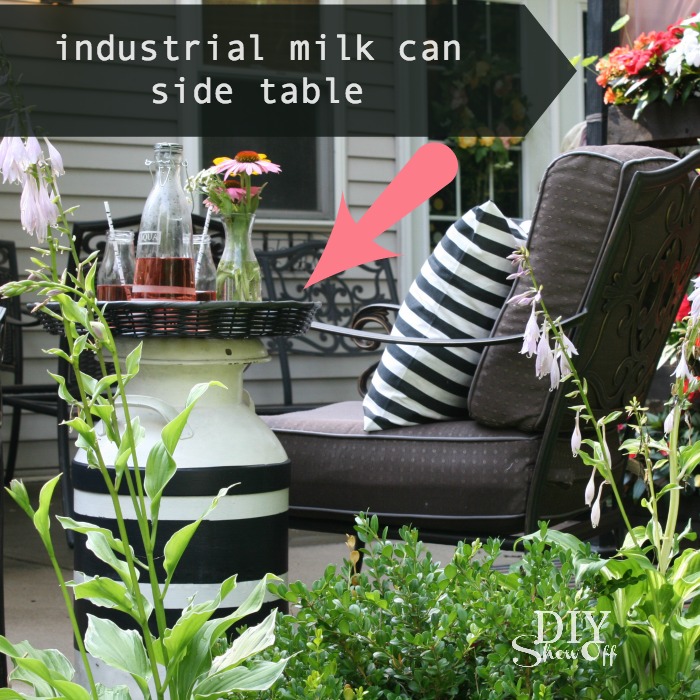
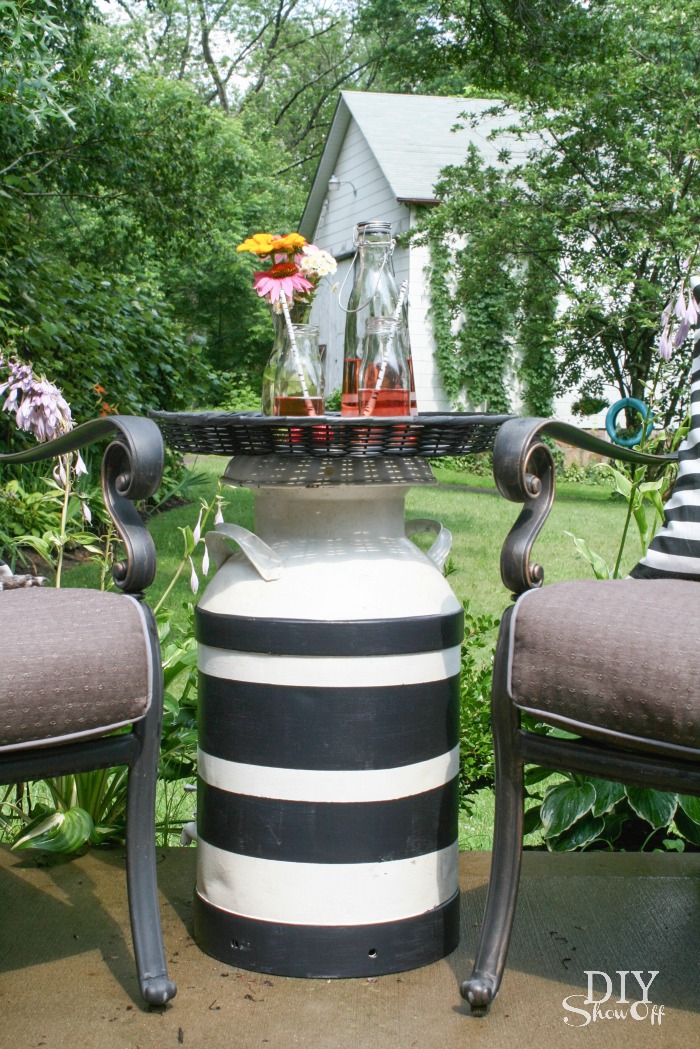
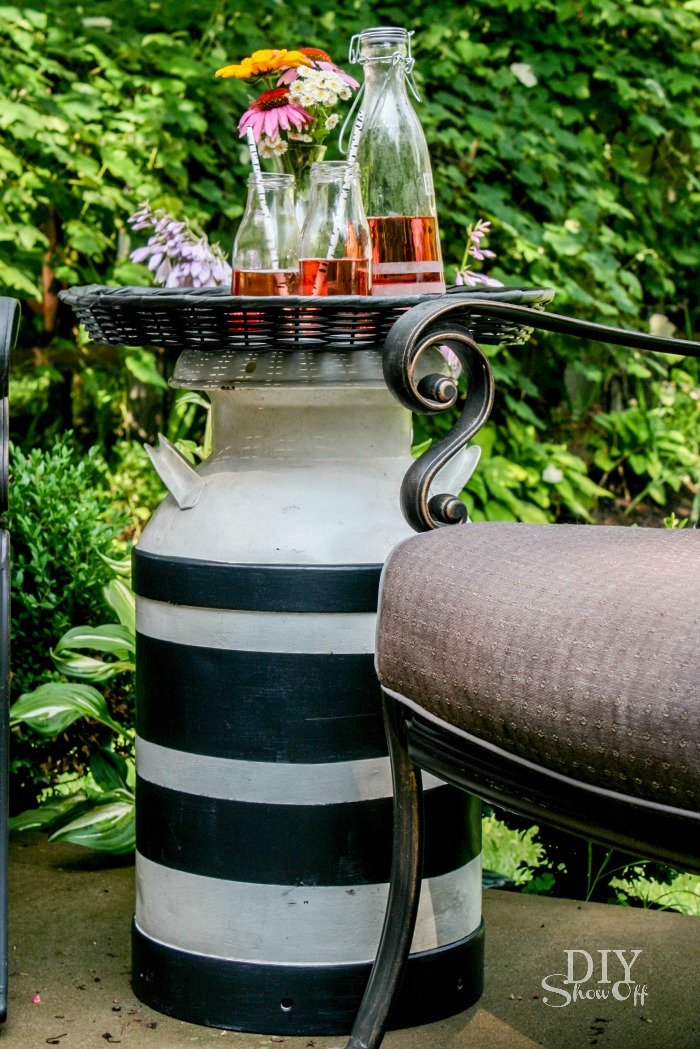
Industrial Milk Can turned Side Table

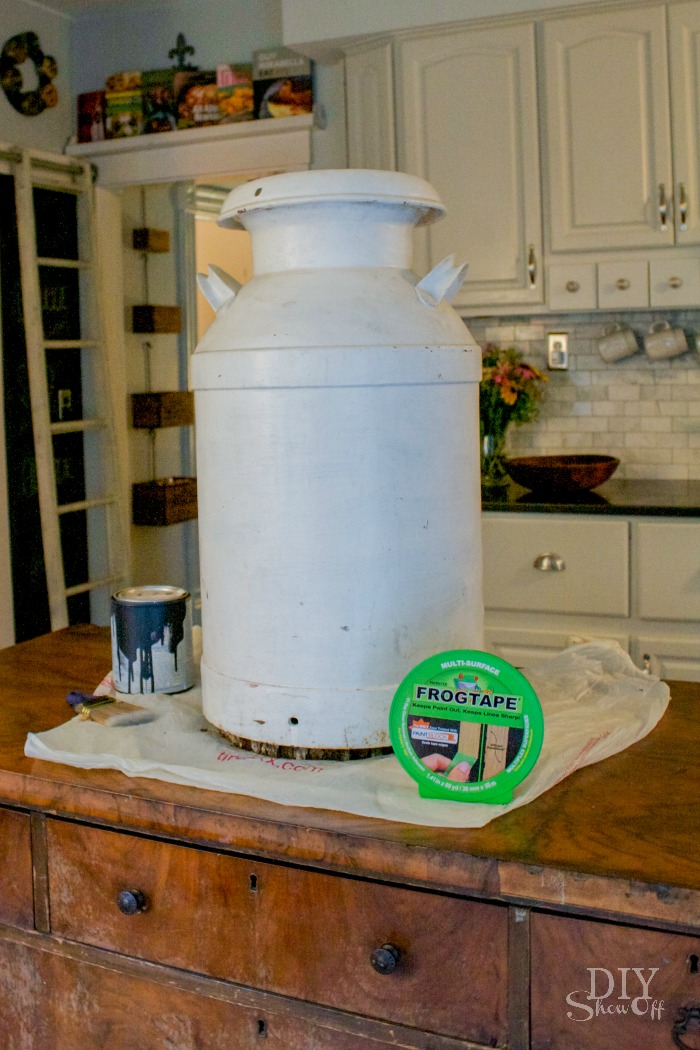
I’ve had old industrial milk can laying around, collecting dust (cobwebs too) just waiting for a fun DIY and repurposing it for a fun side table to add some charm to the patio seemed like just the right idea. 

DIY industrial milkman side table @diyshowoff summer patio

Materials I used:

  • found industrial milk can
  • black paint + primer in one
  • FrogTape® MultiSurface
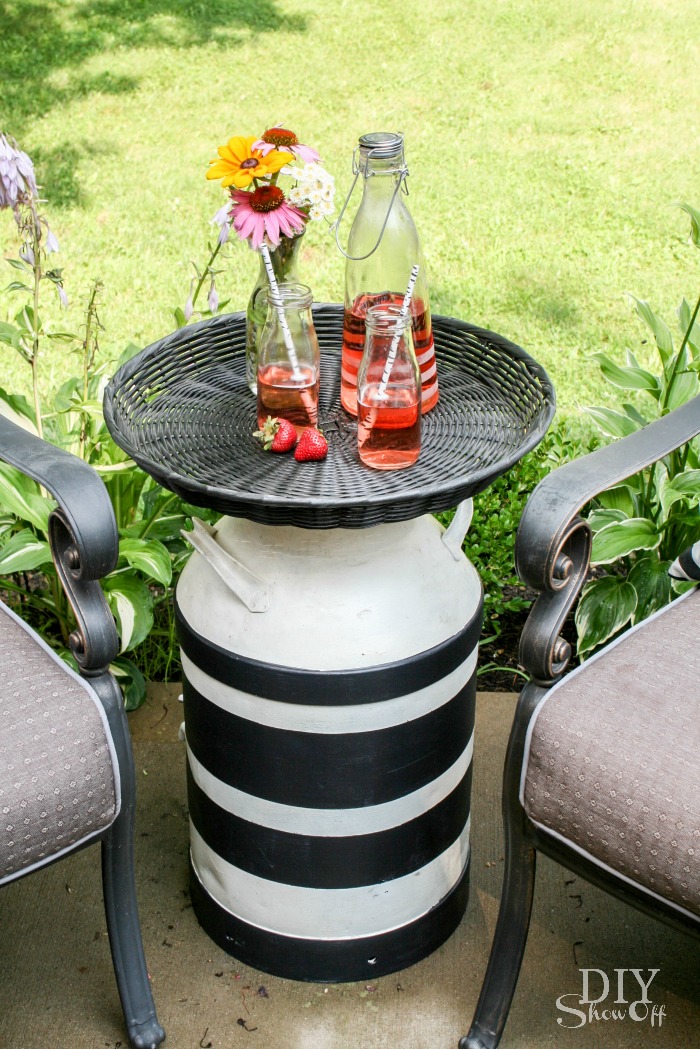
  • round wicker-like tray (also found…thrift store, I think) 

What I did: 

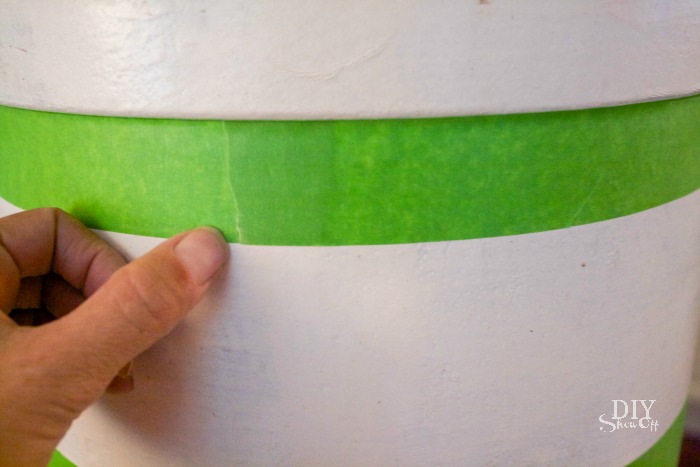
I like the distressed/dinged up paint finish but it needed a little pizazz. I gave it a good cleaning, then using FrogTape, I added some bold stripes. 

DIY industrial milkman side table @diyshowoff summer patio

A spider crawled out of that hole too! Yikes! Once that was taken care of, using my thumbnail, I burnished the edges of the FrogTape to ensure crisp clean stripes.

DIY industrial milkman side table @diyshowoff summer patio DIY industrial milkman side table @diyshowoff summer patio

I applied two coats of black paint. Paint. Dry. Paint. 

DIY industrial milkman side table @diyshowoff summer patio

Right after I applied the second coat, while the paint was still wet, I carefully removed the FrogTape then let the paint dry. 

DIY industrial milkman side table @diyshowoff summer patio

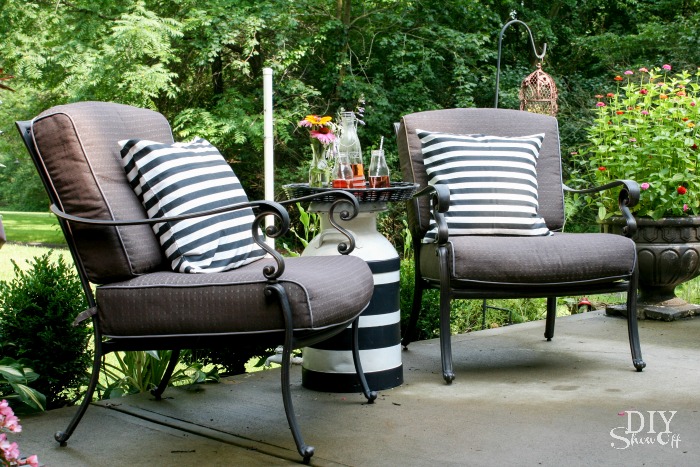
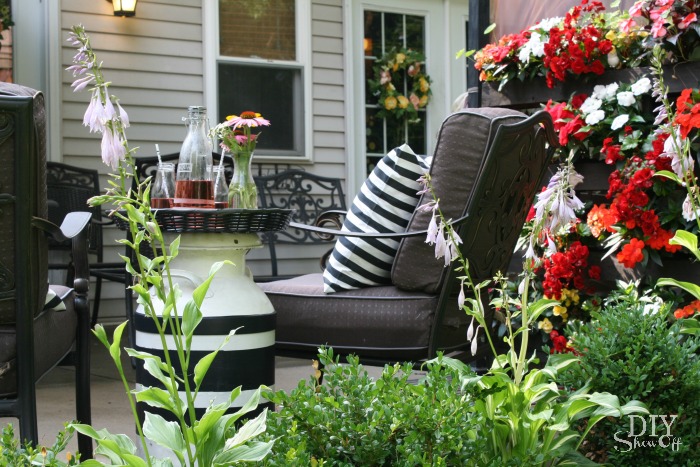
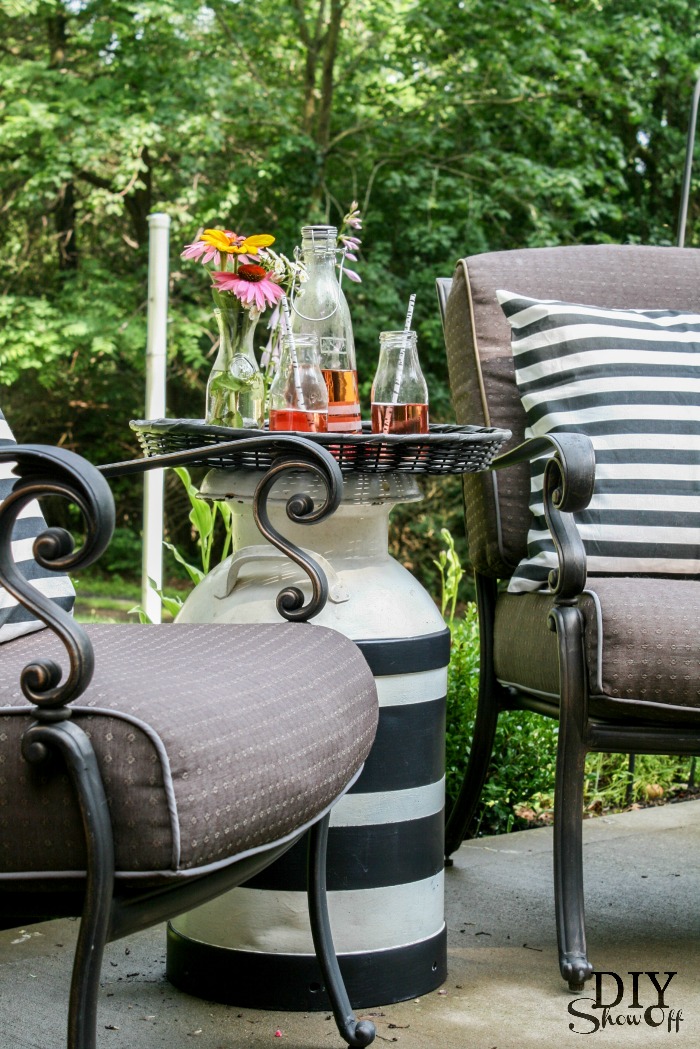
Secure a tray using whatever method you find best (glue and clamps, screws, etc.), (a round wooden table top or an old clock would be cool too) and ta-da! A fun side table for our patio: 

DIY industrial milkman side table @diyshowoff summer patio DIY industrial milkman side table @diyshowoff summer patio

I added in some coordinating accent pillows and I have a fun new look to a usually neutral area. The old industrial milk can is a great conversation starter too. DIY industrial milkman side table @diyshowoff summer patio DIY industrial milkman side table @diyshowoff summer patio DIY industrial milkman side table @diyshowoff summer patio DIY industrial milkman side table @diyshowoff summer patio

LOVE IT! Have you added any fun elements to your outdoor areas this summer? 

*I received compensation to complete this project for using FrogTape® products. All opinions, projects and ideas are based on my own experience.

 FrogTape Blog Squad

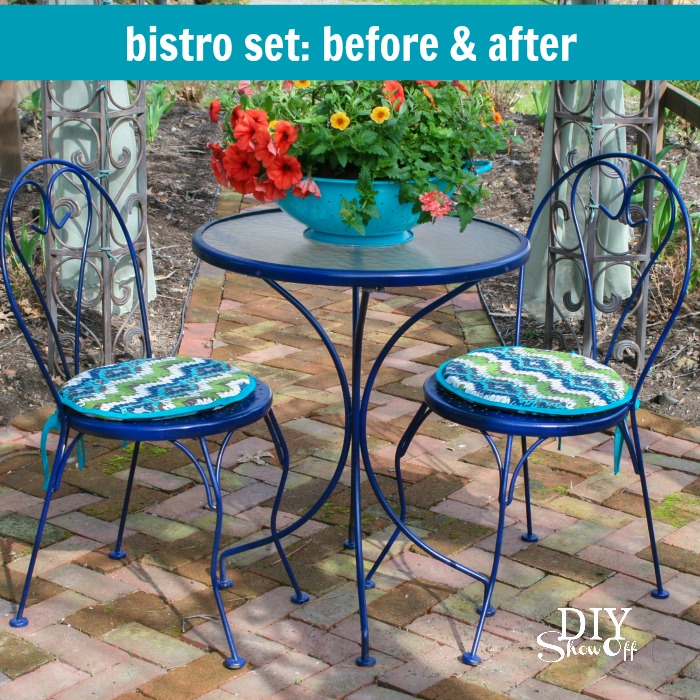
Outdoor Bistro Set Before and After

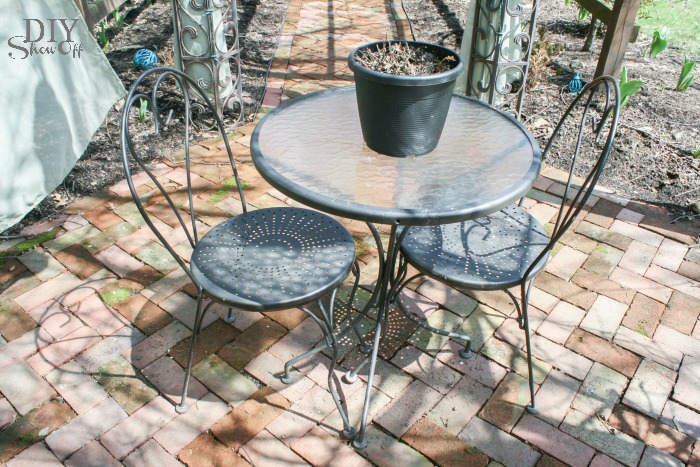
With summer right around the corner, it’s time to spruce up outdoor seating areas. The oil rubbed bronze of this bistro set matched everything nicely but it’s just so brown and tired. 
Before:

DIYShowOff Bistro Set Makeover before

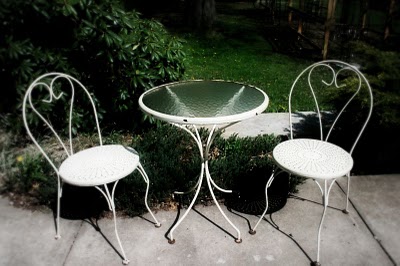
Originally it was a $15 yard sale score, ivory and rusty. 

Wayyyyy before…

bistro set before @diyshowoff

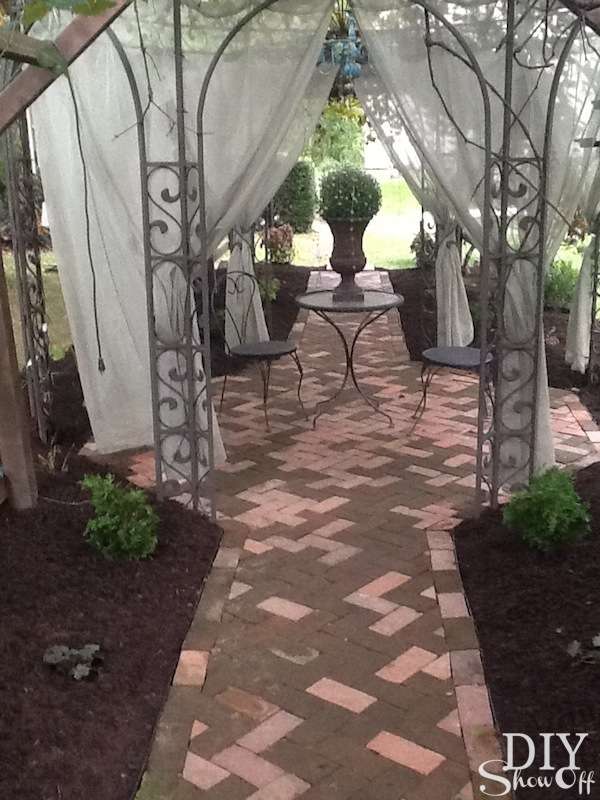
Here it is better staged in our grape arbor/gazebo recycled brick patio/pathway reveal, but it gets lost…

recycled brick patio @diyshowoff


Here’s what I did:

Bistro Set Makeover @diyshowoff

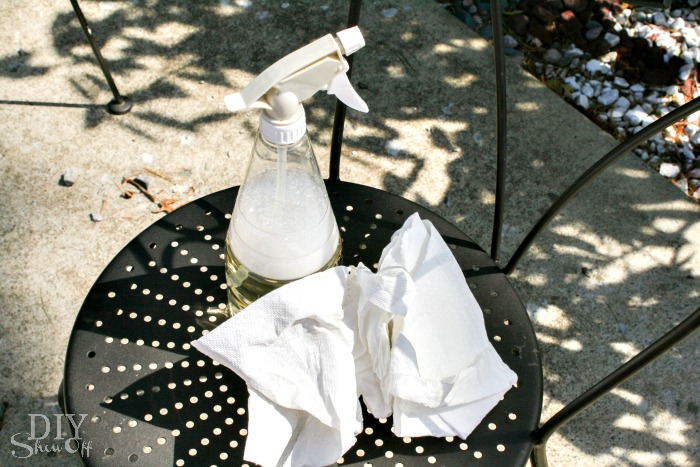
Remove the glass top. A little sanding of the rusty spots, a good wipe down (Yes! That’s Young Living Thieves household cleaner)…

Thieves cleaner

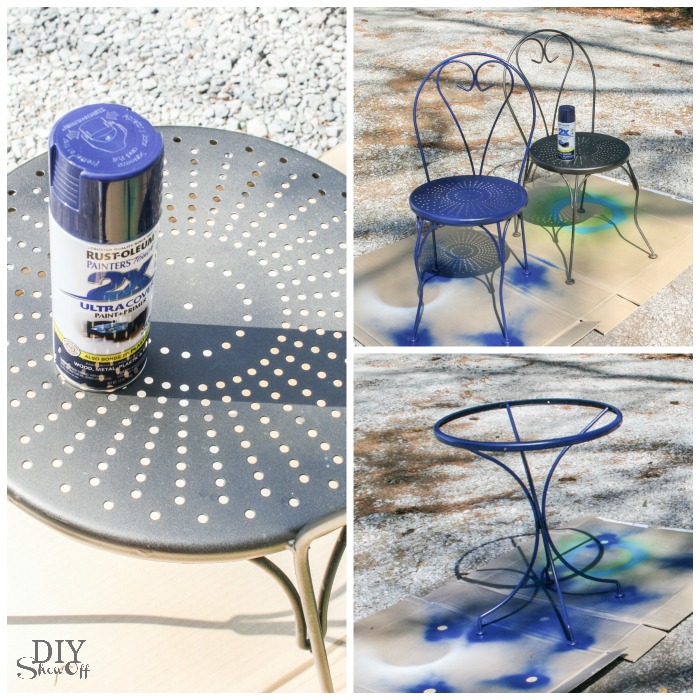
and one can of Rust-Oleum Painter’s Touch Ultra Cover 2X in navy (don’t forget your mask)!, a day of dry time….

RustOleum Painters Touch Ultra Cover 2x

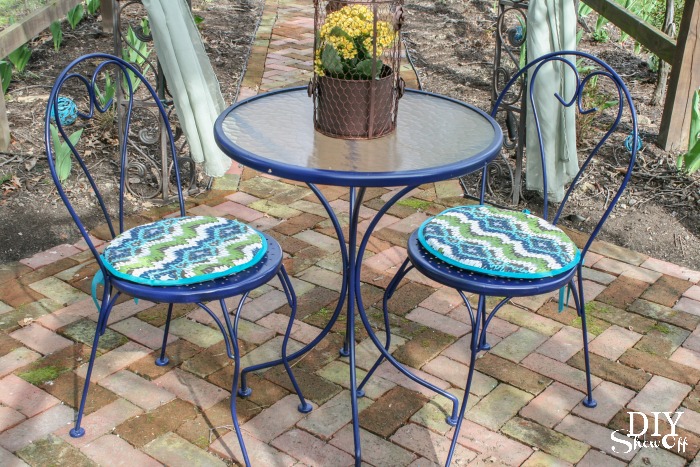
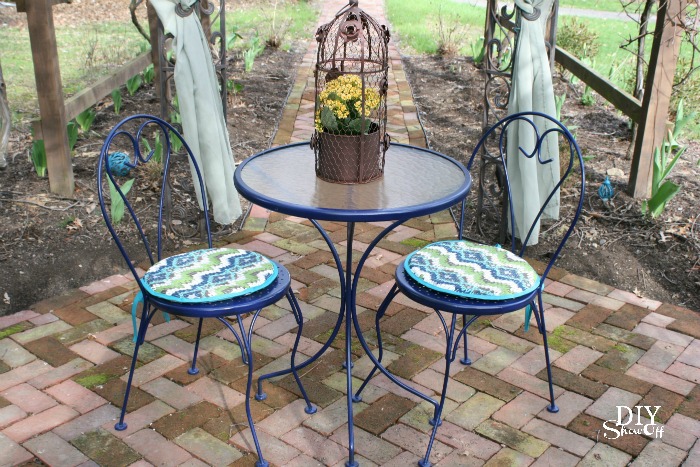
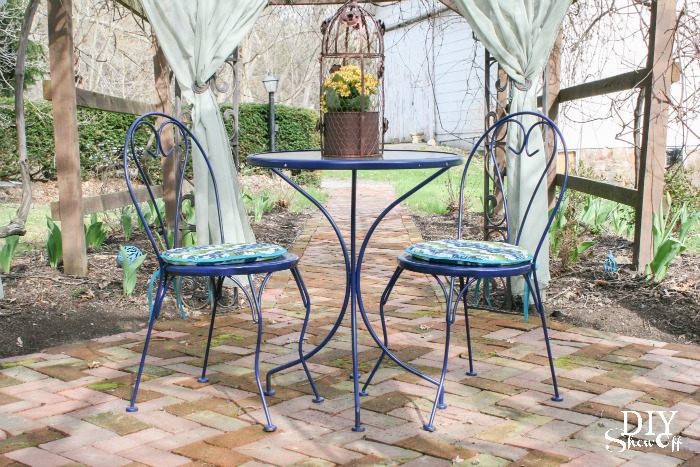
…then re-insert glass, top with a couple of homemade cushions and I’m loving the new pop of color.

After:

Bistro Set Makeover @diyshowoff Bistro Set Makeover @diyshowoff Bistro Set Makeover @diyshowoff

Much happier, isn’t it? Do you have some tired old boring outdoor furniture ready for a re-freshening?