Hurray! Long 3 day weekends = catching up on small projects for us mixed in with picnics and family get togethers. I couldn’t decide whether to share this post or wait until the reveal but I just get so excited about finishing touches and progress that I HAVE to share with my blog friends. 🙂
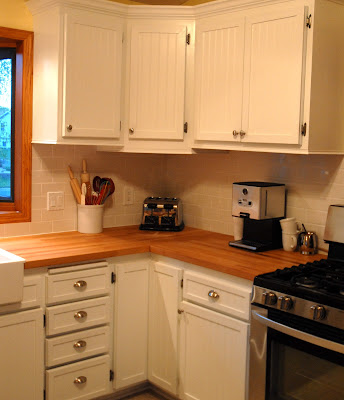
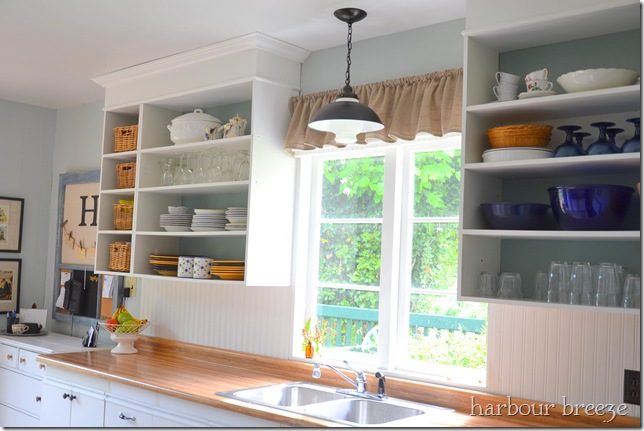
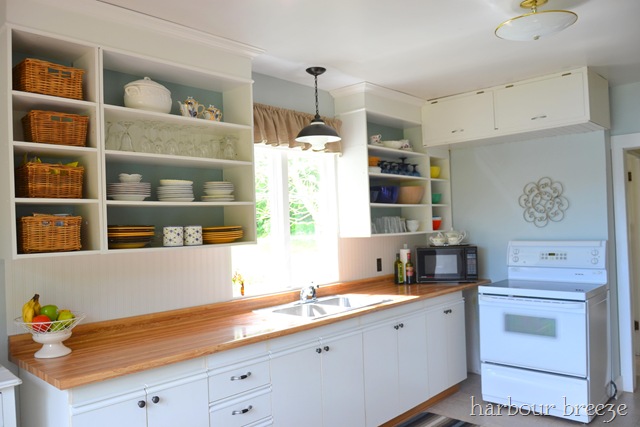
We’ve installed bamboo blinds in the kitchen…
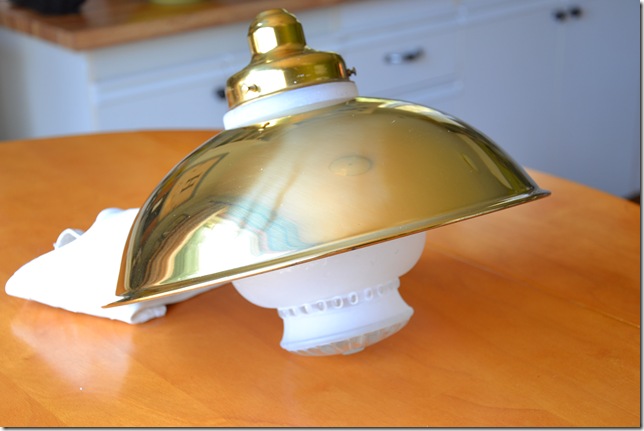
The over-the-sink light fixture is being change as we speak (or type or you read)!
This window will be getting a frame in the near future…
Mr. DIY LOVES the view of his other love (Big Green Egg).
~*~*~*~
We installed a magnetic strip to the backsplash. Not exactly “vintage/farmhouse” but the best part about owning a home is doing what you love, what works and compromising/mixing styles. It makes for a great team. If Mr. DIY is happy, I’m happy. The little touch of Ikea is okay with me.
How to Hang Accessories on Tiled Backsplash:
IN THE GROUT, mark where screws need to be for hanging. Use a level to keep things straight.
Mr. DIY likes his knives and kitchen utensils within easy reach near the stove and cutting board. Enter: The Grundtal (Ikea). It’s magnetic.
Breaking away for a minute:
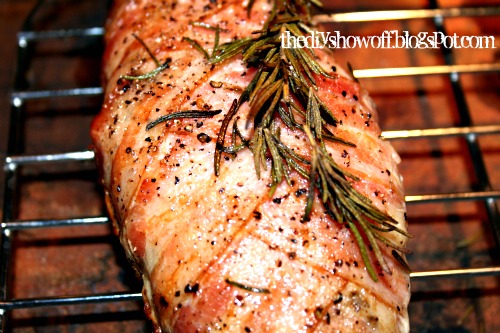
He does the cooking. For example we had ricotta/spinach/mushroom stuffed white fish wrapped in bacon this week. I’ve told him he needs to start his own cooking blog. It was soooo good! This helps you to understand why compromising on decor in the kitchen to his liking and approval is important. When you get to eat like this often, your decorating tastes are a little more flexible. 🙂
Now back to the tutorial:
Drill into the grout line.
Add a ceramic anchor by tapping it in the drilled hole lightly…
Anchor in place…
Ready for screws…
Attach the magnet – carefully keep fingers away from the back of the magnet. It’s VERY strong and you’ll get a pinch if your fingers are in the way!
Clean off fingerprints. Bon Ami All Purpose Cleaner is great for cleaning stainless steel.
Utensils within easy reach!
Sharing here:
 ~*~*~*~
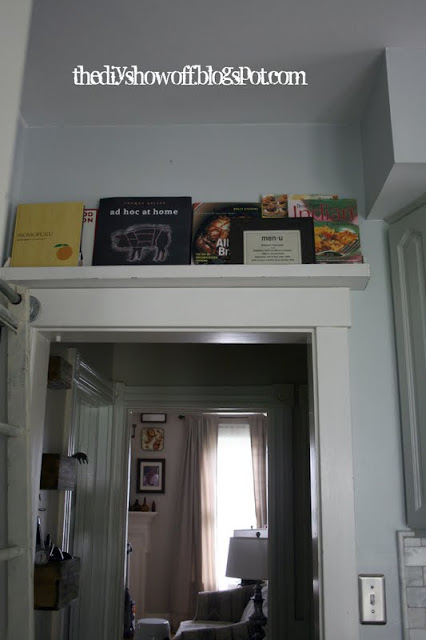
An old antique chicken feeder becomes a cook book ledge/shelf…
Now the sliding ladder reaches the spice loft and cook book library…
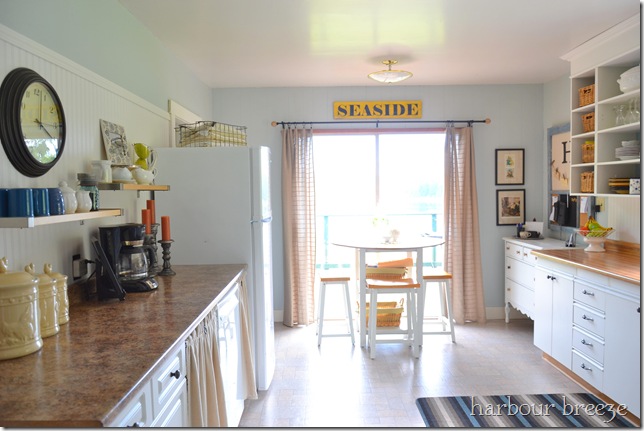
(Please pardon the mess in the dining room…kitchen renovation leads to a little chaos.)
Anticipating the floor coming next week!
Then the island, some built-ins, finishing touches and we’ll be finished!
It’s a lot of little DIY projects for one post but what do you think? Don’t you love productivity?
~*~*~*~
We also held a small get together/picnic yesterday – a couple of days without rain! Woo hoo!!! Doesn’t our patio look pretty and festive?
Edited to join:
What have you been doing this holiday weekend?
If you’d like to link YOUR DIY project post to The DIY Show Off Project Parade:
1.You must use the button above (ADD BUTTON HTML CODE FROM SIDE BAR TO YOUR POST) and link to this post to share the linky love.
2.Include your name or blog name and project title. Add your permalink (not your blog url, but your DIY project post url). Feel free to link a Past Post, just invite your readers in a current post with a quick note.
3.Or email your link to thediyshowoff@gmail.com and I will add it for you.
4.If you notice your link has disappeared -please add the link back to The DIY Show Off to your post today, a button or a quick note to your readers about the party and try again! I love when everyone participates and readers check out everyone’s links, but I think the return favor of linking back is the nice thing to do so everyone plays fair and enjoys all of the projects and links. Also – this blog party is for DIY projects only. Links not related to DIY will be deleted.
~*~*~*~
