When my daughter and I saw this on Pinterest, we knew it was a must for her outdoor graduation party so we made our own version! This would be fun if you’re hosting a Labor Day picnic.
Materials:
- Cardboard (middle for circle spinner, the circle-frame to be used as a stencil for spray painting)
- Upholstery tack (you may find a better solution, we were using what we had on hand – without buying more materials)
- 3 colors of Krylon spray paint
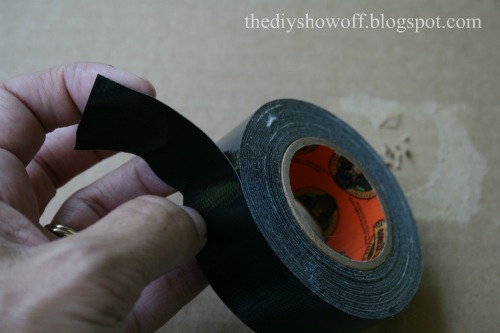
- Gorilla tape
Tools:
- Utility knife
- Dinner plate to trace
- Markers
- Ruler/yardstick
How To:
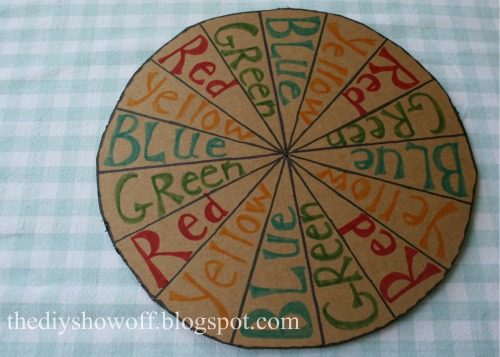
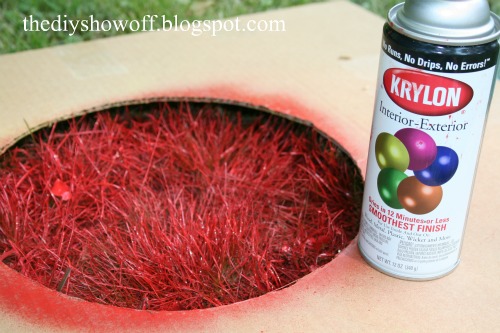
1. On a large piece of card board, trace a dinner plate in the center and cut out circle using a utility knife. The circle itself is used for the spinner. The large cardboard with the circle cut out becomes a stencil for the painted twister circles.
2. Using a ruler and pencil, divide the circle into 16 pie shapes. Define sections using markers and write in names of colors (same as paint colors chosen). We love the recycled cardboard giving it a vintage toy look!
3. On another rectangle square, trace the cardboard circle in the center. Divide the rectangle into 4 sections. In the corner of each section label one of the following: left foot, right foot, left hand, right hand.
Close up of after it’s all together:
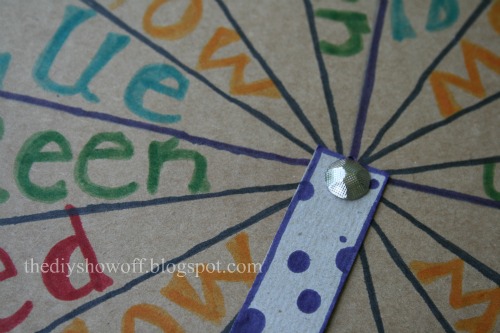
4. Cut out an arrow from a thinner piece of cardboard.
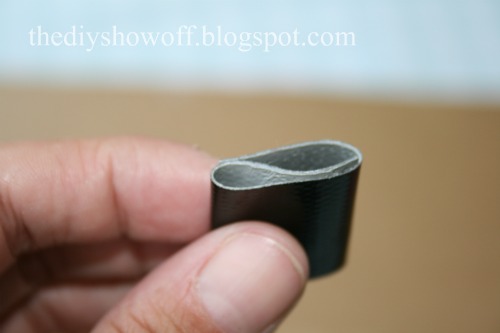
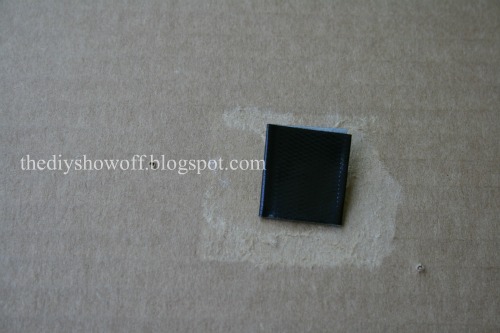
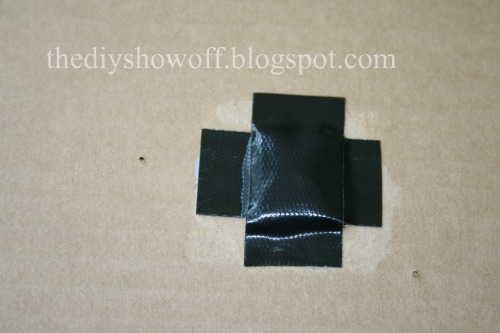
5. Using an upholstery tack, connect arrow to the circle then to the rectangle cardboard. It will fall out when upside down. However, it survived intact the duration of the party.
6. Gorilla Glue tape on the back prevents pinpricks!
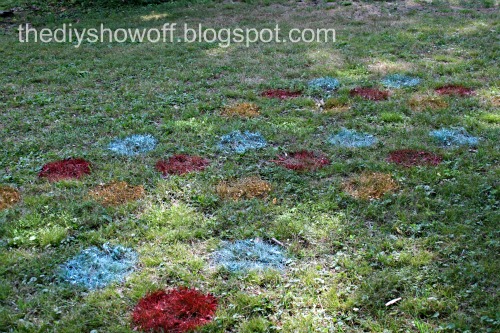
7. Decide on a flat large area of the yard. Place the stencil in the upper left hand corner and choose your first color. We chose red.
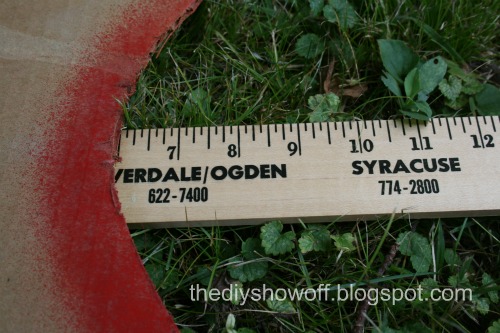
8. Measure to the right of first circle 6 inches to place the circle stencil (the left inside circle border placed at 6″ as shown). Spray paint another color. Repeat for desired size. We did 4 different colors across. (Or decide on a pattern as shown in the
Pinterest inspiration.)
9. Start the next row with the 2nd color used in row one, ending with first color used in row one. Repeat. We originally did 16 circles but then doubled to 32 for a larger playing area.
10. Let dry.
Time to play!
Spinner Tip:
(push arrow with fingers)