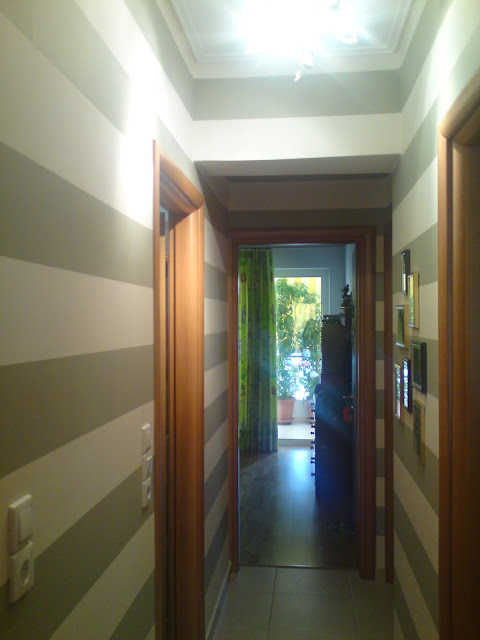
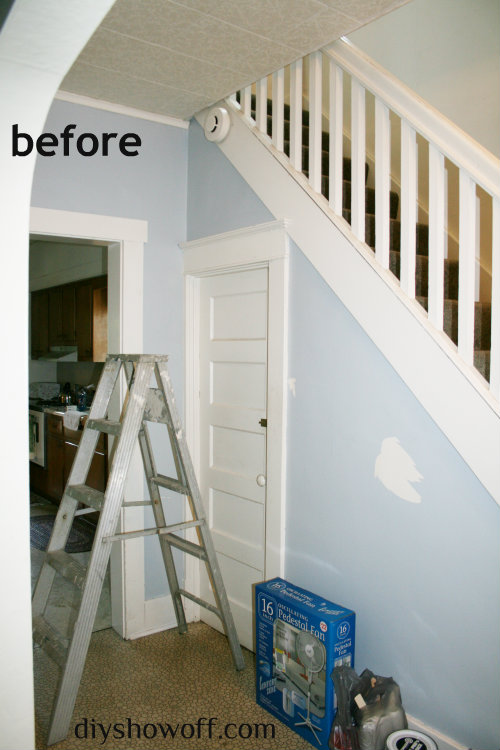
Patti (my youngest sister) is renting but has permission from the landlord to paint…and to be creative about it too. The entryway wall before had peeling paint…
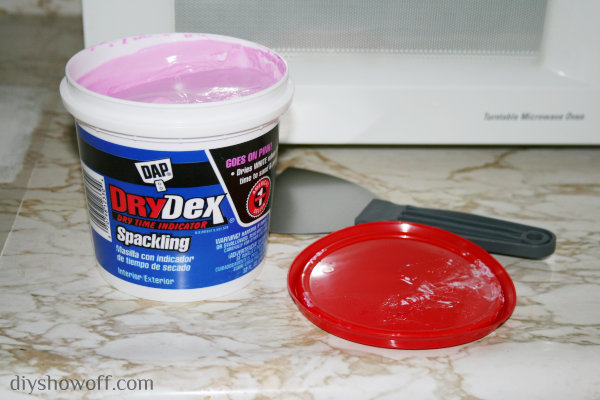
I scraped and sanded until we had a smooth finish. Holes and cracks were patched using DAP’s DryDex (spackling that goes on pink, dries white) and sanded.
The walls got a coat of primer and a base coat in a neutral light gray color.
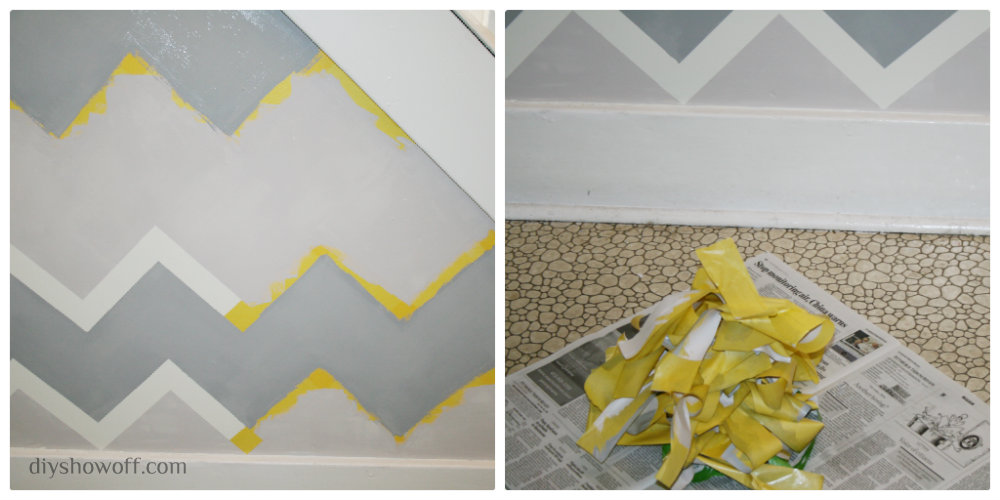
Using FrogTape Delicate (the yellow painter’s tape with PaintBlock Technology, safe for freshly painted walls) the next day, I created a chevron/zigzag pattern.
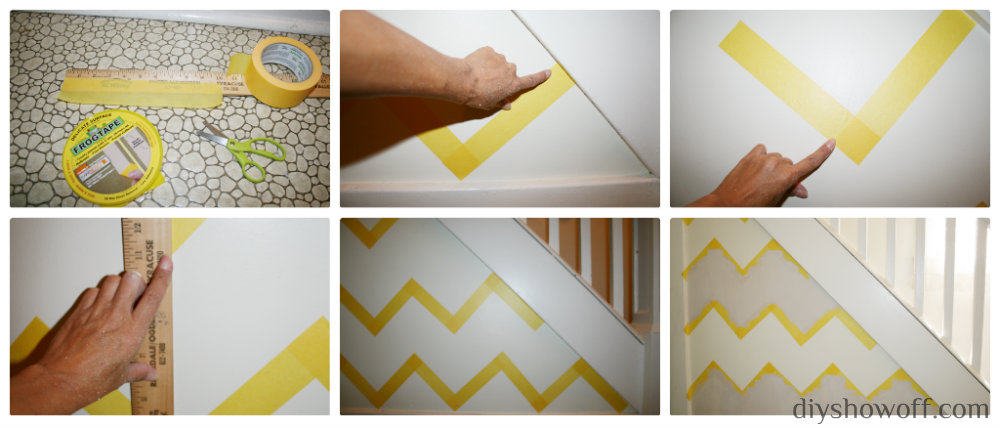
Then painted the zigzag stripes alternating a left-over darker gray paint and left-over gray-beige paint (the color under the tape is a lighter gray).
As soon as I were finished painting the second coat (while it was still wet), I removed the FrogTape Delicate.
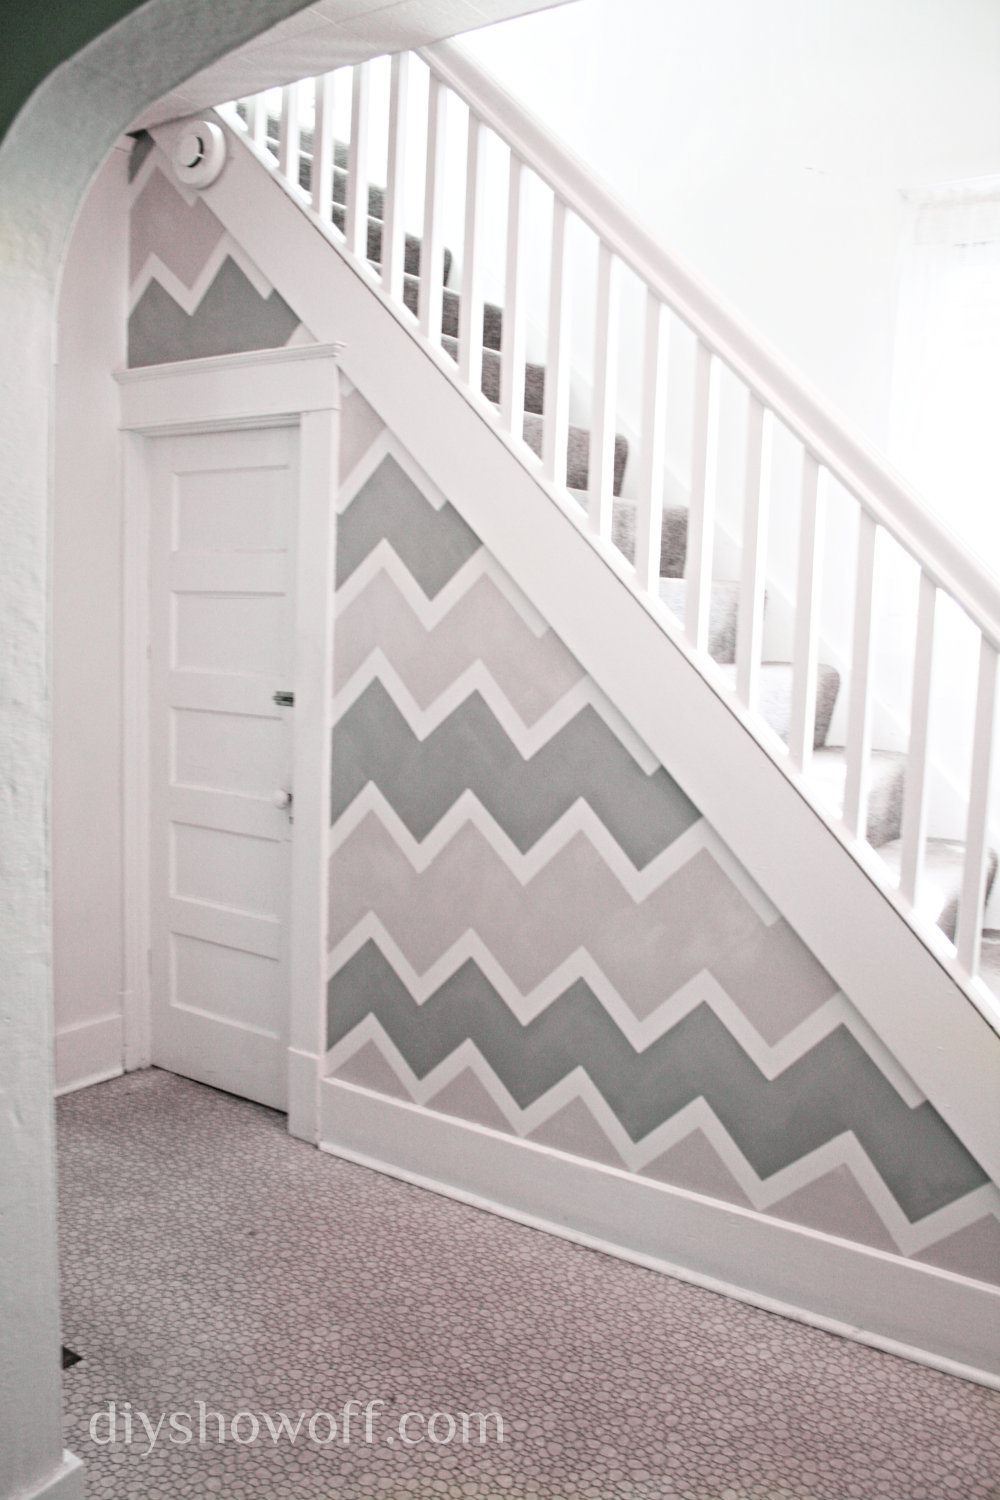
Next up cleaning the dingy vinyl floor and decorating.
After (paint is still drying):
Patti just happens to work part time for a thrift store so she gets first dibs on all of the eclectic treasures (and has a good eye for what can be transformed). Lucky girl! If it was me, I’d never get out the door with a paycheck. I’d be trading those dollars for thrift store goodies!
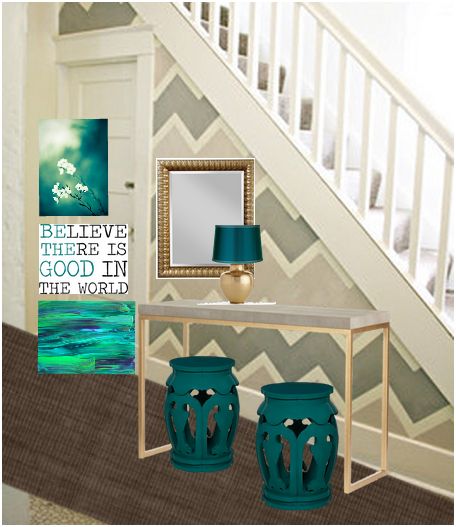
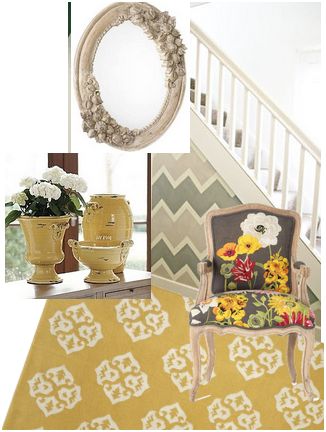
Even though the wall now sports a busy pattern in 3 colors, the colors are neutral enough to work in some fun colorful accents and patterns. {All accessories found on Polyvore.}
teal, gold & gray
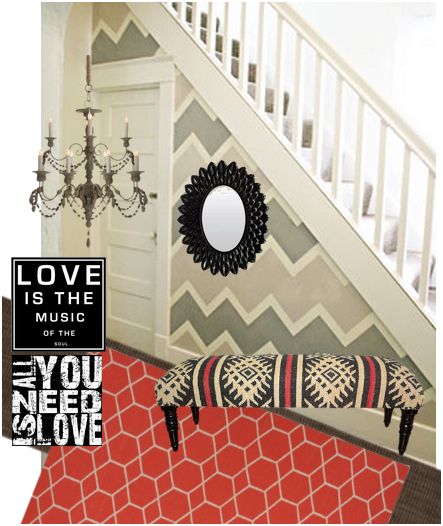
coral, black & gray
emerald & navy

gray & mustard
Looking forward to seeing what she does, how about you? Which color(s) do you like?
This is a sponsored post brought to you by FrogTape. The opinions are completely my own based on my own experience.
![]()