Long day of good food and sun = worn out! I’ll edit this post and share what I did this week tomorrow but if you’ve had a chance to DIY this weekend, let’s see it!
Edited: Remember this bistro set I snagged for $15 at a yard sale? It was ivory and rusty.
After some sanding, I used spray primer.
Then, I was going to do something fun and crazy but after some thought, I decided to make it match the existing patio furniture and to put it under the grape arbor for extra seating closer to the patio.
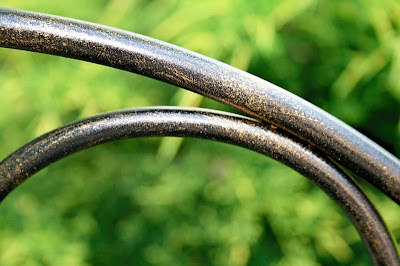
Our patio furniture looks like this. Aged bronze: I gave it a coat of oil rubbed bronze spray paint:


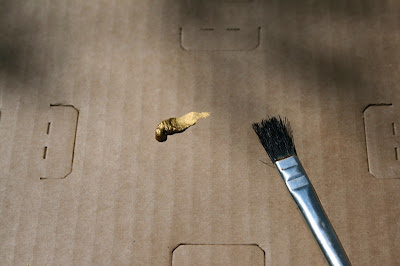
And then, I used the gold leaf Rub-n-Buff using a dry brush to create the gold markings that my other patio furniture has. A little goes a long way!
And came up with this:


Side by side, before and after:
The Rub-n-Buff is awesome. At first I used a rag and learned that a little goes a long way so then I applied it with the dry brush to get the aged bronze look. I can’t wait to try it on another project. The coverage is amazing. I think it’d be perfect for creating a French Provincial look since it covers so well. We have a bedroom set that look like this:
and it would be perfect for the same effect! It’s permanent and dries really fast.
I love the metallic sparkle.
More to come! I’m working on cushions and throw pillow covers for all of the patio furniture along with something else pretty for the grape arbor seating area. 🙂
- You must use the button above and link to this post to share the linky love.
- Include your name or blog name and project title. Add your permalink (not your blog url, but your DIY project post url). Feel free to link a Past Post, just invite your readers in a current post with a quick note.
- Or email your link to thediyshowoff@gmail.com and I will add it for you.
- If you notice your link has disappeared – please add the link back to The DIY Show Off to your post today with a quick note to your readers about the party and try again! I love when everyone participates and readers check out everyone’s links, but I think the return favor of linking back is the nice thing to do so everyone plays fair and enjoys all of the projects and links. Also – this blog party is for DIY projects only. Links not related to DIY will be deleted.


