DIY {club foot} Brace Cover

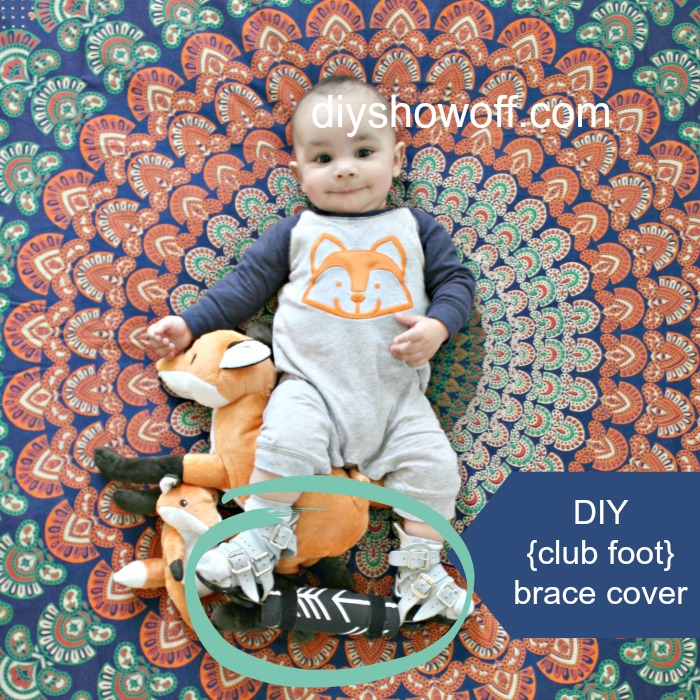
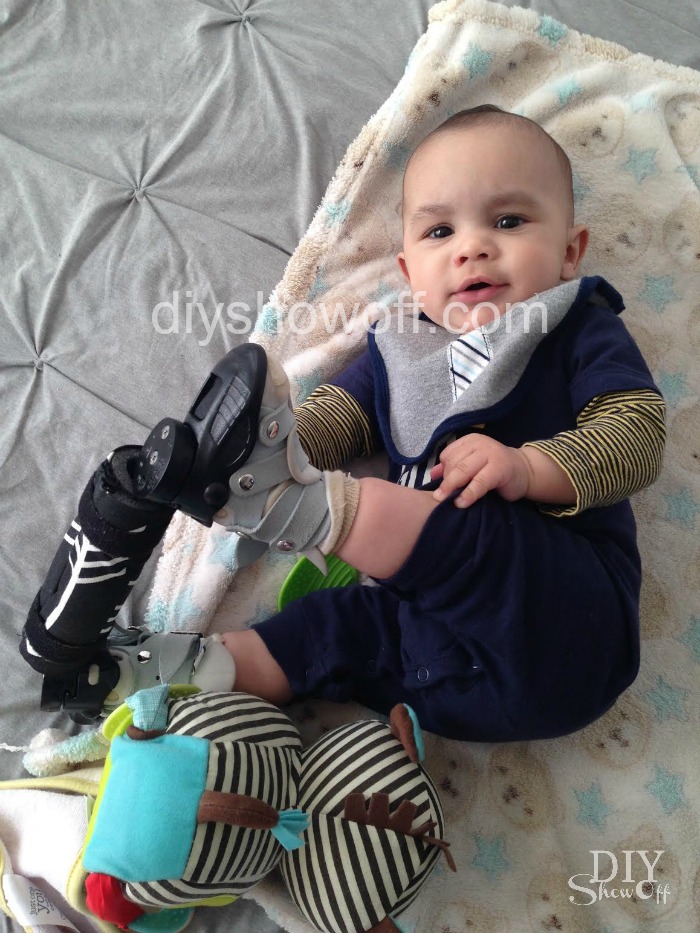
Sweet grand baby boy was born with club feet and after months of casting then surgery, he graduated to special shoes and a bar.

Before…

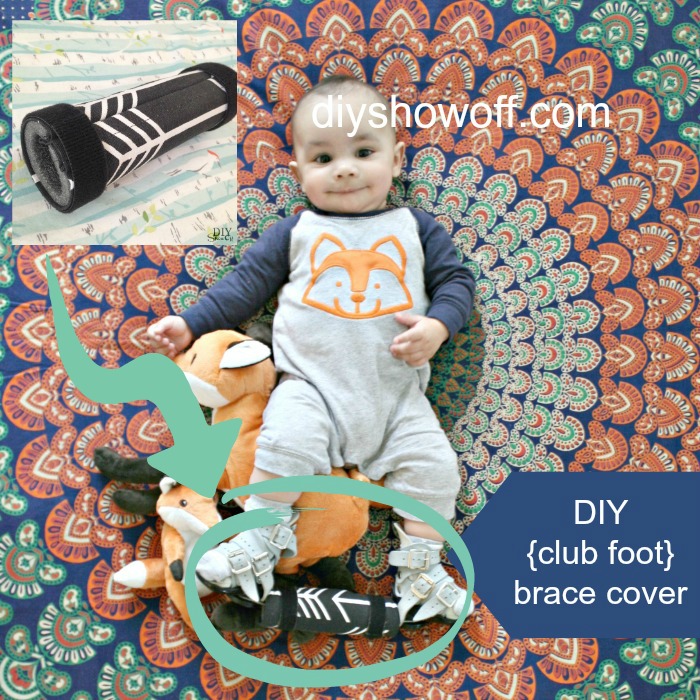
DIY {club foot} brace cover tutorial @diyshowoff

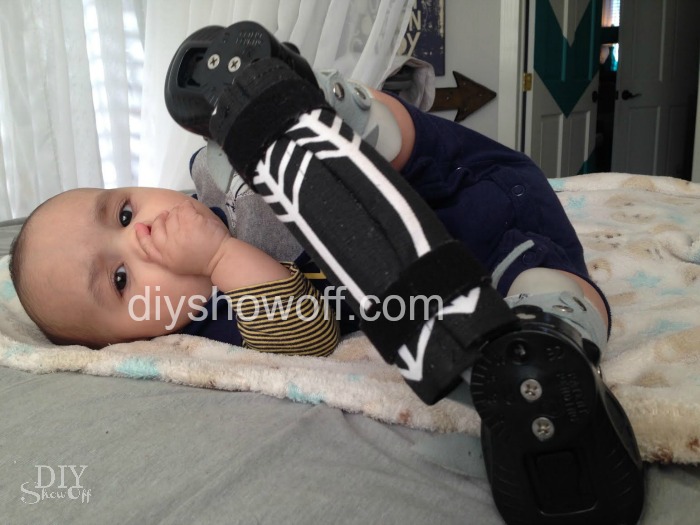
And sometimes that bar conks him on the head. Ouch. So I made up a little cushion/cover and wanted to share here for others who may be searching to cover their baby’s Ponseti bar.

DIY {club foot} brace cover tutorial @diyshowoff

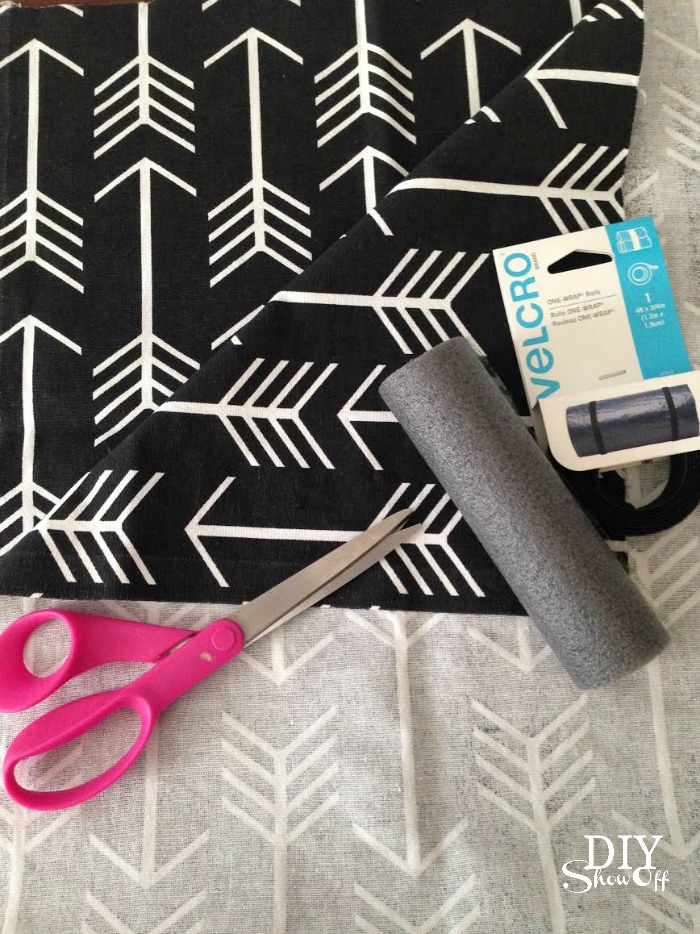
Materials I used:

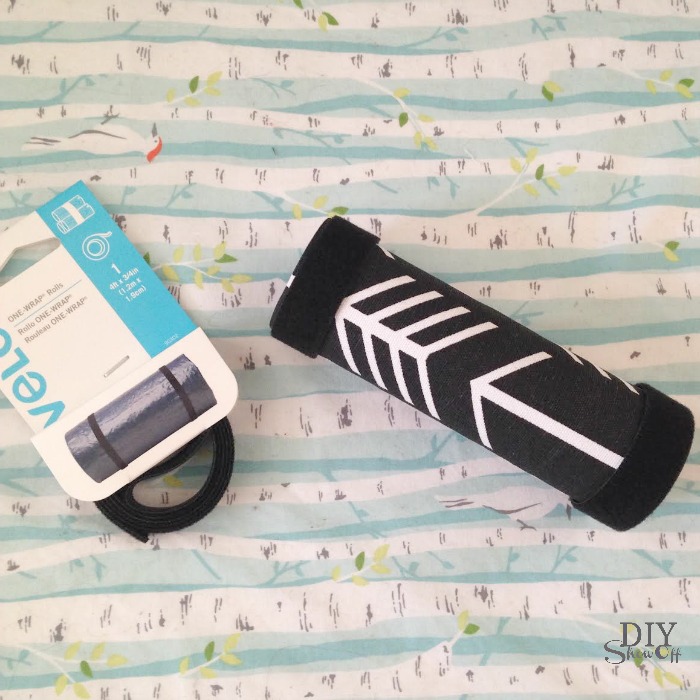
  • pipe insulation
  • fabric
  • Velcro one wrap

DIY {club foot} brace cover tutorial @diyshowoff

What I did:

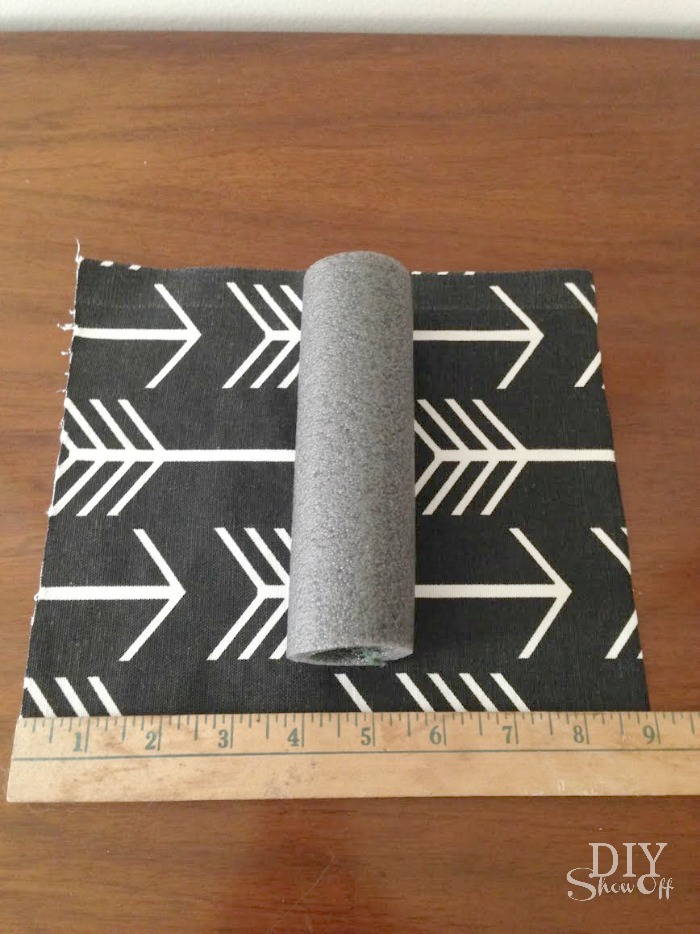
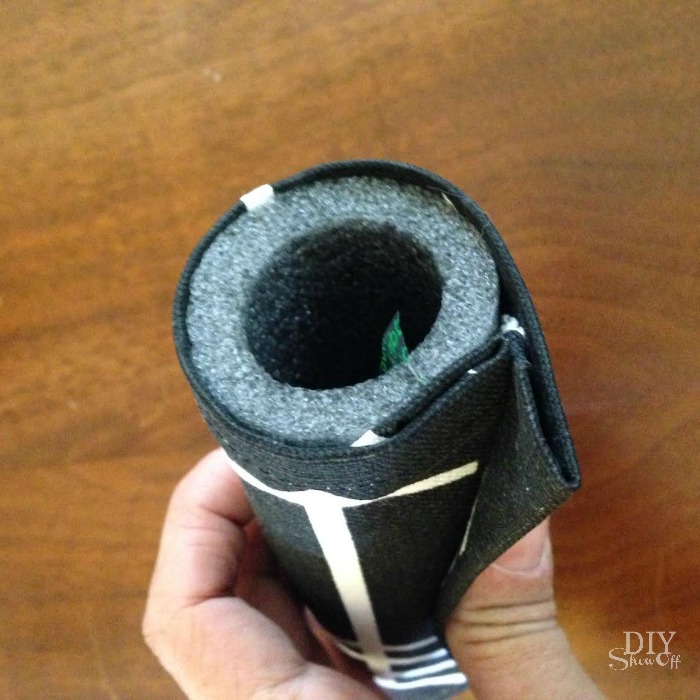
I cut a piece of pipe insulation to fit the brace between the shoes (6 inches). 

Next, I cut a piece of scrap fabric 8×9 inches. (It’s a snug fit so I’d suggest doing 8×11 inches instead…a little extra to tuck in.)

DIY {club foot} brace cover tutorial @diyshowoff

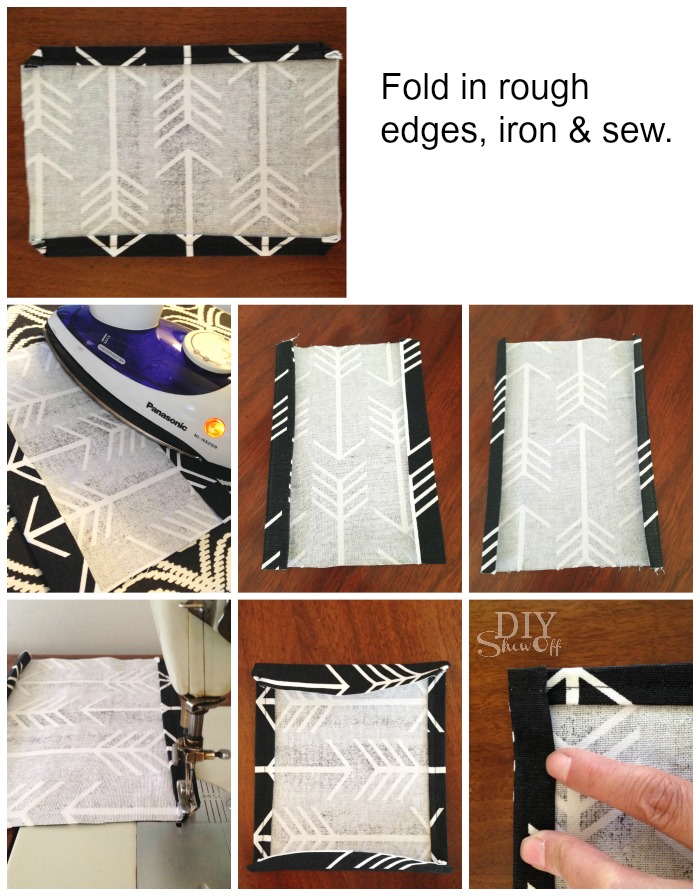
Then just ironed/sewed the borders. 

DIY {club foot} brace cover tutorial @diyshowoffDIY {club foot} brace cover tutorial @diyshowoff

I cut two pieces of the Velcro to fit around the pipe insulation snuggly. 

DIY {club foot} brace cover tutorial @diyshowoff

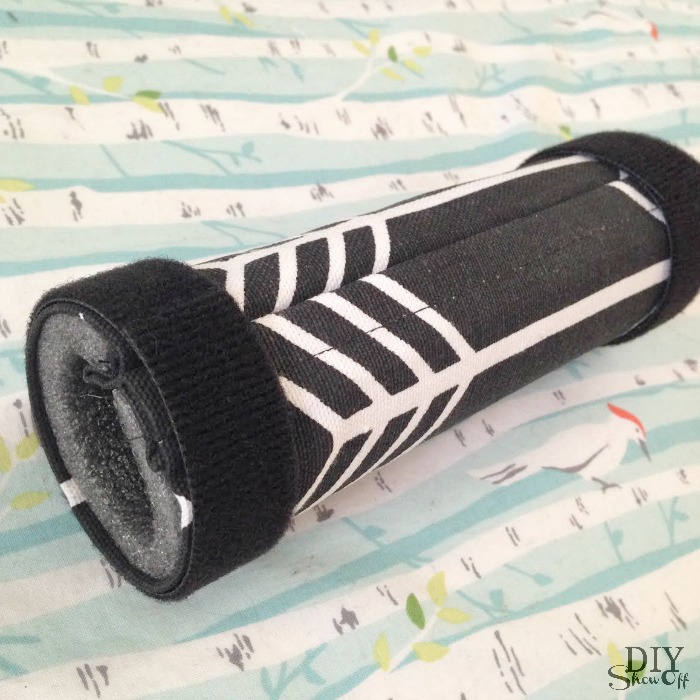
Assembly: Insert the brace into the pipe insulation. Wrap the fabric around the pipe insulation, tucking the ends into the open side. Secure with the Velcro. 

Optional: If you’re more of a sewing expert than me, you could do snaps or sew on velcro. 

DIY {club foot} brace cover tutorial @diyshowoff

Now, the brace has a bit of cushioning. If there was only a way to cushion those hard soled shoes.

DIY {club foot} brace cover tutorial @diyshowoffDIY {club foot} brace cover tutorial @diyshowoff DIY {club foot} brace cover tutorial @diyshowoff


Ps. Yes, his shoes are on backwards. Doctors orders, part of the treatment. Isn’t he the cutest?

DIY {club foot} brace cover tutorial @diyshowoff

That DIY Party

Happy day, DIY friends! It’s that DIY Party time! (Please note: Next week’s That DIY Party will be delayed by one day and publish Monday, April 6th due in recognition of celebrating Easter). 

Oh! THAT DIY Party at diyshowoff.com

DIYShowOff Weekly Recap: 

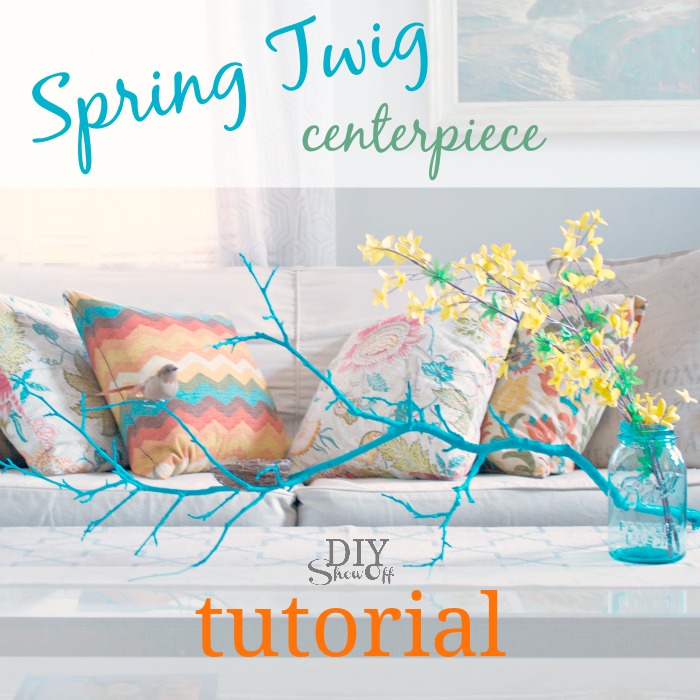
Spring Twig Centerpiece – so easy! See the cute little bird and nest too?

spring twig centerpiece tutorial @diyshowoff

I am so blessed to have 99 oily friends joining me on a journey to wellness with Young Living essential oils. I can’t tell you how happy that makes me! That’s 99 families making big life changes! Who’s next? I want the same amazing benefits for you and your family, your friends, your readers too! Every home needs essential oils. You’ll not only be armed with these high quality natural products in your “tool box”, you’ll be a part of an amazing online community with lots of support. Join the team! 
#100 gets a special gift package from me! More info & the March promotion ending soon HERE. What’s holding you back? Let’s discuss your questions and concerns!

Young Living at diyshowoff.com

Party time: Let’s see what you’re up to!

Oh! THAT DIY Party at diyshowoff.com

1. Please use the button above or text and link to this post to share the linky love. Here is the link: https://diyshowoff.com/category/other/that-diy-party/.

2. This blog linky party is for YOUR DIY projects only. Links not related to DIY will be deleted. Please share your link one week only. Please do not link giveaways, linky parties, promotions or a collection of inspiration that isn’t your own DIY project. Limit recipes to one per person per party. PLEASE DO NOT LINK TO YOUR ETSY SHOP.

3. By joining the party, you give permission for your project to be featured and ‘shown off’ via blog highlight, Twitter, Facebook, Pinterest, G+.

4. If you’re here to share your DIY and link up or just browse the links for DIY inspiration, please consider visiting one of the links above to or leaving a comment to let me know what you think about my DIY too! Feedback makes my day! Thank you so much for your support!

5. If you’re viewing in mobile, you may need to click over/convert to “desktop view” to see the links.


Drop Zone Makeover {Back to School Organization} Before & After

It’s back to school season! It’s the perfect time to re-think the “drop zone” to organize back packs, shoes, coats…all the things that get unloaded when walking in the door. 

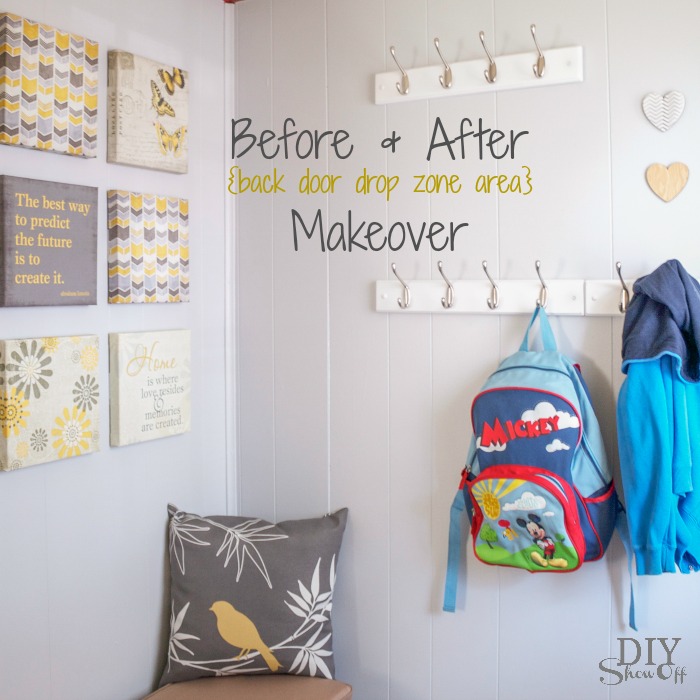
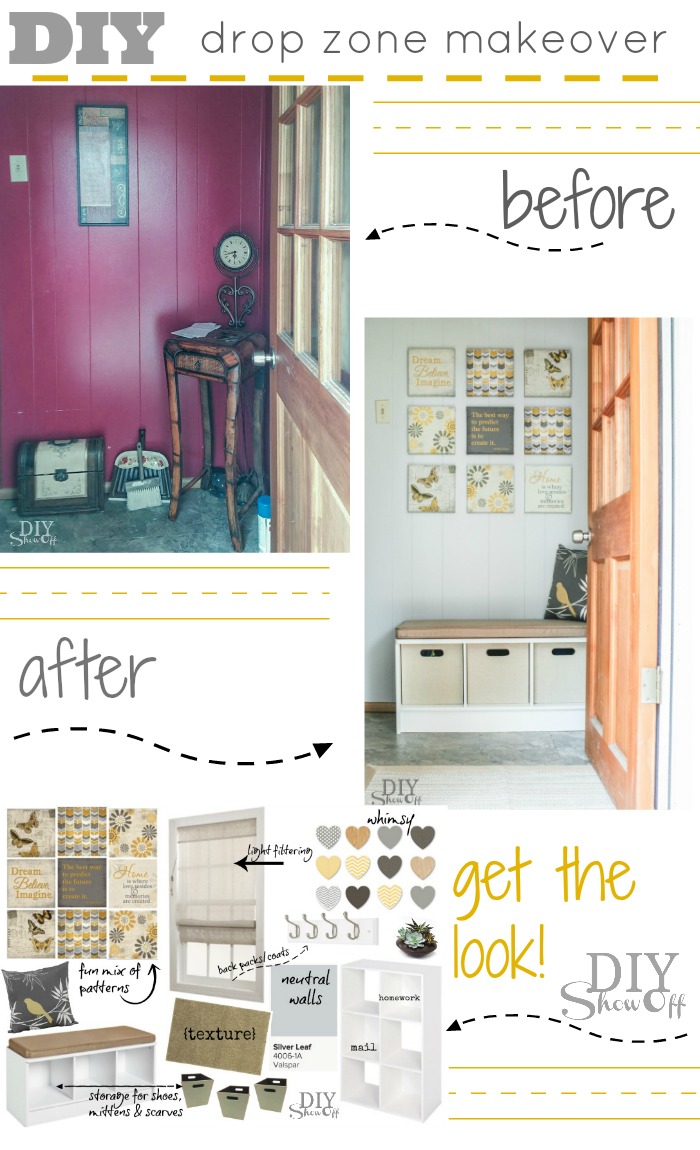
before and after back door drop zone area makeover

As a part of the Lowe’s Creative Ideas team, one of this month’s challenge options included a back to school organization theme. Since my sister is still recovering and her little one will be  starting pre-school in a couple of weeks (AND her birthday is right around the corner),  I surprised her with a 6-hour back door entryway makeover. 

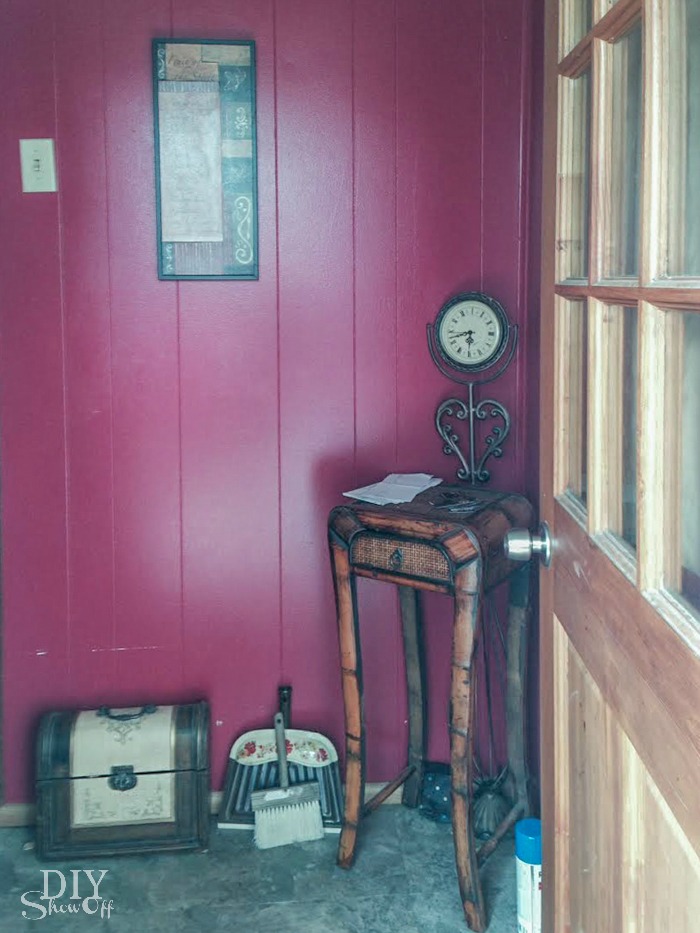
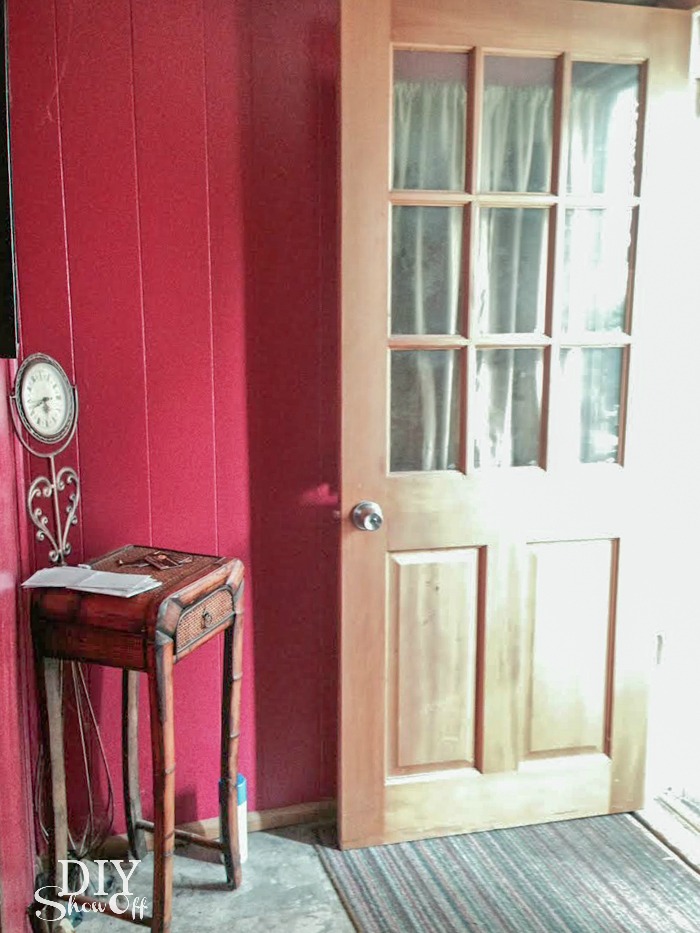
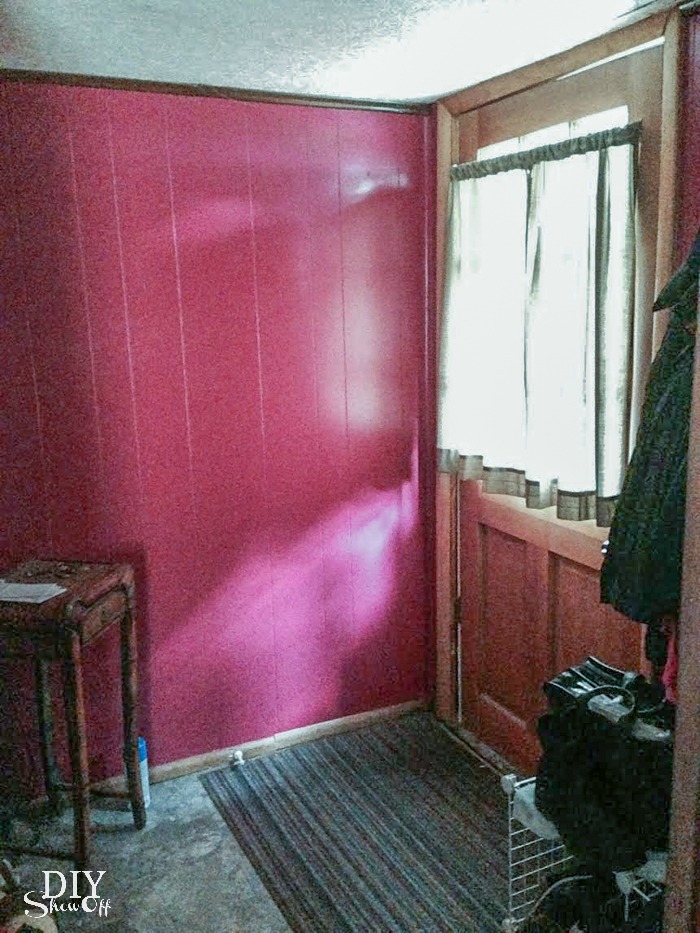
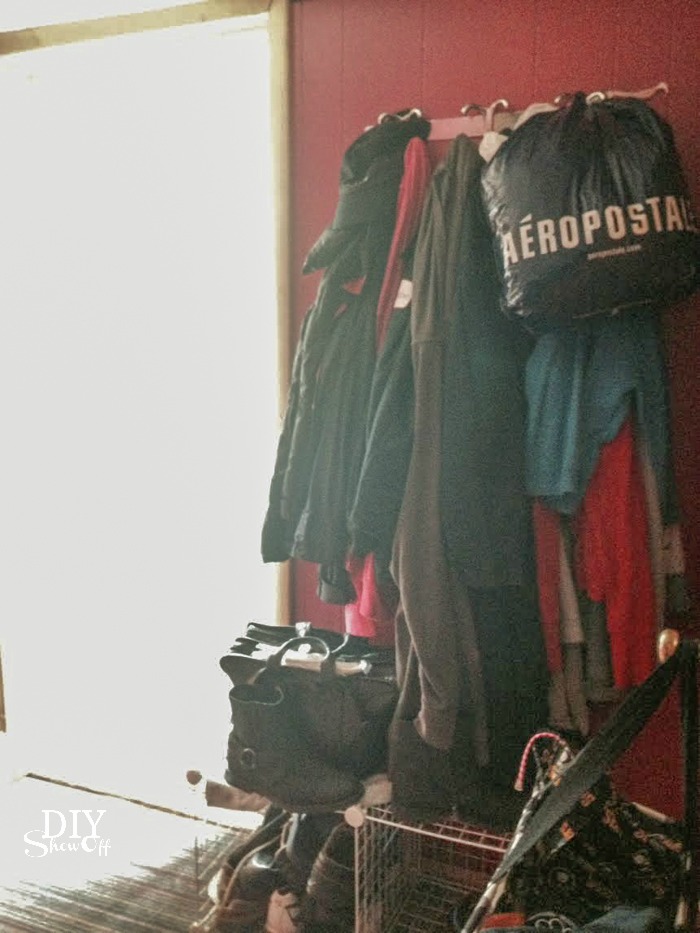
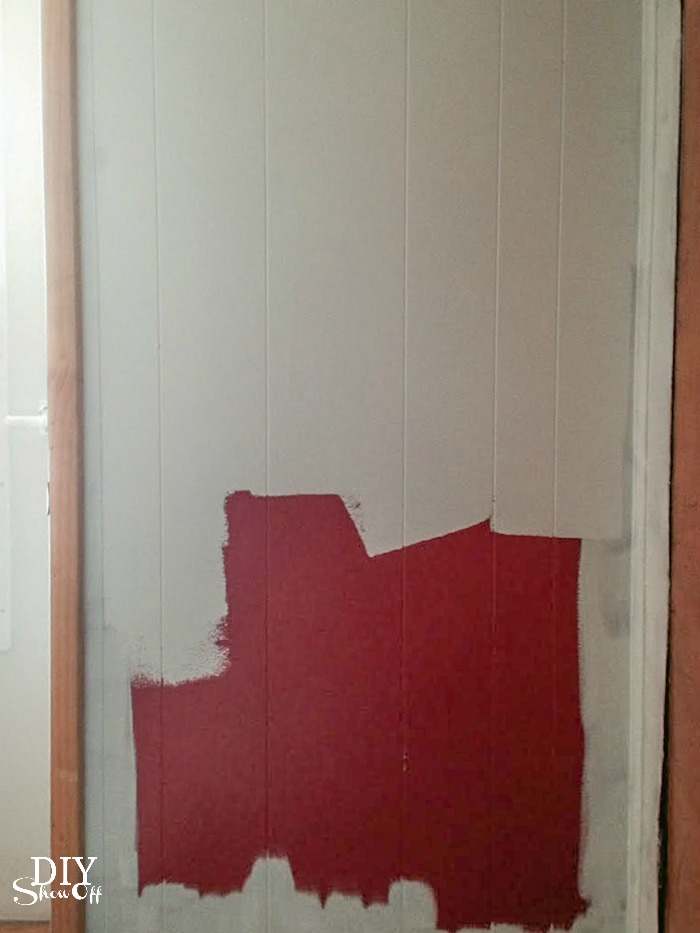
Here are the before pictures: this little space just wasn’t functioning well as an organized drop zone with storage options. 

back entryway makeover beforeback entryway makeover beforeback entryway makeover beforecoat rack before

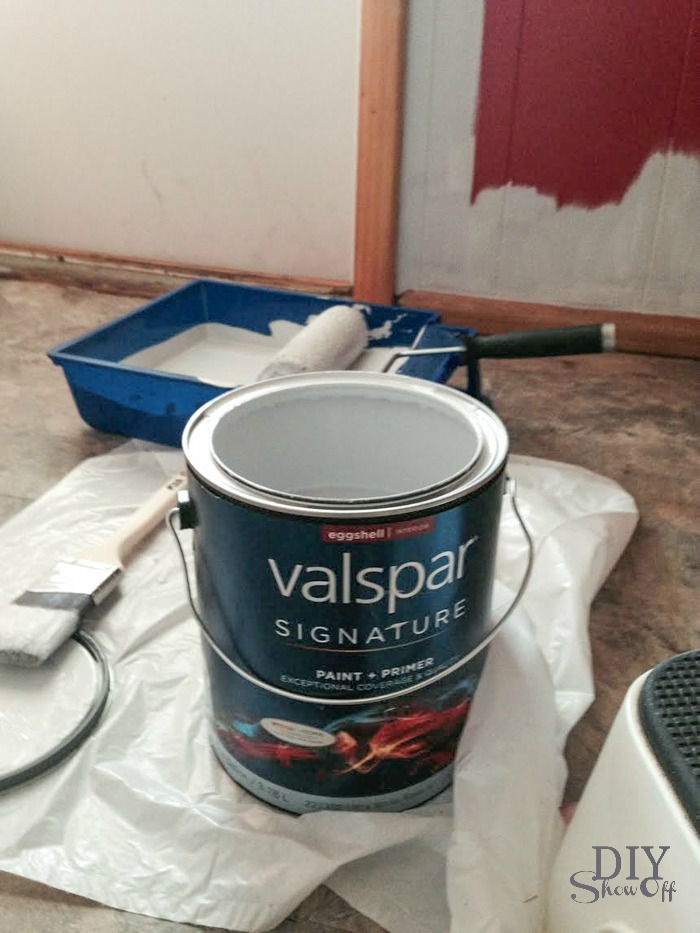
First up, we emptied the area then I freshened up the walls with paint to give the space more light and a bigger neutral vibe. I used Valspar Signature (Paint + Primer). Color is silver leaf. Isn’t it pretty? Just a touch of a gray-blue tint. Best part? It covered up the raspberry-painted paneling in just two coats. 

back entryway makeover beforeback entryway makeover beforeback entryway makeover before

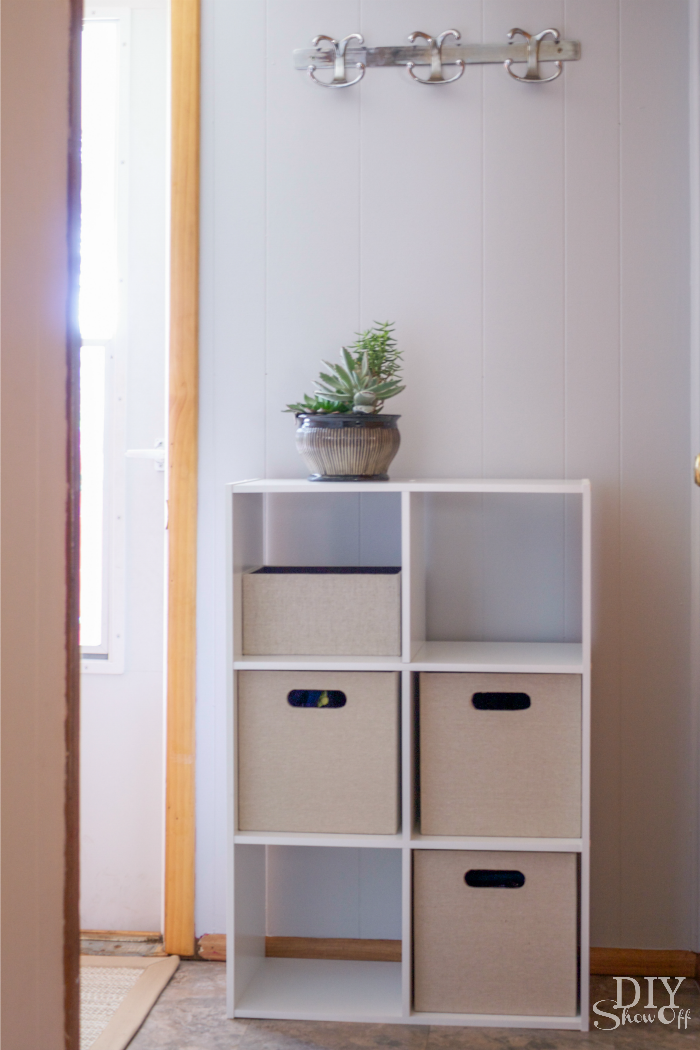
While the paint was drying, I assembled the furniture consisting of a storage bench and cubby shelves. I even had a helper…

back entryway makeover before

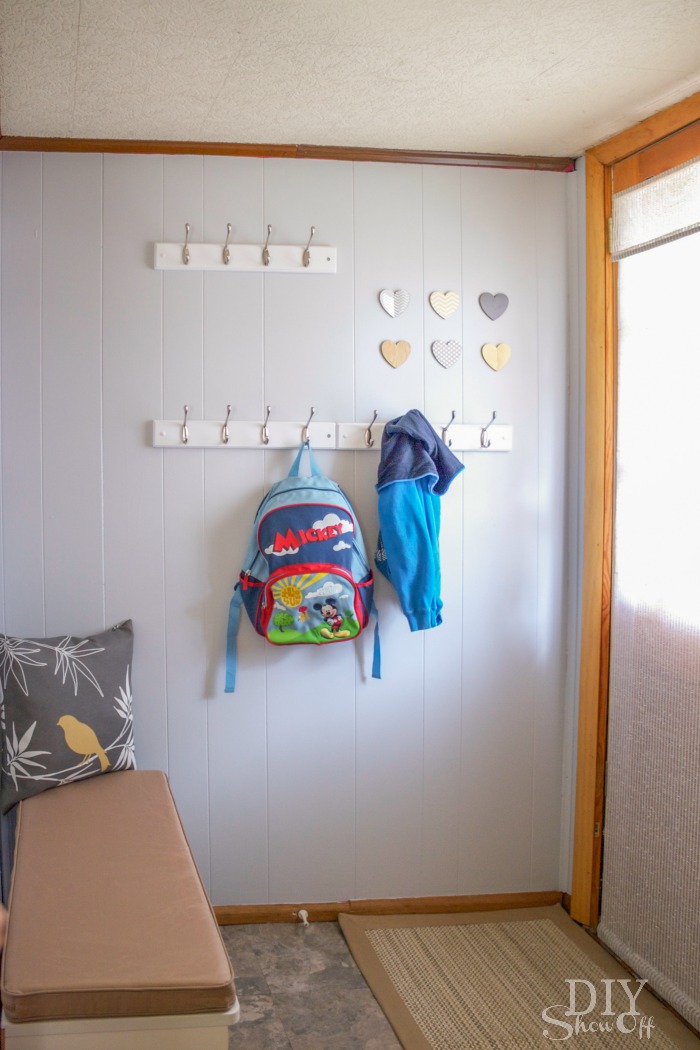
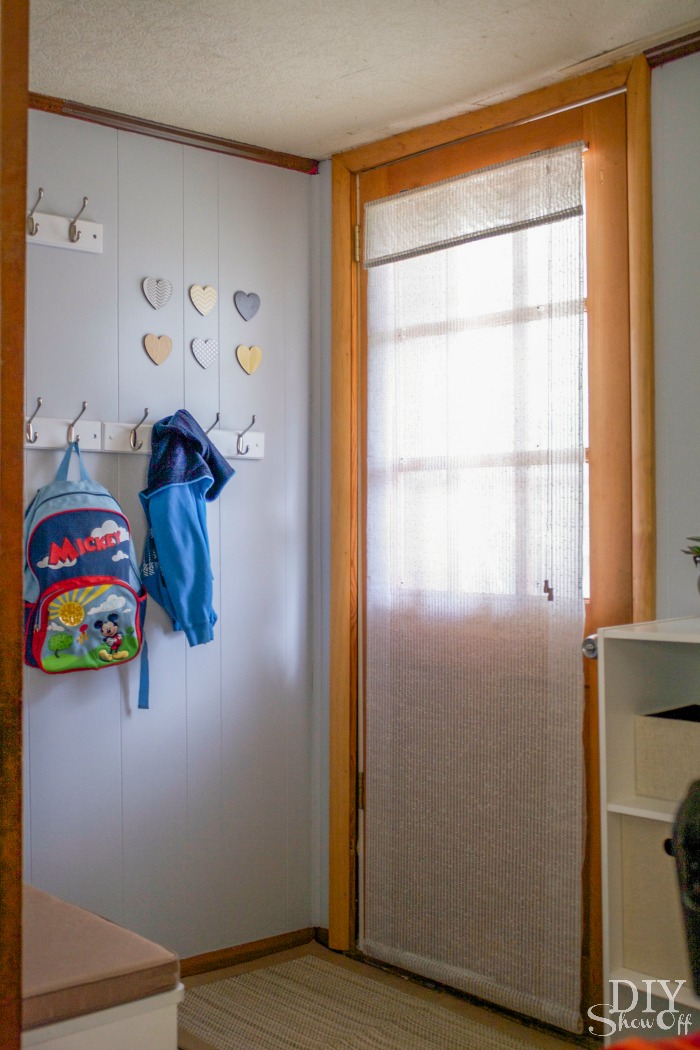
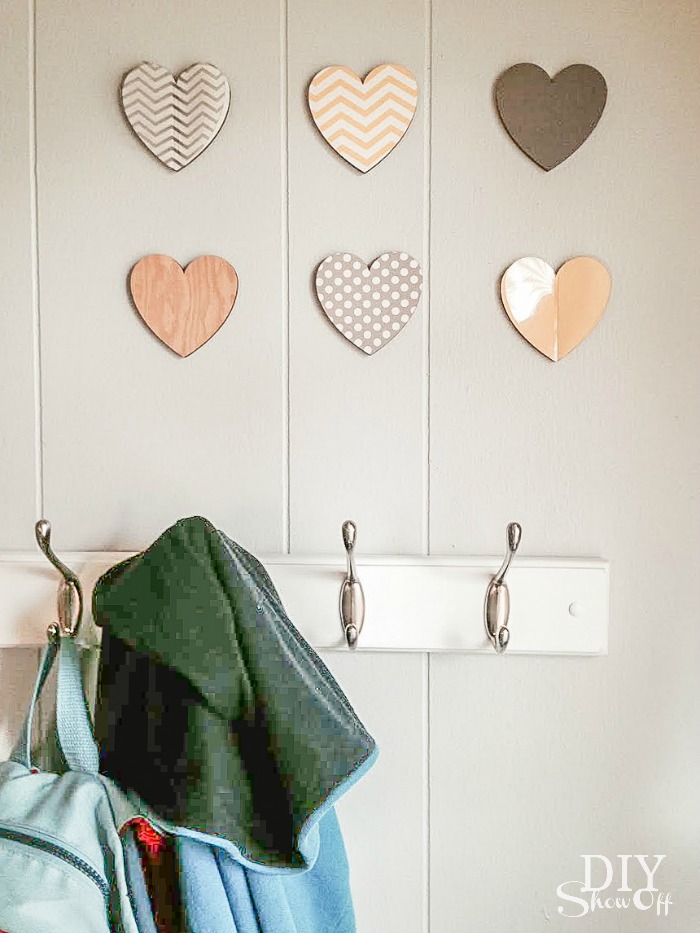
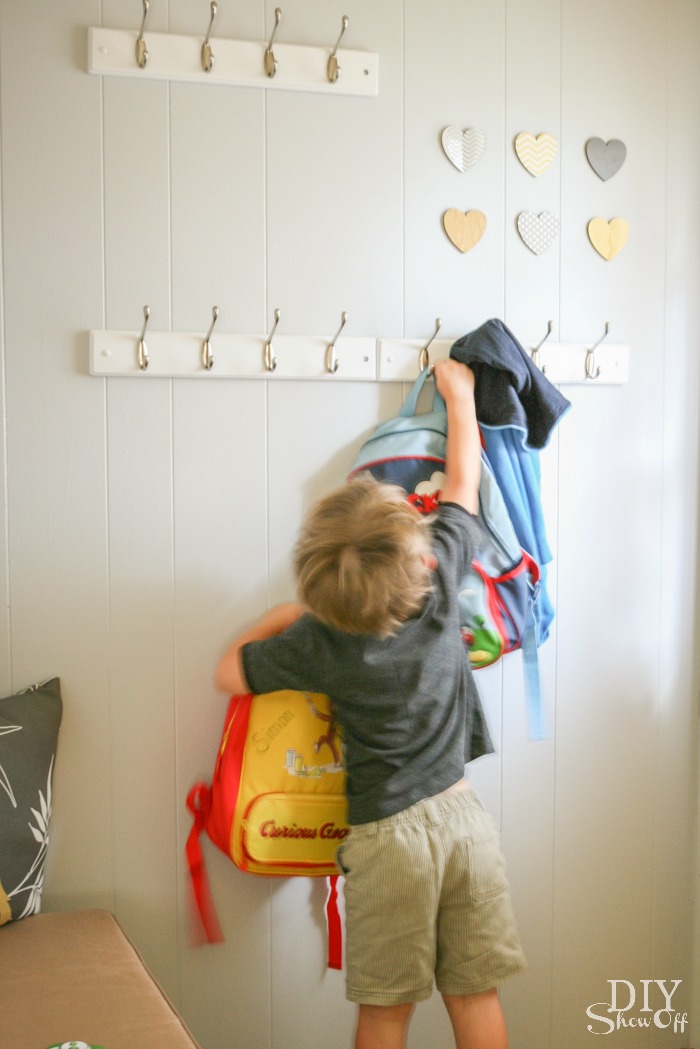
Once the paint was dry (use a fan to speed along the drying process), I added some coat hooks for back packs, coats and hats. Using a level (and screwing into the walls studs/using wall anchors) to secure the coat racks.

Since the previous window treatment on the door wasn’t a good fit, I replaced the curtain on the door with a new roman shade.

Once more, the before when opening the door…

back entryway makeover before

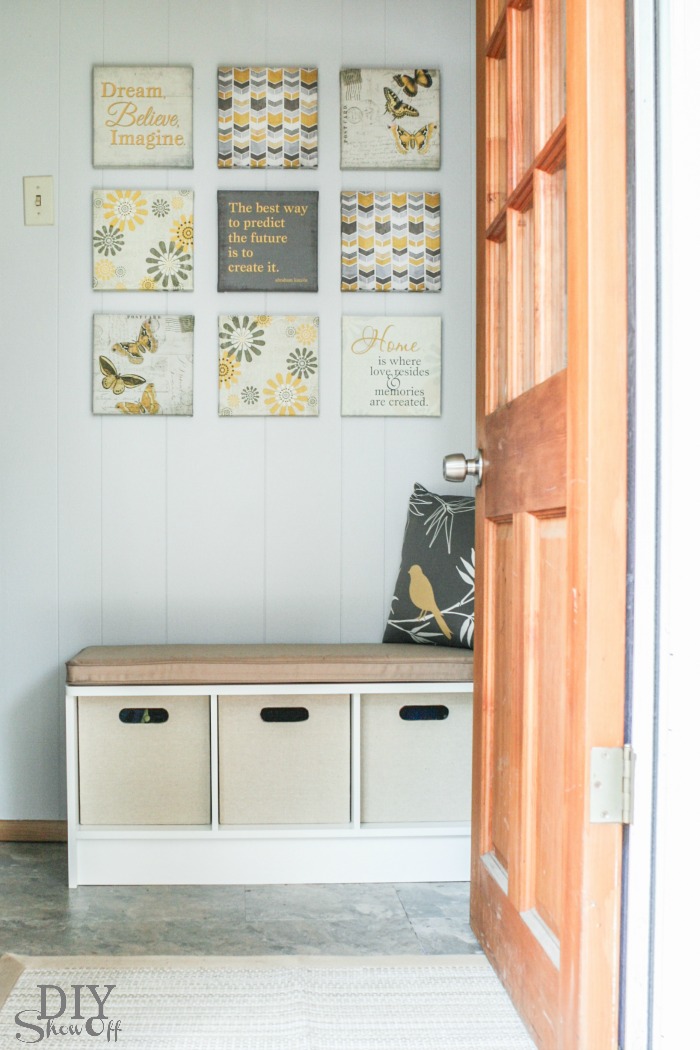
After… 

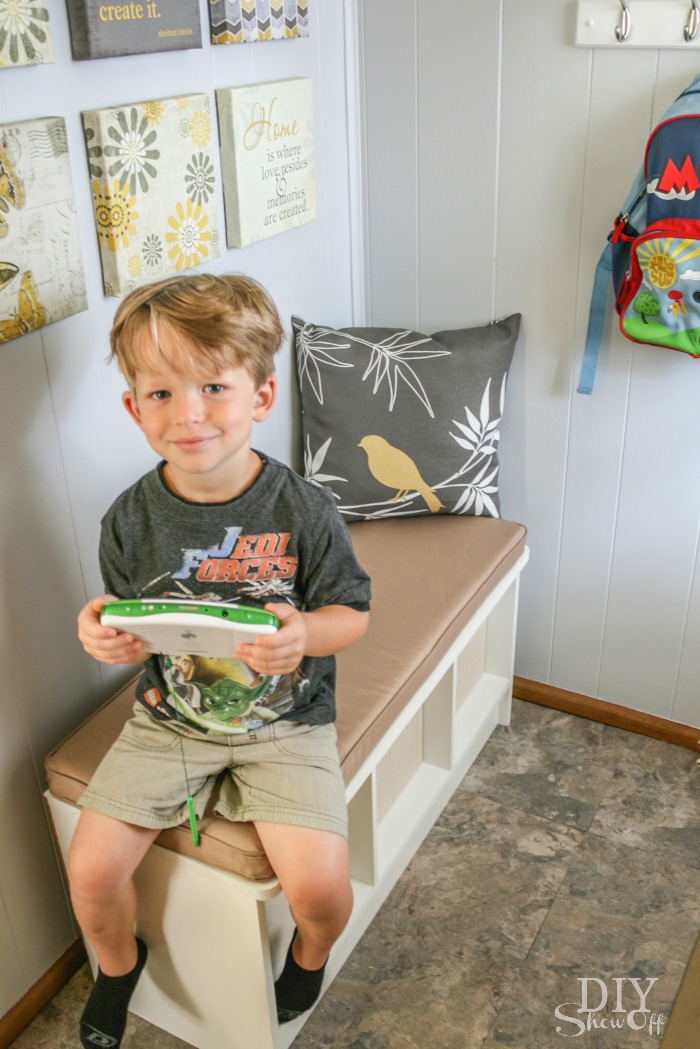
entryway after at diyshowoff.comentryway makeover "after" at diyshowoff.comentryway makeover "after" at diyshowoff.comentryway makeover "after" at diyshowoff.com


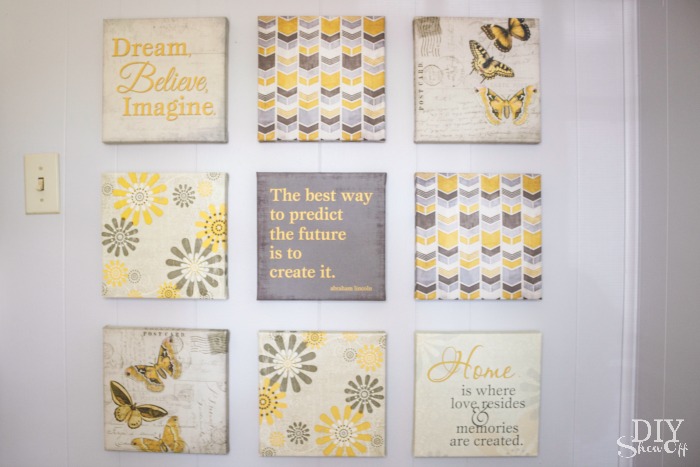
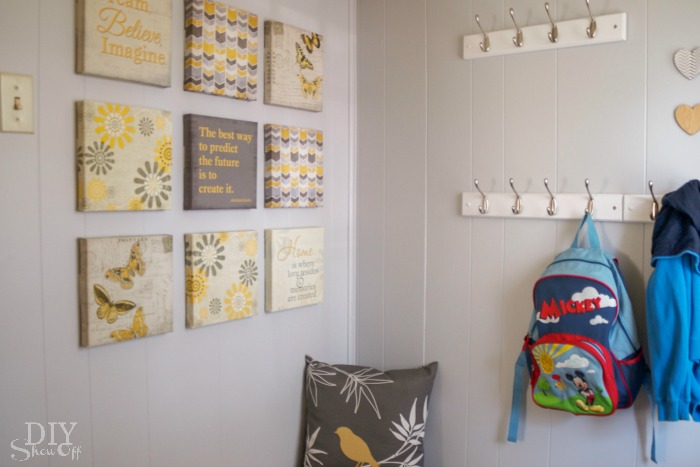
Then added in some pretty accessories and wall art.

entryway makeover "after" at diyshowoff.com


And now…the room feels bigger, fresher, prettier.

entryway makeover "after" at diyshowoff.comentryway makeover "after" at diyshowoff.com

My nephew started adding his shoes to bins and hanging his backpacks the minute we finished up. No more hunting for lost shoes and his backpack is ready to go. He also grabbed his ‘camera’ to take a few shots of his own. 

entryway makeover "after" at diyshowoff.com

My DIY and photography assistant for the day…entryway makeover "after" at diyshowoff.com

I’m considering incorporating a cork board for displaying his papers and drawings to the basement door. A project for another day. 

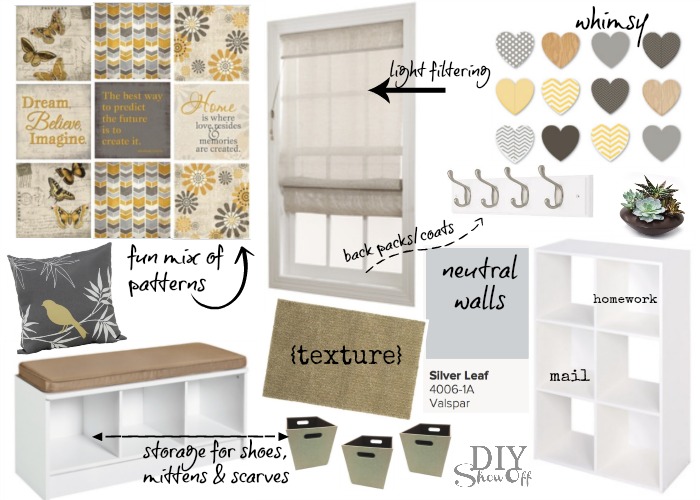
Get the look!

Fresh & Fun Drop Zone Design Board @diyshowoff

DIY drop zone makeover at diyshowoff.com

I received a Lowe’s gift card to put towards this challenge. Opinion and above idea is 100% my own. More DIY ideas at Lowe’s Creative Ideas or follow Lowe’s on InstagramPinterest and sign up for the Creative Ideas magazine and app.  

LCI Summer Badge