Faux Beam: home makeover progress!

It’s been a while since I shared an update of the progress going on at mom’s house. It’s still a work in progress but wait until you see how far along things are coming, especially since their current home sold in less than 24 hours of being on the market. TIME TO HUSTLE! Disclosure: We received product in exchange for this review. Take a look! 

Before: Before and after home improvement project - ceiling with a gorgeous faux beam @diyshowoff Before and after home improvement project - ceiling with a gorgeous faux beam @diyshowoff Before and after home improvement project - ceiling with a gorgeous faux beam @diyshowoff Before and after home improvement project - ceiling with a gorgeous faux beam @diyshowoff Before and after home improvement project - ceiling with a gorgeous faux beam @diyshowoff
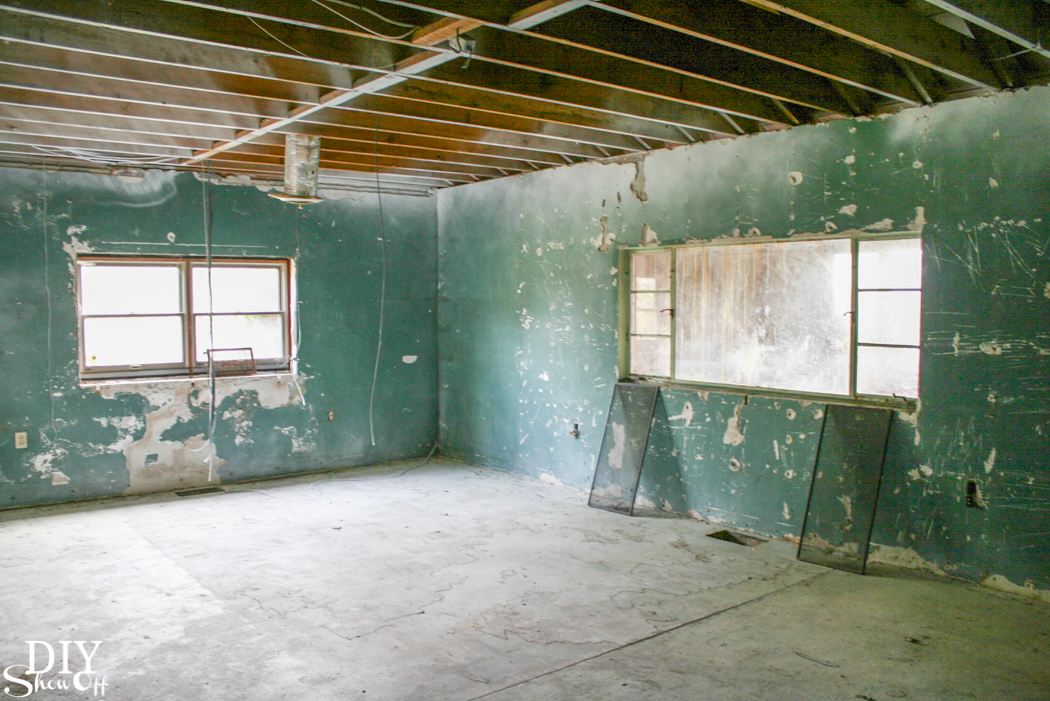
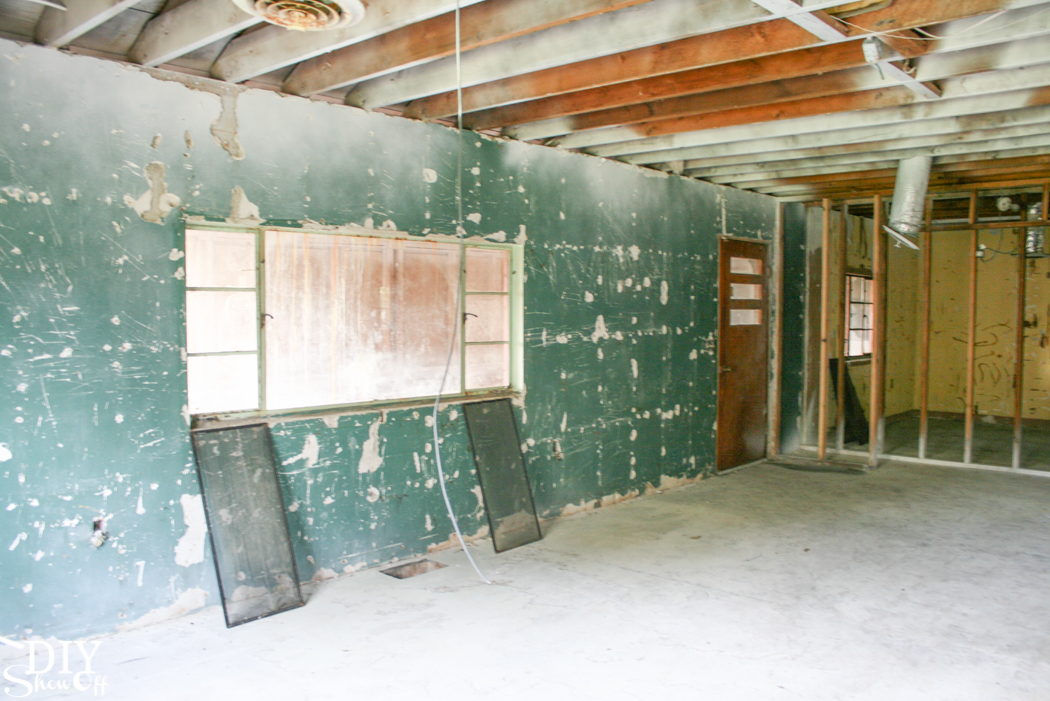
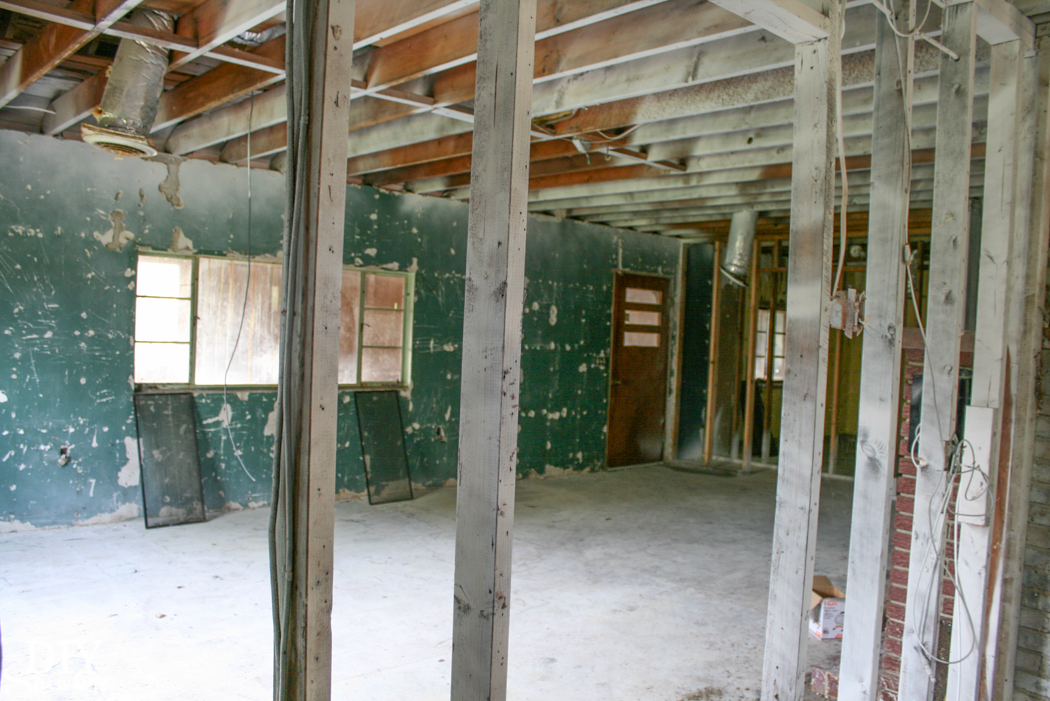
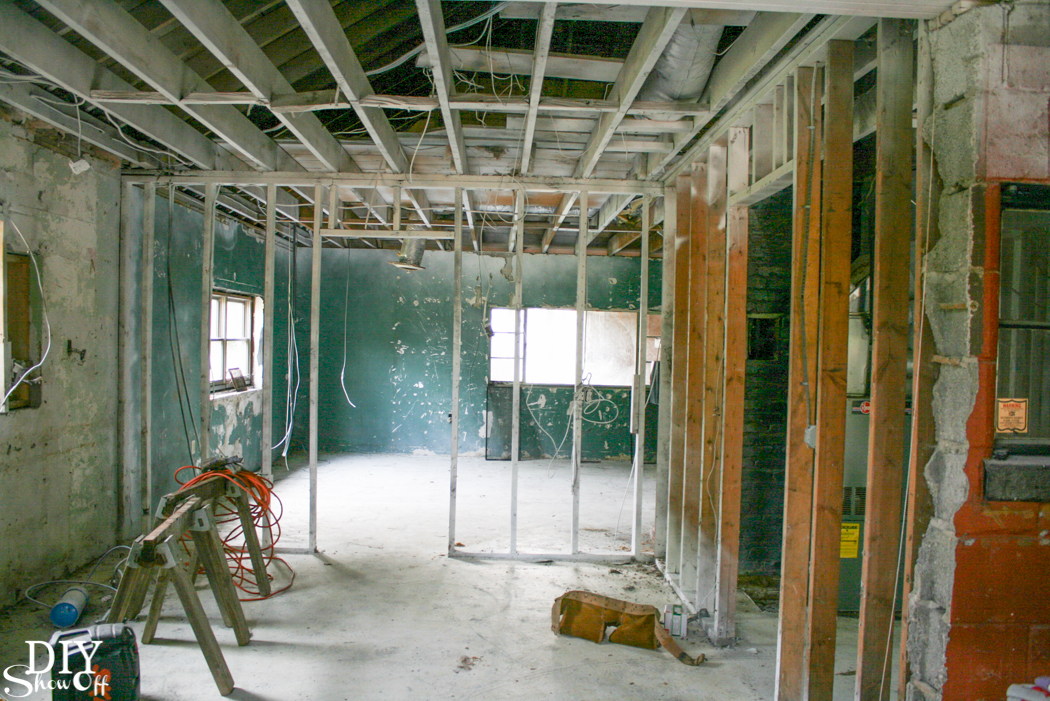
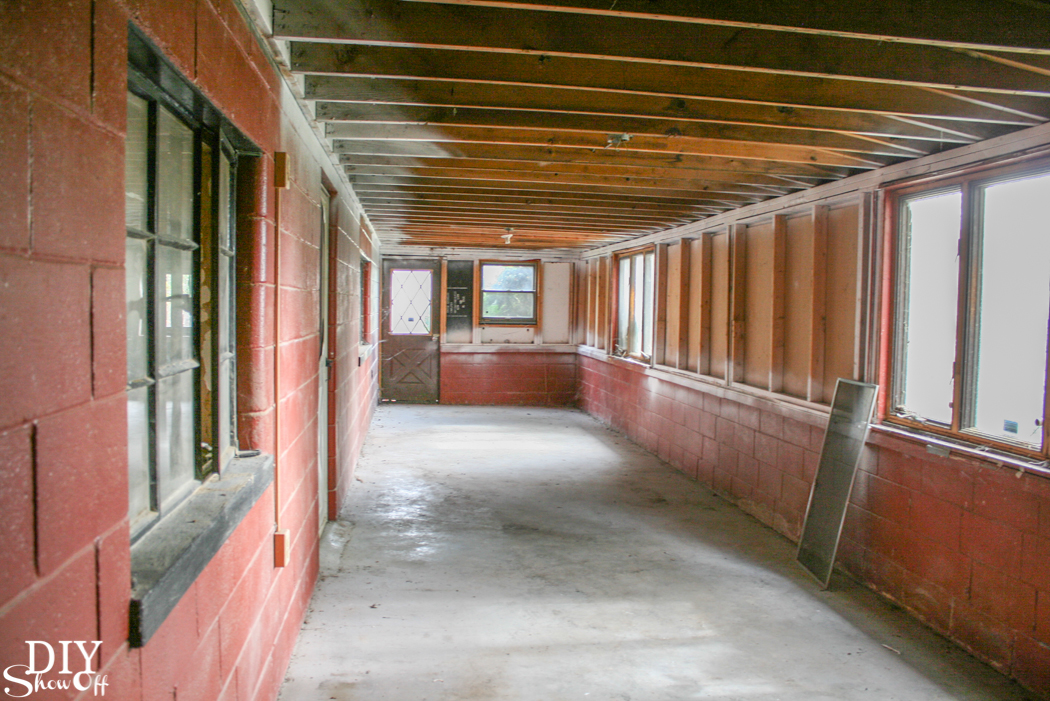
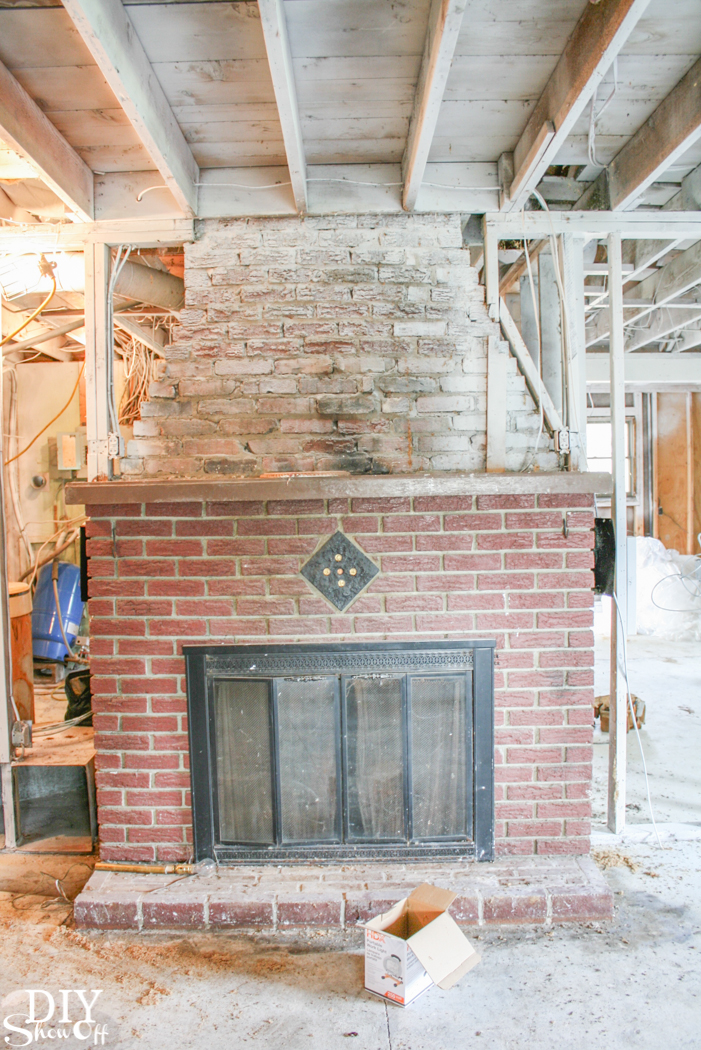
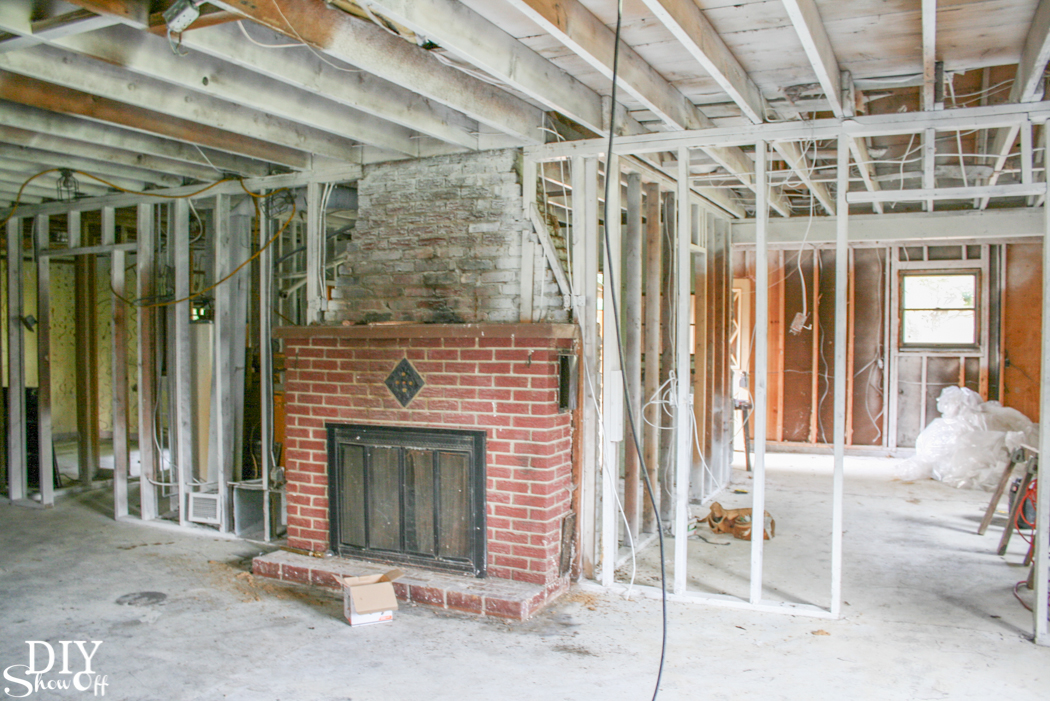
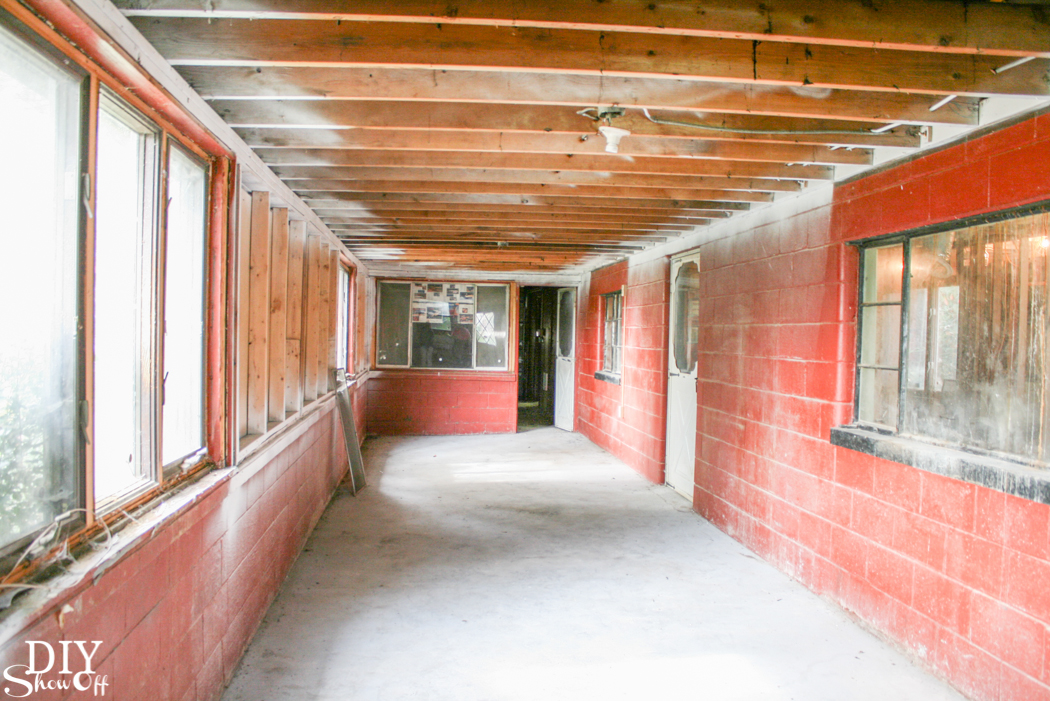
The living room before was narrow with a outside concrete wall separating what may have been a sun porch. See the green wall above? That’s the living room area and where it ends. See the red room below? That’s the sun porch(?) on the other side…
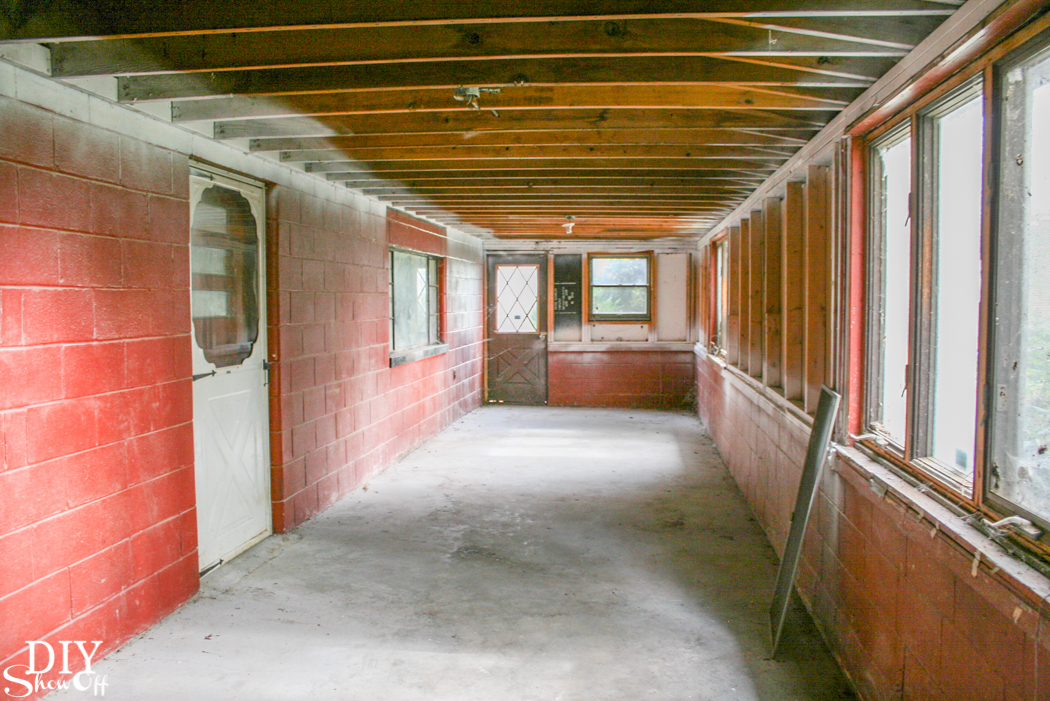
Before and after home improvement project - ceiling with a gorgeous faux beam @diyshowoff Before and after home improvement project - ceiling with a gorgeous faux beam @diyshowoff Before and after home improvement project - ceiling with a gorgeous faux beam @diyshowoff

and the fireplace wall before…

Before and after home improvement project - ceiling with a gorgeous faux beam @diyshowoff Before and after home improvement project - ceiling with a gorgeous faux beam @diyshowoff

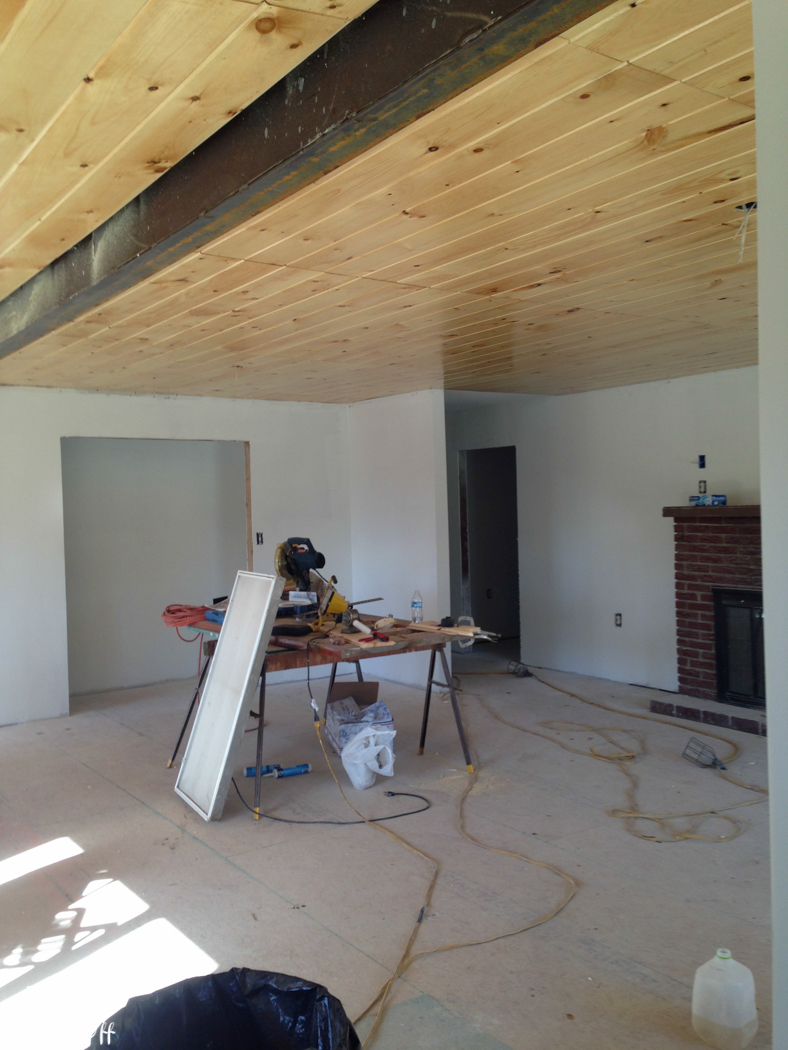
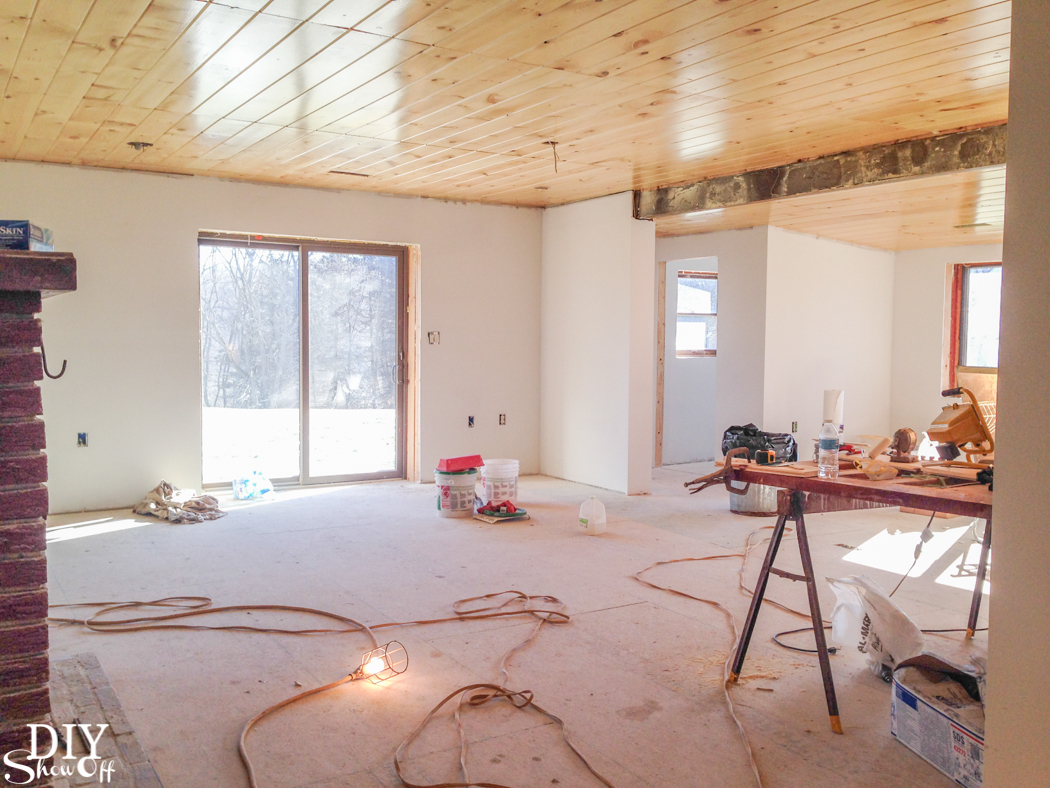
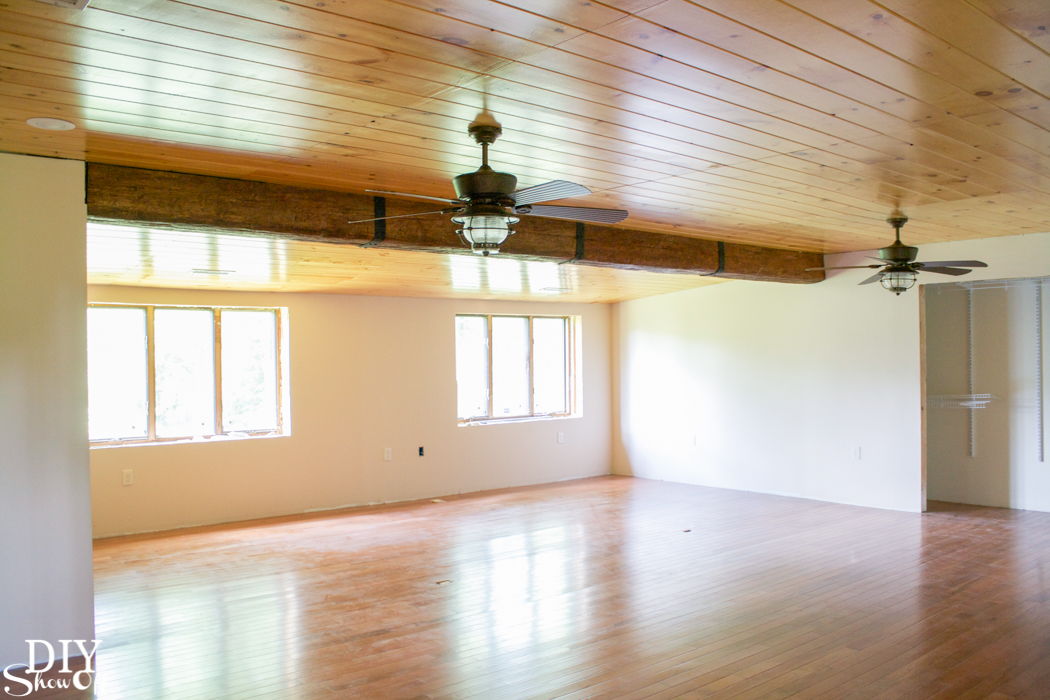
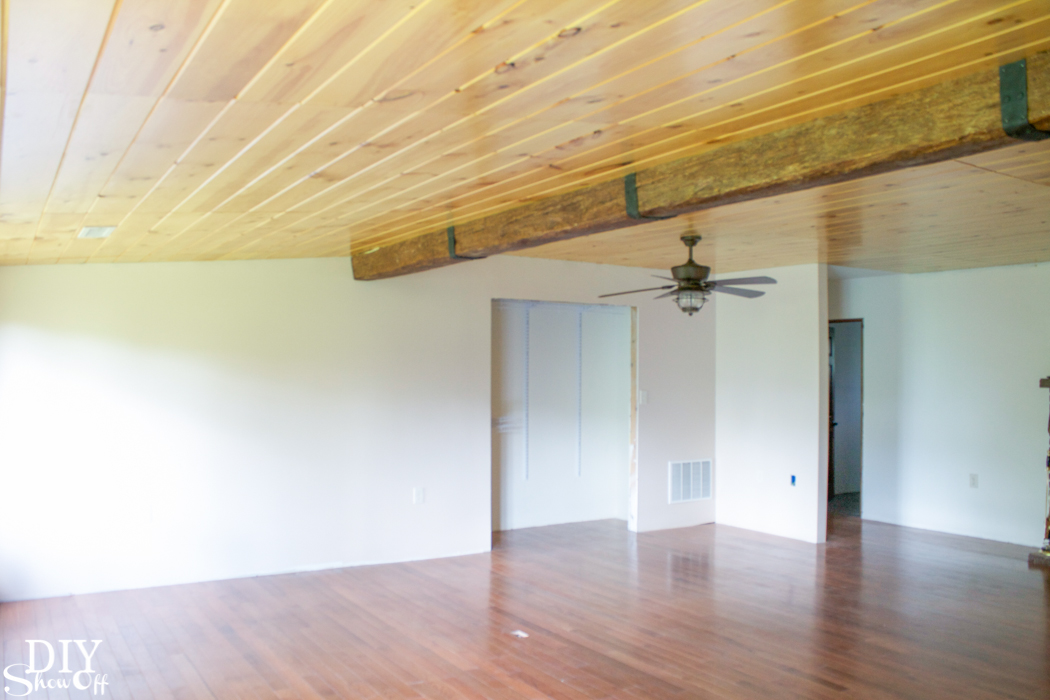
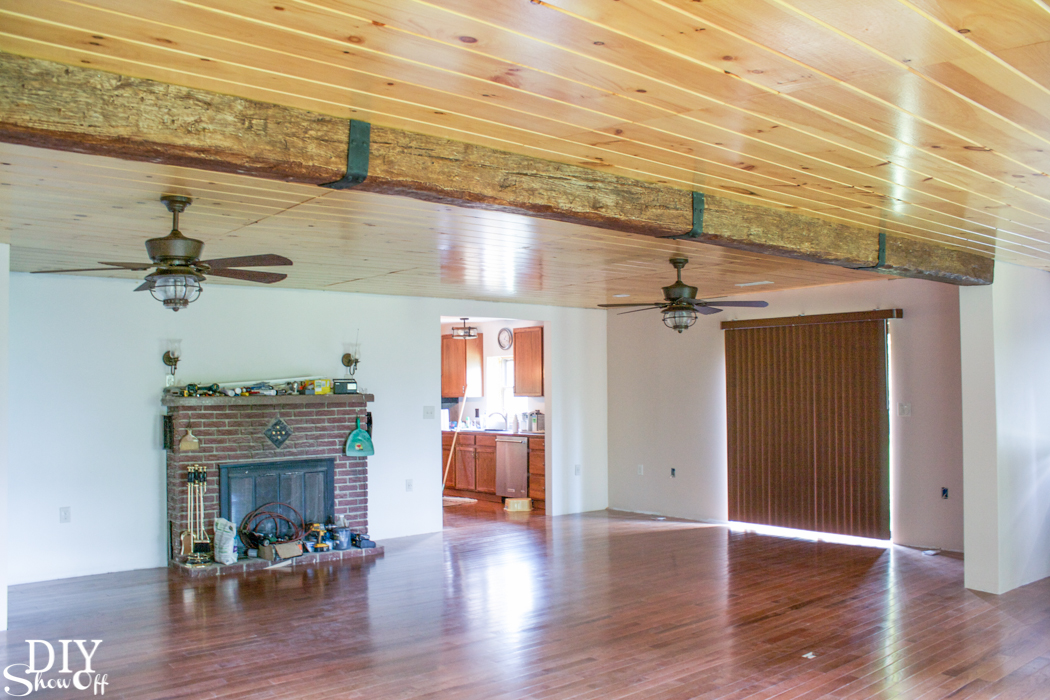
After…To make the living room space larger to accommodate our family gatherings, the concrete wall was removed. I love how the space is now flooded with light with the concrete wall gone, new drywall in place, a wood-planked ceiling in progress and the installation of sliding glass doors. 
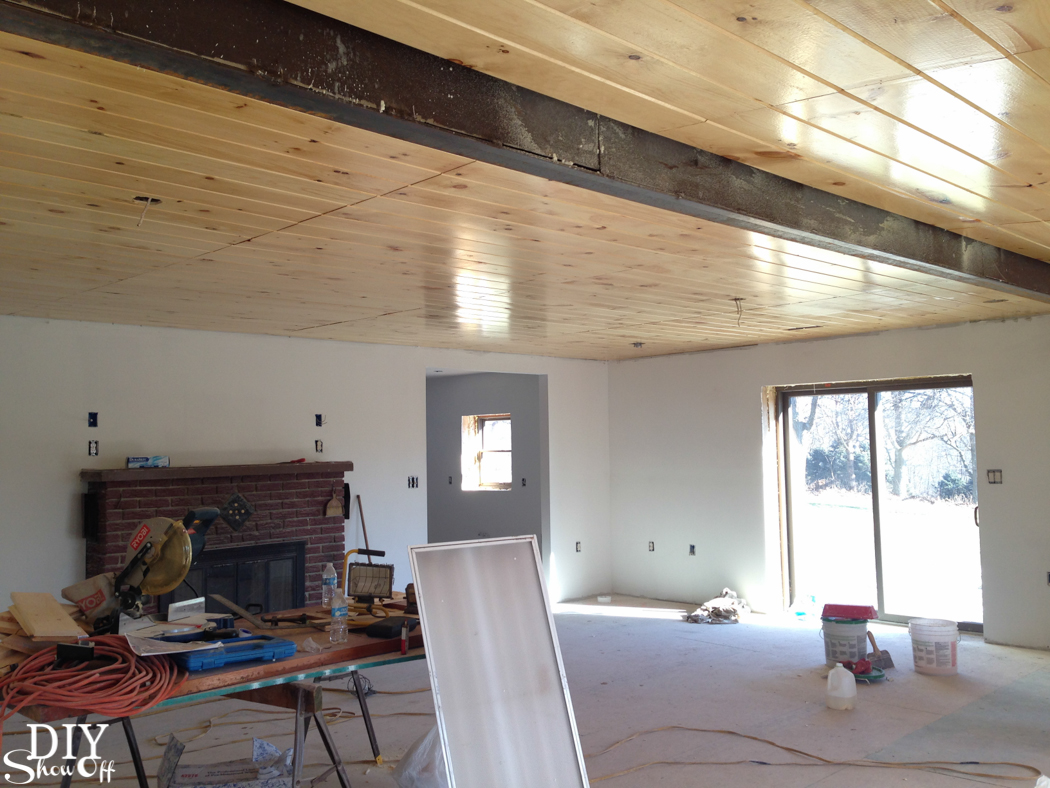
Before and after home improvement project - ceiling with a gorgeous faux beam @diyshowoff Before and after home improvement project - ceiling with a gorgeous faux beam @diyshowoff Before and after home improvement project - ceiling with a gorgeous faux beam @diyshowoff Before and after home improvement project - ceiling with a gorgeous faux beam @diyshowoff

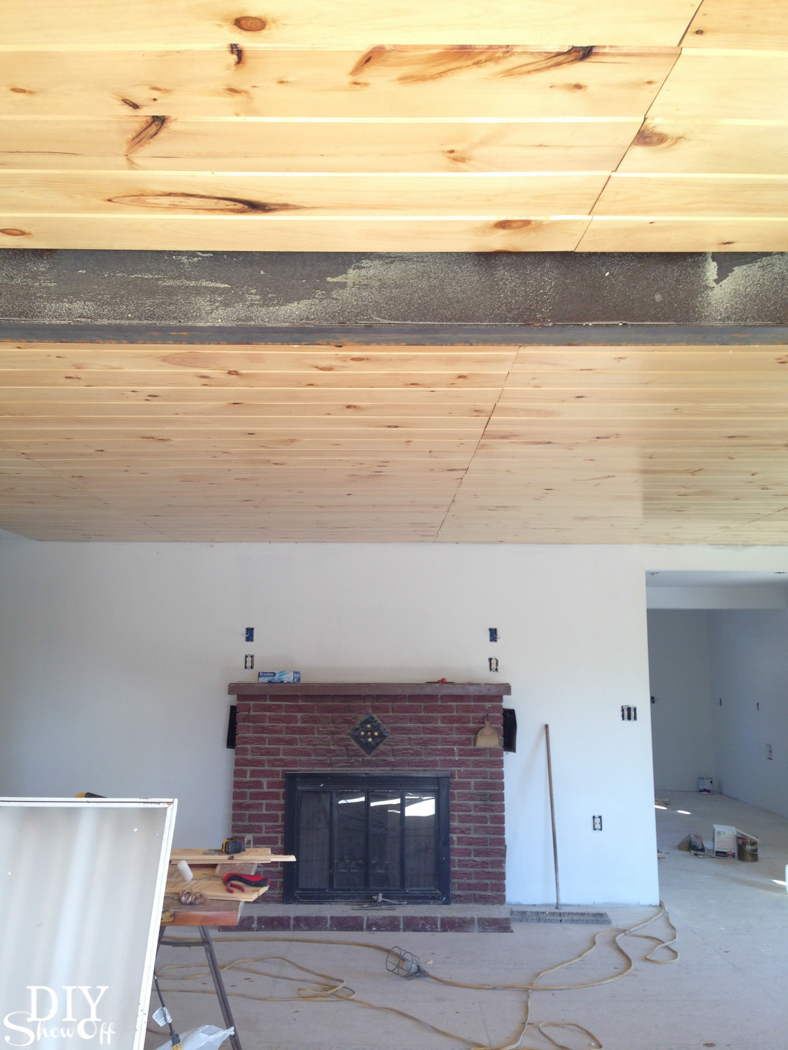
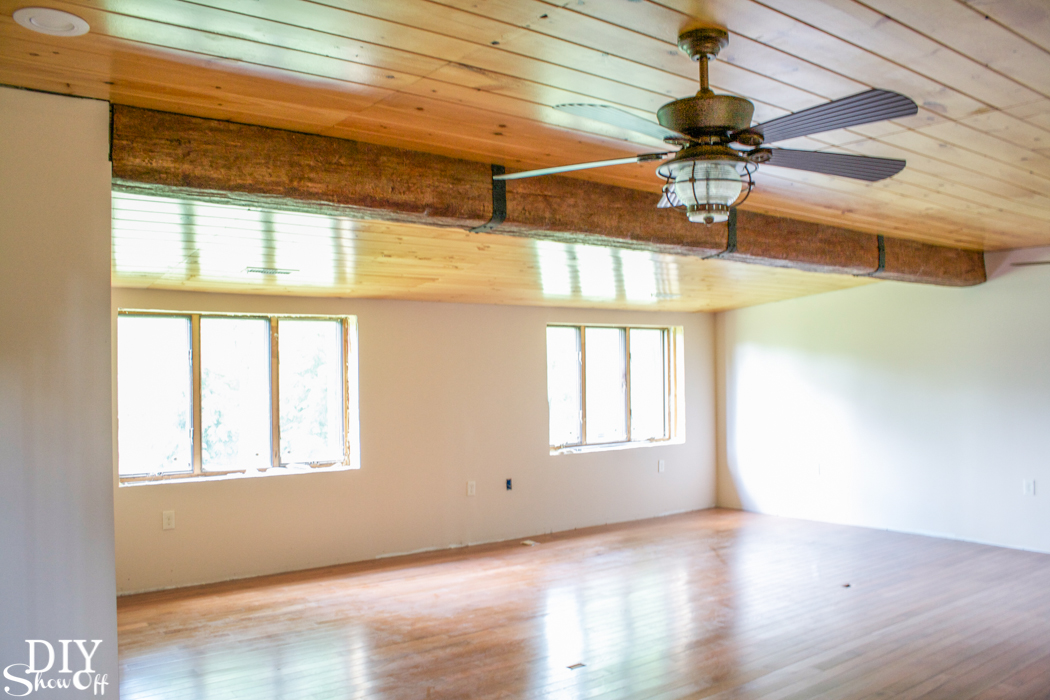
But now there’s an eye sore on the ceiling. There’s no missing that big steel beam in the photos above.

And now there’s not…WOW!
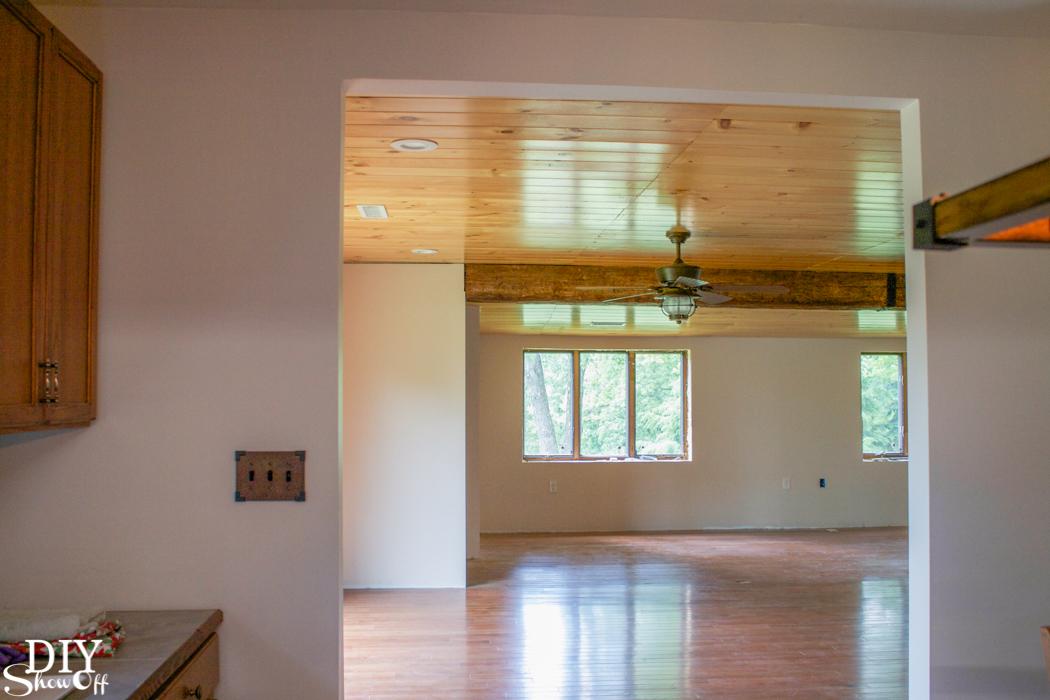
Before and after home improvement project - ceiling with a gorgeous faux beam @diyshowoff Before and after home improvement project - ceiling with a gorgeous faux beam @diyshowoff Before and after home improvement project - ceiling with a gorgeous faux beam @diyshowoff Before and after home improvement project - ceiling with a gorgeous faux beam @diyshowoff

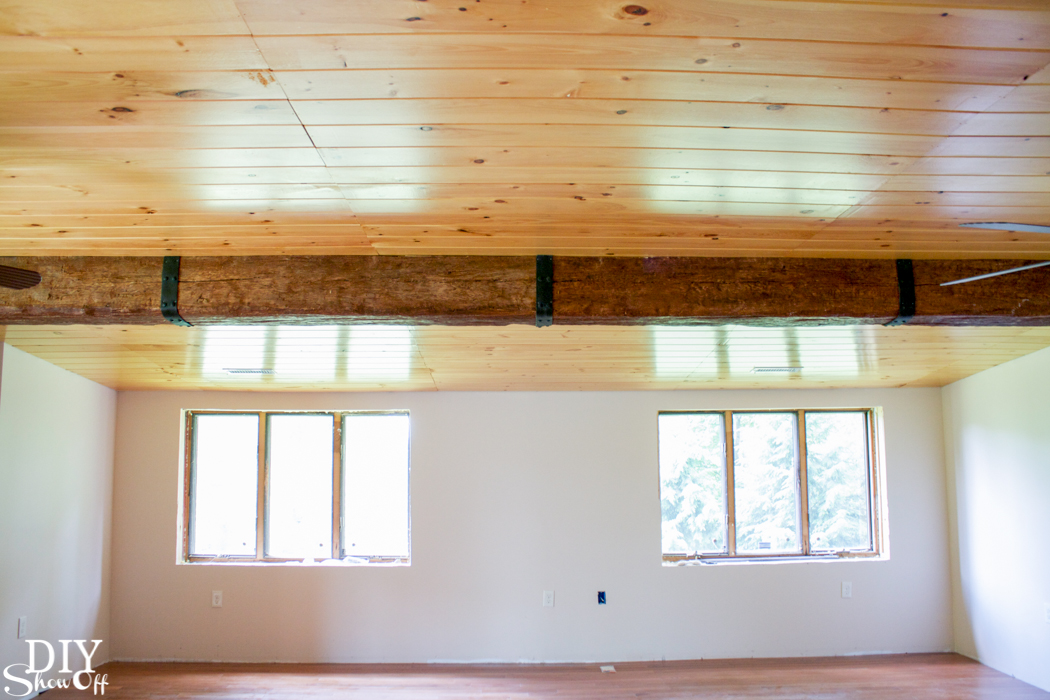
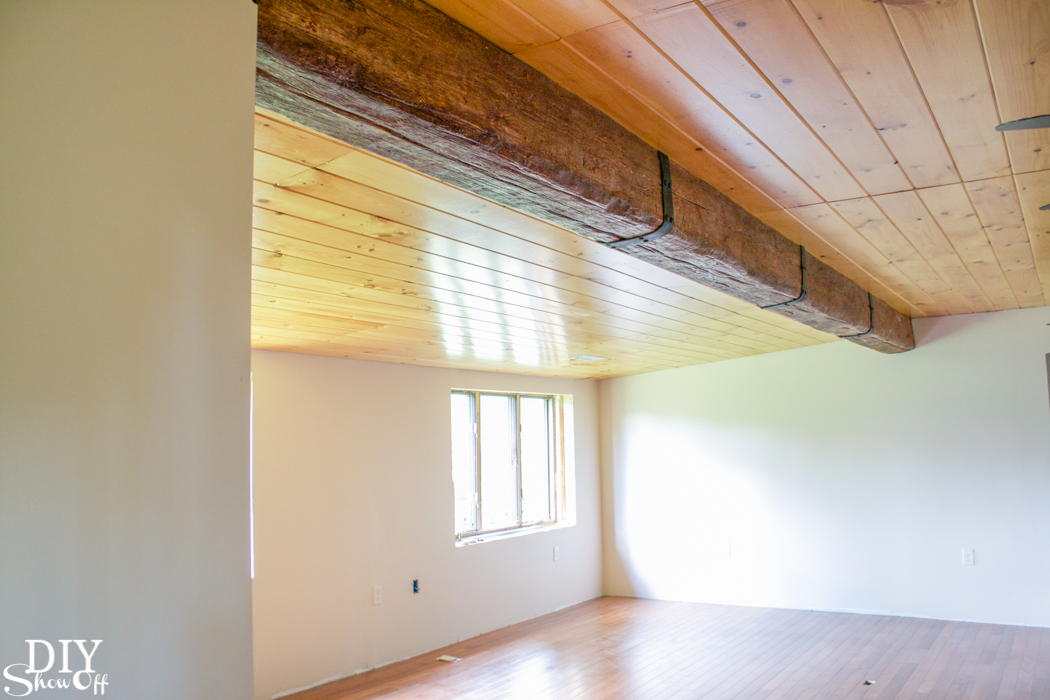
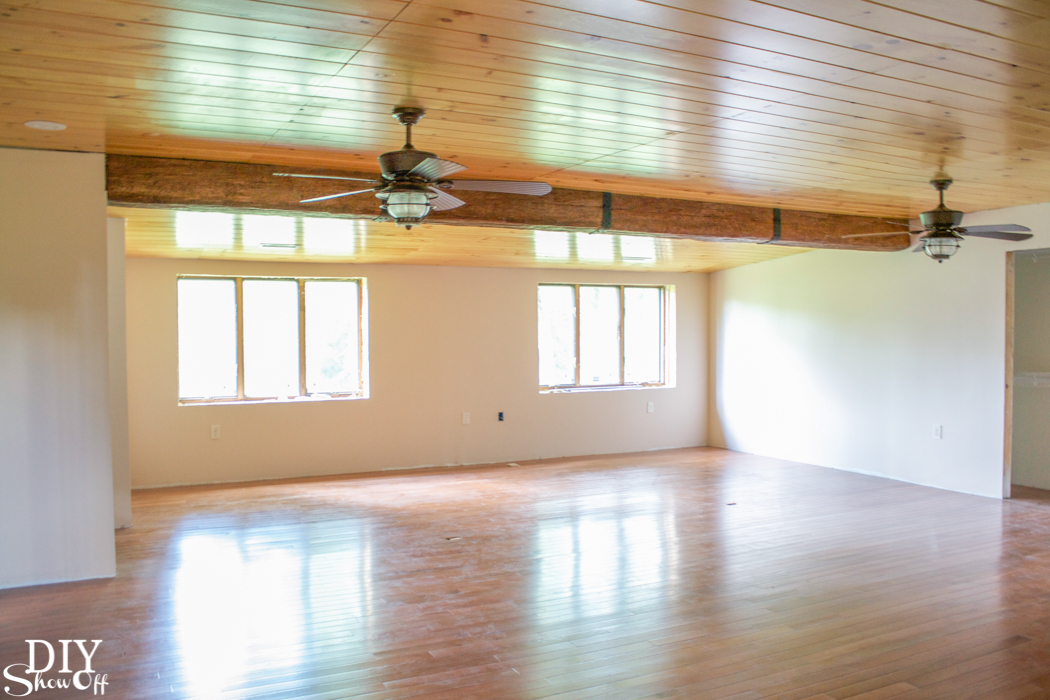
…it’s a gorgeous rustic wood beam with iron accents. Right? 
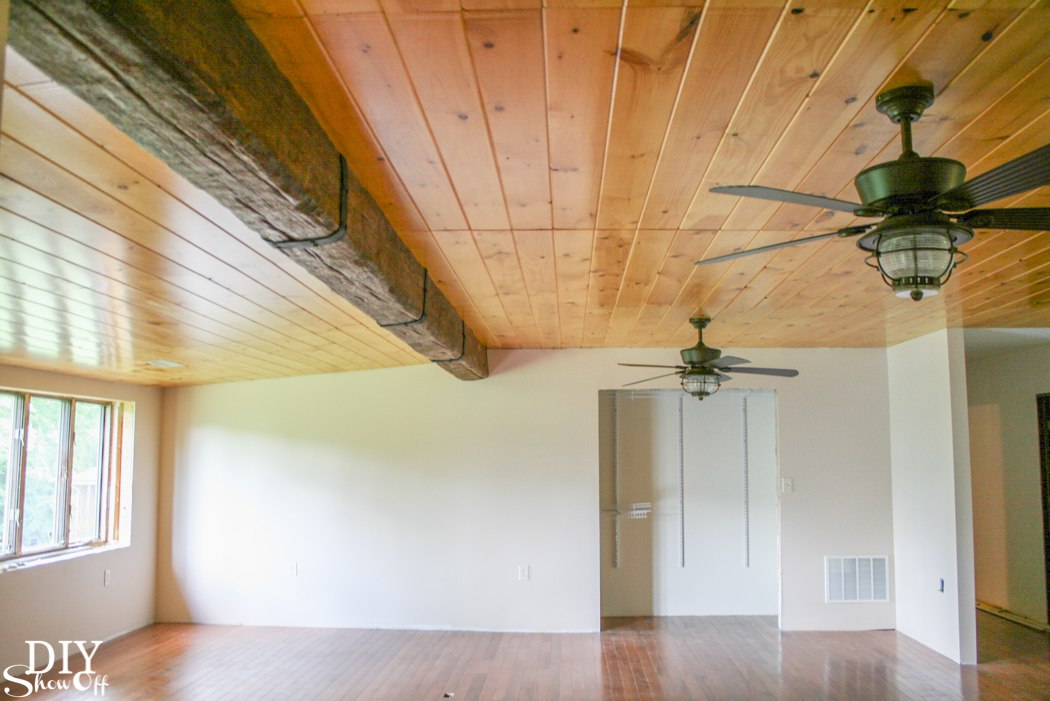
Before and after home improvement project - ceiling with a gorgeous faux beam @diyshowoff Before and after home improvement project - ceiling with a gorgeous faux beam @diyshowoff Before and after home improvement project - ceiling with a gorgeous faux beam @diyshowoff Before and after home improvement project - ceiling with a gorgeous faux beam @diyshowoff Before and after home improvement project - ceiling with a gorgeous faux beam @diyshowoff Before and after home improvement project - ceiling with a gorgeous faux beam @diyshowoff Before and after home improvement project - ceiling with a gorgeous faux beam @diyshowoff Before and after home improvement project - ceiling with a gorgeous faux beam @diyshowoff Before and after home improvement project - ceiling with a gorgeous faux beam @diyshowoff

That’d be quite labor intensive not to mention expensive. Want to know a secret?

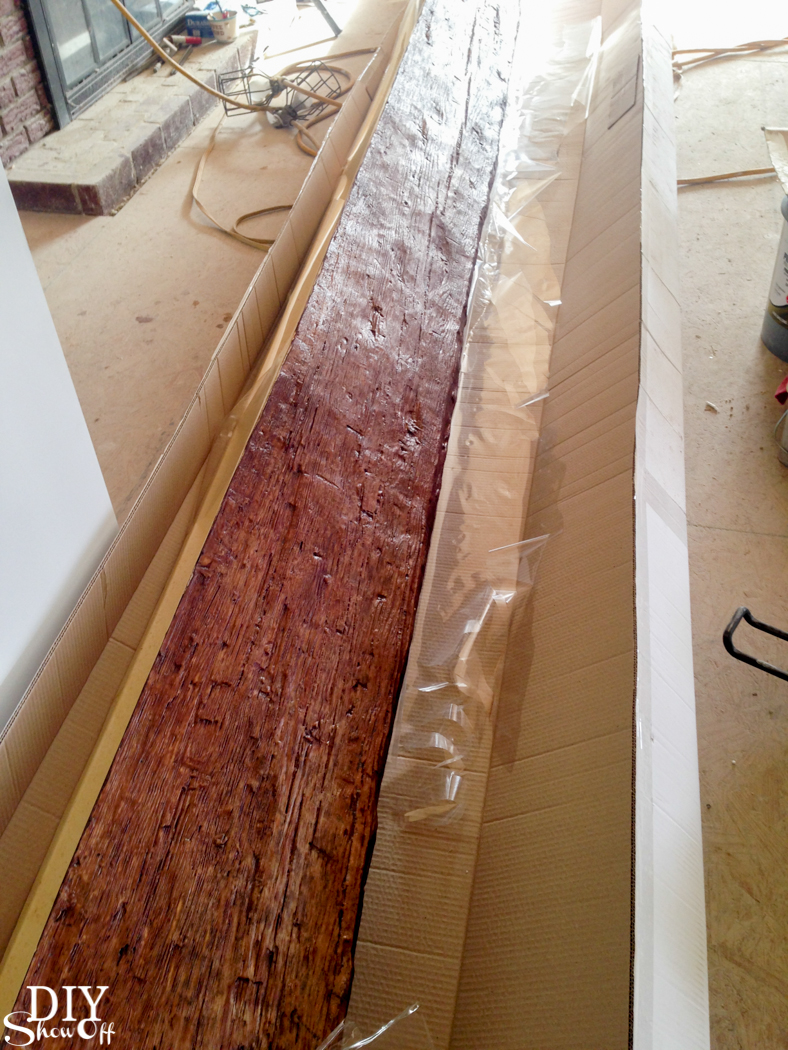
We received this amazing product from AZ Faux Beams. It’s a faux beam! “Old Timber” in ‘walnut’ to be exact. It’s lightweight and fake but looks SO real! And it’s stunning! 
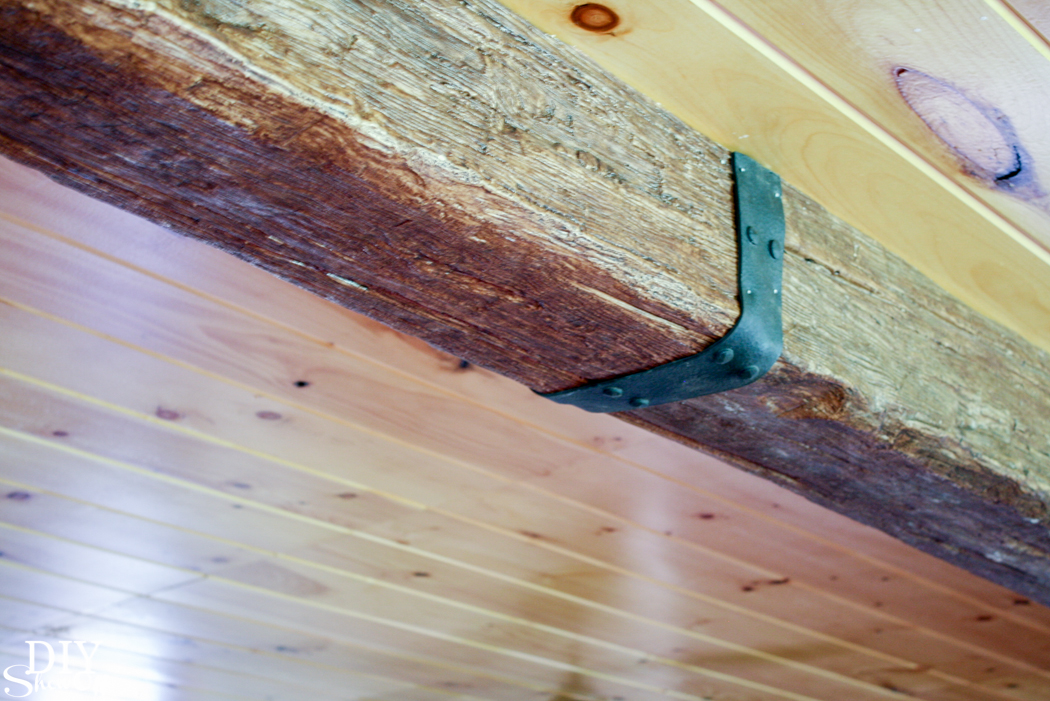
Before and after home improvement project - ceiling with a gorgeous faux beam @diyshowoff

What it is: A hollow lightweight resin with a rustic wood look! What?! No way! Yes. It really is! 
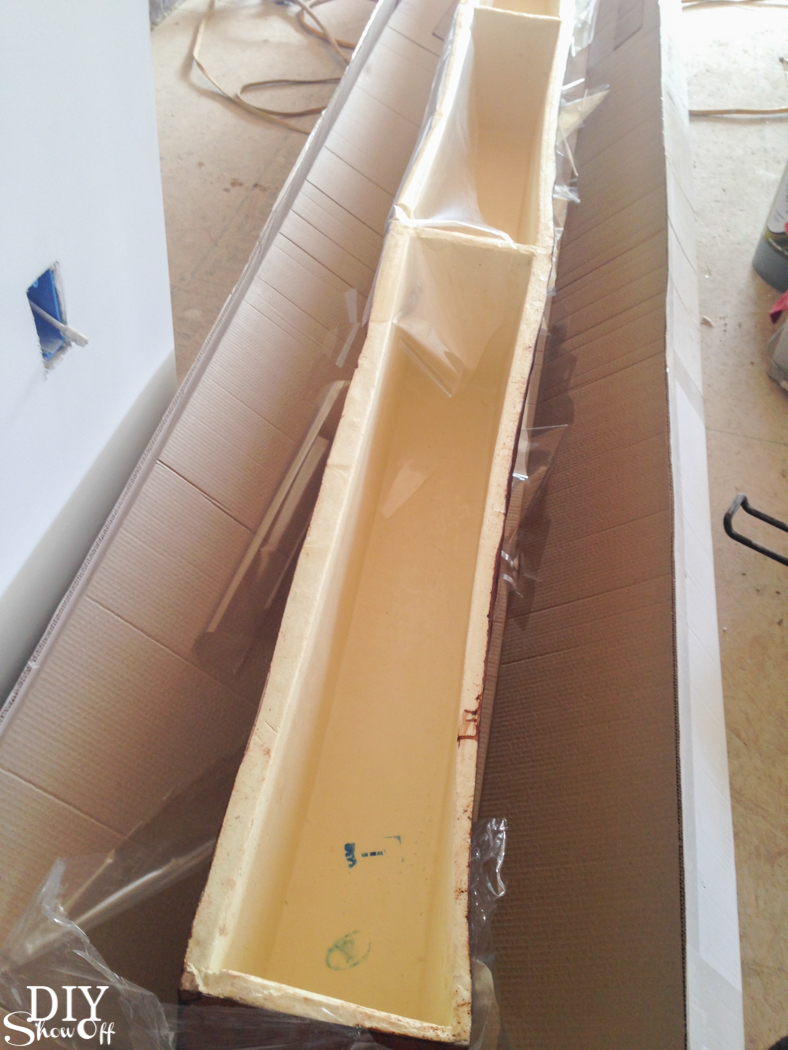
Before and after home improvement project - ceiling with a gorgeous faux beam @diyshowoff Before and after home improvement project - ceiling with a gorgeous faux beam @diyshowoff

What we did. And by we, I mean my mom and I did the measurements, design/color selection and ordering. Butch and my brother Christopher did the manual labor involved with installation. Oh, we supervised too. 

  1. Measurements. 
  2. Order.
  3. Cut to size, shave inside down if needed.
  4. Install.
  5. Secure.
  6. Caulk and add decorative trim. 

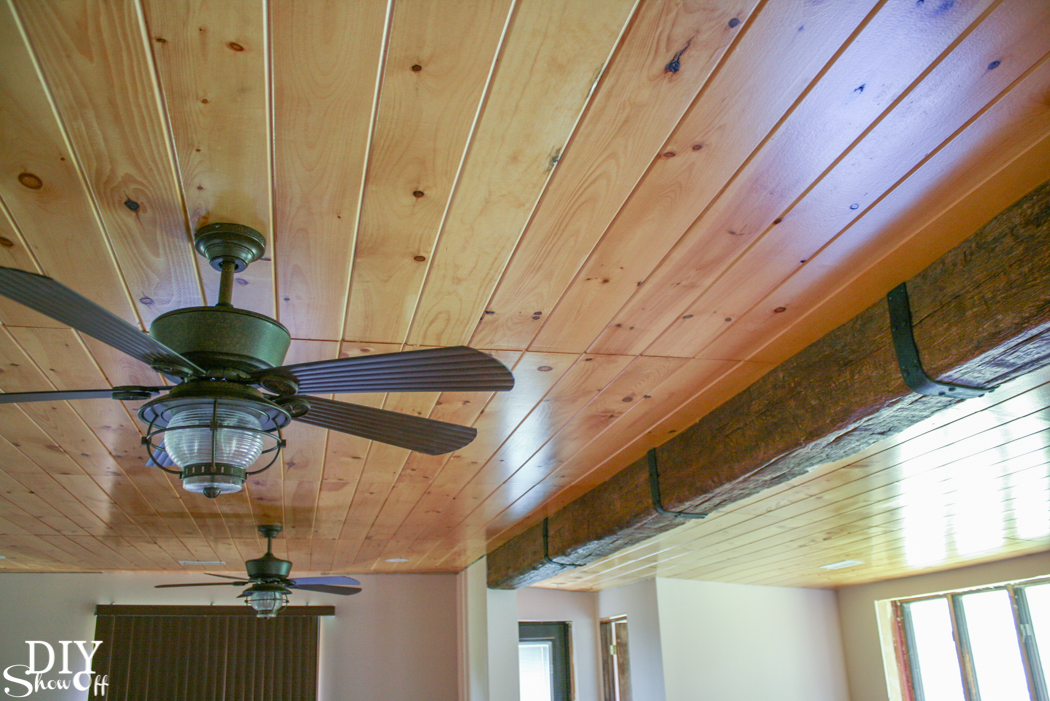
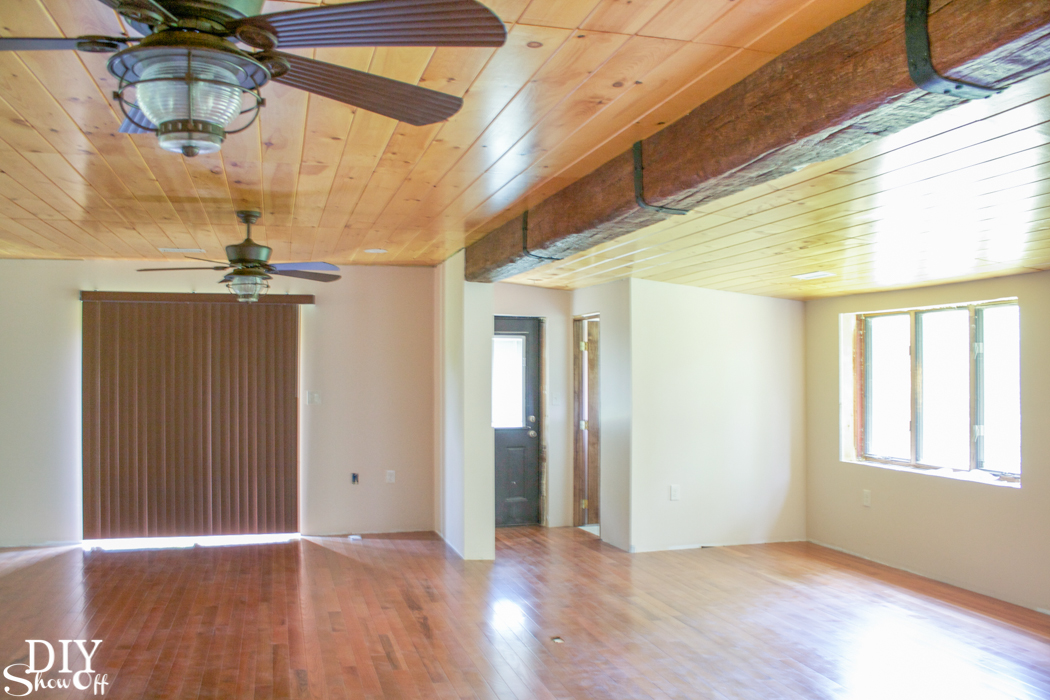
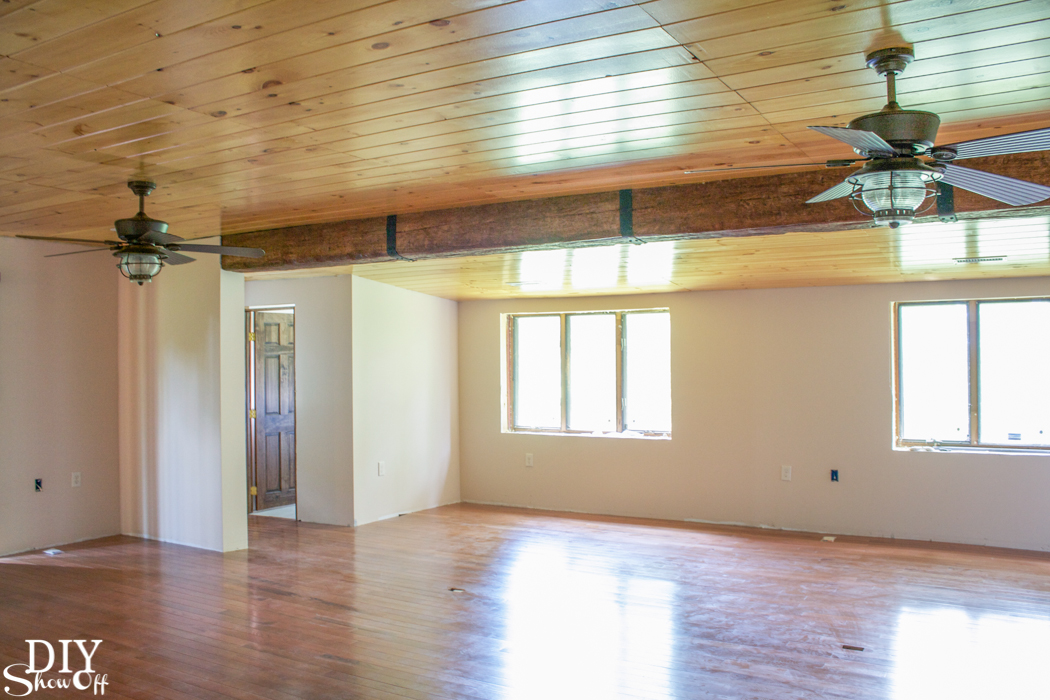
Isn’t it gorgeous? It draws your eye to their pretty planked ceiling and compliments the beautiful rustic ceiling fans. Check out AZ Faux Beams to see all of the options! Let’s take a look at repeat before and after shots: 

“Before” (two spaces separated by a concrete wall)
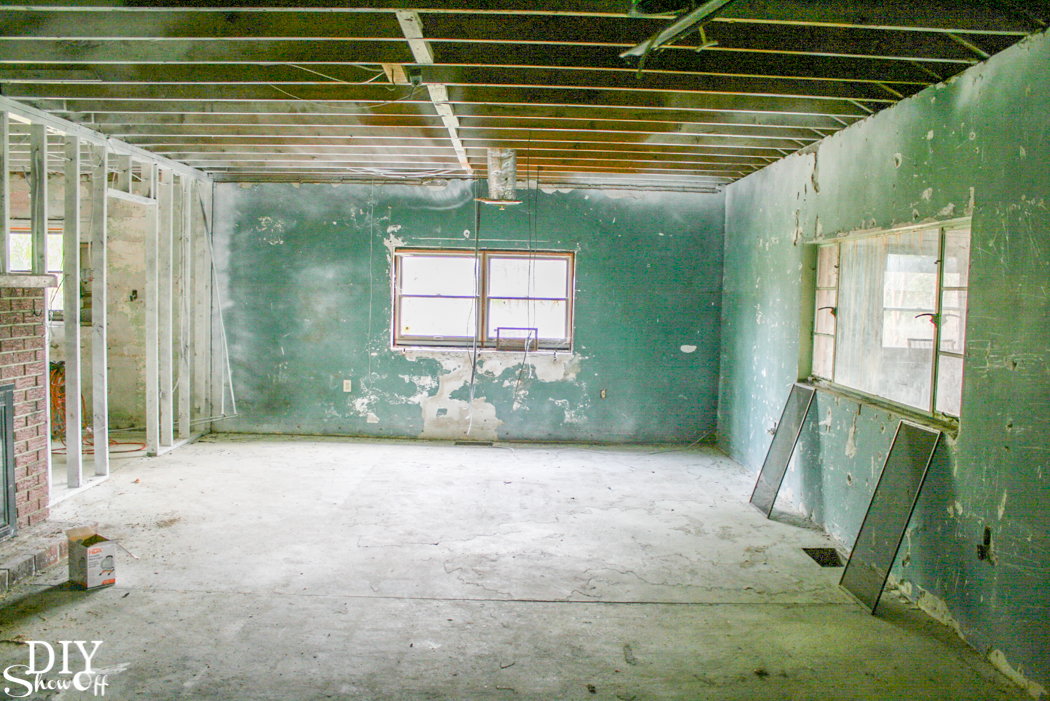
Before and after home improvement project - ceiling with a gorgeous faux beam @diyshowoff Before and after home improvement project - ceiling with a gorgeous faux beam @diyshowoff

Same angle “After” (wall is gone and there is an addition of a half bathroom on the right…for guests and quick access once the swimming pool is installed outside those sliding glass doors).
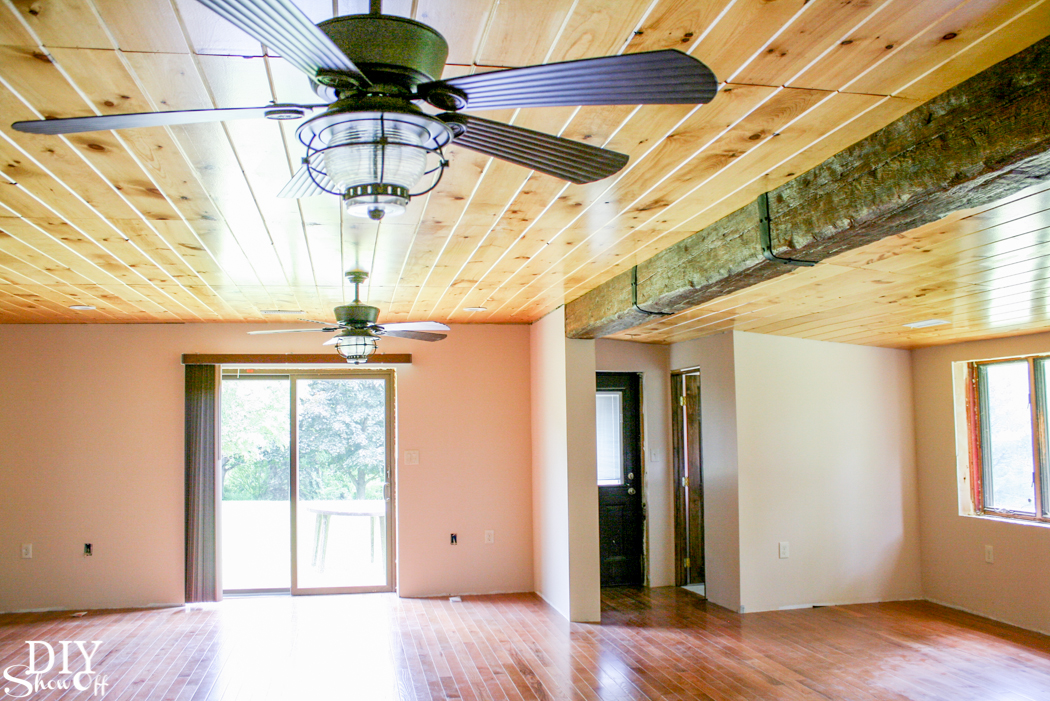
Before and after home improvement project - ceiling with a gorgeous faux beam @diyshowoff

before…

Before and after home improvement project - ceiling with a gorgeous faux beam @diyshowoff

after (wall removed)

Before and after home improvement project - ceiling with a gorgeous faux beam @diyshowoff

 before…looking from the kitchen

Before and after home improvement project - ceiling with a gorgeous faux beam @diyshowoff

after, standing in that  widened doorway

Before and after home improvement project - ceiling with a gorgeous faux beam @diyshowoff

Crazy transformation, right? I promise it’s the same space! The story continues! 

Next up: Moving in is right around the corner. I can’t wait to show you the complete before and afters of the entire house from gut to renovation to reveal. 


Home Makeover: Exterior Part 2

House Makeover Part Two! It’s been a while and I meant to get an update to you sooner but life happens and anyway! As I shared in Part 1, my mom and her husband bought a fixer upper and it’s undergoing a HUGE transformation. #soexciting! See part 1 that includes all of the ‘as is’ before pictures of the exterior. House Makeover Before - Exterior
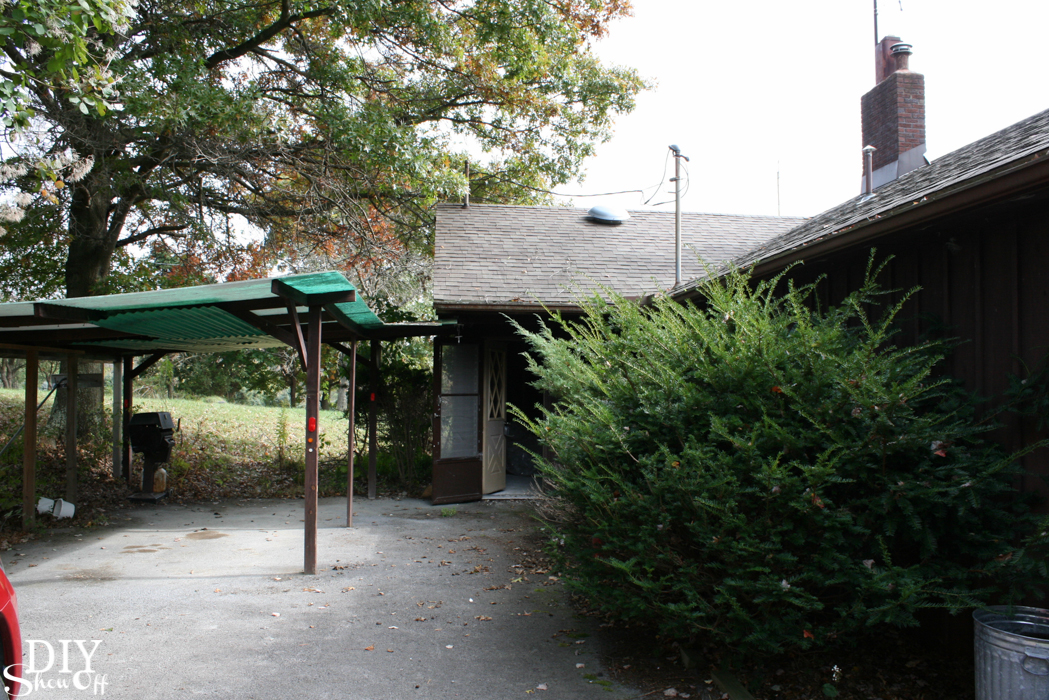
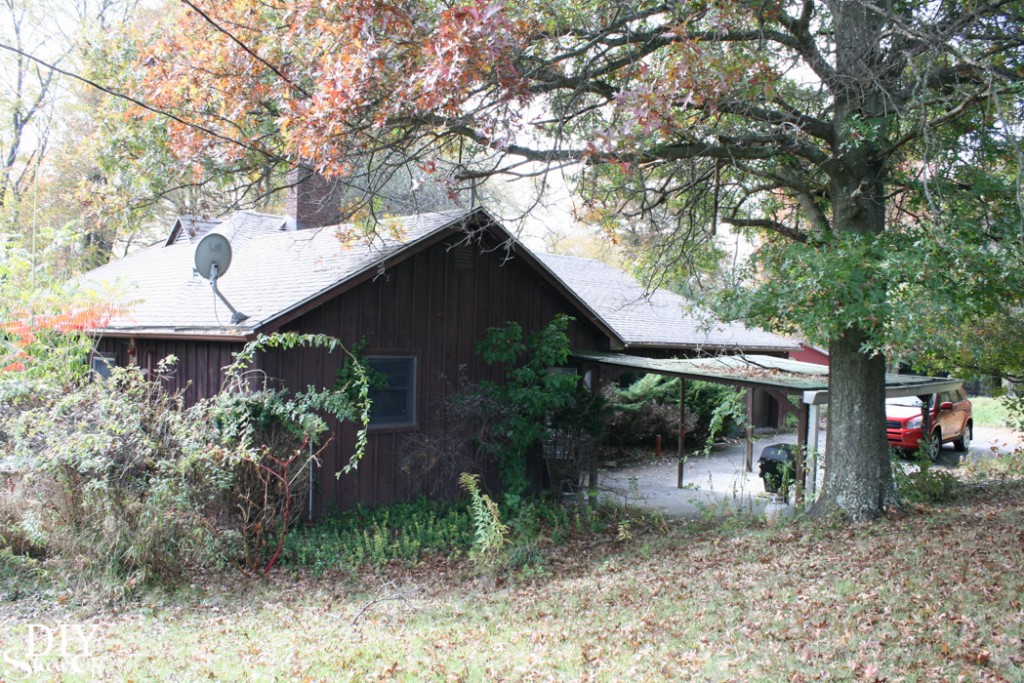
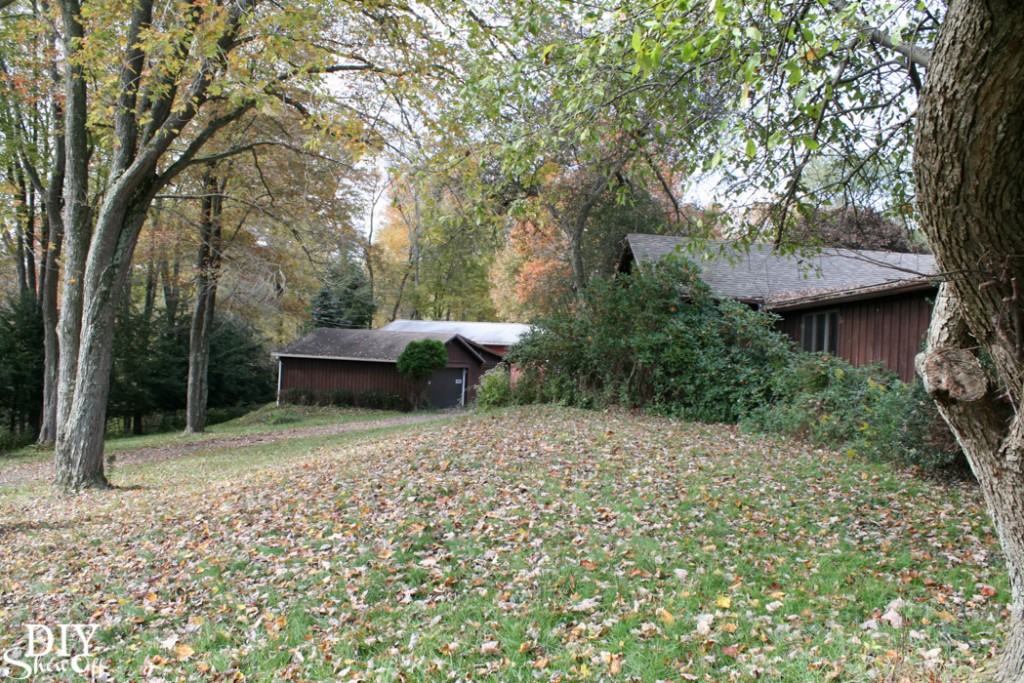
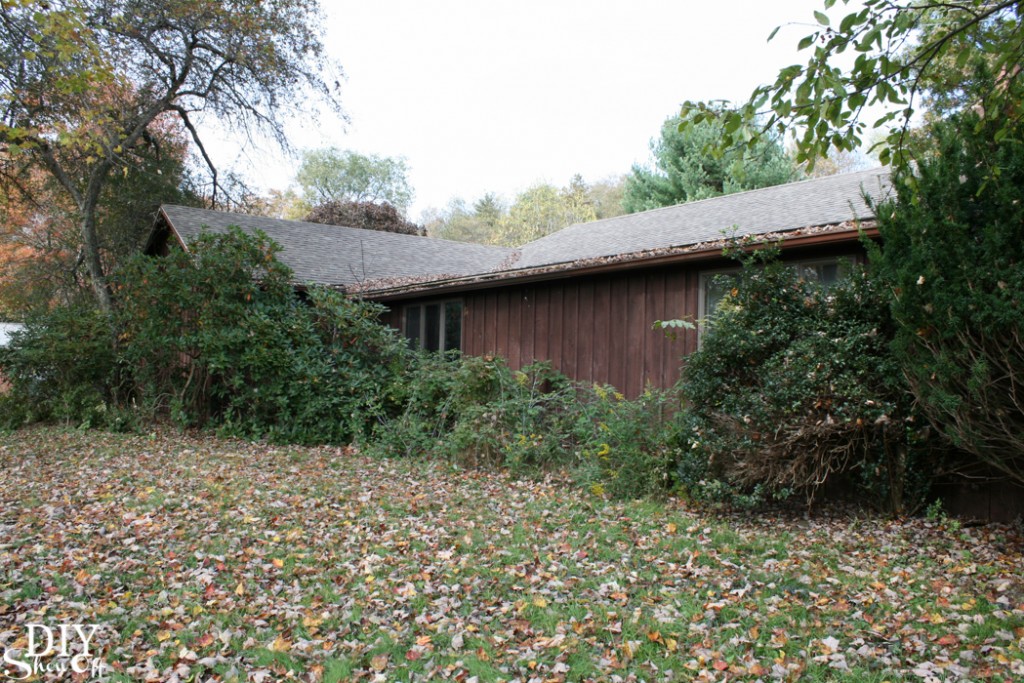
There’s an entire house in there somewhere! 

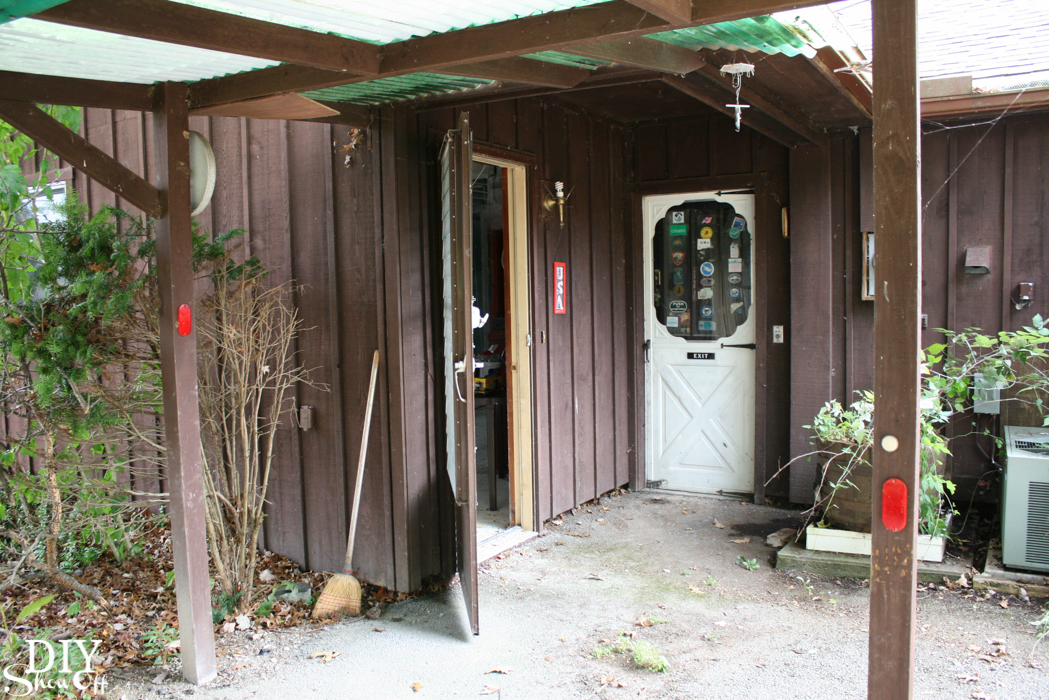
House Makeover Before @diyshowoff

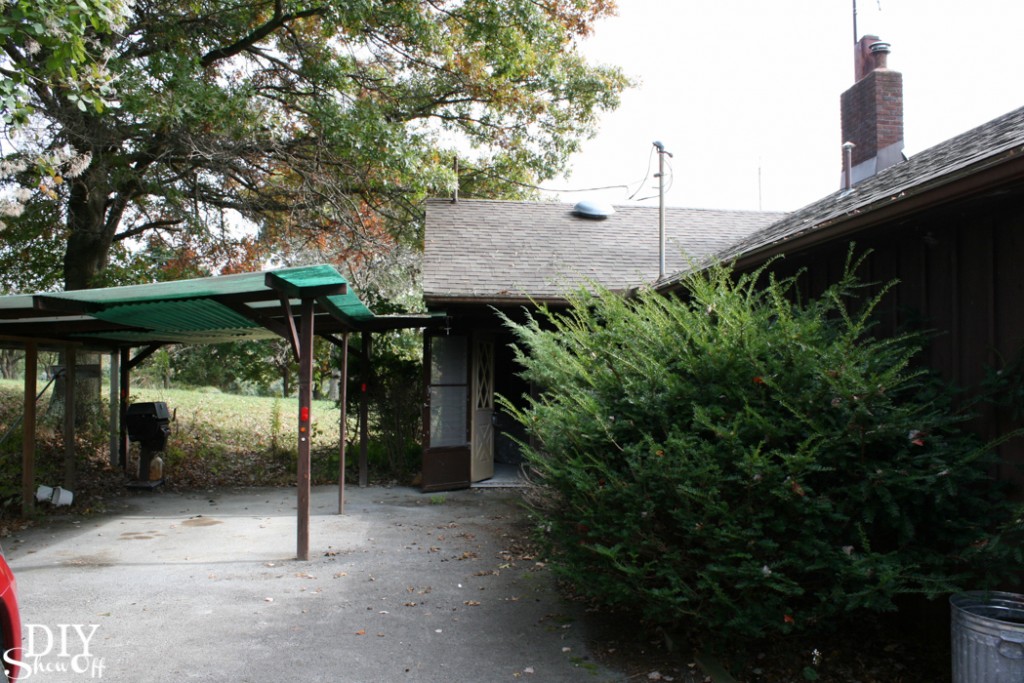
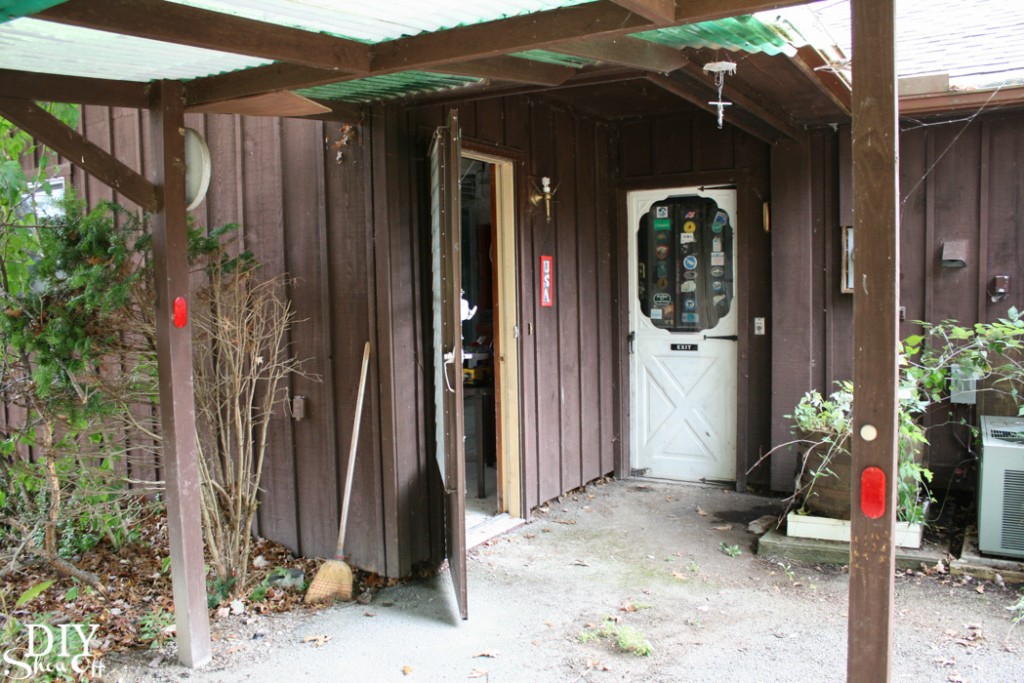
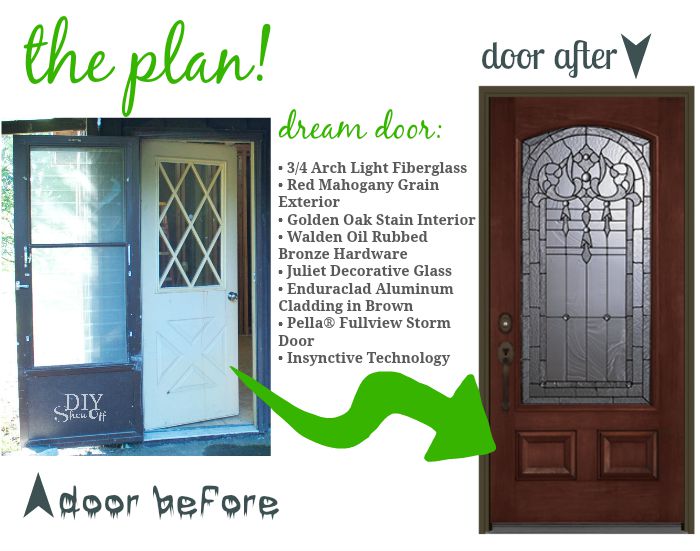
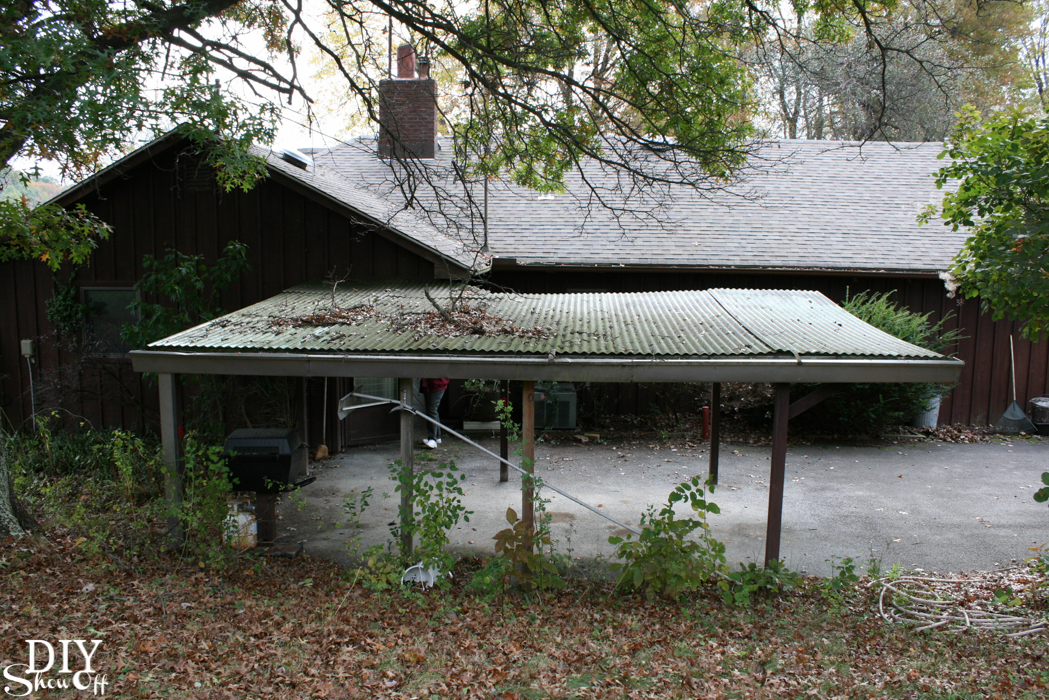
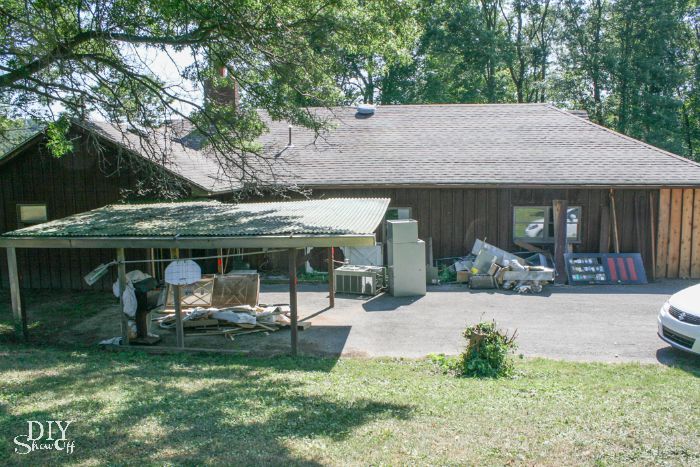
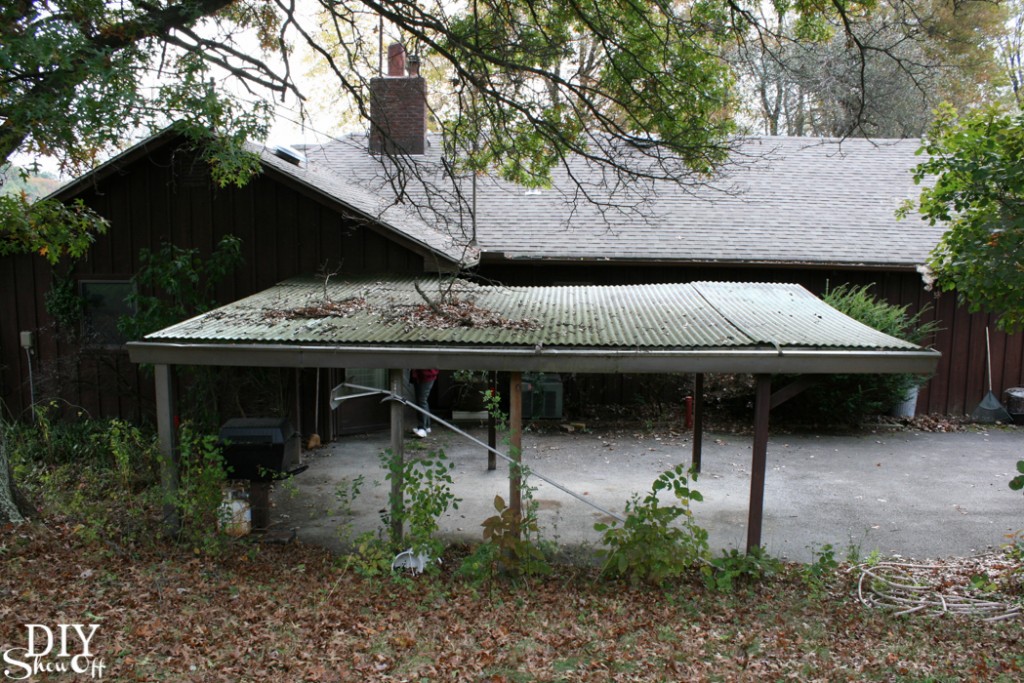
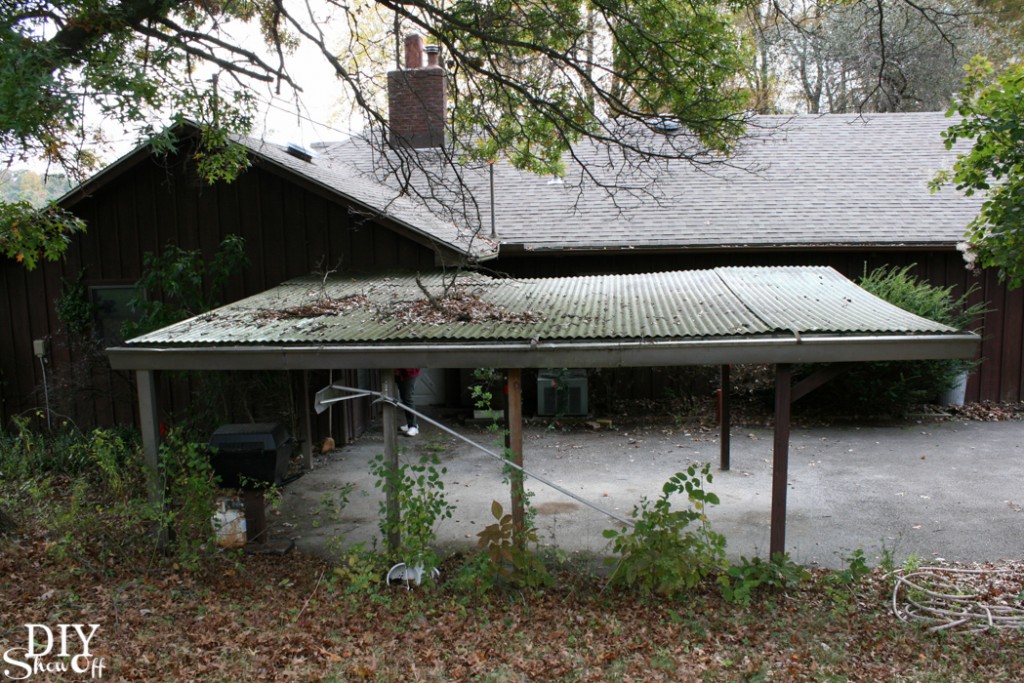
That car port pergola thing will be removed. The concrete will become a beautiful patio at some point. This is the main door to the home. Both exterior doors and storm doors are being replaced. The main door on the left is being replaced with a stunning Pella® exterior door.House Makeover Before @diyshowoff

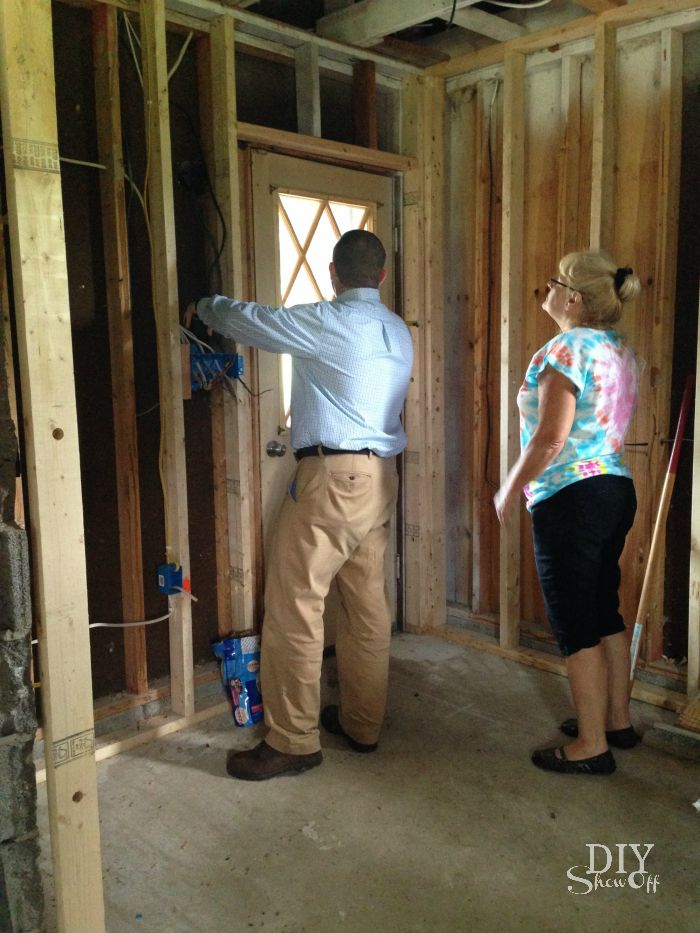
Mom headed to the showroom then we met with Mike, a rep from Pella Windows and Doors,  to review options, to get measurements and a discussion on the process: 1. choosing the products, 2. a 2nd measurement appointment, 3. door installation, and 4. the Insynctive technology installation and instructions. 3 and 4 is usually done in the same step, however with a complete makeover, step 4 will be finished once the electrical and drywall are complete. I told you it’s a total transformation on this place. Sneak peek of what I mean in the photo below.

Pella door consultation(before)house makeover dream door - the plan

The best part is security, comfort and convenience of choosing a quality Pella door, especially with Insynctive technology!

What? Pella Insynctive technology is a family of smart home products that allow homeowners to check windows and doors at a glance including an entry deadbolt sensor, status indicator and bridge. Windows, doors and garage doors have the ability to be monitored in-home using the Insynctive Status Indicator or homeowners can monitor via a smart device when the bridge is connected to a compatible home automation or security system. Pella blinds and shades can be controlled using the Insynctive Remote Control or when connected to a compatible home automation system via the Bridge. So cool, right? Mom will now know when we’ve raided her home/helped ourselves to the pool and thrown a party when they’re on vacation. 

House Makeover Before @diyshowoff

This entire outdoor/external entry way area is going to be transformed! You won’t recognize it! Fingers crossed it’s in time for winter so I have a stunning after to show you!House Makeover Before @diyshowoff House Makeover Before @diyshowoff

Out with the old! In with the new!

house makeover @diyshowoffHouse Makeover Before @diyshowoff

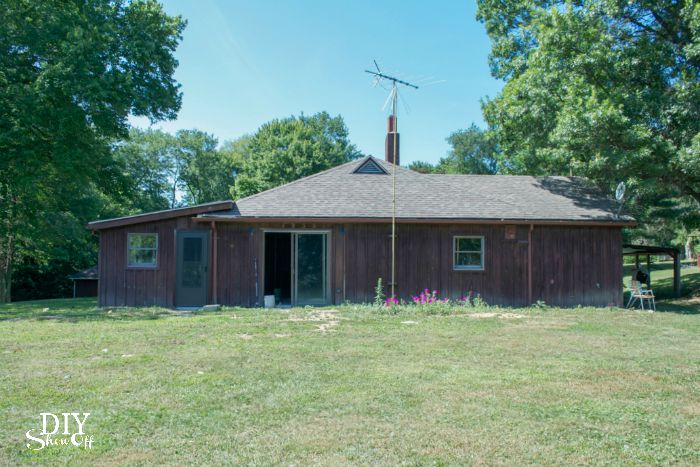
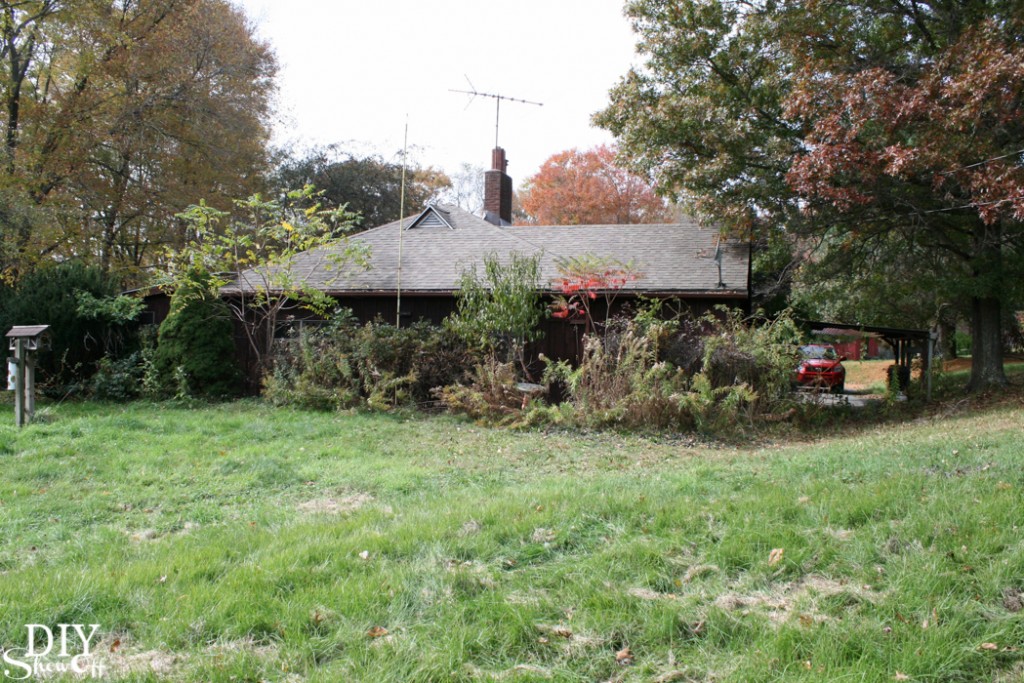
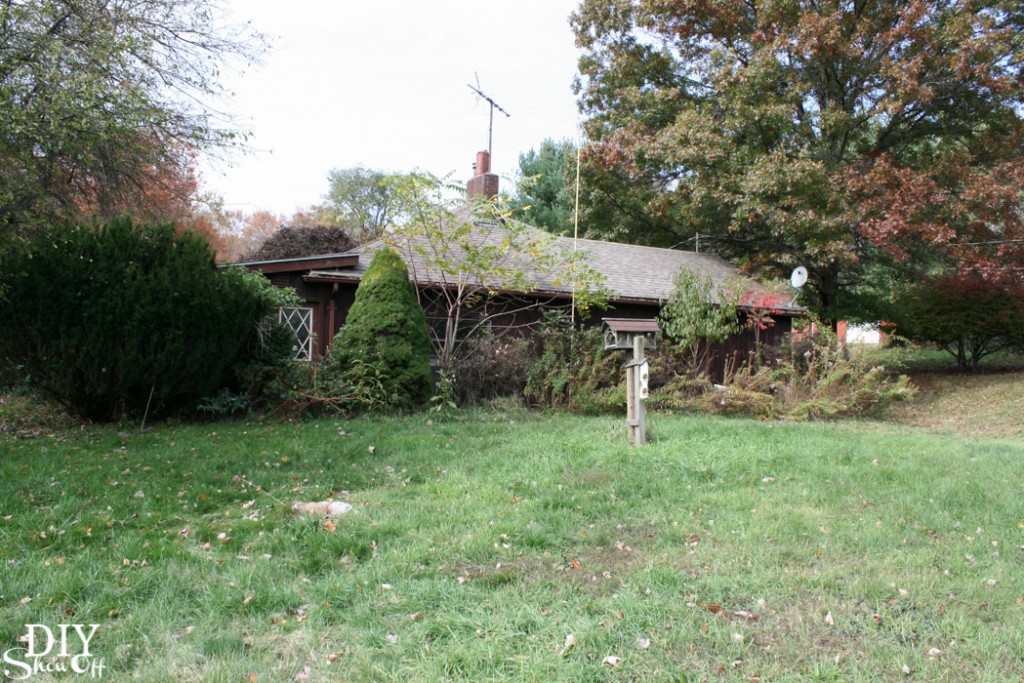
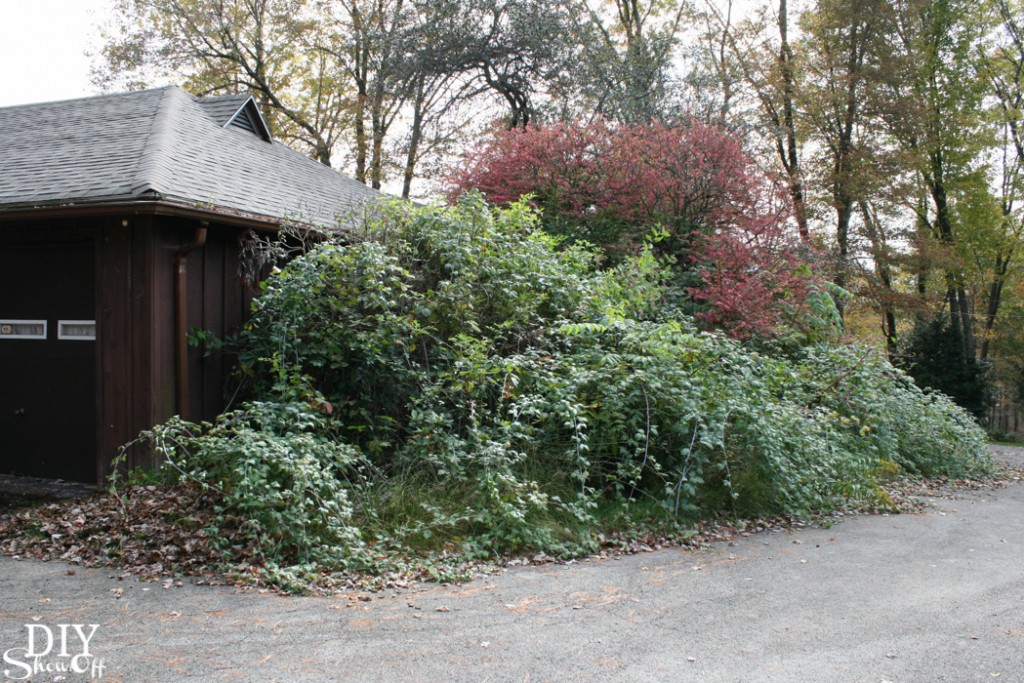
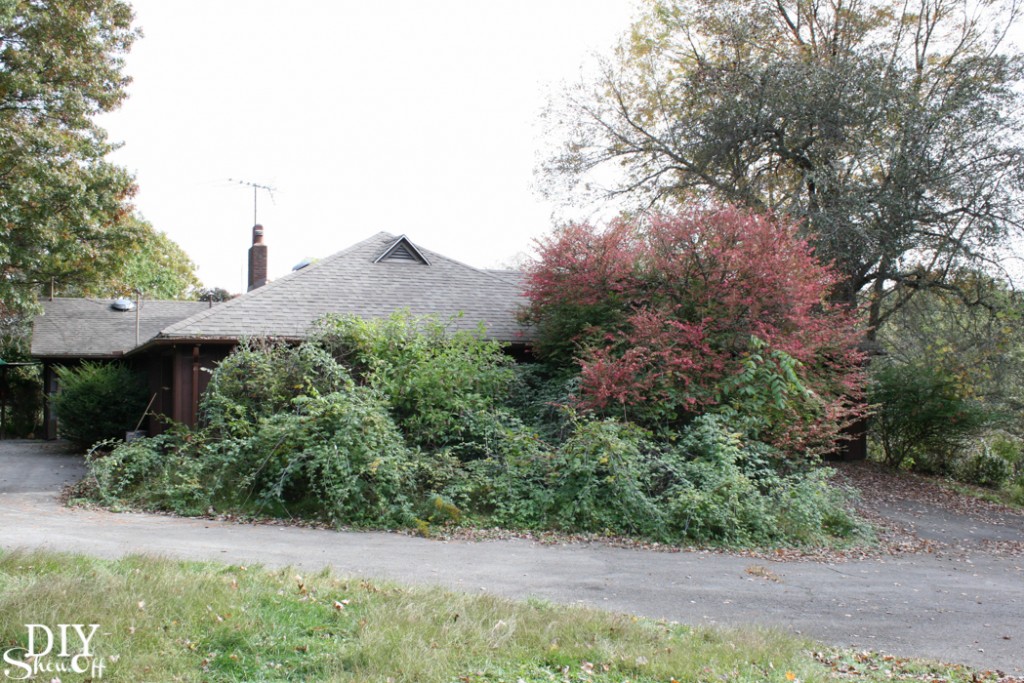
Here are some before and after shots of how removing the overgrowth makes a huge difference! It’s still a work in progress but what a change! 

This…House Makeover Before @diyshowoff 

To This…house makeover @diyshowoff

This…House Makeover Before @diyshowoff

Now looks like this…house makeover @diyshowoff

This…House Makeover Before @diyshowoff House Makeover Before @diyshowoff House Makeover Before @diyshowoff

Wow!house makeover @diyshowoff

Where’s the house?House Makeover Before @diyshowoff House Makeover Before @diyshowoff

There it is!house makeover @diyshowoff

Exciting, right?! Don’t you love a good makeover story? Me too! You’re going to want to stay tuned as this home is transformed from hidden eyesore to beautiful country retreat with a gorgeous welcoming entry door. A labor of love, an amazing rehab. I can’t wait! 

See more about Pella on Facebook, Twitter, Instagram and Pinterest.
Learn more about Pella’s Insynctive technology here: http://insynctive.pella.com/

This is a sponsored project written by me on behalf of Pella Windows and Doors . The opinions and text are all mine.

House Makeover Part One: Exterior Before

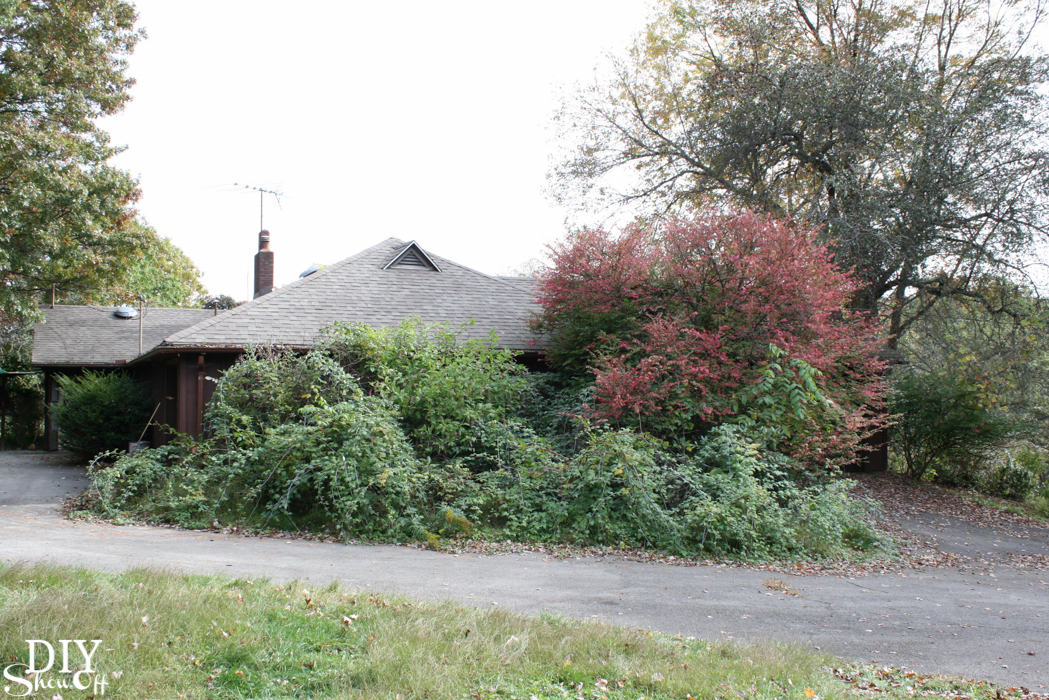
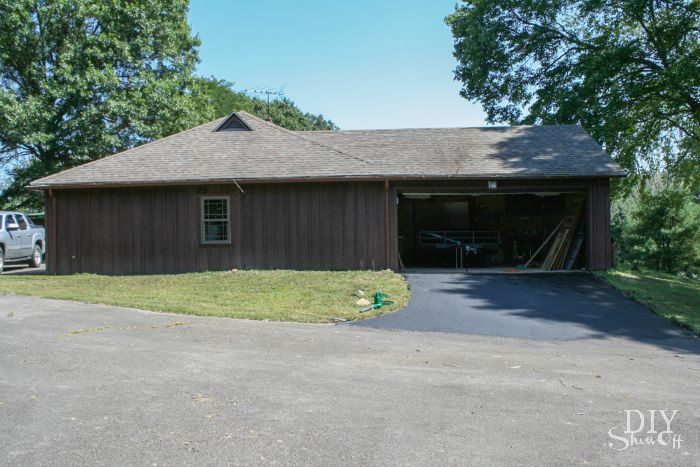
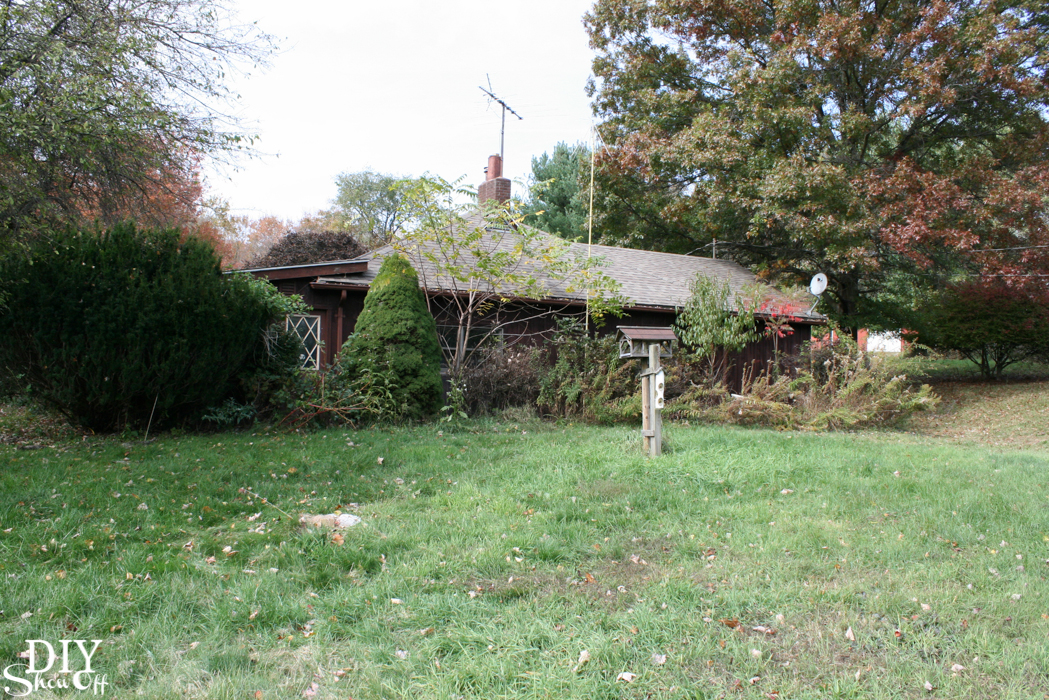
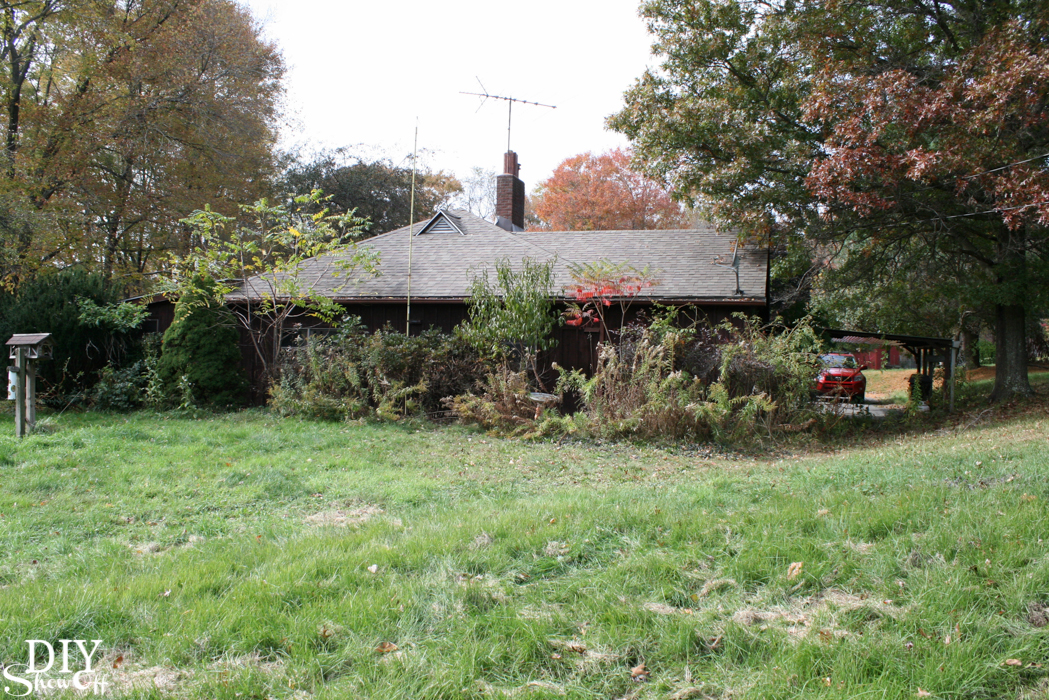
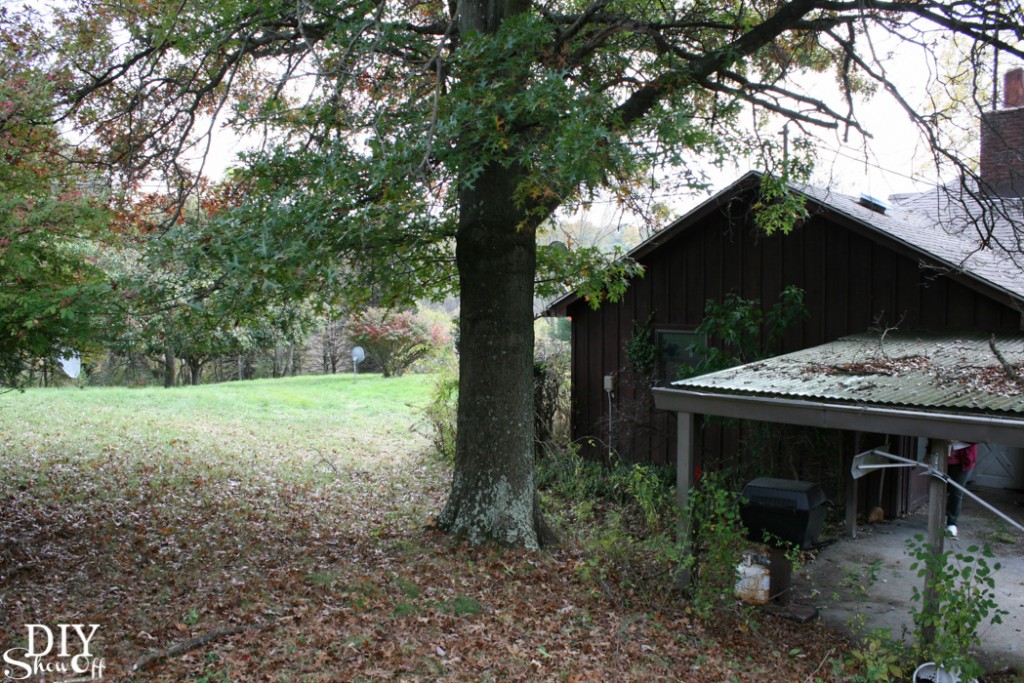
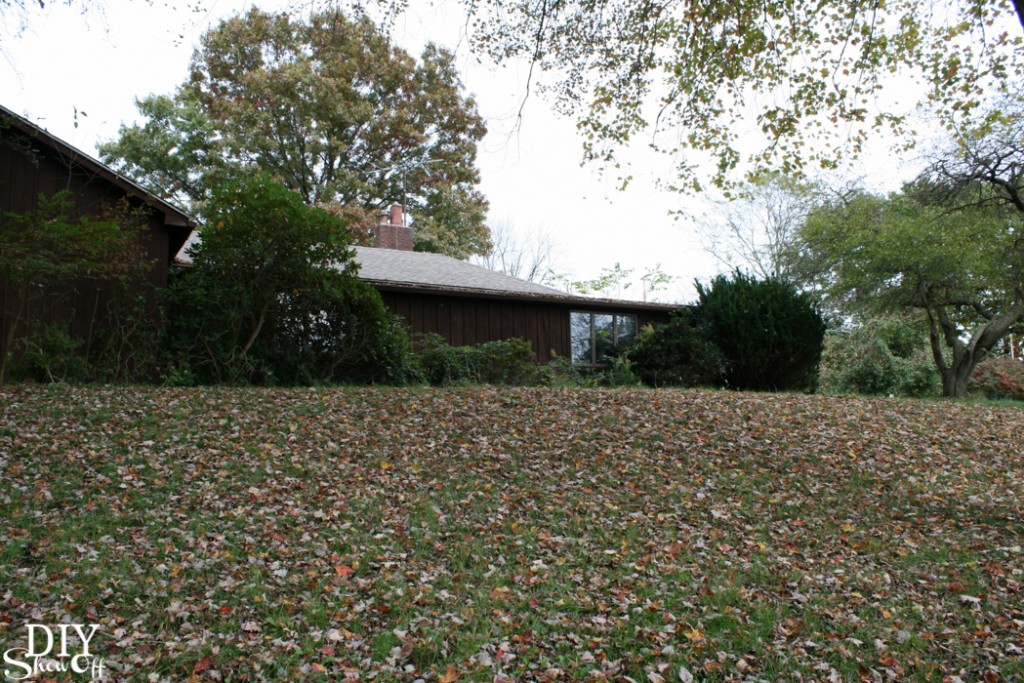
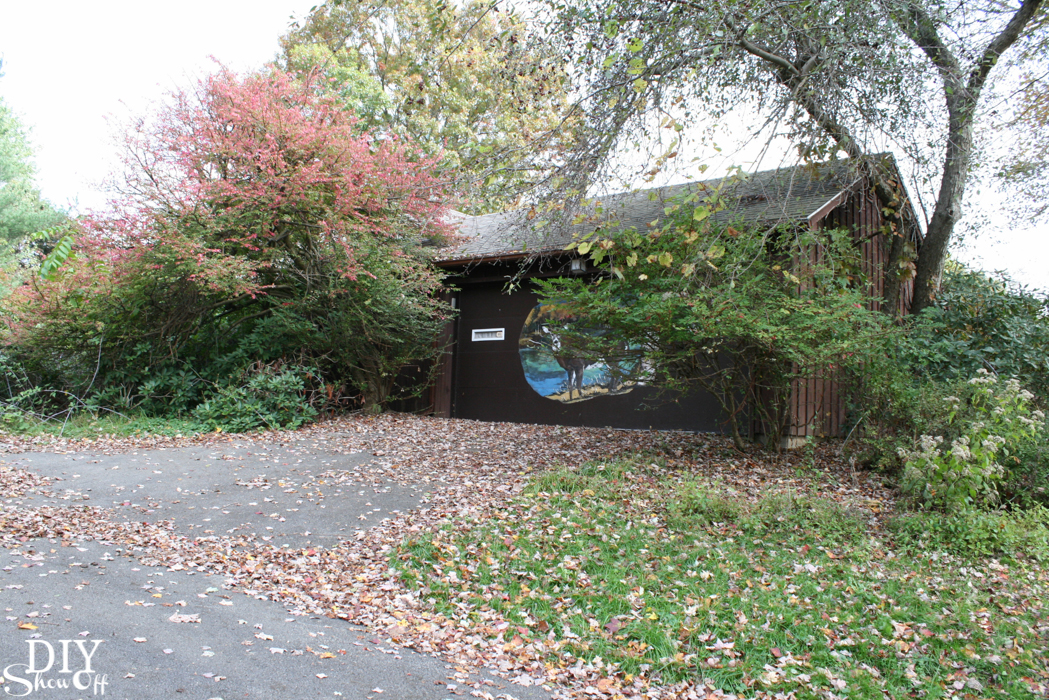
House Makeover Part One: Ever wonder where I get my love of DIY and decorating? It’s from my mom! Like the saying goes, ‘the apple doesn’t fall far from the tree’ and I am SO SUPER excited that my mom and her husband (who is extra super handy with tools, the type of guy who can do just about everything home improvement related, by the way) are rescuing this old home. The property is BEAUTIFUL. The home? Uh…not so much in it’s current condition. I am just itching to get in there and get started! 

House Makeover Before - Exterior

There’s an entire house in there somewhere! 

I’ll journal some before and after and some tutorials along the way. Love DIY? Follow along and watch the transformation, the huge project they’re about to undertake. I look around and I see POTENTIAL! I LOVE LOVE LOVE old fixer uppers! It’s going to be better than it ever was!

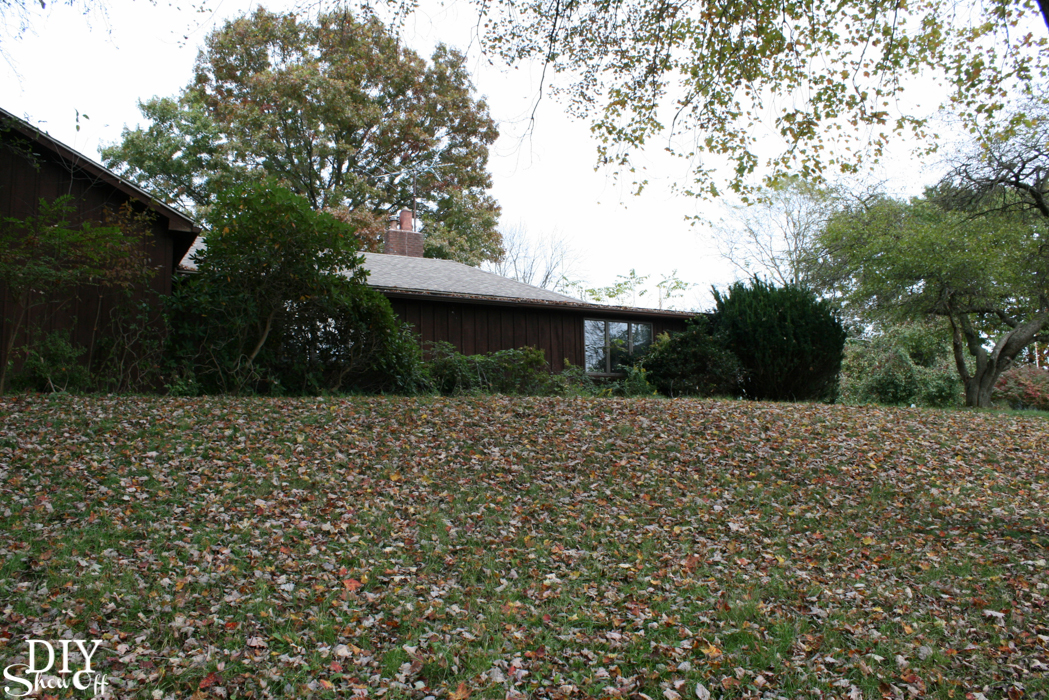
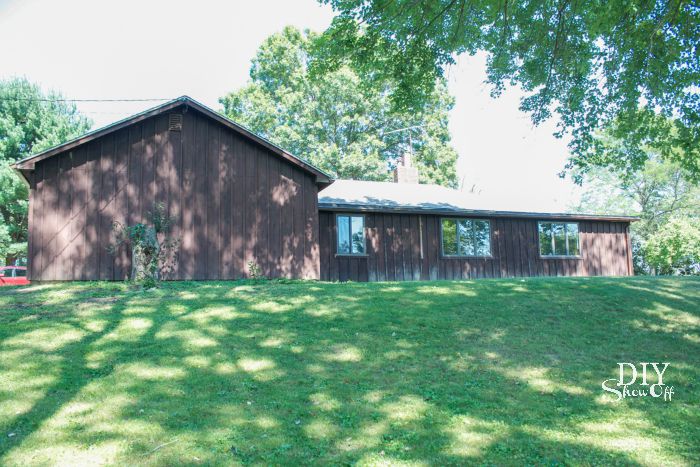
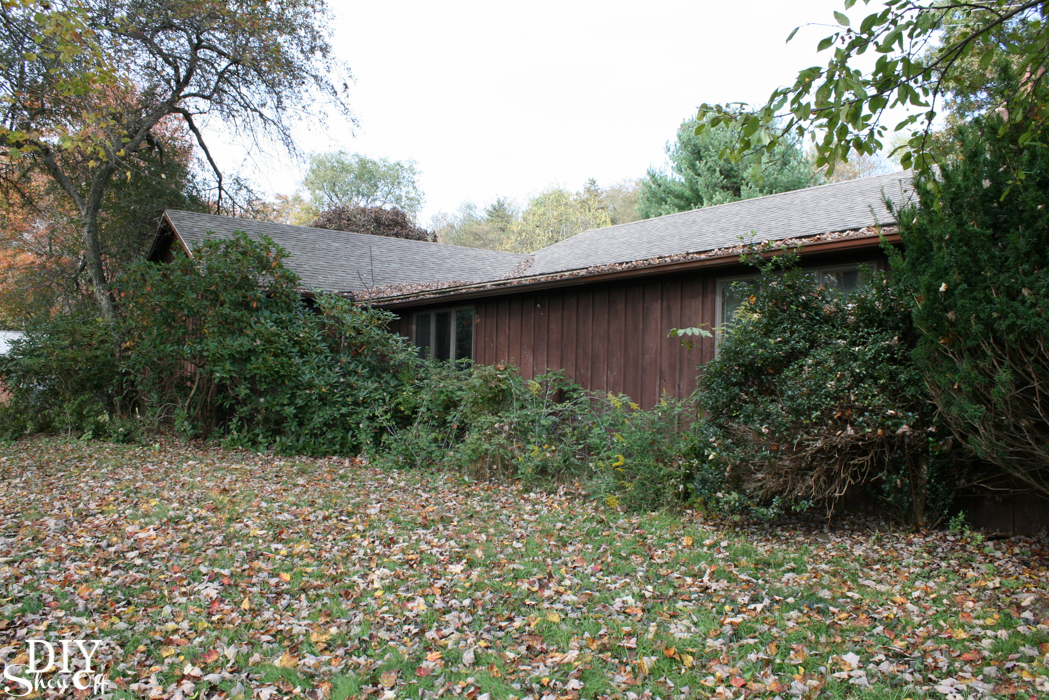
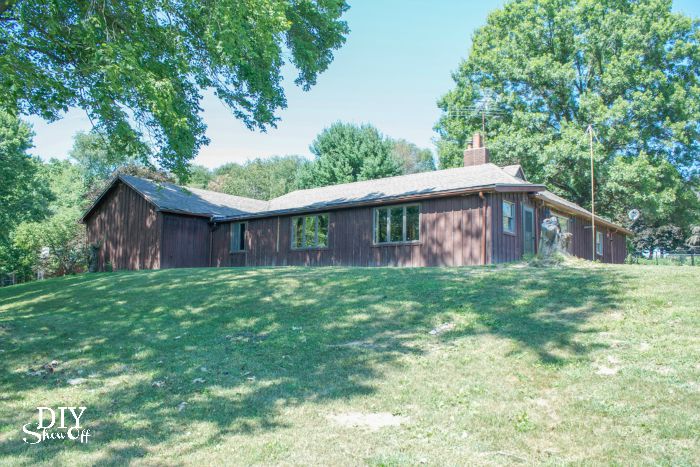
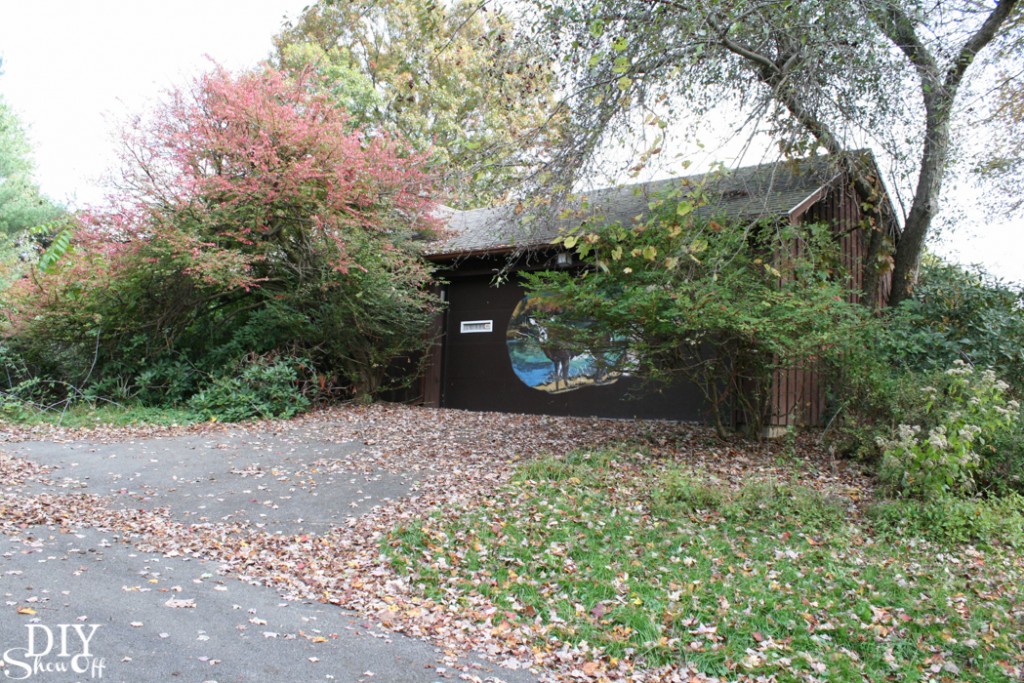
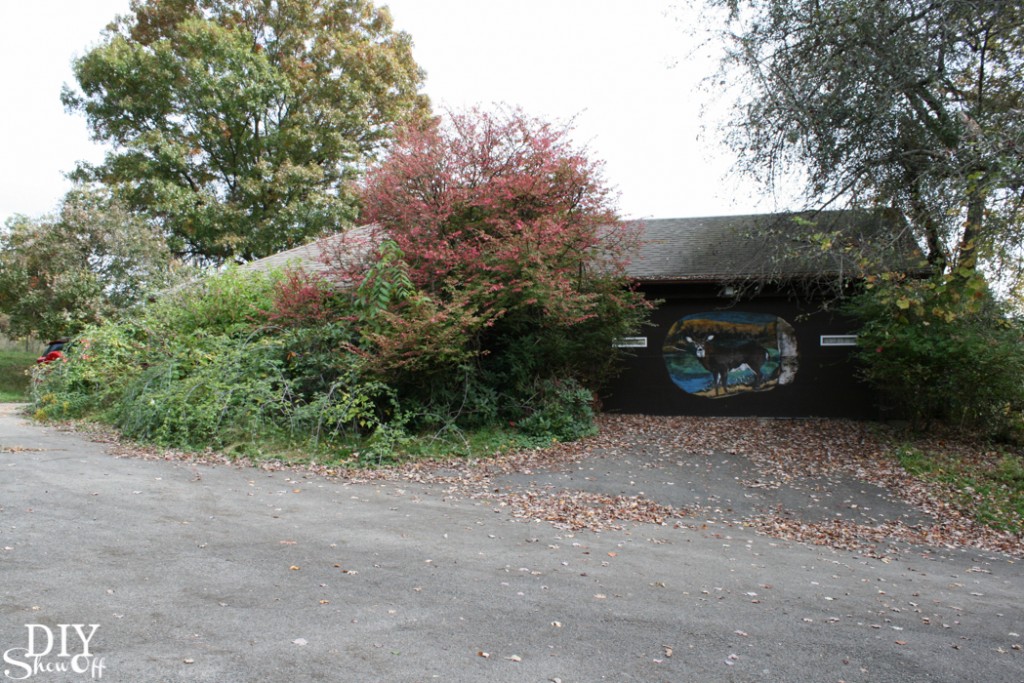
In an effort to get the ‘before’ pictures organized and all in one place, let’s take a tour. Today I’m sharing Part 1, the home’s exterior. Overgrown, hidden. There’s a treasure in there somewhere!

House Makeover Before @diyshowoff House Makeover Before @diyshowoff House Makeover Before @diyshowoff House Makeover Before @diyshowoff House Makeover Before @diyshowoff House Makeover Before @diyshowoff House Makeover Before @diyshowoff House Makeover Before @diyshowoff House Makeover Before @diyshowoff House Makeover Before @diyshowoff House Makeover Before @diyshowoff House Makeover Before @diyshowoff House Makeover Before @diyshowoff House Makeover Before @diyshowoff House Makeover Before @diyshowoff House Makeover Before @diyshowoff House Makeover Before @diyshowoff

Exciting, right?! Don’t you love a good makeover story? Me too! You’re going to want to stay tuned as this home is transformed from hidden eyesore to beautiful country retreat. A labor of love, an amazing rehab. I can’t wait!