I am so excited to have Karianne from 
visiting today. You may know her recently as one of the hostesses from the fun “Imagine the Possibilities 2012 Challenge” and her beautiful cottage bathroom makeover {it’s Pinterest Popular recently!}, a finalist in the WhisperWood Cottage First Project of 2012 Contest and a beautiful inspiration (see the bathroom reveal here). I love her style and she’s very sweet too…so if you’re not friends, hop over and introduce yourself.
Today, Kari is sharing a super cute tutorial for Distressed Vintage-Looking Alphabet Blocks. I love these. Here she is:
Project Details:
- Scraps of left over wood free
- Sample paint left over from projects free
- Hot glue gun free
- Scrabble tiles $1.00 at yard sale
- Chip board letters from Hobby Lobby $1.99
- Little bits of worn chippy typography for the hallway priceless
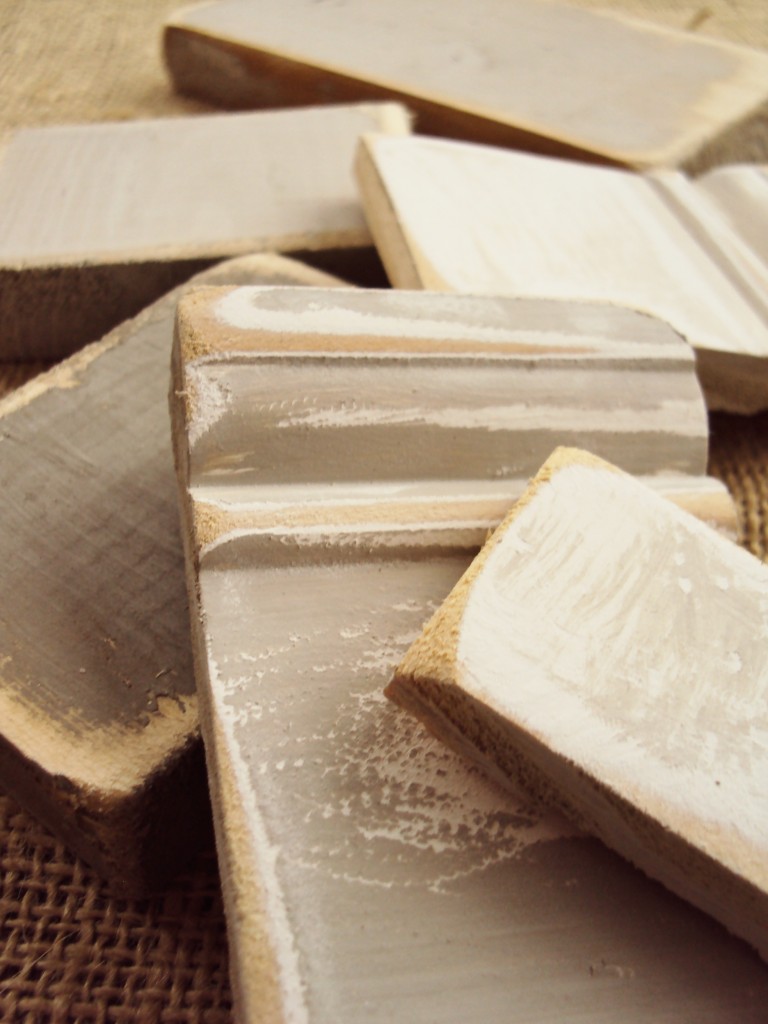
Step 1: Go to your workroom/garage/craft room and find the wood left over from projects. I used pieces of molding from other projects and scraps of wood that were just piled in the workshop.
Step 2: Cut wood into squares or rectangles or perhaps an octagon or two if you are feeling especially adventurous.
These blocks are 2″x 2″ and 3″x 5″ and 3 1/4″x 2 1/4″ and 5 1/4″ x 4 1/4.”
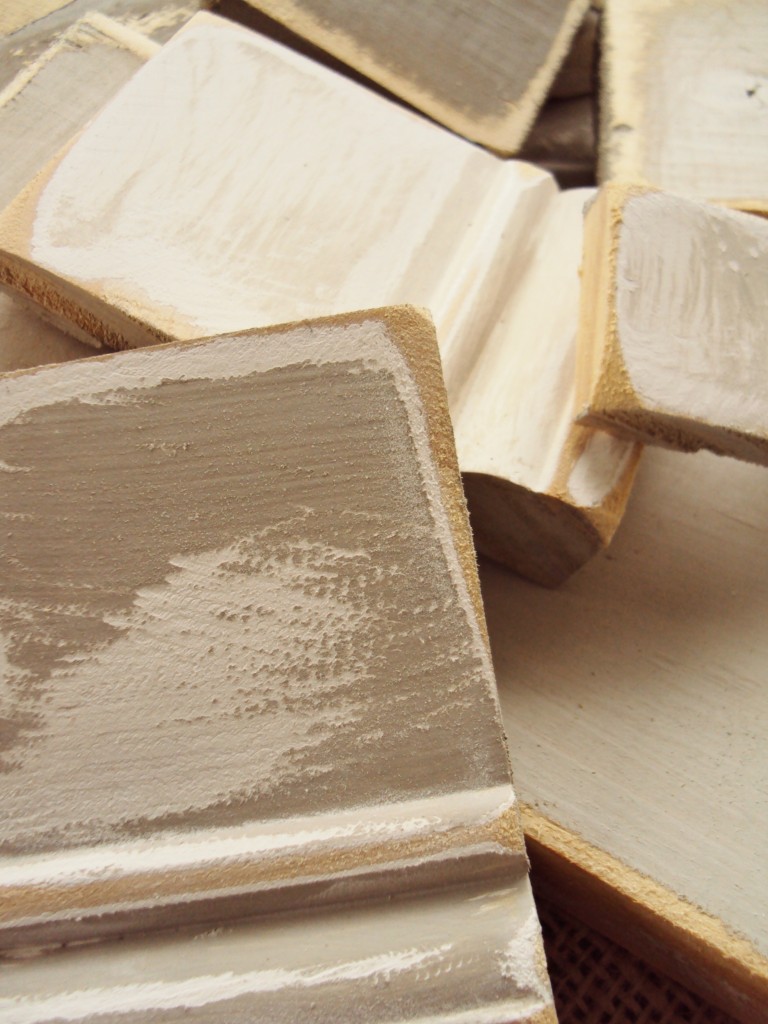
Step 3: Paint the leftover wood.
Leftover paint is the best. I used SW 7045 Intellectual Grey, SW 7015 Repose Grey and SW 7046 Anonymous. These were the sample cans I used to test out colors in my dining room. Yep. Leftover wall paint at its finest.
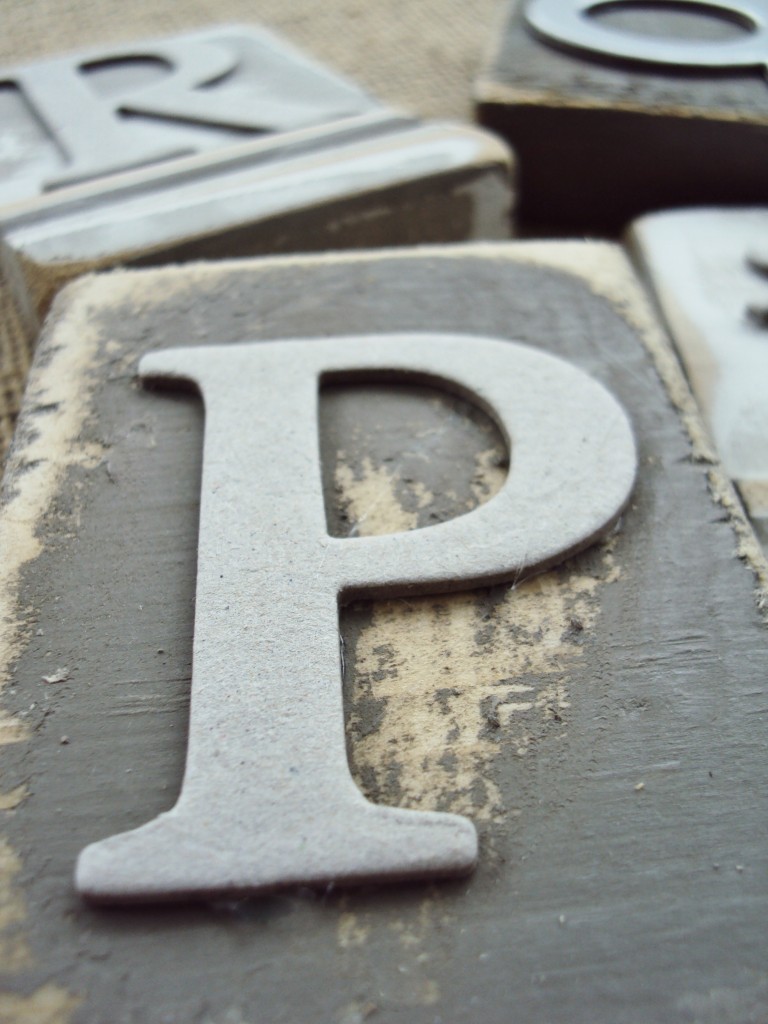
Step 4: Distress. Distress as much or as little as you like. You can see….I like a lot. I was going for the “wood left out over winter in the rain look.”
Step 5: Paint your alphabet.
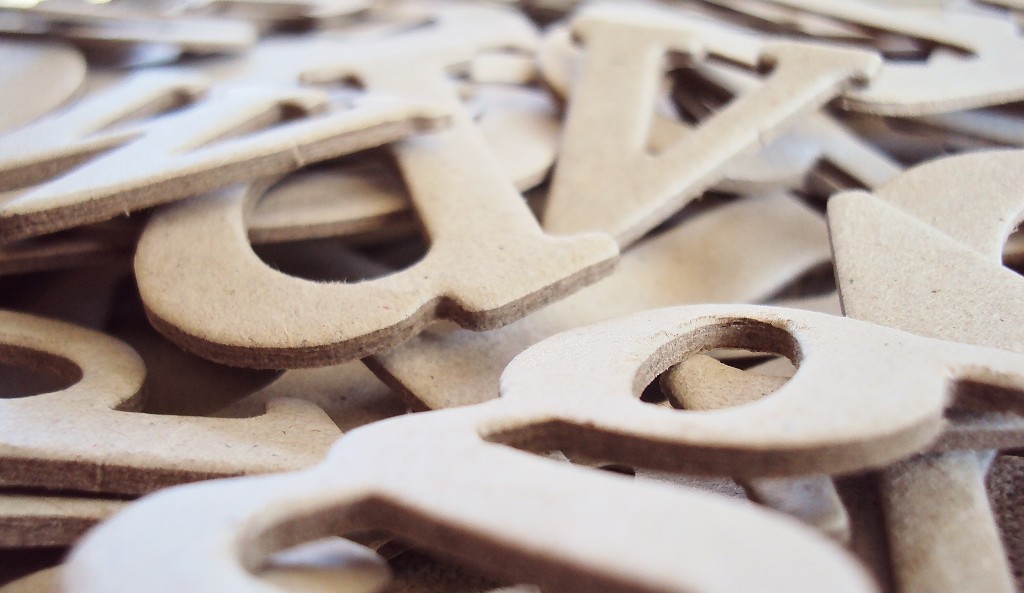
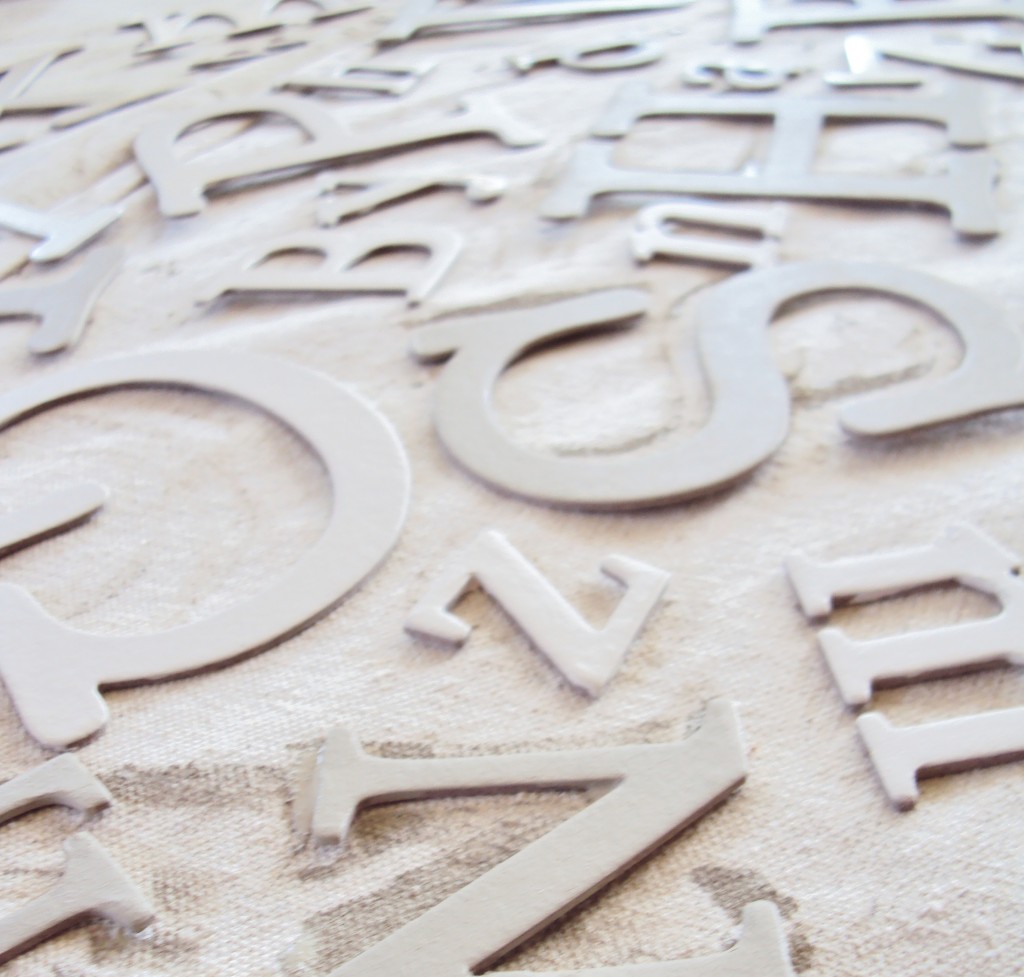
I bought these chip board letters at Hobby Lobby (for 50% off in the scrapbooking section) in a variety of sizes and fonts.
And I painted them using the same leftover paint.
On my dining room table.
On what used to be my dining room curtains…..
…but that’s a post for another day.
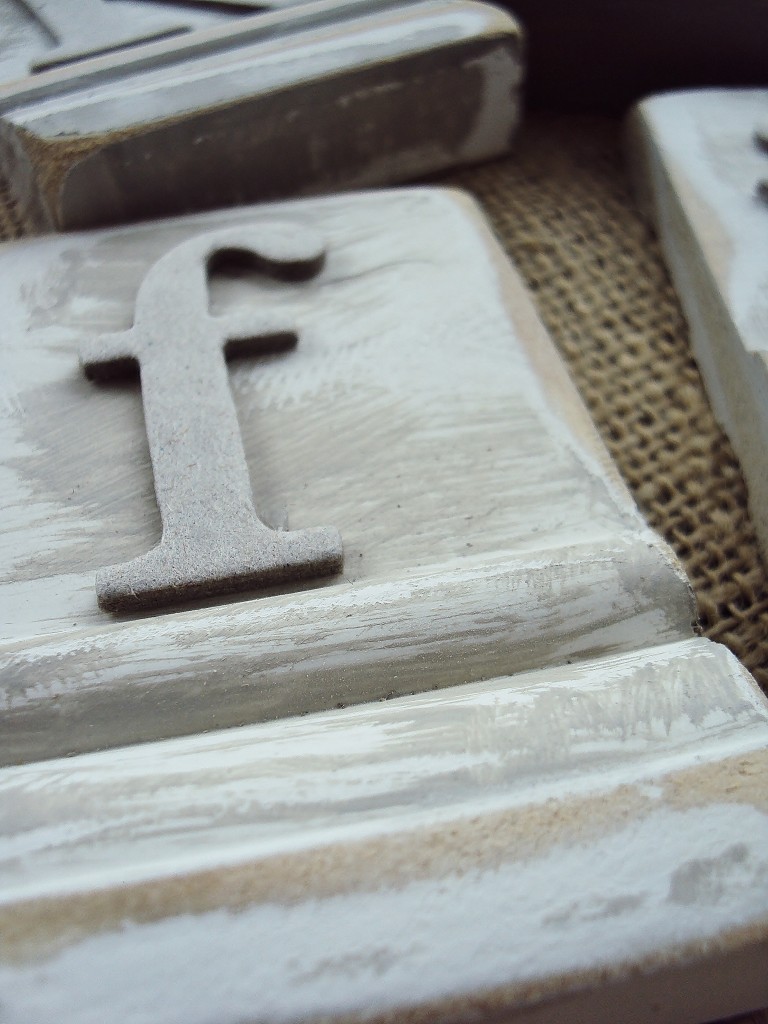
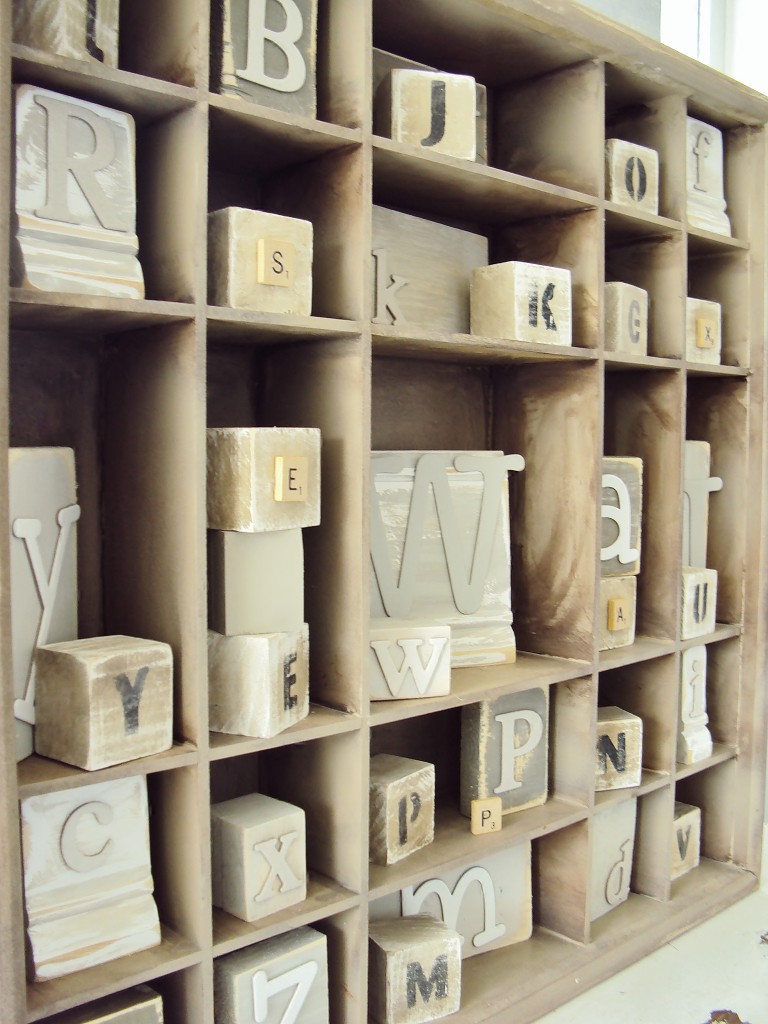
Step 6: Hot glue your letters to your painted and distressed wood.
Or you can hot glue them to your really, really painted and distressed wood.
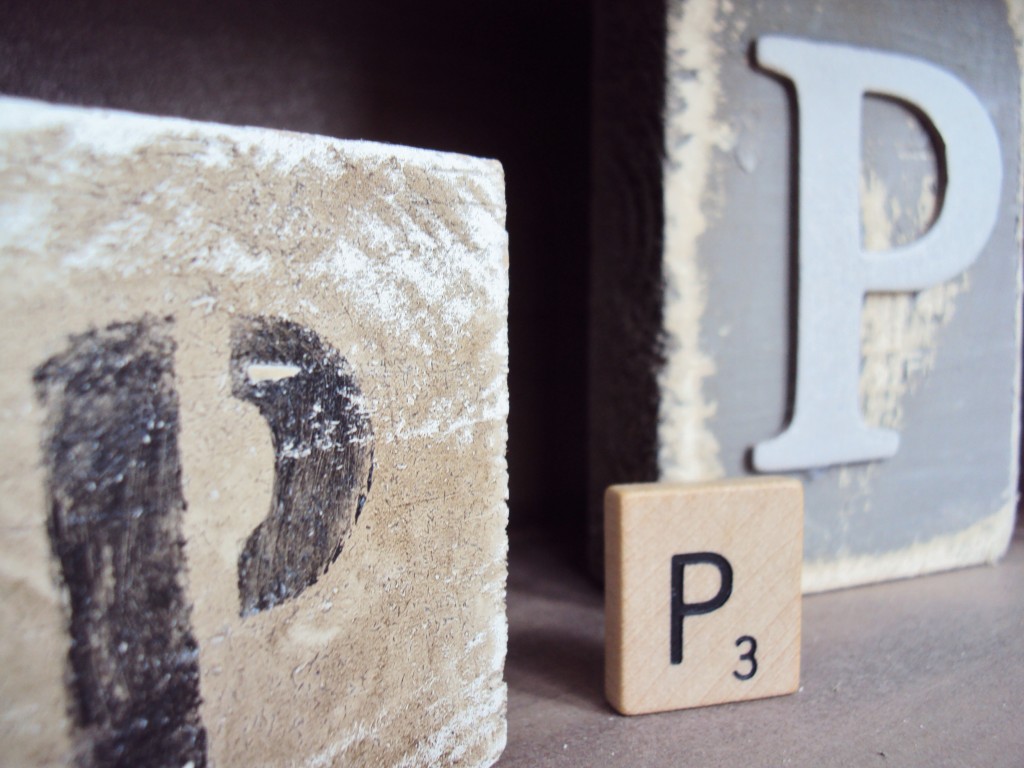
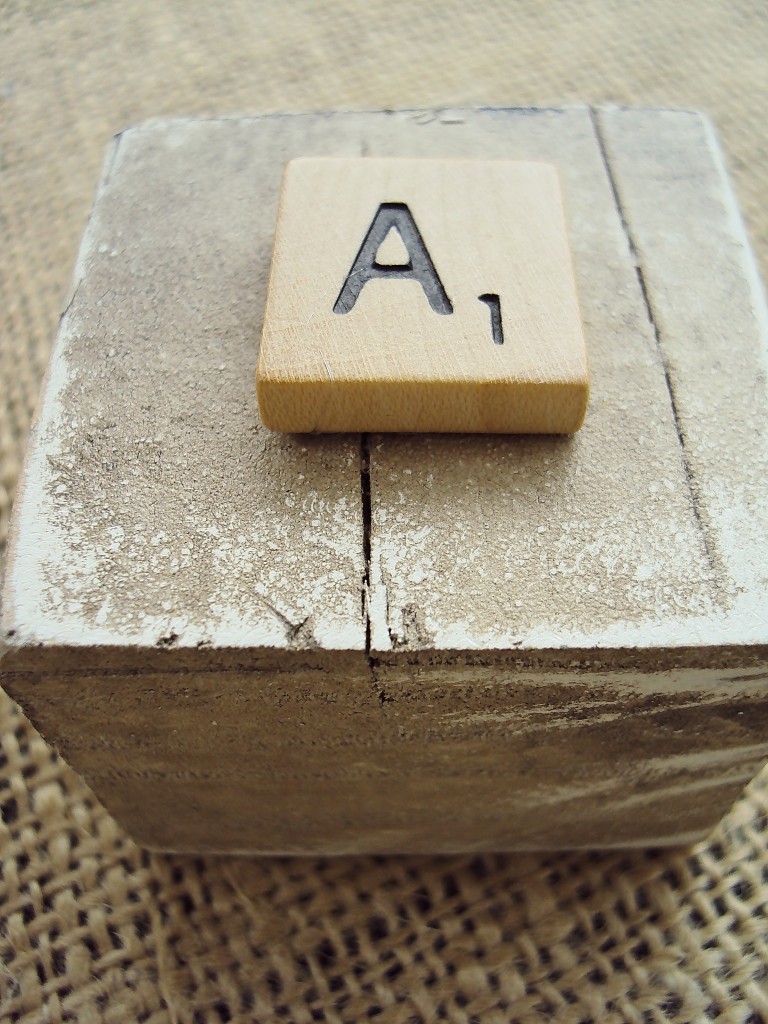
You can also glue scrabble tiles to the wood to mix it up a little.
That’s it.
Here are the letters in my PB knock-off/used to be an advent calendar/typography holder.
I love this project.
It met my requirements.
Easy. Check.
Cheap. Check.
Good use of my dining room curtains. Check. 🙂
Thanks for joining me on my journey through the alphabet. If you want to hear a funny story about this project, stop by my blog….thistlewood farm.
And lastly, a big shout out to Roeshel for letting me post about my little bits of chippy, painted typography.
She is a true rockstar and diy diva.


