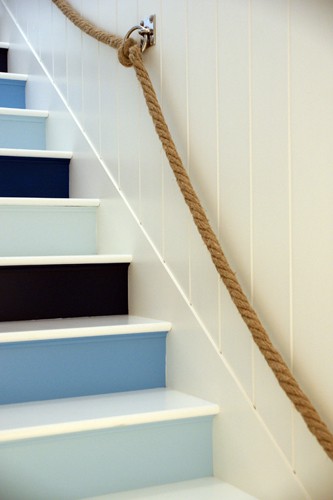
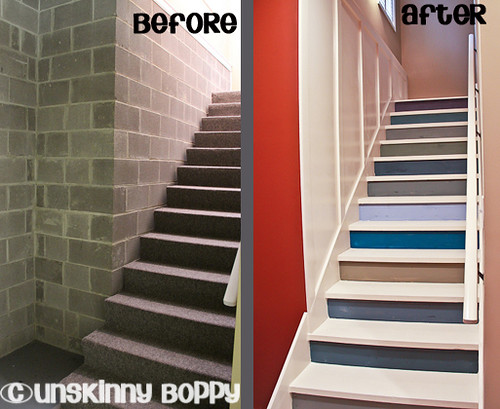
Hi everyone! I’m Beth from Unskinny Boppy. First I’d like to say a big “Thank You!” to Roeshel for allowing me to have the honor of guest posting here on her inspirational blog. I appreciate the opportunity to share my project with you guys. Today I’m finally ready to reveal my painted basement staircase (and the new board and batten!)Six months ago my basement staircase resembled something from a maximum security prison.
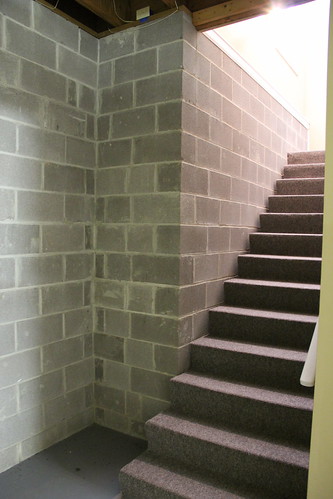
Dark, dank and sort of scary with unfinished concrete block walls and cheap grey indoor/outdoor carpeting. It was not exactly a warm and welcoming place to be. Today it’s been transformed with a little bit of paint, putty and some 1x4s! Check it out:
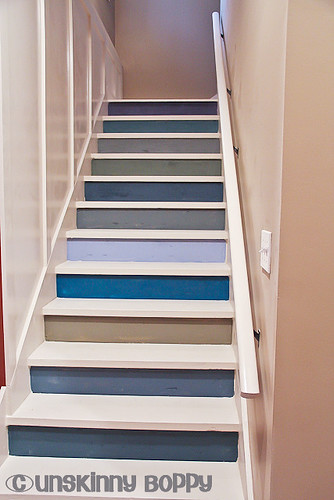
Months ago I had pinned a photo of Jonathan Adler’s painted beach house stairs , and I knew that was the look I wanted to try to replicate. I do believe I got very close to my inspiration project.Here is Jonathan’s design:
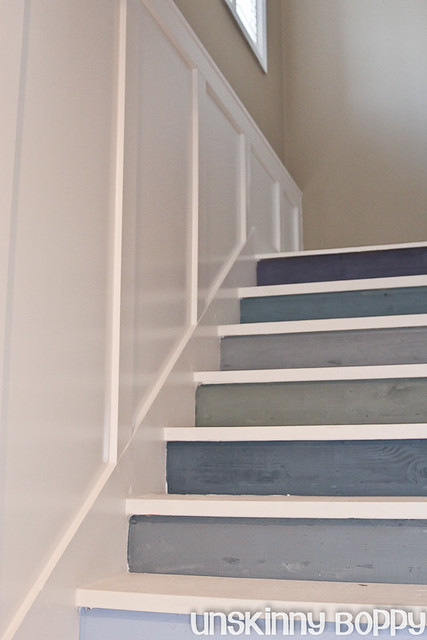
And here is mine:
Let me back up just a minute here and say that I have a bit of a paint sample addiction. Whenever it is time to choose paint colors for a room I agonize over the paint fans for hours, then we make a run down to the local Sherwin Williams and buy their $5 quarts of sample paint. I firmly believe the best way to tell if you really like a paint color is to get as much of it on the actual wall as possible. After living in this house for 18 months and painting almost every room in it (and some rooms twice!), I’ve acquired quite a collection of paint samples. It might even be a borderline hoarderish tendency since I refuse to throw any of them away. They sit on a bookcase in my basement just in case I find a piece of furniture (or stairwell) that needs a coat of paint on it. Here are all the samples I used for this project. Yeah…
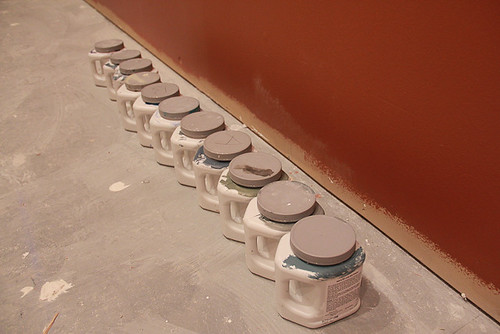
Since this staircase is basically the first thing my husband sees every day when he arrives home from work, we wanted it to be a brighter and more cheerful space. Plus, the basement is in the process of being remodeled so it was hard to imagine leaving that ugly carpeting on the staircase with all new paint, sheetrock, and trim throughout the rest of the space. So one day my husband ripped all the carpet up with his bare hands. Of course I have no photos of this event since he simply came upstairs and announced “Carpet’s up!” And I was all, “WHATthewhat?!?” Well, allrighty then. This is what they looked like for a few months during the construction process. Sexy, huh? Not at all creepy.
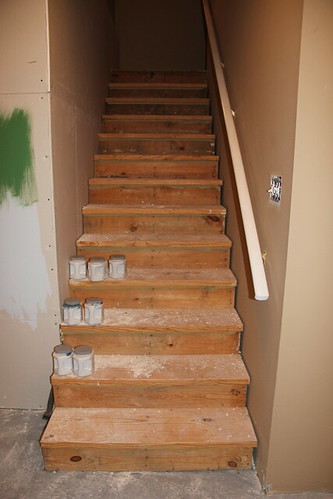
So, what do you do when you have a set of bare wooden steps that have been toe’ up from the flo’ up and fifty quarts of Sherwin Williams paint samples in various shades of blues and greens and greiges? You paint a blue/green/greige rainbow, of course! And that’s just what I did. Every stair riser got a different paint color. I’m kind of ashamed to admit I could have painted about three more sets of stairs and not used the same sample twice.

Before painting I had to pull out all the staples left behind from the cheap carpet. A pair of pliers made short work of that job. Then I went behind with a tube of spackle and filled in the holes and crevices in the wood. You can tell from my photos that I wasn’t exactly a perfectionist about the putty job. I missed some spots and I really need to touch up the paint again, but I’m ok with them just the way they are. They have more character this way. At least that’s what I tell myself. In reality I’m just too lazy to go back and finish the job. 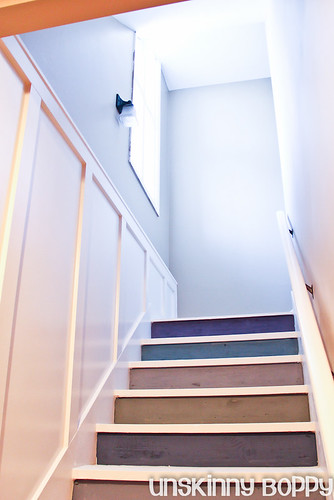

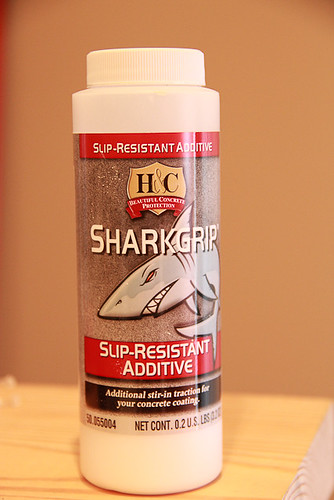
For extra gripping power on the stair treads, I recommend using Sharkgrip Slip Resistant additive to your paint. You simply mix this stuff into your paint and shake it up, and when it dries it makes the floor super-skid resistant. Nothing slippery about these painted floors.
Here is the view from the top: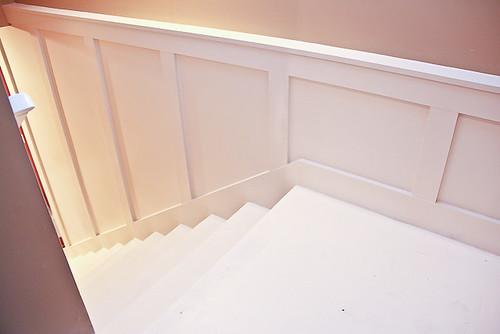

I’m considering getting a runner to give the treads a little bit of color. For now, I’m still lazy good with the white. I also adore the board and batten finish on the staircase. That part of the project was done by my painters while they were finishing the other trim in the basement. I cannot claim the B&B as my own DIY project, but the stair paint is 100% me! And my knees were happy to get this project completed. Since no DIY project is complete without a good Before and After photo, here is mine:
I hope you guys enjoyed my new basement staircase reveal. I’m crossing my fingers and toes that I will be able to have a FULL basement remodel reveal on my blog within the next few weeks. I’d love for you to visit my blog and see it when it’s done!
12 Bloggers, 12 Colors, 12 Days
of Holiday DIY
Dec. 1st ~ GREEN ~ The Design Confidential
Dec. 2nd ~ WHITE ~ Domestically Speaking
Dec. 3rd ~ BLUE/PURPLE ~ Fireflies & JellyBeans
Dec. 4th ~ SILVER ~ Freckled Laundry
Dec. 5th ~ GRAY ~ Primitive & Proper
Dec. 6th ~ SPARKLE/GLITTER ~ A Girl and a Glue Gun
Dec. 7th ~ MIRROR/CLEAR ~ The DIY Show Off
Dec. 8th ~ EARTH TONES ~ Making the World Cuter
Dec. 9th ~ RED ~ It’s So Very Cheri
Dec. 10th ~ GOLD ~ 504 Main
Dec. 11th ~ CHALKBOARD ~ WhisperWood Cottage
Dec. 12th ~ MULTI-COLOR ~ The DIY Club


