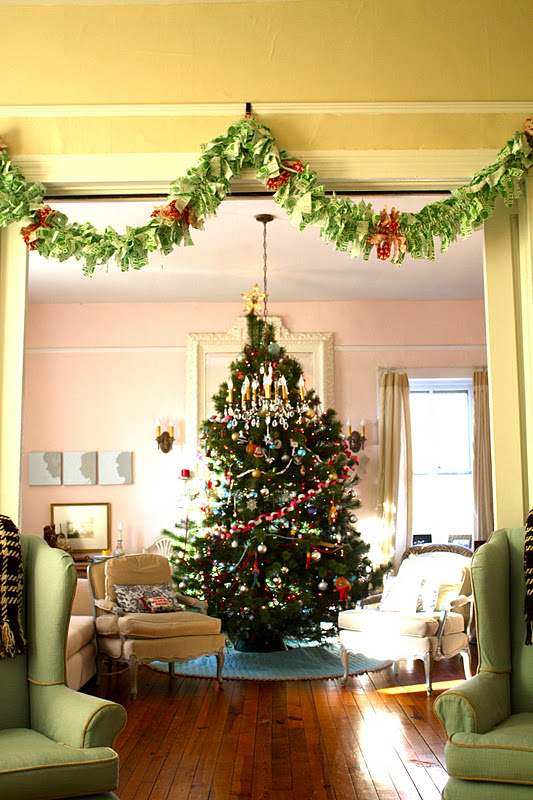
DIY…I mean, it doesn’t get any better then starting a “Do-It-Yourself” project and feeling accomplished when you’ve completed the task, no matter how long it took.
When I stumbled upon theDIYshowoff blog I can estimation over an hour was spent browsing and admiring all of Roeshel’s and her husband’s work, plus those of her fellow DIY lovers. Having almost a year under my belt with a website, 18+ months on Facebook , I’m kind of new to the world of blogging. But I’ll tell you, this Mom of two boys, and an owner of a Small Business is having so much fun meeting new people, and being inspired.
I’m honored to be here, and share with the theDIYshowoff lovers a tutorial I created for {Jingle Bell} Door Accent.
It’s an under $5.00 craft:

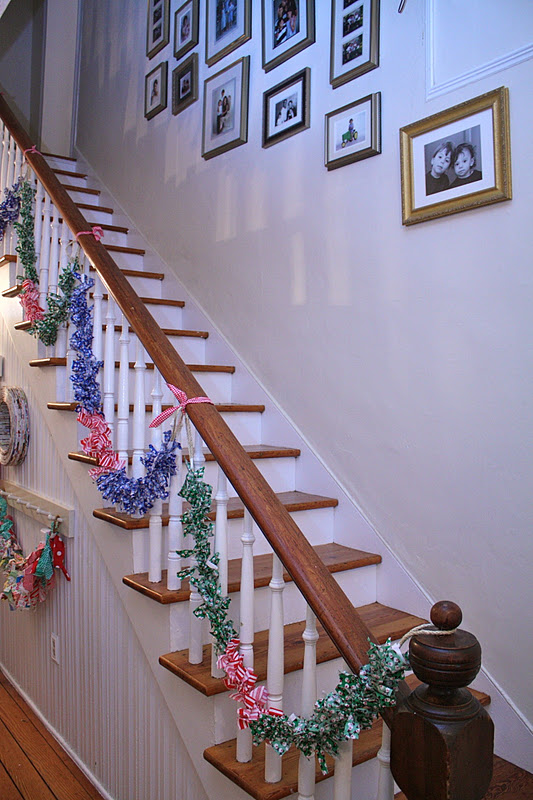
I just love the sound of Bells during Christmas. I have them on frequently used doors throughout our home.
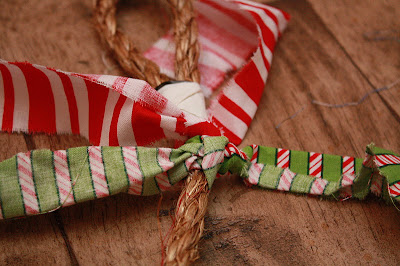
I’ve been holding onto a great find from the $1 ribbon bin at Michael’s, until I have just the right project for it. This “Merry Christmas” ribbon, which was right up my alley due to it’s price and vintage appearance was a great find.
I was browsing the isles, at our local Hobby Lobby, when an idea called out at me. A canister of vintage/rustic bells called my name from a 50% off shelf. I decided, that moment, I was going to create a Door Bell accent with them and the ribbon. I excitedly dropped them into my cart, and while hearing their distinct Christmas jingle, my creative wheels started spinning…”What exactly should this craft look like when I’m done?”
I remembered, while driving home, that a week prior I threw in my cart a bag of wooden Stars from the clearance section at Michael’s. That too was a great find because the set of 4 stars were only $0.47. Below is a tutorial on making this Jingle Bell Door Accent.

Project Time:45 minutes – 1 hour (Ideal for naptime)
Supplies Needed
Purchased Items:
Ribbon $1.00
Bells $4.99 (mine were 50% off)
Wooden Star ($0.47 clearance)
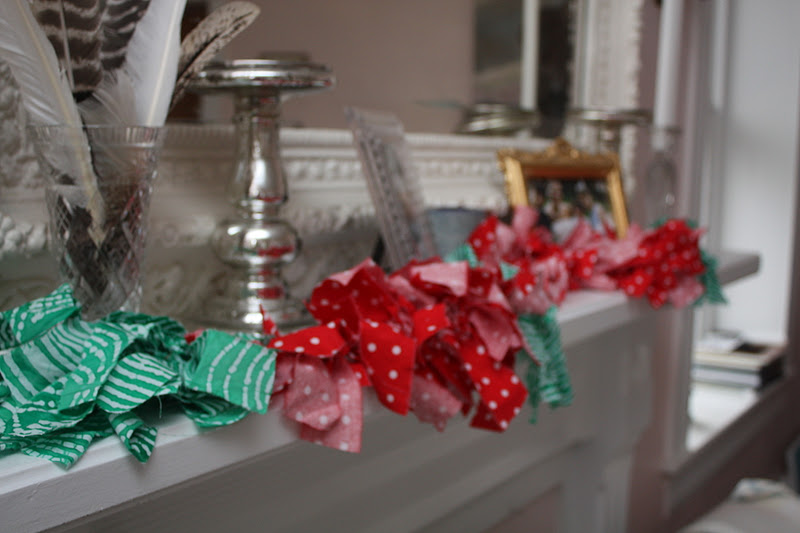
Scrap Fabric – Two contrasting colors or One (FREE)
On Hand Supplies:
Craft Glue
Close Pin
Pencil
Rag (for sticky fingers)
Damp Paper towel
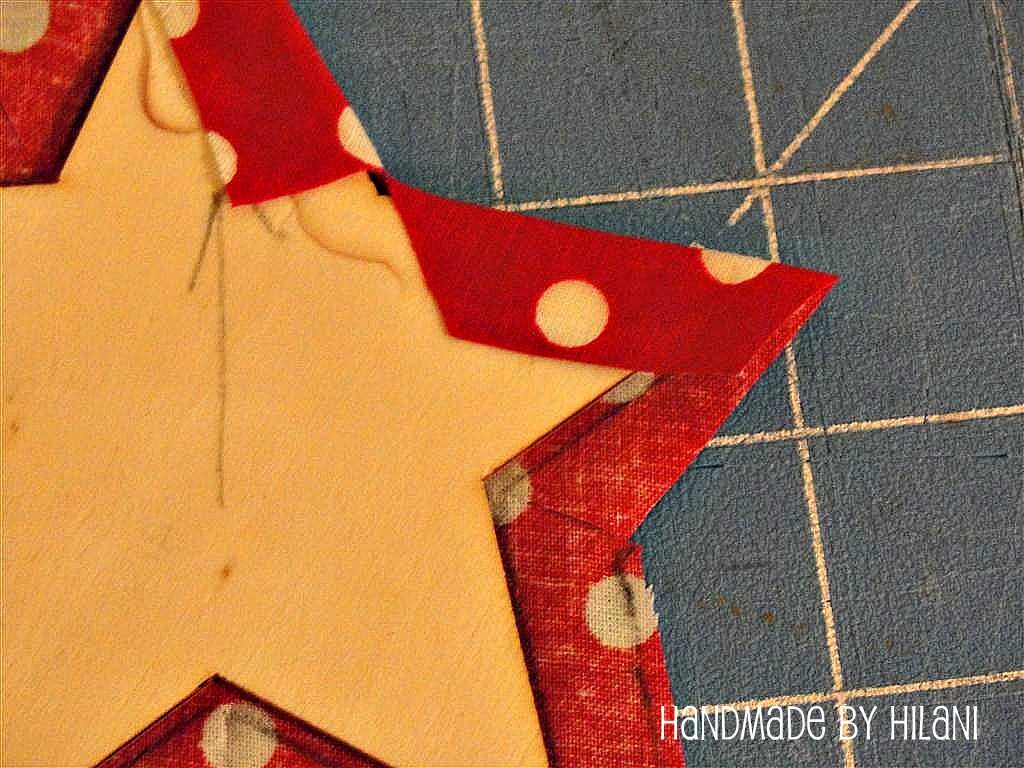
Step 1:
Trace on wrong side of fabric for Front fabric choice, if using two different prints.

Step 2:
Free Hand an additional trace line about 1/2 an inch larger, for cutting, around the actual star size.

Step 3:
If using a second fabric, trace on right side of fabric the star. Otherwise, trace a second star on your first fabric making two star cut-outs. One larger and one exact.

Step 4:
Get Glue and Star ready for gluing. Place wooden star on wrong side of Fabric and cut slits into into corners of fabric for easy folding over.


Step 5:
Apply Glue to wood and begin folding over fabric.
Step 6:
When corners fold over, cut off excess fabric. To adhere the corners from lifting, smooth over extra glue with your finger.

Step 7:
When finished this is how the right side should look. Turn over with wooden Star exposed upwards, and apply your second fabric star on top.


Step 8:
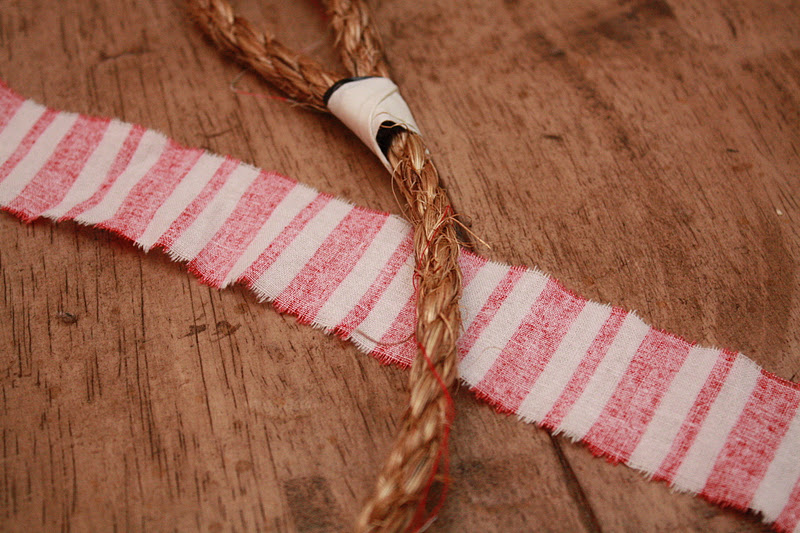
Grab your bells and ribbon. Cut Ribbon 30″ long, or more, you can always shorten your tails. Be safe, cut longer. :0)

Step 9:
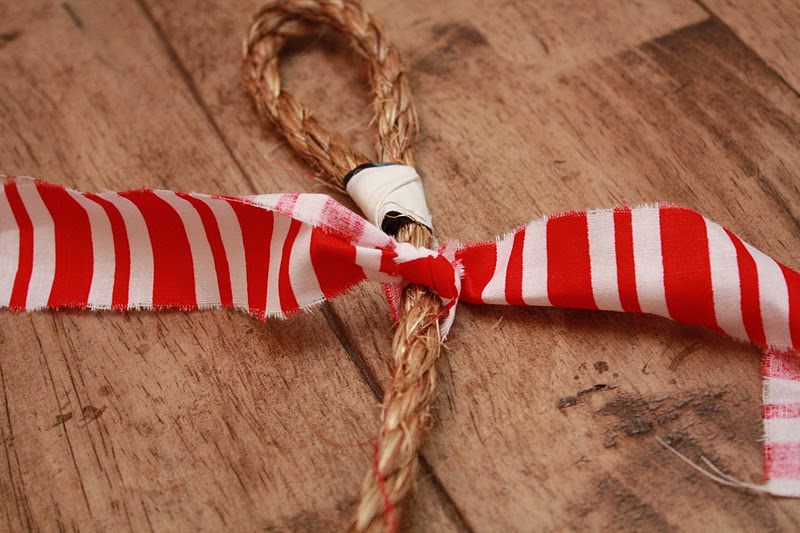
Find the middle point of your ribbon. Apply glue to the center of the star on the fabric. Wrap your ribbon around the star. Place glue at the top of the star, between the two ribbons, to merry them. Hold them together with a cloths pin.


Step 10:
Count out 11 – 12 bells and begin to thread them on the ribbon. Thread 1 bell on each strand and the third bell onto both strands. Continue to thread until you’ve used all bells.

Step 11:
Find a door to hang them from for ultimate drying of glue (while cloths pin still attached).

I hope you enjoyed this tutorial and it inspires you to make one to fill your home with sounds of Christmas!
If this inspired you, I’d love to know. Be sure to visit me at my Blog and join in on my many creative outbursts!