Easy DIY Projects – The Power of Paint

The Power of Paint: Paint and FrogTape (used in each project shown below) are my #1 DIY go-to materials. 

[Not a valid template]
 

When it comes to transforming our house into a home we truly love that reflects our lifestyle and personality, “do-it-yourself” projects are a great budget friendly option. Not only can the result be a gorgeous home, but each DIY accomplishment can be empowering.

Our favorite saying around here is ‘imperfection adds character’ but really, I love that DIY projects are rewarding and motivating for creating a comfortable home for my family. There are no rules. YOU can make our home the way you want it to be. Paint has played a huge part in making over our home. 

So there you have it…paint is my #1 favorite DIY material. What’s yours?
 

*This sponsored by FrogTape. FrogTape provided by Shurtech. The opinions are completely my own based on my own experience.

 FrogTape Blog Squad

DIY Serving Tray Makeover

DIY Serving Tray Makeover:

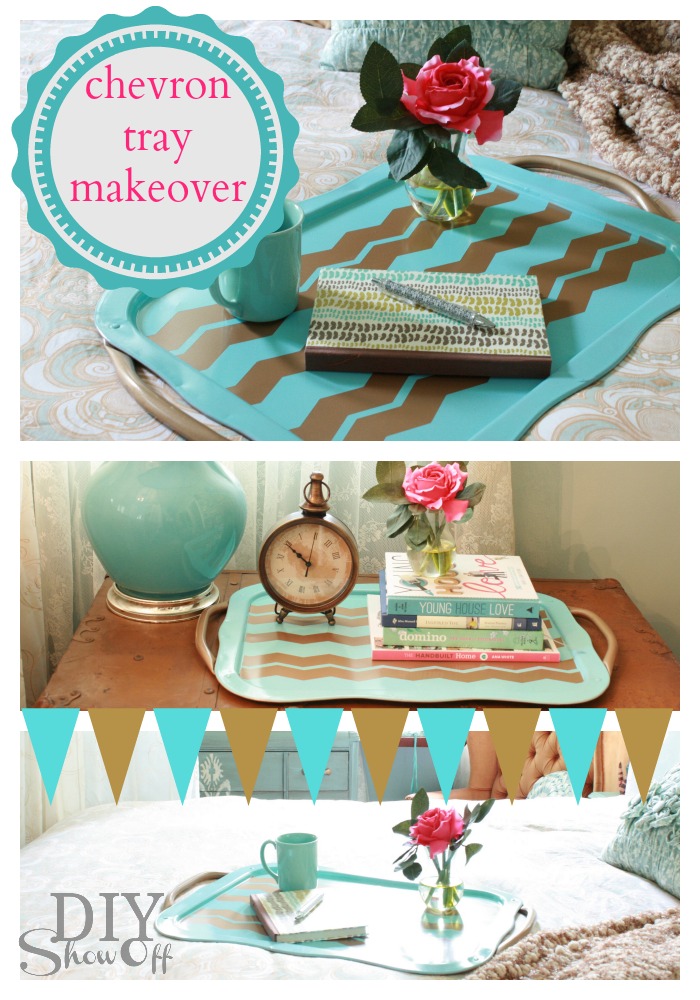
chevron Shape Tape tray

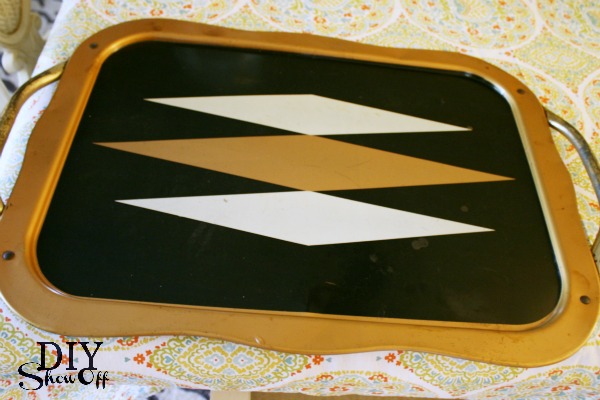
I found this old serving tray hanging on a nail in our basement stairwell. We’ve been in this house quite a while and I’ve never noticed it. lol! In my defense, I’m talking about the dark creepy stairwell to the 80+ year old scary basement (I prefer to use the newer stairwell).

before: scratched up

serving tray before makeover

It was the perfect project to try out the new chevron pattern Shape Tape from FrogTape which also comes in a wave and scallop pattern. FrogTape sharp paint lines and fun patterns…gotta love that!

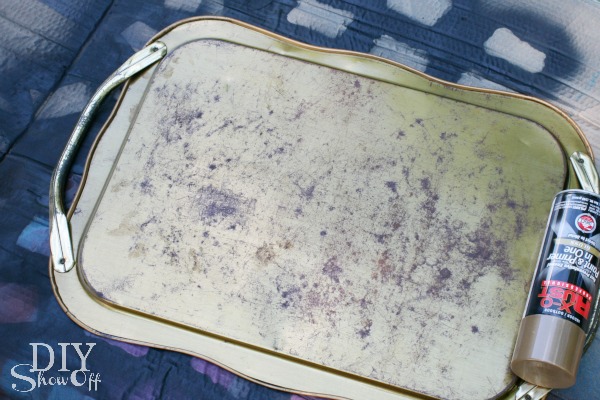
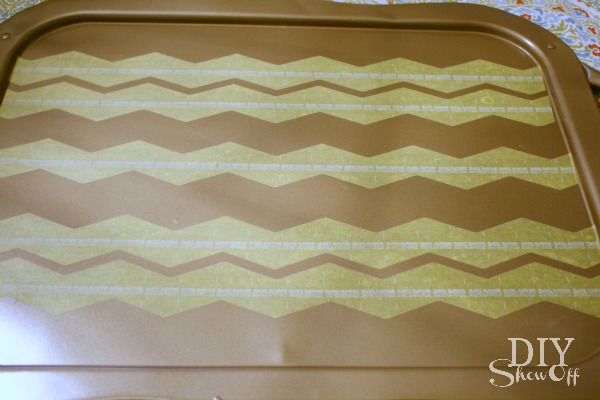
Both sides of the try got a good spray of paint + primer in gold. I let it cure/dry for a few days.

spray paint tray

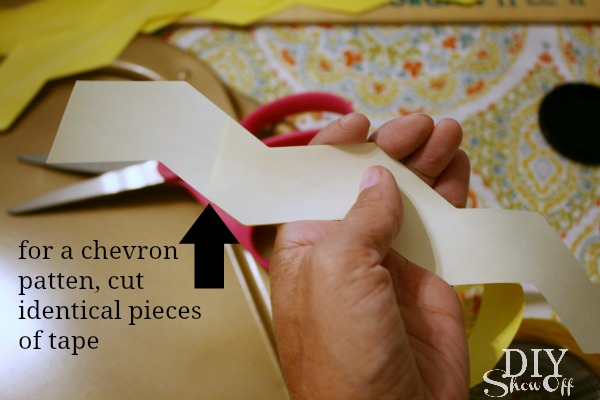
To get a perfect chevron zig zag, you’ll need to cut identical pieces (not just cut off continuous pieces from the roll of Shape Tape). 

FrogTape chevron Shape Tape

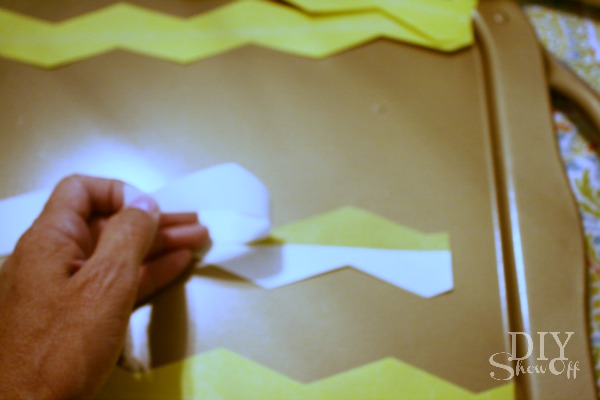
Then peel away one side of the backing…

chevron shape tape

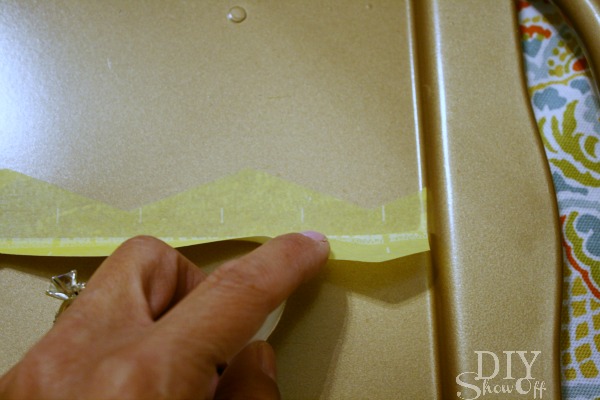
smooth into place…

FrogTape chevron Shape Tape

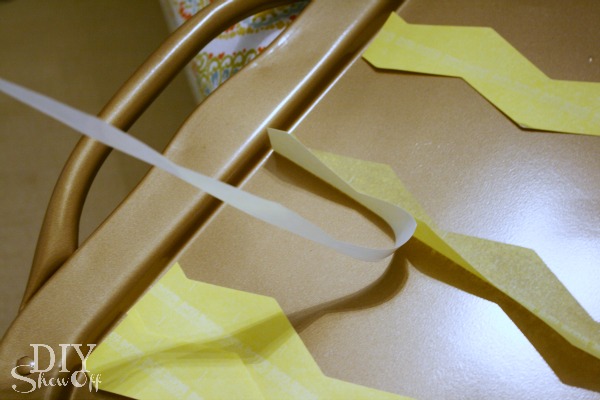
and remove the other side of the backing and smoothing the adhesive into place. 

Shape Tape

Be sure that all tape edges are secure…

chevron FrogTape Shape Tape

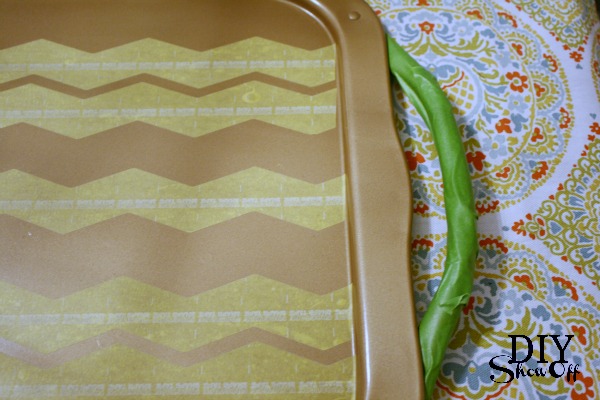
I taped up the handles so they’d remain protected/gold too…

FrogTape

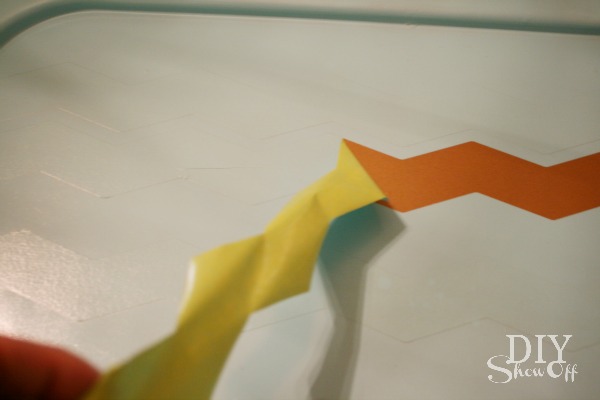
then sprayed a top coat of “ocean breeze” by Krylon and removed the tape once the spray paint dried for a couple of hours. Nice crisp paint lines! 

removing Shape Tape

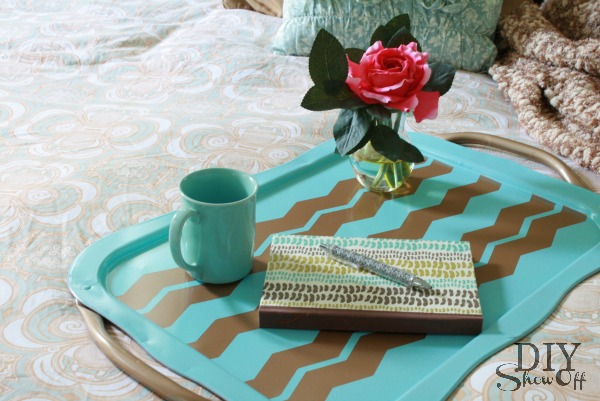
Ta-da! Love it. Although Bri thinks it’s a pretty tray with “bacon” decals. Hey, I love bacon so all is well! 😉 

chevron serving tray makeover

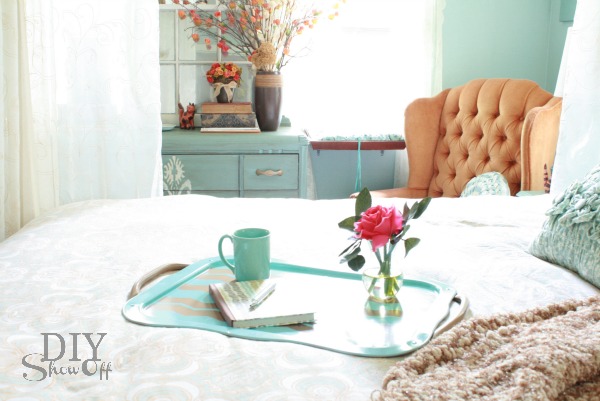
Now it’s a serving tray that coordinates with our guest room

guest room

Serving trays are so fun to makeover.  I still use the one I did a few months ago all.the.time. Trays make great photo props.

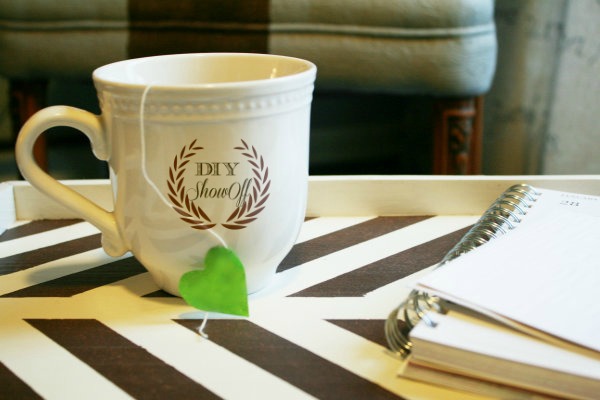
DIY herringbone serving tray

Frogtape serving tray

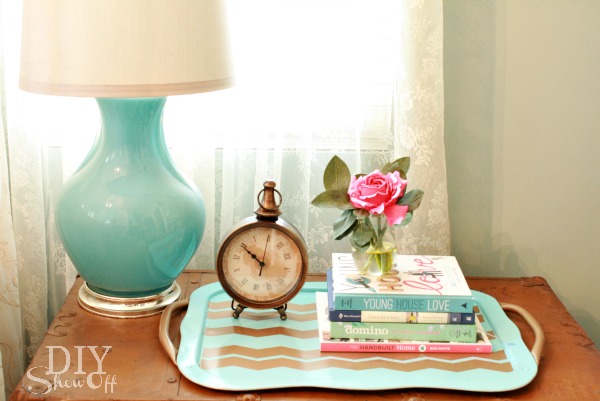
Great for not only serving, but more often – displaying vignettes on a coffee table or side table. 

bedside tray vignette

*This sponsored by FrogTape. FrogTape provided by Shurtech. The opinions are completely my own based on my own experience.

 FrogTape Blog Squad


Ps. Fun FrogTape Pin to Win Sweepstakes now through August 5th!

pintowinFrogFB

Kids’ Plastic Picnic Table Makeover

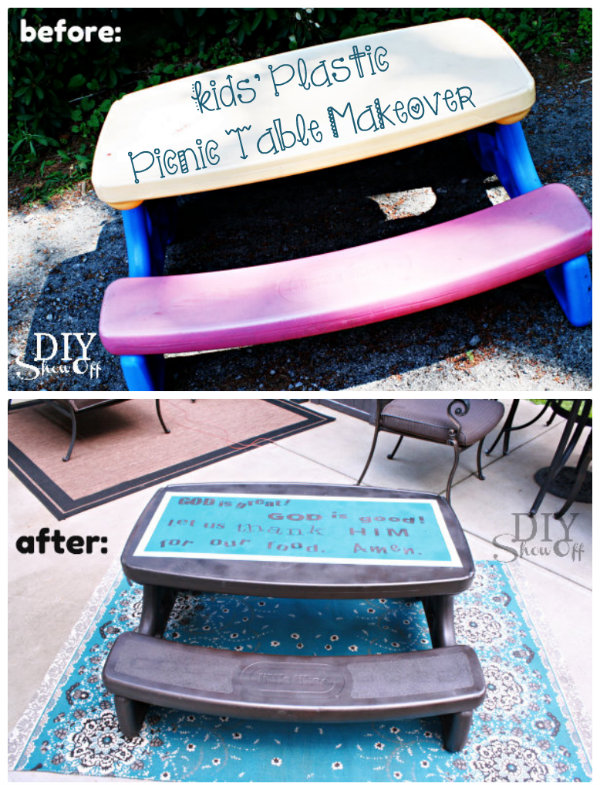
As you know, we entertain a lot in the summer, hosting quite a few family picnics. Guests include my 3-year-old nephew and 2 and 4-year-old nieces. It was decided that I needed a kid’s table and mom scored a Little Tykes picnic table at a yard sale for me for $15. Hurray for yard sale season (and moms)!
How to paint a child's plastic picnic table 

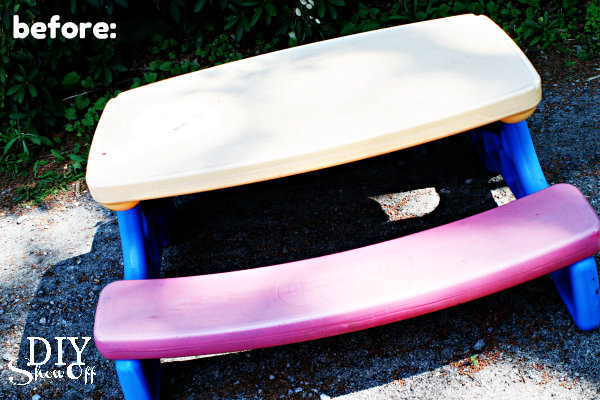
But when you don’t have a yard full of fun brightly colored kids’ toys; the red, blue and yellow looks out of place, not to mention it was faded and a little worse-for-wear. 
kids picnic table before

I decided a little makeover was in order. 

Materials:

  • Spray primer (2 cans)
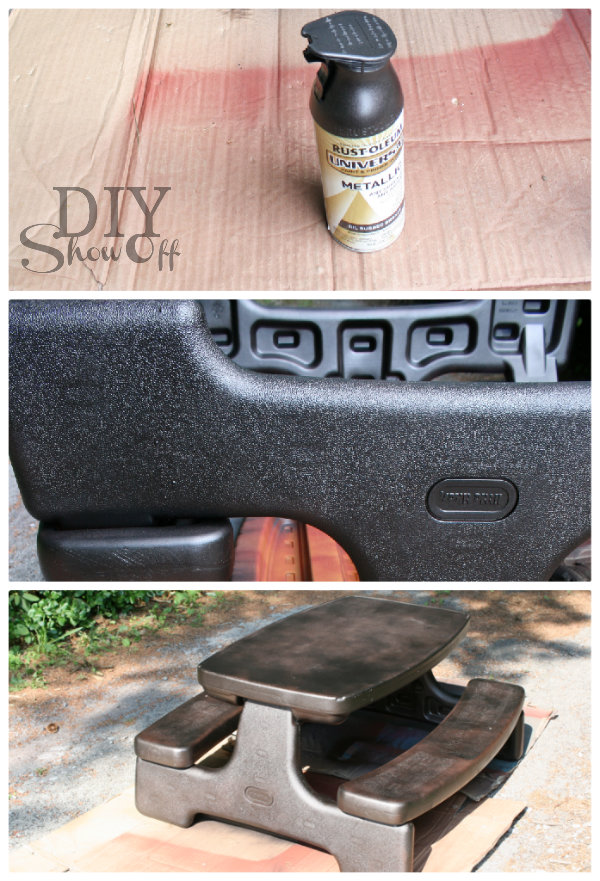
  • Spray paint (2 cans for all over) I used Rustoleum Oil Rubbed Bronze.
  • Another can for decorative purposes (optional)
  • Spray clear coat
  • FrogTape
  • Vinyl decals (I made my own using supplies from Happy Crafters)

Tutorial:

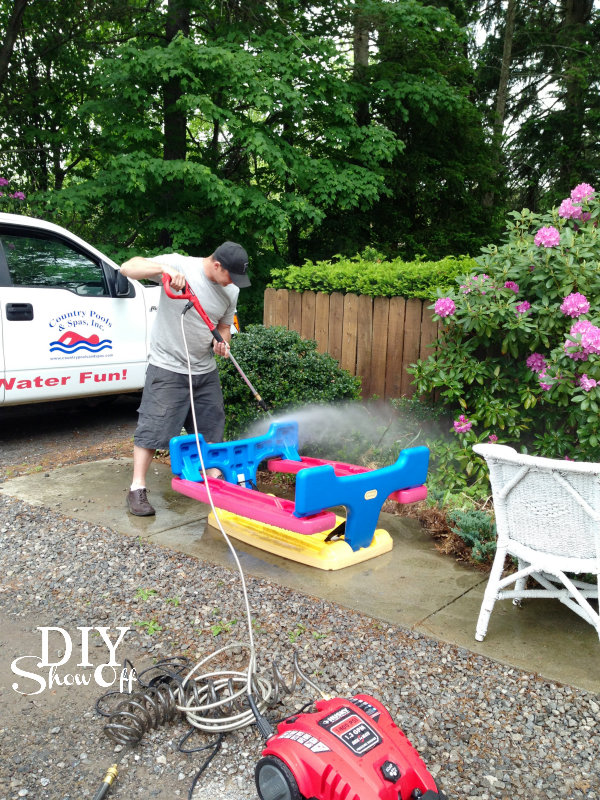
First, I lightly sanded the picnic table with a fine grit sandpaper and gave it a good spraying with the pressure washer. (Thanks, Steve!)
washing picnic table

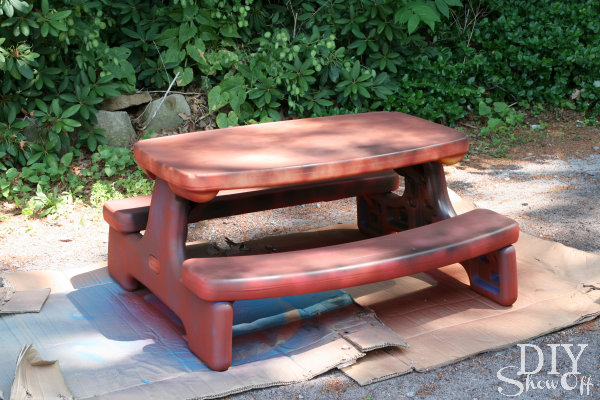
This also comes apart some how, but I couldn’t figure it out so I didn’t bother. Apply a coat of primer: 
DIY plastic picnic table transformation

Then spray paint:

painting plastic picnic table tutorial

I let it dry and ‘cure’ for a few days. 

Using my FrogTape, I created a rectangle (table runner) outline on the table part of the picnic table and taped off the rest of the table top. 
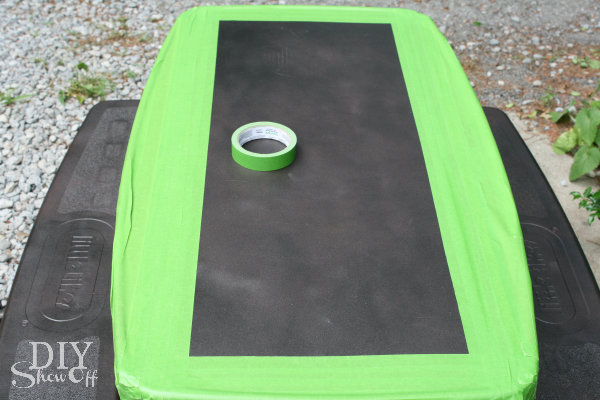
child's picnic table makeover

Using my Silhouette Cameo and Silhouette Design Studio software, I created and cut out the letters for a dinner time prayer.
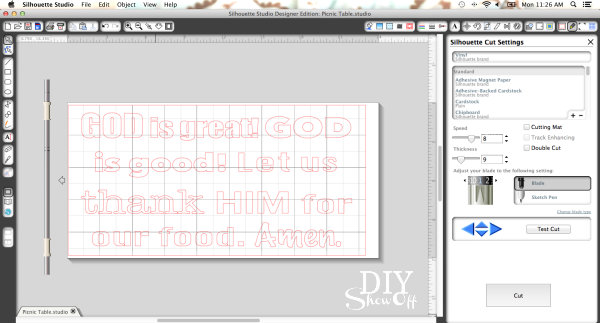
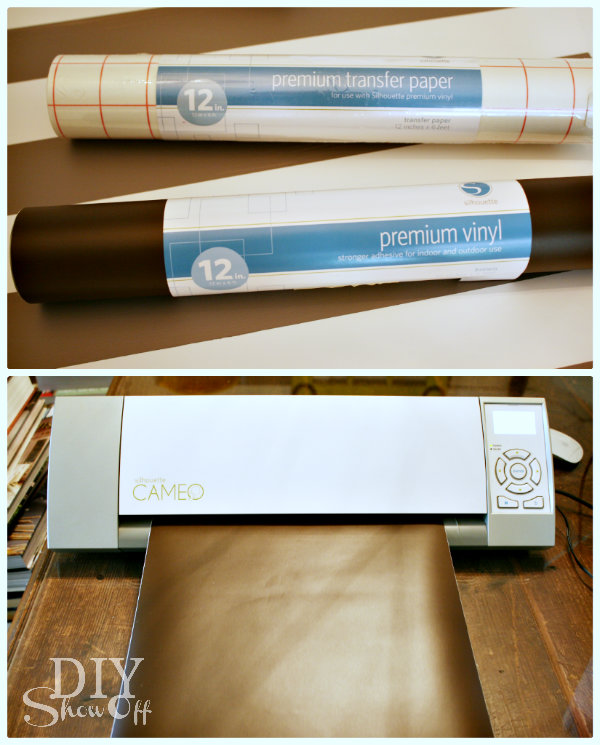
Silhouette Studio designer software

Happy Crafters

I applied the sticker type vinyl letters to the center of my rectangle and made sure FrogTape and vinyl letters were pressed down securely.
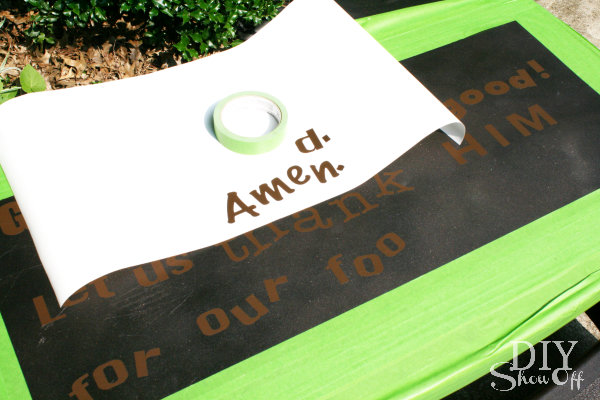
kids picnic table makeover

Then gave it a coat of spray paint in Rustoleum’s Lagoon. (I used a large piece of cardboard to shield the benches.)
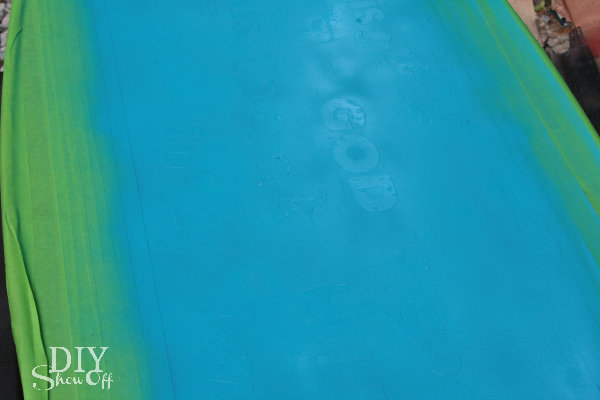
painting plastic picnic table

I peeled away the FrogTape and decals while the paint was still wet. I still have blue fingernails to prove it. 
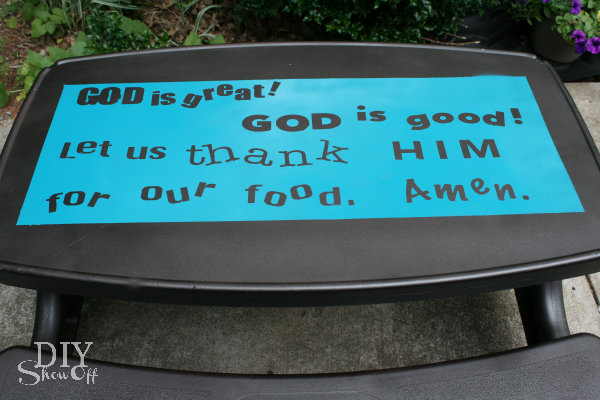
picnic table makeover

I let that dry for a few days (in my vehicle mostly since it’s been raining off and on so much)…which is why I had no choice but to be patient as well! Then I used my FrogTape again to create a border around my “place mat” and filled it in with DecoArt’s Patio Paint. Then peeled away my FrogTape and again…let it dry for a few days.
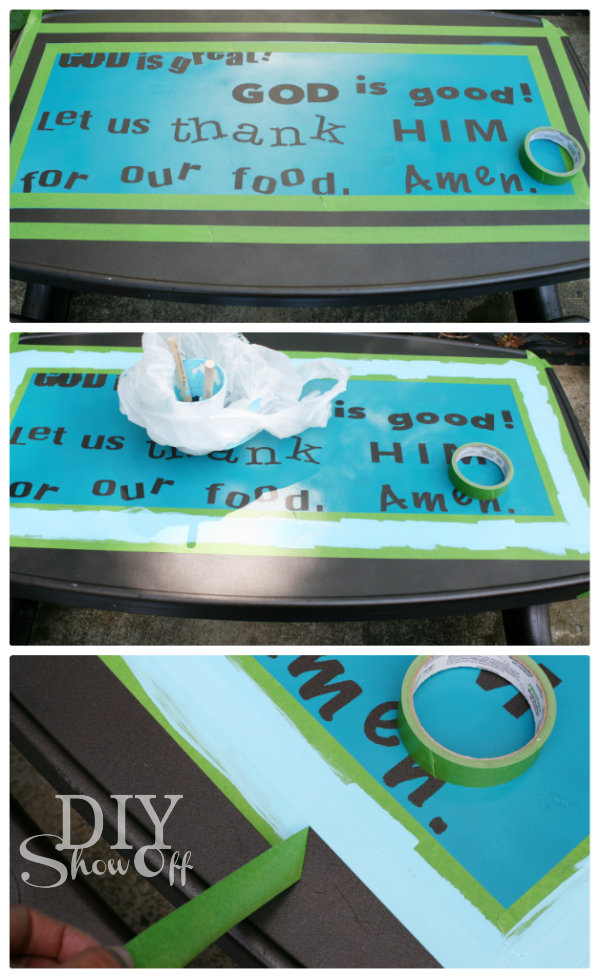
painting kids plastic picnic table

I had to touch up the paint here and there. Then sealed it with a spray clear coat (satin finish) and let that dry.
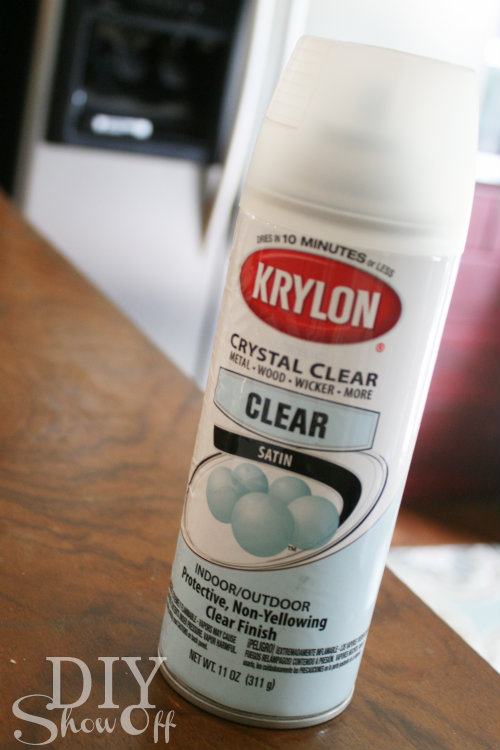
clear coat

Much better! And a sweet little reminder for the little ones to pray before digging in. 
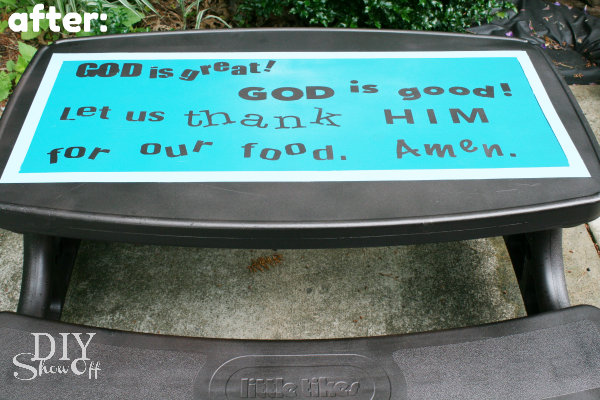
childs picnic table makeover after


We tested it out over the fourth of July. Now it fits in with our patio…
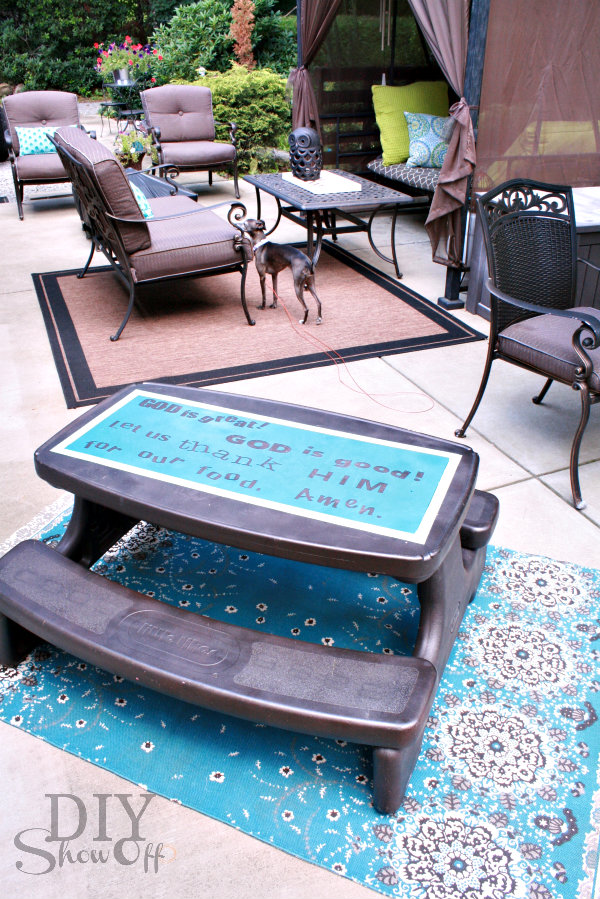
plastic picnic table makeover

*This sponsored by FrogTape. FrogTape provided by Shurtech. The opinions are completely my own based on my own experience.

 FrogTape Blog Squad

 *Vinyl provided by Happy Crafters.

HClogopngsmall