DIY chevron painted wood table runner

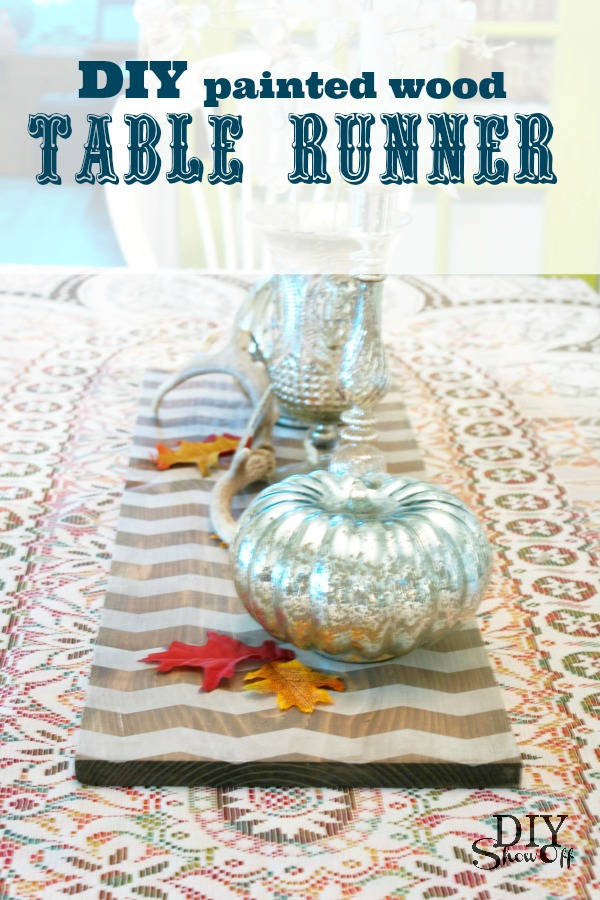
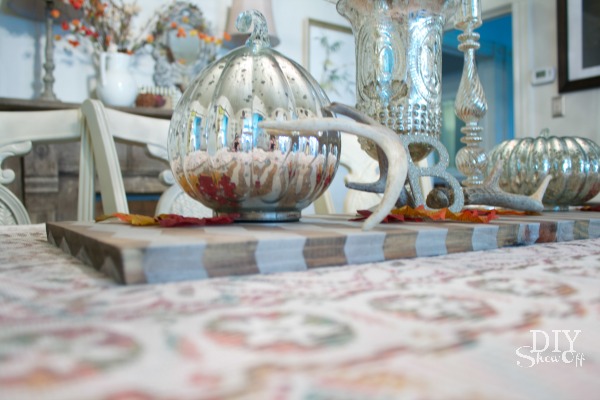
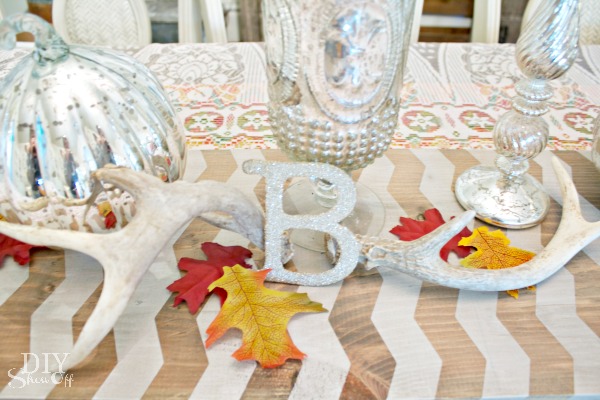
To keep my fall centerpiece anchored, I created a chevron centerpiece base using FrogTape® Shape Tape and scrap wood.

DIY painted wood table runner

Materials:

  • FrogTape® Chevron Shape Tape
  • scrap wood (mine is left over from a shelving project and measures approx. 12 x 35 x 1 in.)
  • white paint (I used left over Glidden toasted white)
  • Martha Stewart stain

Tools:

  • foam roller
  • rags
  • small paint brush

DIY Chevron Centerpiece Base Tutorial:

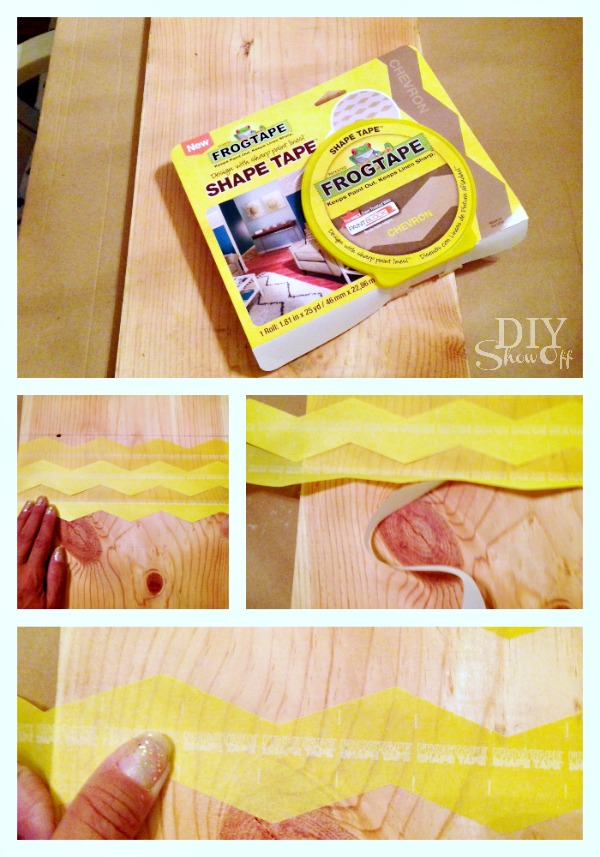
1. Place Shape Tape onto board. I started at an area near the middle (to be able to paint over a pen line on my scrap wood) and worked my way out. I used an extra piece of Shape Tape to measure the distance between sticky pieces of chevron tape. 

FrogTape chevron Shape Tape tutorial

2. Peel off half of the backing, place Shape Tape. Press down. Remove the other half of the paper backing and smooth into place. 

3. Go over each border of the Shape Tape with thumbnail.

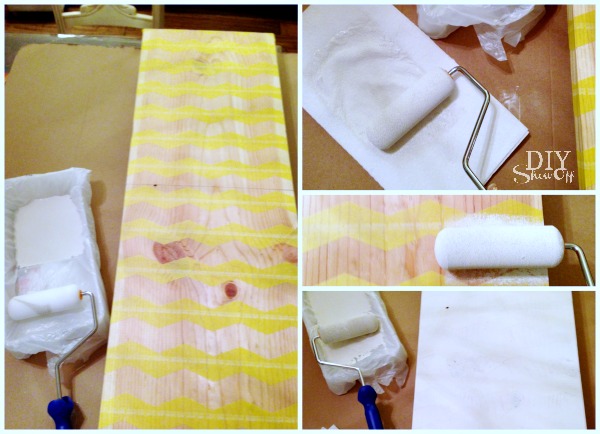
4. Dip foam roller into paint, coat the entire roller by rolling on a paper towel then paint over the bare chevron spaces in the direction of the wood grain. I wanted a worn/distressed look so I only did one coat. 

painting chevron pattern

DIY chevron centerpiece base tutorial

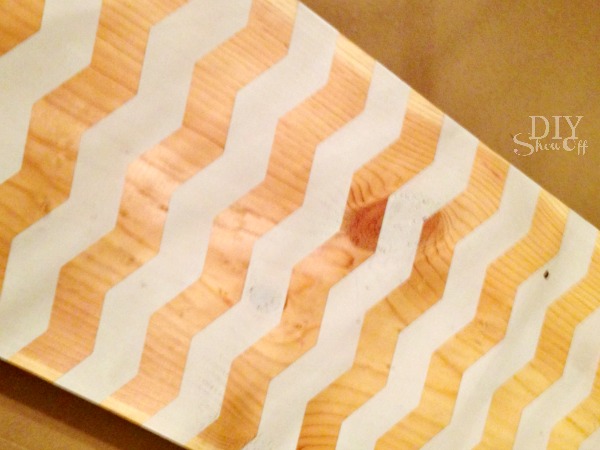
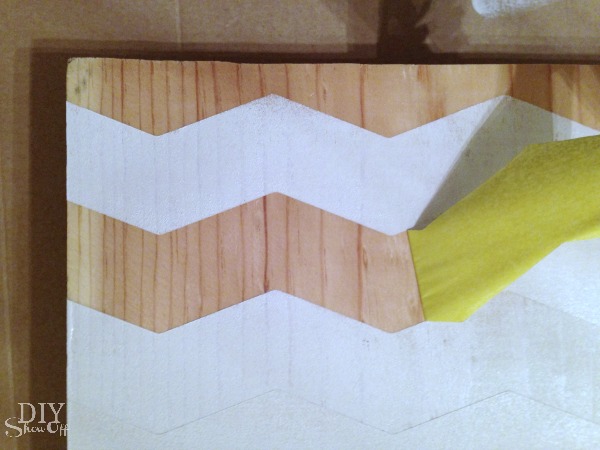
5. While paint was still wet, I carefully removed the Shape Tape then let the paint dry. 

chevron centerpiece tutorial

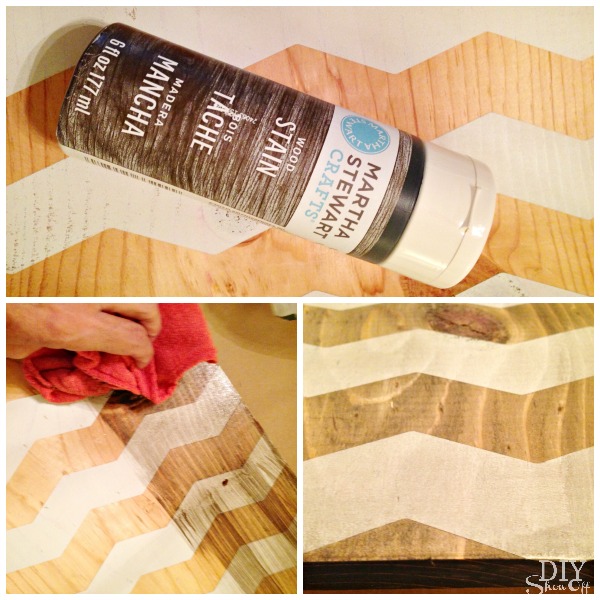
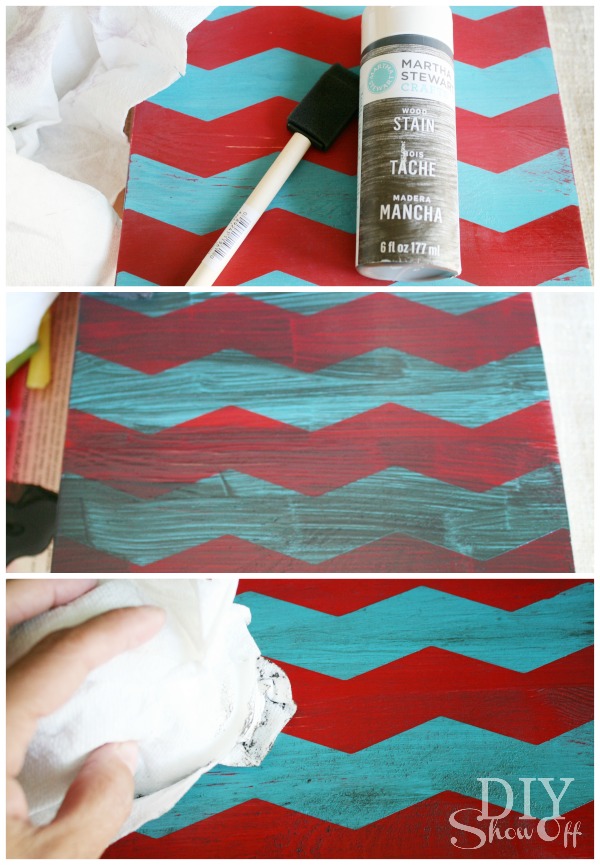
6. Next I brushed on Martha Stewart stain and wiped it off. 

DIY chevron centerpiece base tutorial

7. Let dry. I didn’t, but you may also want to seal your project with a clear coat. 

DIY chevron centerpiece base tutorial

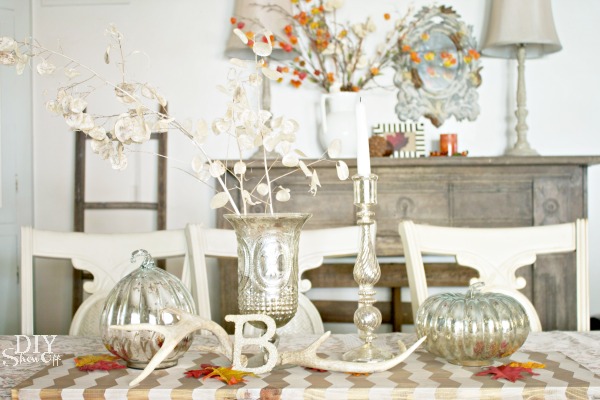
Now my fall centerpiece is all grouped together and doesn’t feel so lost. 

wooden chevron table runner


DIY painted wood table runner

DIY painted wood table runner

I love how this turned out. Great for any decorating, any vignette, may be repurposed as a shelf, tray (great for sitting on an upholstered ottoman), or DIY sign in the future. 😉 

Linking up to Prodigal Pieces and Centsational Girl.

FrogTape Blog Squad

*This is sponsored by FrogTape®. FrogTape provided by Shurtech. As always, the opinions are completely my own based on my own experience. 

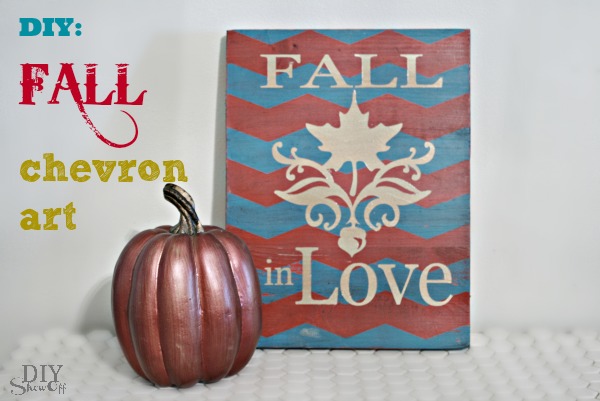
Fall Chevron DIY

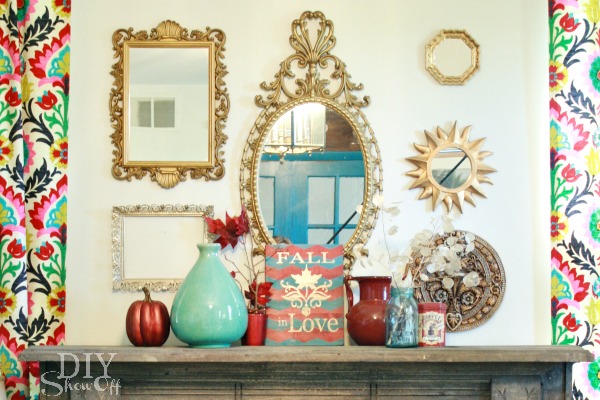
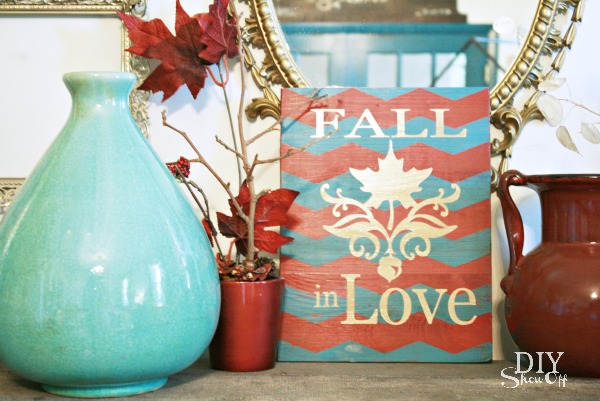
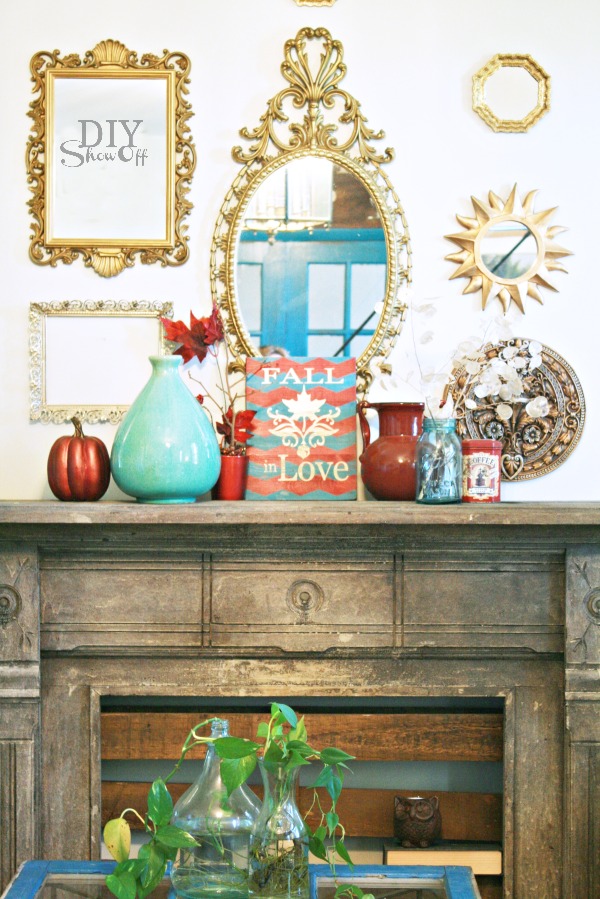
Earlier this week, I shared my fall home tour. Did you happen to see the DIY chevron “Fall in Love” plaque on the mantel in my family room?

colorful fall mantel

Tutorial:

DIY Fall chevron Art

Materials:

  • Scrap wood
  • FrogTape® Chevron Shape Tape
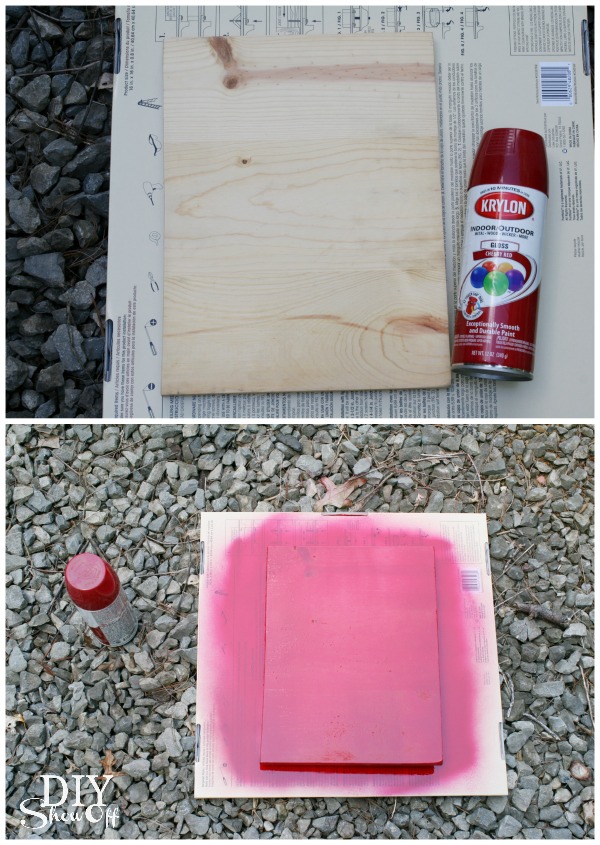
  • Paint (I used glossy Krylon cherry red spray paint, turquoise DecoArt Americana Desert Turquoise acrylic craft paint and a gold spray paint)
  • Fall stencil (I created/cut a fall vinyl stencil using my Silhouette. Leaf damask design from Silhouette America online store.)
  • Martha Stewart Crafts Wood Stain 

Here’s what I did:

1. I sanded the edges of my scrap wood (left over from a shelf DIY).

2. I spray painted my wood plaque red and let dry for about an hour. 

DIY Fall Art

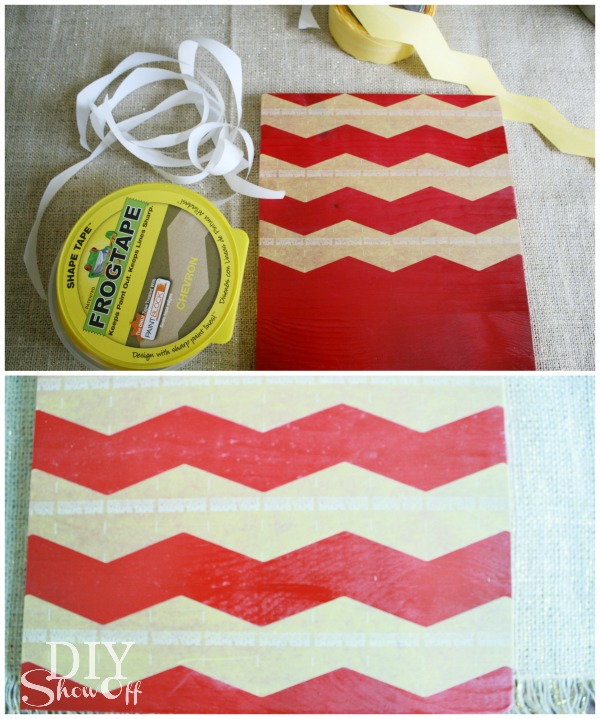
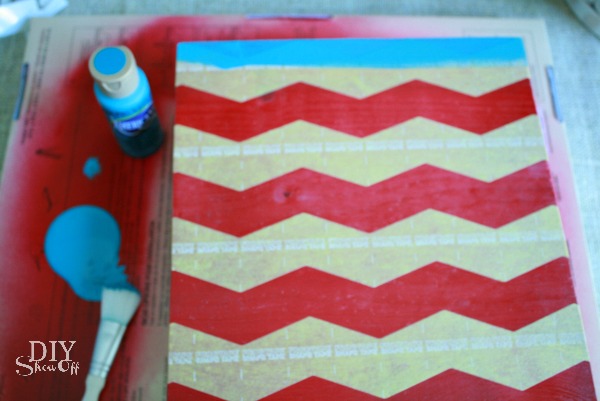
3. Starting at the top of my plaque, I applied the FrogTape® Chevron Shape Tape. Cut to size, remove half of the wax paper backing, place Shape Tape, remove other half of the wax paper backing and smooth into place. 

DIY Fall Art

4. and just kept adding rows by placing the zig zag design exactly as my first piece and just eye-balling the distance. To get a chevron pattern, line up the zig zag.

5. Using my thumbnail, I made sure the edges of the Shape Tape were secure. 

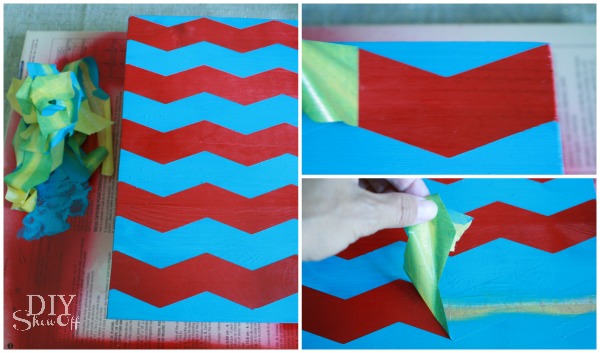
6. Then painted my chevron using turquoise craft paint. I did three coats to completely cover the red paint underneath. 

DIY Fall Art

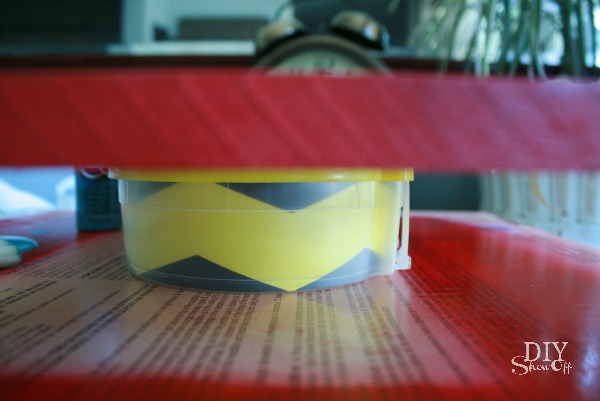
Tip: Elevate the wood using the tape container to paint sides.

DIY Fall Art

7. I peeled away the Shape Tape after the third coat of craft paint while the paint was still wet and let it dry. 

DIY Fall Art

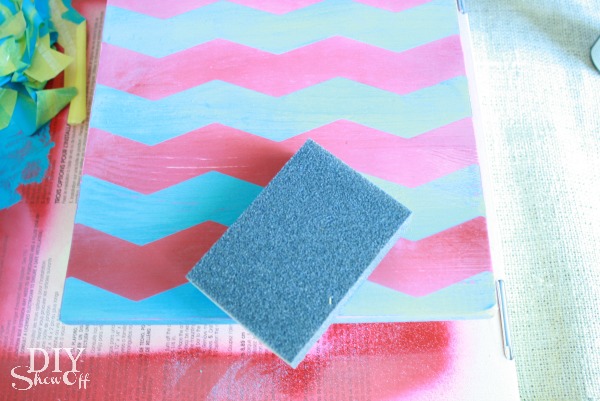
8. Once dry, I sanded the the entire plaque for a bit of distressing.

DIY Fall chevron Art

9. Then brushed on the wood stain, let it sit for a few minutes then wiped it off for an aged look.

DIY Fall chevron Art

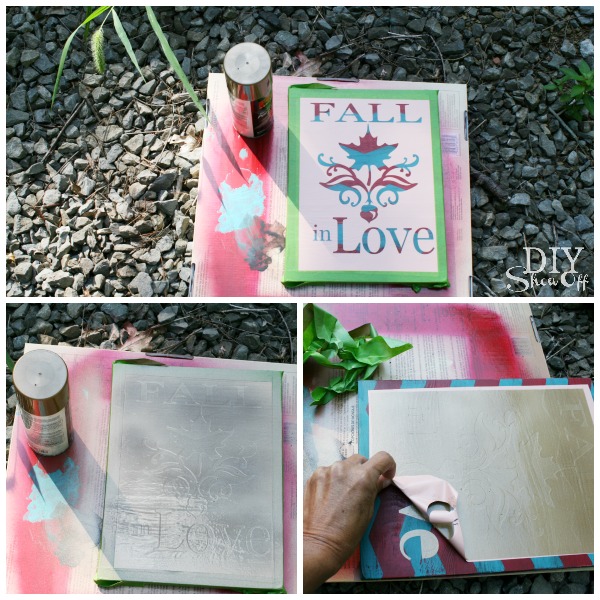
10. Once everything was dry, I applied my vinyl stencil and taped the edges of my wood plaque with FrogTape® Multi-surface.

11. Then spray painted the design using gold spray paint. 

12. Remove tape and vinyl stencil.

DIY Fall chevron Art

It perfectly coordinates with my red/aqua fall mantel display…

DIY Fall chevron Art

red gold turquoise fall mantel 

Sharing at the Fall Mantel PartyFall Nesting Party and Home Stories A to Z

FrogTape Blog Squad*This is sponsored by FrogTape®. FrogTape provided by Shurtech. The opinions are completely my own based on my own experience. 

Decorating a Lamp Shade with Vinyl

Lamp Makeover

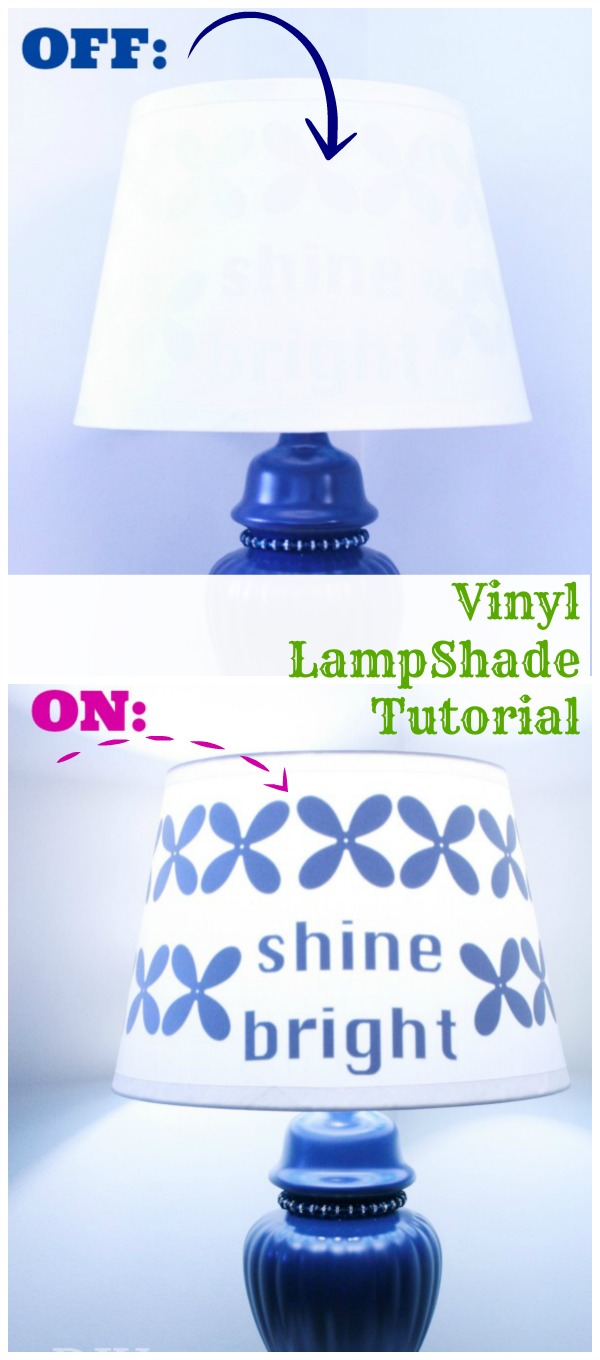
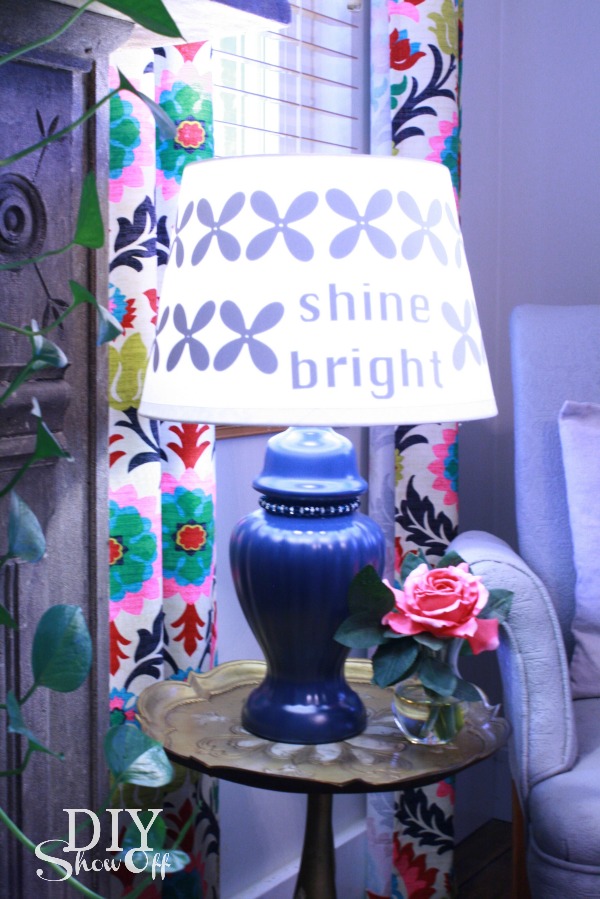
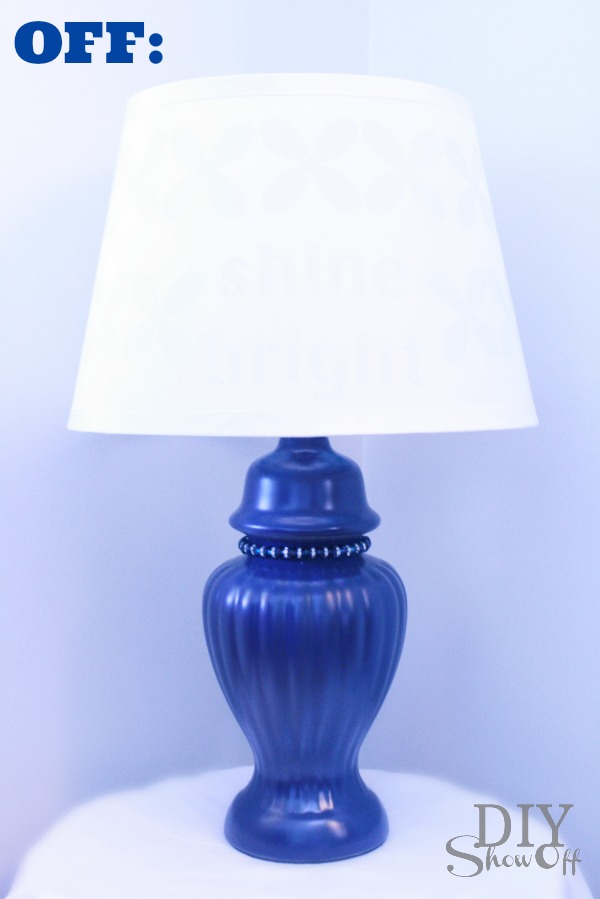
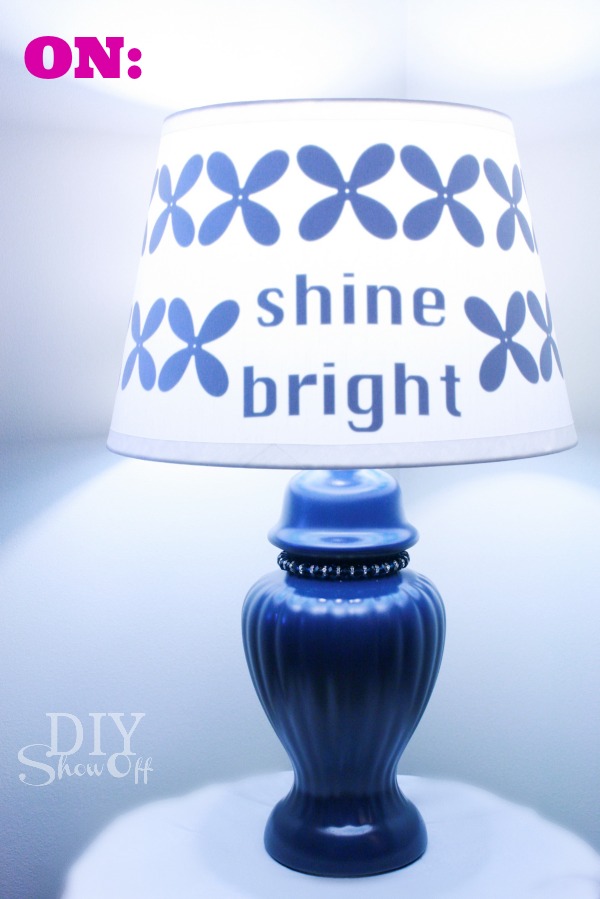
Plain white lamp shades are the perfect clean slate for adding a little DIY color and pattern to a room. I used vinyl on the inside of my shade to make it a little more special. When the lamp is turned off, the design is subtle, almost invisible but when the lamp is turned on, there’s a sweet little reminder to “shine bright”.

vinyl lampshade tutorial

Materials I used:

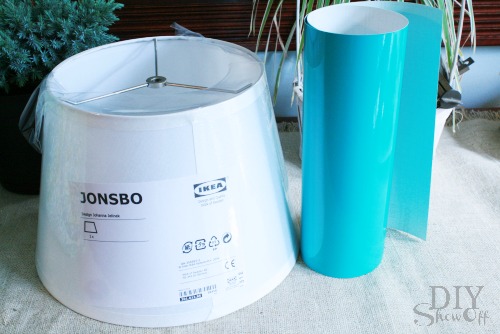
lamp shade and vinyl

  • old lamp
  • FrogTape® Multi-surface
  • spray paint (Valspar Indigo)
  • Ikea Jonsbo lamp shade
  • Glossy adhesive vinyl (turquoise) from Happy Crafters
  • optional: elastic gemstone bracelet

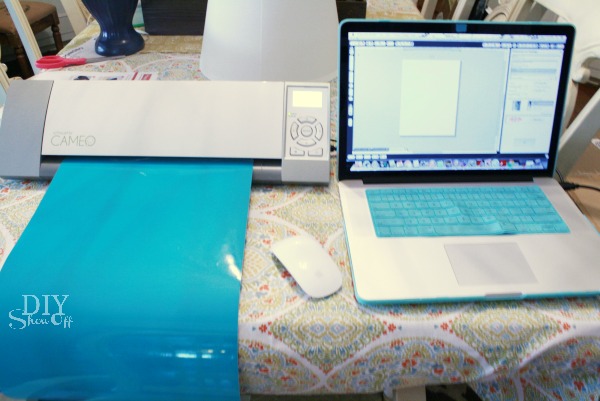
Tools: Silhouette Cameo

How I did it:

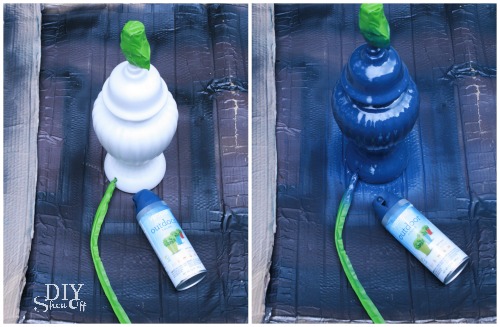
After taping off the light socket and cord using FrogTape®, I spray painted my old lamp a pretty navy and let it dry. Then simply removed the FrogTape to reveal a nice clean cord and nice clean switch and socket. 

spray painting lamp

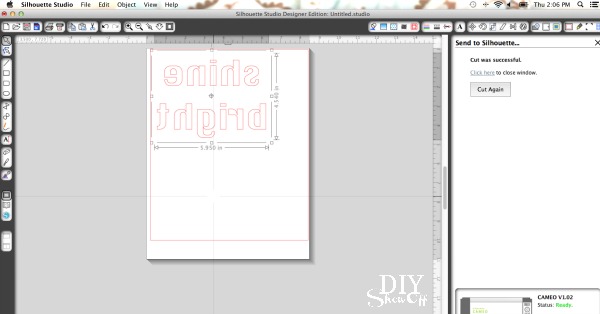
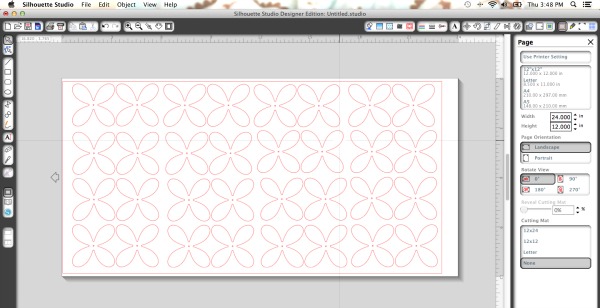
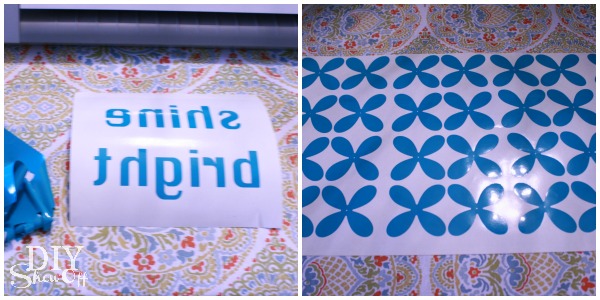
For the vinyl wording: I created my lettering in the Silhouette Design Studio. Be sure to right click the text when finished and “flip horizontally” so it shows backwards. IMPORTANT: MIRROR IMAGE the TEXT!

mirror image text

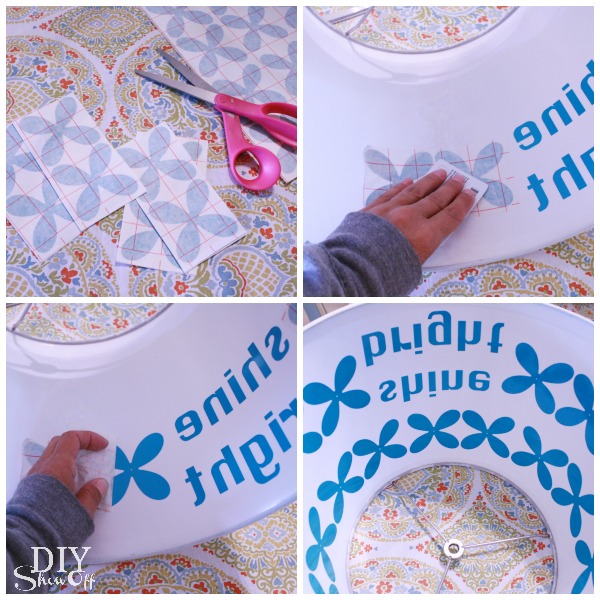
I also used a flower garland shape for my design in addition to “shine bright”. 

vinyl flower design

I sent both to my Silhouette Cameo to “cut” once I adjusted my settings for vinyl. If you don’t have a vinyl cutter, you could also use vinyl decals if the design looks the same backwards (remember: text must be flipped horizontal/mirror image for this project).

Silhouette Cameo tutorial

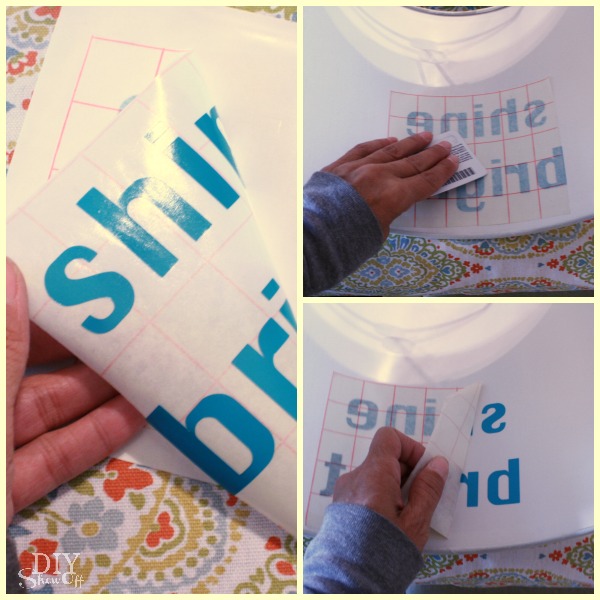
I then removed all of the unnecessary vinyl from my designs by weeding away the vinyl that isn’t a part of the design…

vinyl lettering and design

and added the transfer paper. 

Happy Crafters vinyl

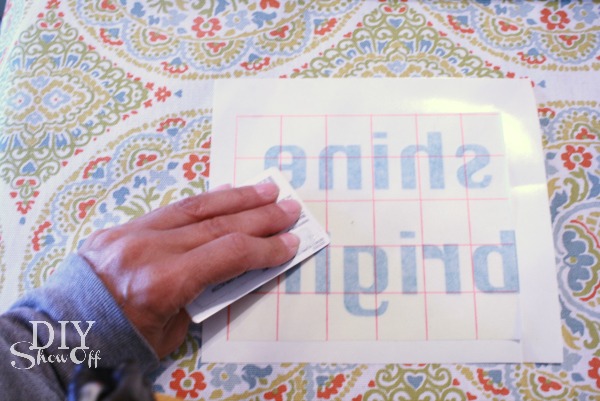
I removed the waxpaper backing and placed my designs on the inside of the lamp shade. I used a credit card to rub down the design for transferring. Then I removed the transfer paper. 

applying vinyl to lampshade

Note: I found cutting and adding my flower design in sections of two to be the best way with the rounded/tapered lamp shade. Keep vinyl pieces individual/smaller sized to go around the curved lampshade to prevent wrinkling when applying. 

applying vinyl to plastic lamp shade

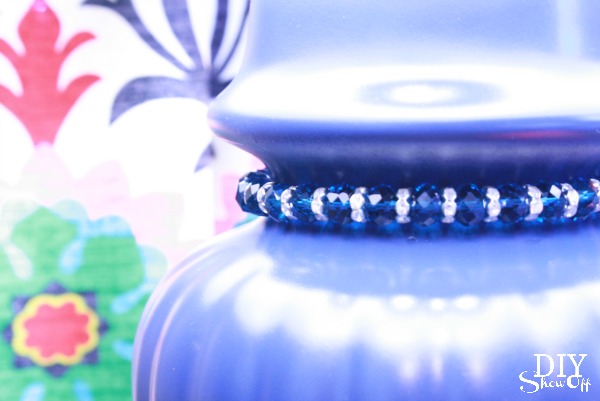
I added the turquoise bracelet for a little additional bling. 

accessorizing lamp

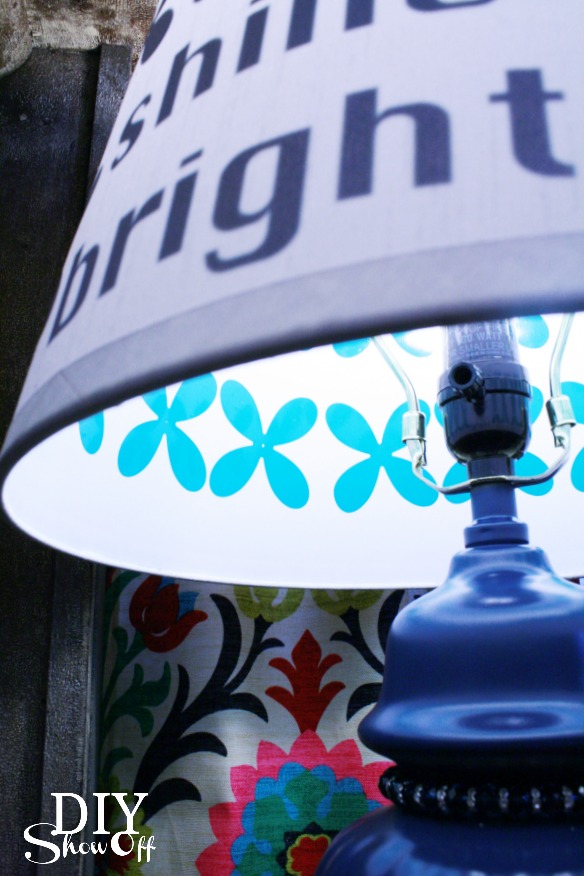
Here’s a shot of the inside and outside. I do love how the turquoise vinyl lettering on the inside shows navy-ish on the outside. I couldn’t have planned that better if I tried!

inside outside of lampshade

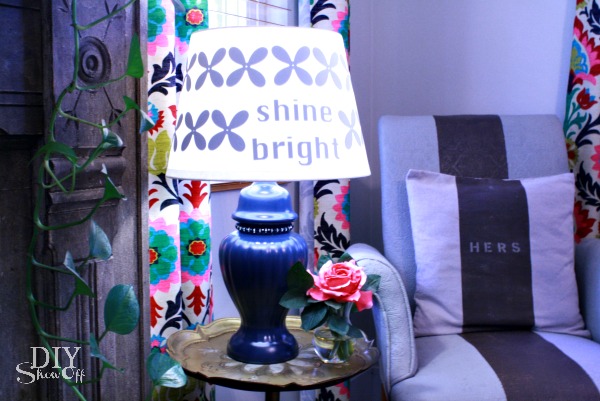
It’s perfect on a side table in our family room for a little extra reading light…

lamp makeover

lamp makeover

Lamp off… 

lamp makeover

 Lamp on…

lampshade makeover


NEAT! Love it! I also thought “Note to self: Relax.”, a monogram or a damask pattern would have been pretty. What would your lamp shade say?

FrogTape Blog Squad*This is sponsored by FrogTape®. FrogTape provided by Shurtech. The opinions are completely my own based on my own experience. 

Happy Crafters supplied the vinyl for this sponsored blog post.
 HClogopngsmall