DIY Hanging Organizer (for peg hooks)

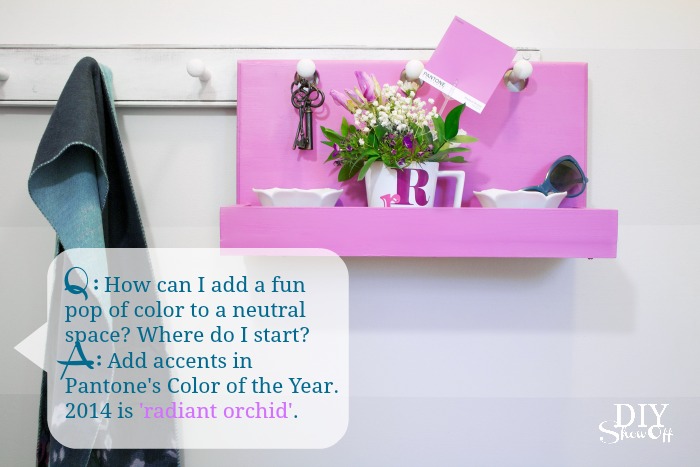
How do you add a fun pop of color to an otherwise neutral room? Try Pantone’s Color of the Year for something you may not normally choose. The Lowe’s Creative Idea March challenge was to use Valspar’s Radiant Orchid. Just a small touch adds elegance to my white and gray space. 

Pantone Color of the Year Radiant Orchid

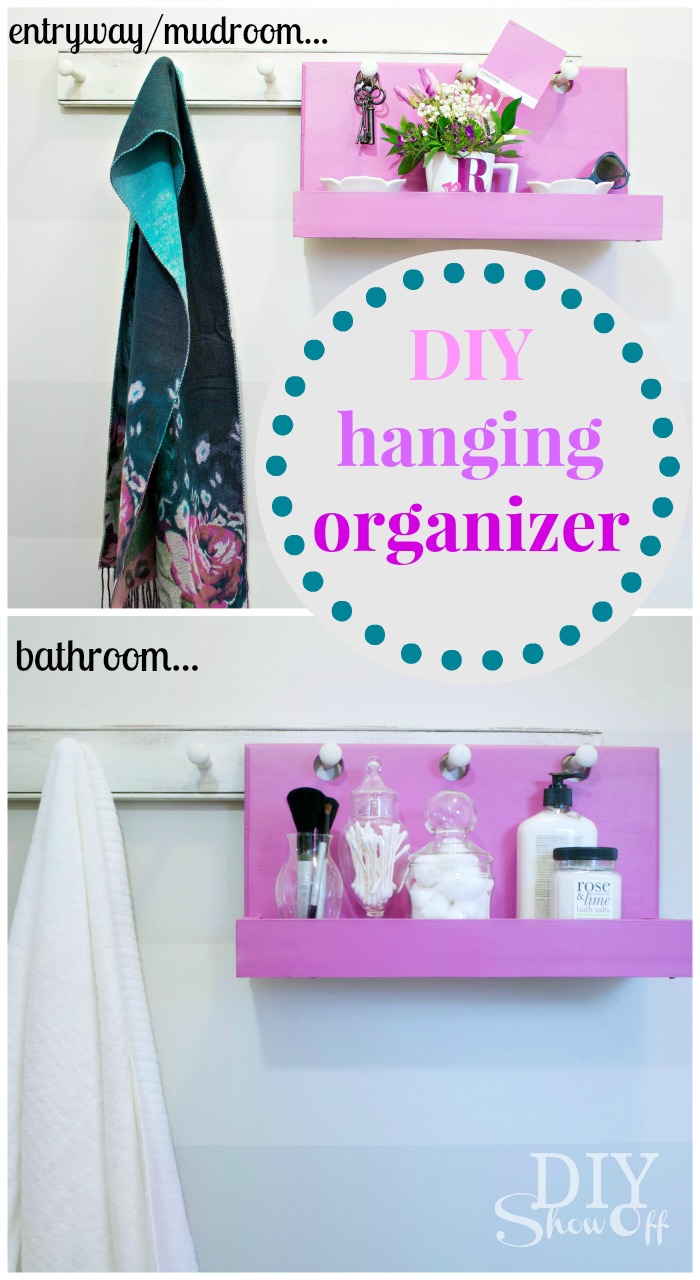
Inspired by PB’s Gabrielle system, I created a wooden peg hook organizing caddy from scrap wood. 

DIY Hanging Organizer Tutorial

Materials I used: Most of my wood was purchased at Lowe’s and is left over from previous projects with the exception of the .50 yard sale find piece shown below. Adjust measurements according to your own needs or scrap wood measurements. Inexpensive pine works well for this project.

  • 1″ x 10″ x 18 1/2″ (back)
  • 1″ x 6″ x 18 1/2″ (bottom)
  • 1″ x 2″ x 4″ (sides)
  • 1″ x 2″ x 18 1/2″ (front)
  • 1″ deep (or however thick your peg hook rack is)  x 1″ tall  x 6″ wide (back stop piece)
  • Gorilla Wood Glue
  • 1 1/2″ wood screws
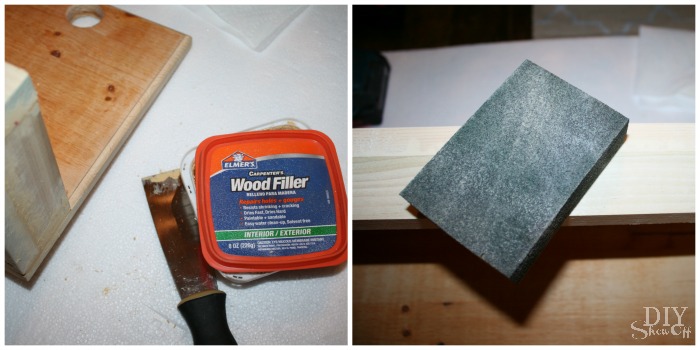
  • Wood filler
  • Valspar Radiant Orchid 

What I did:

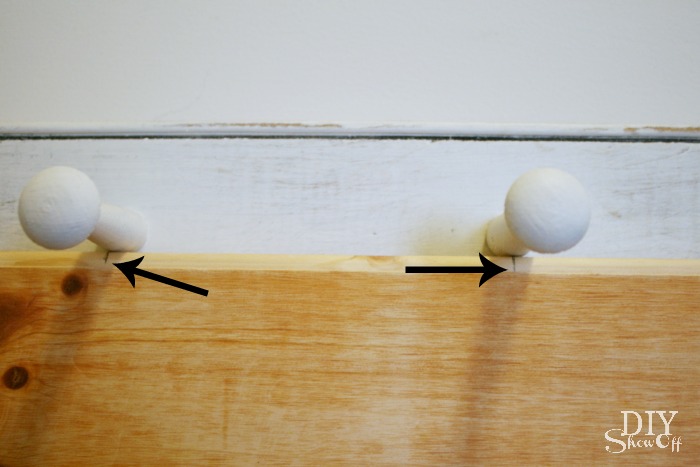
Mark the center top of the back piece of wood. Hold up to a peg on your coat rack, lining the center with the center of a peg. On the wood, mark the center of each peg placement.

DIY peg hook caddy tutorial

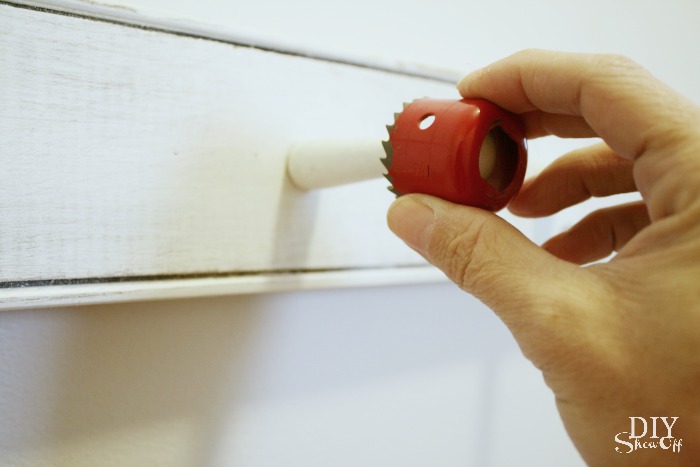
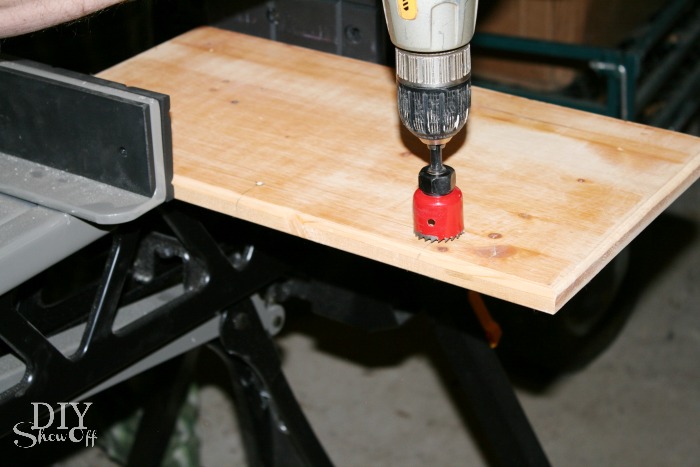
Decide which hole saw bit is just a little bigger than the pegs. 

DIY peg hook caddy tutorial

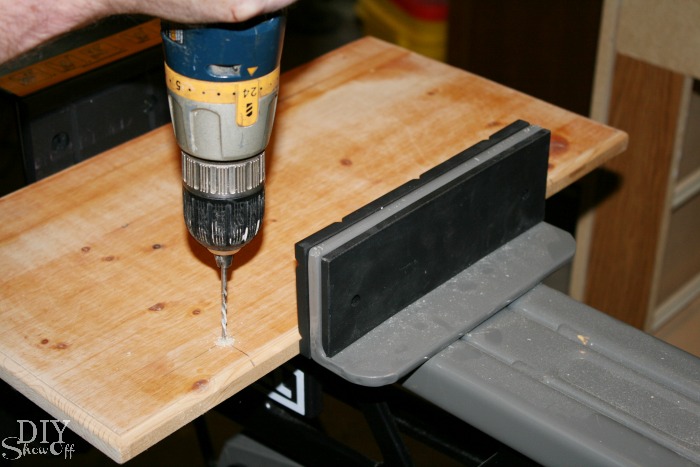
You’ll want your holes to be near the top end. I used a ruler to measure down about 2″ from the top and a level to make a cross mark to show the center of each hole. Drill tiny pilot holes where the pencil marks meet.

DIY peg hook caddy tutorial

Attach the hole saw bit to your drill and using the pilot hole as a guide for the center drill bit, drill/cut holes. I think our hole saw bit is a little dull so the back side of my wood is splintered. (Thankfully no one will see that side!)

DIY peg hook caddy tutorial

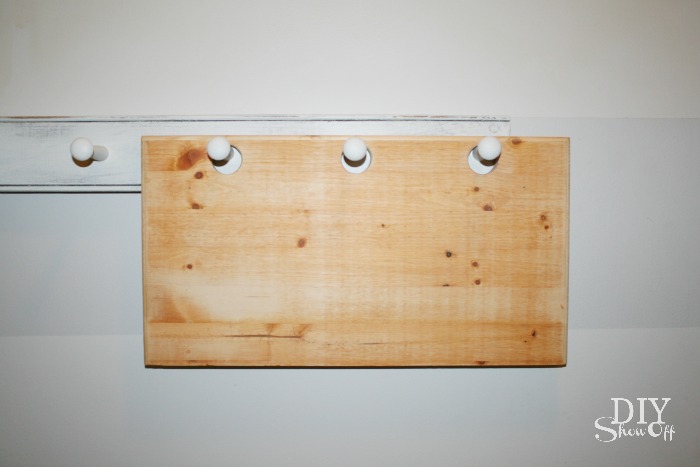
Sand and wipe clean all wood pieces. Hang on pegs to ensure holes line up.

DIY peg hook caddy tutorial

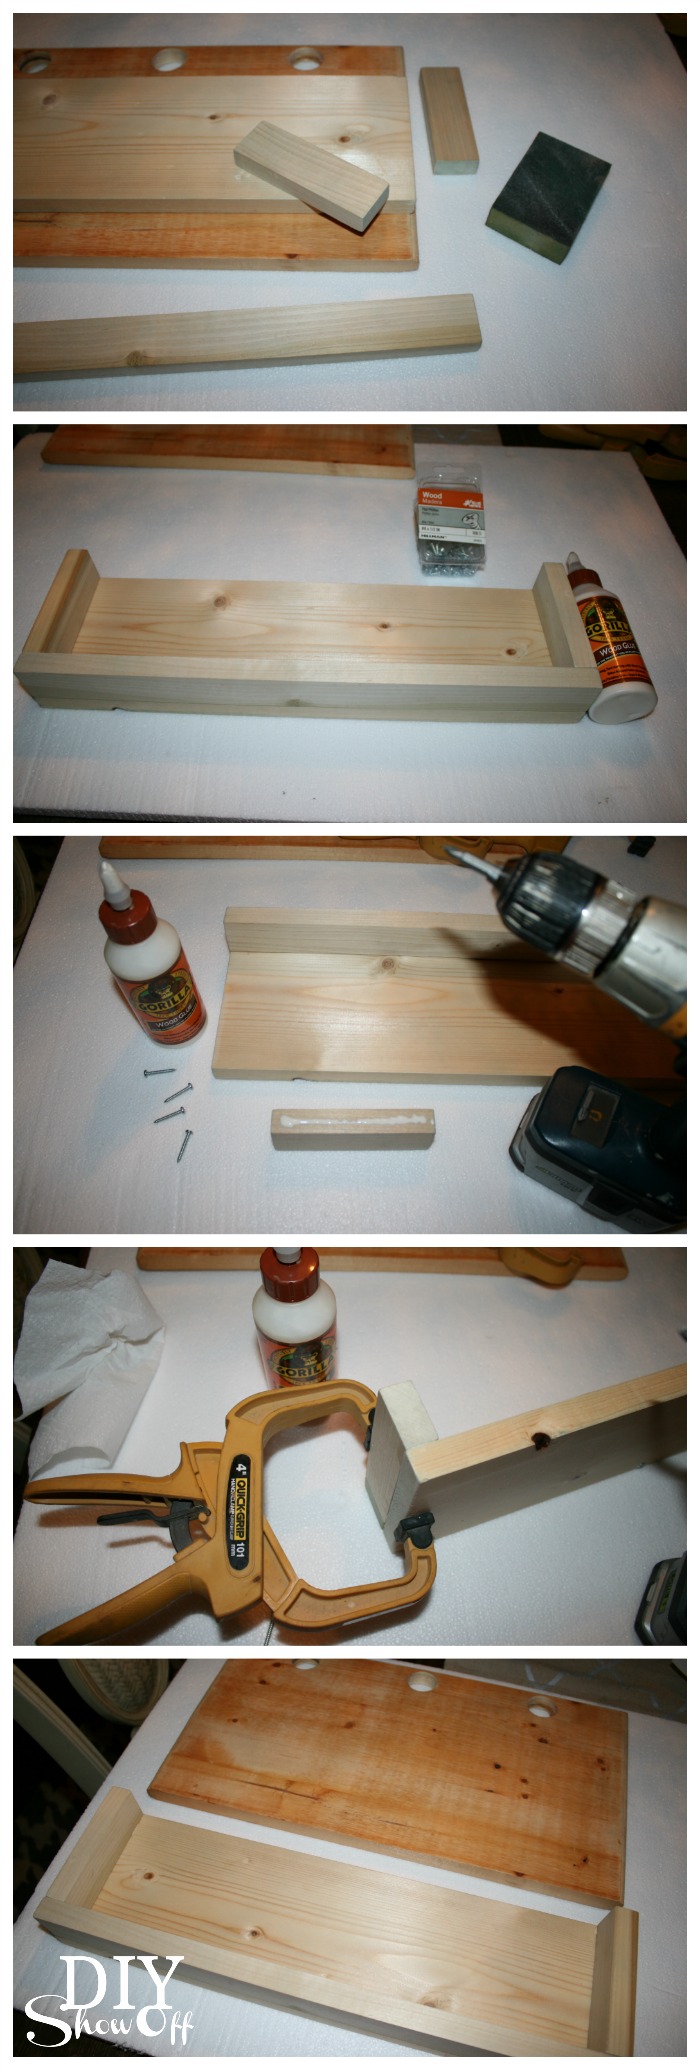
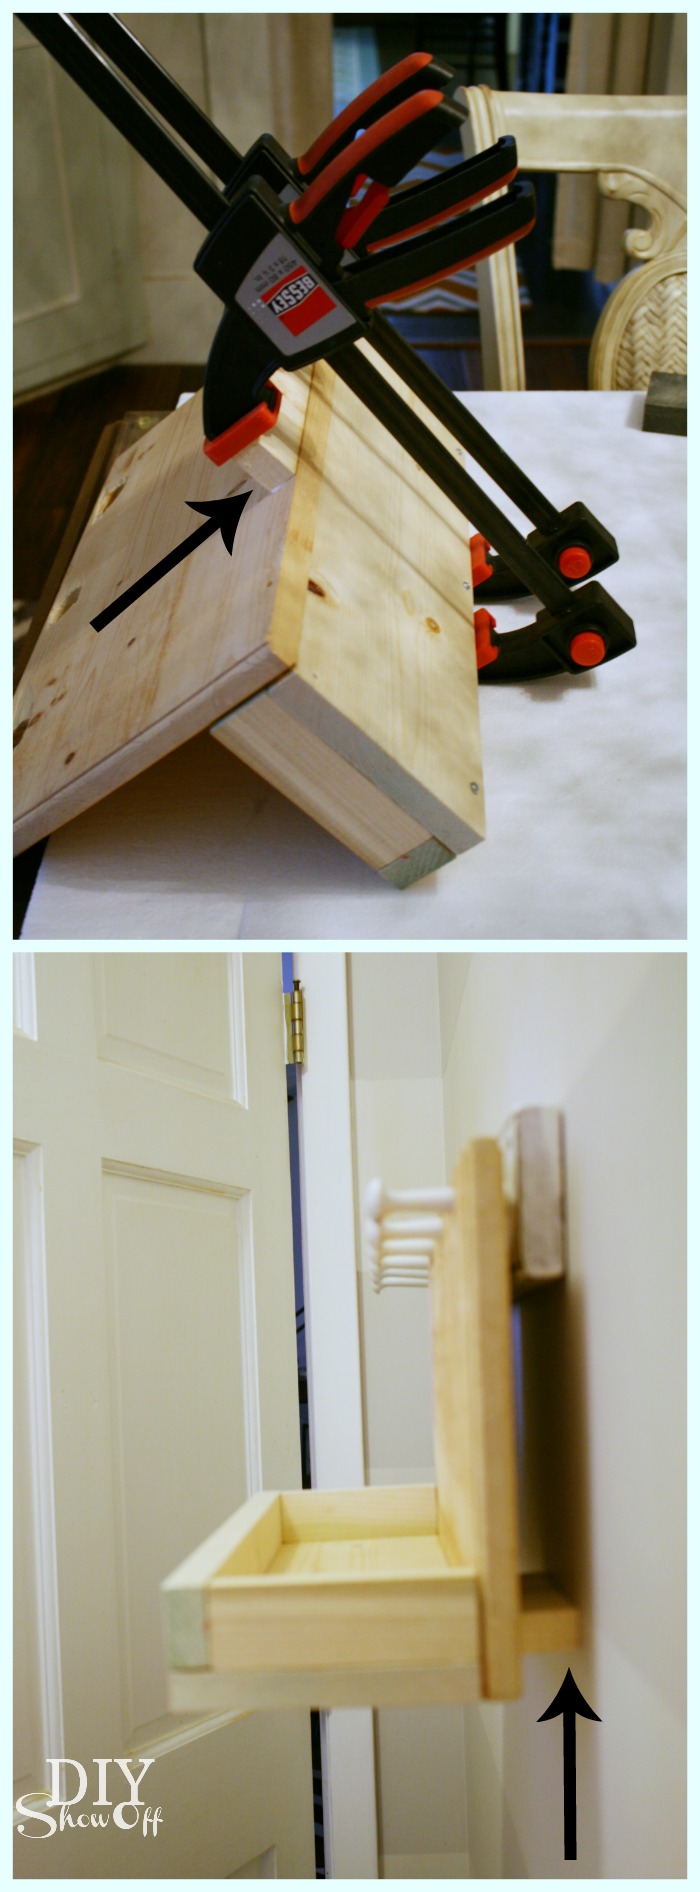
Using wood glue, wood screws and clamps, assemble your caddy and let dry. I attached my screws from the bottom and back so they weren’t seen but you could also countersink screws, fill and sand.

DIY peg hook caddy tutorial

I thought that was it for the construction until I tested it hanging on my peg hooks. Oops, front heavy. Using just wood glue and a clamp, I attached the back stop piece to the center bottom of the back. This ensures that the caddy will hang level.

DIY peg hook caddy tutorial

Using wood filler, fill all seams and cracks. Let dry, sand smooth and wipe clean. 

DIY peg hook caddy tutorial

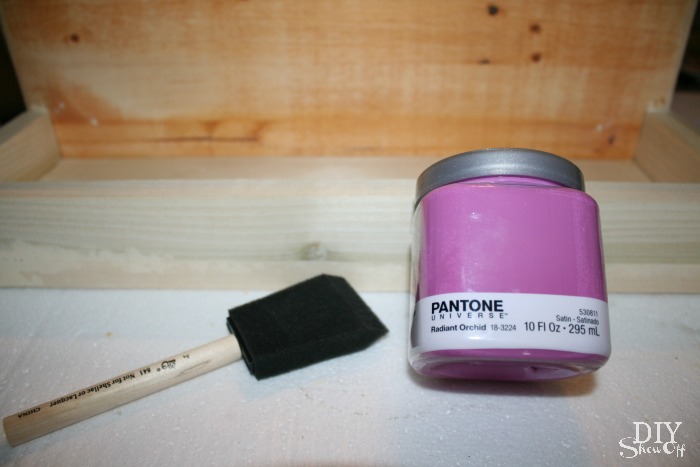
Paint the entire wood caddy. Mine took two coats. Radiant Orchid wouldn’t have been my first choice but it’s growing on me and it’s nice to do something bold and fun for a change. I love the Valspar sample size paint…more than enough and perfect for adding colorful accents. Down the road all it takes is a new coat of a different color to re-freshen things up. 

DIY peg hook caddy tutorial


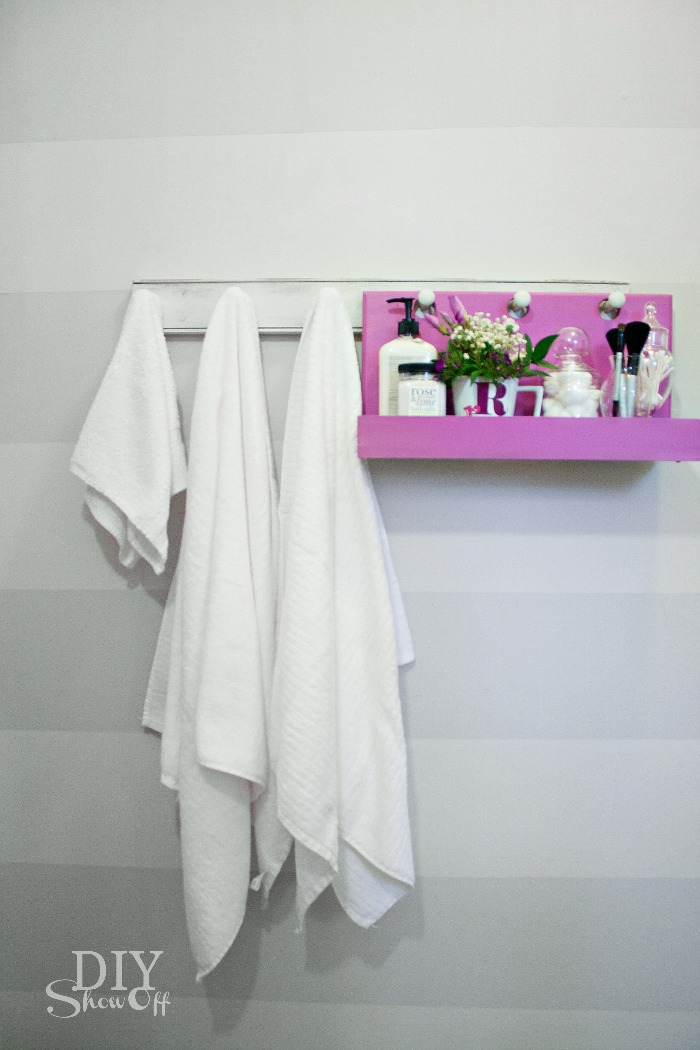
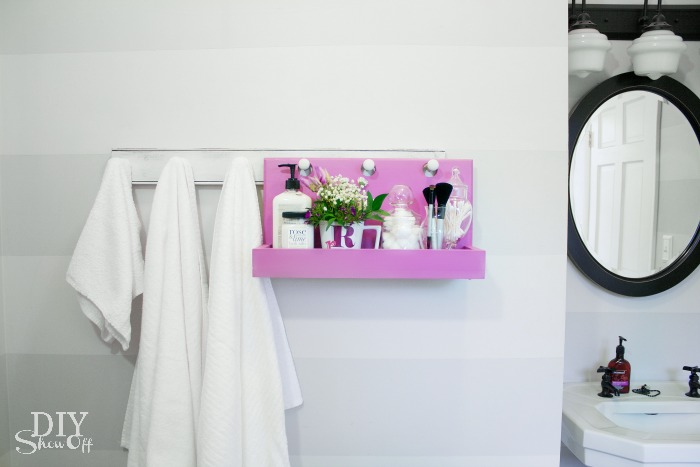
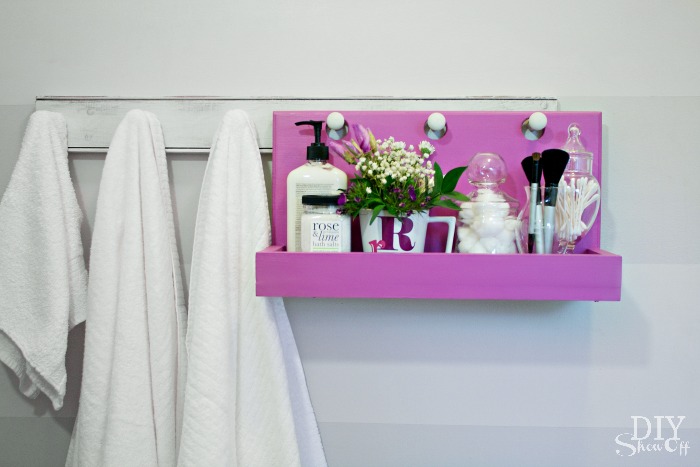
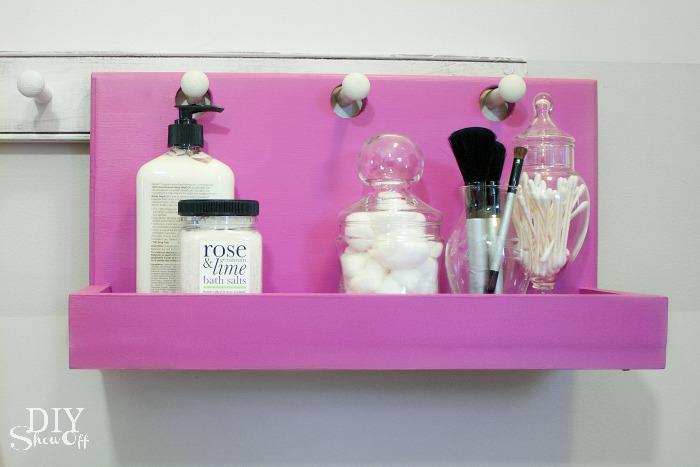
Now I have a shelf/tray for decorative items, toiletries in the bathroom

bathroom organization - DIY peg hook hanging shelf

DIY hanging peg hook organizer

hanging peg hook organizer

bathroom peg hook hanging organizer

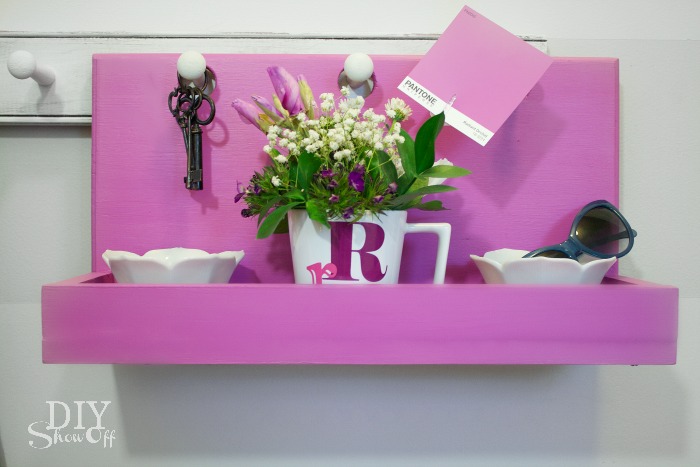
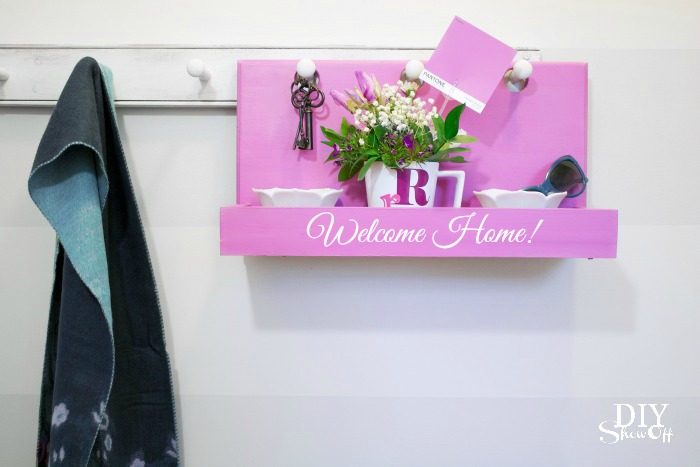
Great for keys, wallet, sunglasses, change, cell phone near the door in the mudroom or entryway. 

Peg Hook Hanging DIY Organizer

DIY peg hook mudroom entryway organizing hanging caddy

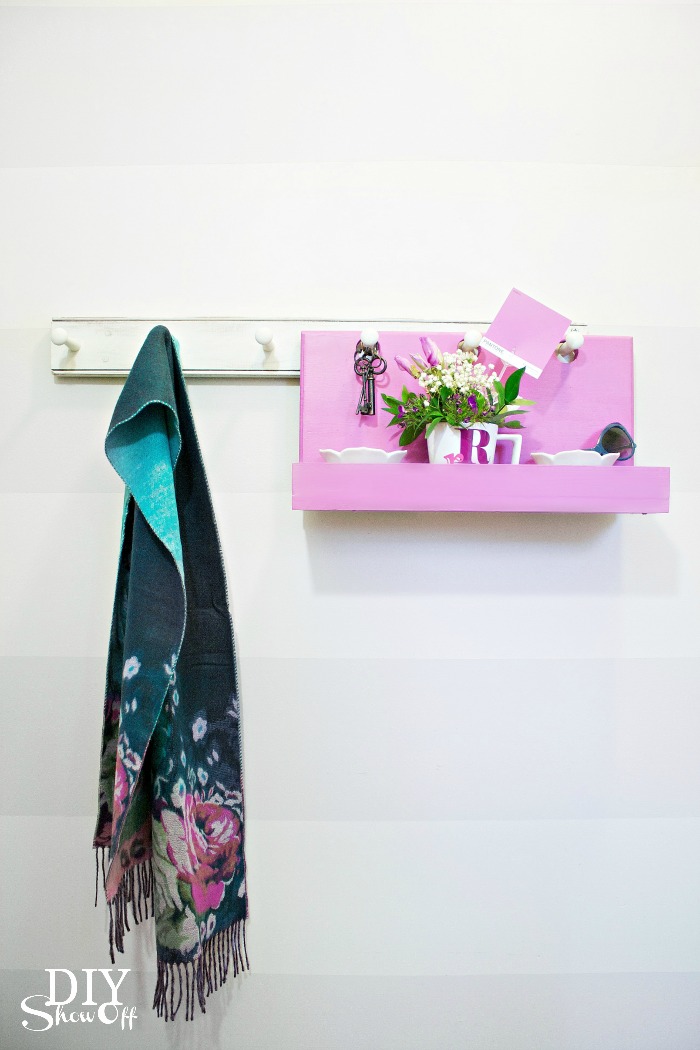
PB inspired peg hook shelf caddy organizer

My peg hook is located in my bathroom but I’d really love to have something like this near the door as well. How about you? 

More DIY ideas at Lowe’s Creative Ideas, follow Lowe’s on InstagramPinterest and sign up for the Creative Ideas magazine and app!    

LCI

*Disclaimer: As a member of the Lowe’s Creative Ideas Creators and Influencers network, I received a Lowe’s gift card to complete this challenge. As always, all ideas and opinions are in my own words. The blog post above is what worked for me. Results may vary. Remember to work in a well-ventilated area and to take the proper safety precautions.

Bathroom Makeover

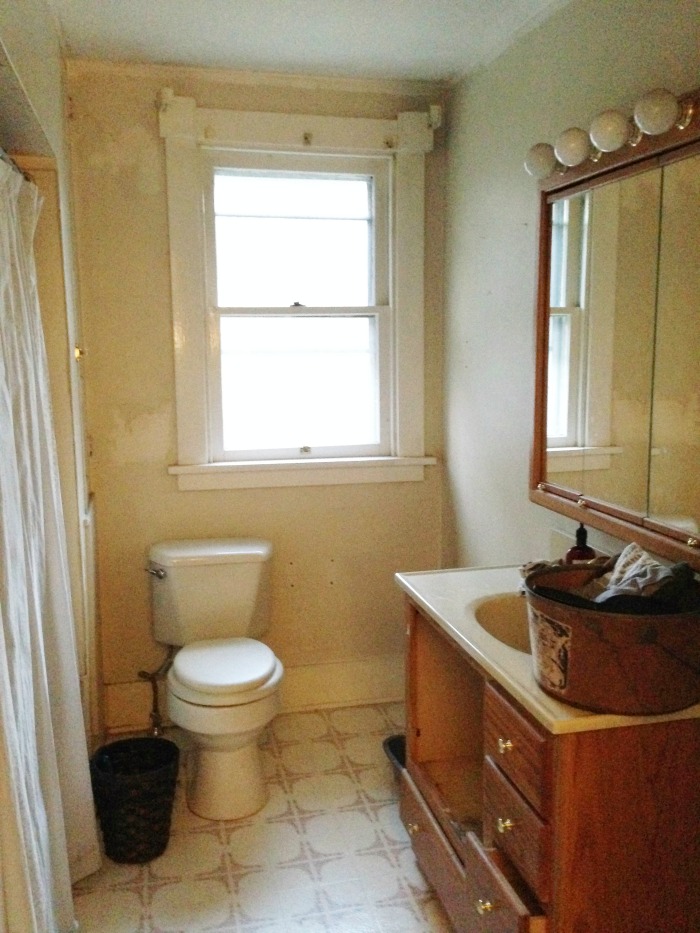
The other day I shared the before and after bathroom transformation. I’ve gone from sitting and staring all day long at our recently finished open pantry (makeover here) to wanting to sleep in my new peaceful bathroom. Since the bathroom had was a nightmare before, ANYTHING would look good after. This is what we got with this old farmhouse…

Before – yikes!bathroom makeover before

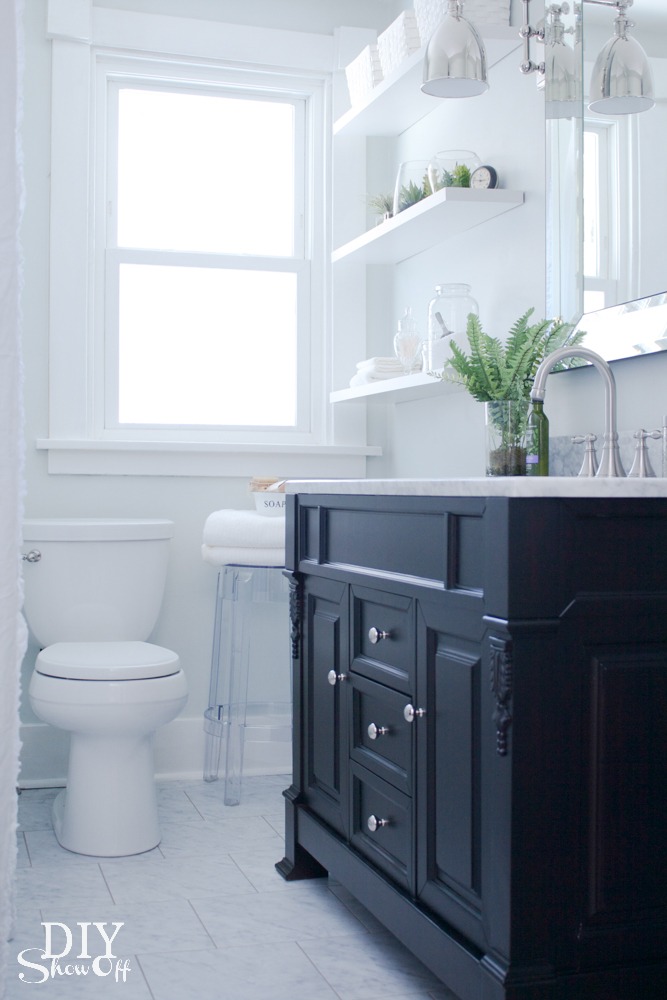
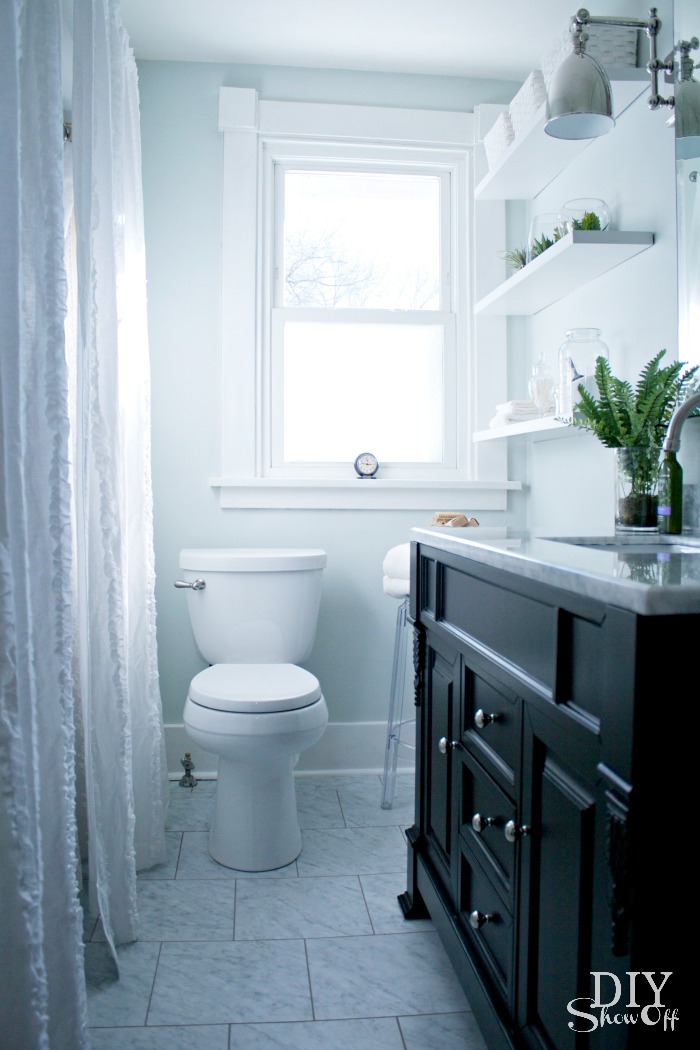
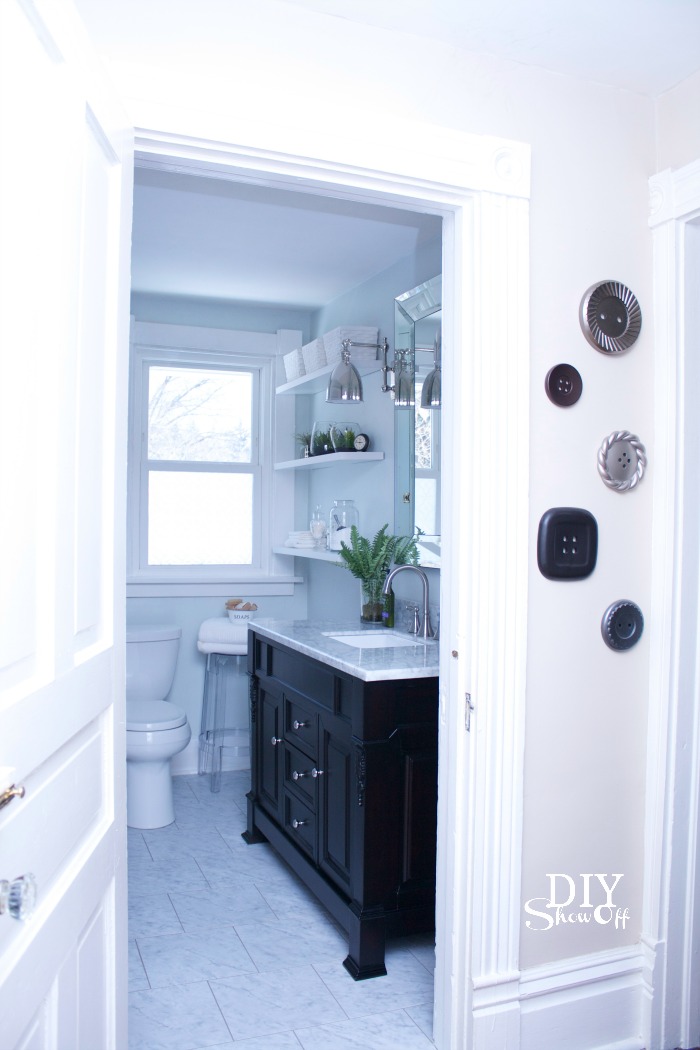
And this is the potential I saw. I’m in love with the soft peaceful ‘after’ results! Bathroom Makeover

Bathroom Makeover Details at DIYShowOff

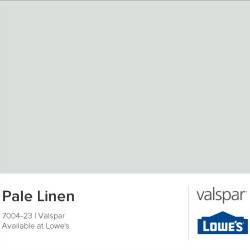
Paint: Those walls! Believe me, I did a good scrubbing but is there any better way to really clean up walls than applying a fresh coat of paint? Love this color! Valspar Pale Linen: Depending on light, sometimes it has a soothing blue tint, sometimes more of a gray/white tone but definitely a tranquil light blue color.

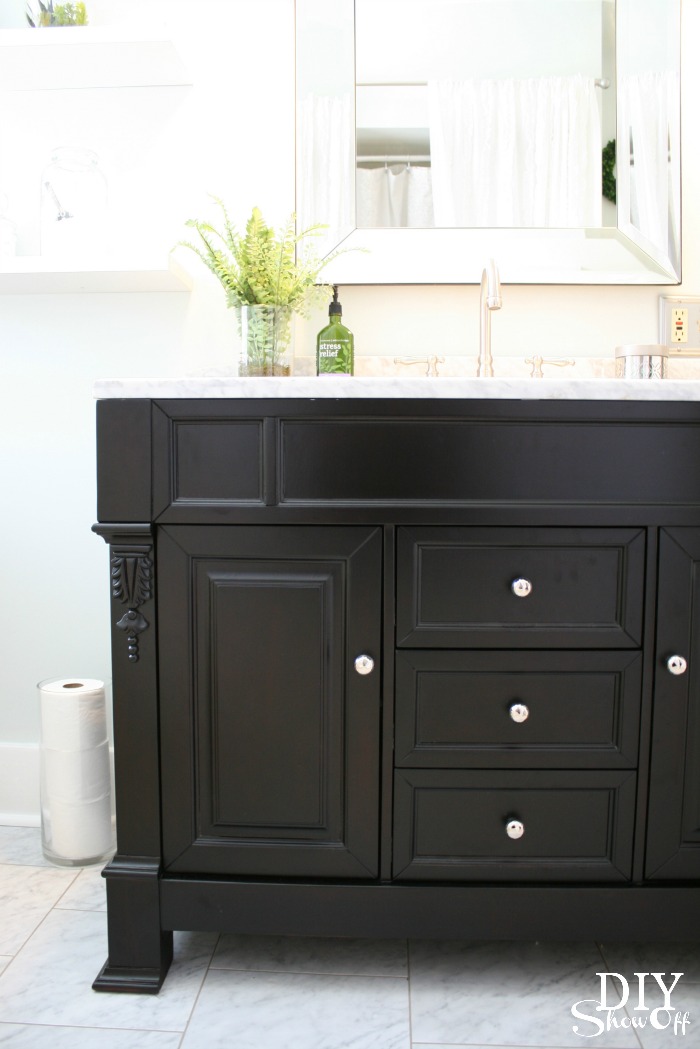
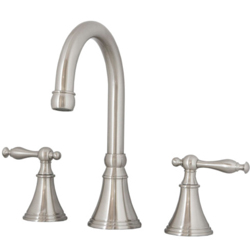
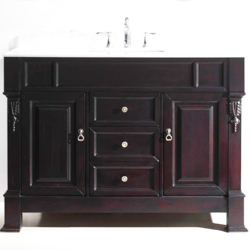
Vanity: The gorgeous Huntshire vanity with marble countertop and Talia faucet set from Virtu USA is the luxurious center of attention! Check out the beautiful detail and gorgeous espresso color.

Virtu USA Huntshire vanity

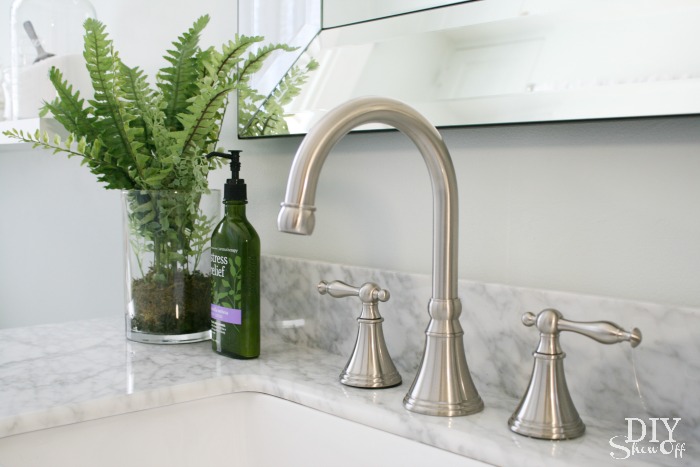
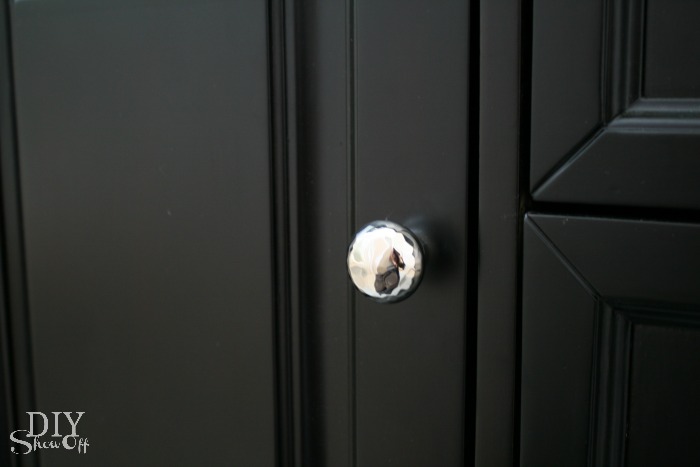
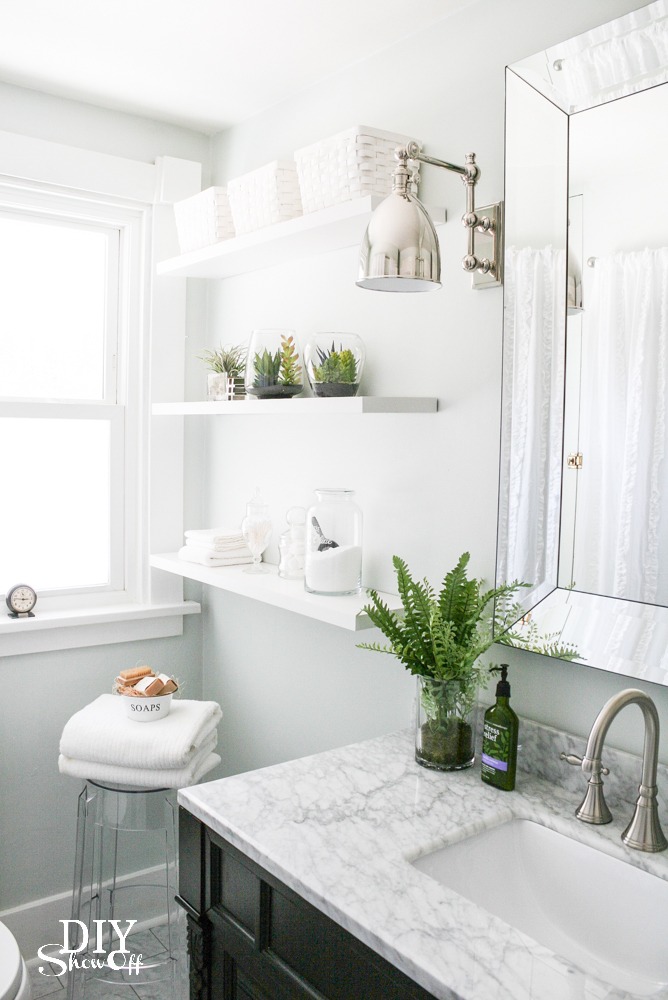
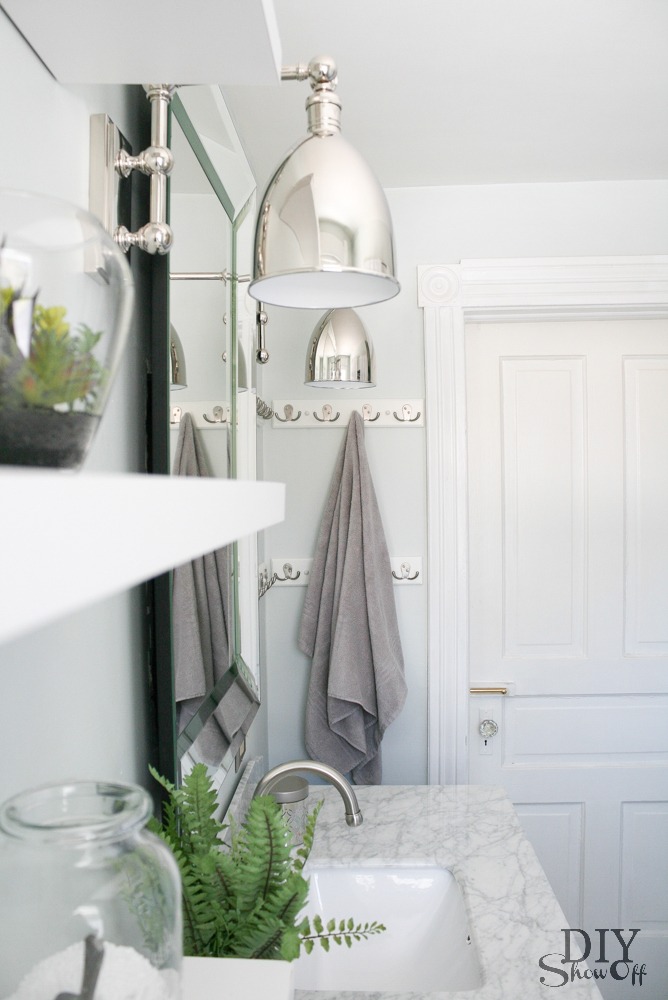
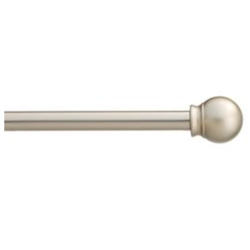
Metallics: Mixing the silver finishes like the brushed nickel faucets, polished nickel sconces, polished nickel vanity knobs, satin nickel curtain rod add just the right amount of bling!

Virtu USA Talia faucet - DIYShowOff bathroom makeover

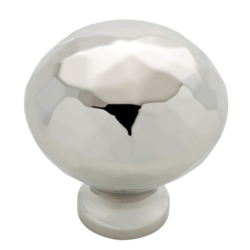
The vanity comes with beautiful antique gold hardware which I’ll re-use on another piece of furniture since I swapped them out for these beautiful polished nickel knobs.

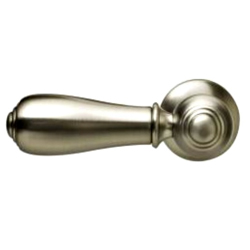
polished nickel knobs

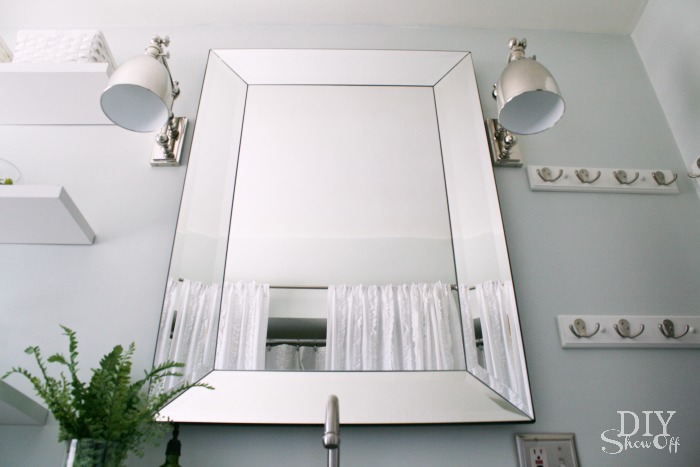
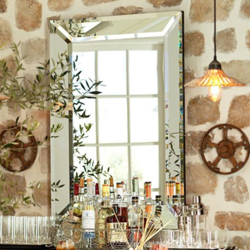
Pottery Barn Bevel Mirror: Go big or go home! {Heavy! Molly bolts included.} The mirror’s beveled mirror frame is the perfect glamorous accessory reflecting light and the illusion of more space into this small bathroom. 

bevel mirror

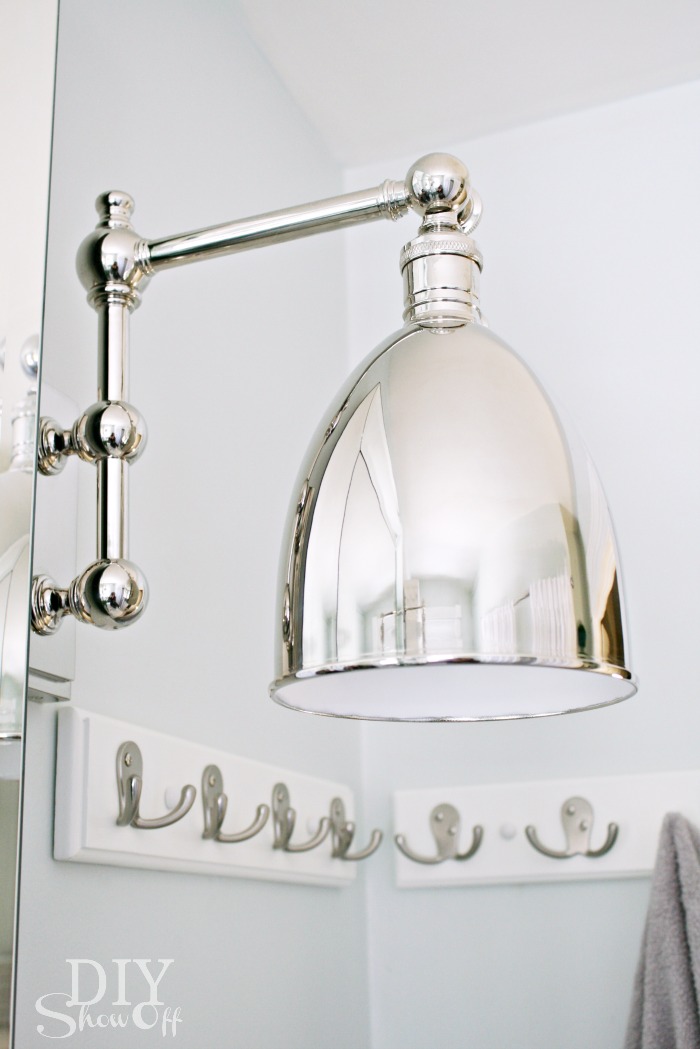
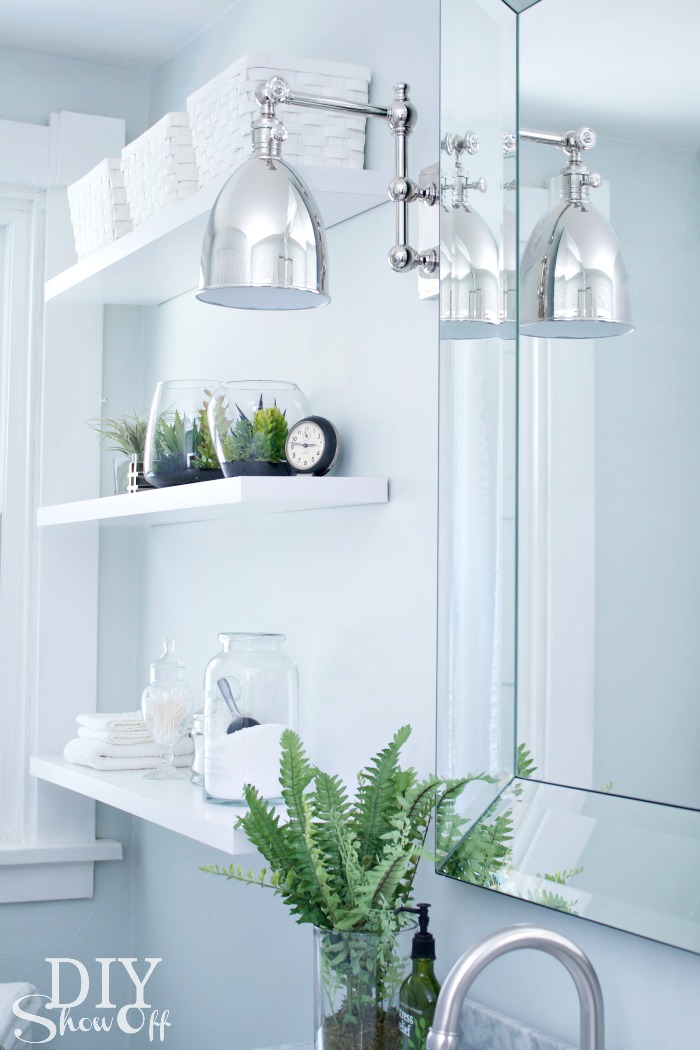
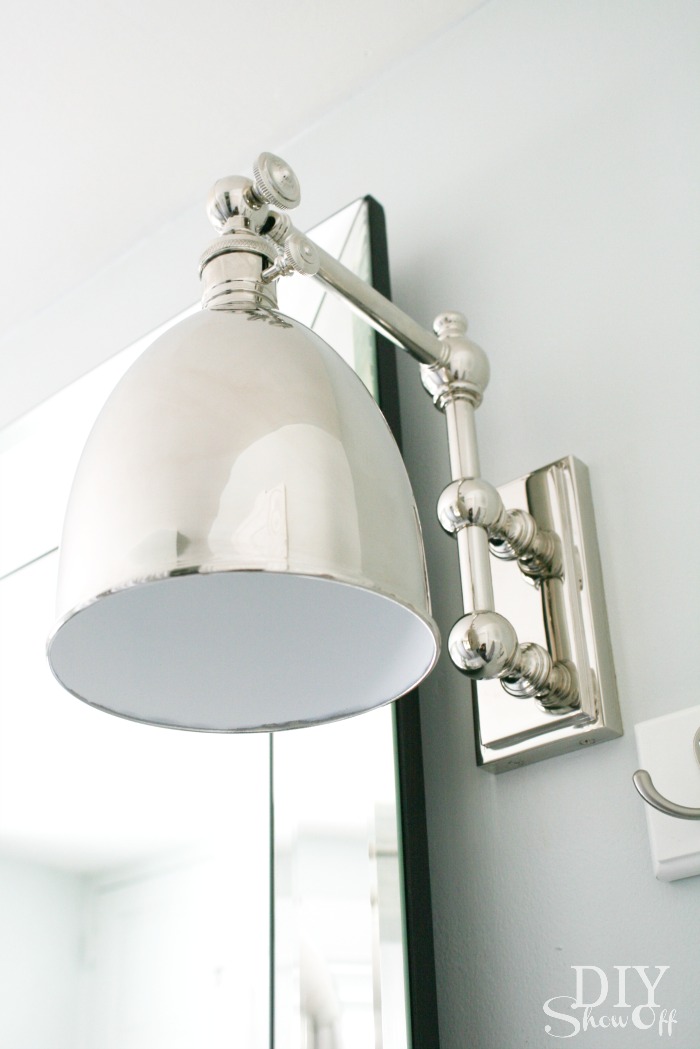
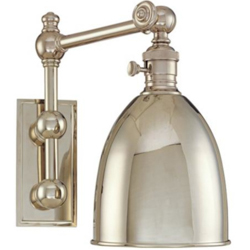
Lighting: Drool-worthy. ::sigh:: Thanks to LampsPlus for the stunning lighting! {Hudson Valley Monroe polished nickel adjustable wall lights} These are just the icing on the cake, aren’t they? Definitely my most favorite fixture in my home!

Lamps Plus Monroe Adjustable Arm Sconce

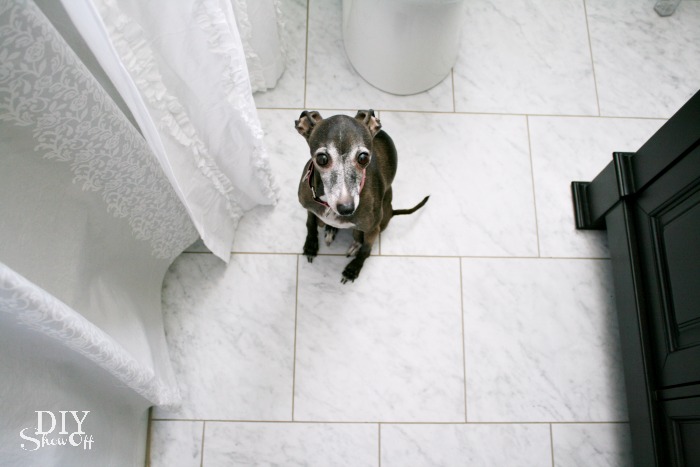
Floor: I did this all by myself! Would you believe they’re vinyl tiles? Easy to install and grout (use grout for vinyl) gives it a look so similar to real marble but without the maintenance or cost and installed in just a few hours! Check back for the tutorial.

grouted vinyl floor tiles - diyshowoff bathroom makeover

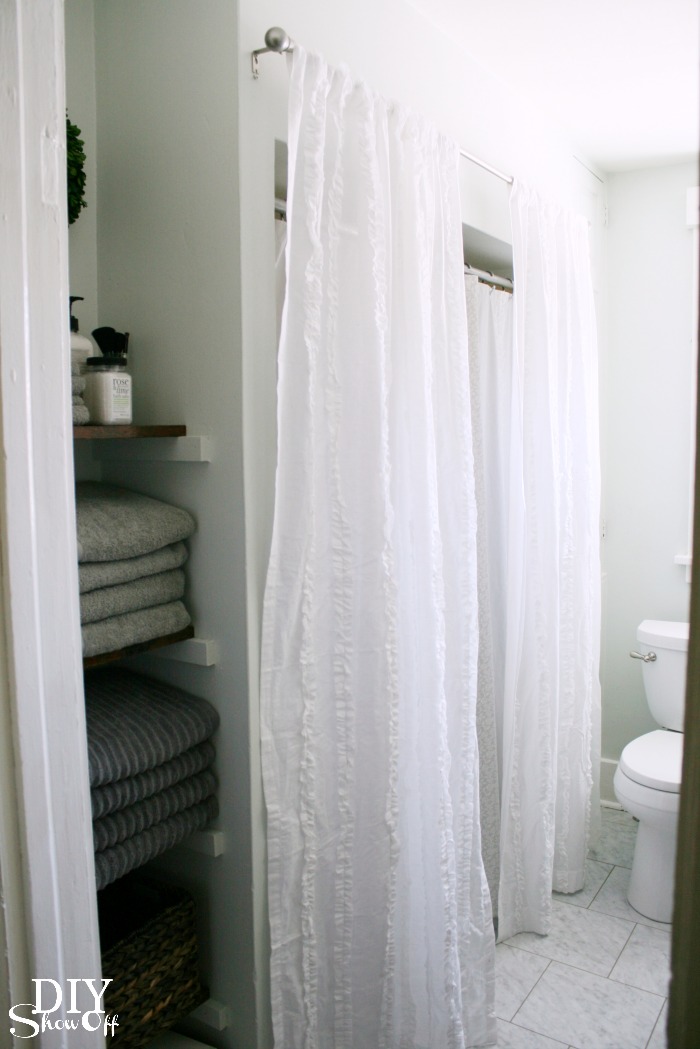
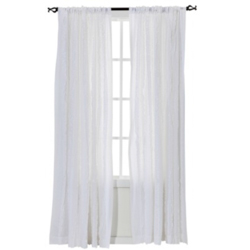
 The tub and shower will get a makeover later this year. In the meantime, I “framed” the bathtub nook/shower curtain with curtains (difficult to photograph that side of the room!)…

bathroom curtains

bathroom makeover diyshowoff

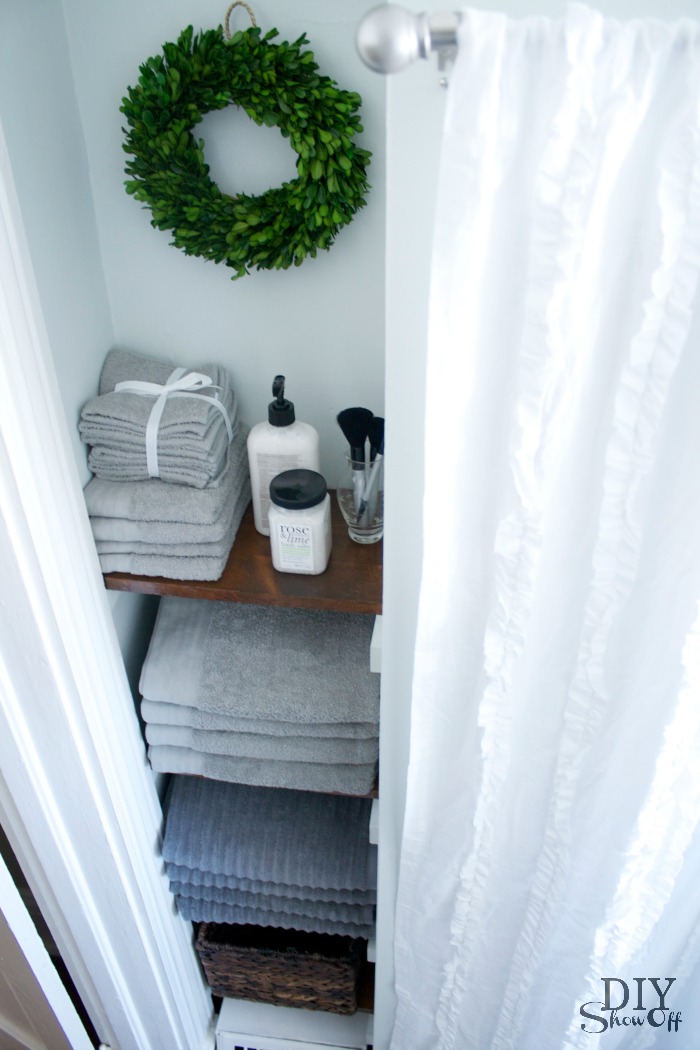
Storage to the left of the bathtub/shower:

bathroom storage

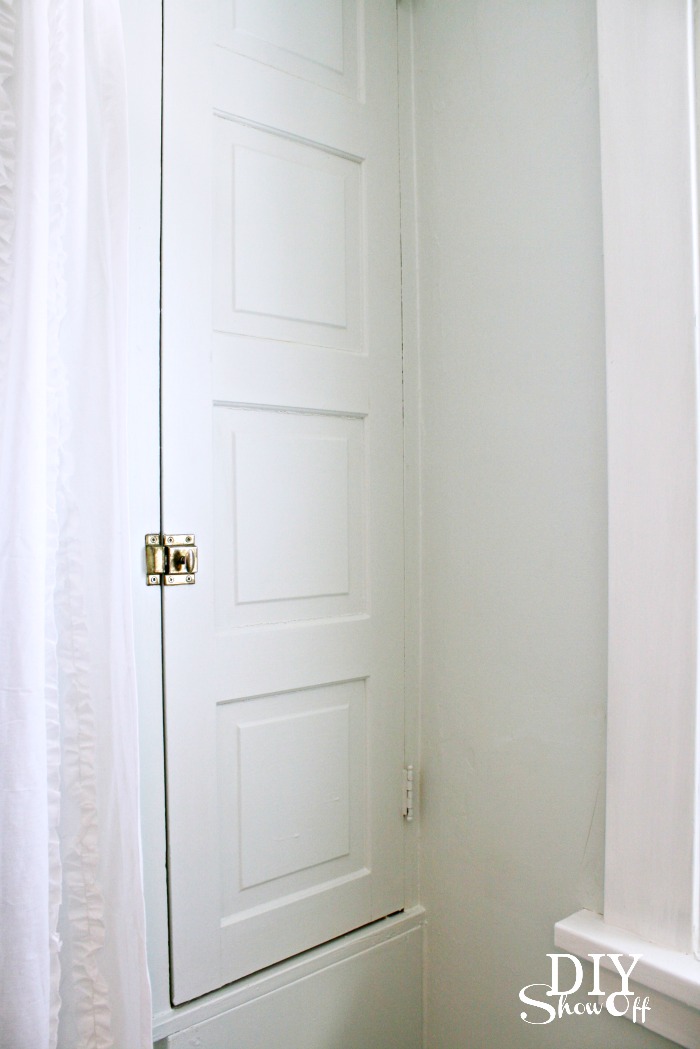
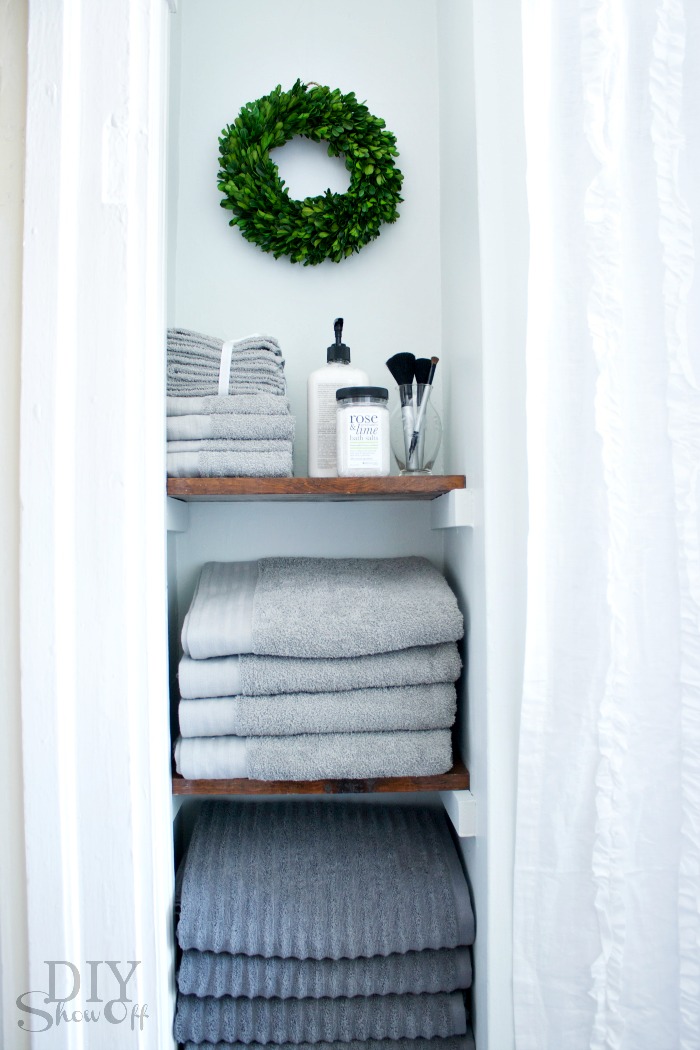
Built in storage cabinet to the right…

bathroom storage cupboard

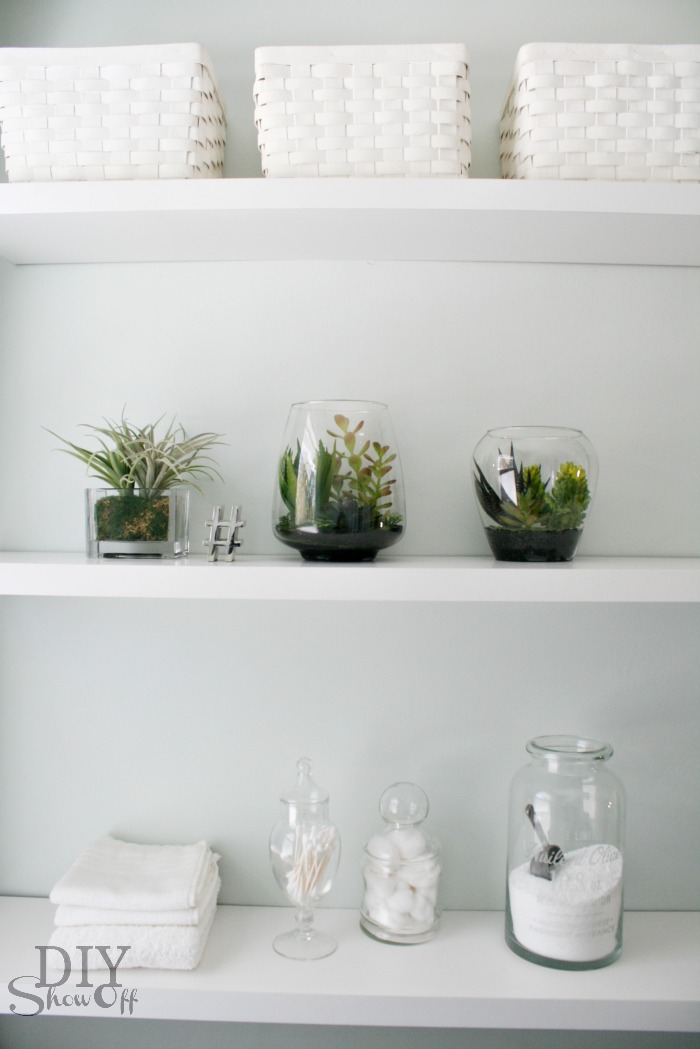
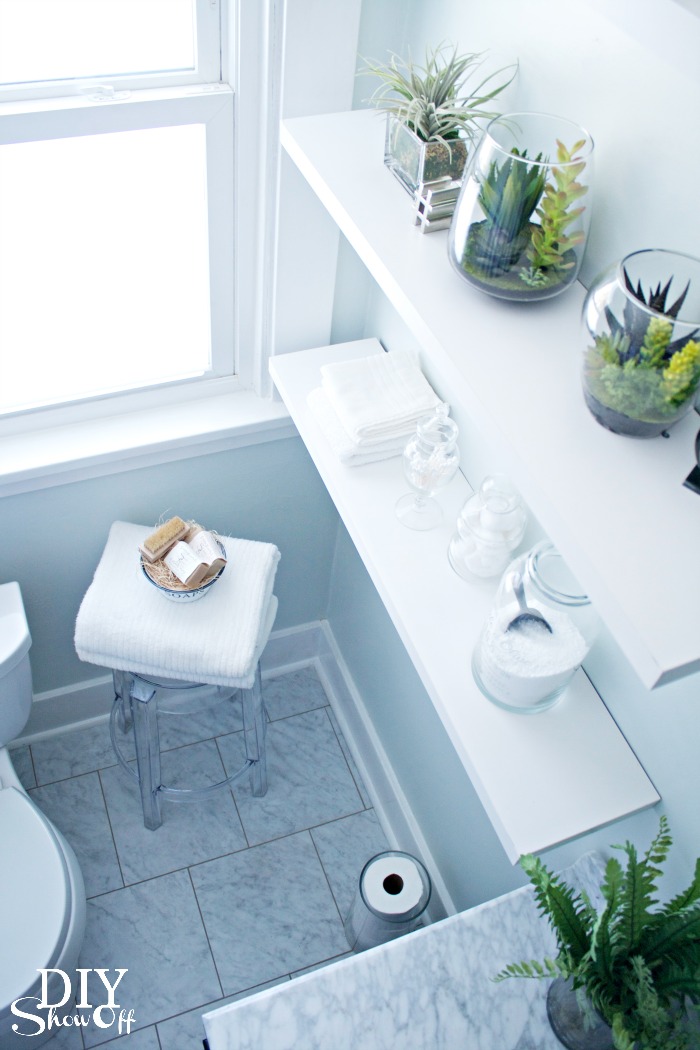
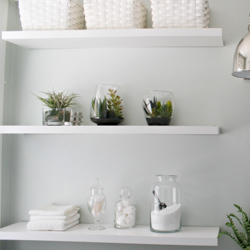
 Floating shelves and baskets provide more storage options. 
DIYShowOff bathroom shelves

Because there is no such thing as too many photos:DIYShowOff Bathroom MakeoverLampsPlus Monroe Adjustable Wall Sconce

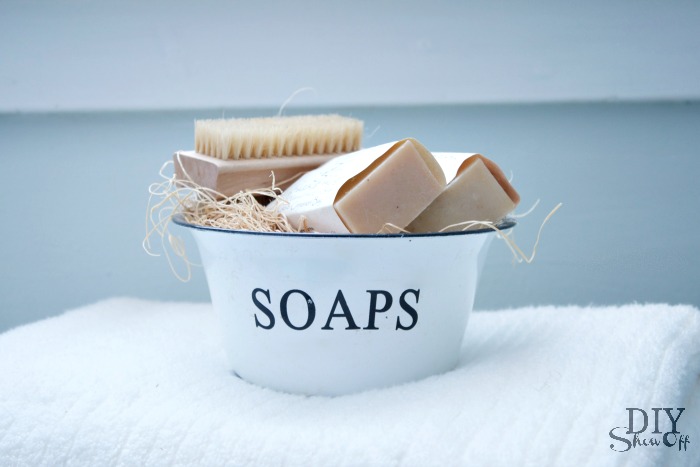
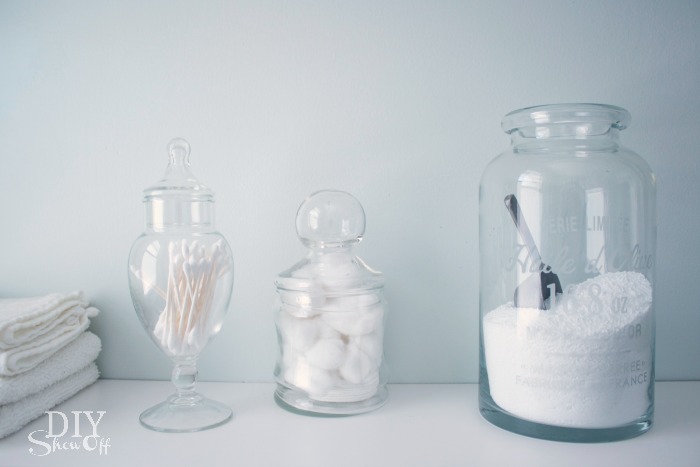
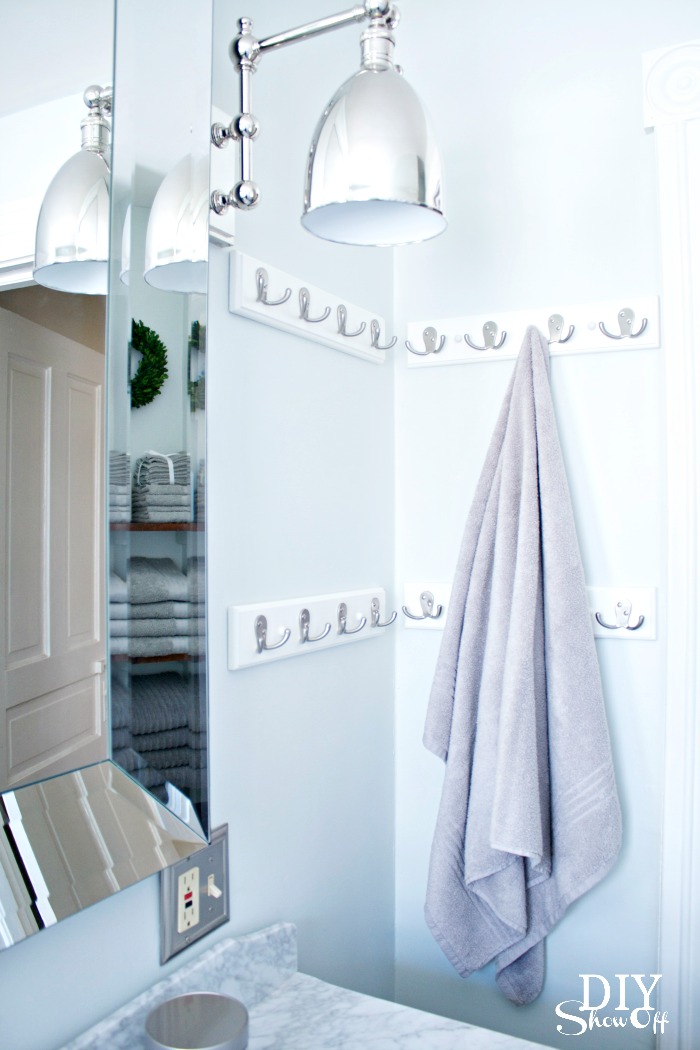
Bathroom makeover - towel nookFarmhouse Wares soap gift set - diyshowoff bathroom makeoverDIYShowOff bathroom accessoriesDIYShowOff bathroom lighting from LampsPlusBathroom storageDIY bathroom makeovertowel hooks - diyshowoff bathroom makeover

For those of you asking about the button wall art, they’re about 10 years old and I can’t remember where I got them so I’m pretty sure they’re out of stock (it was probably somewhere like JoAnn’s) but here’s button wall art I spied on Amazon, if you love buttons: 

bathroom makeover - diyshowoff

I’ve received a lot of questions about some of the accessories and fixtures shown above. Here’s a source list. Click the images for to be redirected. 
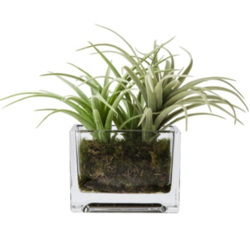
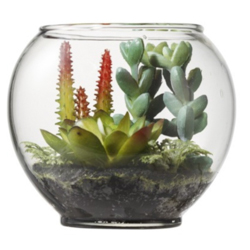
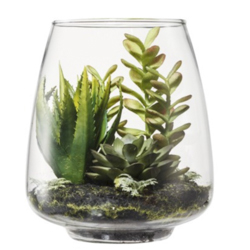
DIYShowOff bathroom makeoverDIYShowOff bathroom makeoverDIYShowOff bathroom makeoverDIYShowOff bathroom makeoverDIYShowOff bathroom makeoverDIYShowOff bathroom makeoverDIYShowOff bathroom makeoverDIYShowOff bathroom makeoverDIYShowOff bathroom makeoverDIYShowOff bathroom makeoverDIYShowOff bathroom makeoverbathroom makeover at diyshowoff.comDIYShowOff bathroom makeoverDIYShowOff bathroom makeover - Valspar Pale LinenDIYShowOff bathroom makeoverDIYShowOff bathroom makeoverDIYShowOff bathroom makeoverDIYShowOff bathroom makeoverDIYShowOff bathroom makeoverDIYShowOff bathroom makeoverDIYShowOff bathroom makeoverDIYShowOff bathroom makeoverDIYShowOff bathroom makeoverDIYShowOff bathroom makeover

Still have a question? Let me know in the comment section and I’ll get right back to you. Thanks so much for stopping by! 

Don’t forget to swing by to enter to win the Virtu USA Dream Bathroom giveaway to get started on creating your dream bathroom makeover. Easy to enter, lots of prizes! 

Ready for some more bathroom makeover inspiration? Check out these awesome blog friends for more:

Linking up to: 

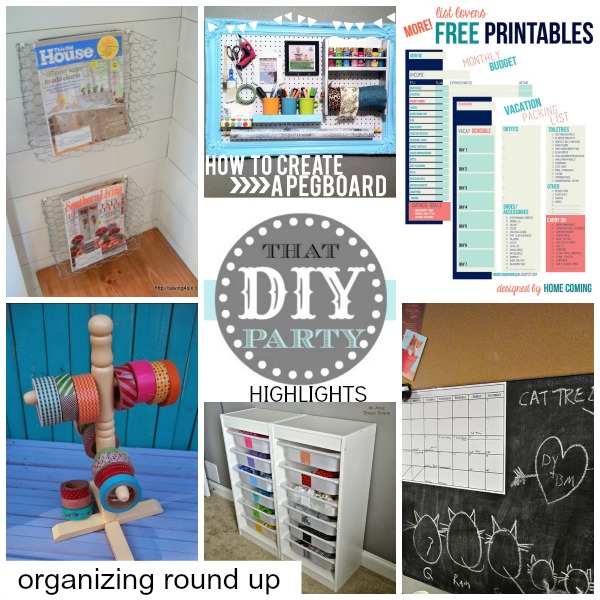
That DIY Party Highlights – Organizing Round Up

Today’s collection of highlights from That DIY Party is all about outstanding organizational do-it-yourself ideas:

DIY organization round up

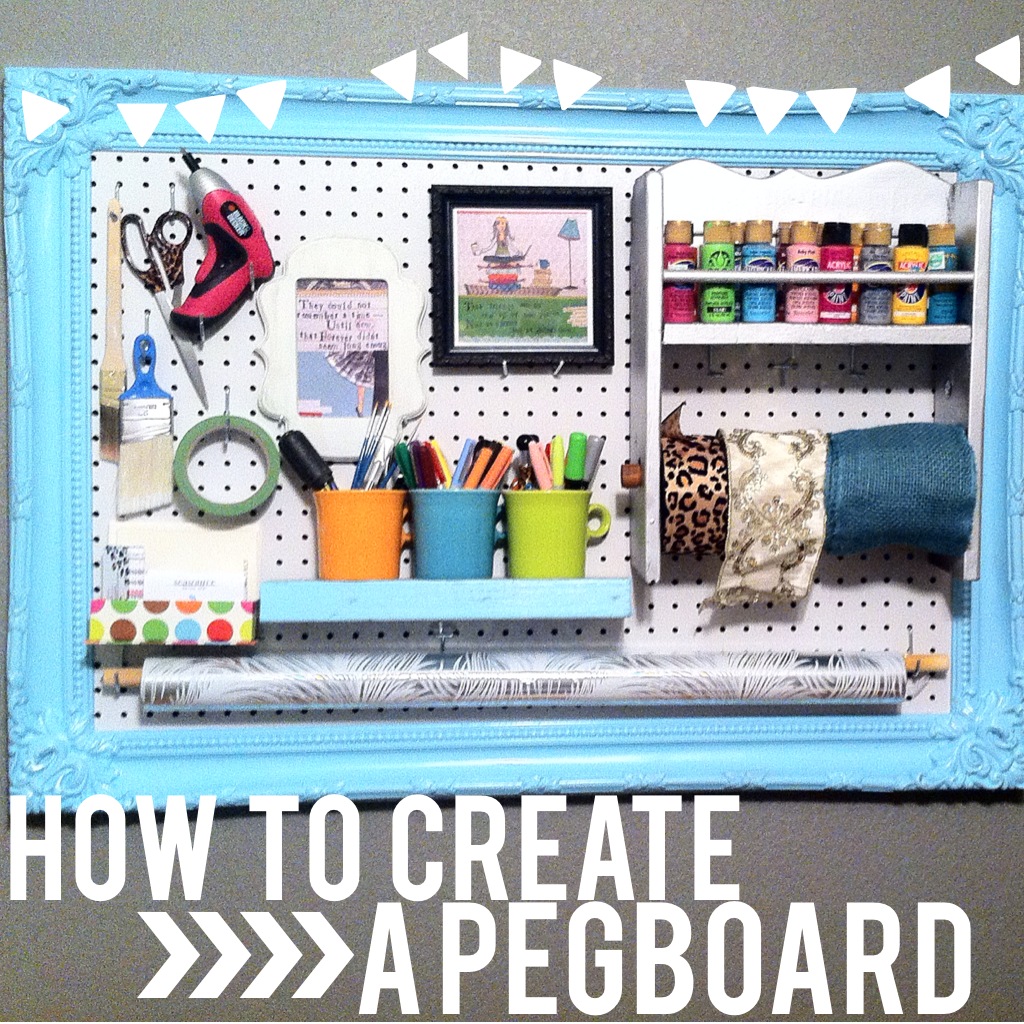
How to Pegboard Vlog Tutorial at Decorate My Life

How to Peg board - Decorate My Life

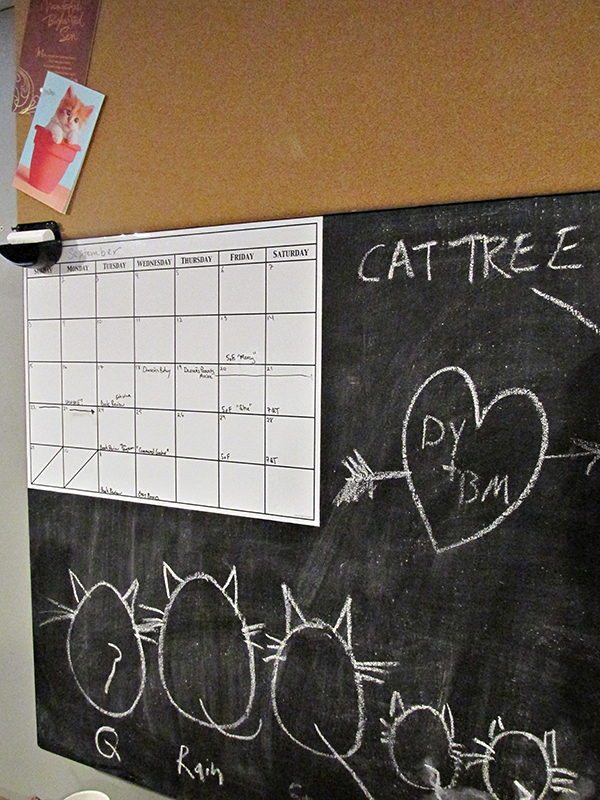
Command Center + Fuse Box Cover tutorial at Screwed on Straight

http://screwedonstraight.net/diy-fuse-box-cover-command-center/

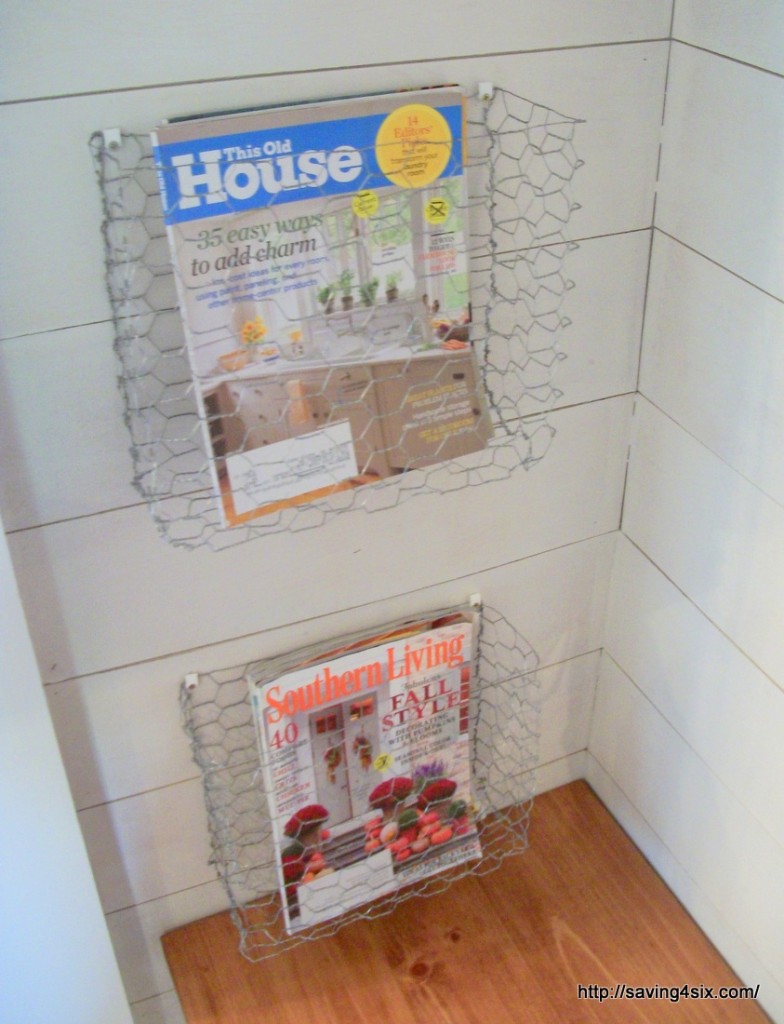
DIY chicken wire magazine baskets at Saving 4 Six

DIY chicken wire magazine basket at Saving 4 Six

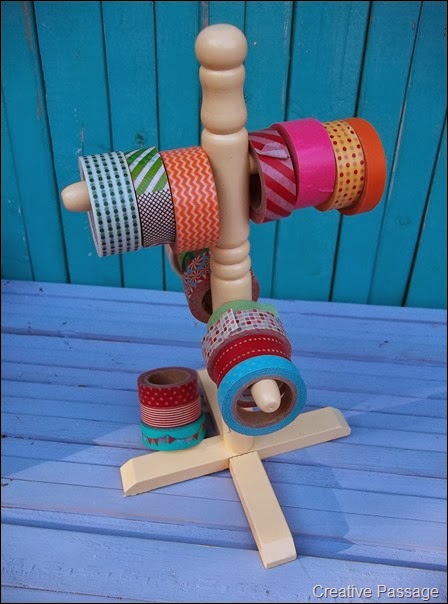
Organizing Washi tape at Creative Passage

washi tape organization at Creative Passage

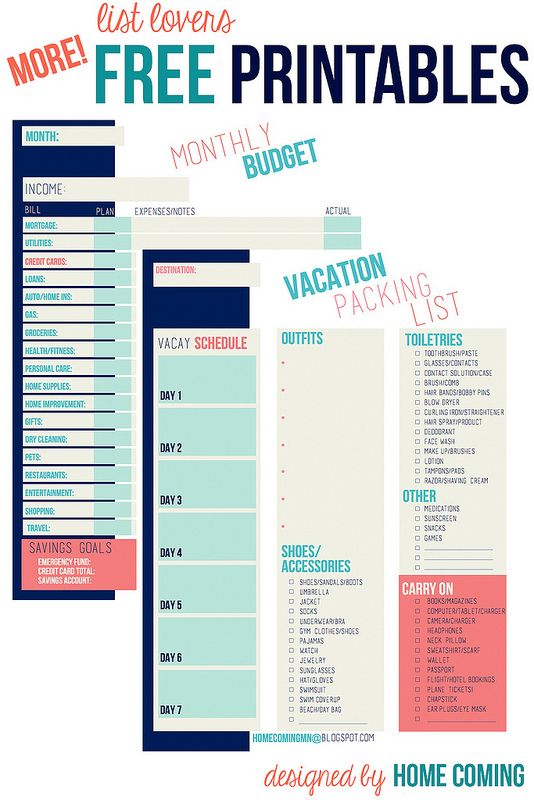
Printable Lists (vacation packing and more) at HomeComing

printable lists at HomeComing

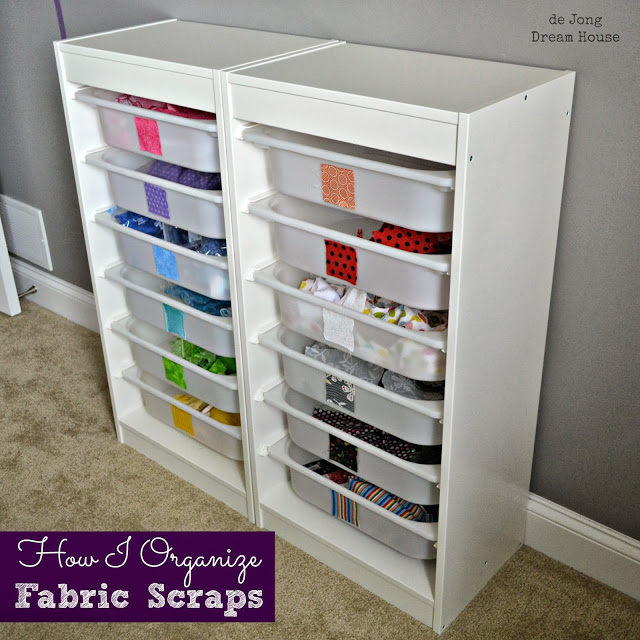
Fabric scrap organization at de Jong Dream House

fabric scrap storage at de Jong Dream House

See more DIY:

thatdiyparty.pinboard

Thanks to these talented ladies for linking up their inspiring creativity and hard work! 

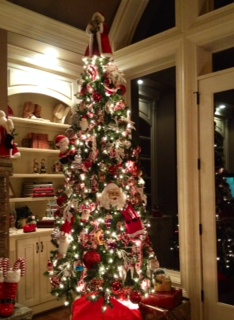
Renia’s beautiful tree for the Christmas Tree Contest.

Renia's Christmas Tree