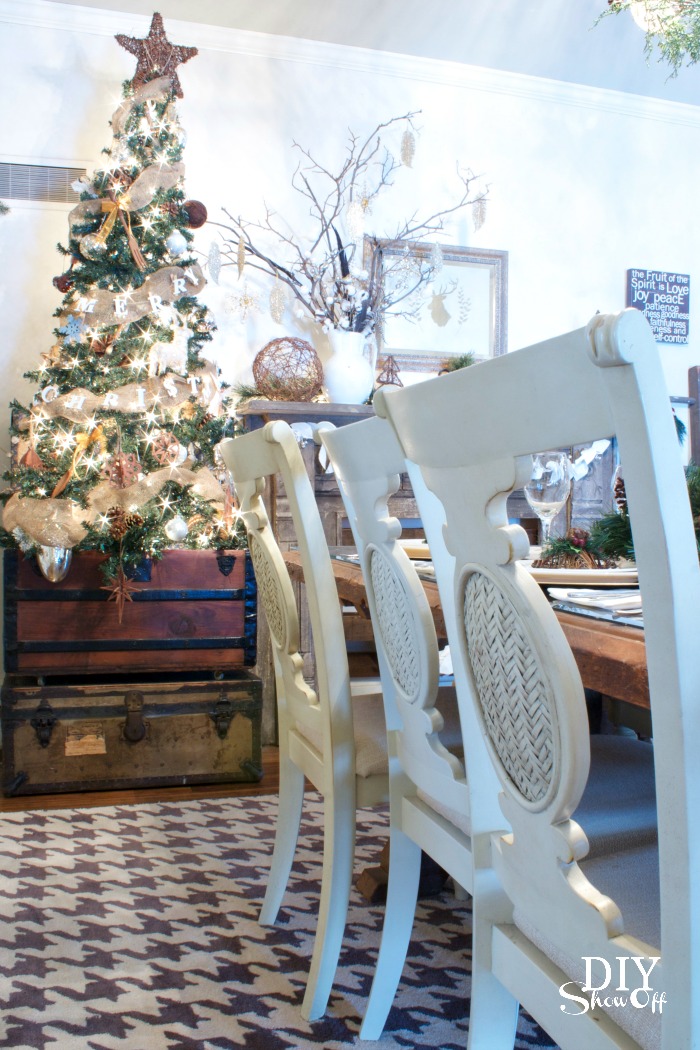
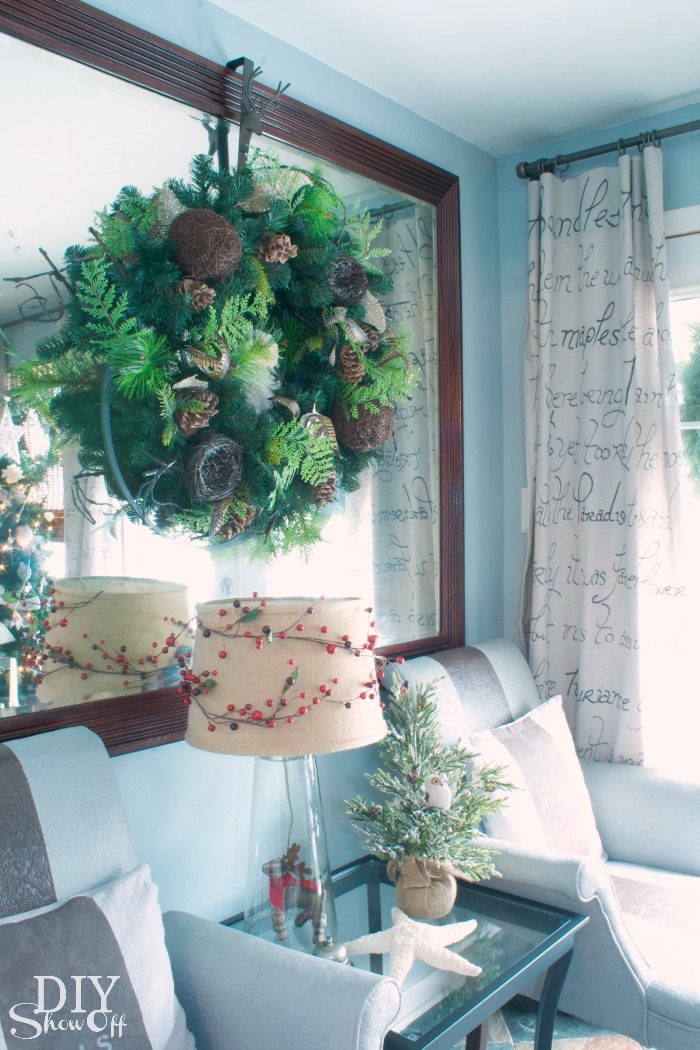
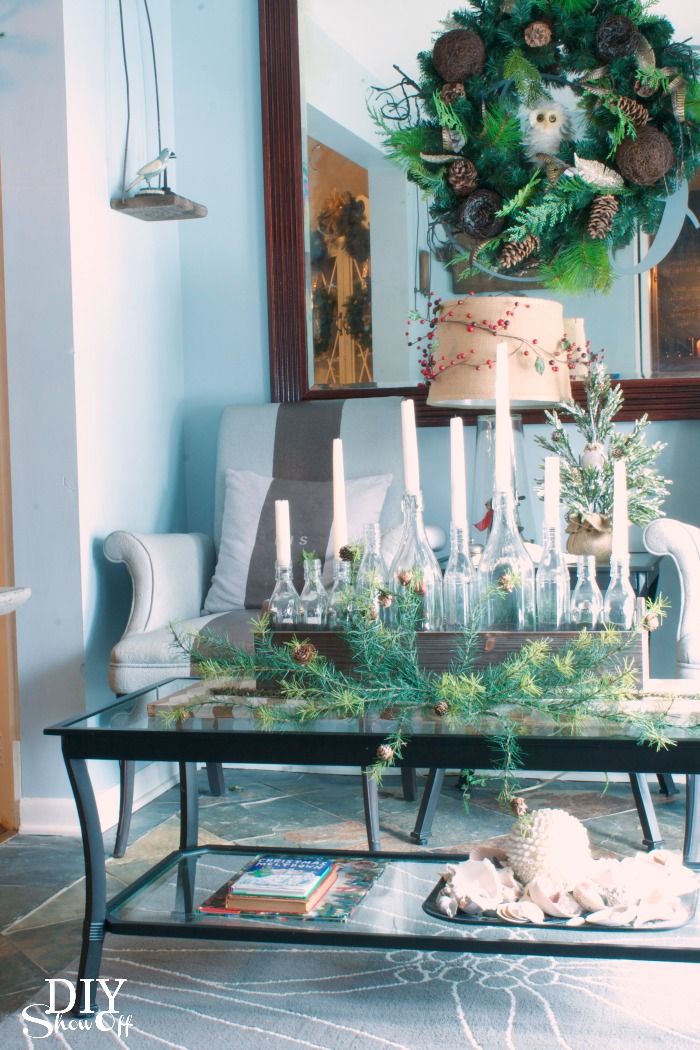
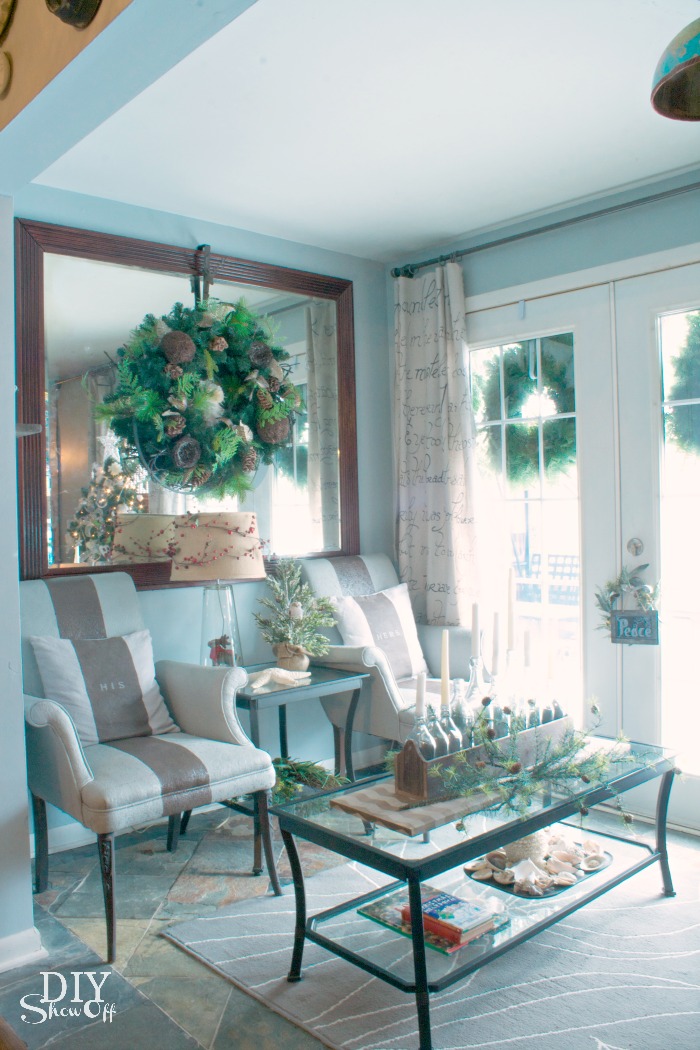
Christmas Home Tour

Hello, fellow DIY holiday lovers! I LOVE this time of year! You’d think that my premature head start on having our Christmas tree all decorated before Halloween would mean, it’d be Christmas in every room in our home by now, a huge Christmas extravaganza in the DIYShowOff house because that’s usually how I roll…Christmas in nearly every room. However, the truth is, I’m going with less is more this busy holiday season. 

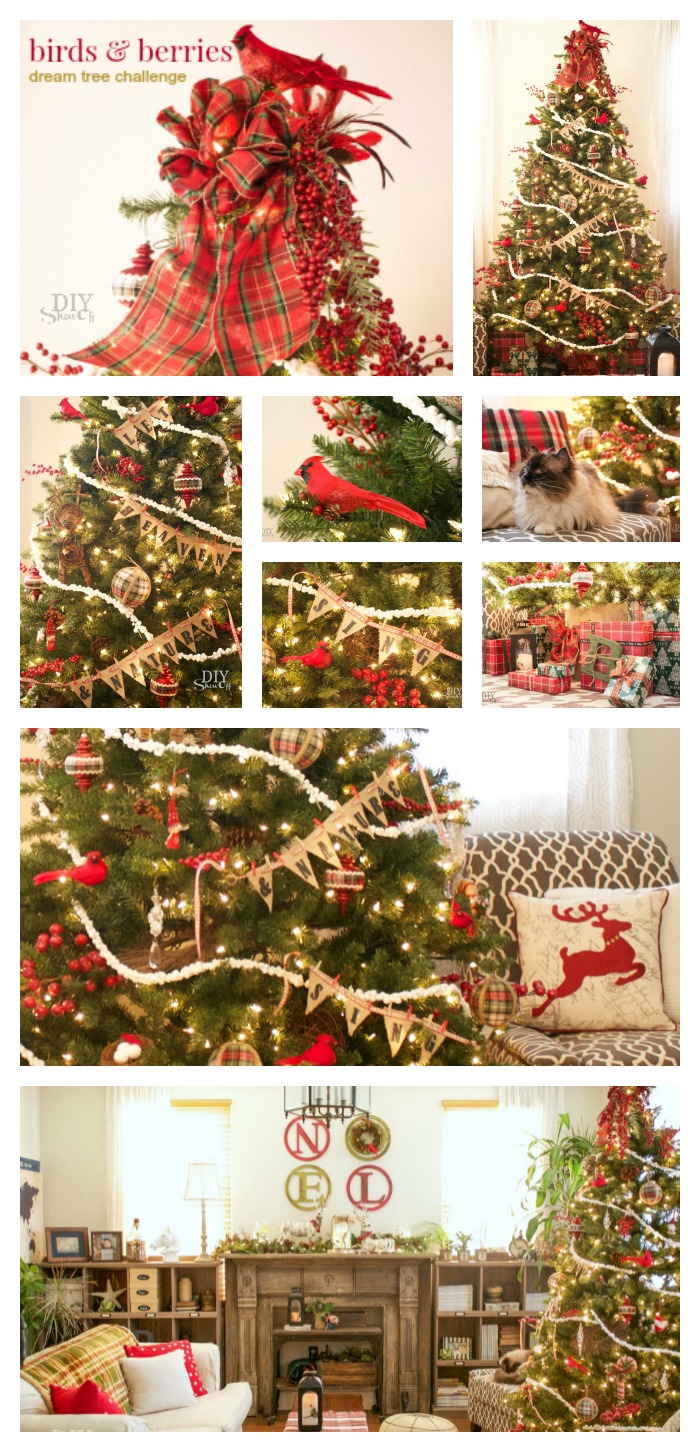
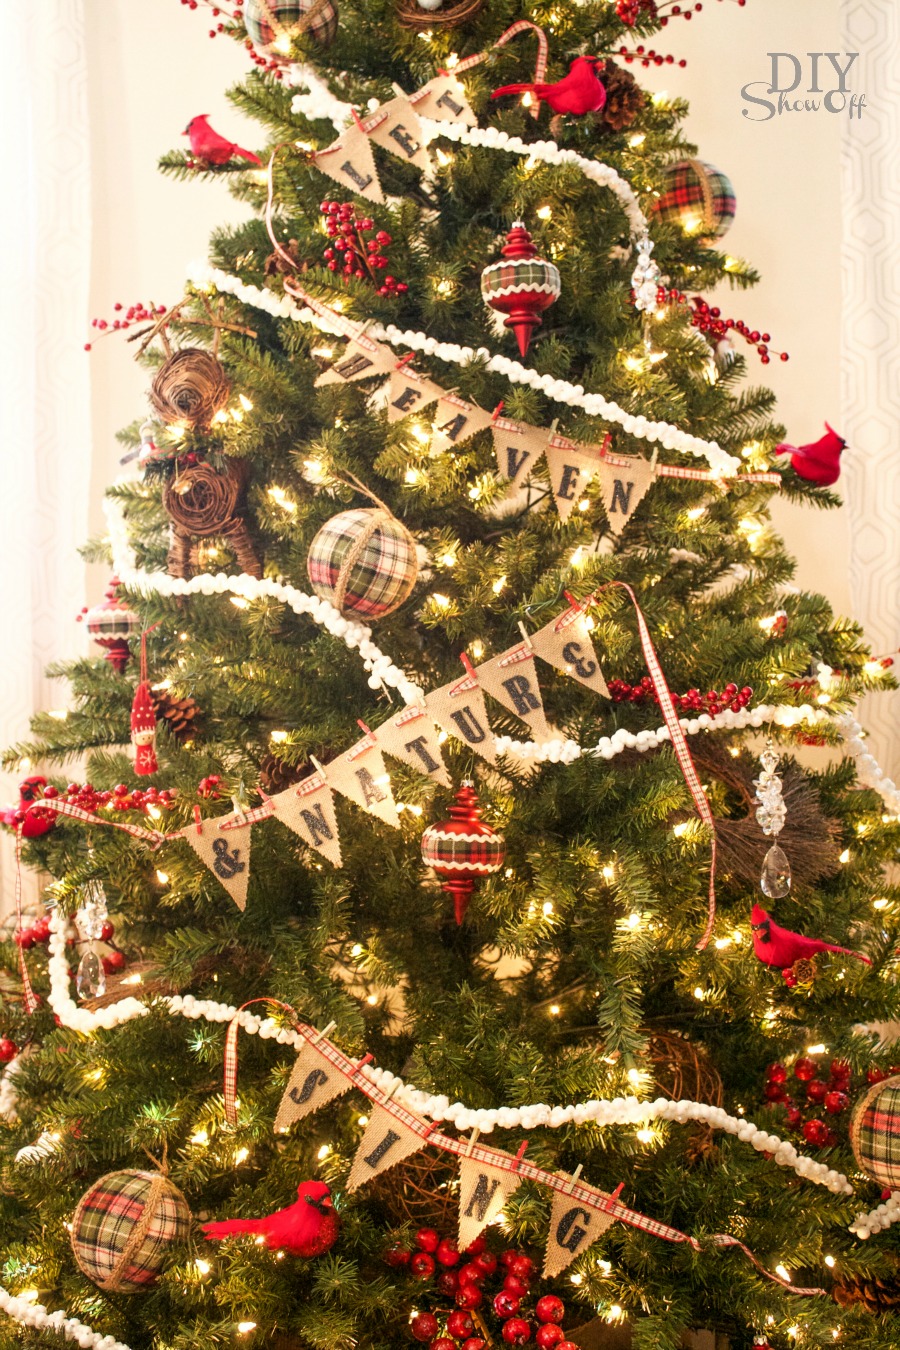
Birds & Berries

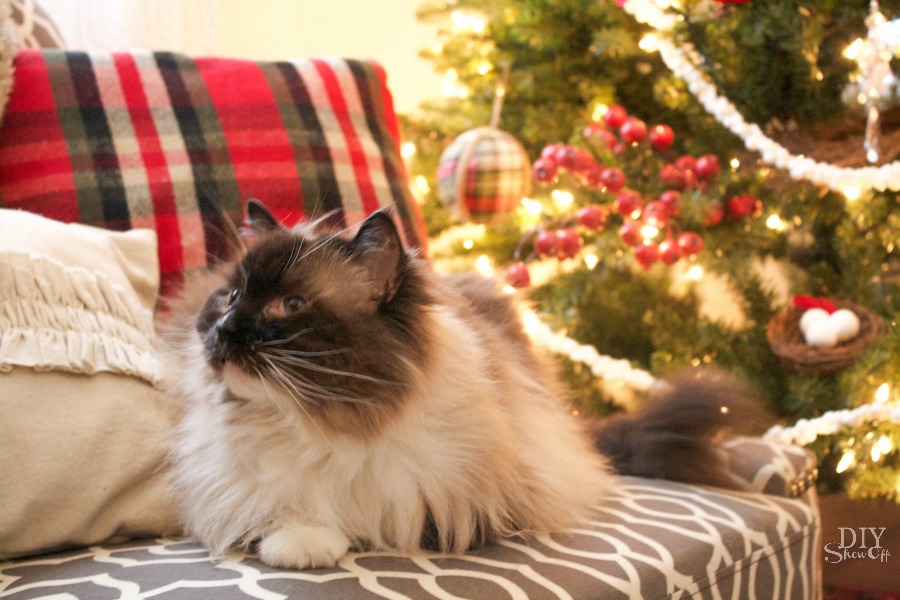
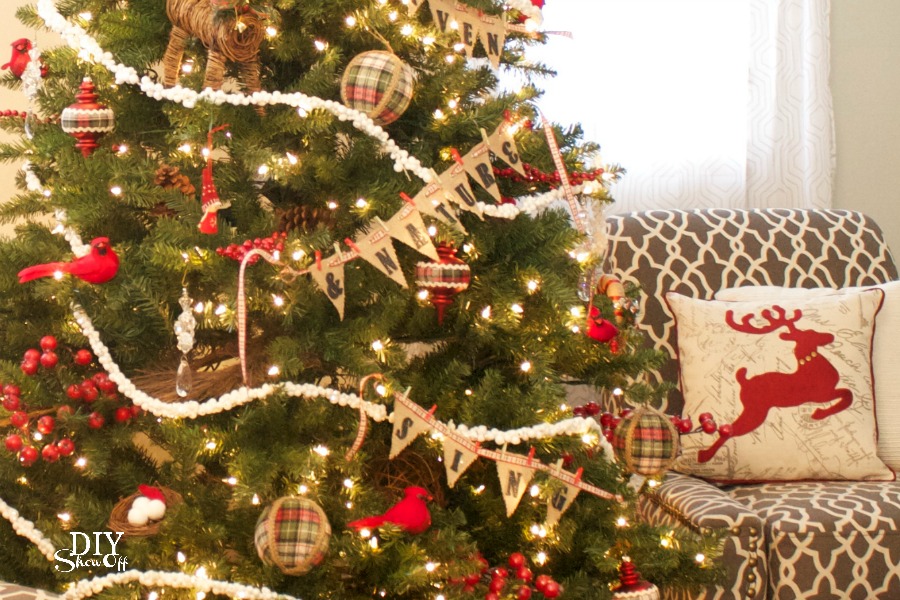
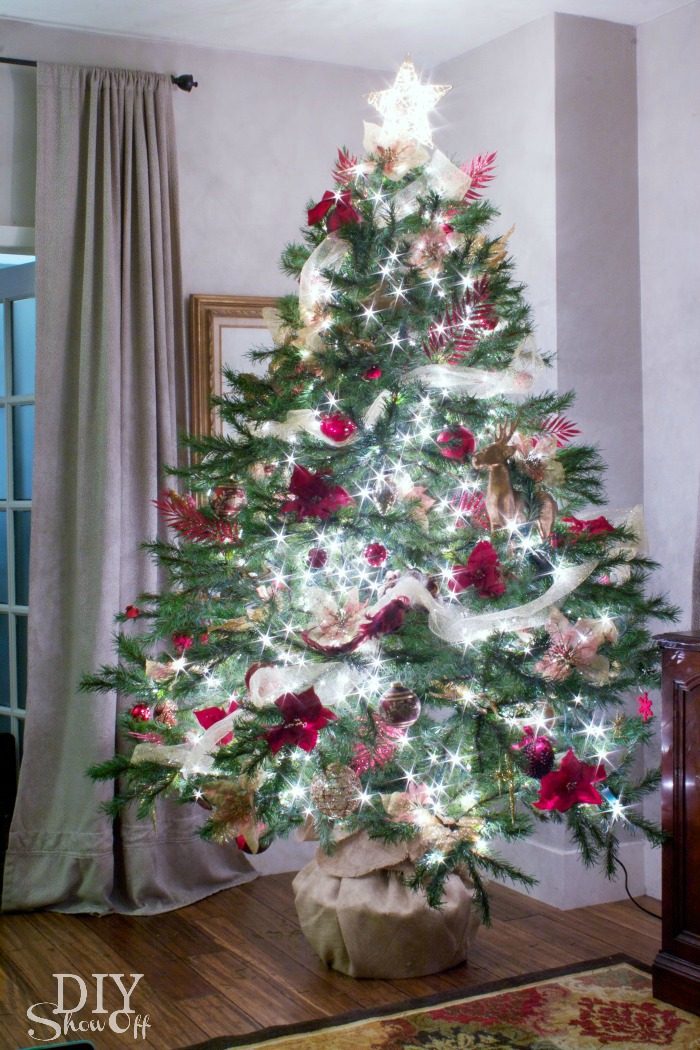
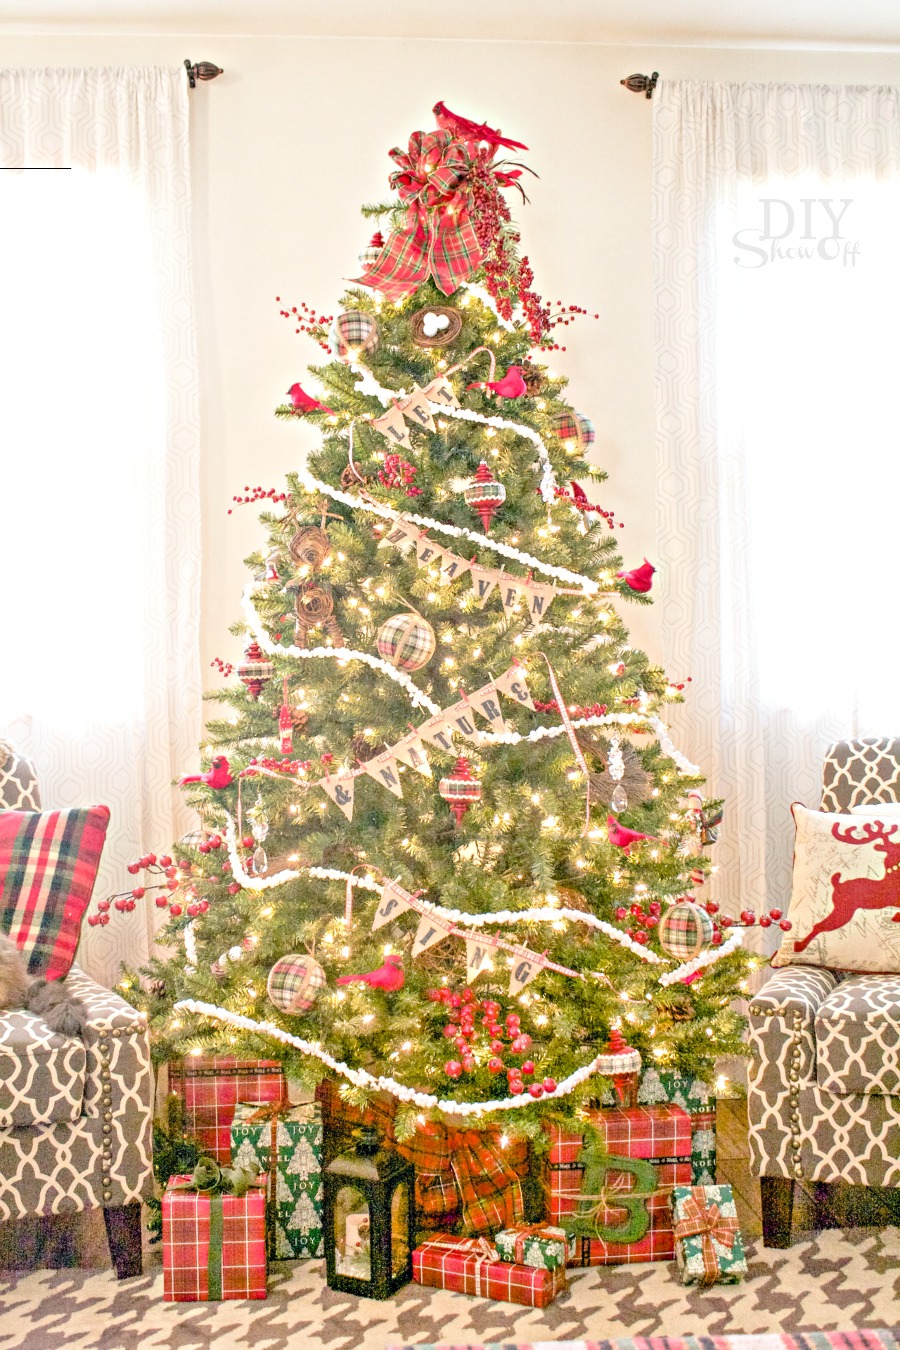
birds and berries Christmas tree #michaelsmakers @diyshowoff Dream Tree Challenge    

Why would I even?! No worries! It’s not that I’m feeling all bah humbug. It’s not that I’ve lost that DIY feeling. I’ve found that I’m prioritizing in other ways this year. I’m enjoying spending time with family, sharing my passion for wellness through essential oils, soaking up all the time with those I love that I can get (we’ve had another cancer diagnosis in our family and it’s beginning to feel like an epidemic…time with family is so precious. It just makes me realize how short our time together is and that it’s never guaranteed). I’m cherishing friendships, celebrating birthdays, taking a breather from projects (it’s our plan to get back to it full force with bathroom and basement/man cave remodels in 2016), getting ready to pack for a relaxing much needed vacation…just keeping busy in ways that reduce stress and put the focus on “life” and giving and loving.

birds and berries Christmas tree #michaelsmakers @diyshowoff Dream Tree Challenge

So this year, it’s ONE tree, not three. This year, it’s a family room all cozy and Christmas with the rest of the house simply clean, healthy and comfortable. This year, it’s more about the spirit of Christmas. About seeing the magic of Christmas through the eyes of a 1 year old, about making Christmas magic for others through actions, help, wellness, love. 

birds and berries Christmas tree #michaelsmakers @diyshowoff Dream Tree Challenge

Don’t get me wrong – I’m certainly enjoying everyone else’s Christmas decorating eye candy from talented blog friends’ Christmas home tours blog hops and the creativity linked to the weekly That DIY Party. Because my pin-finger is getting a work out! And I’m drooling over all that Christmas beauty too! 

birds and berries Christmas tree #michaelsmakers @diyshowoff Dream Tree Challenge

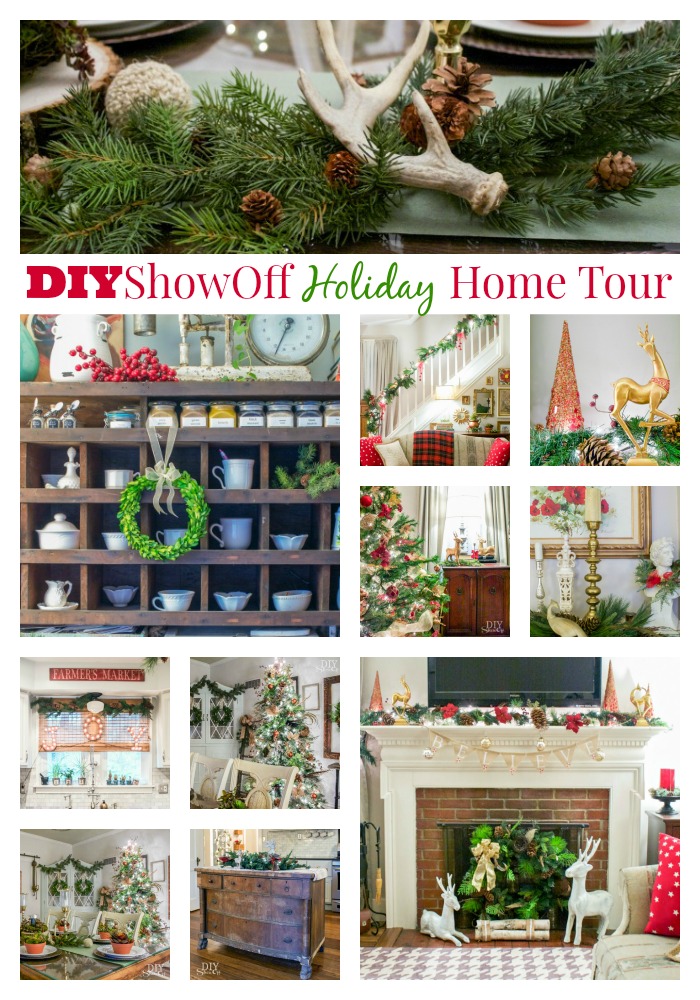
So in the spirit of blogging and all things holiday, to show a little participation on my part, I’ll share a little DIY Christmas past with you today! Here are some of my favorites:

Christmas Home

DIYShowOff Holiday Home Tour @diyshowoff #holidayhomeRed and Gold Christmas TreeChristmas decorating

Holiday Home Tour

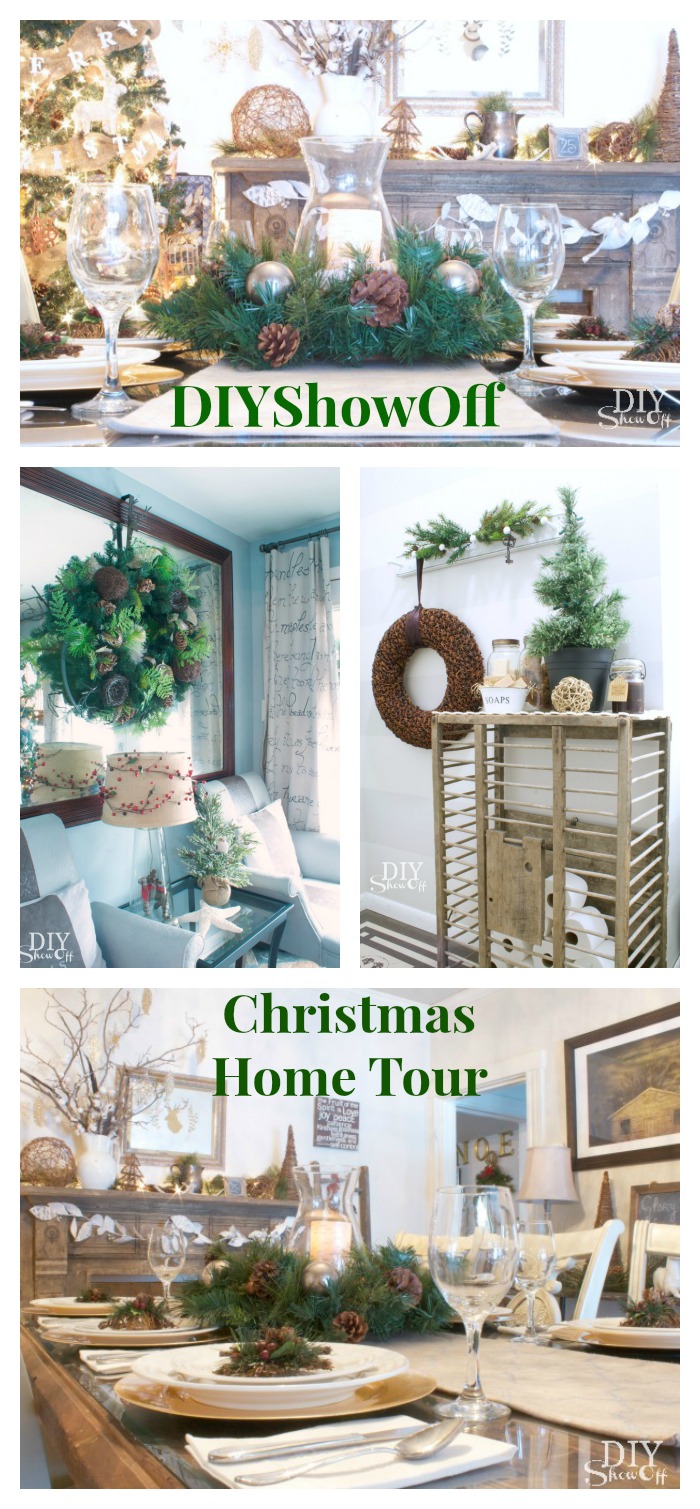
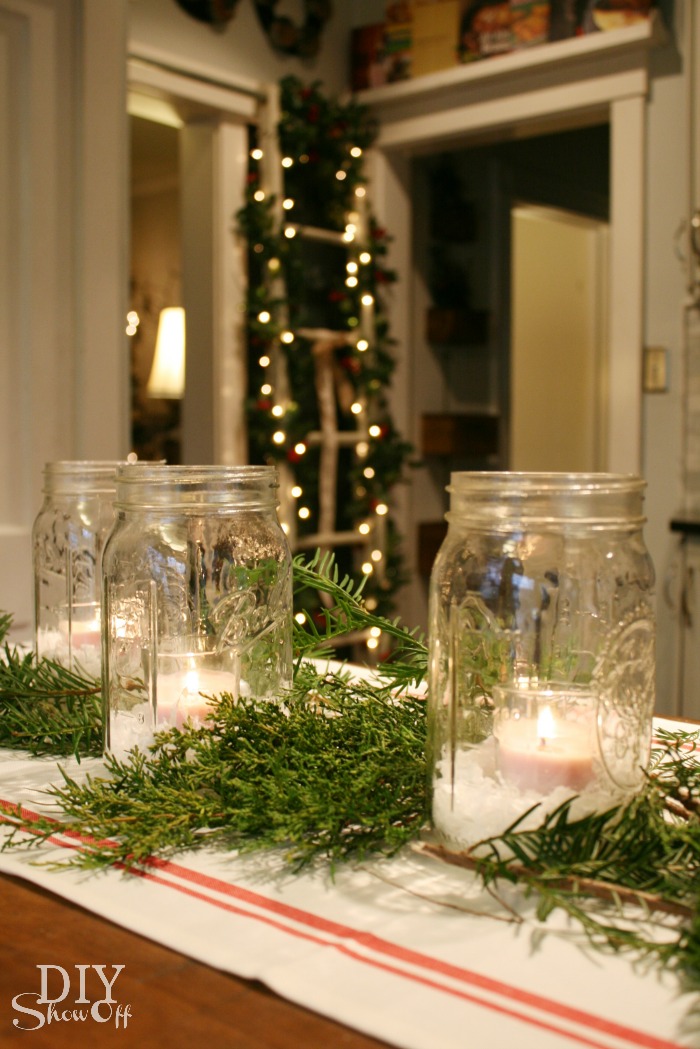
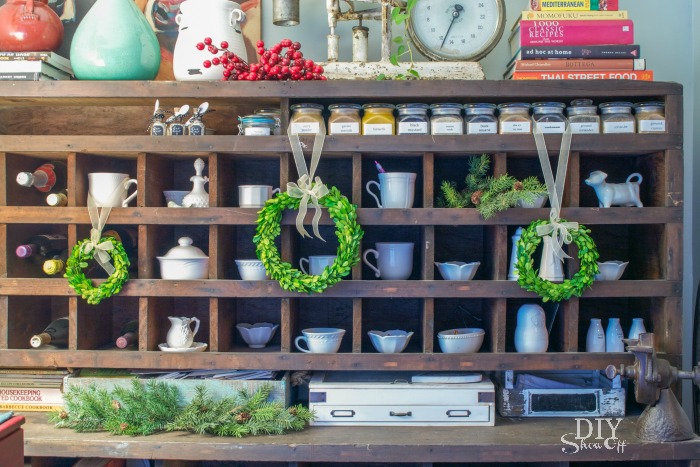
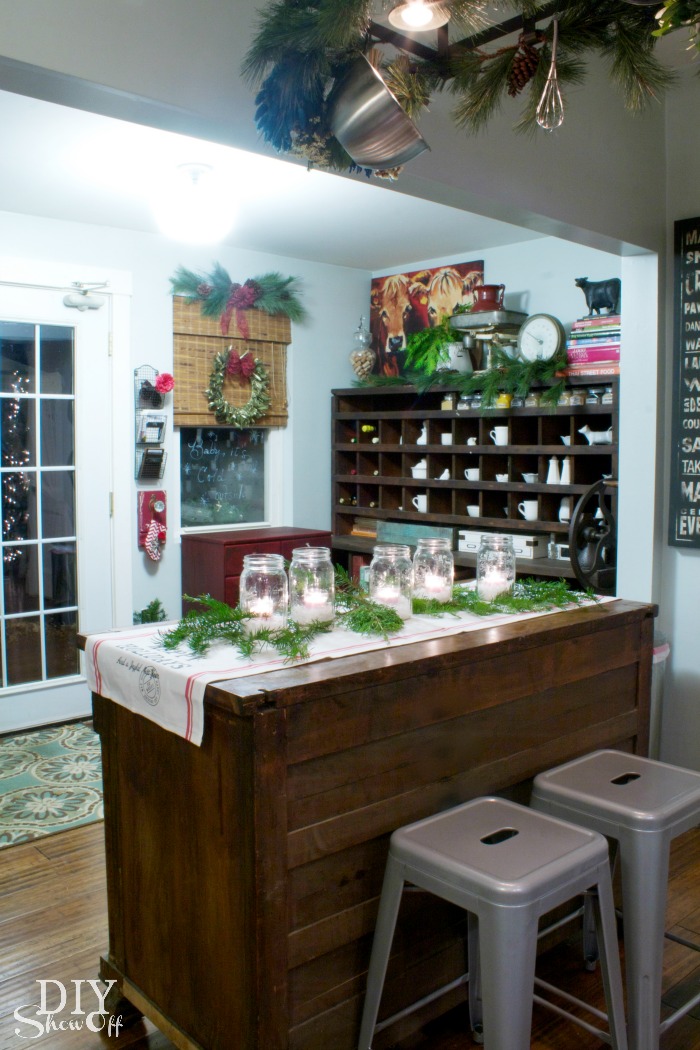
Holiday Home Tour @diyshowoffrustic vintage Christmas treeChristmas sitting room DIYShowOffSitting room at Christmasrustic Christmas sitting roommason jar Christmas centerpieceChristmas kitchen decorating


Home for the Holidays

Holiday Home Tour @diyshowoff Holiday Home Tour @diyshowoff

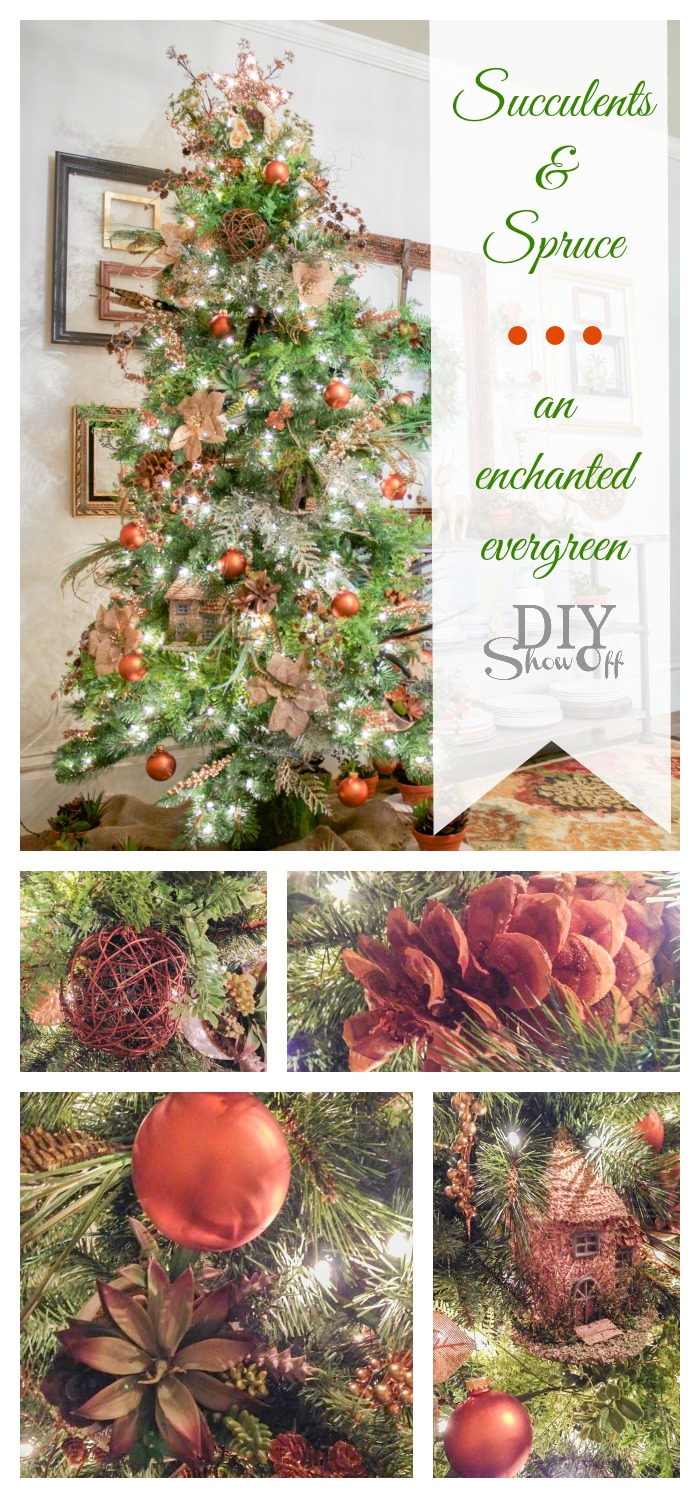
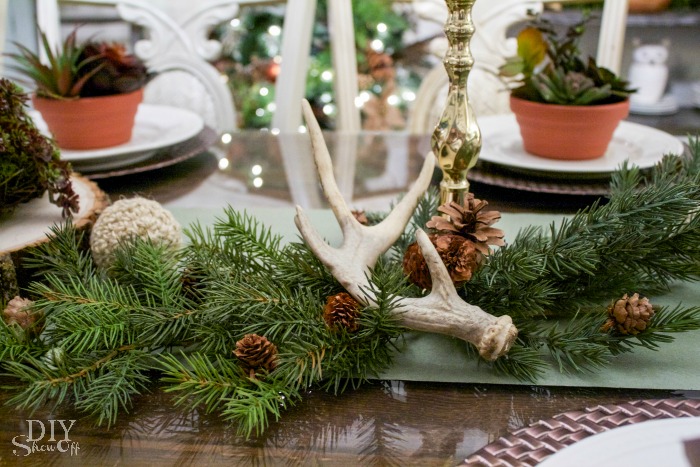
Succulents & Spruce

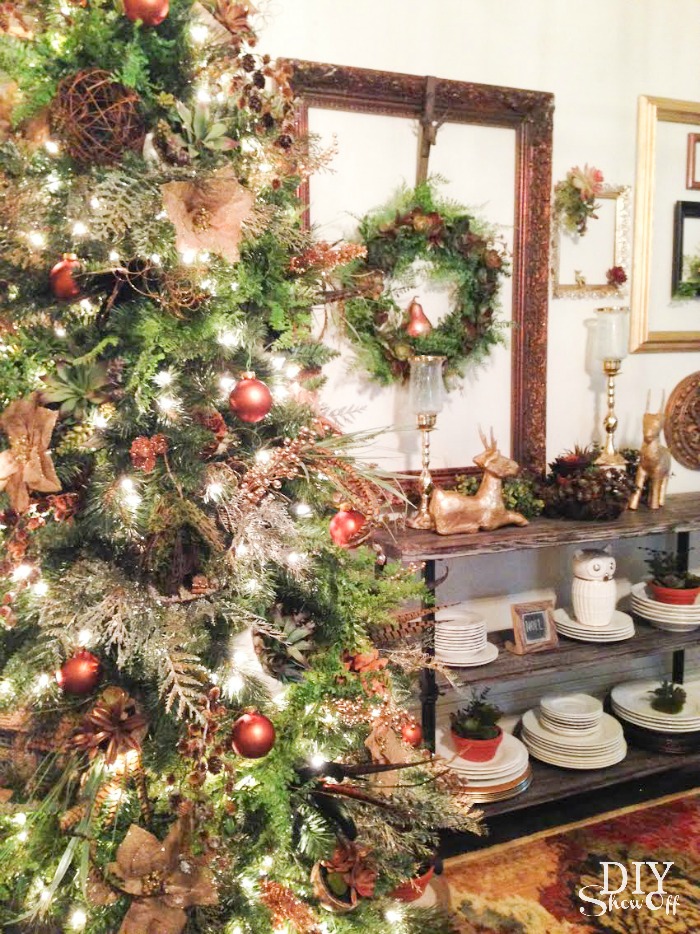
Succulents & Spruce Christmas Tree @diyshowoff - #michaelsmaker dream tree challenge Succulents & Spruce Christmas Tree @diyshowoff - #michaelsmaker dream tree challengeHoliday Home Tour @diyshowoffHoliday Home Tour @diyshowoff 

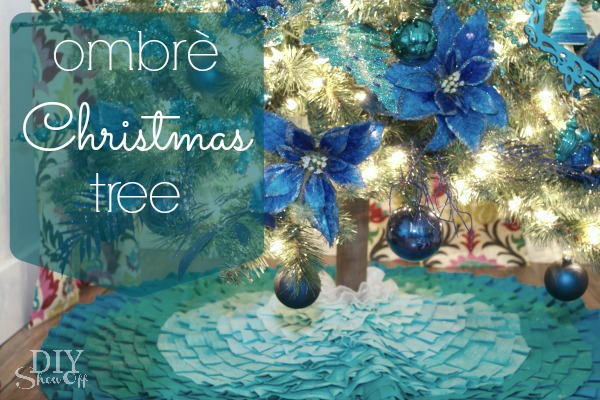
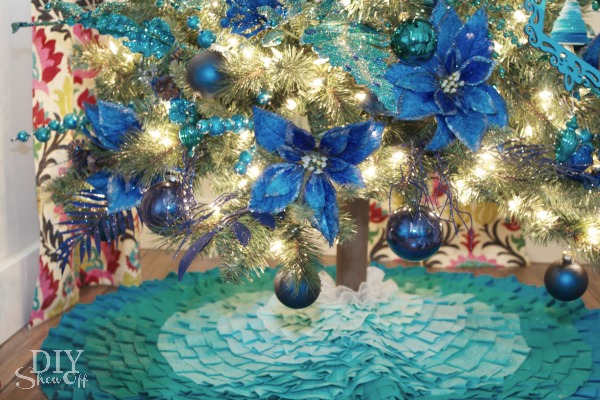
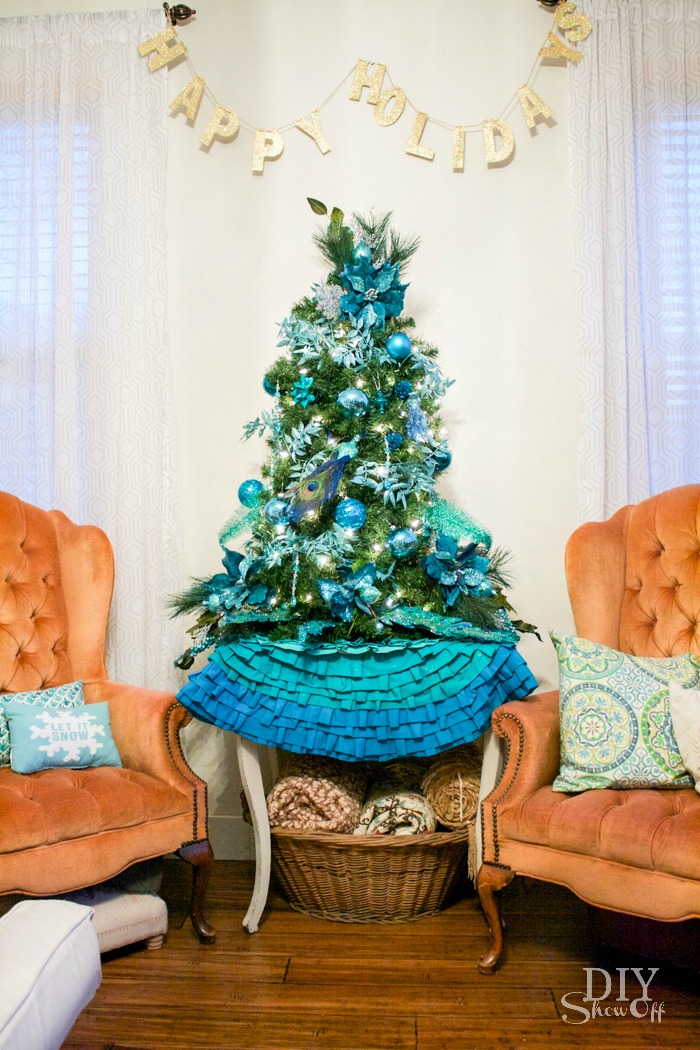
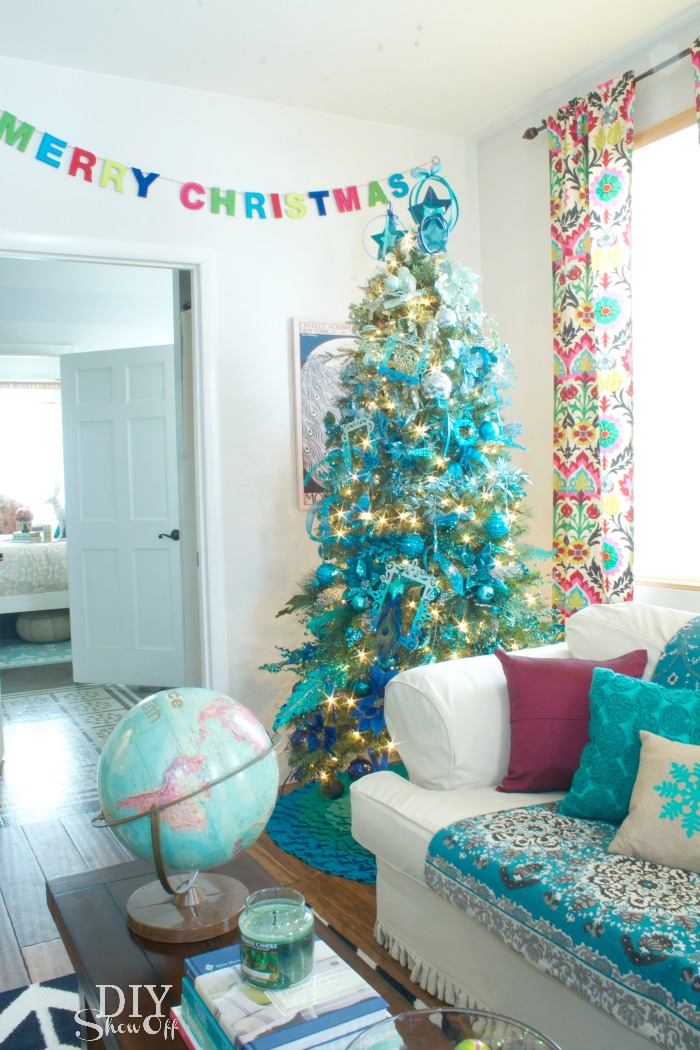
Ombre Christmas

ombre christmas tree decorombre tree skirt 

More favorites: 

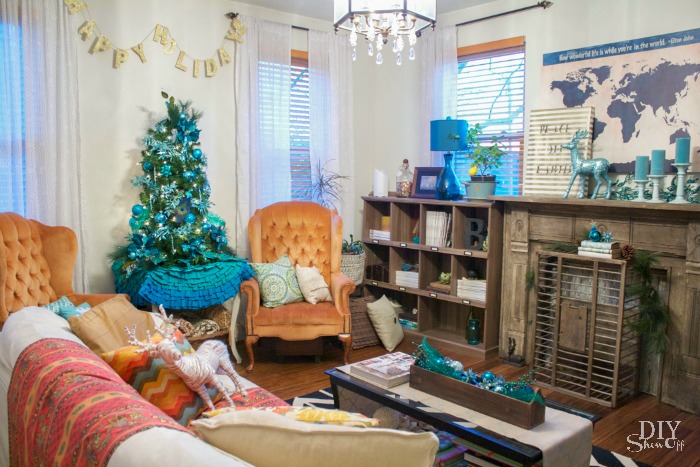
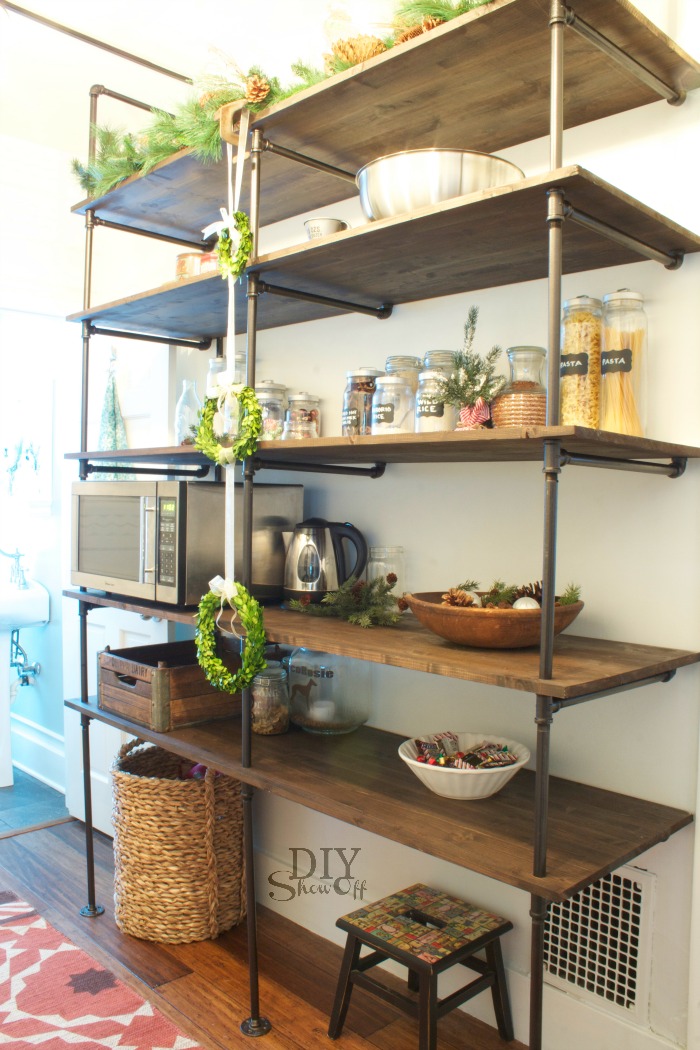
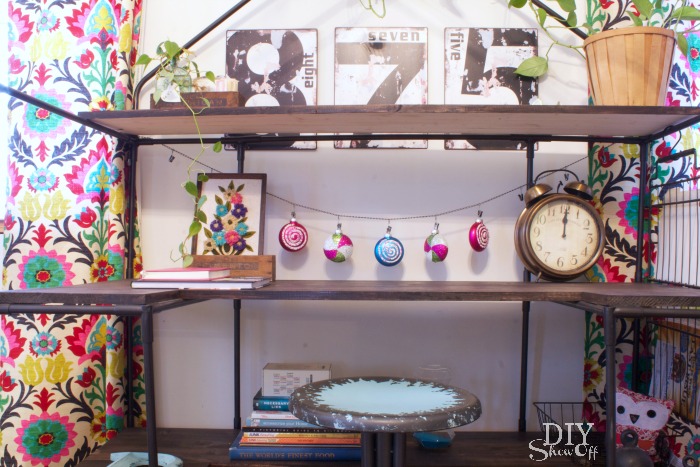
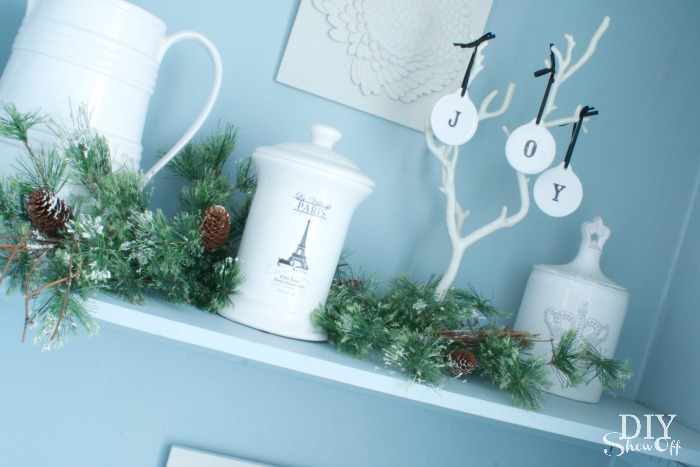
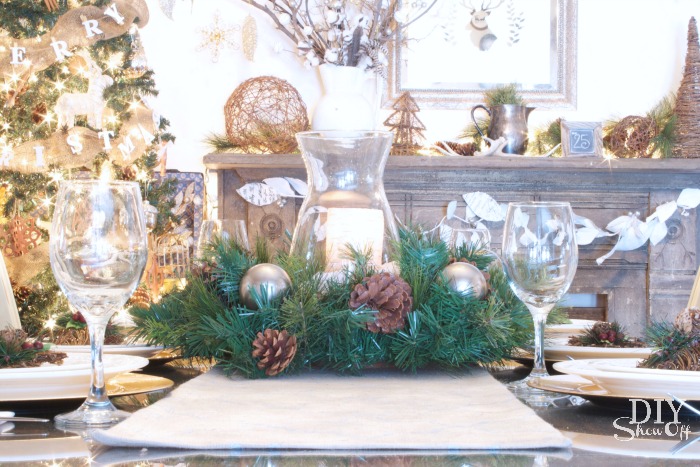
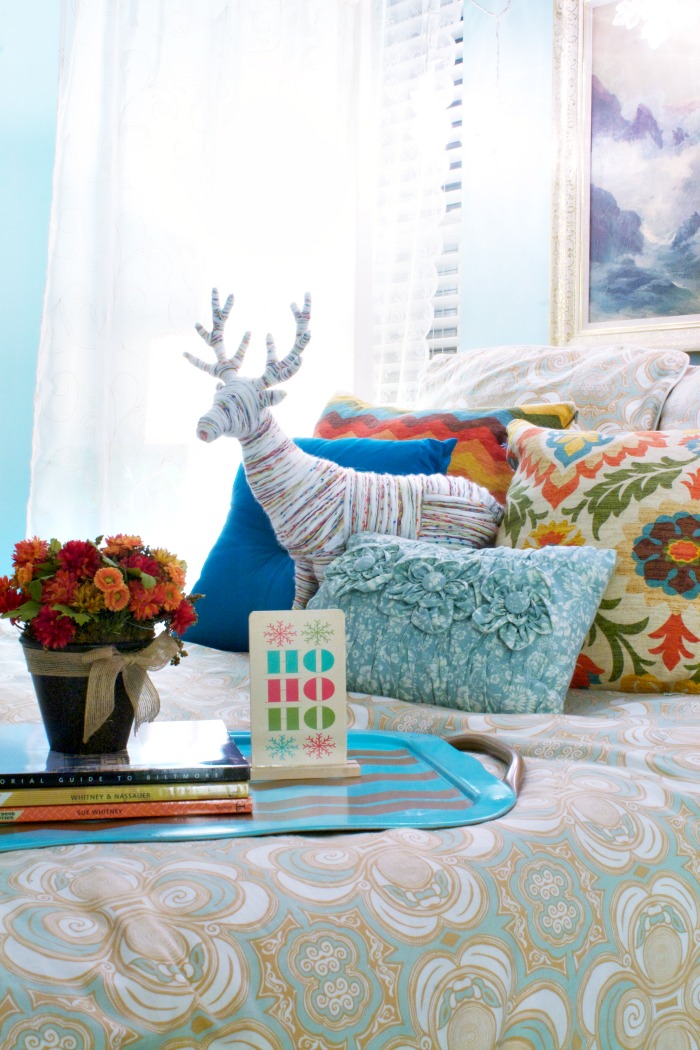
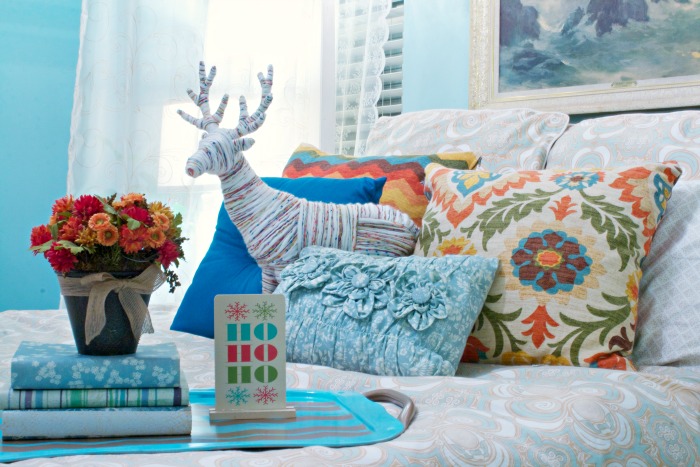
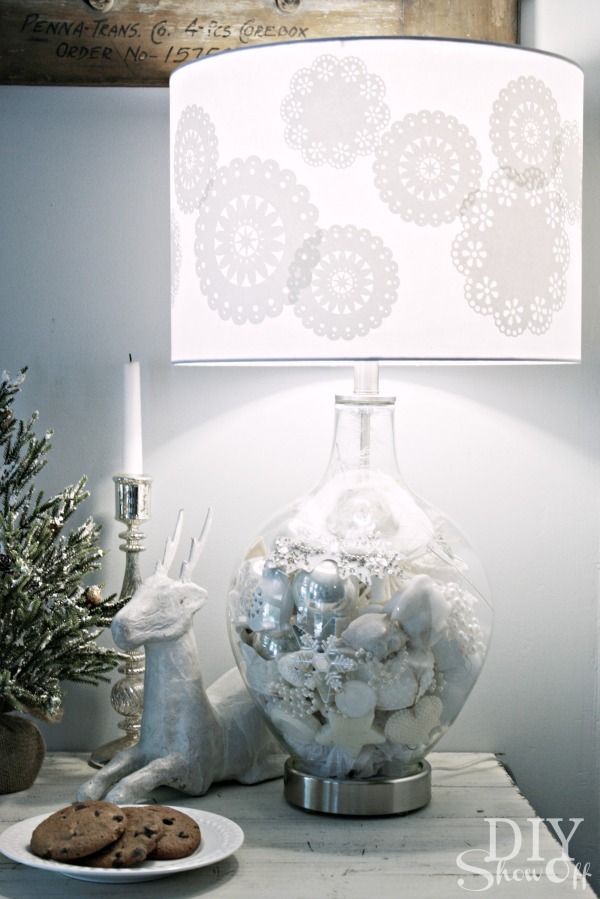
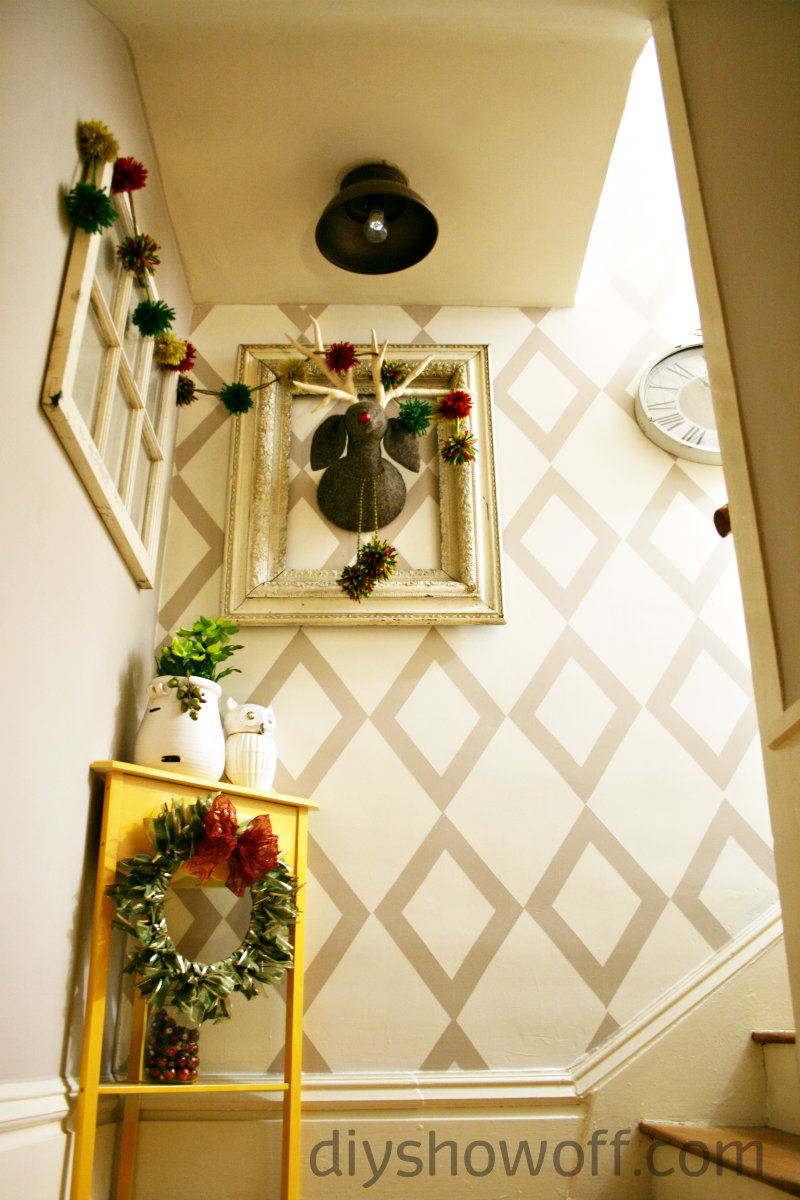
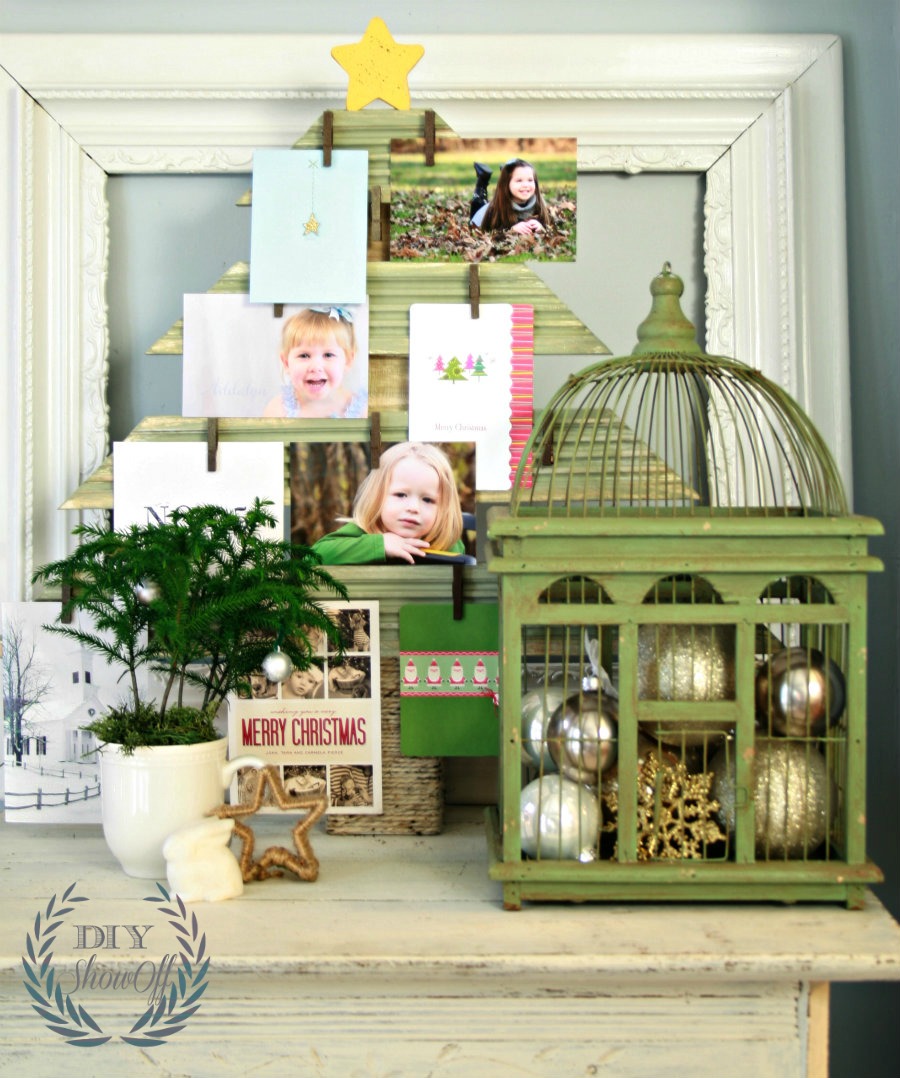
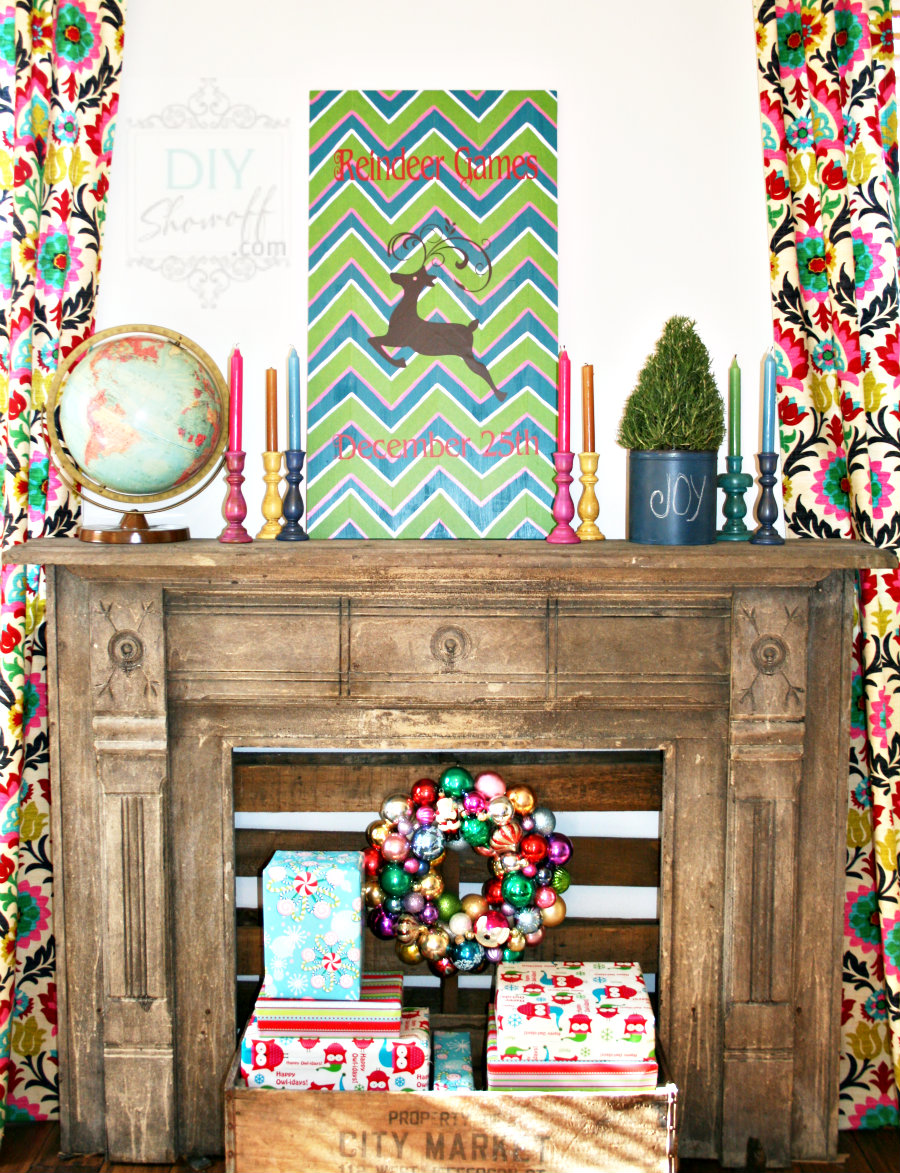
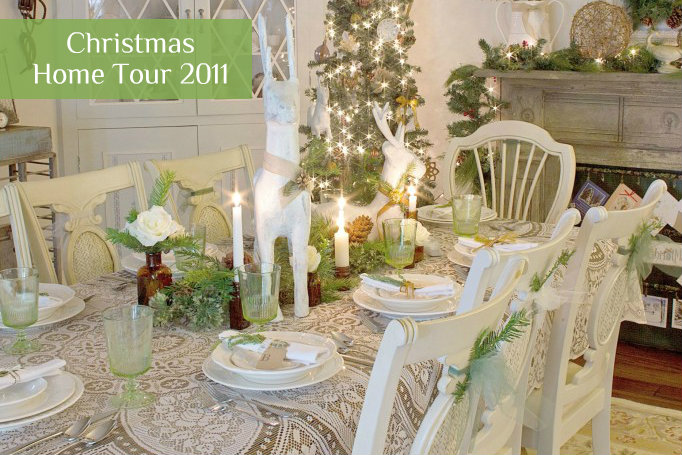
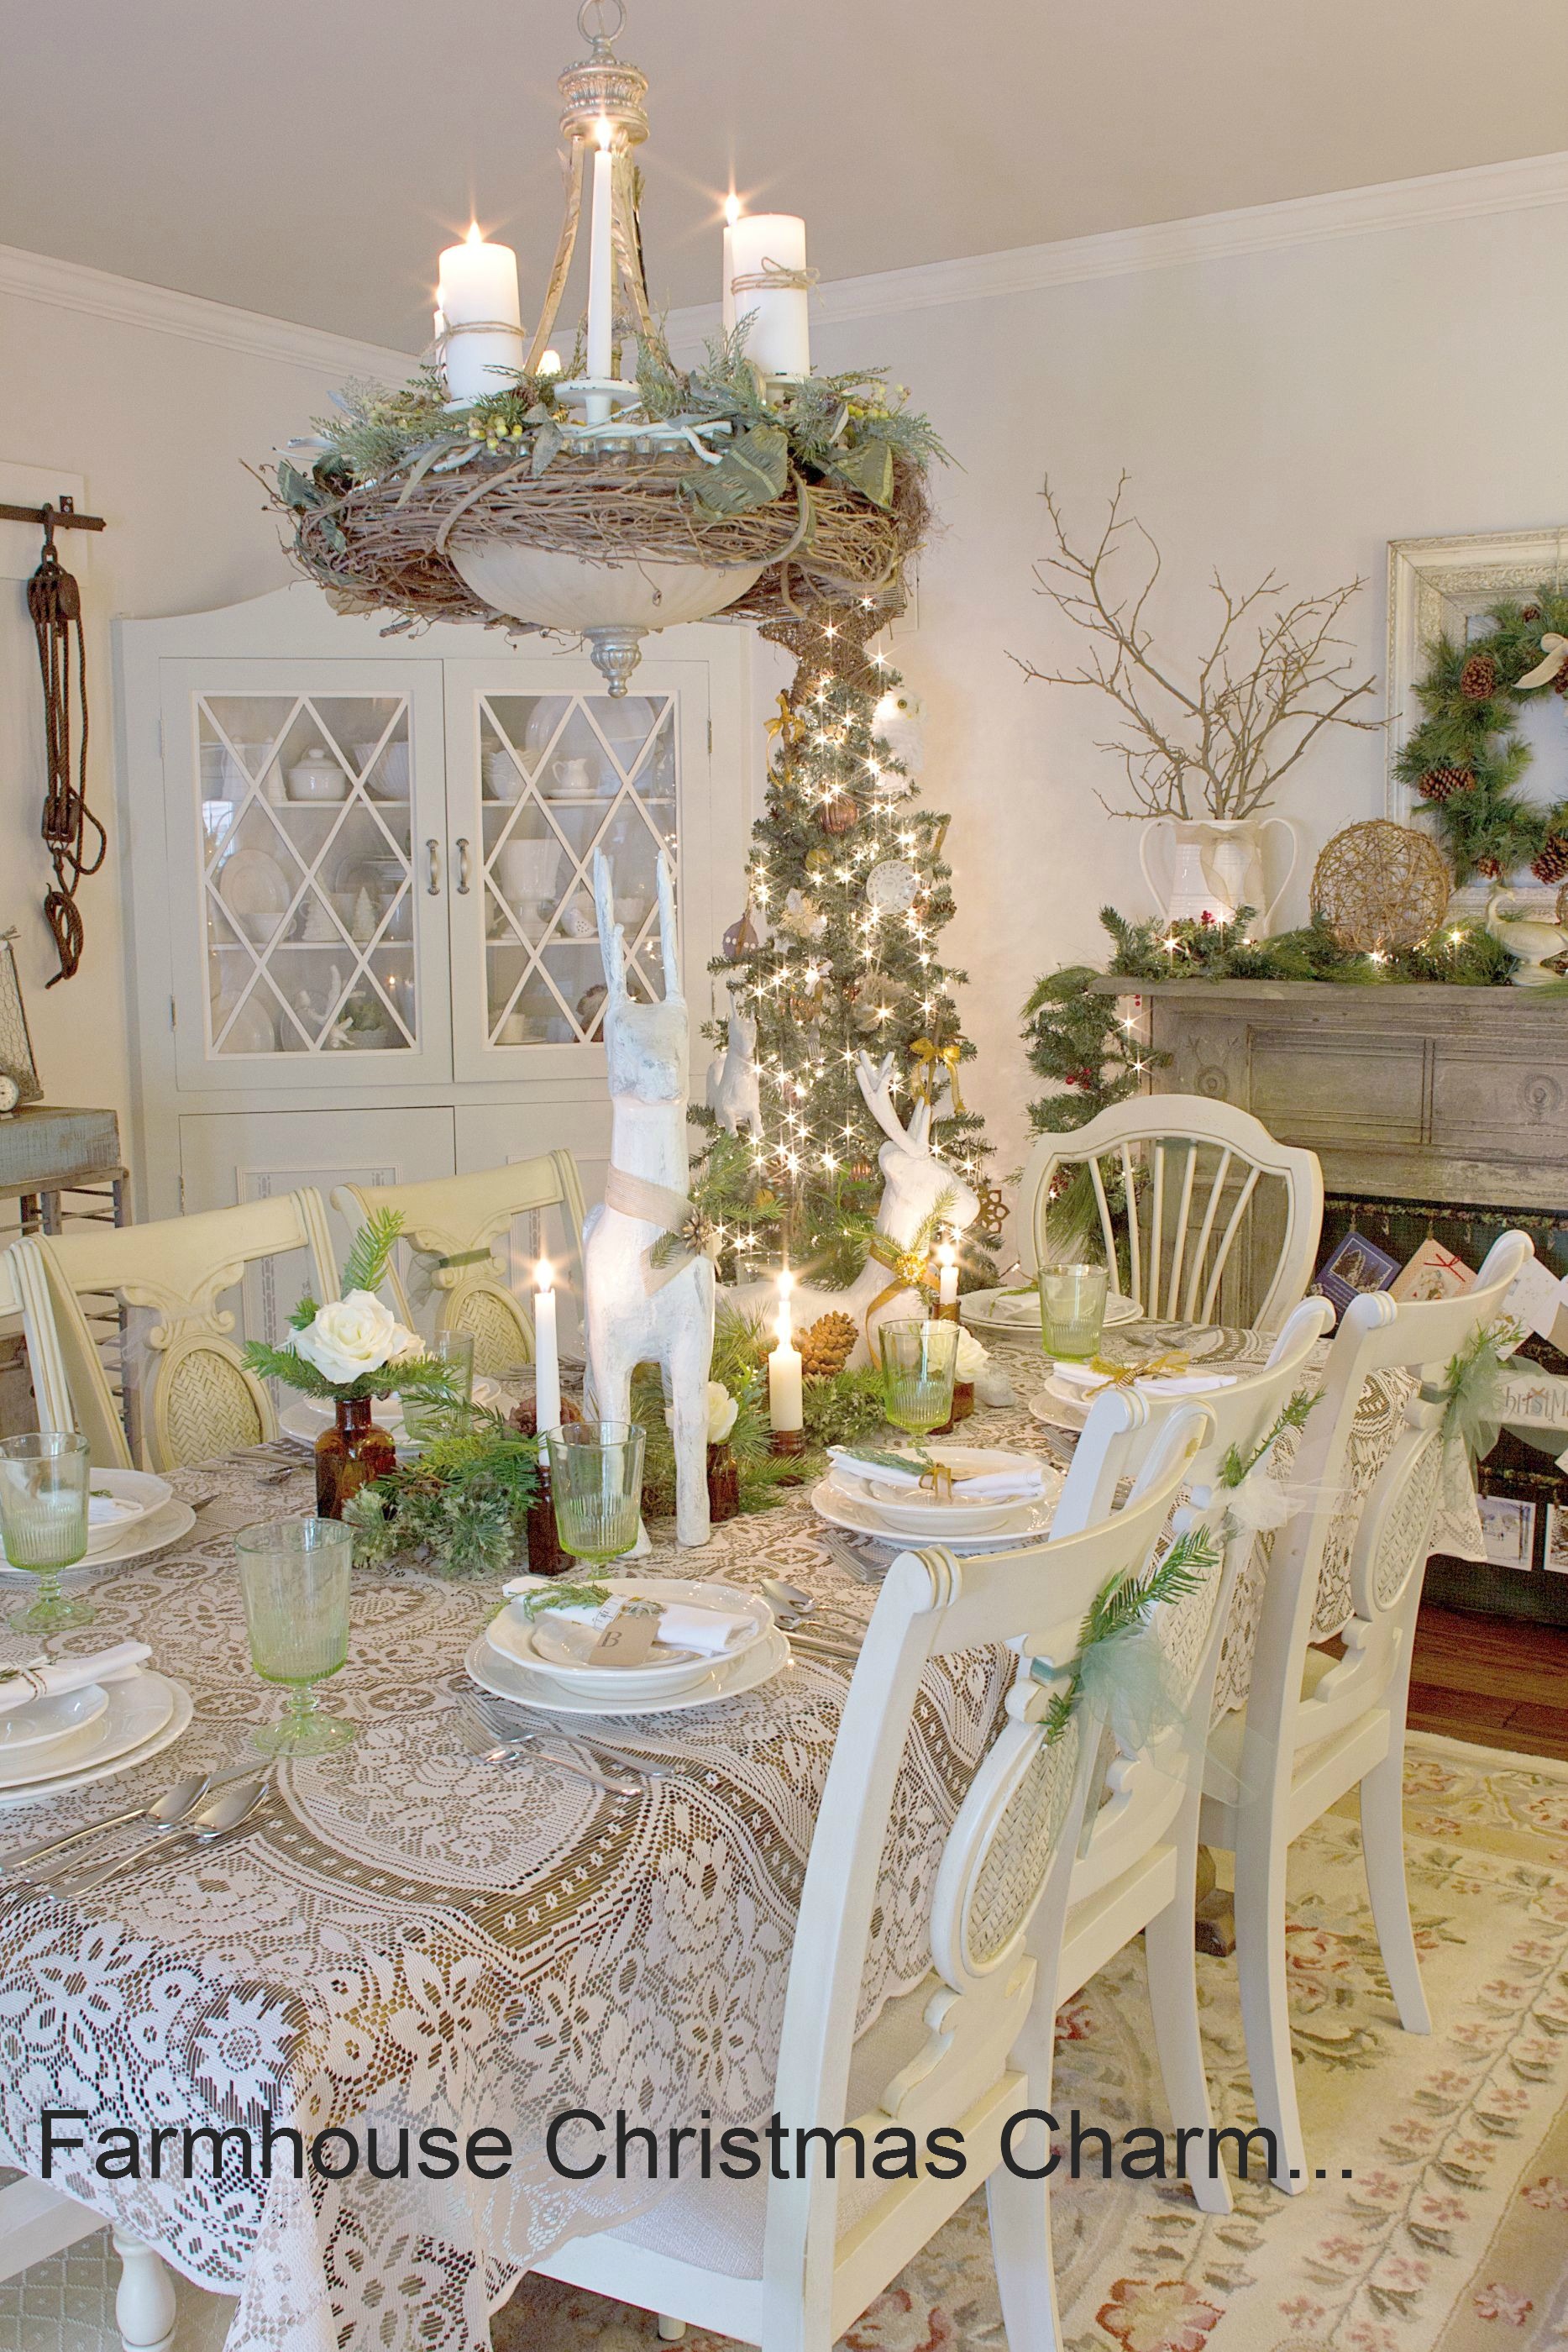
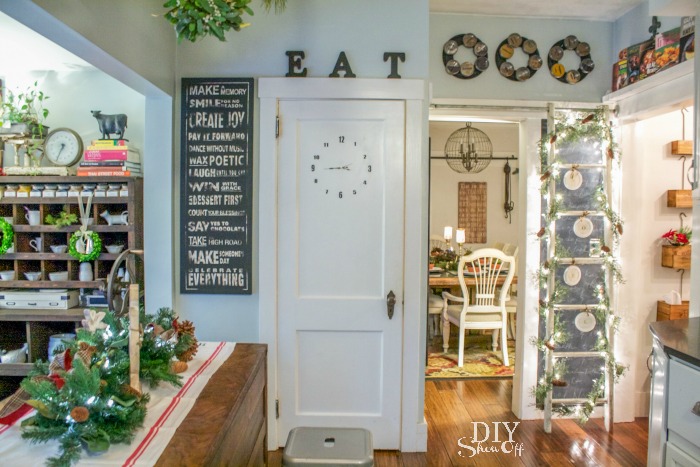
eclectic Christmas family room @diyshowoff #BSHTeclectic Christmas family room @diyshowoff #BSHTChristmas pantry at DIYShowOff Christmas office half bathroom Christmas vignette eclectic colorful Christmas Christmas centerpiece Christmas bathroom decor Christmas guest bedroom guest bedroom Christmas DIY Christmas Lamp stair landing Christmas time DIY Christmas Card Holder  colorful Christmas decor farmhouse christmas home tour white Christmas

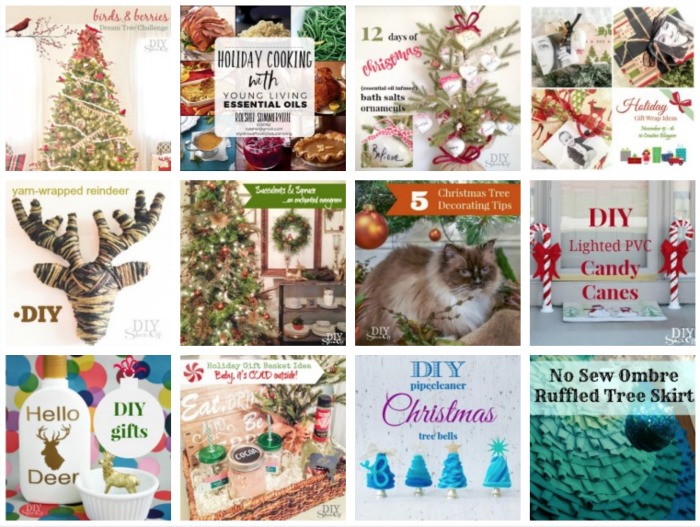
How about some holiday DIY Ideas? Check out the DIY project gallery!

Christmas DIY Holidaydiyshowoff holiday project gallery


DIY Vintage-Look NOEL Wall Art

‘Deck the halls with boughs of holly…fa-la-la-la-la-la”…well, I did that once. Holly is quite scratchy! Ouch! Guess what?! Hometalk.com and CountryLiving.com are hosting a Home for Christmas themed blog hop! Oh my Christmas! Time to belt out your favorite Christmas carols, top your cocoa with some marshmallows and to get inspired! Grab your slippers and get your pin-finger ready while you’re at it!
Home for Christmas

Once the Christmas tree was all decorated for the holidays,

birds and berries Christmas tree #michaelsmakers @diyshowoff Dream Tree Challenge  

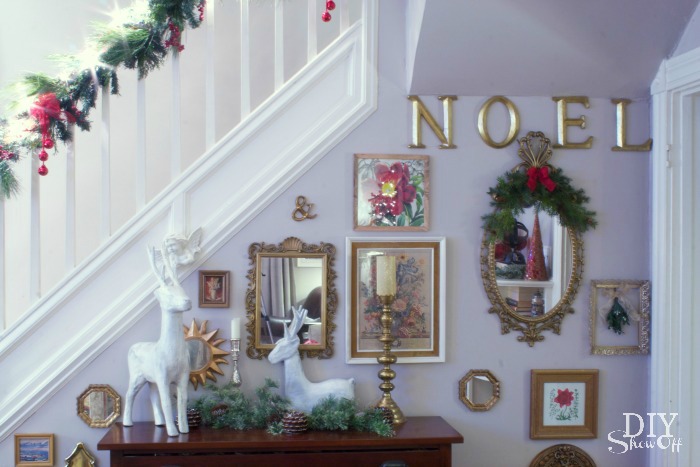
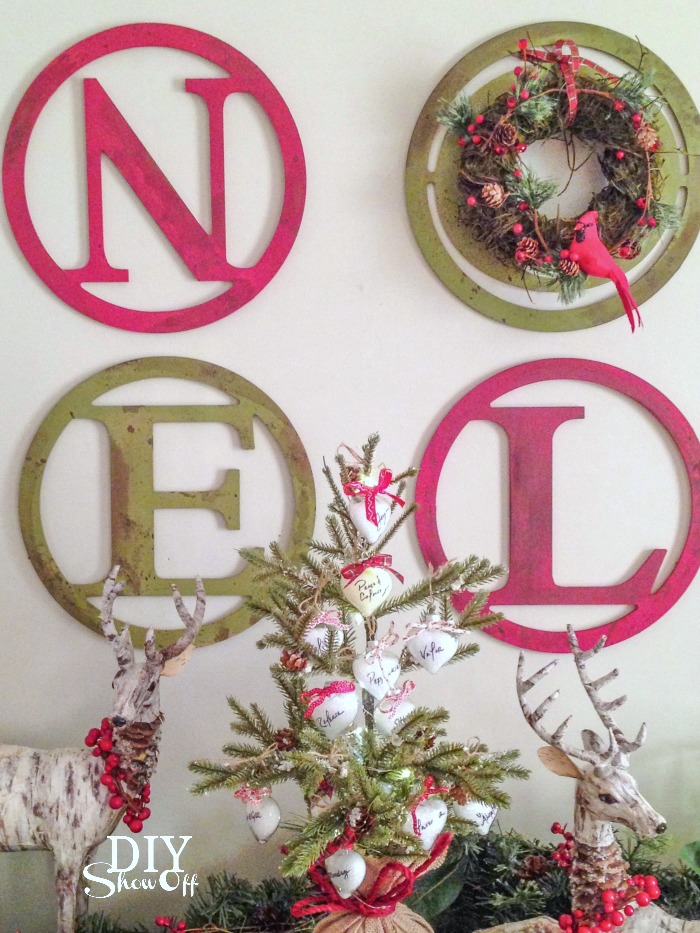
I needed a little holiday cheer for above the mantel. The stormy beach portrait that’s there most of the rest of the year really wasn’t going to work.  So I decided on a “NOEL” idea for filling the empty space. Did you see the cute wooden circled monogram letters at Michaels? I knew I wanted to do something with them. This is the perfect project!

DIY NOEL Christmas wall art tutorial @diyshowoff

Materials I used: (I’ve included some affiliate links so you can find the supplies easily and to maybe add a little jingle to Santa’s wallet.Ty!)

  • extra large monogram wreath letters N – O – E – L 
  • craft paint and foam brushes (I chose berry red and forest moss)
  • paper towels
  • velcro picture hanging strips
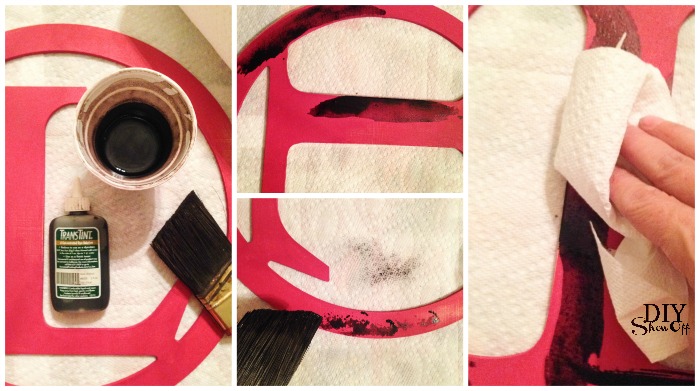
  • TransTint dye (Note: a bit on the pricy side, but this dye is AWESOME! It’s water based so it’s not oily and makes for a gorgeous wood stain. Tip: Easiest clean up ever! Just let brush dry and hide styrofoam cup on a shelf in the basement/out of the way. Dye will evaporate. Simply add water and resume use on your next project!) That bottle is going to last YEARS! 
  • paint or chip brush

What I did: 

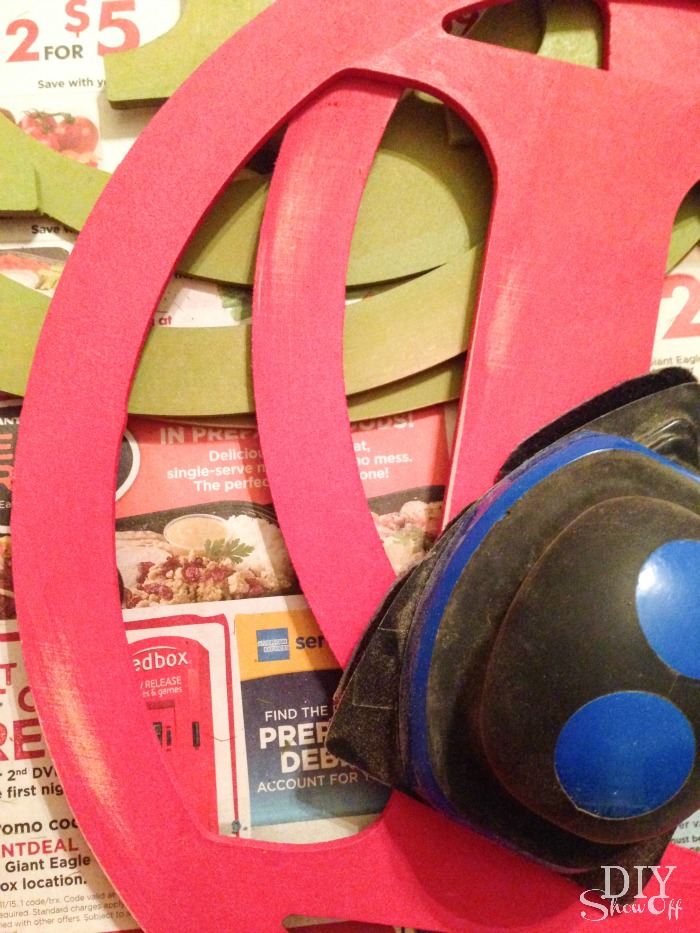
1. I gave each letter two coats of paint and let dry. Note: One coat/dry brushing would actually look fantastic too! I wish I was a little more carefree. One coat/dry brushing means step 4 is going to look WAY better…so adopt a technique as if you’d had an extra cup of eggnog. Tip: If hanging in a grid pattern and using two colors like I did, paint the N and L the same color and the O and E the same color to avoid one color on the left, one color on the right. Mix it up!  

DIY NOEL Christmas wall art tutorial @diyshowoff

2. Sand the edges, distress as desired. 

DIY NOEL Christmas wall art tutorial @diyshowoff

3. Next, add a drop or two of TransTint dye to water in a styrofoam cup, more TransTint dye for a darker tone if desired. TransTint dye WILL stain fingers and work surface. I recommend wearing gloves and protecting your work table with layers of newspaper or a tarp or old vinyl table cloth or if you live in a warmer climate (lucky you…make up the guest room for my impending arrival!), work outside.

DIY NOEL Christmas wall art tutorial @diyshowoff

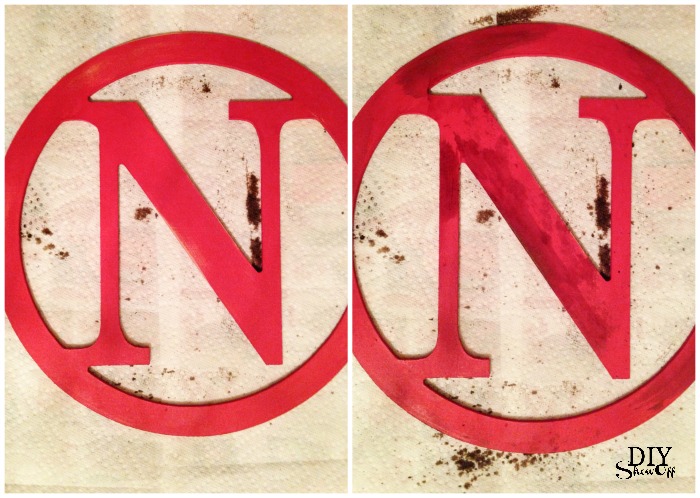
4. Dip the brush into the TransTint dye, tapping excess from the brush. Randomly brush, fling, stipple, drip (get messy and creative – have fun!) the TransTint dye onto the painted wooden letters. Wipe away or dab with paper towels as needed. Sprinkle TransTint to create a  “dirty, worn, aged” finish. 

DIY NOEL Christmas wall art tutorial @diyshowoffDIY NOEL Christmas wall art tutorial @diyshowoff

5. Let dry TransTint dye dry overnight. 

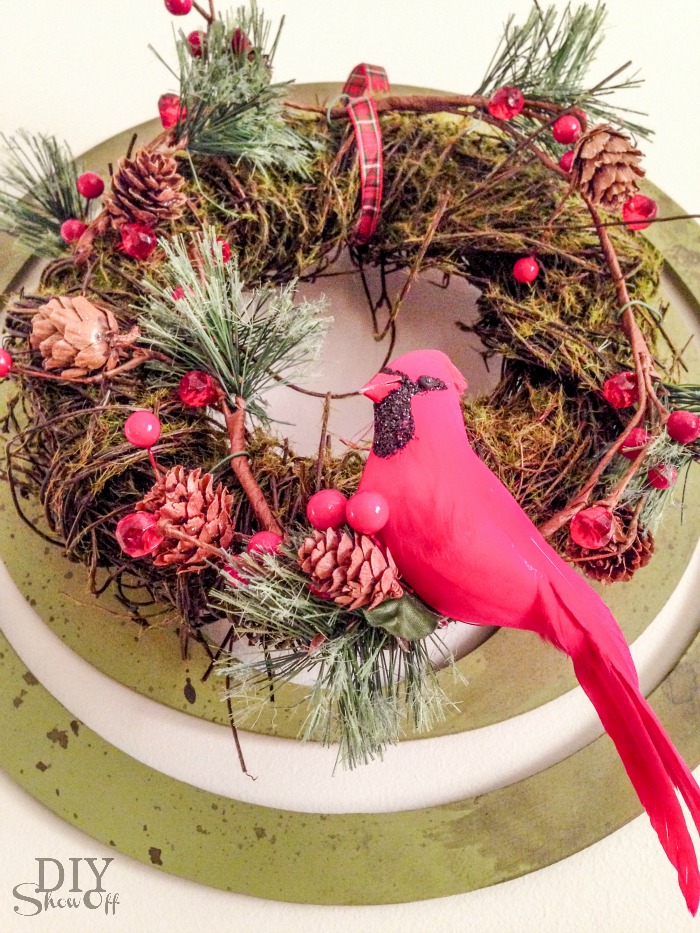
6. Optional: Secure a small holiday wreath to the “O” with a ribbon for a touch of texture. 

DIY NOEL Christmas wall art tutorial @diyshowoff

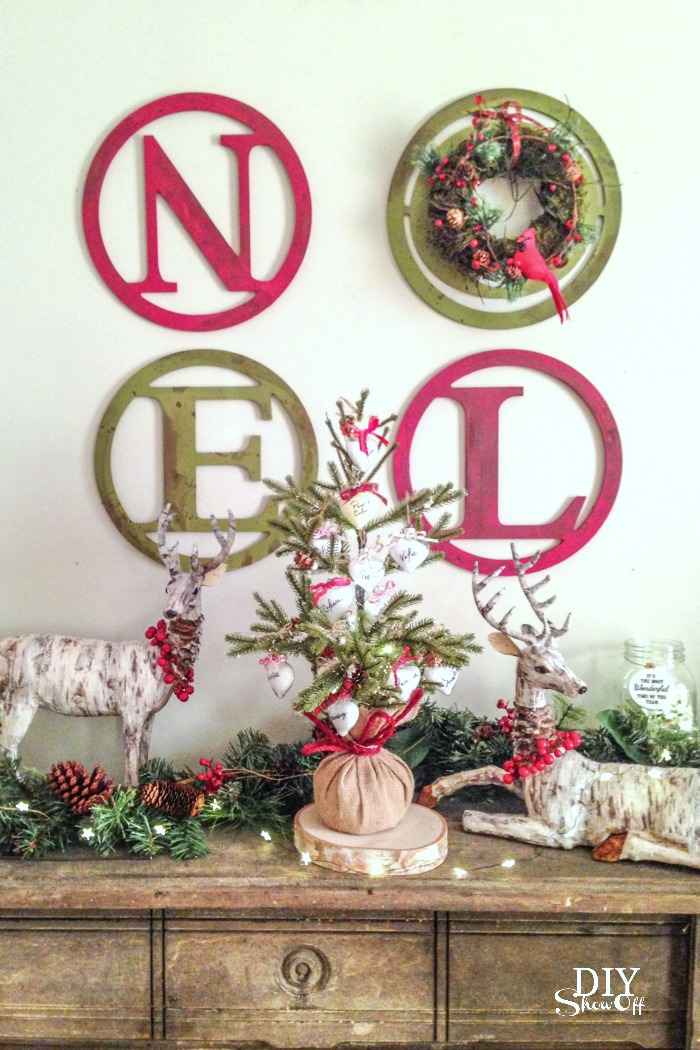
7. Hang and display using velcro picture hangers. You might want to grab a level while you’re at it. 

DIY NOEL Christmas wall art tutorial @diyshowoff

I love the worn, aged finish. Vintage goodness! What do you think? 

DIY NOEL Christmas wall art tutorial @diyshowoff

See MORE holiday DIY and decorating inspiration from these sweet and talented HomeTalk friends:

 Loading InLinkz ...

3 Ways to Wrap Odd Shaped Objects – Holiday Hack Challenge

Michaels' Makers Holiday Hacks @diyshowoff

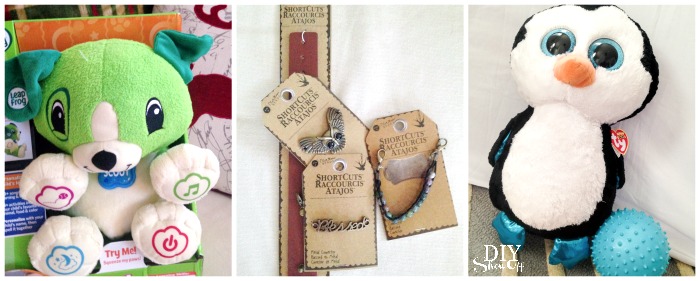
The Michaels’ Makers December Challenge is “Holiday Hacks”, how to creatively tackle everything the holidays might throw at you! Some helpful ideas for making holiday prep go smoothly. And I’m sharing 3 ways to wrap odd shaped objects. For example: a toy that’s got part of a box package, jewelry and a stuffed animal/ball.

these odd shapes…

Michaels' Makers Holiday Hacks @diyshowoff gift wrapping odd shaped objects

now look irresistible…

#michaelsmakers #makejolly Holiday Hacks @diyshowoff gift wrapping odd shaped objects

Challenge: How to Wrap Difficult Objects

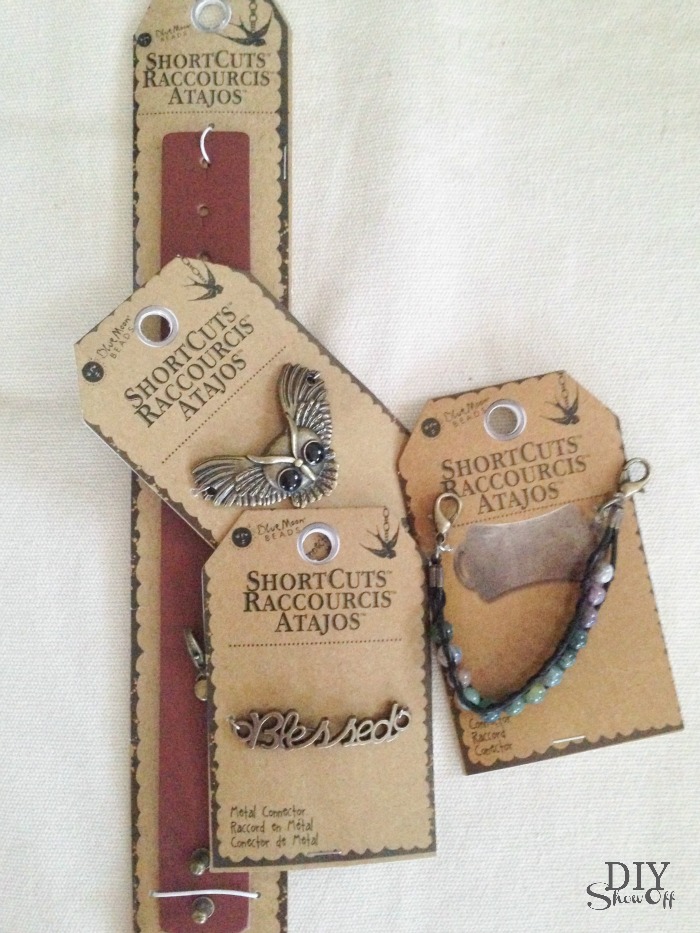
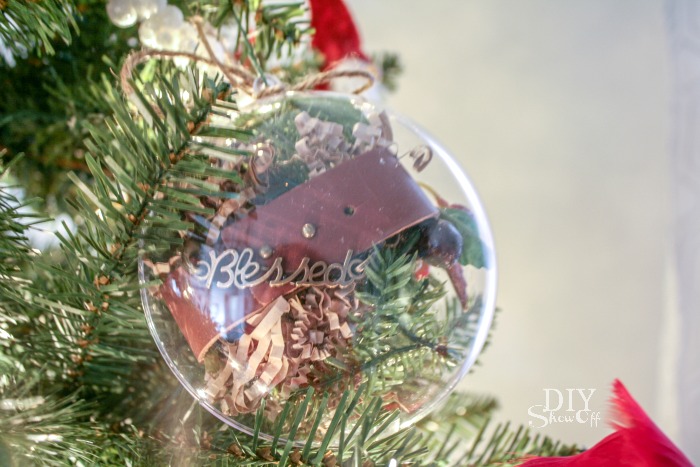
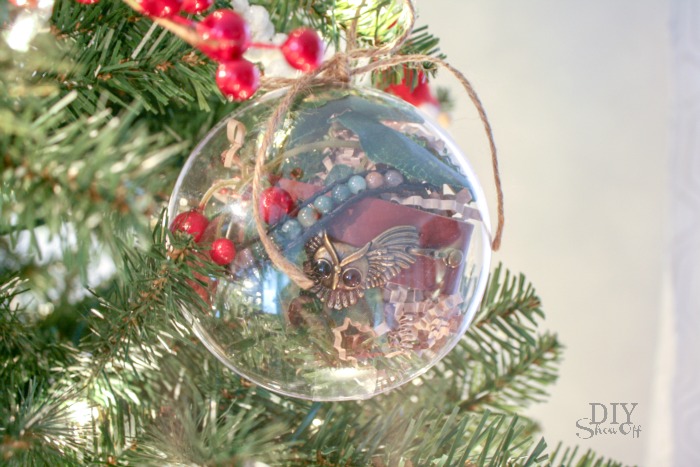
1. Gift wrap idea with a little handmade DIY touch: create a gift using a gift. Add jewelry or small gifts to a fillable ornament (this one comes in two pieces that snap together) with some filler (crinkled shredded paper or pine & berries). Embellish with a hook and bow. Almost too cute to open, isn’t it?

these…

Michaels' Makers Holiday Hacks @diyshowoff gift wrapping odd shaped objects

wrapped this way…

Michaels' Makers Holiday Hacks @diyshowoff gift wrapping odd shaped objects Michaels' Makers Holiday Hacks @diyshowoff gift wrapping odd shaped objects 

Love that jewelry shown above? Me too! Shop HERE (affiliate link). Don’t forget to grab the coupon below!

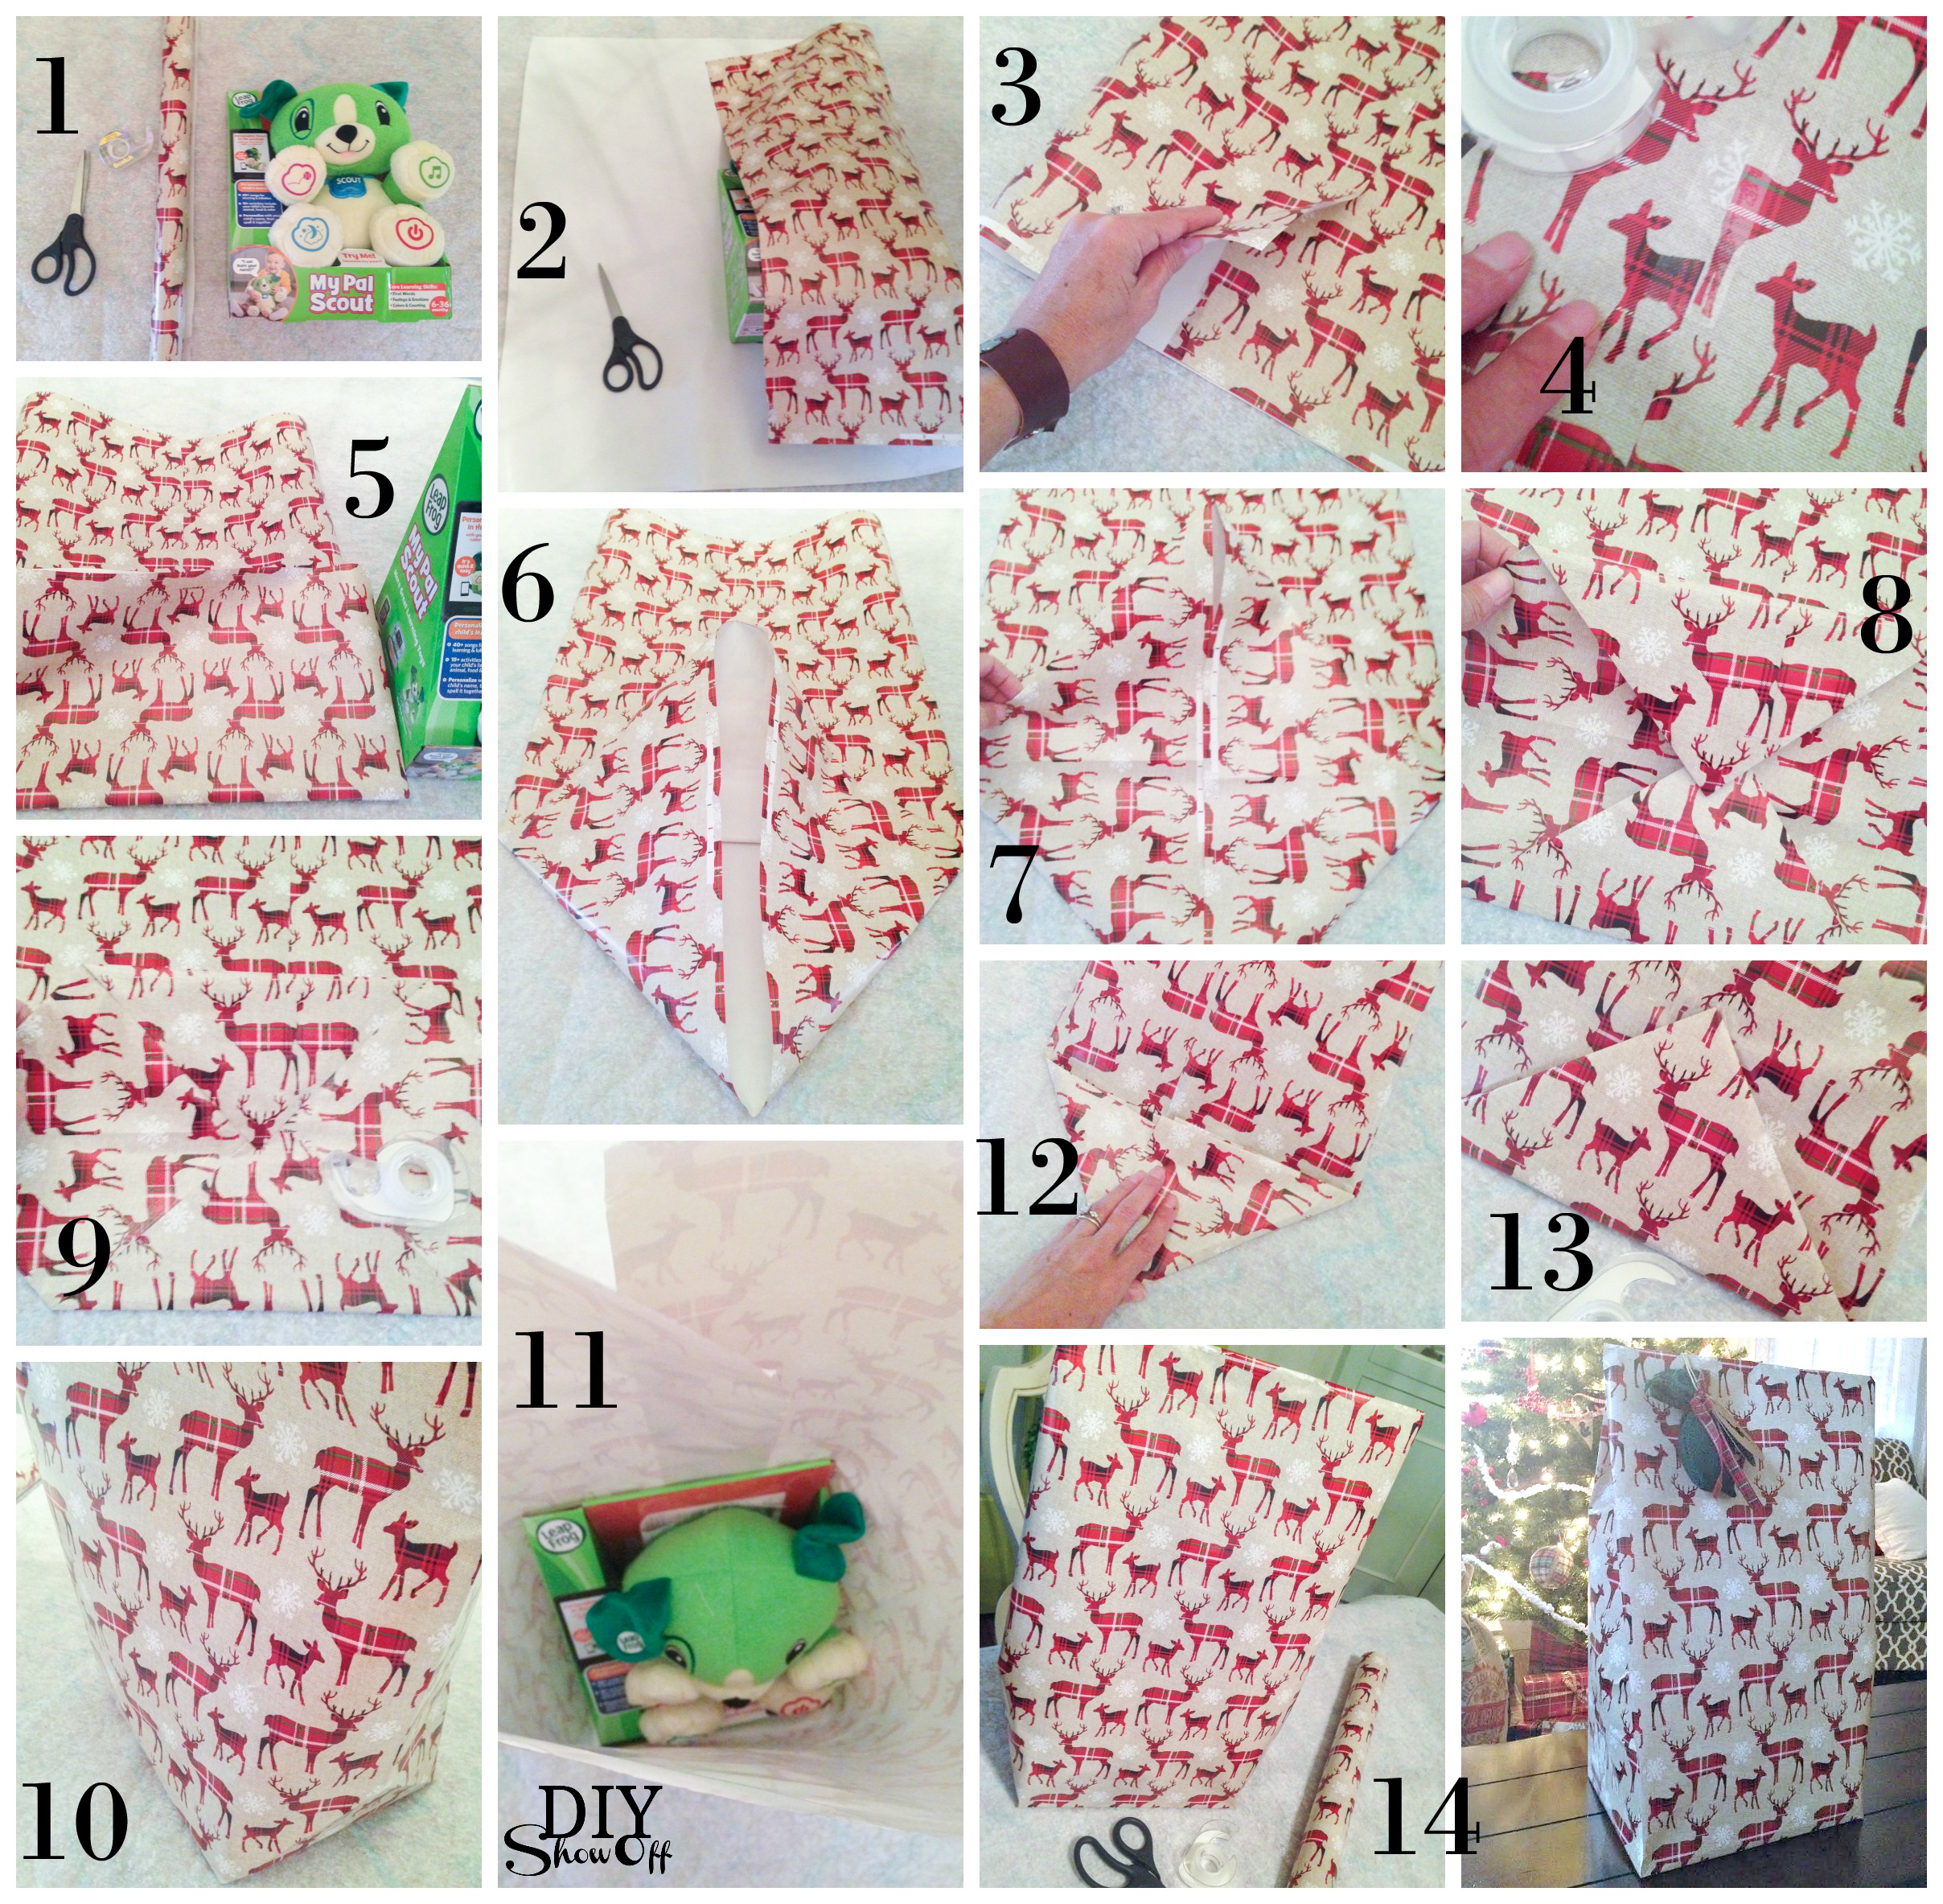
2. DIY! Create your own custom gift bag using your supply of wrapping paper for difficult shaped objects. 

Michaels' Makers Holiday Hacks @diyshowoff gift wrapping odd shaped objects

Instructions: 

  1. Gather supplies: wrapping paper, scissors, tape and gift.
  2. Cut a piece of wrapping paper that fits around the gift.
  3. Fold paper so seams meet in the center.
  4. Tape seam.
  5. Fold bottom up, making sure that the folded area fits the depth/width of the gift. 
  6. Open folded area and shape paper to create a diamond.
  7. Press seams with your fingers to create diamond shape. 
  8. Fold down top and bottom of diamond to meet in the center, overlapping a bit. 
  9. Tape seams. This creates the bottom of the gift bag. Tape well!
  10. Open gift bag.
  11. Place gift into the bag.
  12. Fold top down.
  13. Tape the package closed. 
  14. Embellish with ribbon, bow, tag. 

All set for giving!

Michaels' Makers Holiday Hacks @diyshowoff gift wrapping odd shaped objects

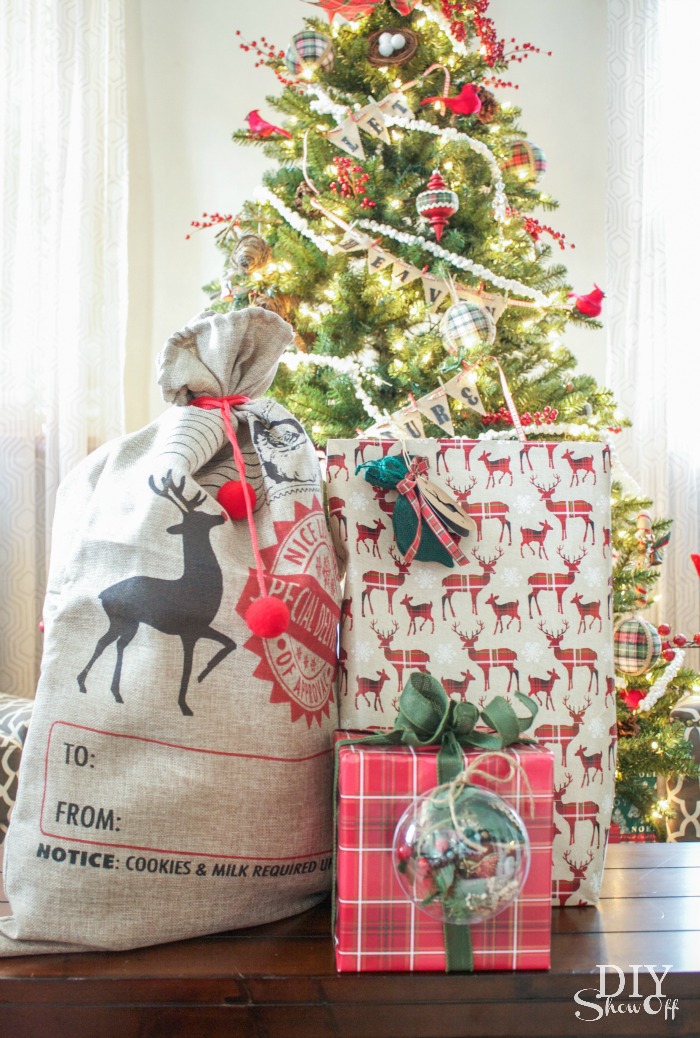
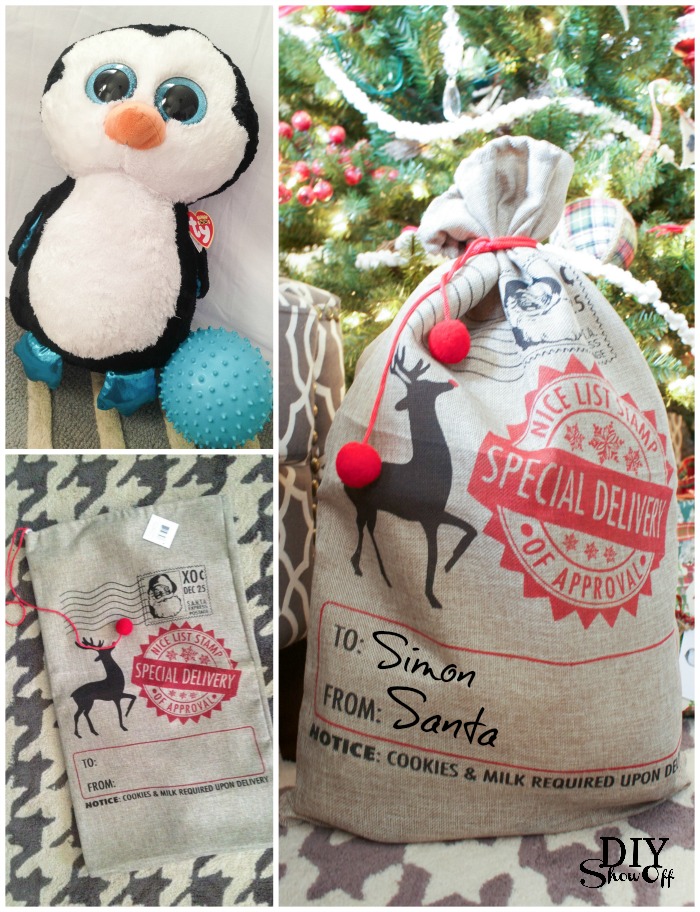
3. And the obvious: A gift sack! Not just any ordinary gift bag, this adorable gift sack (available at Michaels) is a cuter option than the traditional gift bag AND something that will get use year after year. A re-usable gift! Love it! Perfect for oddly shaped gifts OR toting your stash of gifts on the go. 

Michaels' Makers Holiday Hacks @diyshowoff gift wrapping odd shaped objects

Cute, right? I love gift wrapping and these ideas are so helpful when it comes to solving the challenge of oddly shaped presents. Want to see more Holiday Hacks?

Michaels' Makers Holiday Hacks @diyshowoff

  • Michaels has so many holiday project ideas with instructions at Michaels.com, including gift wrapping, home décor, last minute gift ideas, hostess gifts and more.
  • Check out the other four holiday hack topics and the unique ideas from more creative Michaels’ Makers on the Michaels’ blog, The Glue String.
 Loading InLinkz ...

*I received a Michaels gift card to complete this challenge. All ideas are my own. 😉

Grab a coupon!
This Week's Coupon at Michaels.com