Every once in a while, I meet a blog friend who not only shares my passion for do-it-yourself, but we share the same style and design ideas as well. Meet: Beth from
Category Archives: windows
DIY Project Parade and Wallpaper for Windows Giveaway
THIS GIVEAWAY IS NOW CLOSED. Winner has been contacted via email. Congratulations, Elizabeth G.!!!
It’s that time of the week! Time to share your latest do-it-yourself projects. I’m always so inspired by your creativity and hard work.
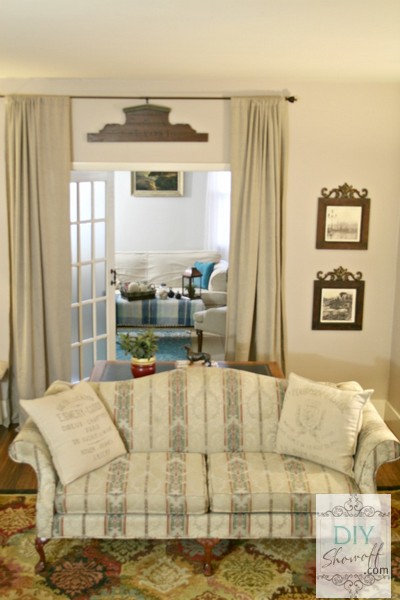
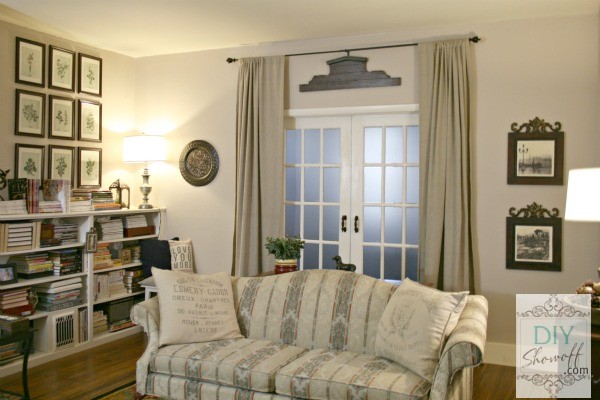
I’m still slowly making progress in the family room. Our living room and family room are joined by a set of interior French doors. Both rooms serve similar purposes. The living room is where Mr. DIY and I hang out and watch tv. The family room is where the kids hang out. So a little privacy between the two rooms is preferred.
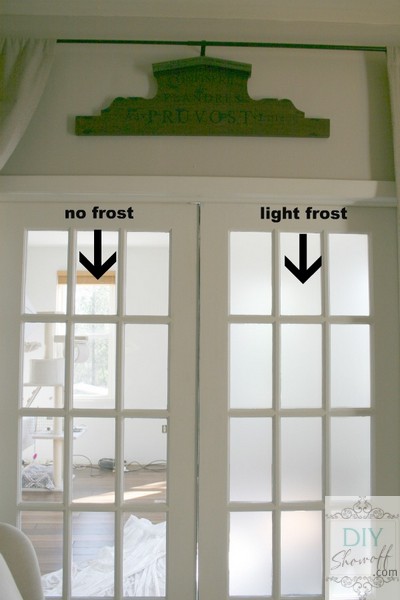
Wallpaperforwindows.com has a huge selection of decorative etched, stained glass and privacy window films. I chose a light frost privacy film for the windows (just measure size and quantity in the order and they cut to size). It’s a translucent film that obscures visibility through the glass. Perfect for allowing the light to shine through but gives a little privacy between the rooms. I was pleasantly surprised at how easy it was to install too!
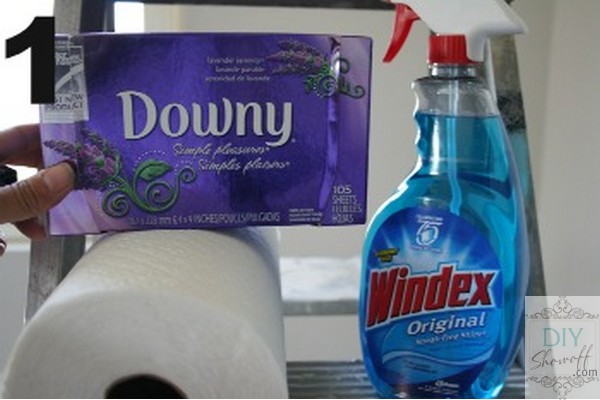
First, I cleaned my windows. I spritz the glass with Windex, wipe with a dryer sheet and clean with a paper towel. I think I saw this trick on Pinterest and it works so well.
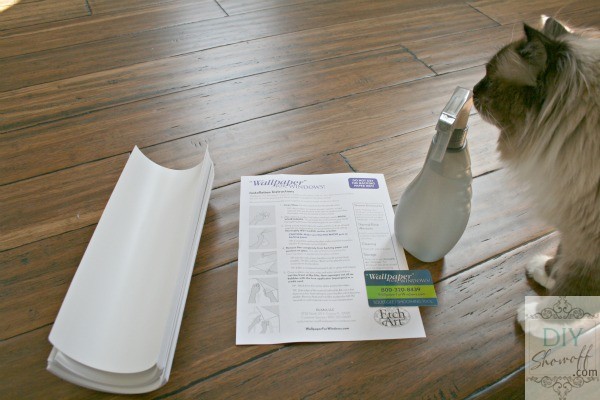
Once the window was dry, I gathered my supplies and washed my hands:
- Spray bottle with water and a few drops of dish soap (do not shake)
- Window film
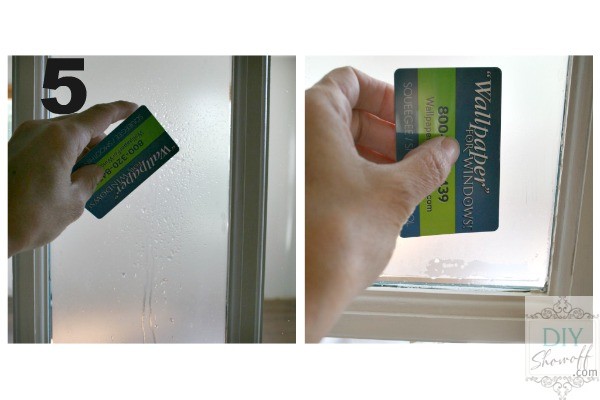
- Squeegee (credit card type tool provided with my window film order)
- Paper towels
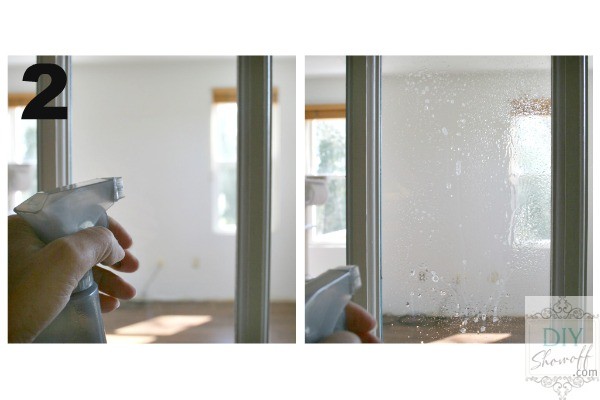
Mist the glass with the soap/water solution.
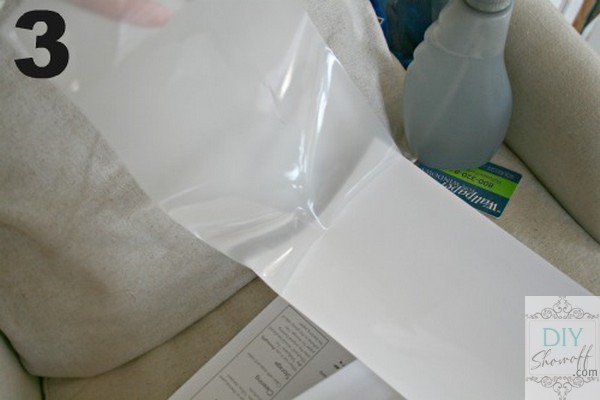
Peel away the window film from backing. (I recommend pulling away from the long side first, not the shorter end to prevent crease/fold line.)
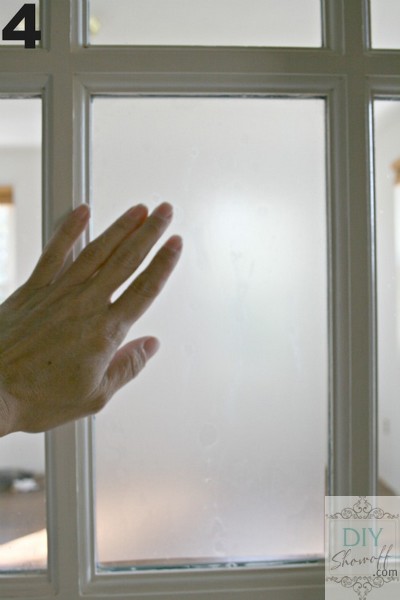
Place onto misted glass. I love that it’s vinyl and not “sticky” (It’s adhesive-free! No residue when removing in the future). Film can be easily moved around for perfect placement.
Once in place, mist the film with soap/water solution. Working from the middle, squeegee the film (this pushes the water and air bubbles out).
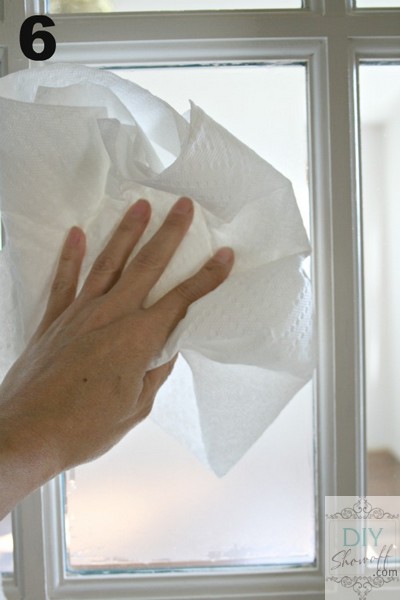
Simply dry with a paper towel.
It’s that easy.
See the difference?
Privacy!
Before BEFORE (before we moved in)

Before
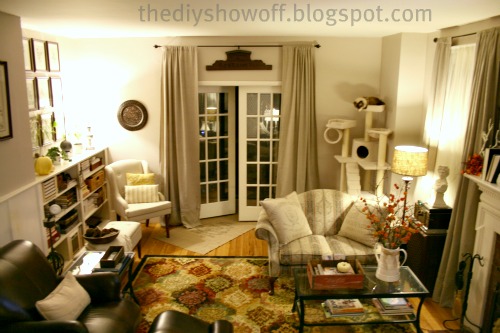
After
(I can’t wait to show you looking into the living room from the family room…working on it!)
Wallpaperforwindows.com is giving away a $75 store credit to one lucky DIY Show Off winner! Giveaway starts today and ends Friday, Apr. 6. Open to US and Canadian residents only. I chose the light frost privacy film but there are more options:
- Colored window tint (not just frost but a rainbow of color selections)
- Frost
- Leaded glass-look
- Stained glass-look
- Etched glass-look
Let’s see what you’ve been up to!

<div align="center"><a href="https://diyshowoff.com/category/other/diy-project-parade/" title="DIY Show Off"><img src="https://i899.photobucket.com/albums/ac195/Roeshel/DIYprojectparadebutton-1.png" alt="DIY Show Off" style="border:none;" /></a></div>
1. You must use the button above or text and link to this post to share the linky love. Here is the link: https://diyshowoff.com/category/other/diy-project-parade/.2. Your post must be recent, shared at one DIY Project Parade only (not continuously) and be DIY related.
7. Visit a few other links to make some friends and to collect some creative inspiration!
$75 CREDIT ~ WALLPAPER FOR WINDOWS GIVEAWAY
How to enter:
- Leave a comment on this post sharing where you would use this product. Interior or exterior doors? Window? Mirror?
- Leave a comment regarding your thoughts today.
- Leave a comment about each way you’ve shared a link to this giveaway to help spread the word. (Twitter, FB, G+, Pinterest, blog)
- Visit Wallpaperforwindows.com and comment which product you’d choose.
Disclosure: I received compensation/free product for my review and tutorial. All opinions are my own and uninfluenced by the sponsor.


