We’ve had this wastepaper basket for a few years. It’s so pretty but no one sees it sitting in a guest bathroom corner plus the bottom had fallen out. Time to replace it with something else and re-purpose the pretty can.
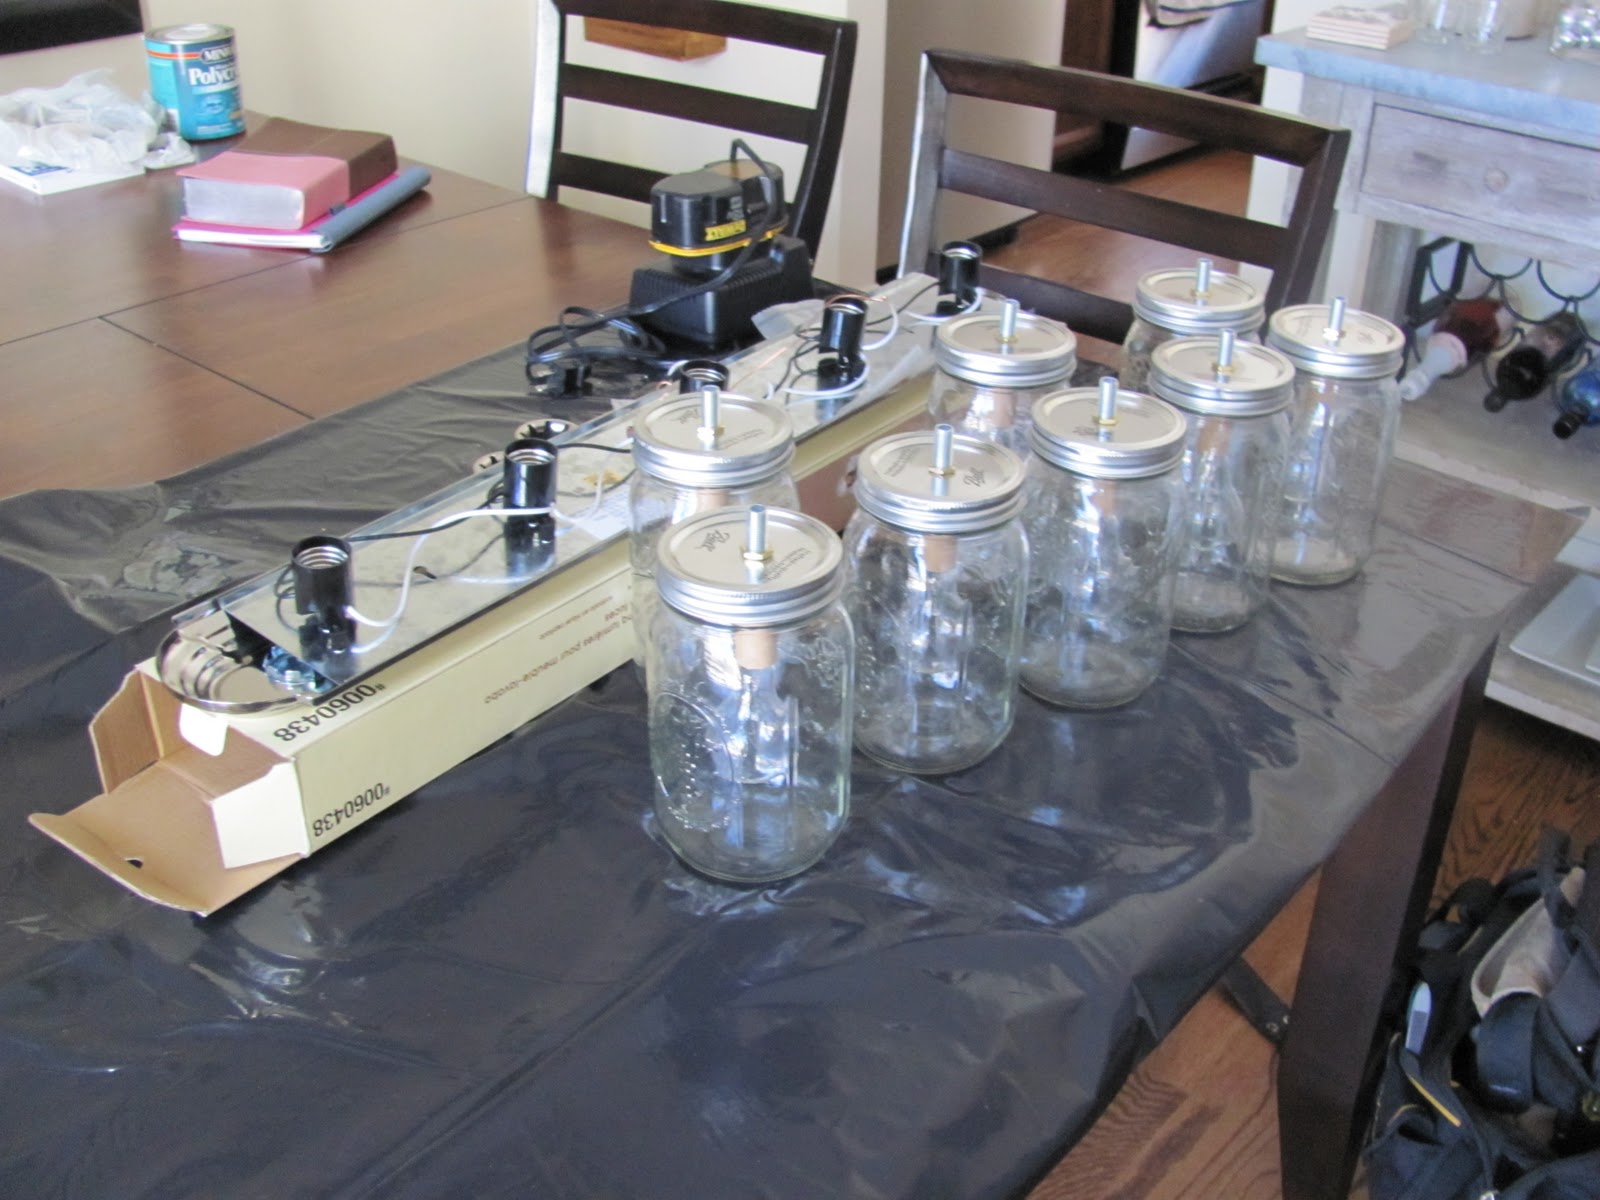
True Value sells lamp kits – this one was around $11. Lamps can be made out of pretty much anything. We used the wastepaper basket and a plastic charger that I already had (Michael’s).
If you’re repurposing, clean and disinfect wastepaper basket. Also – because we used a charger, I have to reach in through the top of the shade to turn on the lamp. I don’t mind because it’s what we had on hand and I love the result but you might want to use a smaller plate or if the design on your wastepaper basket allows, just turn it upside down and drill a hole in the bottom.
Also – this is something you can do yourself. Mr. DIY took over when I asked about the drill. I was all set to Do-It-Myself but I don’t mind. It’s fun to work on things together too! 🙂
1. Mark the center of the charger and drill a hole big enough for a cord.
2. Drill a hole into the back side of the wastepaper basket big enough for a cord.
3. Following the instructions, we inserted the lamp nipple through the charger and secured with the adapter on the bottom and lock nut on the top.
4. Put the check ring on top of the lock nut.
5. Put the harp on top of the check ring.
6. Unscrew the set screw a bit from the socket cap and screw the socket cap to the lamp nipple.
7. Insert the wire end of the cord through the hole in the wastepaper basket.
8. Pull through the lamp nipple in the charger.
9. Insert wire end of cord through the socket cap and pull through so there’s enough room to work with it.
10. Attach to socket shell according to package instructions. Ribbed wire attaches to silver screw. The other wire attaches to the brass screw (terminal screws).
11. Insert socket shell into socket cap and tighten set screw.
12. Add harp top if you took it off during this process.
13. Glue charger to top of wastepaper basket.
All done! Add a bulb and shade.
I love how it turned out. I love that we repurposed it into a lamp. It’s going in the guest bedroom (our next project after the kitchen).
What do you think?
Have you attempted to DIY a lamp? A lot easier than it sounds, isn’t it?
*~*~*~*~*~*~*~*~*~*~*~*~*~*~*~*~*~*~*~
I was one of the bloggers selected by True Value to work on the DIY Squad. I have been compensated for my time commitment to the program as well as my writing about my experience
. I have also been compensated for the materials needed for my DIY project. However, my opinions are entirely my own and I have not been paid to publish positive comments.
I also wanted to say thanks to Mike and Katrina at
for featuring my bathroom! Hurray!