Painted Wooden Candlesticks

I recently shared an easy mirror update inspired by a wood + turquoise bowl…

inspiration:

H&M turquoise and wood bowl

mirror update:

One mirror, four ways at diyshowoff.com

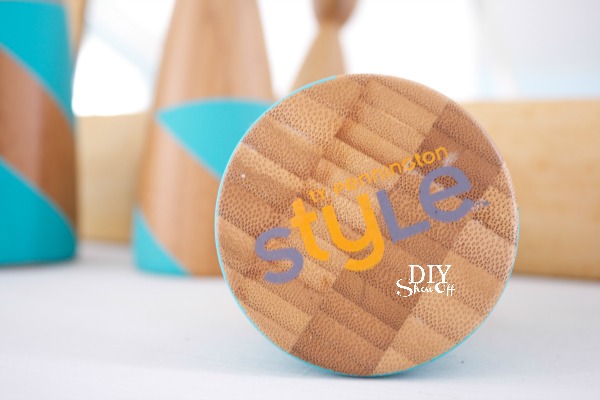
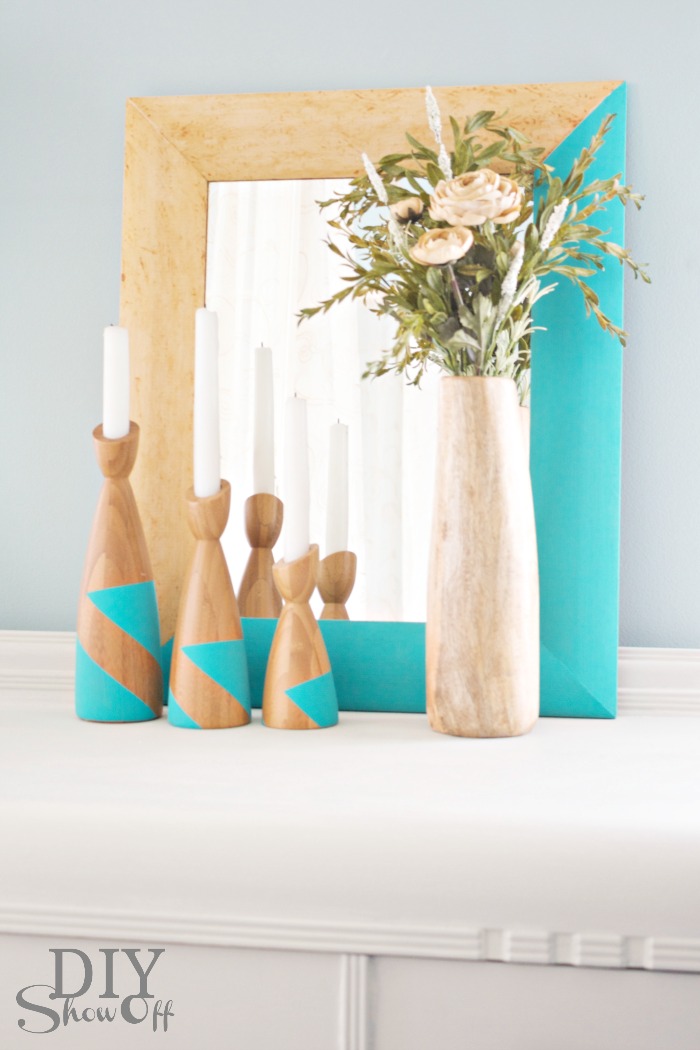
Then I spied a set of three {Ty Pennington Style…love his style, don’t you?} candlesticks for $4.99 at the thrift store and couldn’t resist creating a wood + turquoise collection. 

turquoise + wood painted candle tutorial at diyshowoff.com

Materials:

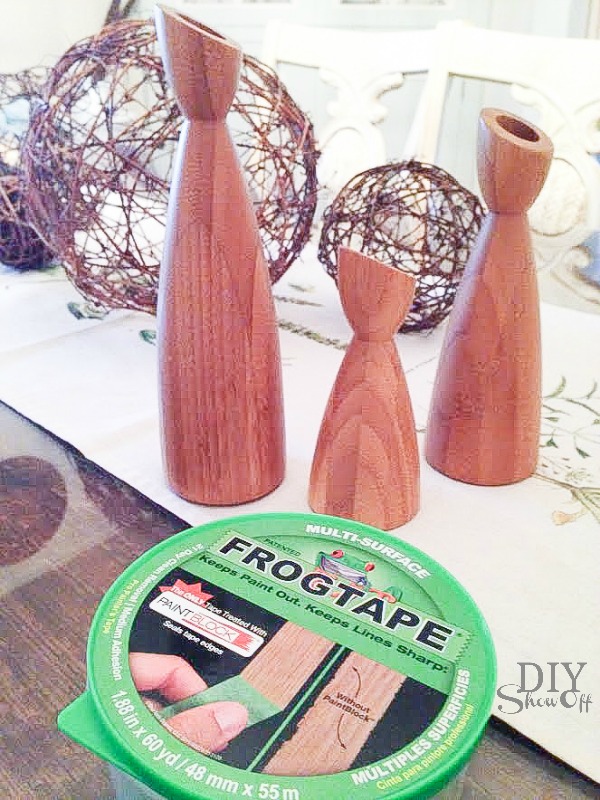
  • Wooden candlesticks
  • FrogTape®
  • Paint (Maison Blanche Furniture Paint, color is “colette”.)

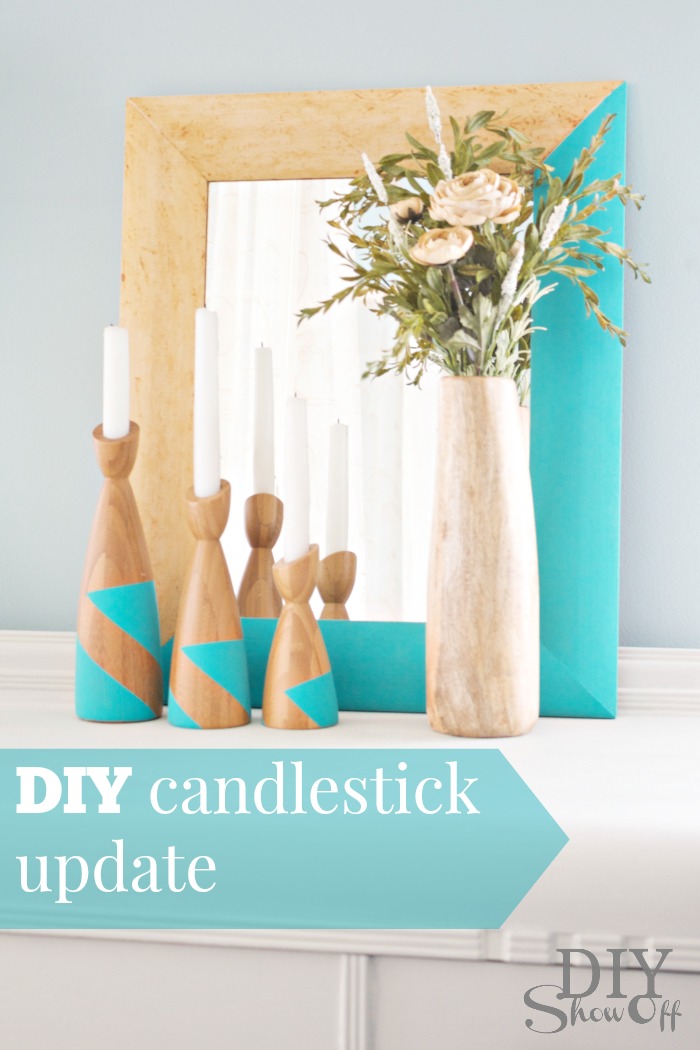
DIY candlestick update at diyshowoff.com

What I did:

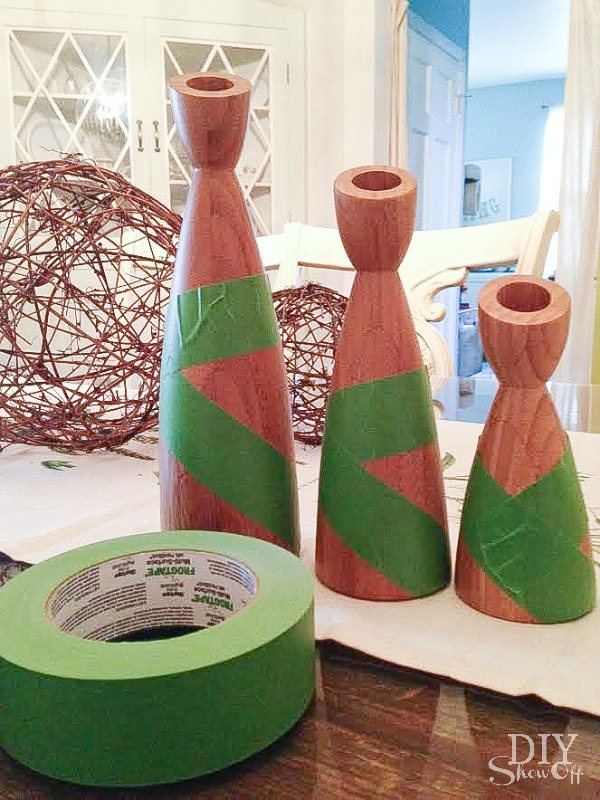
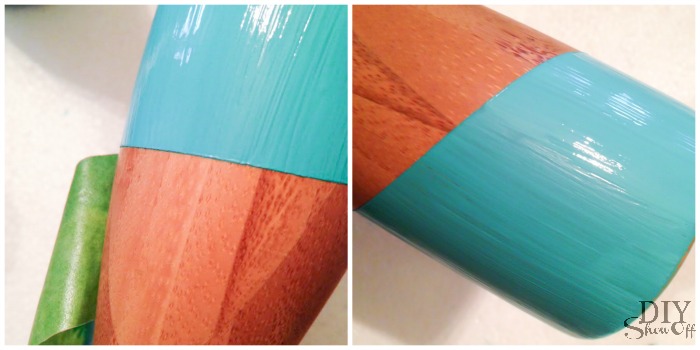
I simply wrapped the FrogTape® around my candlesticks to create an angled design.

turquoise + wood painted candle tutorial at diyshowoff.com

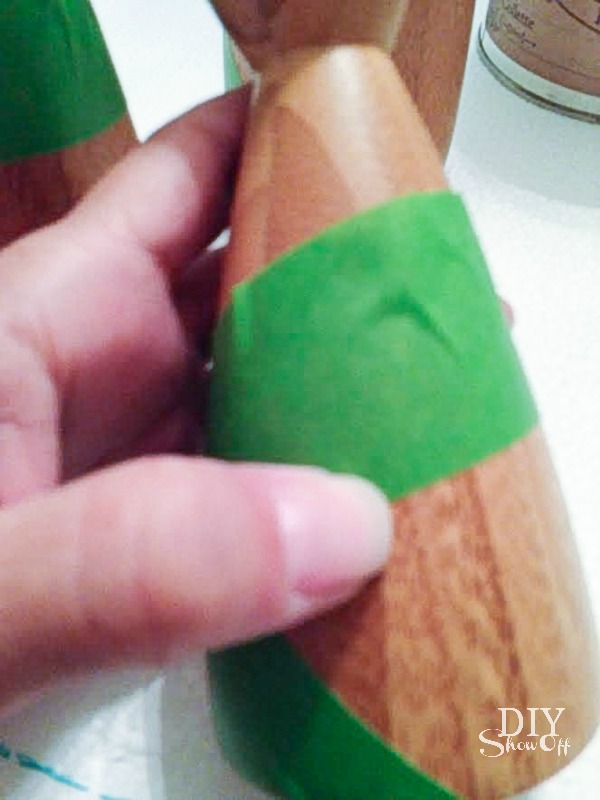
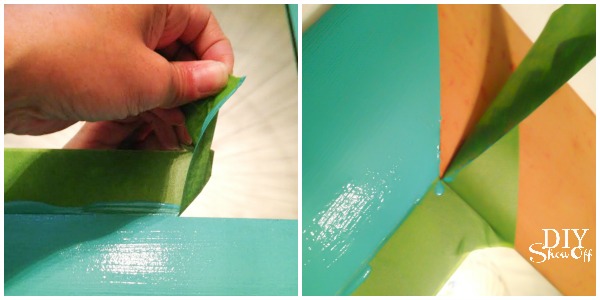
Using my thumbnail, I burnished the edges of the FrogTape. 

turquoise + wood painted candle tutorial at diyshowoff.com

Then simply applied two coats of paint with a foam brush. 

turquoise + wood painted candle tutorial at diyshowoff.com

While the paint was still wet, I carefully pulled away the FrogTape to reveal a crisp, straight, clean paint line. 

turquoise + wood painted candle tutorial at diyshowoff.com

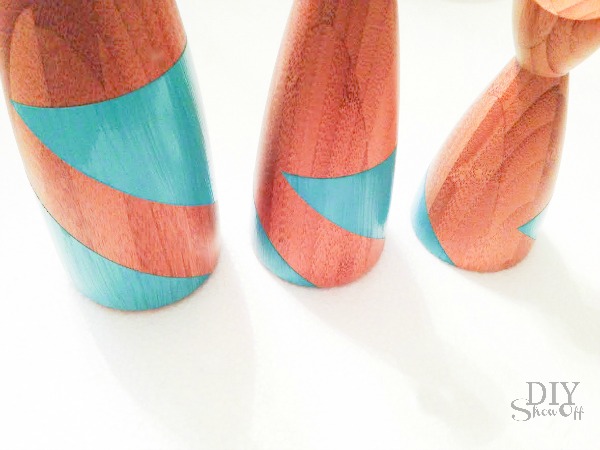
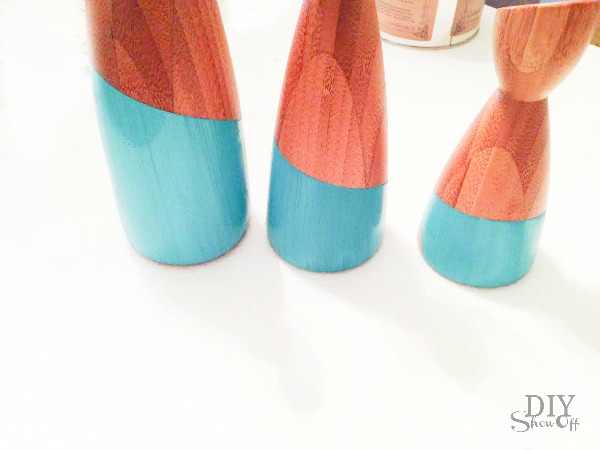
 The design varies depending on which side faces out.

turquoise + wood painted candle tutorial at diyshowoff.comturquoise + wood painted candle tutorial at diyshowoff.com

Now they’re a one of a kind Ty Pennington/DIYShowOff style! Working with him and he isn’t even aware.  Maybe it’s for the best as he may not be flattered that I altered his design. 😉

Painted Wooden Candlesticks

Then let them dry. Add candles and display! So cute! West Elm log vase is from my secret Santa…love it! 

DIY candlestick update at diyshowoff.com

The annual Earn Your Stripes™ painting contest is taking place right now!!! Grand prize is $5,000.00!! I’d LOVE for a DIYShowOff reader to win! Imagine what you can do with $5000! Since I can’t enter, I hope you will! I’ll be participating in the judging! Enter here —> https://promotions.frogtape.com/earn-your-stripes/

FrogTape Earn Your Stripes

Deadline to enter is now through July 1st – so, plenty of time to get creative hats on and execute a project.  You’ll need before, during and after photos.  Here are the official rules: https://promotions.frogtape.com/earn-your-stripes/rules. Here are the FAQ’s for the contest:  https://promotions.frogtape.com/earn-your-stripes/faqs

Best part, all entries (see official rules) will receive a free roll of Shape Tape! Good luck! 

FrogTape Blog Squad

Disclaimer: I received compensation to complete this project for using FrogTape® products. All opinions, projects and ideas are based on my own experience.

Wood & Turquoise Thrift Store Mirror Makeover

Thrift store jackpot! Well, a great deal, at least! I snagged this mirror at the thrift store for $2.99. Original TJMaxx sticker is marked 19.99. Great price, sort of zzzzz. 

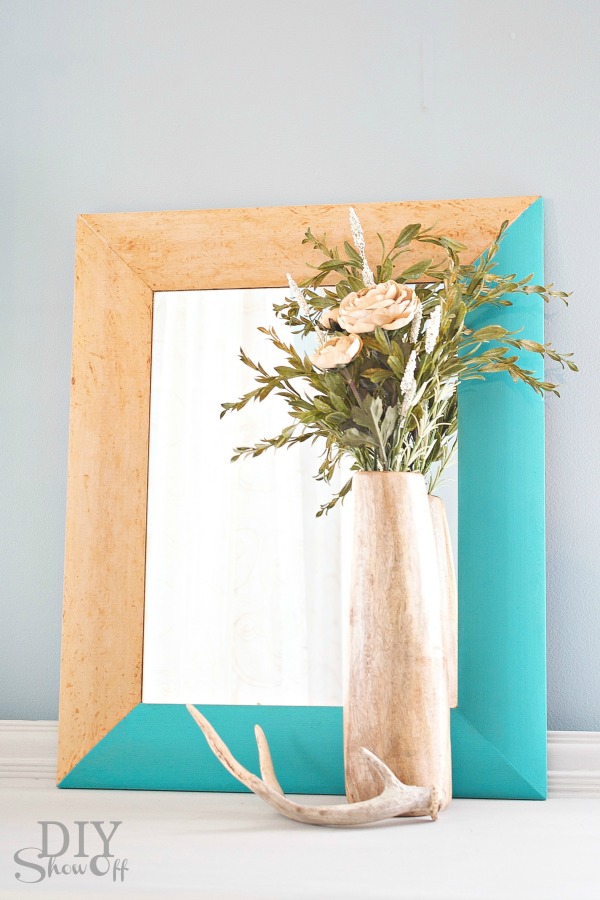
wood and turquoise mirror makeover at diyshowoff.com

Inspiration comes in many forms. For this mirror and the light wood finish, my inspiration came from this wood and turquoise bowl at H&M: 

H&M turquoise and wood bowl

Materials:

  • Mirror
  • FrogTape® 
  • Paint (I used Maison Blanche Furniture Paint. Color is colette.) 

DIY mirror makeover at diyshowoff.com

Tutorial:

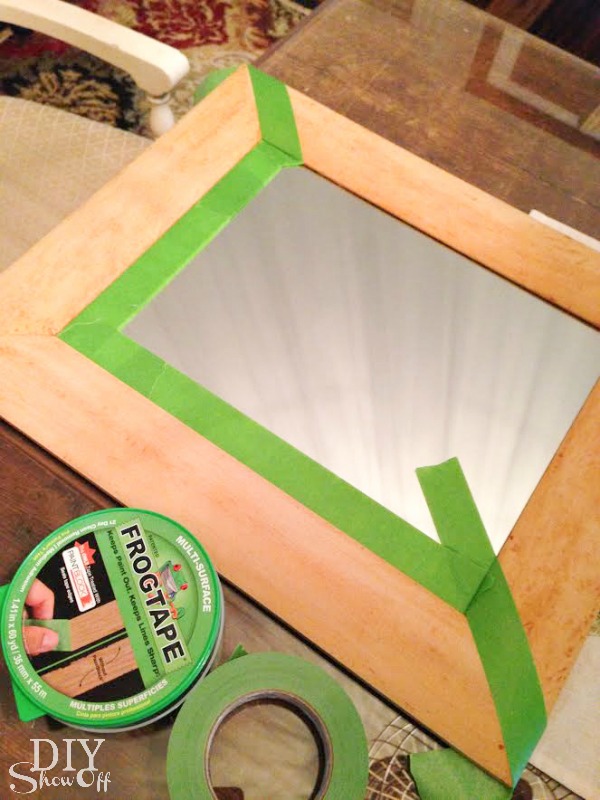
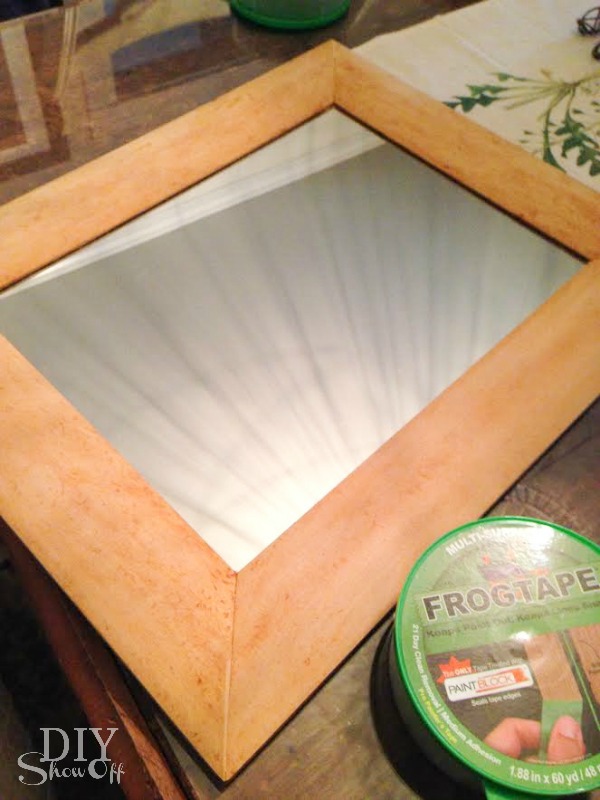
Tape off the mirror. I also taped diagonal at the top right and bottom left mitered joints.

wood and turquoise mirror makeover at diyshowoff.com

Burnish the edges of the tape using thumbnail.

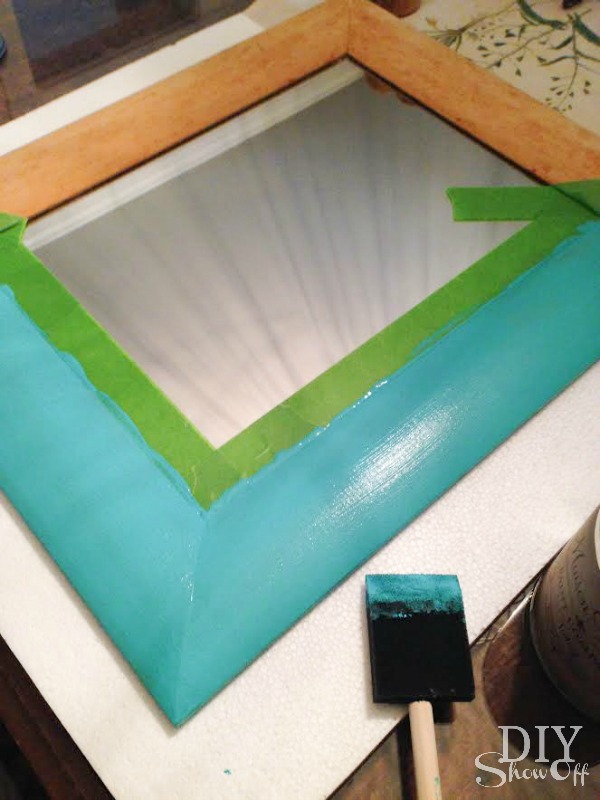
Paint. I used a foam brush to apply two coats.

wood and turquoise mirror makeover at diyshowoff.com

While paint is still wet, remove tape by pulling away from the paint.

wood and turquoise mirror makeover at diyshowoff.com

 Let dry. Ready to hang and display.

Inspiration:

H&M turquoise and wood bowl

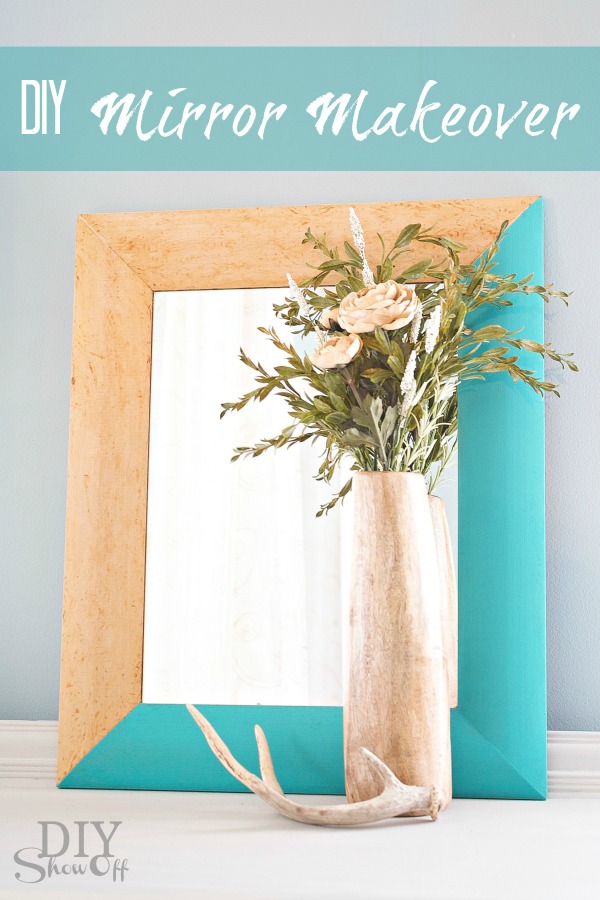
Wood & Turquoise Mirror Makeover:

mirror makeover at diyshowoff.com

Depending on the hanger on the back, it may only hang one direction (unless you add a DIY hanging mechanism for an alternate hanging direction). For display, there are 4 rotation possibilities. One mirror, four ways:

One mirror, four ways at diyshowoff.com


Sharing at Southern Hospitality Thrifty Treasures.

Easy! A little color, a modern touch and a new decorative mirror = thrift store score, don’t you think? Looking for more fun ideas using FrogTape? Click here—-> FrogTape DIY ideas

FrogTape Blog Squad

Disclaimer: As a member of the FrogTape® Blog Squad, I received compensation to complete this project for using FrogTape® products. All opinions, projects and ideas are based on my own experience.


DIY Window Shelves for Plants

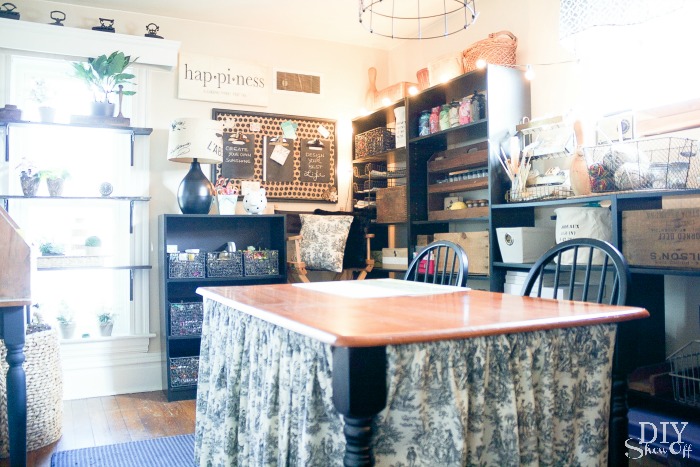
I recently shared my craft room tour. And as a little reward for cleaning up that chaos and getting organized, I treated myself to a little DIY project. I love one of the windows in this room. Here’s how it looked in the past:

vintage craft room

The window shown above nearly reaches from floor to ceiling and with the two different sized windows in the room (one tall window with trim original to the house/one high small window with no trim), window treatments always felt tricky or lopsided. 

So why cover that beautiful trimmed tall window at all? It faces the back of the house, it’s a second story window and it’s not a room for dressing or a need for privacy. I’ve always wanted to put shelves on a window for plants. Plenty of sunshine should assist in changing my luck with plants, right? 

Here’s what I did…

Materials:

  • (3) 1 x 4″ pine boards for shelves
  • (6) shelf brackets
  • Minwax Polyshades (Ebony)

I decided where I would attach the brackets to the window trim to calculate the measurement of my shelves.

measure

Then cut my shelves. 

window shelving tutorial

Sanded the rough edges and wiped them clean. 

window shelving tutorial

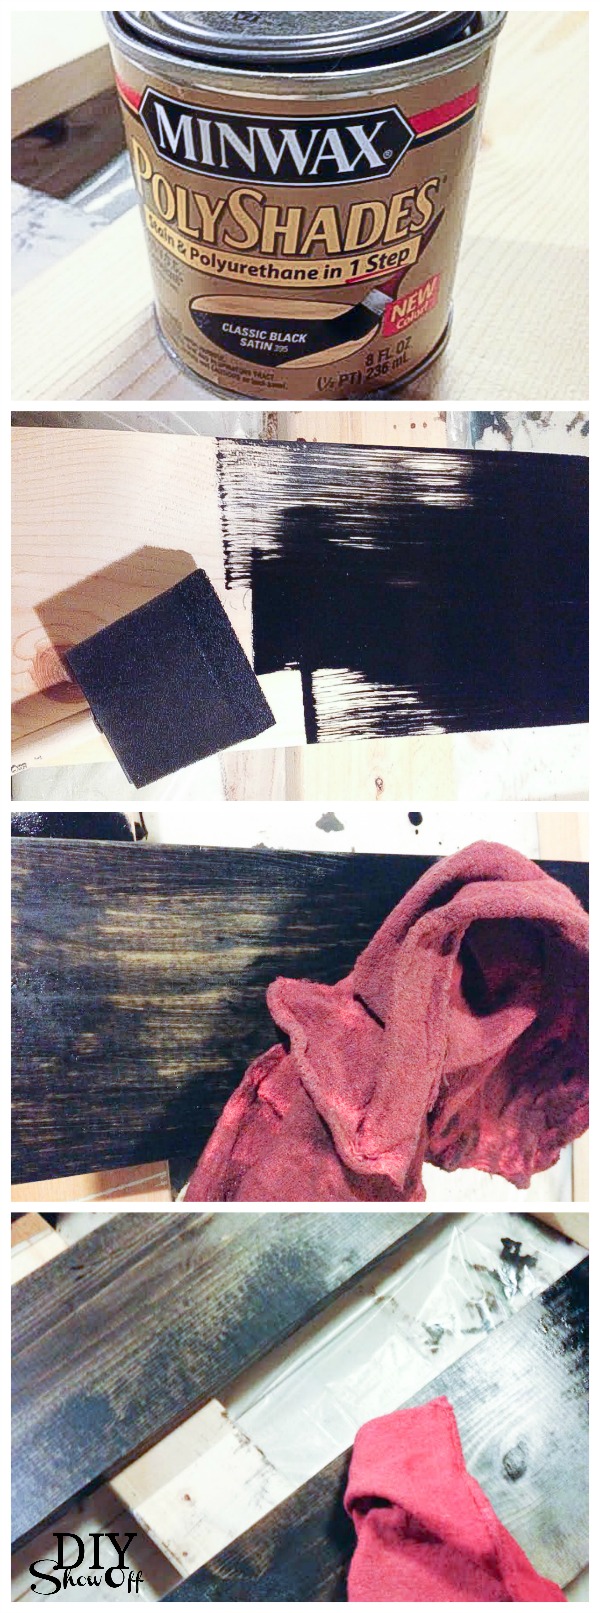
Then brushed on the Polyshades using a foam brush. I let it sit for a few minutes then wiped the stain away and let dry. I did all sides. (I may apply a wax finish to the wood shelves for further water-proofing but I was on a bit of a deadline.)

window shelving tutorial

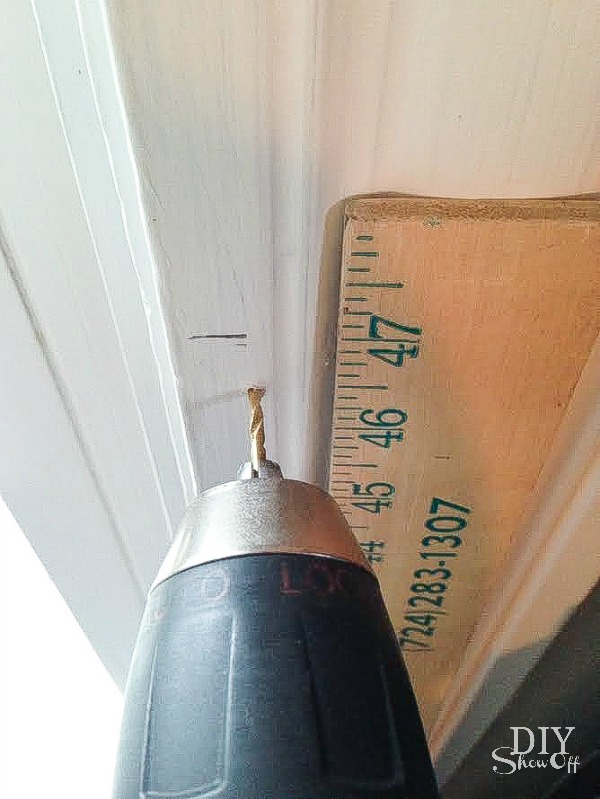
Next I marked the holes for the brackets and drilled a pilot hole.
window shelving tutorial

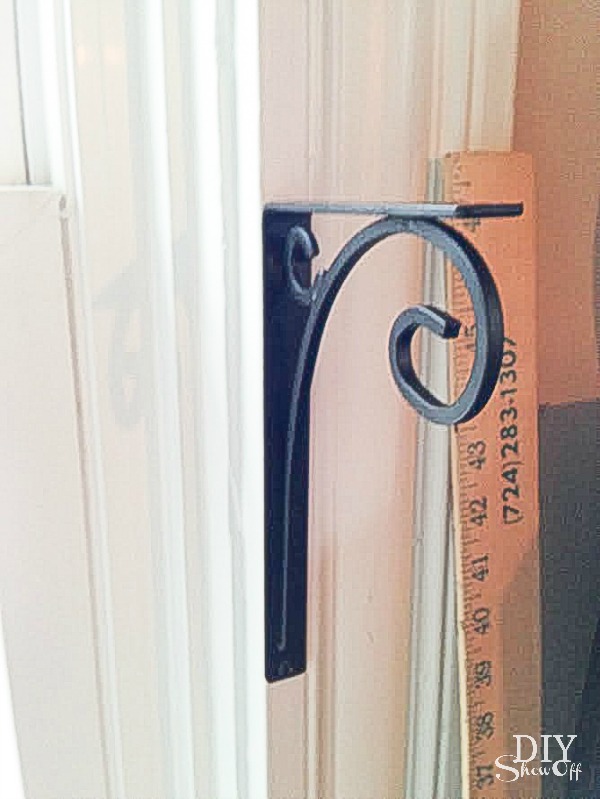
Then I just screwed the brackets into the window trim/pilot hole (can always be patched with wood filler in the future). *Use a level to be sure they’re ‘level’. 

window shelving tutorial

Attach the wood shelves to the brackets with screws (be sure these screws are smaller than the shelf thickness so the screw doesn’t poke up from the bottom).  

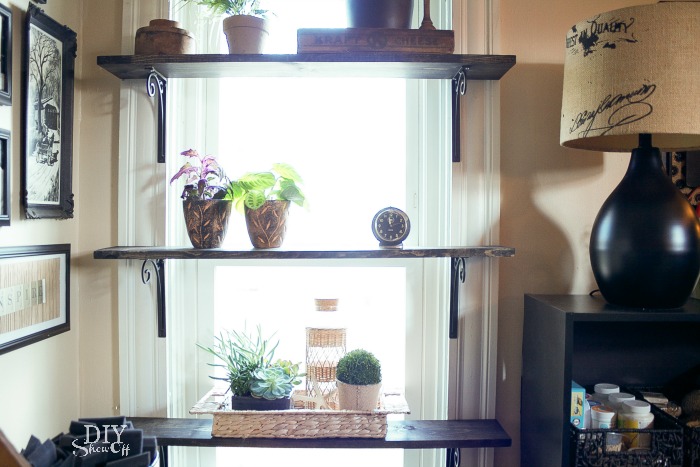
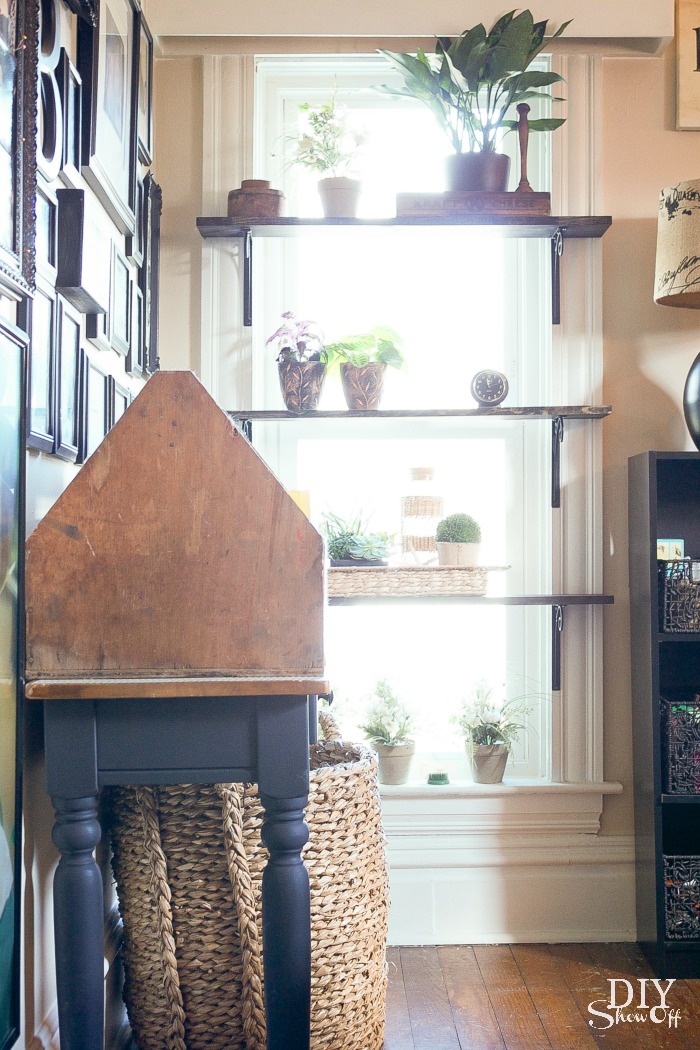
It adds a bit of privacy without a long drapy curtain panel but still lets natural light into the room.  

window plant shelves at diyshowoff.com

It’ll take some maneuvering/removing plants to open the window but the shelves don’t interfere with the function. 

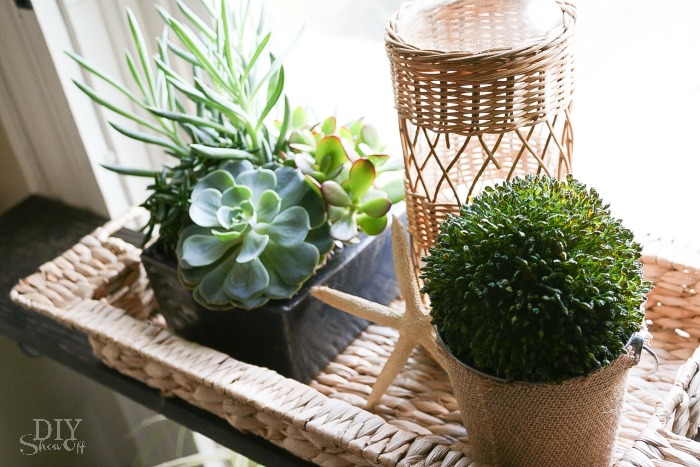
window shelves at diyshowoff.comwindow succulents


before

vintage craft room

after

Craft Room at diyshowoff.com


Facebook DIY Show Off - FacebookDIY Show Off - TwitterDIY Show Off - Pinterest DIY Show Off - FeedDIY Show Off - HomeTalkDIY Show Off - G+ photo Bloglovin_zps7a62ddb7.png photo instagram_zpsd219e830.png