DIY Hanging Organizer (for peg hooks)

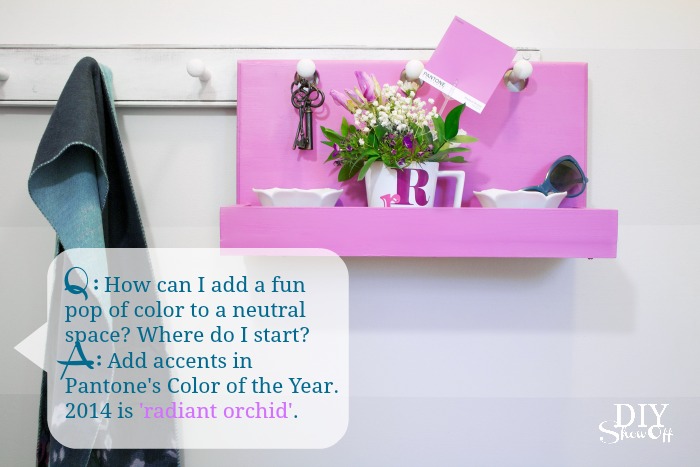
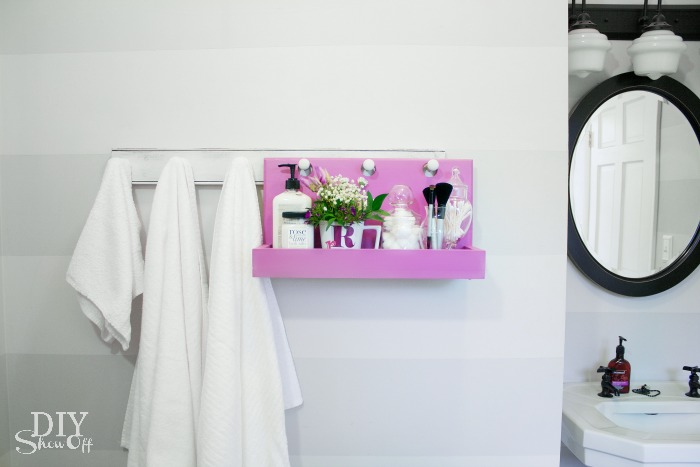
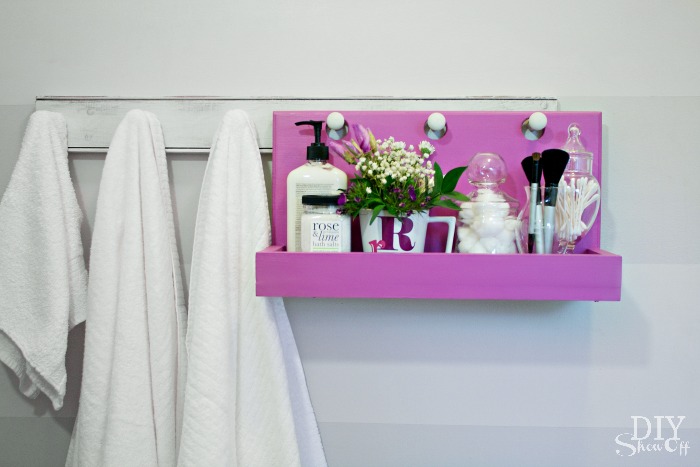
How do you add a fun pop of color to an otherwise neutral room? Try Pantone’s Color of the Year for something you may not normally choose. The Lowe’s Creative Idea March challenge was to use Valspar’s Radiant Orchid. Just a small touch adds elegance to my white and gray space. 

Pantone Color of the Year Radiant Orchid

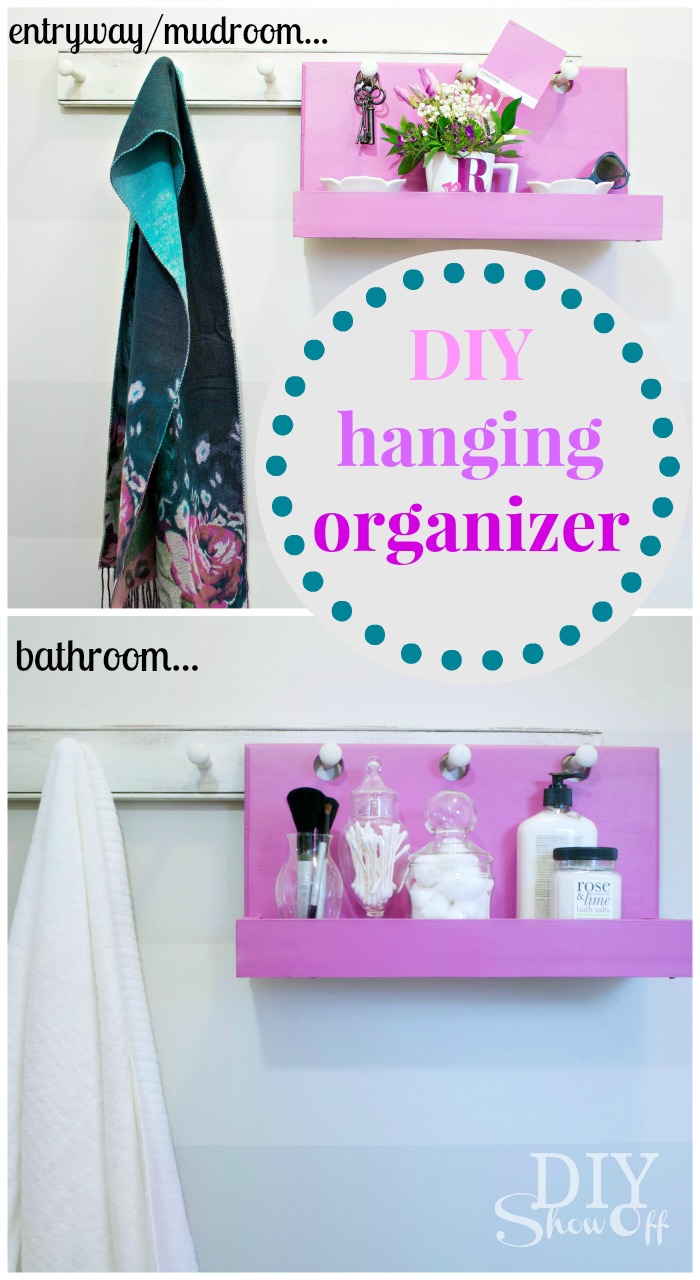
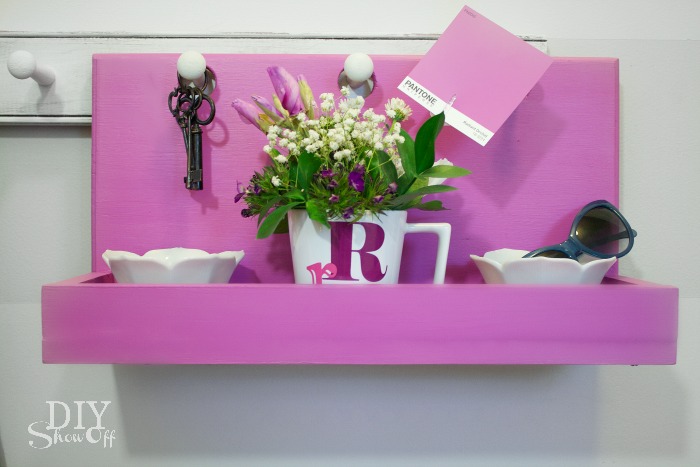
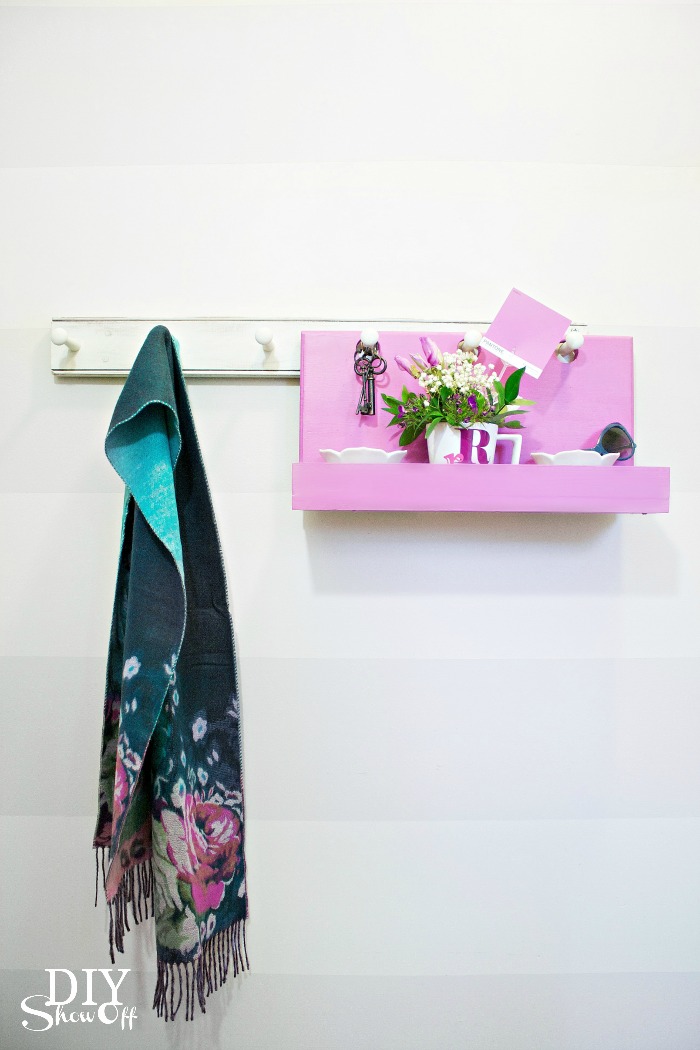
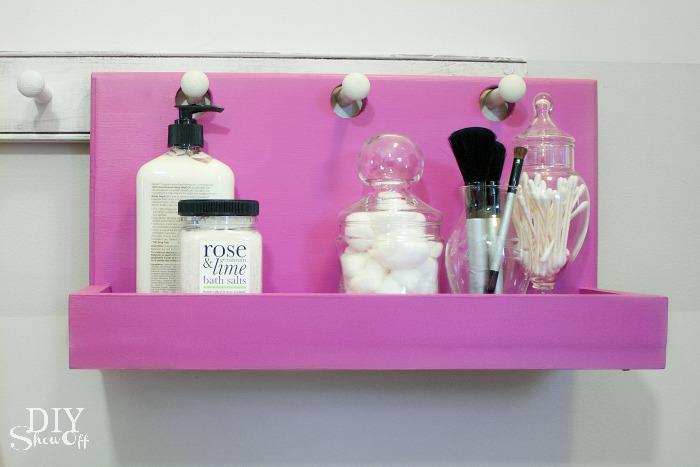
Inspired by PB’s Gabrielle system, I created a wooden peg hook organizing caddy from scrap wood. 

DIY Hanging Organizer Tutorial

Materials I used: Most of my wood was purchased at Lowe’s and is left over from previous projects with the exception of the .50 yard sale find piece shown below. Adjust measurements according to your own needs or scrap wood measurements. Inexpensive pine works well for this project.

  • 1″ x 10″ x 18 1/2″ (back)
  • 1″ x 6″ x 18 1/2″ (bottom)
  • 1″ x 2″ x 4″ (sides)
  • 1″ x 2″ x 18 1/2″ (front)
  • 1″ deep (or however thick your peg hook rack is)  x 1″ tall  x 6″ wide (back stop piece)
  • Gorilla Wood Glue
  • 1 1/2″ wood screws
  • Wood filler
  • Valspar Radiant Orchid 

What I did:

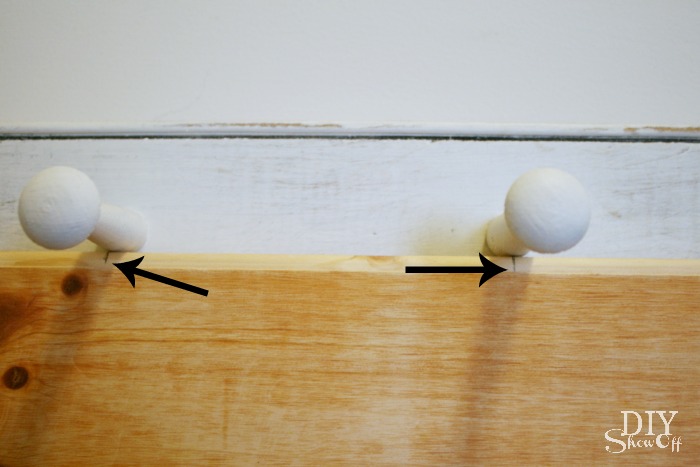
Mark the center top of the back piece of wood. Hold up to a peg on your coat rack, lining the center with the center of a peg. On the wood, mark the center of each peg placement.

DIY peg hook caddy tutorial

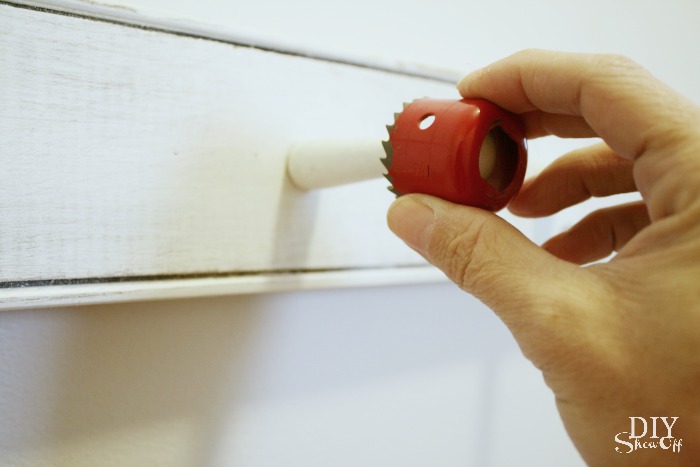
Decide which hole saw bit is just a little bigger than the pegs. 

DIY peg hook caddy tutorial

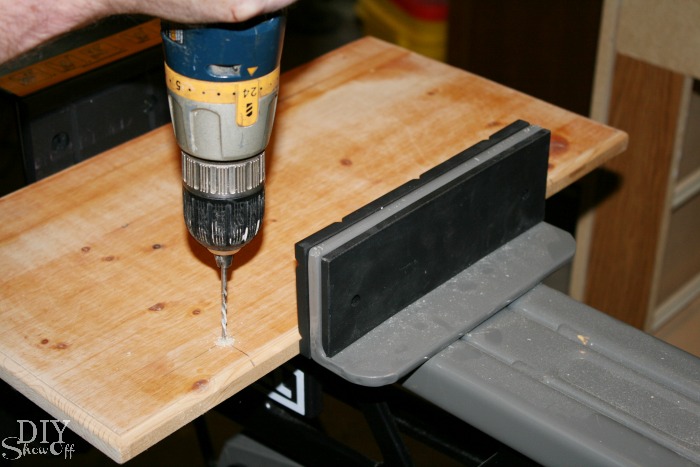
You’ll want your holes to be near the top end. I used a ruler to measure down about 2″ from the top and a level to make a cross mark to show the center of each hole. Drill tiny pilot holes where the pencil marks meet.

DIY peg hook caddy tutorial

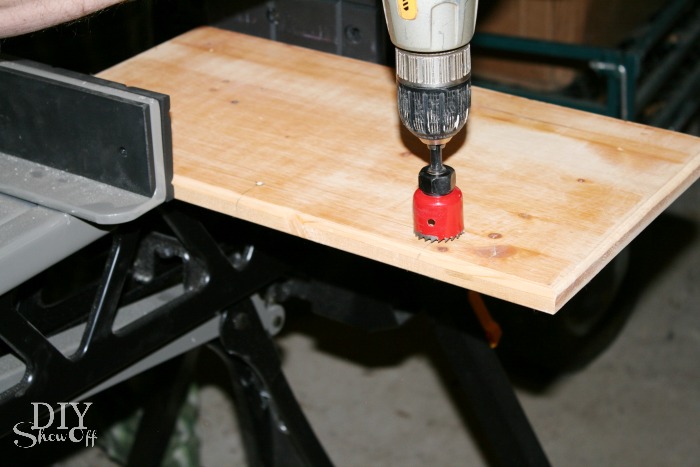
Attach the hole saw bit to your drill and using the pilot hole as a guide for the center drill bit, drill/cut holes. I think our hole saw bit is a little dull so the back side of my wood is splintered. (Thankfully no one will see that side!)

DIY peg hook caddy tutorial

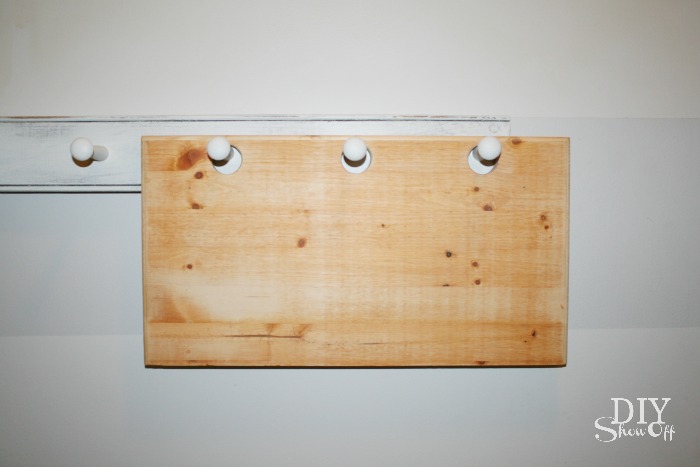
Sand and wipe clean all wood pieces. Hang on pegs to ensure holes line up.

DIY peg hook caddy tutorial

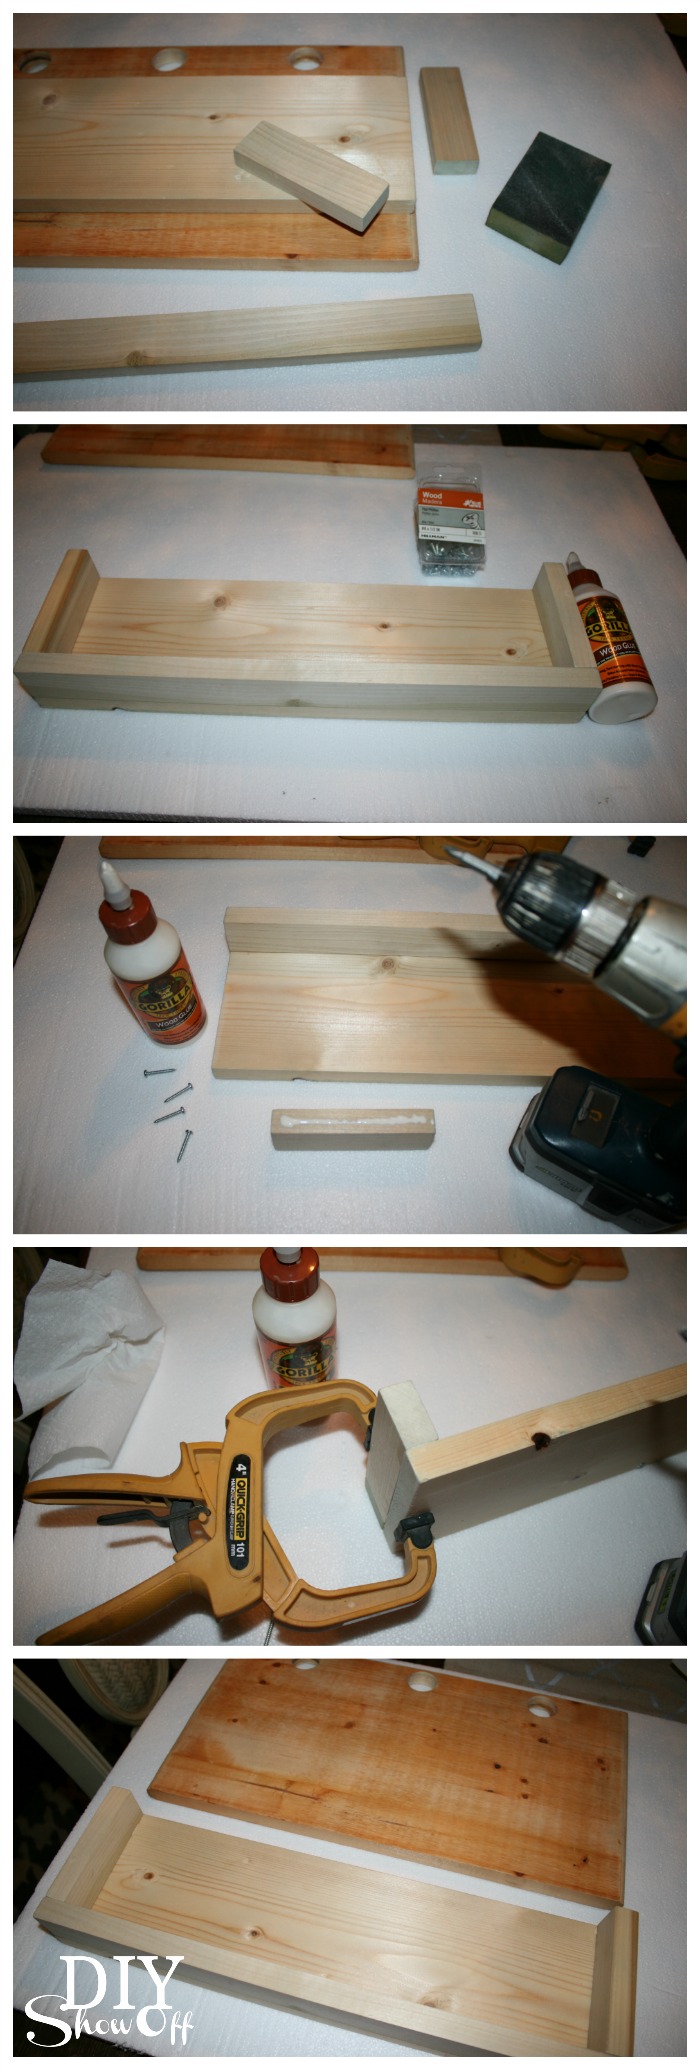
Using wood glue, wood screws and clamps, assemble your caddy and let dry. I attached my screws from the bottom and back so they weren’t seen but you could also countersink screws, fill and sand.

DIY peg hook caddy tutorial

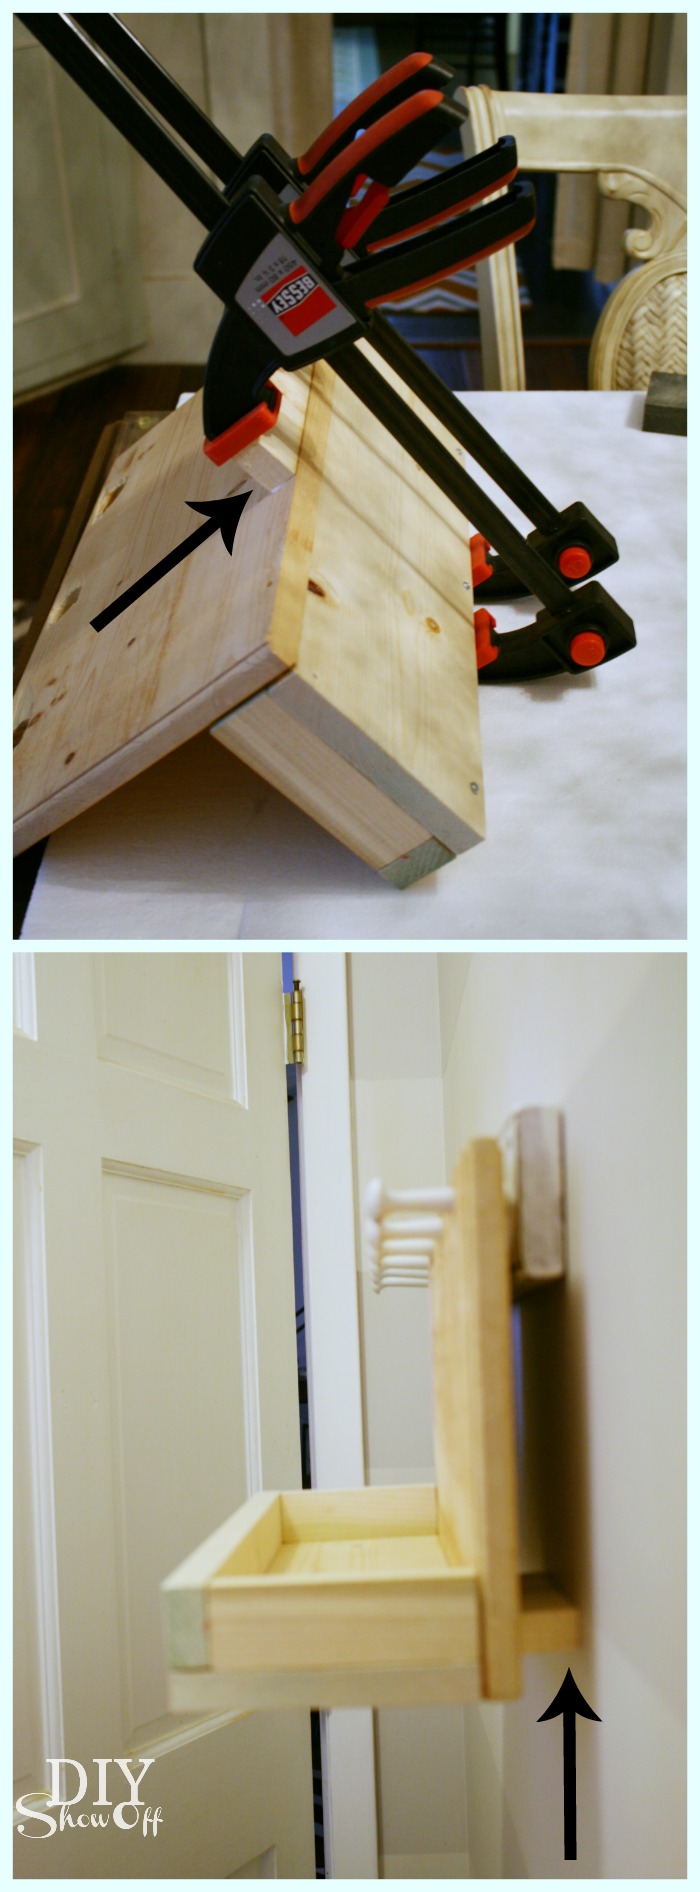
I thought that was it for the construction until I tested it hanging on my peg hooks. Oops, front heavy. Using just wood glue and a clamp, I attached the back stop piece to the center bottom of the back. This ensures that the caddy will hang level.

DIY peg hook caddy tutorial

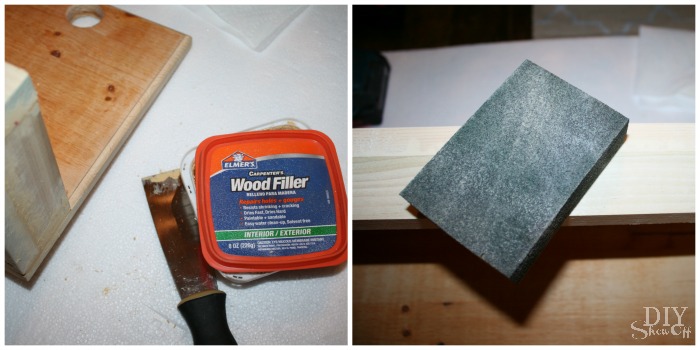
Using wood filler, fill all seams and cracks. Let dry, sand smooth and wipe clean. 

DIY peg hook caddy tutorial

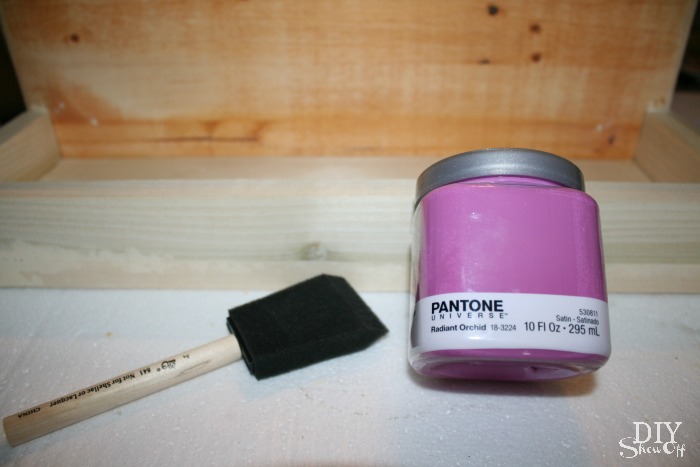
Paint the entire wood caddy. Mine took two coats. Radiant Orchid wouldn’t have been my first choice but it’s growing on me and it’s nice to do something bold and fun for a change. I love the Valspar sample size paint…more than enough and perfect for adding colorful accents. Down the road all it takes is a new coat of a different color to re-freshen things up. 

DIY peg hook caddy tutorial


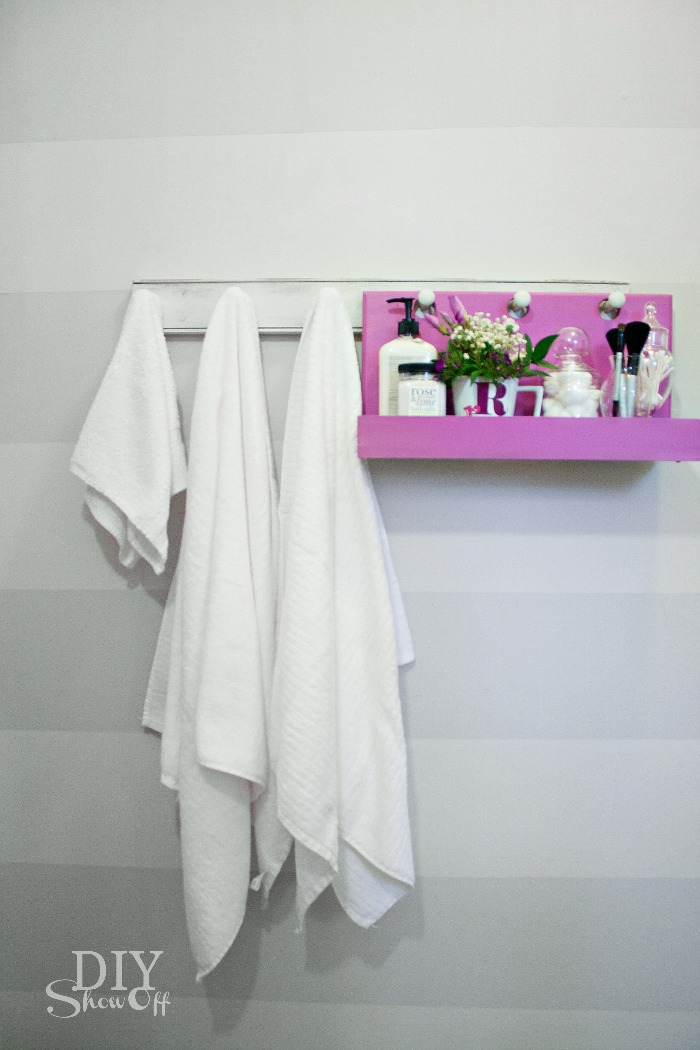
Now I have a shelf/tray for decorative items, toiletries in the bathroom

bathroom organization - DIY peg hook hanging shelf

DIY hanging peg hook organizer

hanging peg hook organizer

bathroom peg hook hanging organizer

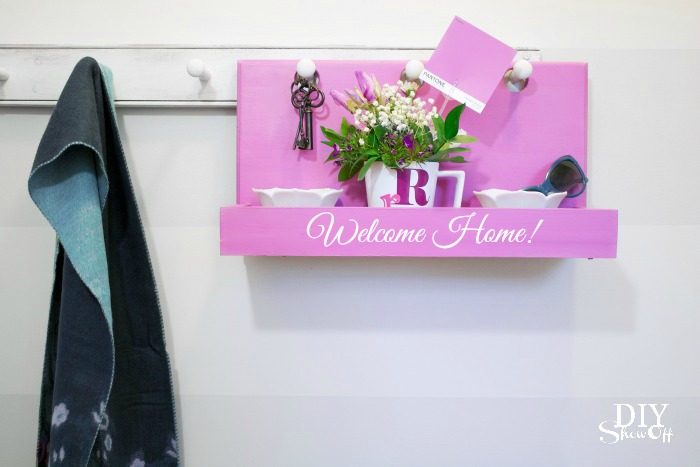
Great for keys, wallet, sunglasses, change, cell phone near the door in the mudroom or entryway. 

Peg Hook Hanging DIY Organizer

DIY peg hook mudroom entryway organizing hanging caddy

PB inspired peg hook shelf caddy organizer

My peg hook is located in my bathroom but I’d really love to have something like this near the door as well. How about you? 

More DIY ideas at Lowe’s Creative Ideas, follow Lowe’s on InstagramPinterest and sign up for the Creative Ideas magazine and app!    

LCI

*Disclaimer: As a member of the Lowe’s Creative Ideas Creators and Influencers network, I received a Lowe’s gift card to complete this challenge. As always, all ideas and opinions are in my own words. The blog post above is what worked for me. Results may vary. Remember to work in a well-ventilated area and to take the proper safety precautions.

DIY & Show Off: That DIY Party Decorating & Home Accents Highlights

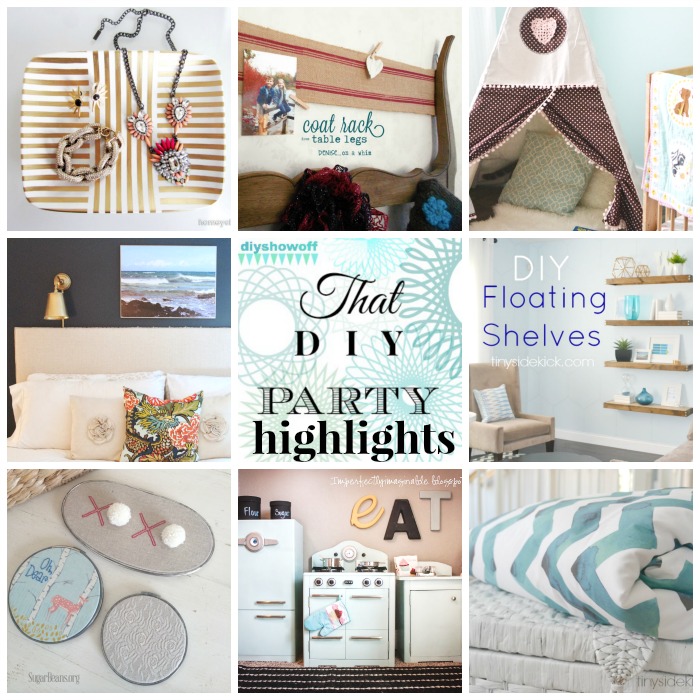
Looking for some DIY decorating and home accent inspiration? I’ve gathered some favorites from January’s That DIY Party: 

That DIY Party highlights - January 2014

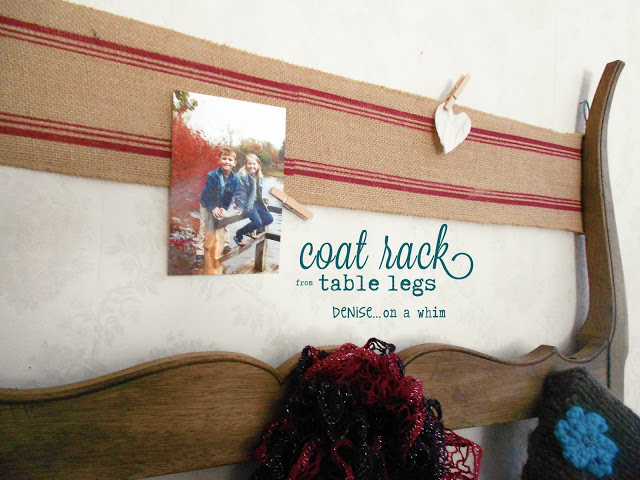
Cute curvy coat rack {repurposed table legs} from Denise on a Whim repurposed table legs coat rack - Denise on a Whim

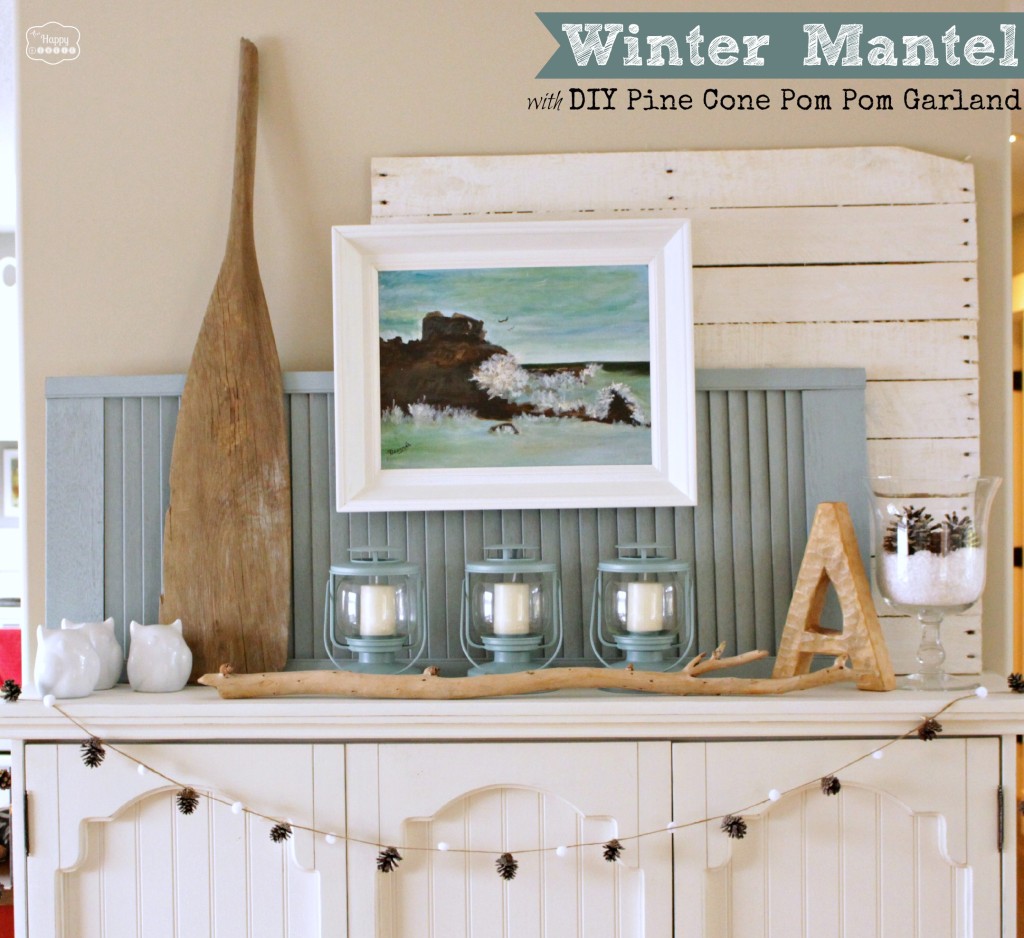
Brrr! Baby it’s cold outside! Embracing it with a winter mantel at the Happy Housie…love the pine cone pom pom garland!

winter mantel @theHappyHousie

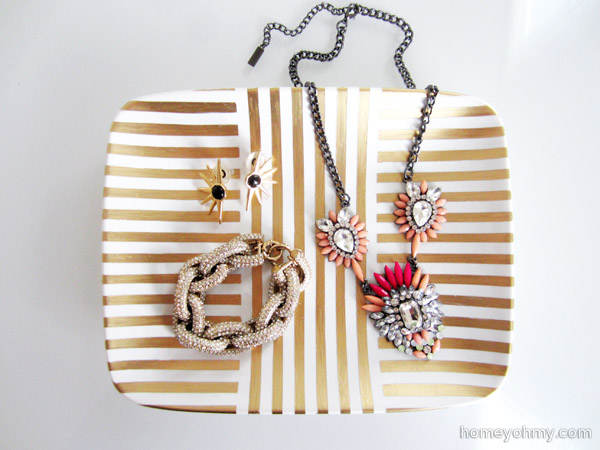
Loving gold? Me too! The gold leaf tray at Homey Oh My is a great way to display jewelry. 

gold leaf jewelry tray @HomeyOhMy

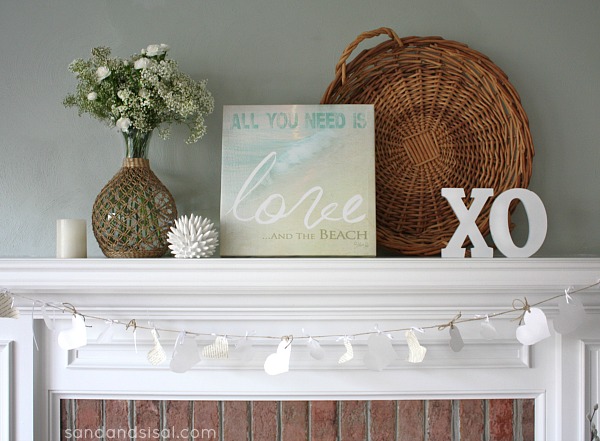
Kim’s beachy neutral Valentine’s mantel at Sand & Sisal is sweet for all year long. 

neutral beachy Valentine mantel @SandandSisal

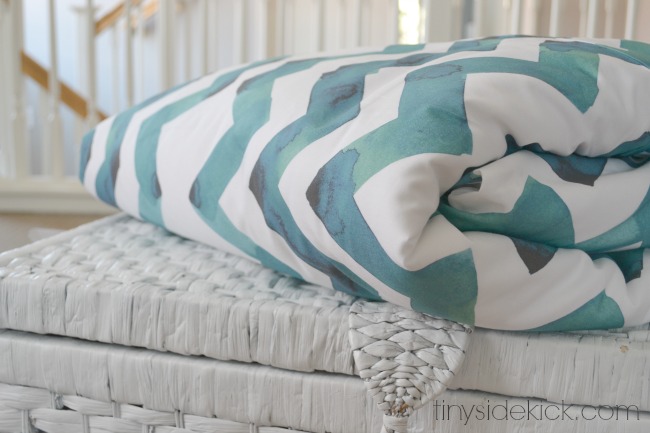
When your bedroom makeover is on a tight budget, check out Corey’s great tutorial for making your own duvet cover at Tiny Side Kick

how to make a duvet cover @TinySideKick


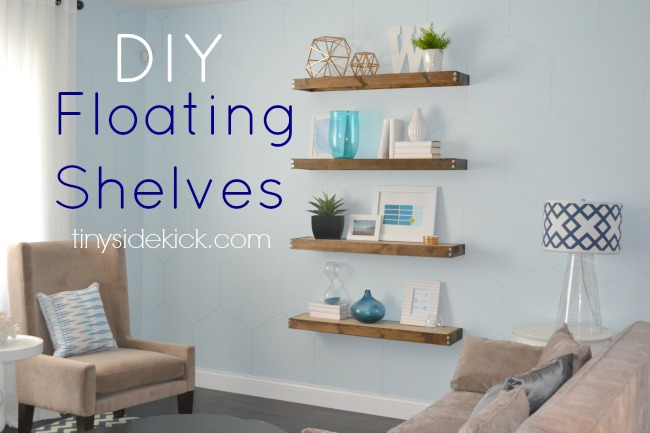
Who wants these? Yep, me too! See the great DIY rustic floating shelves tutorial at Tiny Side Kick. 

floating shelves tutorial @TinySideKick

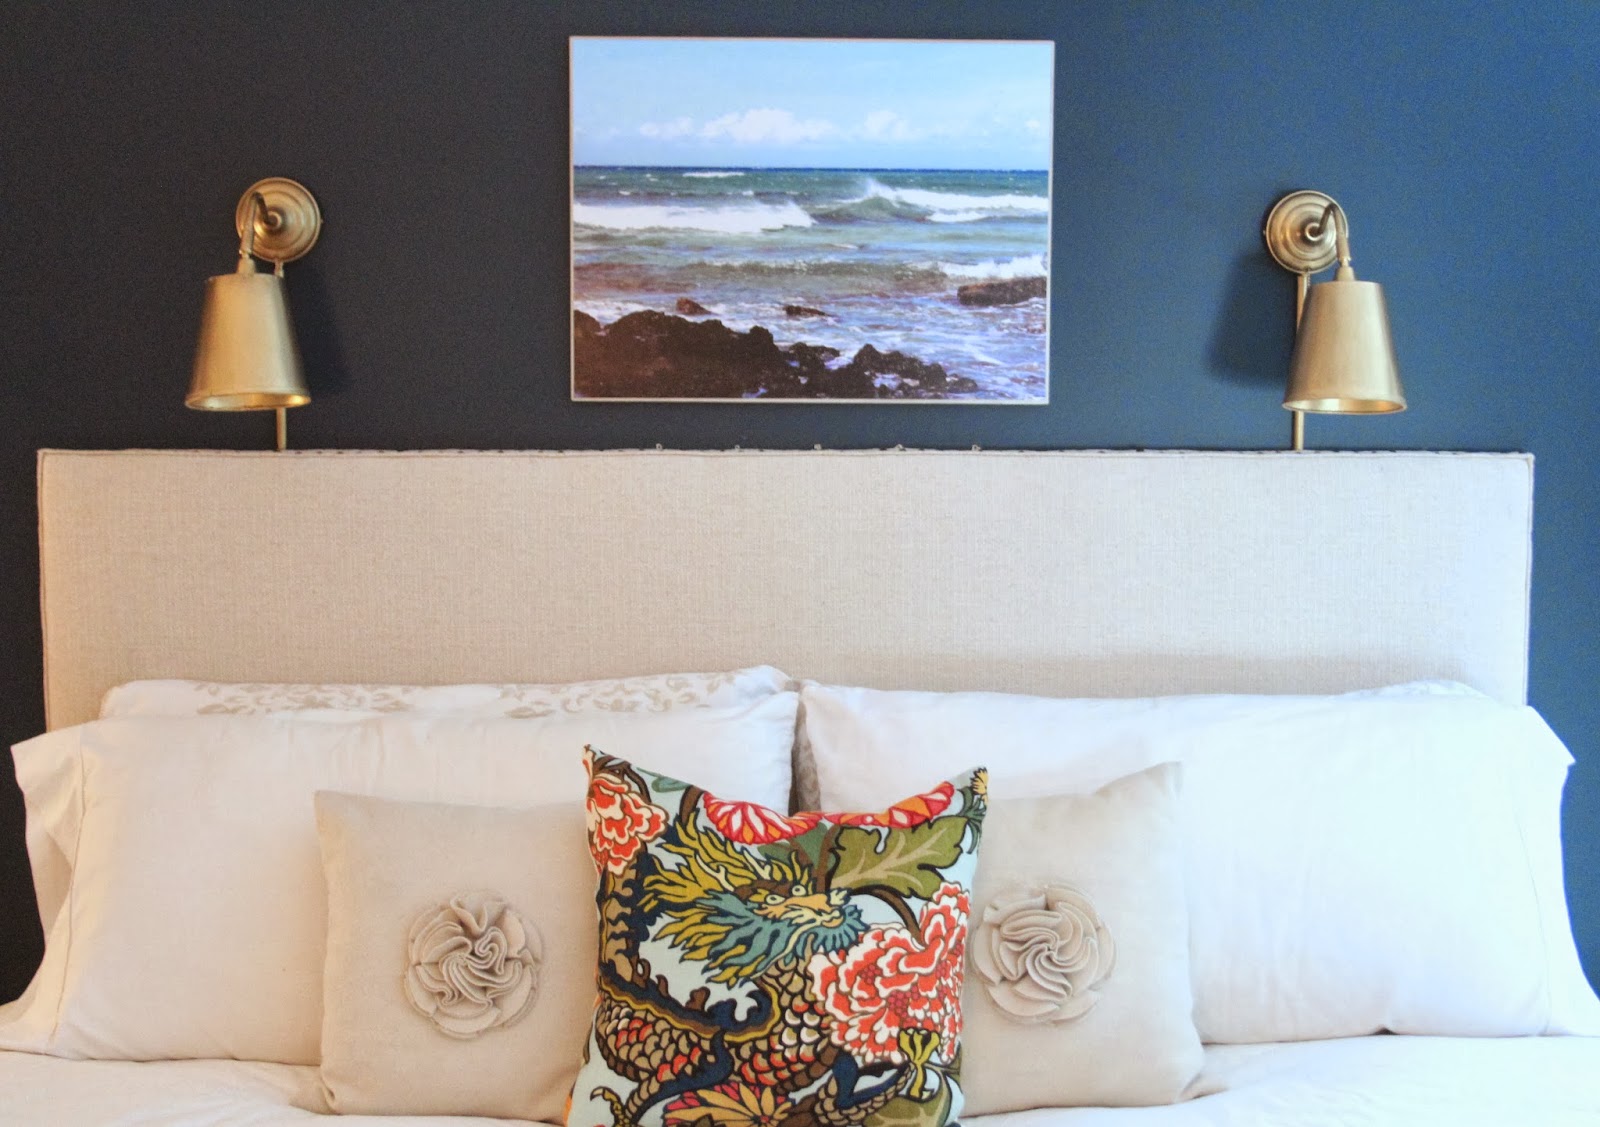
Lisa’s DIY Ikea wall light hack at Shine Your Light – not only just as beautiful as her inspiration but way more budget friendly too!

Ikea wall light hack @ShineYourLightBlog

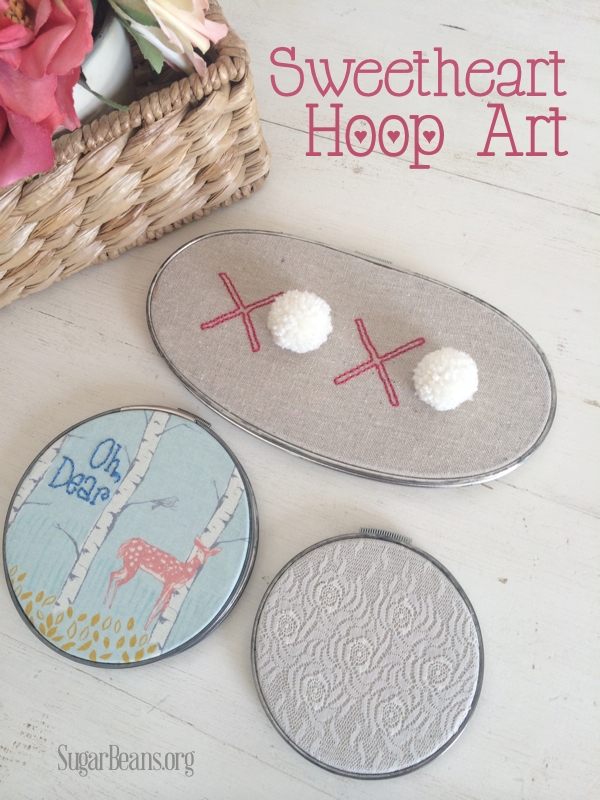
Looking for some easy sweet DIY wall art? The DIY sweetheart hoop at Sugar Beans fits the bill. So cute!

Sweetheart Hoop Art @SugarBeans

for the little ones…

Oh.My.Goodness! Isn’t this the most darling thing ever? It’s a DIY retro play kitchen at Imperfectly Imaginable

DIY play kitchen @ImperfectlyImaginable

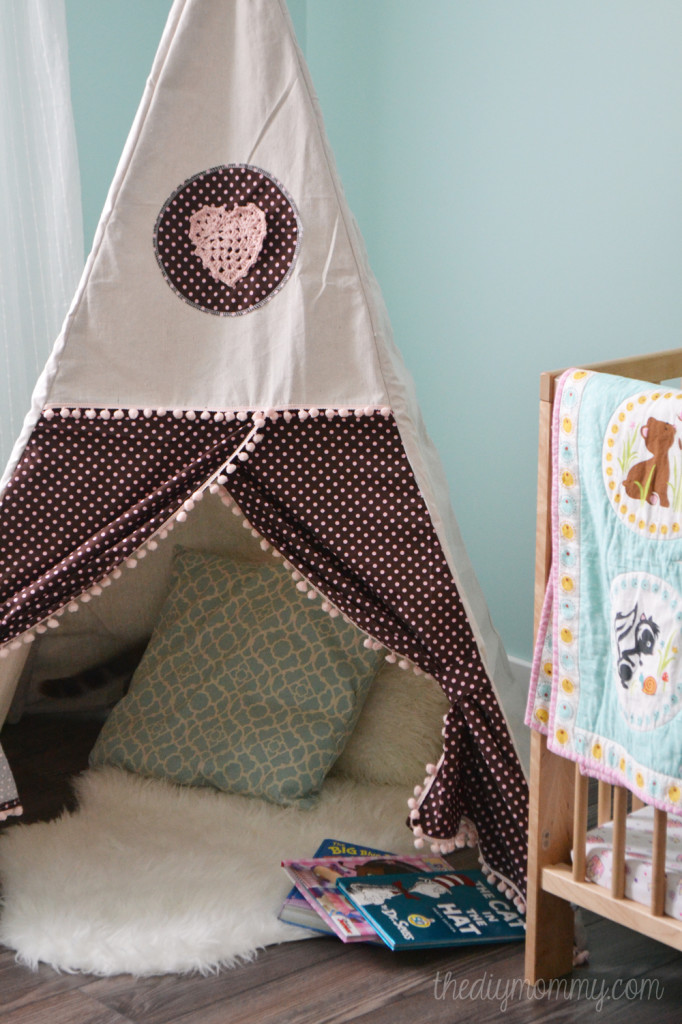
Need a place to hide away until spring arrives? I’d love to hole up in this DIY play tent at the DIY Mommy. Operation hibernation commence. 

DIY play tent tutorial @theDIYMommy

Remember to pin from the original source. See more DIY highlights on That DIY Party Pinterest Board for easy re-pinning…

thatdiyparty.pinboard

Have a DIY project to share? Well head on over to “show off” your DIY…

That DIY Party

Valentine’s Day Decorating {Vinyl Decal Glass Top Table Runner}

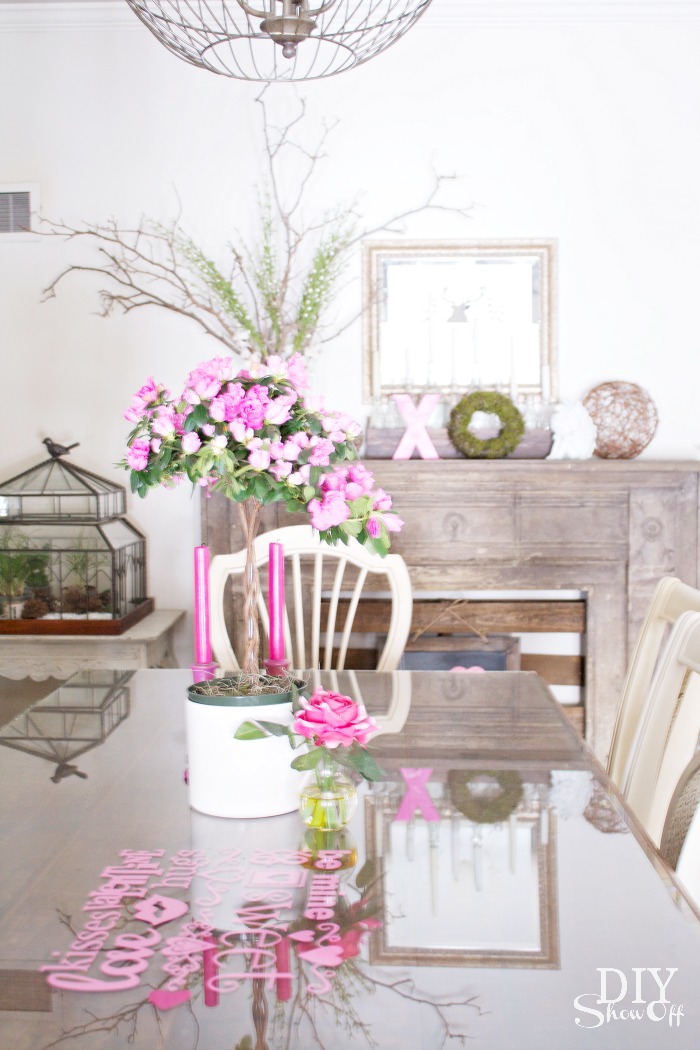
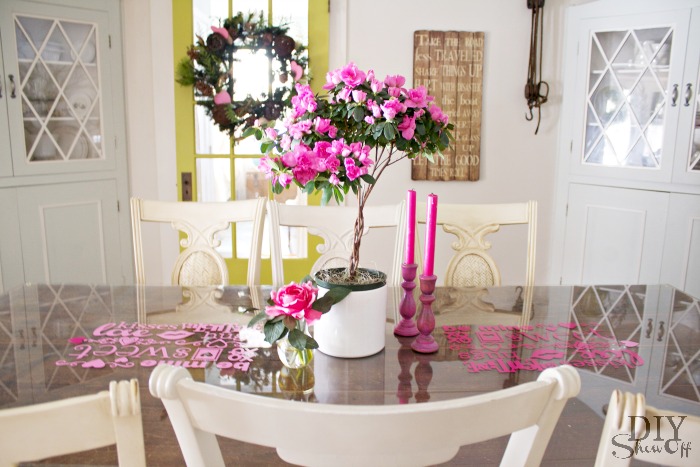
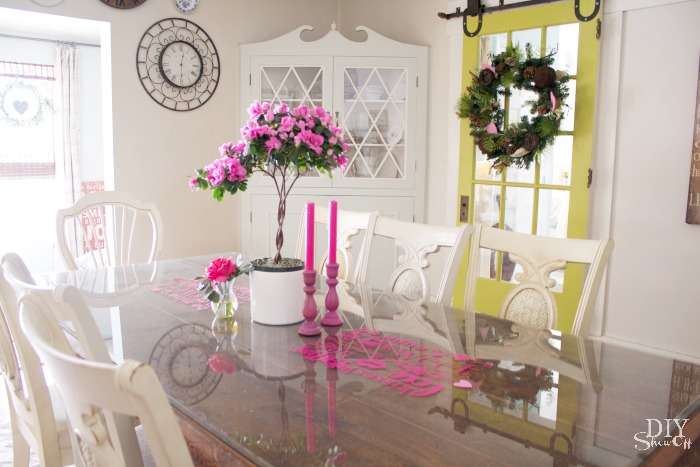
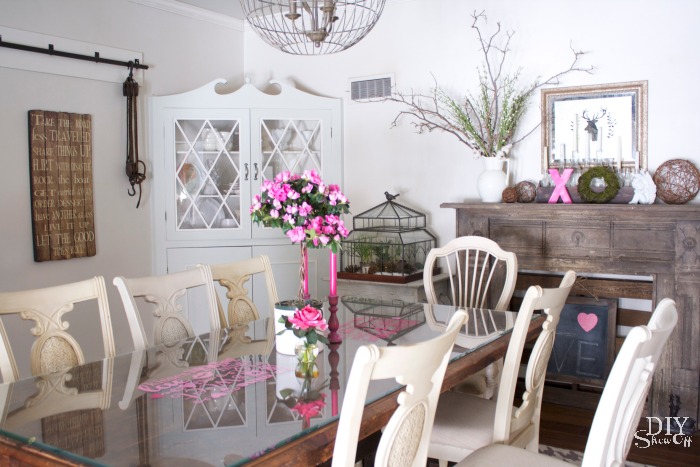
I’m not quite late in terms of sharing my Valentine decorating, am I? I don’t do much…just a little here and there, mostly in the dining room. 

Valentine dining room decor

More pictures after a little vinyl tutorial: Having a vinyl cutting machine is GREAT for last minute decorating! Our reclaimed barn wood dining table is protected by a beveled glass top. And a glass top table is the perfect spot for an adhesive vinyl table runner just in time for Valentine’s day!

Valentine glass top table vinyl decals

You’ll need:

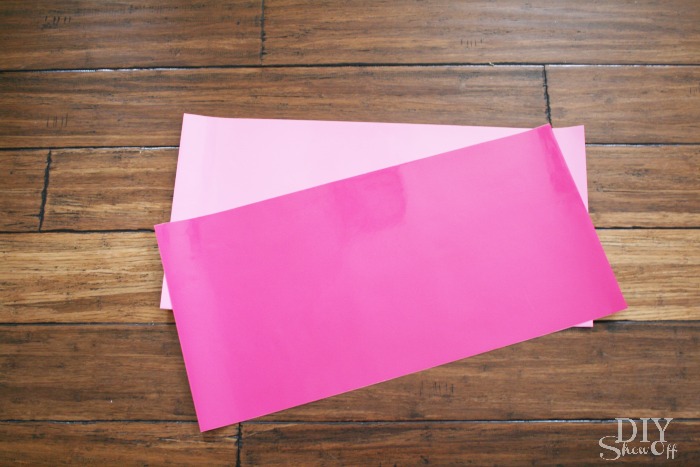
  • Adhesive vinyl from Happy Crafters in pink and soft pink
  • Transfer paper

Tools I used:

  • Silhouette Cameo
  • Silhouette Design Studio software
  • scissors
  • credit card/gift card

Happy Crafters Adhesive Vinyl

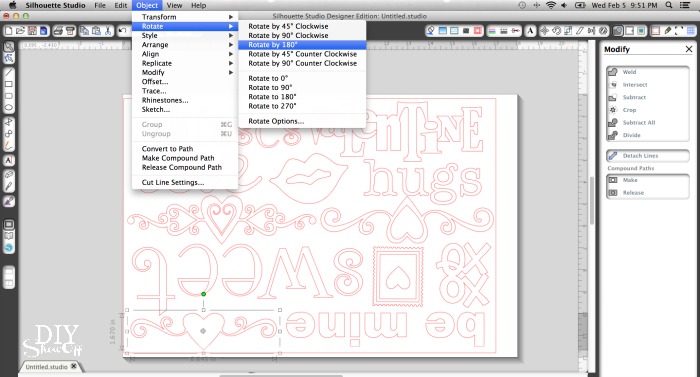
Using the Silhouette Design Studio software, I used different fonts to create Valentine text along with a few shapes from the online store.  Because I wanted to have the text reading different directions, I used the rotate tool to flip some of the text and shapes. 
Silhouette Design Studio software

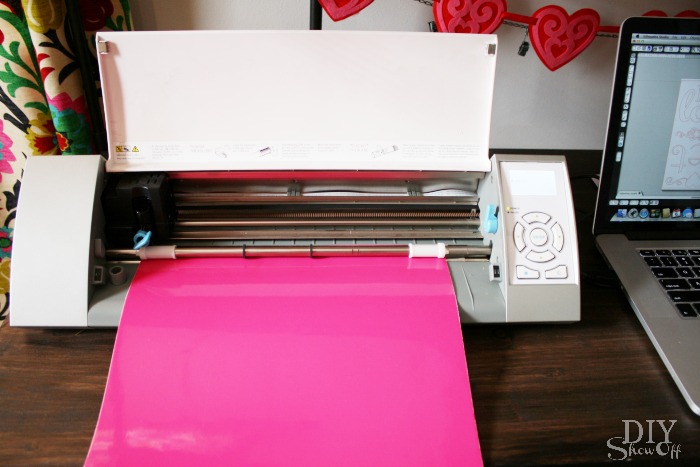
Before sending the design to cut, I uploaded the vinyl into my machine color side up then changed my setting to cut adhesive vinyl. 
When cutting was complete, I removed and trimmed my vinyl design. Then inserted another sheet of vinyl and cut the design again. I used two sets of vinyl decals to create my table runner. cutting adhesive vinyl

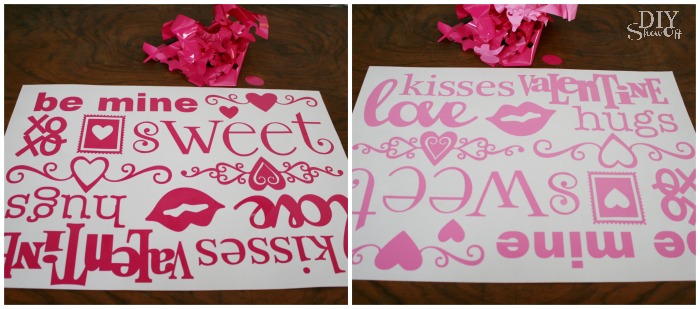
Next up is removing all of the negative part of the vinyl design. Simply remove all vinyl that’s not a letter or shape. 

weeding vinyl decals

Now it’s like a sheet of vinyl stickers. Not something you want to place letter by letter so apply a piece of transfer paper over top of the vinyl decals. 

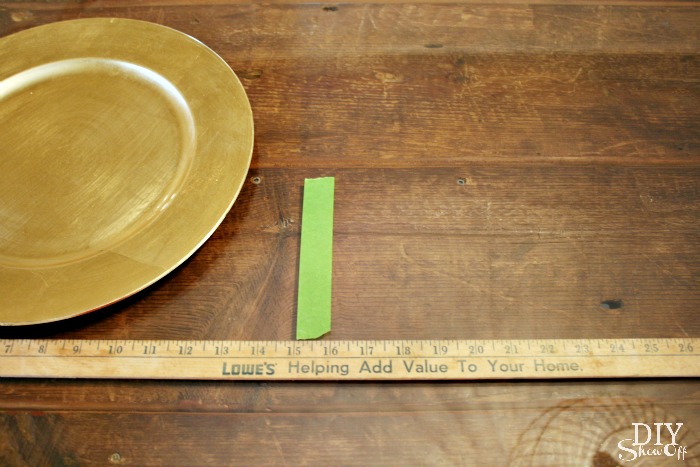
Measure placement and alignment of where the vinyl decal table runner will go onto your glass top table. 

vinyl decal placement

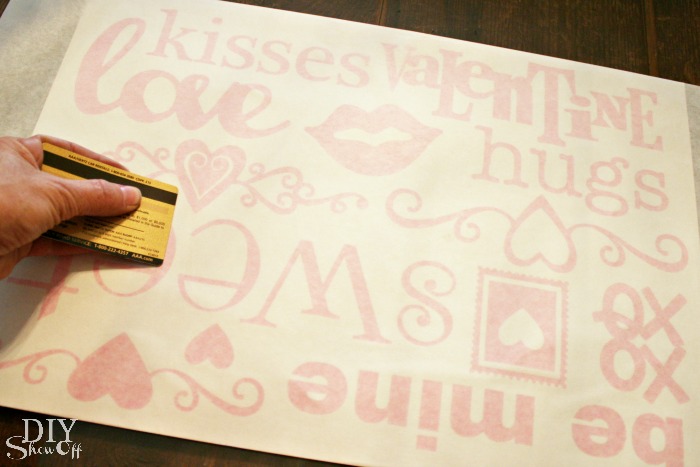
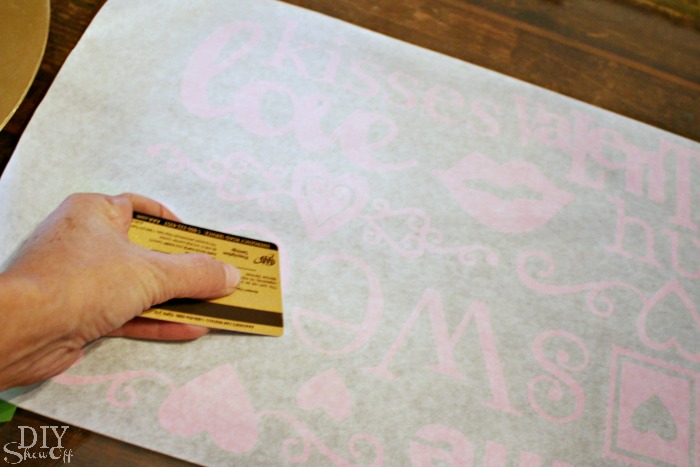
Rub the vinyl decals with a gift card so that the adhesive vinyl transfer from the wax paper backing to the transfer paper. 

transfer paper

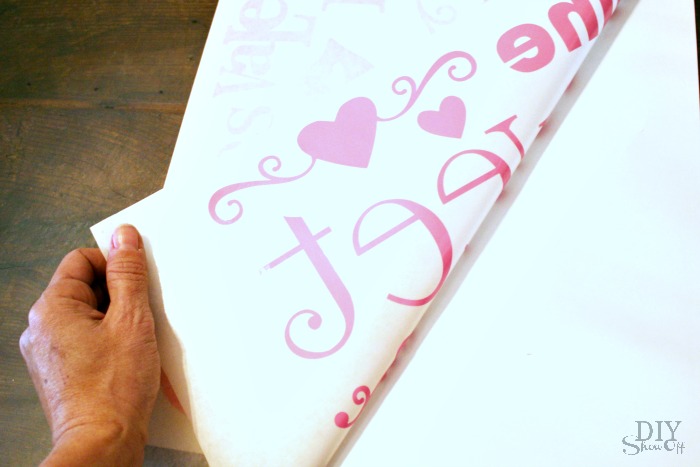
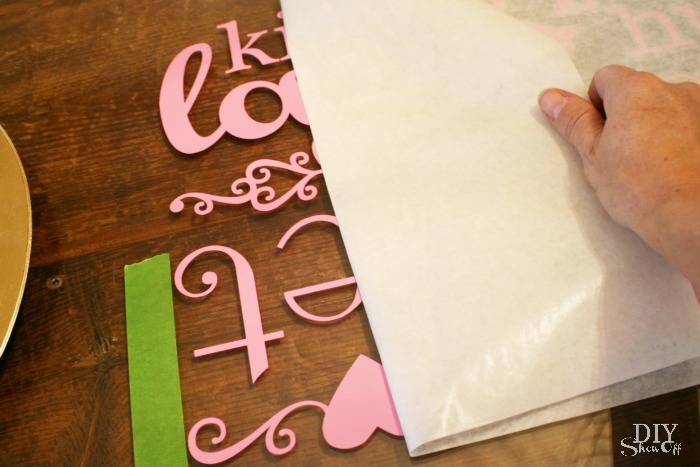
Remove wax paper backing. Sometimes I have to use my fingernail or thumbnail to help along the transfer. 

adhesive vinyl decal tutorial

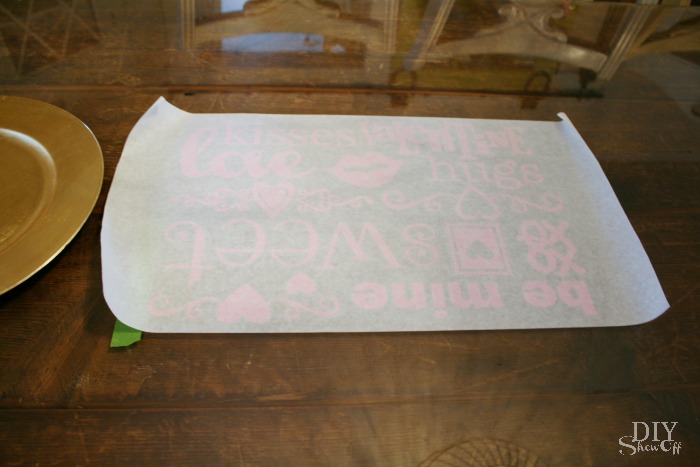
Carefully align and place the vinyl decal with transfer paper onto the glass. 

glass top table vinyl decal

Rub with a gift card so that the vinyl transfers from the paper to the glass. 

transferring vinyl decal

Remove transfer paper. 

transfer paper vinyl decal

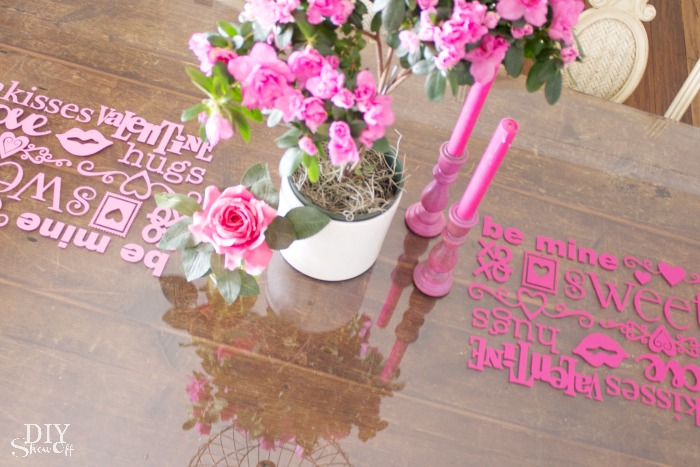
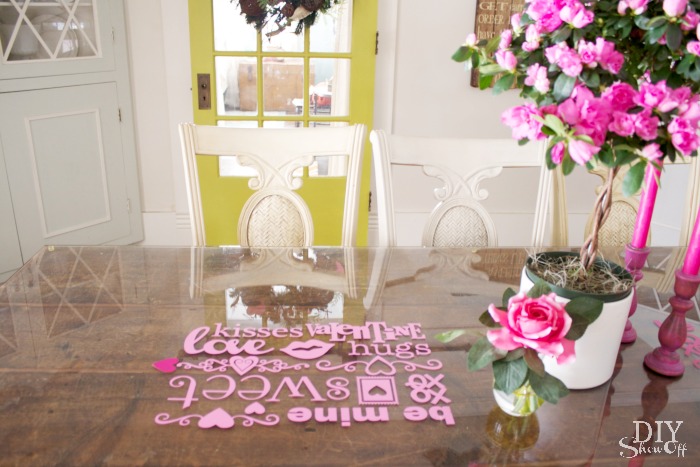
That’s it! Now the glass table top sports a sweet Valentine’s message!

adhesive vinyl Valentine centerpiece

Simply peel away the vinyl for easy removal.

Valentine table decor

More decorating around the DIYShowOff house: 

Valentine centerpiece


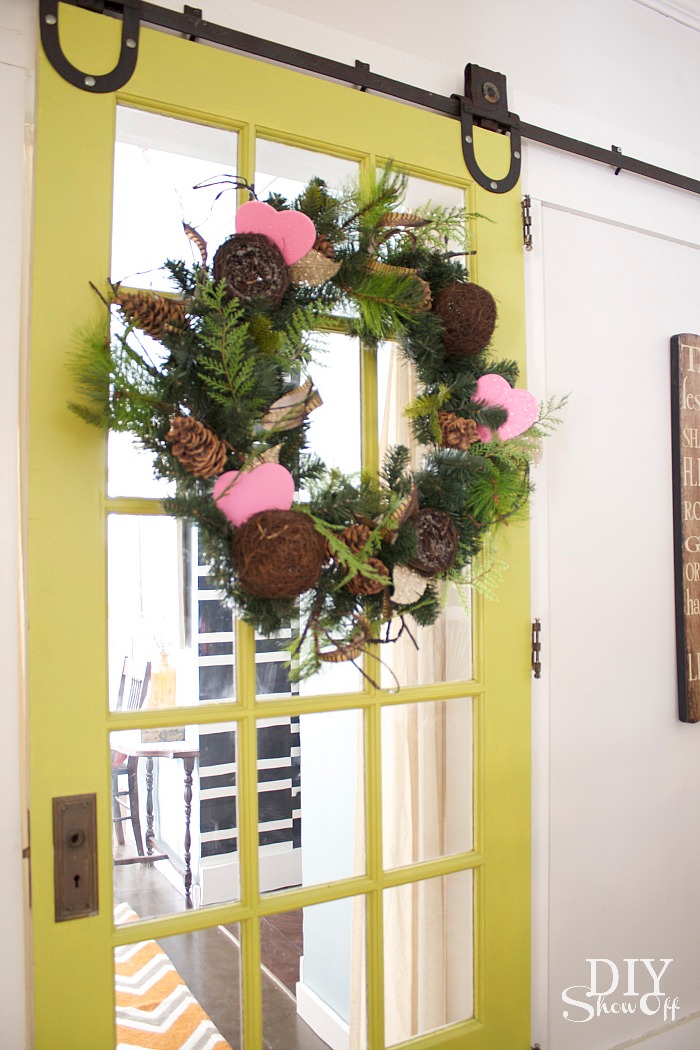
Valentine wreath

Valentine's day dining room decorating

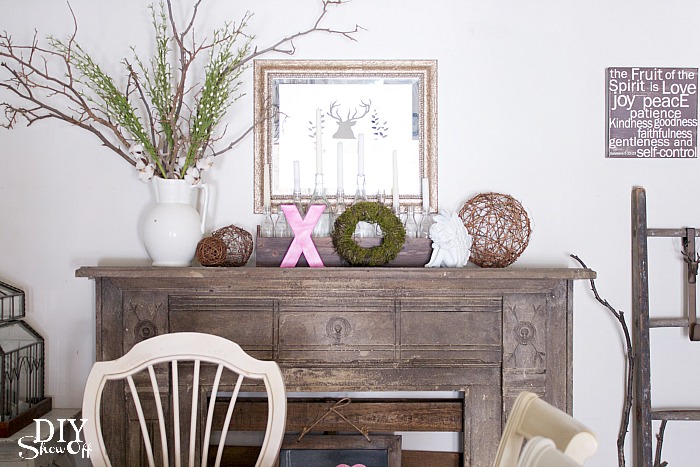
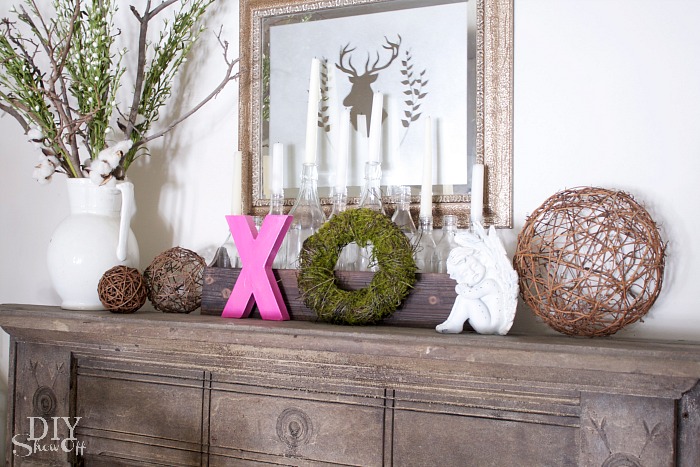
Valentine Mantel


DIYShowOff Valentine Mantel


Valentine dining room decor


Valentine dining room decor


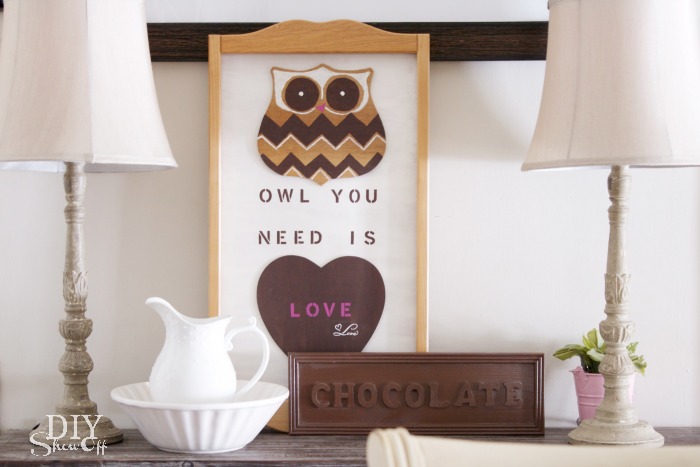
Valentine decor


See more Valentine’s crafts in the DIYShowOff project gallery


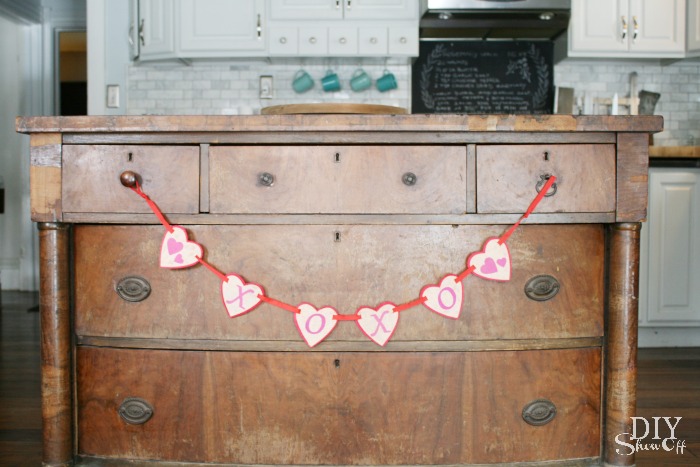
Valentine kitchen


Valentine decorating

*This post is sponsored by Happy Crafters. Tutorial, experience and opinion is my own.  I really love working with this vinyl. Check out all the supplies at Happy Crafters for inspiration for your next project. 

HClogopngsmall