DIY Table Markers for the 4th of July

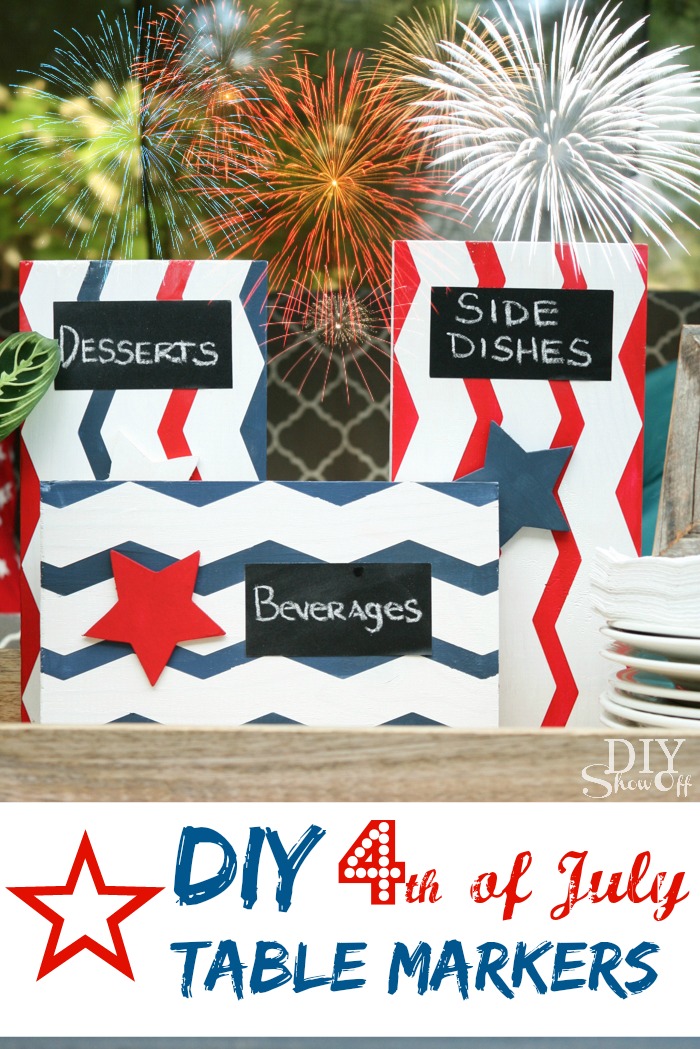
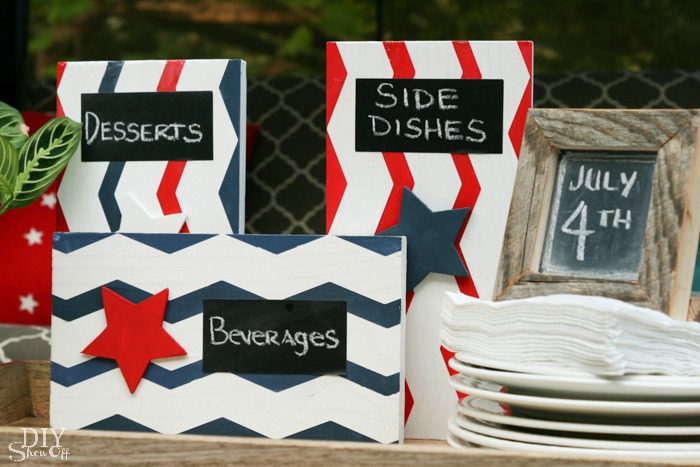
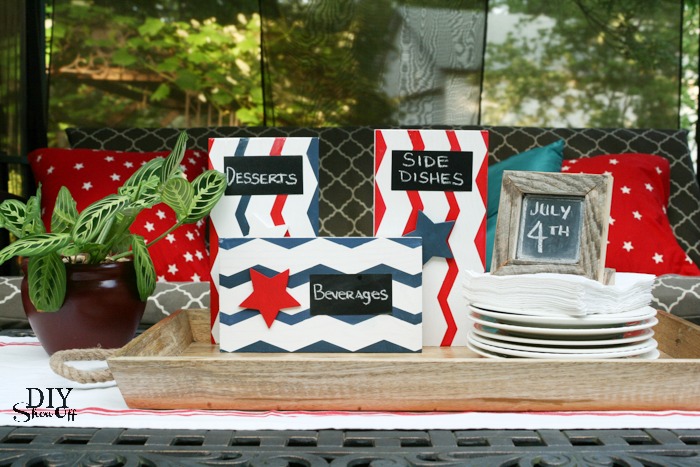
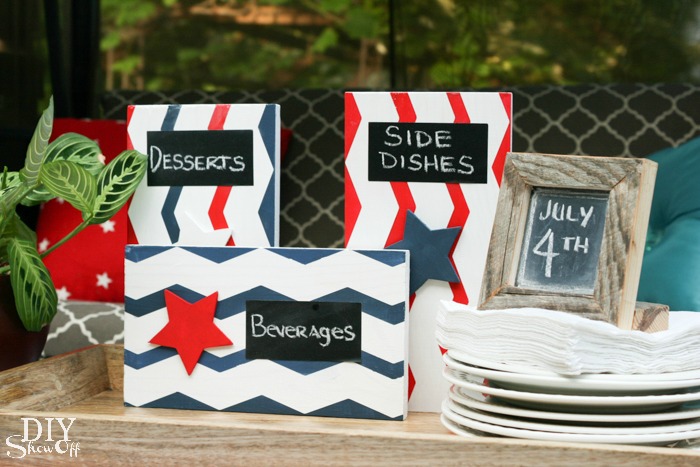
We’re hosting a family picnic to celebrate Independence Day. This easy DIY adds a patriotic touch of red,white and blue to the 4th of July theme.

DIY 4th of July Picnic Buffet Table Markers

DIY red, white and blue table markers at diyshowoff.com

Gather up:

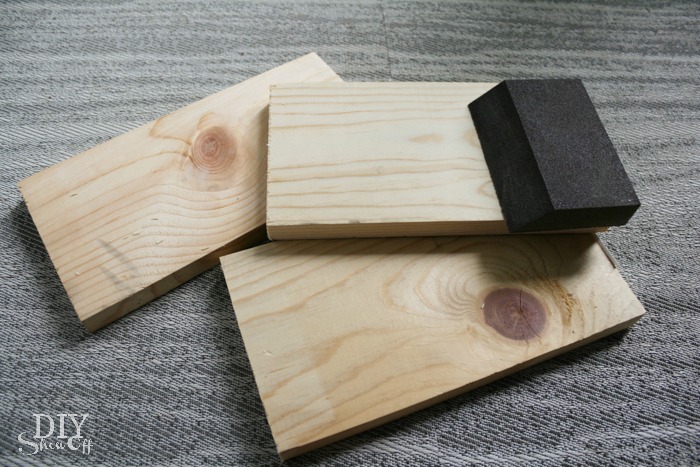
  • scrap wood (mine are 1 x 6 x about 10 inch pine, 2x4s or 4x4s would work too)
  • a few wooden stars
  • acrylic craft paint
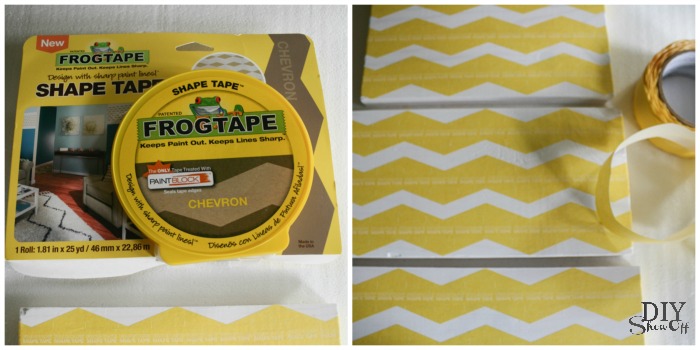
  • FrogTape® Shape Tape™ (chevron)
  • chalkboard labels
  • hot glue

Tools needed:

  • sandpaper/sanding block
  • craft paint brushes
  • scissors
  • hot glue gun

DIY table marker tutorial at diyshowoff.com

What I did:

1. I sanded and cleaned up the wood scraps. 

DIY table marker tutorial at diyshowoff.com

2. Next, I gave each 2 coats of white paint and let dry. 

DIY table marker tutorial at diyshowoff.com

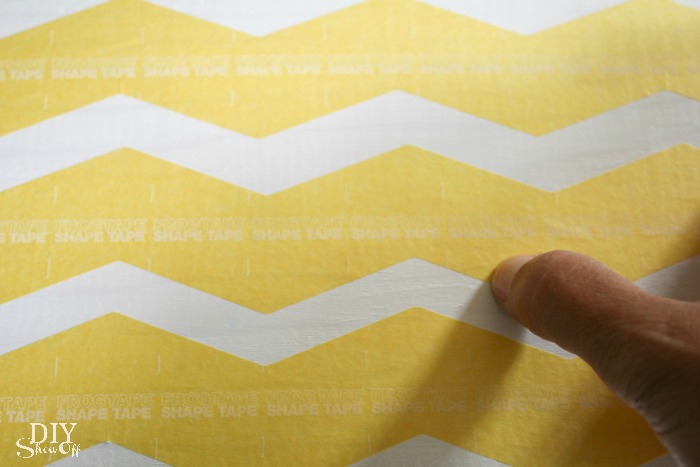
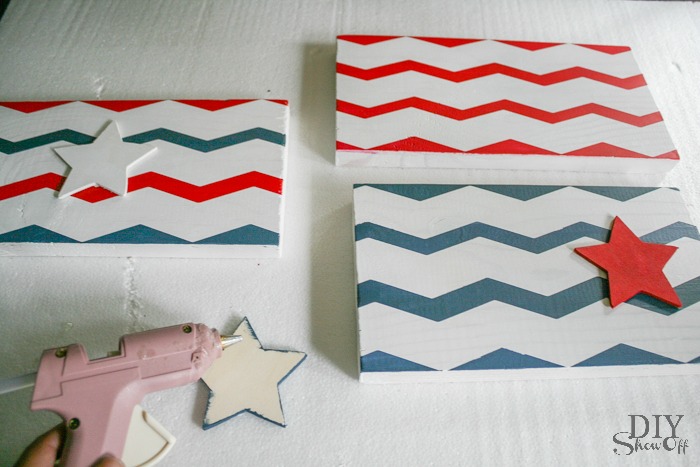
3. Once the white paint was dry, I applied FrogTape® Shape Tape™ (I used the chevron pattern) in three strips, starting with the top, then the bottom, then centering the third between the top and bottom. 

DIY table marker tutorial at diyshowoff.com

4. Using my thumbnail, I burnished the edges of the tape to activate the PaintBlock® Technology. 

DIY table marker tutorial at diyshowoff.com

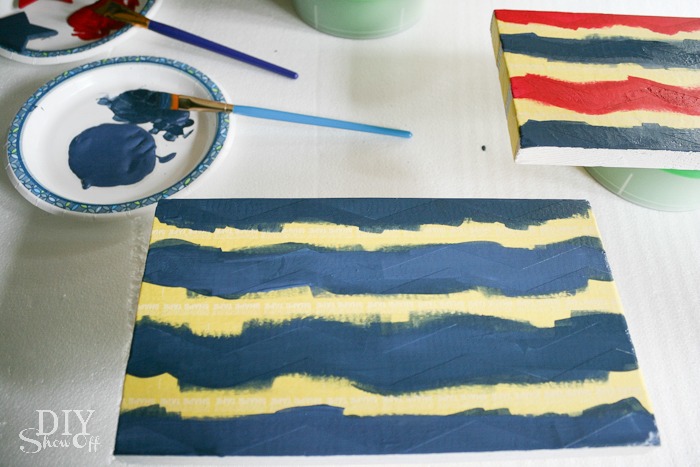
5. Then just paint the area not covered by tape. I used a combination of red and blue. I did two coats.

DIY table marker tutorial at diyshowoff.com

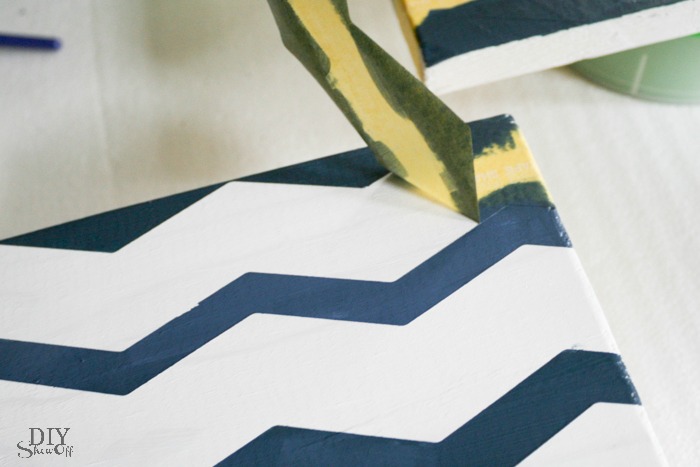
6. Carefully remove the tape while the paint is still wet. 

DIY table marker tutorial at diyshowoff.com

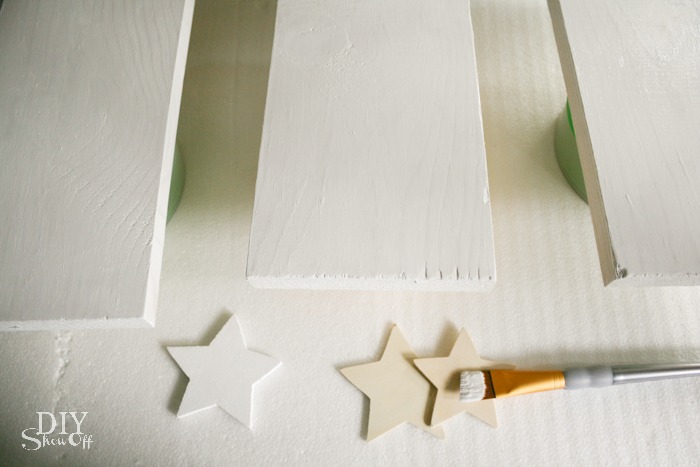
7. I painted the wooden stars and let everything dry. 

DIY table marker tutorial at diyshowoff.com

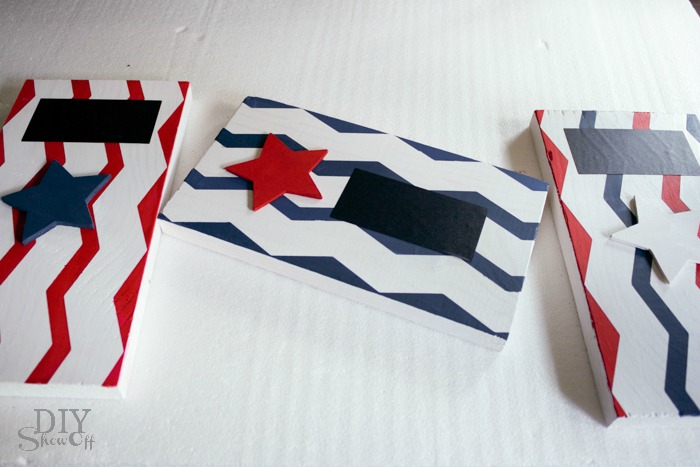
8. I applied a small bit of hot glue to the back of each star and attach to the painted chevron wood background. 

DIY table marker tutorial at diyshowoff.com

9. I stuck on some chalkboard labels. 

DIY table marker tutorial at diyshowoff.com

Time to set the table! 

DIY table marker tutorial at diyshowoff.comDIY red, white and blue table markers at diyshowoff.com

FrogTape Blog Squad

Disclaimer: I received compensation to complete this project for using FrogTape® products. All opinions, projects and ideas are based on my own experience.

DIY Birdie Garland and Fun in the Sun Blog Hop

It’s here! Summer! Perhaps not officially just yet but these warm months and longer days cheer my soul. I love summer! Let’s celebrate with a summer blog hop! Visiting from the beautiful summer bedroom at Town and Country Living? Welcome, friends! I’m so happy your here!

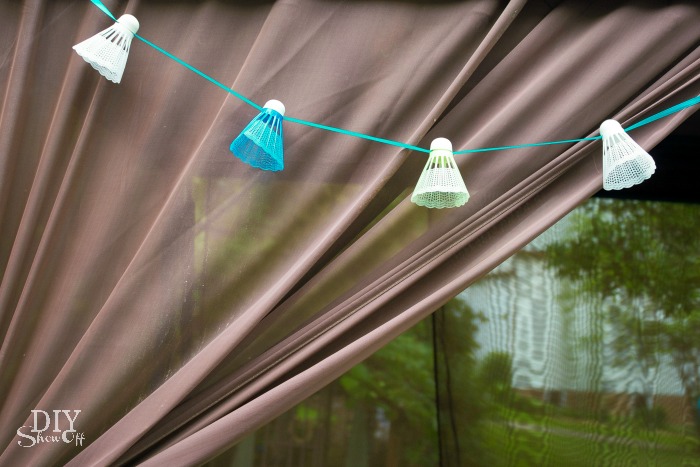
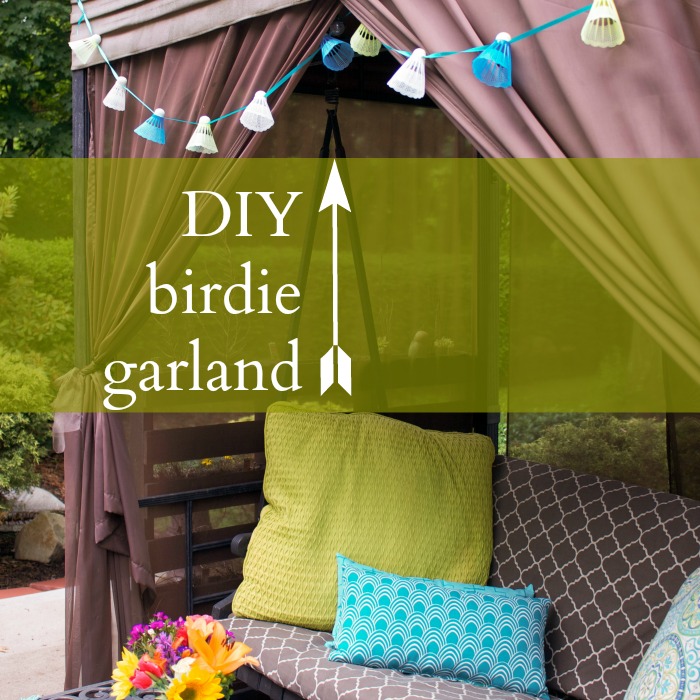
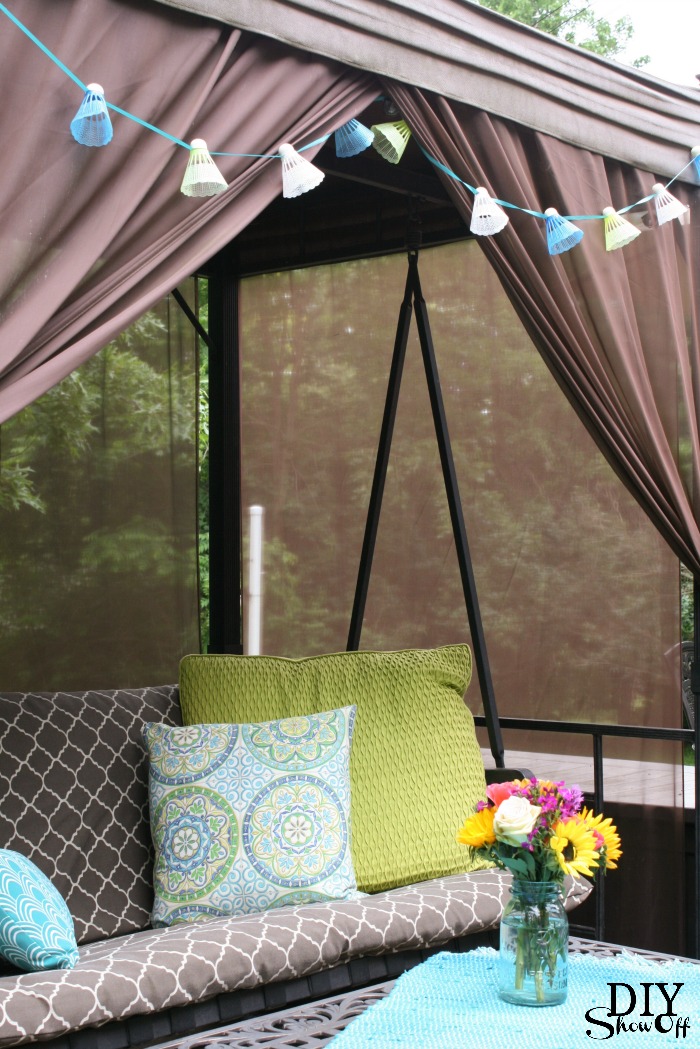
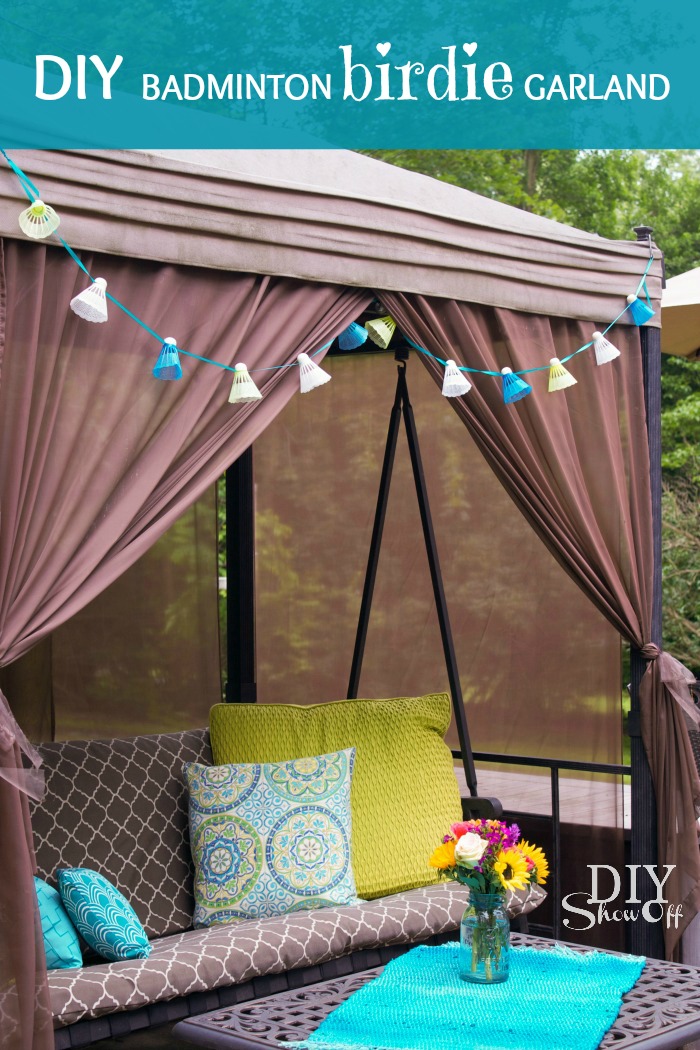
I’m participating with an easy summer DIY:  badminton birdie garland. 

DIYShowOff birdie garland tutorial

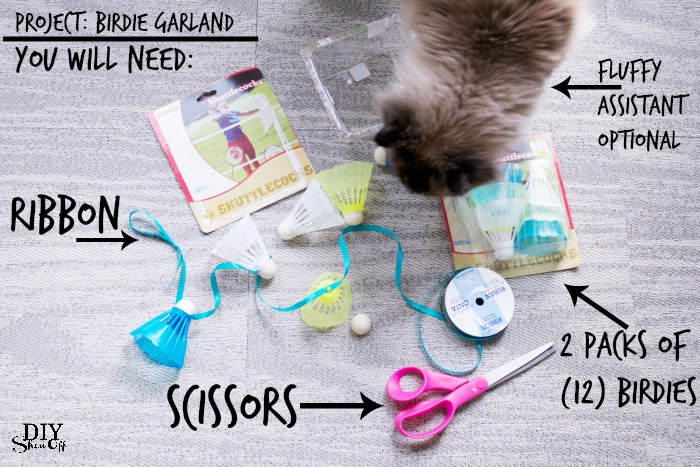
Materials:

  • ribbon
  • plastic badminton birdies (check the dollar store!)

DIY birdie garland tutorial at diyshowoff.com

Tutorial:

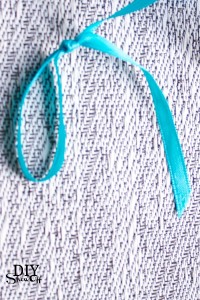
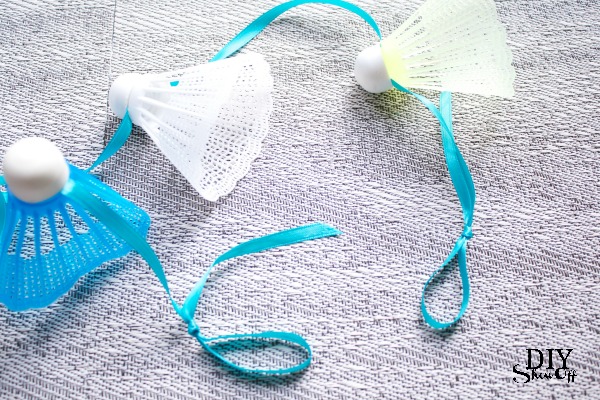
1. While length of ribbon is still attached to spool, create a loop (for hanging) and knot. DIY birdie garland tutorial at diyshowoff.com

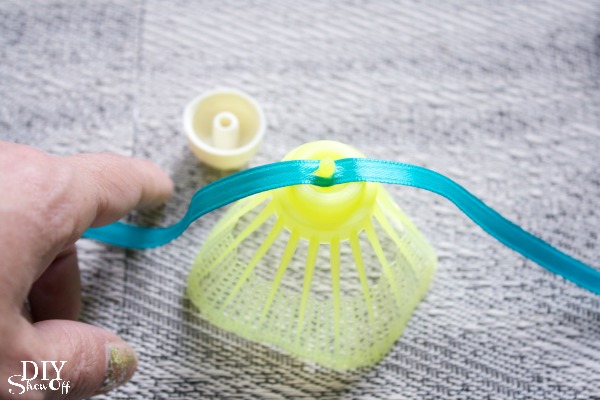
2. Remove caps off of all birdies (mine simply popped off).

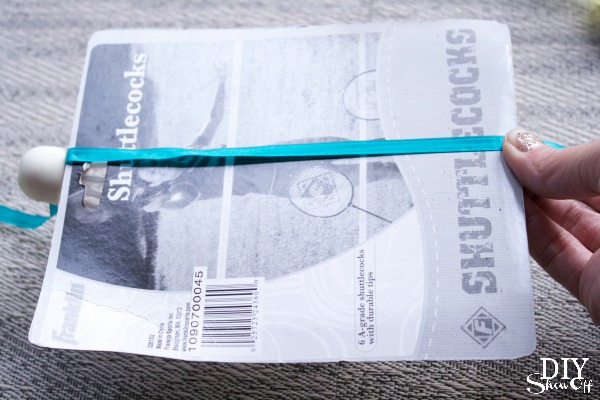
3. Using the package (or ruler) determine distance between each birdie (starting from the knotted loop).

DIY birdie garland tutorial at diyshowoff.com

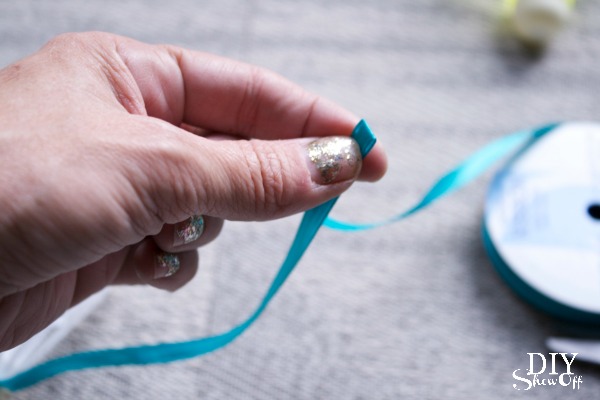
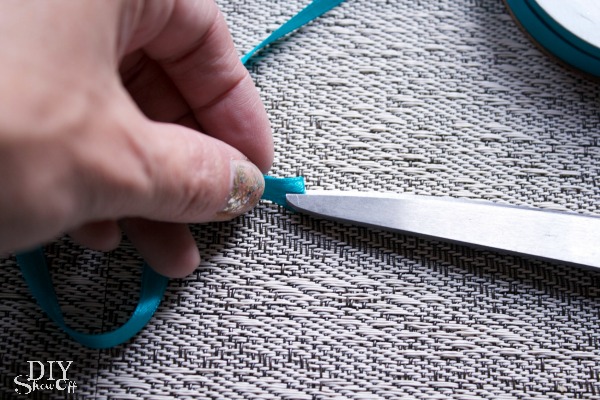
4. Fold ribbon and ‘snip’ with scissors your measured mark. Just a small snip will do.

DIY birdie garland tutorial at diyshowoff.comDIY birdie garland tutorial at diyshowoff.com

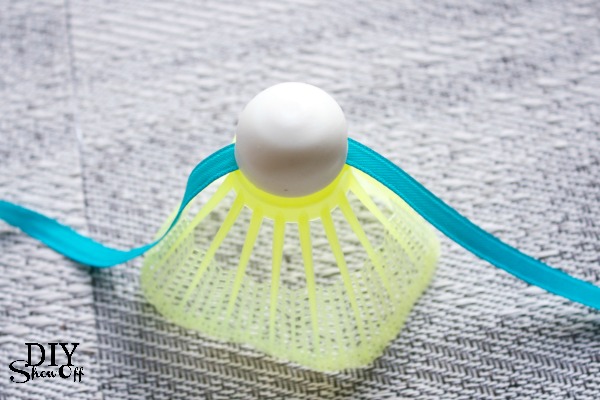
5. Place snipped area of ribbon over ‘peg’ on birdie top. 

DIY birdie garland tutorial at diyshowoff.com

6. Replace birdie cap. 

DIY birdie garland tutorial at diyshowoff.com

7. Repeat steps 3-6 using all of your birdies. 

8. Then simply measure same short ribbon distance one last time, add a few more inches. Cut ribbon, create a loop and knot for the end. 

DIY birdie garland tutorial at diyshowoff.com

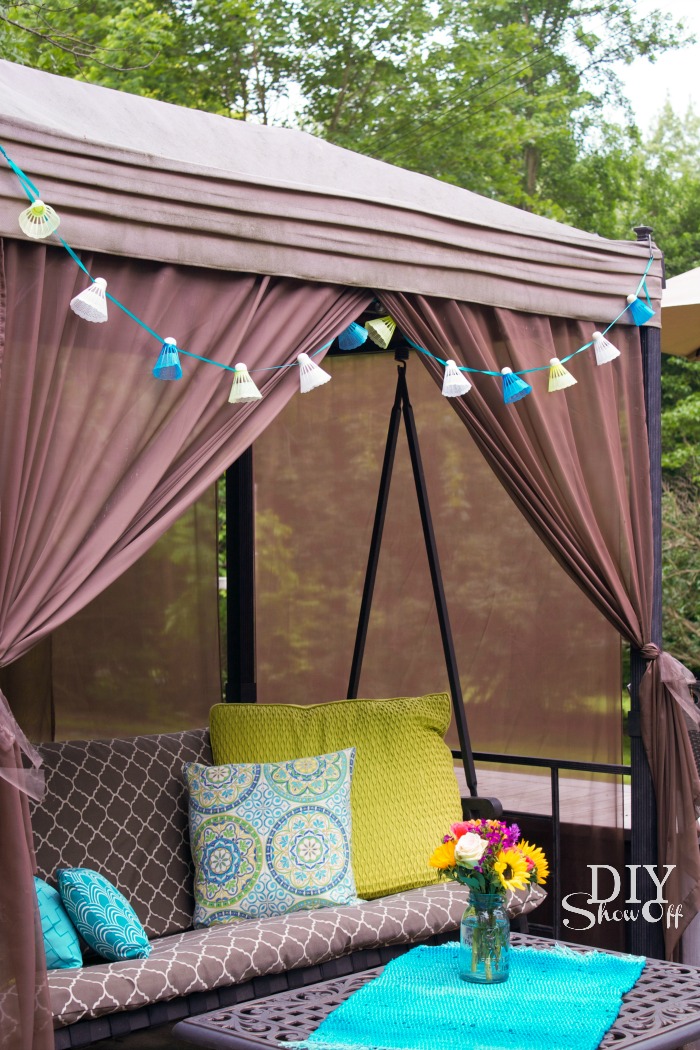
Hang! Summer outdoor family game themed. Super cute (easy and cheap too)! 

DIY birdie garland tutorial at diyshowoff.comDIY Birdie Garland / Summer Blog HopDIY birdie garland tutorial at diyshowoffHow to make a birdie garland at diyshowoff.com

Follow along the entire Fun in the Sun series by heading over to At the Picket Fence for some outdoor inspiration and by visiting the links below for summer recipes, crafts, projects, decor and more!

Fun in the Sun Blog Hop

Domestically Speaking

Debbie Doo’s

My Uncommon Slice of Suburbia

Setting for Four

Clean and Scentsible

Town and Country Living

DIY Show Off

At The Picket Fence

Cupcakes and Crinoline

Sand and Sisal

Fox Hollow Cottage

Don’t forget to come back tomorrow for a link up party and awesome cash giveaway! 

Fun in the Sun graphic

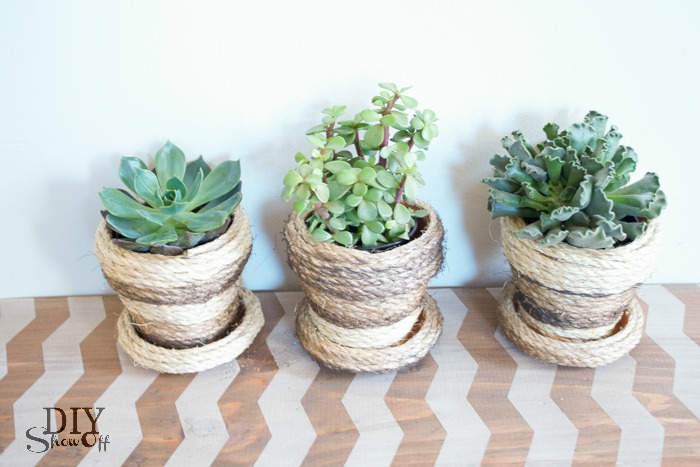
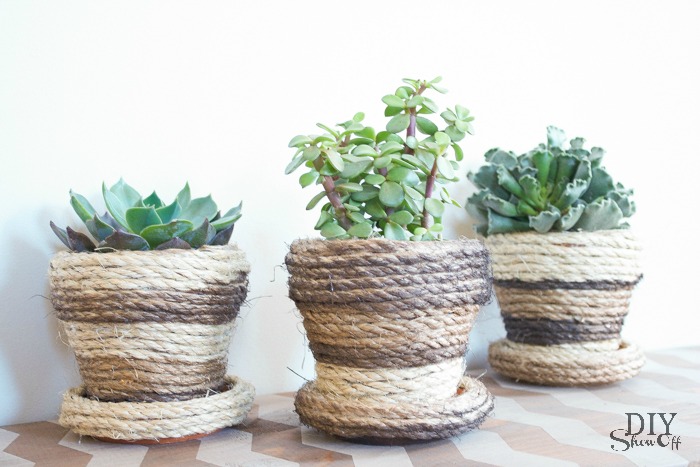
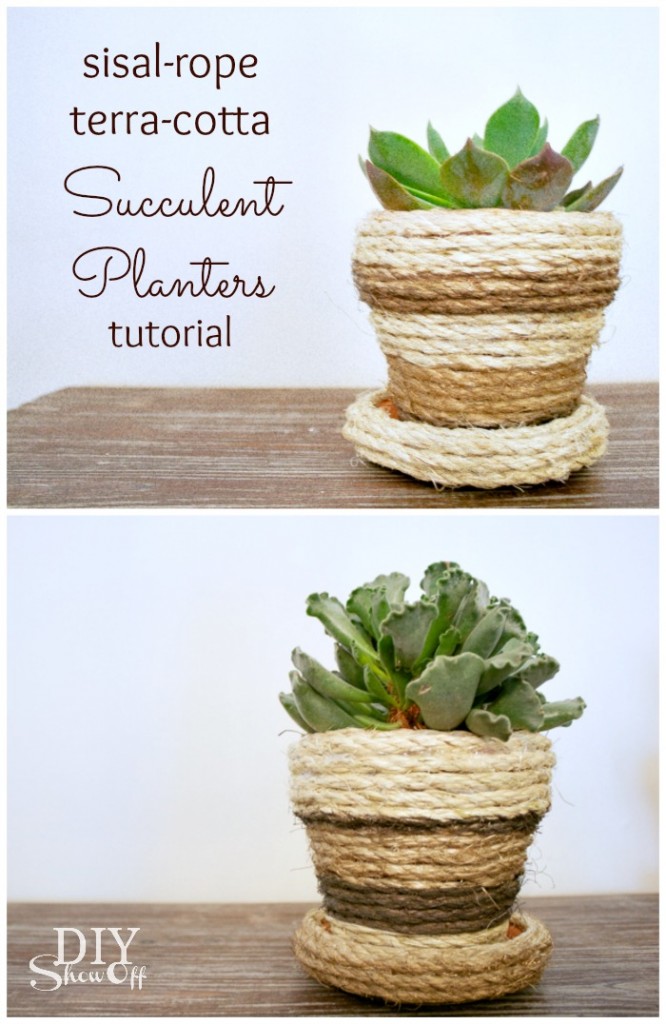
DIY Sisal Rope Planters

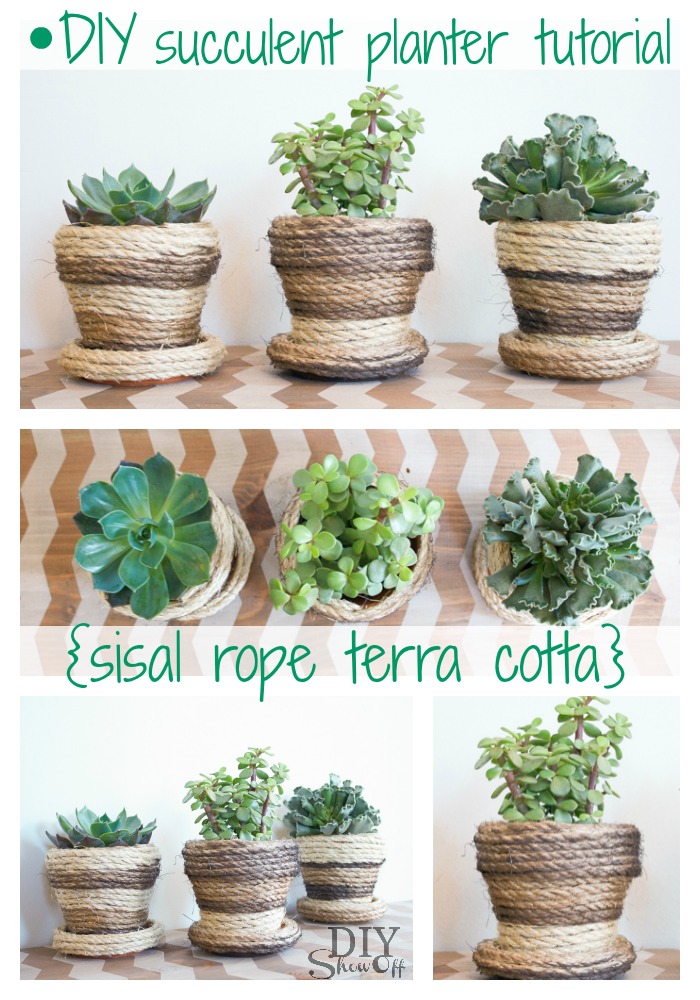
June’s Lowe’s Creative Ideas challenge had several themes. I chose rope and succulents…perfect for adding a little summer time decorative accents and texture with a DIY sisal rope planter. 

DIY succulent planter tutorial - diyshowoff.com

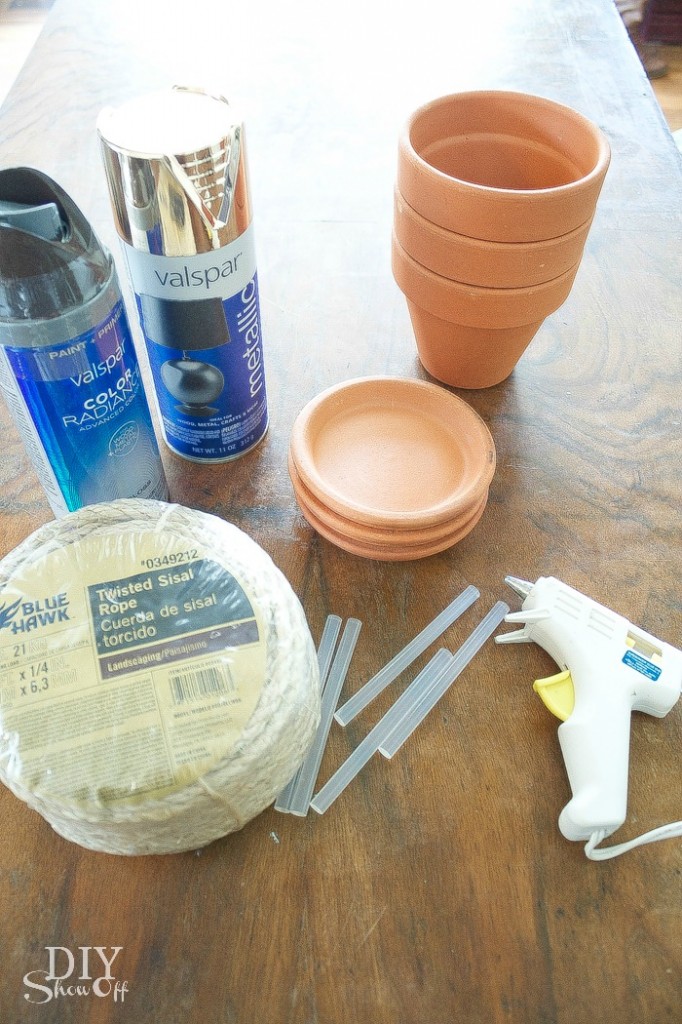
Materials I used:

DIY sisal rope wrapped terra cotta planters tutorial at diyshowoff.com

  • BlueHawk twisted sisal rope
  • (3) small terra cotta pots
  • (3) small terra cotta saucers
  • Valspar metallic spray paint (gold)
  • Valspar paint + primer (brown)
  • FrogTape
  • hot glue gun/sticks
  • (3) succulent plants

What I did:

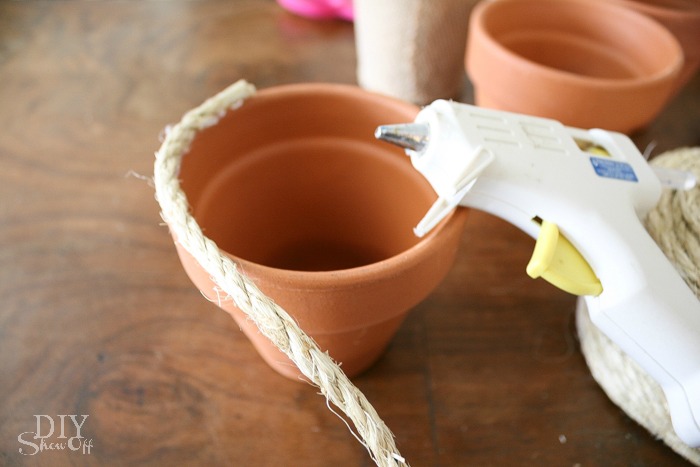
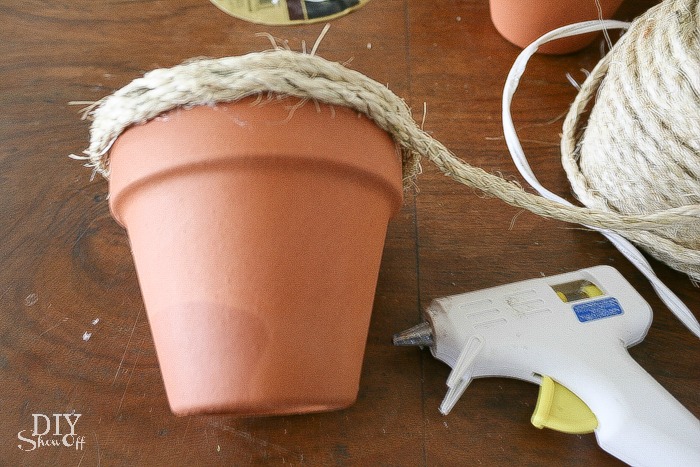
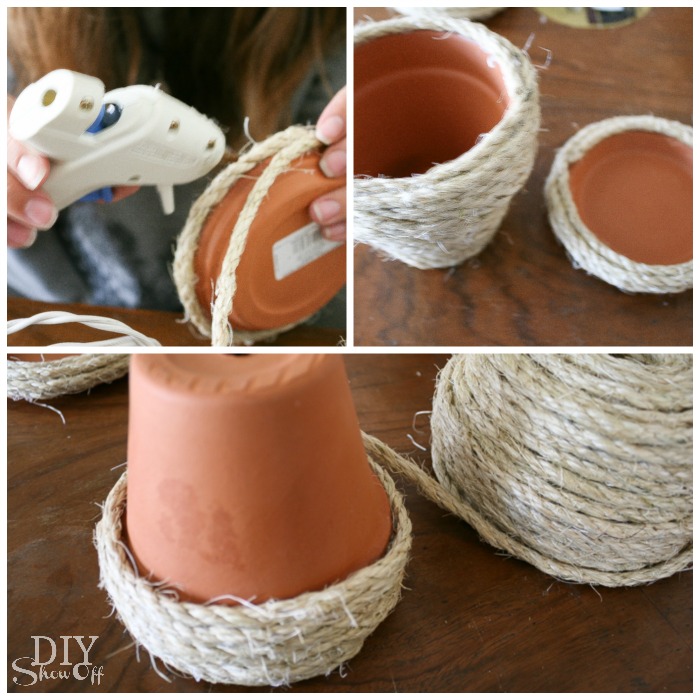
Using hot glue to adhere, I added sisal rope to the terra cotta pots and saucers. 

DIY sisal rope wrapped terra cotta planters tutorial at diyshowoff.comDIY sisal rope wrapped terra cotta planters tutorial at diyshowoff.comDIY sisal rope wrapped terra cotta planters tutorial at diyshowoff.com

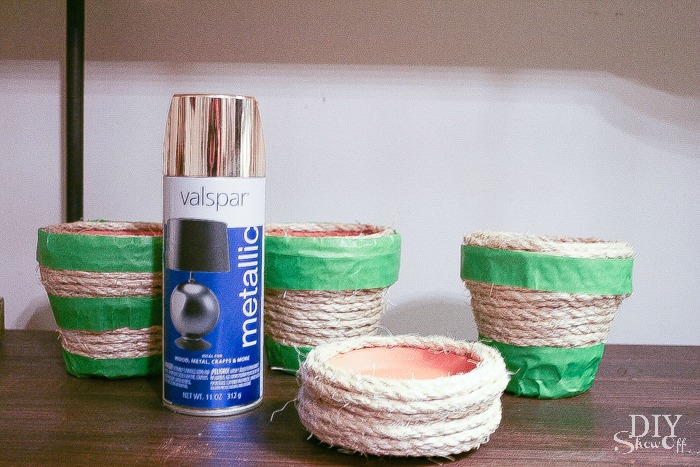
Use FrogTape to add decorative stripes.

DIY sisal rope wrapped terra cotta planters tutorial at diyshowoff.com

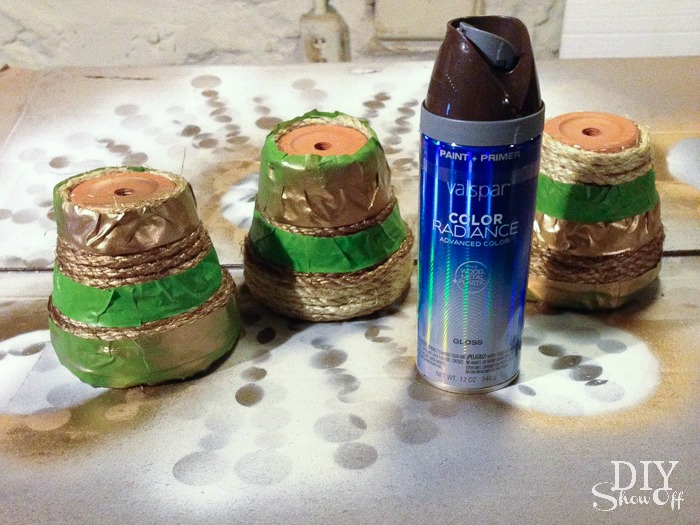
Spray paint the pots and let dry. (I did two colors/two step spray painting.)

DIY sisal rope wrapped terra cotta planters tutorial at diyshowoff.com

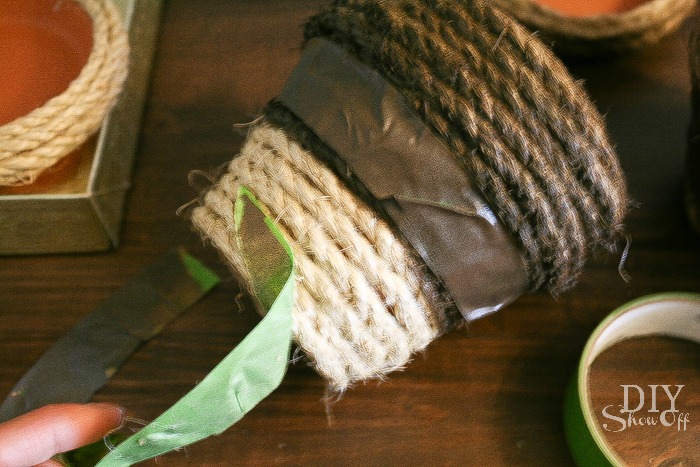
Remove FrogTape.
DIY sisal rope wrapped terra cotta planters tutorial at diyshowoff.com

Add plants!

DIY sisal rope wrapped terra cotta planters tutorial at diyshowoff.com 

So easy to do! Instant texture and greenery for your decor to liven things up. 
DIY sisal rope wrapped terra cotta planters tutorial at diyshowoff.comWorks for flowers or plants too!

DIY sisal rope wrapped terra cotta planters tutorial at diyshowoff.com

I received a Lowe’s gift card to complete this challenge. Opinion and above idea is 100% my own. More DIY ideas at Lowe’s Creative Ideas, follow Lowe’s on InstagramPinterest and sign up for the Creative Ideas magazine and app!  

LCI Summer Badge


Check out more of my Lowe’s Creative Ideas challenges:

DIY hanging organizer - Pantone radiant orchid DIY Chalk Finish Paint Recipe pipe shelving how toDIY foldable luggage rack tutorial DIYShowOff tire flower planter tutorial at DIYShowOff LCR dice game tutorial