Custom DIY Decals – vinyl holiday labels

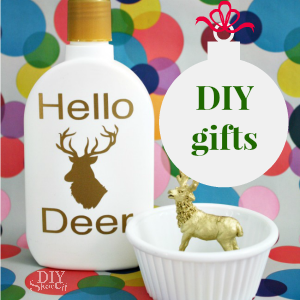
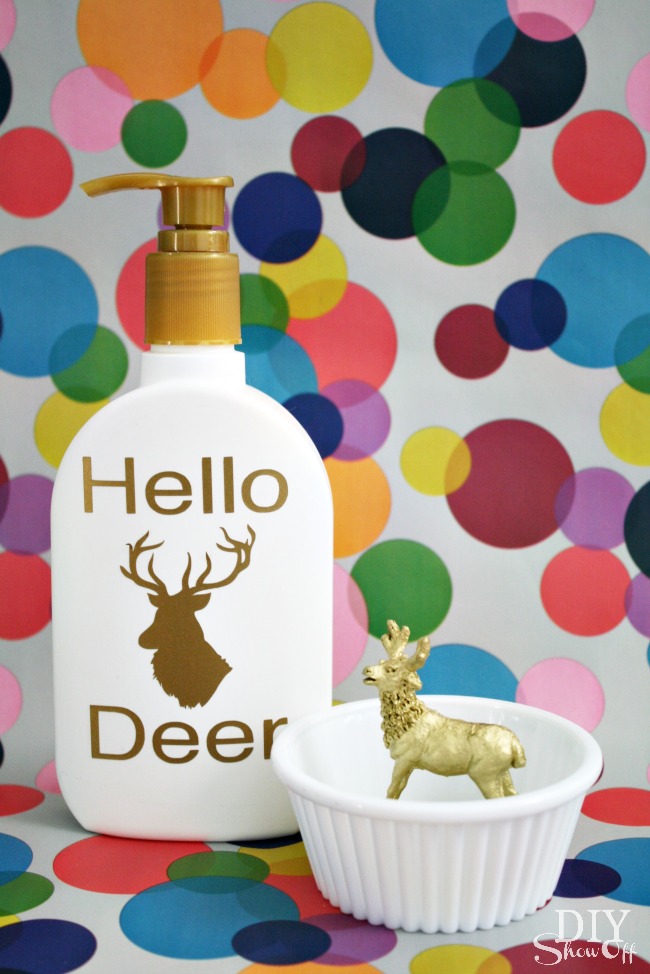
I don’t know about you but the change from fall to winter contributes to dry skin and having a bottle of lotion constantly on display isn’t exactly decorative so why not whip out a vinyl decal/label using a fun shape and text? I used my Silhouette Cameo and vinyl but you could substitute craft paper, glue, contact paper, decorative tape and/or stickers. It’s a cute DIY gift idea too. Here is what I did:

DIY gift set idea

Materials:

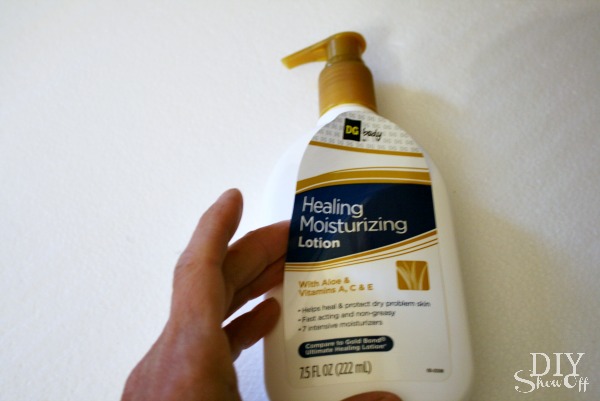
  • Bottle of Moisturizing Lotion (Dollar General) – you could also make your own and use a glass bottle or jar
  • Gold Vinyl from Happy Crafters
  • Transfer paper

Tools:

  • Silhouette Cameo

What I did:

Remove front label. I left the back label adhered so there was no mistaking the contents and ingredients. The front label pulled away clean for me but some may take a little elbow grease.

lotion bottle decal tutorial

Using my Silhouette Studio software along with a previously purchased deer shape and helvetica font, I created a design measuring small enough to fit on the front of the lotion bottle (roughly 3 x 3 inches).

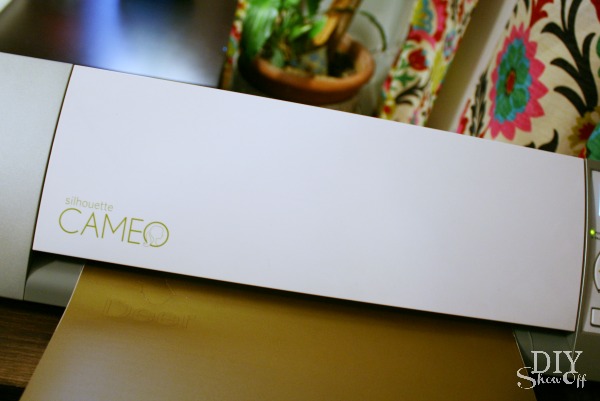
Load vinyl color side up. I changed my blade settings for cutting vinyl and sent to ‘cut’. 

cutting vinyl decals

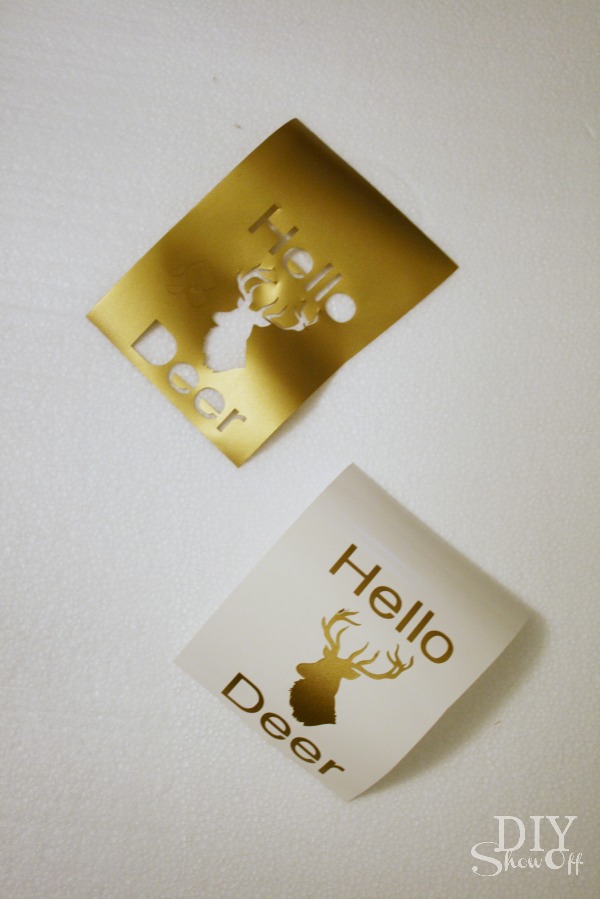
Weed away all ‘negative’ vinyl that isn’t a part of the design. 

deer decal

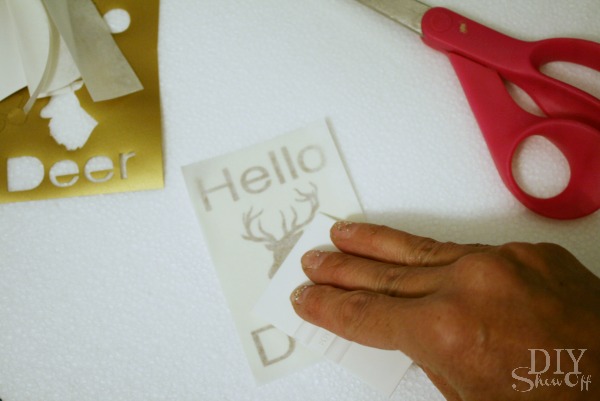
Add a piece of transfer paper to the front side of the vinyl decal and rub with a gift card or credit card.

vinyl decal label tutorial

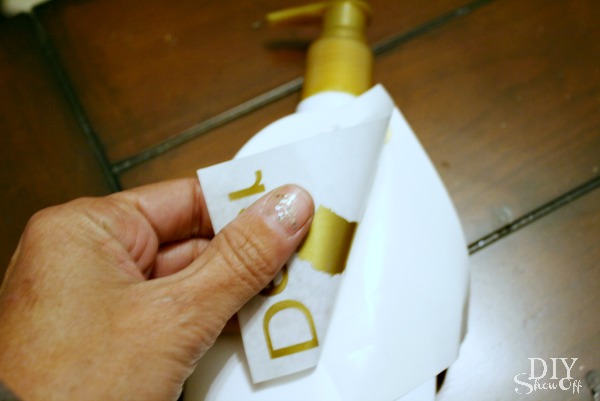
Pull away the wax paper backing.

vinyl decal label tutorial

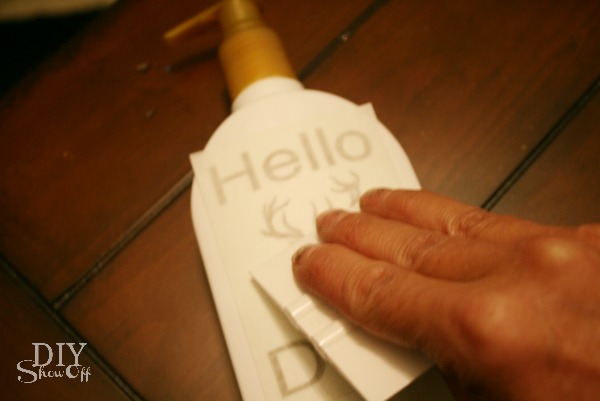
Place the vinyl decal/transfer paper onto the front of the lotion bottle and rub the design with a a gift card.

lotion label decal

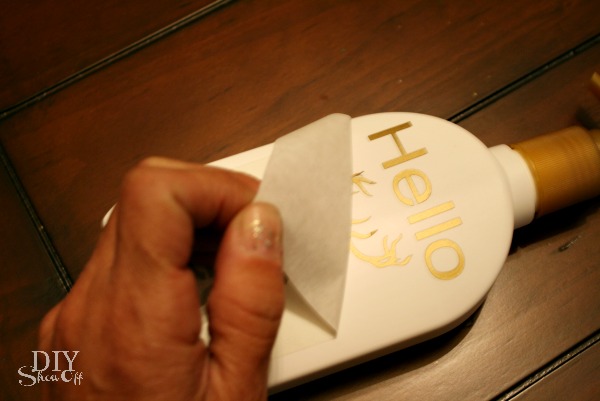
Peel away the transfer paper. 

Vinyl lotion label decal DIY

Add a coordinating bow if desired. Now you have cute guest room accessory.

Deer lotion bottle DIY vinyl decal

Or create a holiday gift set by adding a super easy DIY ring/jewelry holder.

DIY gifts

I’m sharing the ring holder tutorial today over at Très Frugal – 30 days of DIY Gift Ideas hosted by Brittany at Pretty Handy Girl today. Hop over to check it out and to follow the entire series for some great gift ideas. 

diy gifts

*This post is sponsored by Happy Crafters. Tutorial, experience and opinion are my own. See more projects at Happy Crafters blog.

HClogopngsmall


Karyna’s handmade tree for the Christmas Tree Party & Contest

Karyna's Christmas Tree

Personalized Trick or Treat Bags

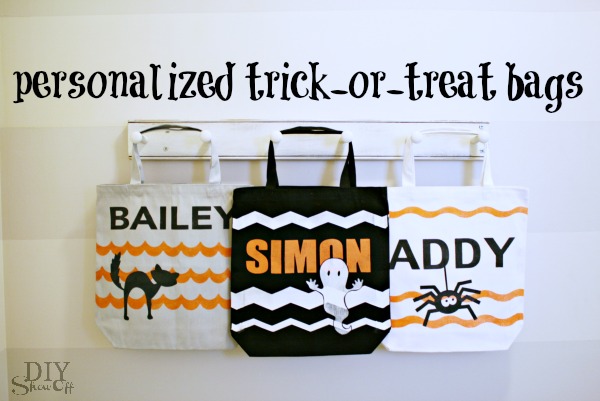
Trick or Treat is coming up at the end of the month. I sure do miss having little ones at home. We don’t even get trick-or-treaters in our neighborhood but I do have two nieces and one nephew, all under the age of 5. With help from FrogTape® and Happy Crafters, I whipped up a little Halloween surprise for them. They’re going to love these personalized trick or treat bags!

DIY personalized trick or treat bags

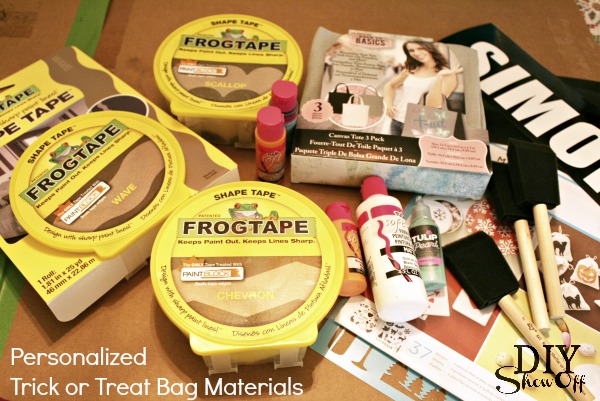
Materials:DIY personalized trick or treat bags

  • canvas/linen tote bags
  • fabric paints
  • FrogTape® Shape Tape (I used all 3 patterns: chevron, wave and scallop)
  • stencils (I created my own stencils using glossy black vinyl and transfer paper from Happy Crafters)

Tutorial: (please pardon the poor lighting…it’s raining today)

Part 1 – Shape Tape

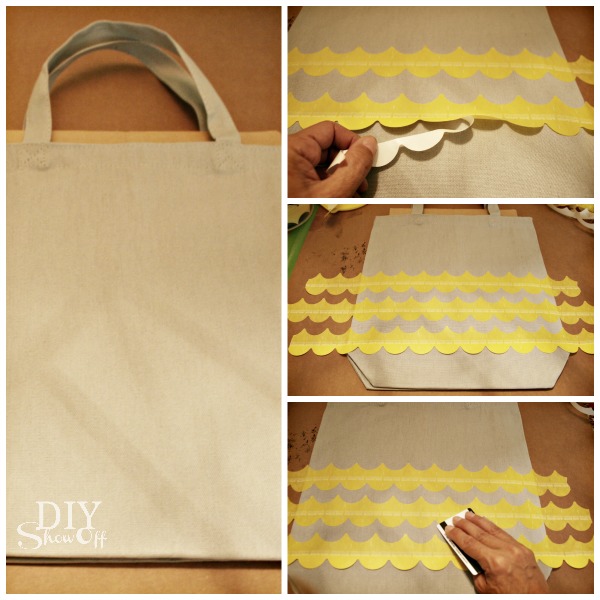
Iron the tote bags to remove wrinkles.

Insert cardboard into the tote bag (to block bleed-through to the other side).

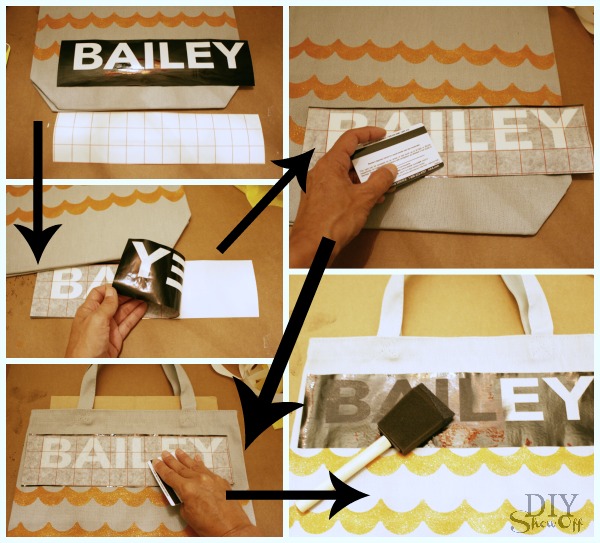
Cut a piece of FrogTape Shape tape a little wider than the bag. Decide placement. Remove half of the strip of wax paper backing from the Shape Tape. Position and press into place. Remove the other half of the wax paper backing and smooth into place. I found that securing the edges of the tape to the table underneath on the sides, kept my tote bag from sliding around, holding it in place for painting.

DIY personalized trick or treat bags

Repeat step 3 to create a ‘stencil’ border/line for the design. 

Using a credit card, I rubbed the Shape Tape to make sure it was nice and secure, sticking to the canvas…check closely to be sure the Shape Tape is complete adhered to the canvas. 

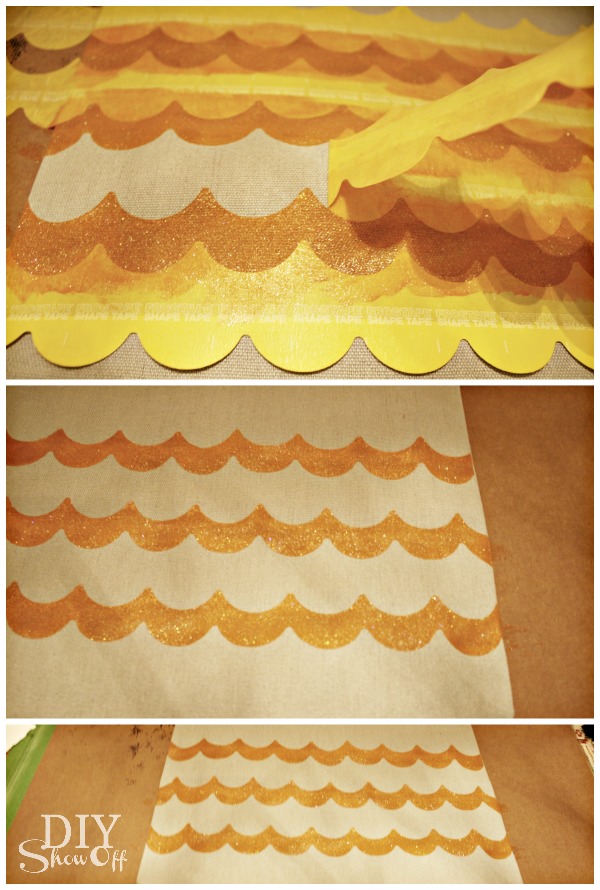
Paint! Be careful not to lift the Shape Tape with brush strokes. It helps to move the paint brush from ‘on the tape’ moving to the fabric rather than starting on fabric and pushing paint to the tapeline. 

Remove Shape tape. Nice crisp lines!!! Let the paint dry. DIY personalized trick or treat bags

Part 2 – vinyl stencils

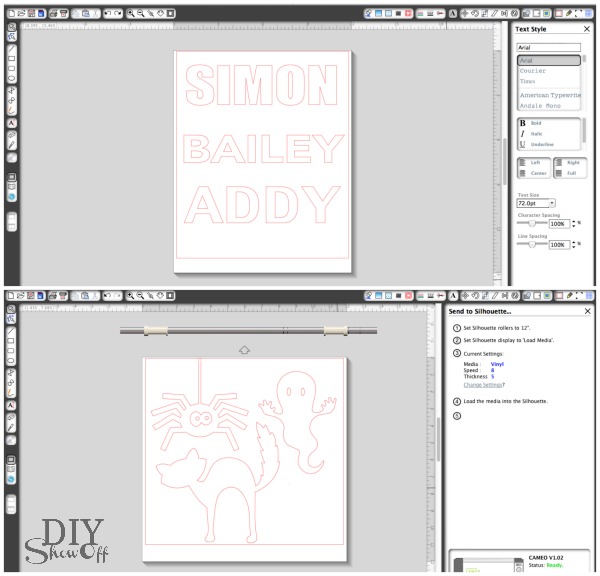
Using my Silhouette designer studio software, I created name stencils as well as purchased a few Halloween shapes from the Silhouette American online store. Then sent it to cut to create vinyl stencils. DIY personalized trick or treat bags

Peel away lettering and design to create a stencil. Using transfer paper, position vinyl stencil on tote, rub with a credit card and remove transfer paper – leaving the vinyl stencil in place on the canvas. DIY personalized trick or treat bags

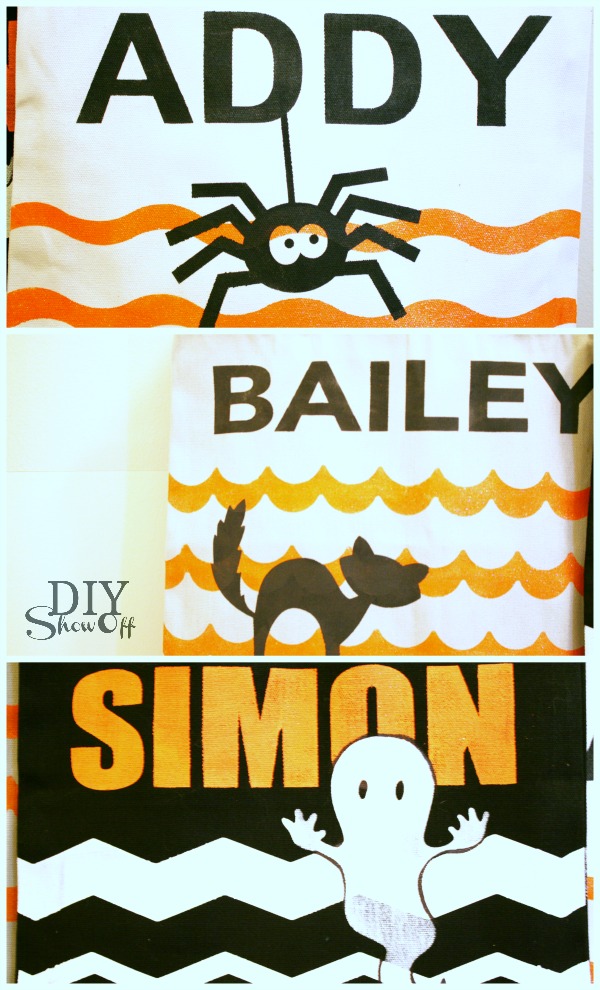
Paint and remove vinyl. Allow paint to dry 4 hours. 

DIY trick-or-treat bags

*Using a black Sharpie, I traced around the ghost where his white body met with the white chevron. 

DIY trick-or-treat bags

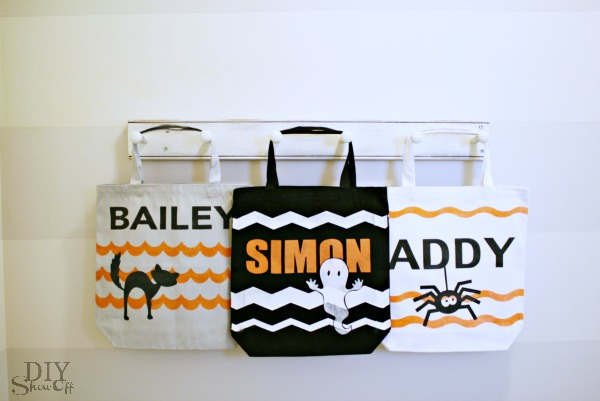
Aren’t they darling? Years of use! Machine washable (inside out) after 72 hours. Cute.Cute.Cute!DIY personalized trick or treat bags


Now I have three little trick-or-treaters! Treators? What’s your favorite kind of Halloween candy?

FrogTape Blog Squad

*I’m a member of the FrogTape® Blog Squad. This post is sponsored by FrogTape®. As always, the opinions are completely my own based on my own experience. See more DIY from the FrogTape® blog squad.

*This post is sponsored by Happy Crafters. Tutorial, experience and opinion is my own. See more projects at Happy Crafters blog.

HClogopngsmall

DIY Vinyl Pumpkin Decals

With the girls all grown up and on their own, I have little desire to carve a pumpkin to create a jack-o-lantern. And my pumpkin carving skills are a bit juvenile so I’m loving this alternative to carving…my pumpkins look so pretty! 

DIY vinyl pumpkin decals

Materials:

  • large glossy adhesive vinyl from Happy Crafters
  • transfer paper  
  • pumpkins

Tools:

  • Silhouette Cameo

What I did:

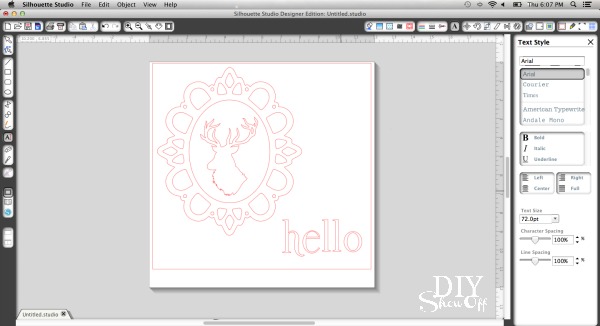
1. I purchased a deer silhouette and frame from the online store and sized them in my Silhouette Studio designer software to fit my pumpkins.

DIY vinyl pumpkin decals

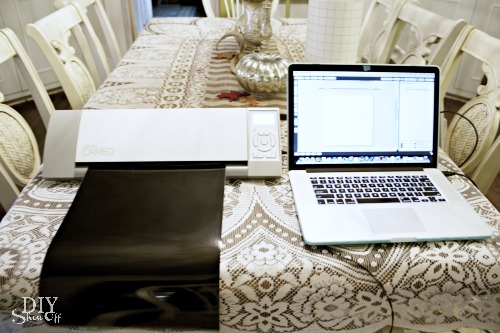
2. Then sent my decals to “cut”. 

DIY vinyl pumpkin decals

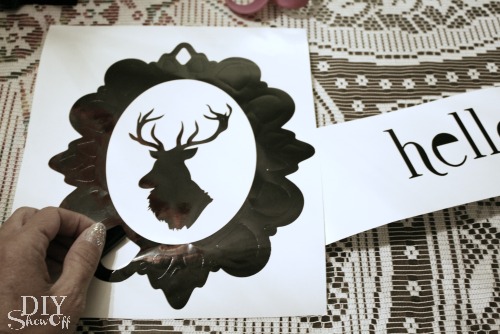
3. Peel away (weed) the negative part of the design.

DIY vinyl pumpkin decals

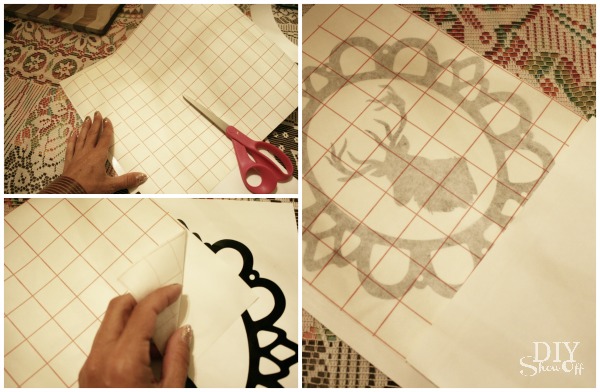
4. Cut transfer paper to size. Peel away wax paper backing and smooth transfer paper into place.

DIY vinyl pumpkin decals

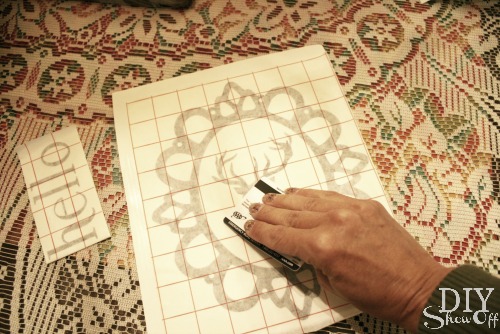
5. Rub design with a credit card.

DIY vinyl pumpkin decals

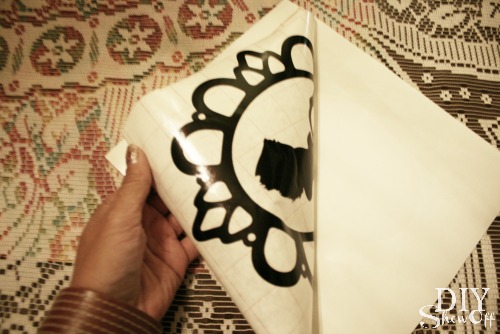
6. Peel away paper backing from the vinyl decal, transferring it to the sticky transfer paper. 

DIY vinyl pumpkin decals

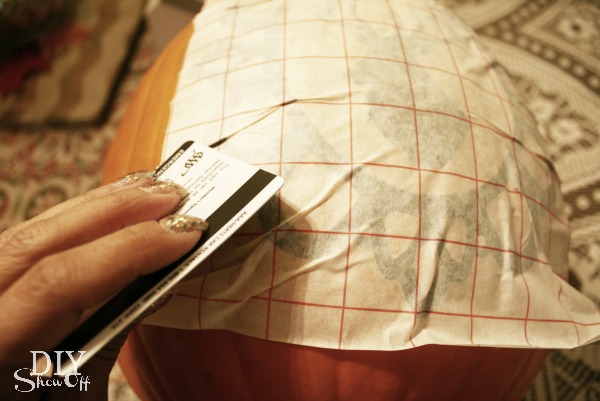
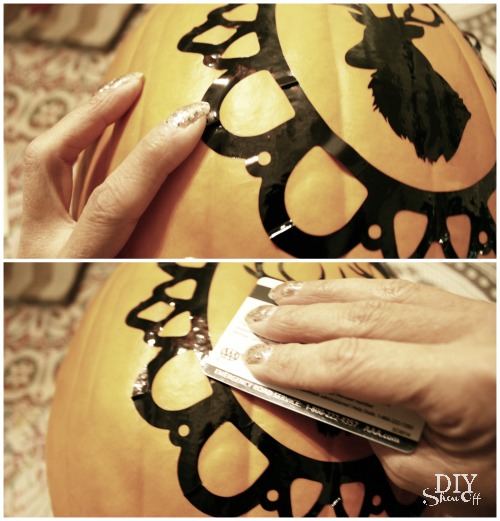
7. Position on pumpkin and lightly rub decal with a credit card. 

DIY vinyl pumpkin decals

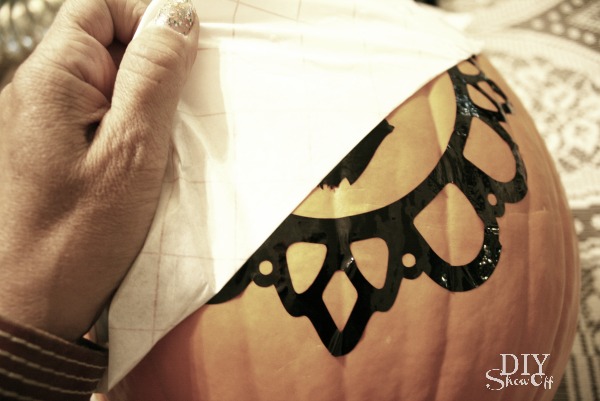
8. Peel away transfer paper. This might get a little tricky because of the pumpkin’s uneven surface. You may have to use your fingernail to help with the transfer.

DIY vinyl pumpkin decals


9 .There are also wrinkles in my vinyl decal…but it doesn’t take away from the design. I just smoothed it down the best I could using my fingernail and credit card. 
DIY vinyl pumpkin decals

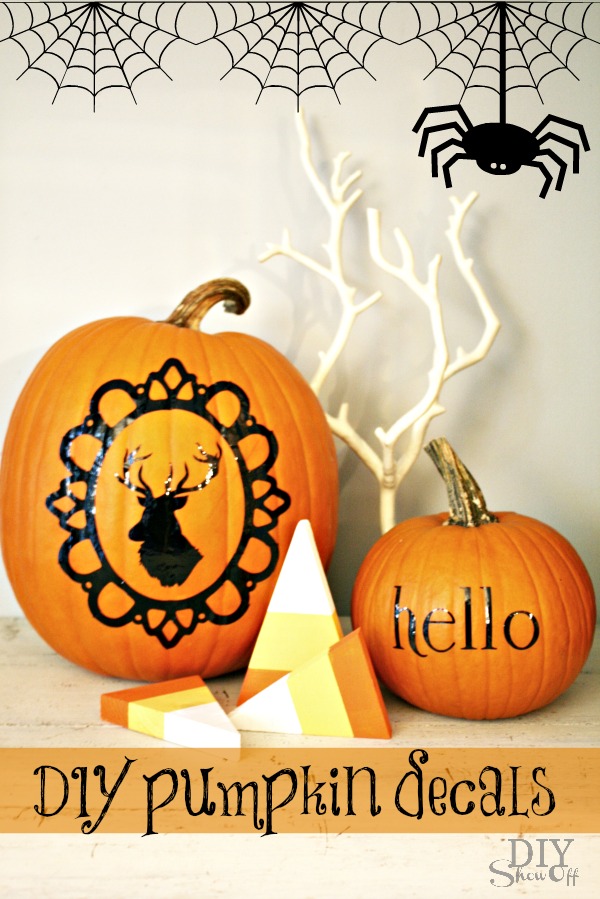
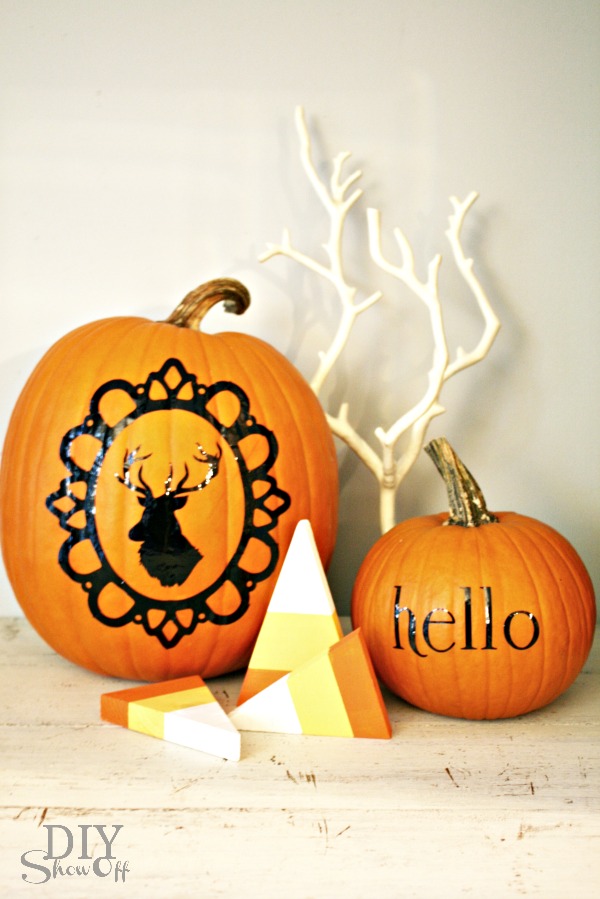
All done and so cute! SO many options. I noticed that the Silhouette America online store even had sets of eyes, noses and mouths for jack-o-lantern faces. A monogram or spooky ghost or black cat would be great too!
DIY vinyl pumpkin decals

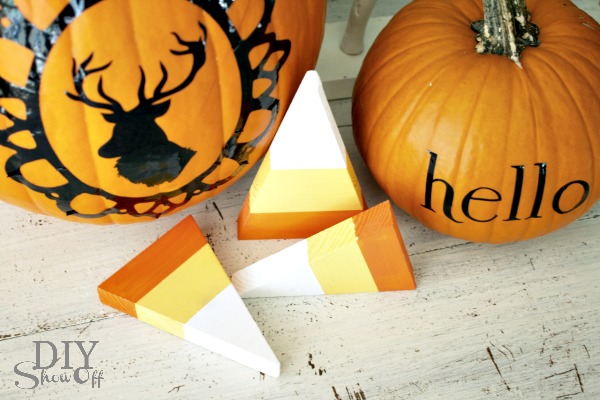
See the tutorial for the candy corn here.

DIY vinyl pumpkin decals


Linking up to the Lettered Cottage, Pumpkin Party and Cuckoo4Design Pumpkin Parade

*This post is sponsored by Happy Crafters. Tutorial, experience and opinion is my own. See more projects at Happy Crafters blog.

HClogopngsmall