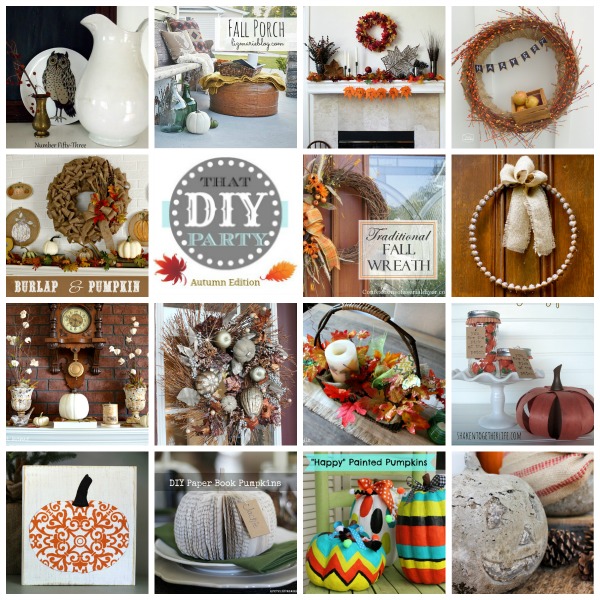
That DIY Party – 15 Fall Highlights

Since I’m not hosting the DIY Show Off Fall Festival for the first time in five years, I decided to feature some gorgeous and inspiring fall DIY from the weekly That DIY Party. Visit these awesome projects…there are so many beautiful ideas!

15 Fall DIY Highlights

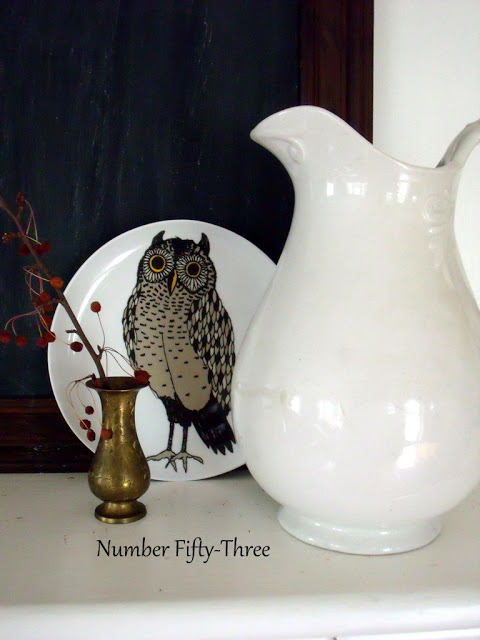
Autumn decorating at Number Fifty Three

autumn decorating at Number Fifty Three 

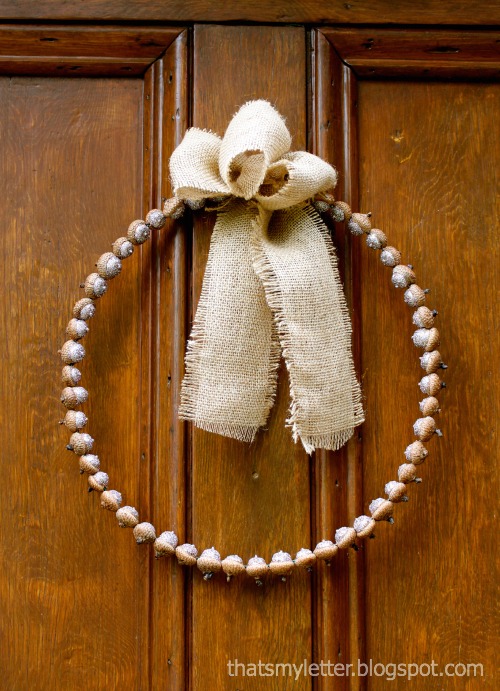
Glittered Acorn Wreath tutorial – That’s My Letter

glittered acorn wreath - That's My Letter blog 

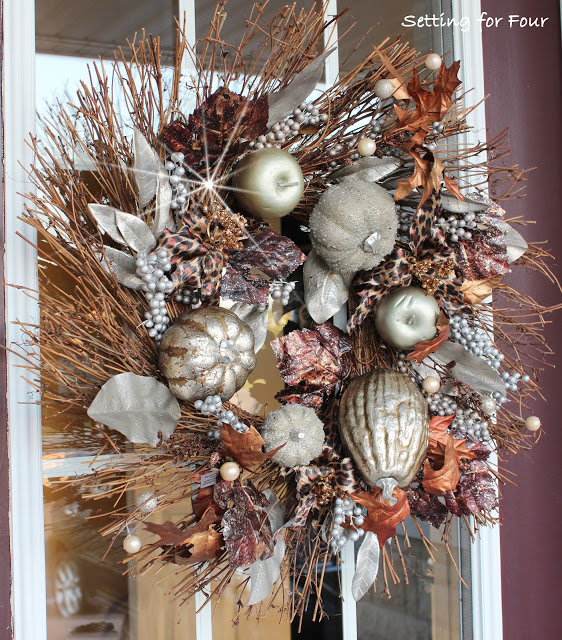
DIY animal print fall wreath at Setting for Four

animal print fall wreath - Setting for Four

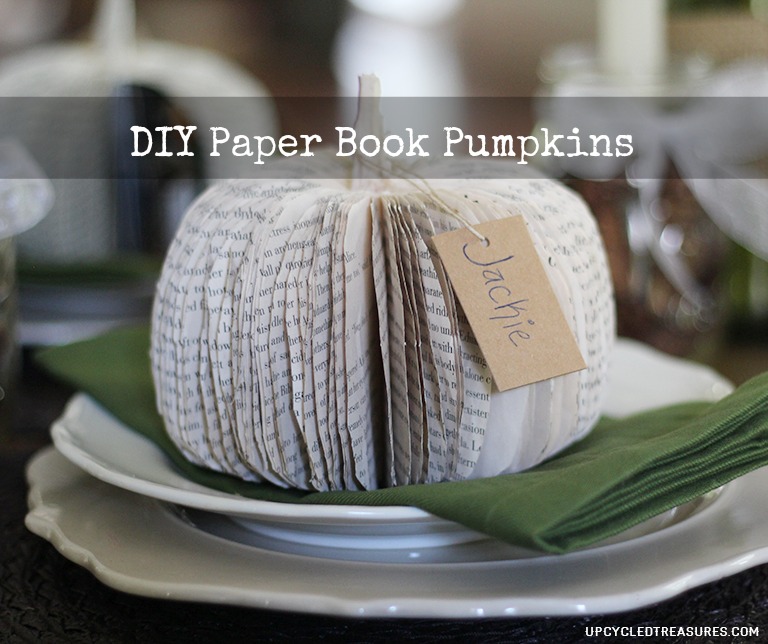
Paper Book Pumpkin tutorial at Upcycled Treasures

diy-paper-book-pumpkins-upcycled-treasures

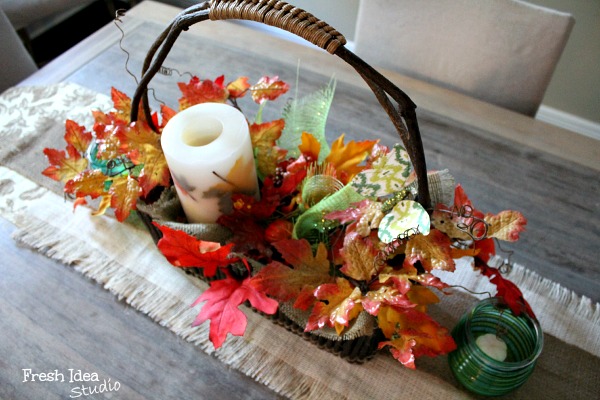
Rustic Fall Centerpiece at Fresh Idea Studio

DIY-rustic-Fall-leaves-centerpiece-fresh idea studio

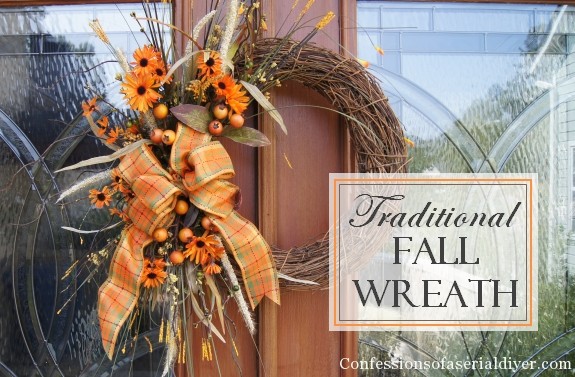
Traditional Fall Wreath at Confessions of a Serial DIYer

traditional fall wreath at Confessions of a Serial DIYer

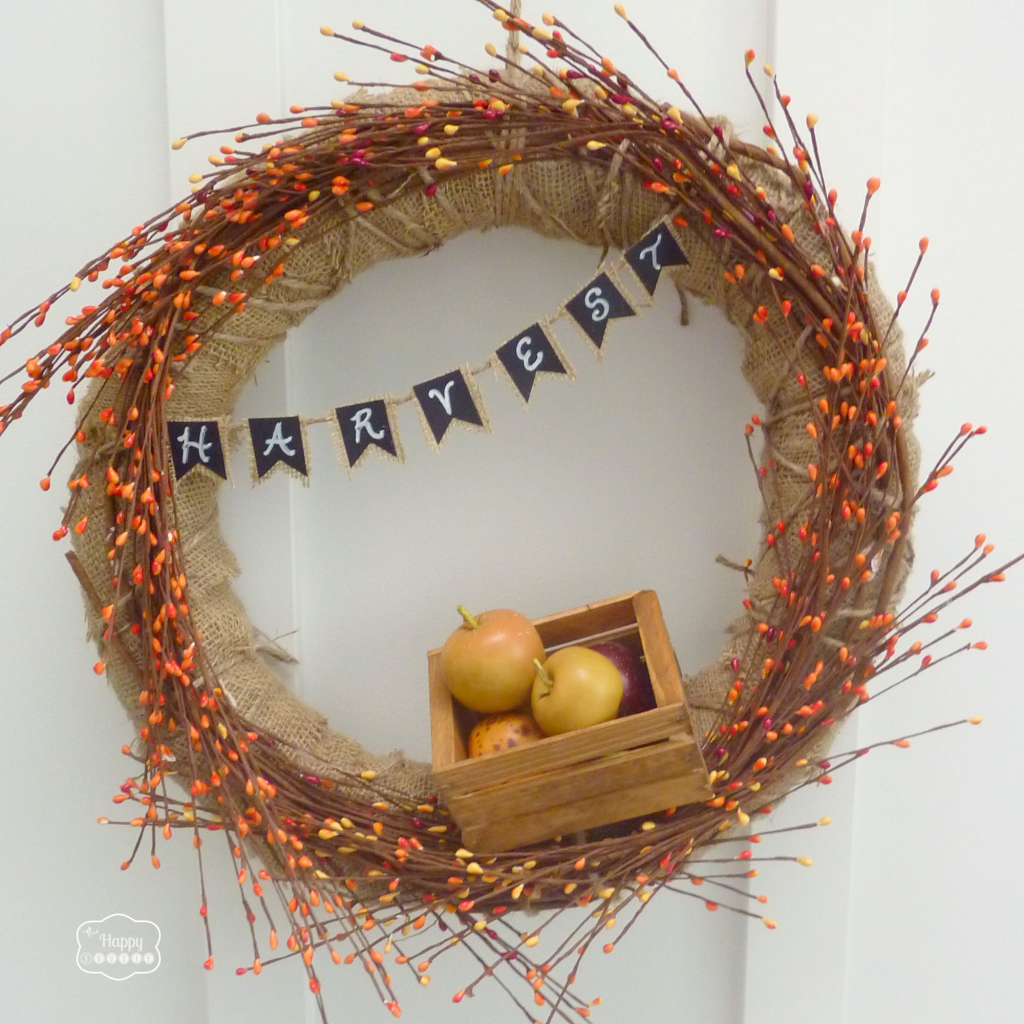
DIY Fall Harvest Wreath at the Happy Housie

Fall-Apple-Harvest-Wreath-with-DIY-Mini-Chalkboard-Burlap-Bunting-at-thehappyhousie

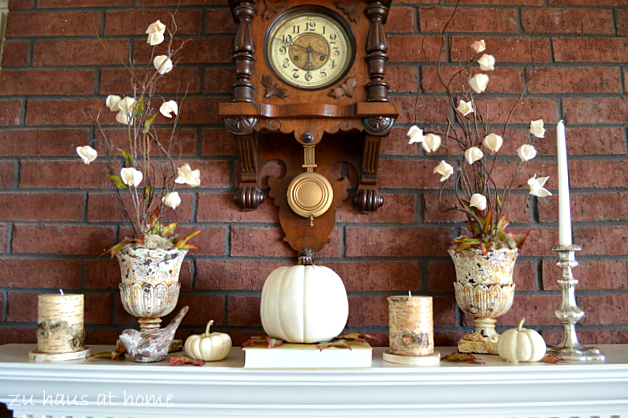
Fall mantel at Zu Haus at Home

Fall-Mantel at ZuhausatHome

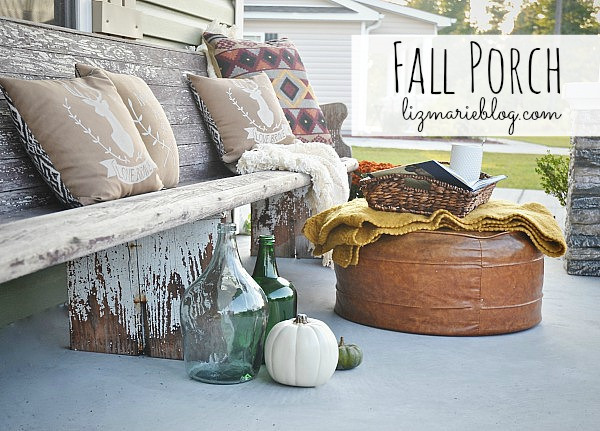
Fall front porch at Liz Marie Blog

fall front porch at Liz Marie blog

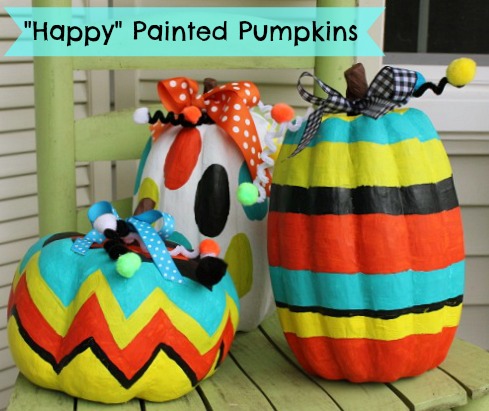
Fun painted pumpkins at Daisy Mae Belle

painted-pumpkins at Daisy Mae Belle

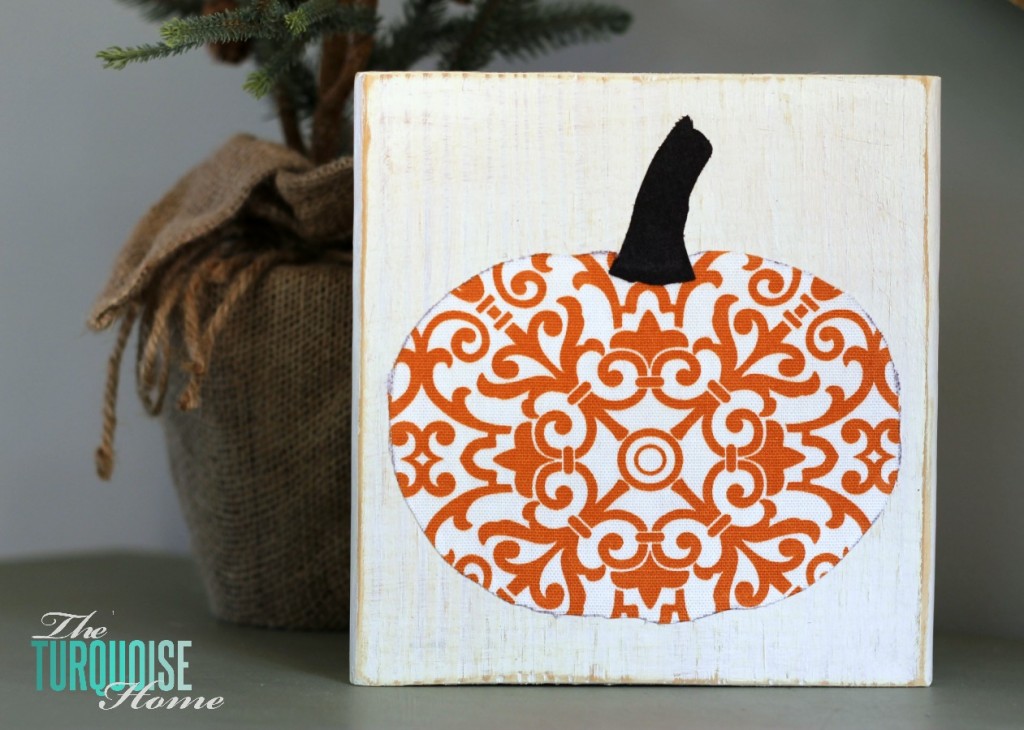
Scrappy fall pumpkin decor at The Turquoise Home

diy-fall-decor-on-the-cheap at The Turquoise Home

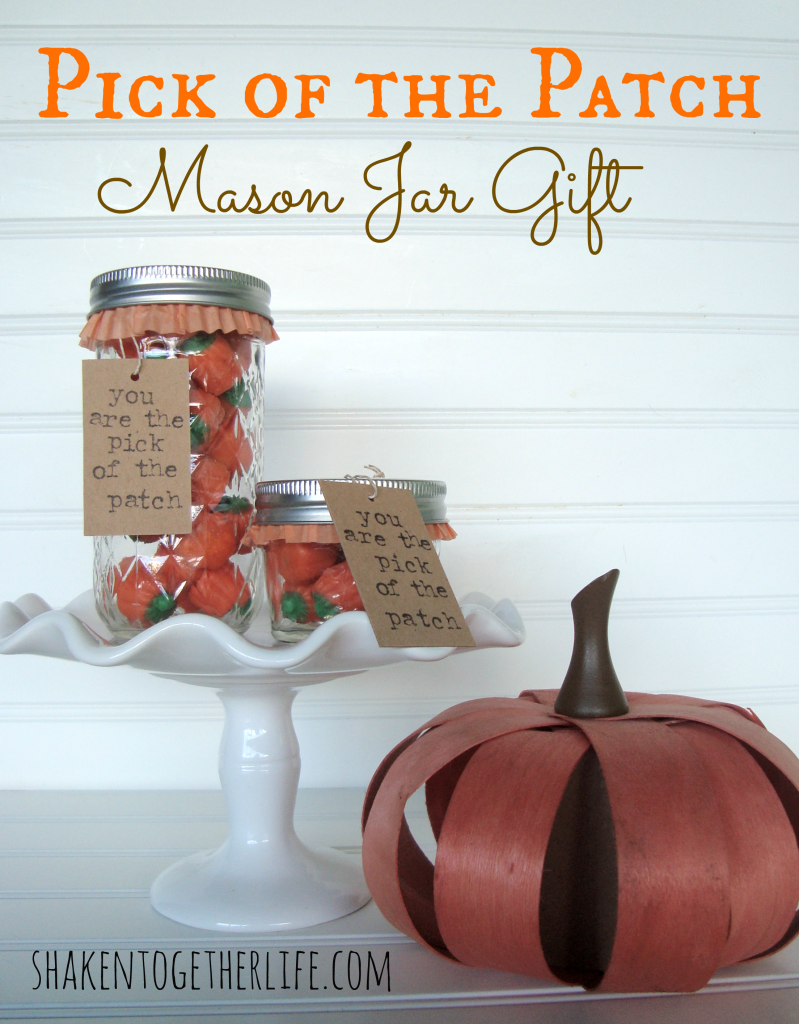
Fall mason jar gifts at Shaken Together

Pick-of-the-Patch-Mason-Jar-Gift-at-shakentogetherlife.com

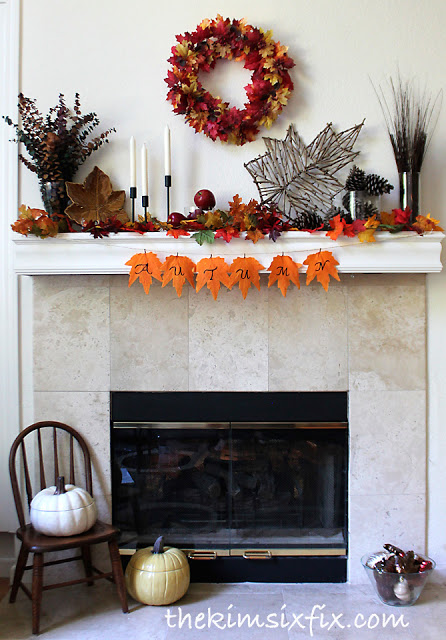
Fall mantel at The Kim Six Fix…

fall mantle at the kim six fix

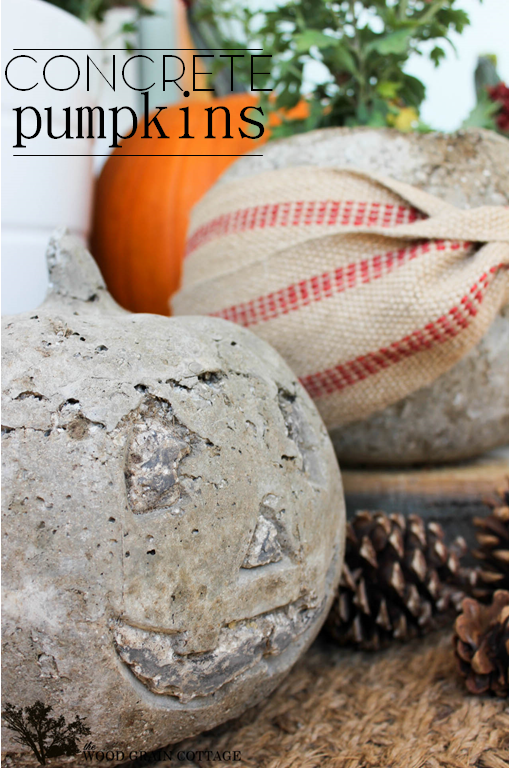
Concrete pumpkins at the Wood Grain Cottage

concrete pumpkins at The Wood Grain Cottage 

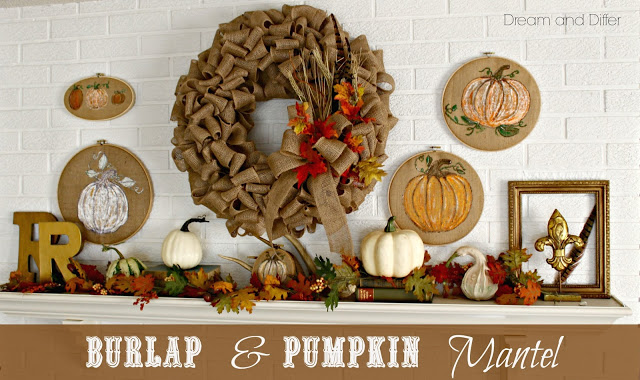
Burlap and pumpkin mantel at Dream and Differ

burlap and pumpkin mantel at Dream and Differ

A huge thanks to these talented ladies for sharing their awesome and inspiring fall projects and decor! What a fun collection! Remember to pin from the original source. See more DIY highlights at THAT DIY PARTY pinboard.

thatdiyparty.pinboard

And see you at THAT DIY PARTY tomorrow! Enjoy the weekend! 

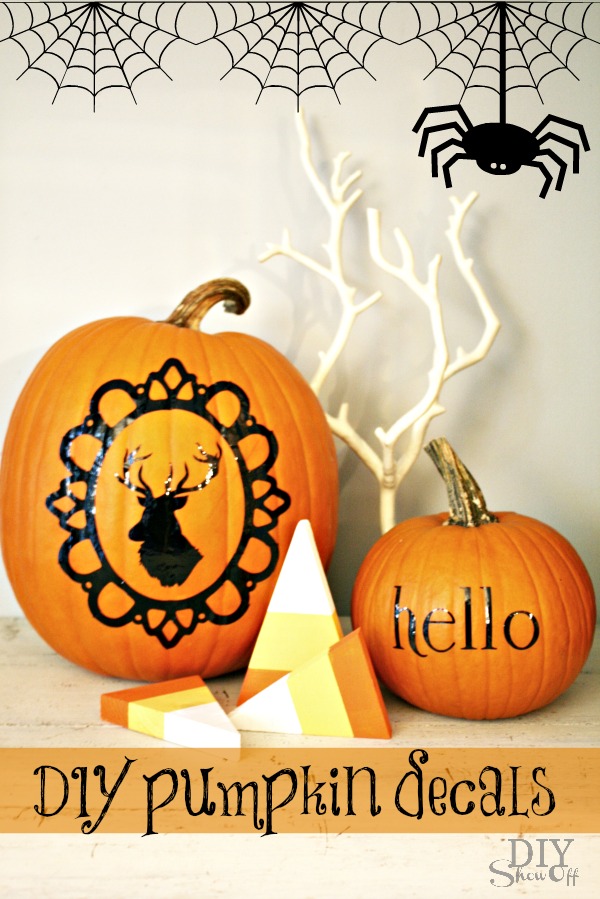
DIY Vinyl Pumpkin Decals

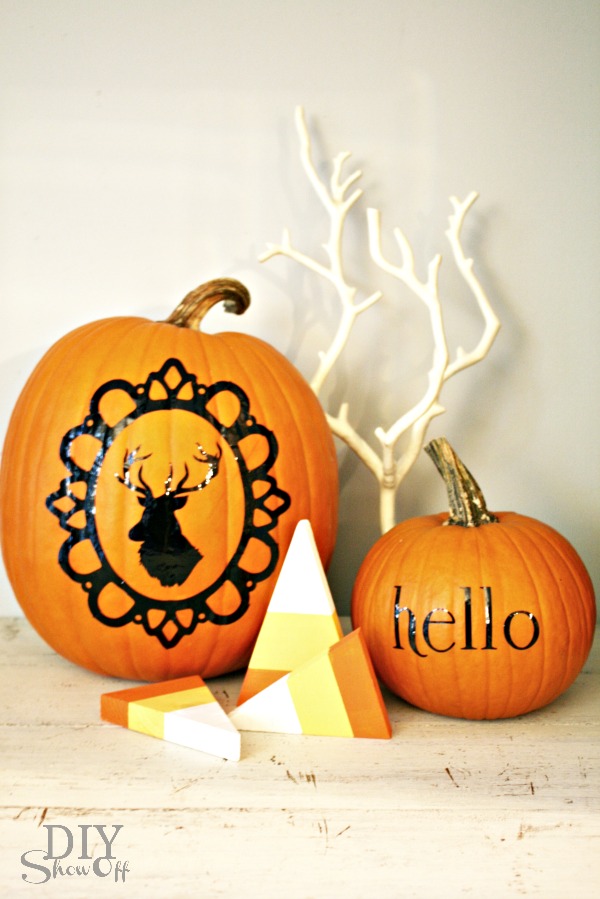
With the girls all grown up and on their own, I have little desire to carve a pumpkin to create a jack-o-lantern. And my pumpkin carving skills are a bit juvenile so I’m loving this alternative to carving…my pumpkins look so pretty! 
DIY vinyl pumpkin decals

Materials:

  • large glossy adhesive vinyl from Happy Crafters
  • transfer paper  
  • pumpkins

Tools:

  • Silhouette Cameo

What I did:

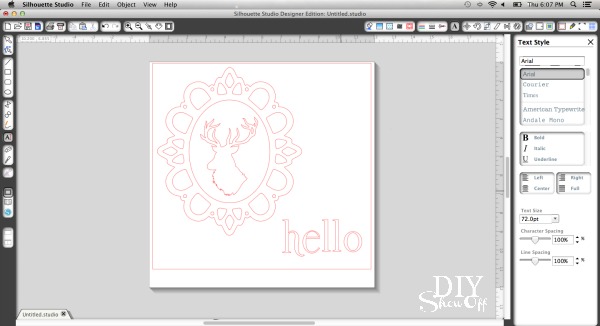
1. I purchased a deer silhouette and frame from the online store and sized them in my Silhouette Studio designer software to fit my pumpkins.

DIY vinyl pumpkin decals

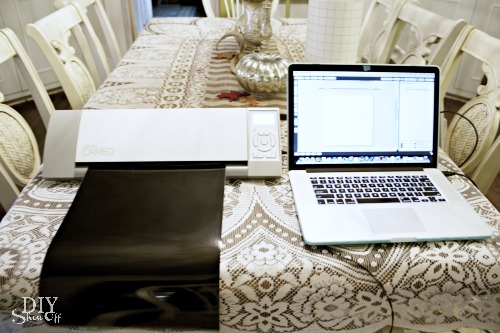
2. Then sent my decals to “cut”. 

DIY vinyl pumpkin decals

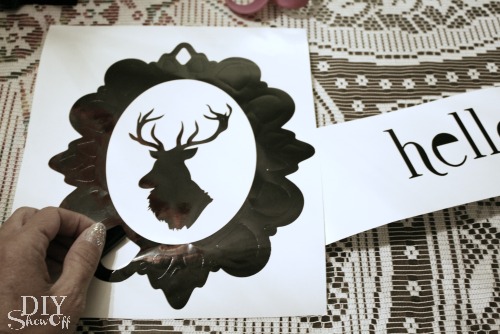
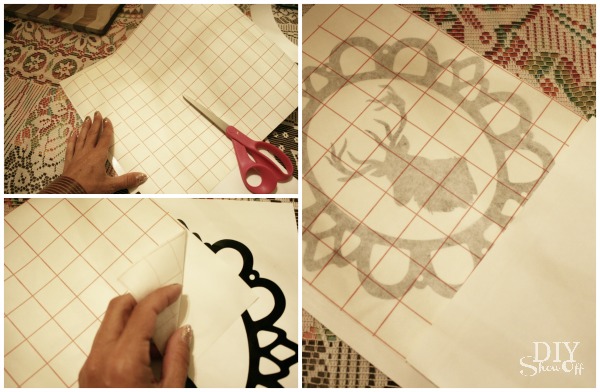
3. Peel away (weed) the negative part of the design.

DIY vinyl pumpkin decals

4. Cut transfer paper to size. Peel away wax paper backing and smooth transfer paper into place.

DIY vinyl pumpkin decals

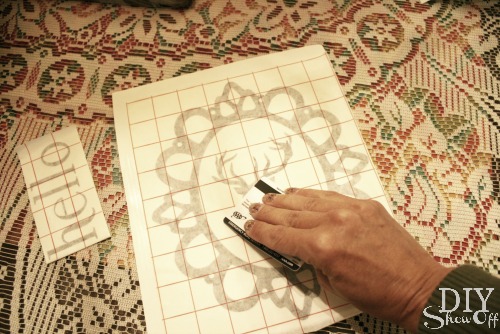
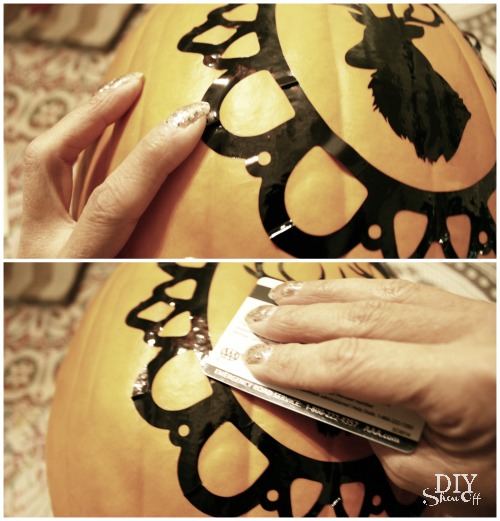
5. Rub design with a credit card.

DIY vinyl pumpkin decals

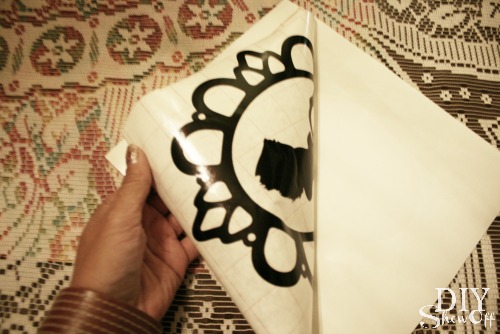
6. Peel away paper backing from the vinyl decal, transferring it to the sticky transfer paper. 

DIY vinyl pumpkin decals

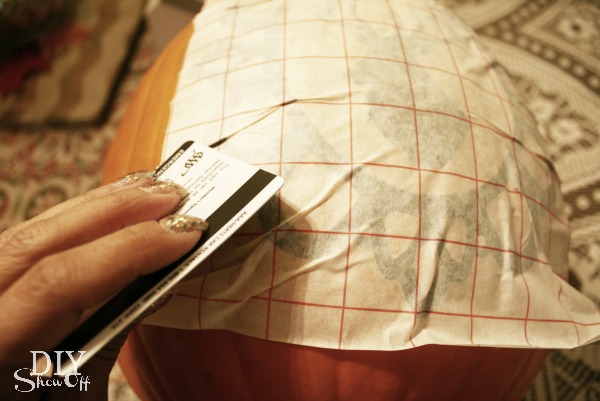
7. Position on pumpkin and lightly rub decal with a credit card. 

DIY vinyl pumpkin decals

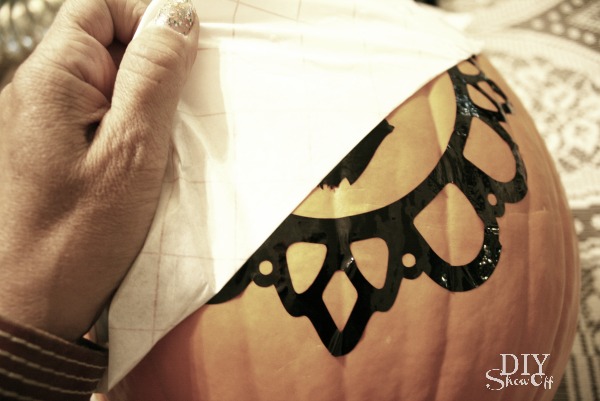
8. Peel away transfer paper. This might get a little tricky because of the pumpkin’s uneven surface. You may have to use your fingernail to help with the transfer.

DIY vinyl pumpkin decals


9 .There are also wrinkles in my vinyl decal…but it doesn’t take away from the design. I just smoothed it down the best I could using my fingernail and credit card. 

DIY vinyl pumpkin decals

All done and so cute! SO many options. I noticed that the Silhouette America online store even had sets of eyes, noses and mouths for jack-o-lantern faces. A monogram or spooky ghost or black cat would be great too!

DIY vinyl pumpkin decals

See the tutorial for the candy corn here.

DIY vinyl pumpkin decals


Linking up to the Lettered Cottage, Pumpkin Party and Cuckoo4Design Pumpkin Parade

*This post is sponsored by Happy Crafters. Tutorial, experience and opinion is my own. See more projects at Happy Crafters blog.

HClogopngsmall

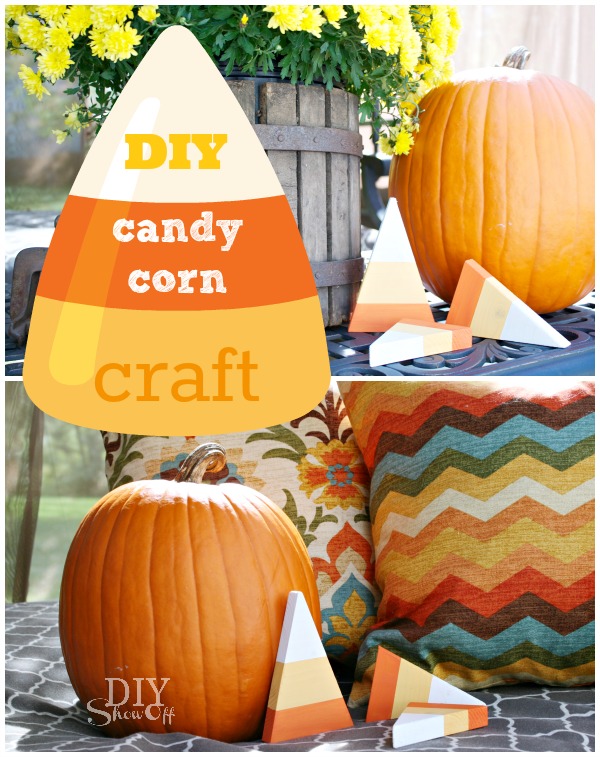
Wooden Candy Corn Accents

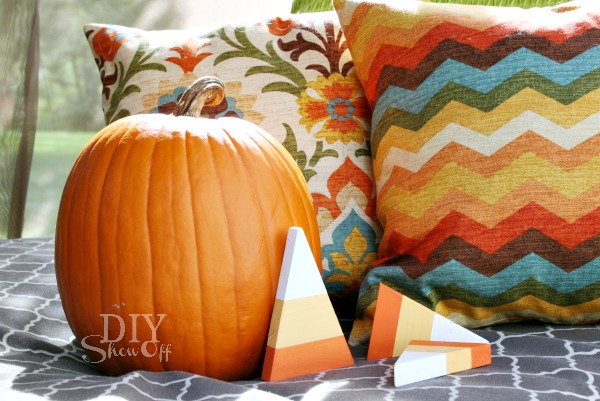
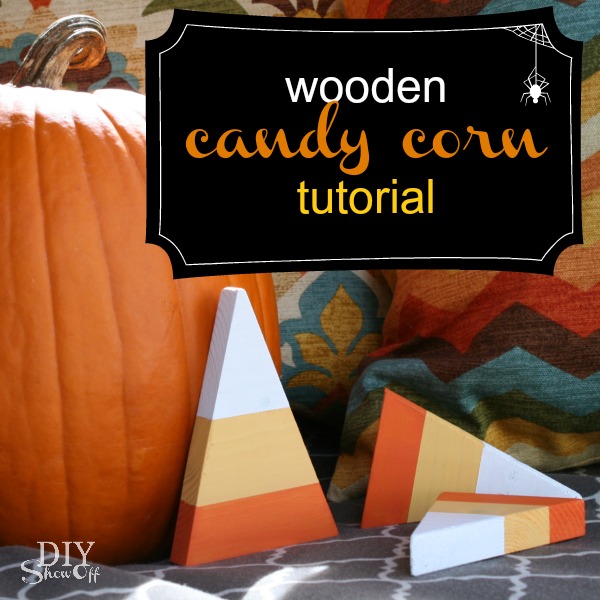
We’re making progress on the grape arbor/gazebo, recycled brick path and patio AND a laundry room makeover and in between those bigger DIY projects, I’m having fun with some stress-free easy DIY. I just saw the cutest little candy corn bean bags somewhere which inspired this project…a scrap wood version. 

DIY Halloween/Fall craft: decorative wooden candy corn pieces 

Materials:

  • Scrap 1 x 6 wood
  • FrogTape®
  • Sandpaper
  • Craft paint

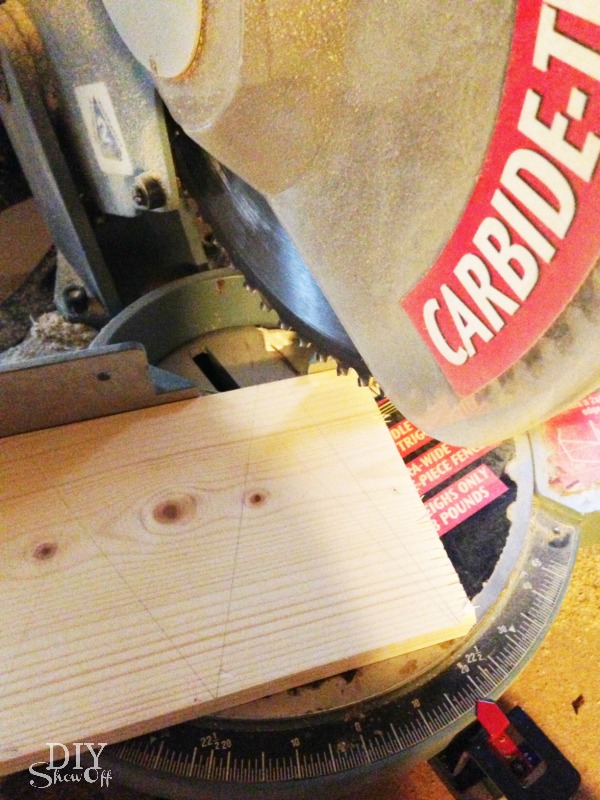
I used the miter saw to cut three triangle shapes from my scrap wood, then sanded the edges.

DIY Halloween craft

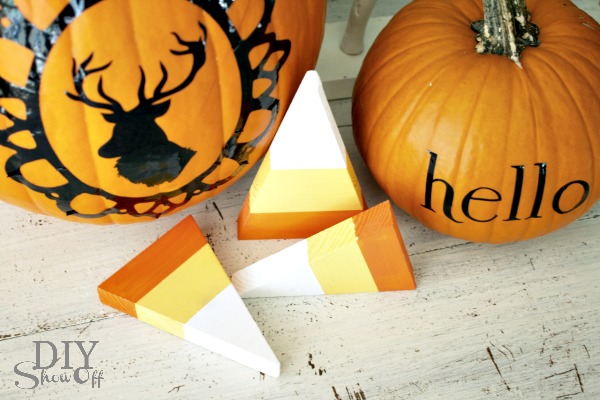
Candy Corn Fact: My DIY version goes from orange to yellow to white but the official candy corn striping starts with yellow on the bottom, orange in the middle and white on top. 

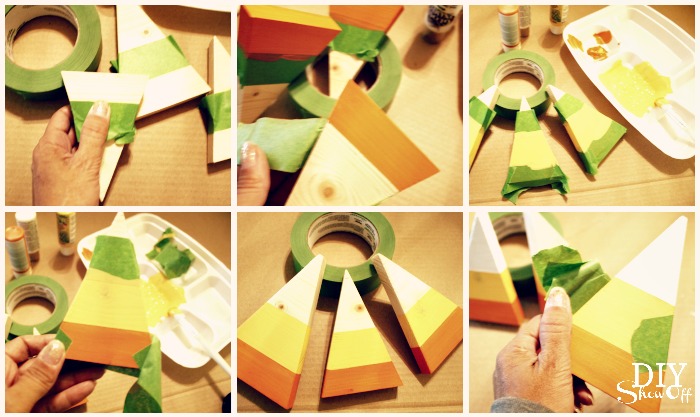
I taped off each section using FrogTape®, rubbing my thumbnail along the edge of the tape. I started at the bottom with orange craft paint. After I applied a second coat, I removed the FrogTape®. Let dry and move on to the middle yellow section following the same steps, finishing with white craft paint on the pointy part of the triangle.  Allow drying time between each color. 

DIY Halloween/Fall craft: decorative wooden candy corn pieces

DIY Halloween/Fall craft: decorative wooden candy corn pieces

Optional: seal with a protective clear coat. 

DIY Halloween/Fall craft: decorative wooden candy corn pieces

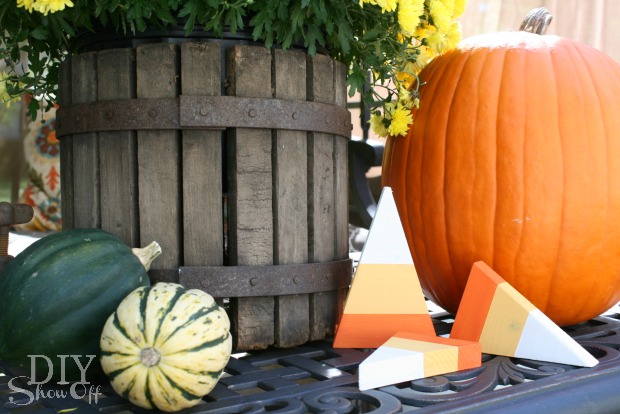
Aren’t they cute?

DIY Halloween/Fall craft: decorative wooden candy corn pieces

I think these would make a great fall hostess gift tied up with ribbon.

DIY Halloween/Fall craft: decorative wooden candy corn pieces 

Sharing at the Lettered Cottage and Centsational Girl.

FrogTape Blog Squad

*I’m a member of the FrogTape® Blog Squad. This post is sponsored by FrogTape®. As always, the opinions are completely my own based on my own experience.