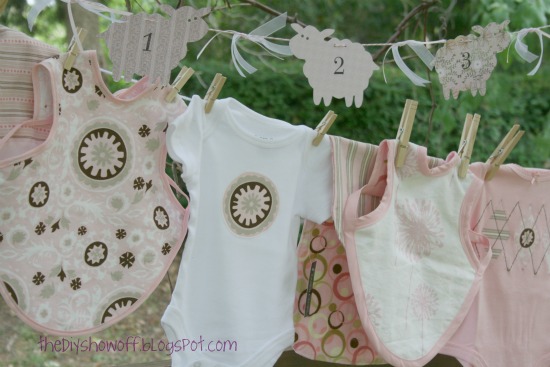
This week, I finally finished this…
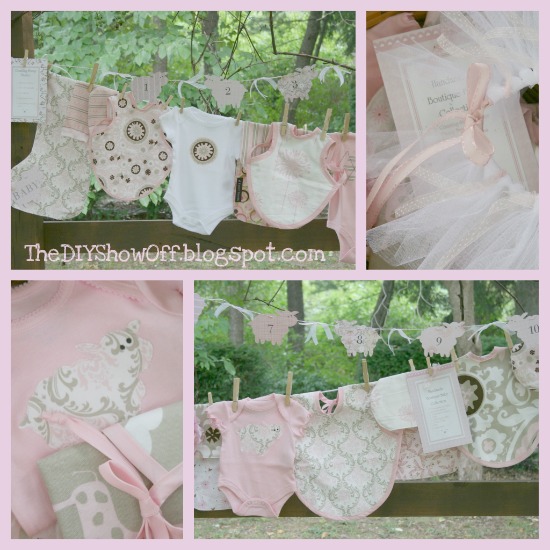
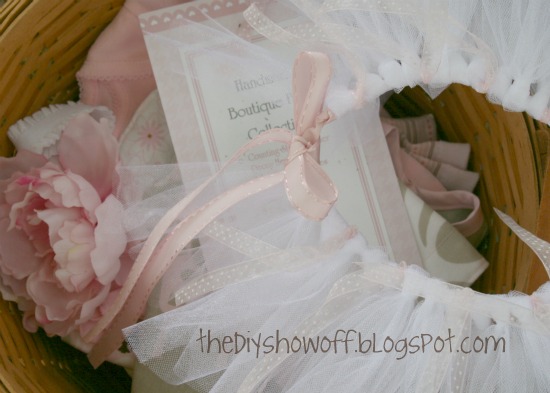
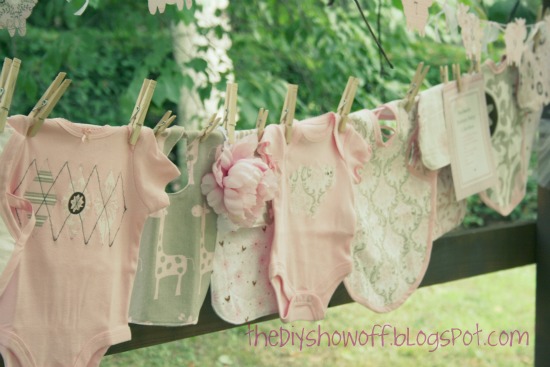
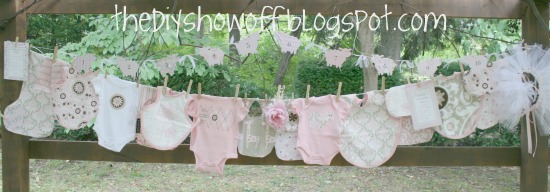
My Handmade “Boutique Baby” gift Collection…
Warning:
This is a long post with a couple of tutorials, links and LOTS of pictures!
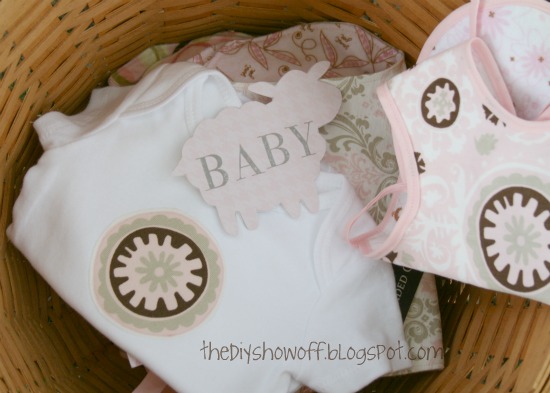
I finally wrapped up (literally) my handmade baby gifts.
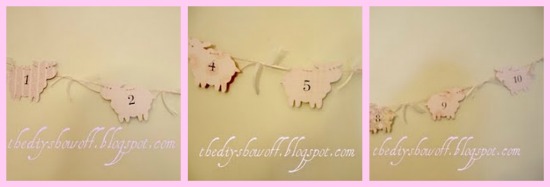
I think I got a little DIY-happy but I really wanted to create a handmade boutique baby collection. Everything was so easy and I just couldn’t stop. 😉 I shared the sweet banner I made a few weeks ago…
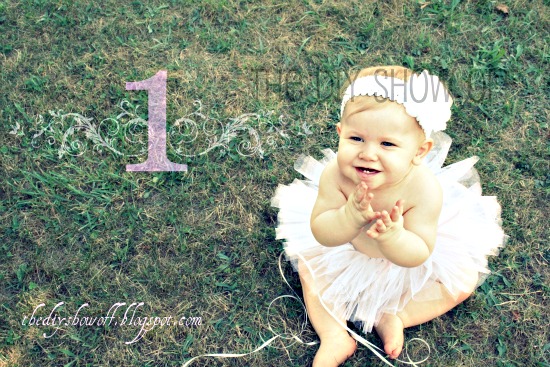
as well as the Super Easy No Sew Tutu Tutorial(This is the one I made for my niece’s 1st birthday when I took her pictures as her gift but I made one for the gift collection too.)
Here’s what else I tucked inside the gift box:
Baby Legwarmers Tutorial
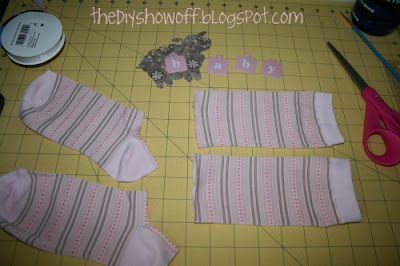
Materials: A pair of ladies size socks (these ones are from Target – I had a hard time finding the right pink). Scissors and thread/sewing machine (or by hand).
1. Lay out each (ladies)sock and cut just above the heel. Set the “leg” part of the sock aside.
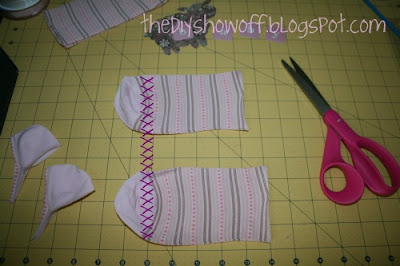
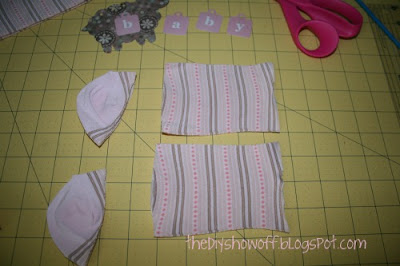
2. Cut the ‘heels’ and ‘toes’ of each off.
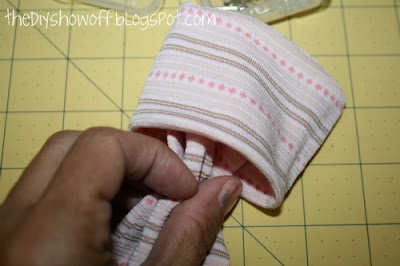
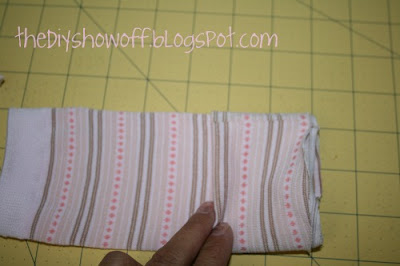
3. Fold the ‘foot’ part of the sock in half (underneath) so inside and out shows the right side of the fabric and makes a ‘cuff’.
4. Slide ‘leg’ part into ‘cuff’ all right sides out, lining up the raw edge.
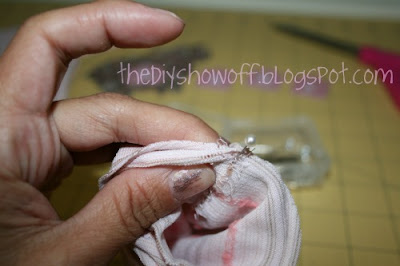
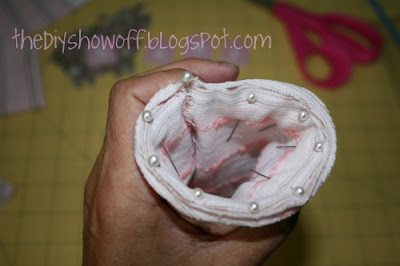
5. Pin 3 layers together evenly, lining up the raw edge.
6. Sew as close to the edge as you can, making sure to capture 3 layers.
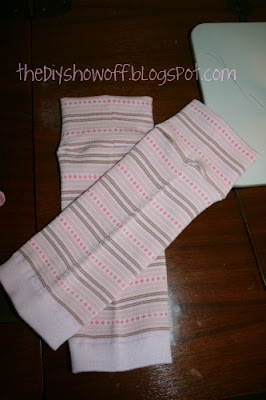
7. Trim if necessary and flip up cuff. Cute legwarmer from ladies socks!
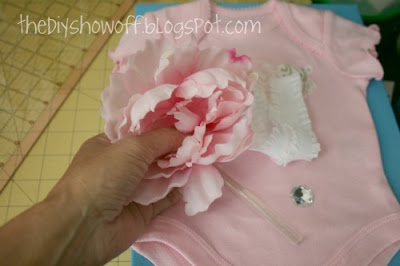
Handmade Peony Headband Tutorial
Materials: Plain elastic headband, silk peony and rhinestone. Hot glue.
1. I used a wipes container to stretch headband.
2. Disassem
ble the silk peony. Use wire cutters if necessary.
3. Hot glue layers of the flower onto the elastic headband.
4. Add layers until as full as desired.
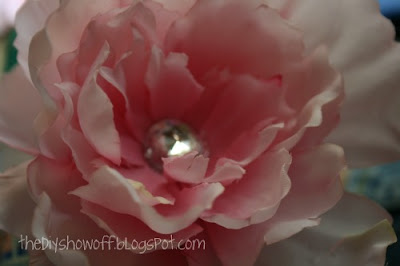
5. Hot glue rhinestone into center. Let dry.
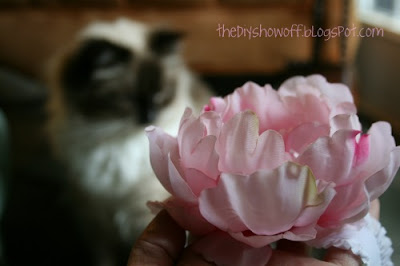
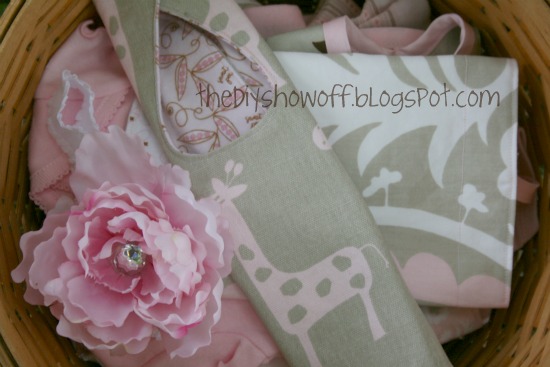
Ta-da! Pretty BIG flower headband!
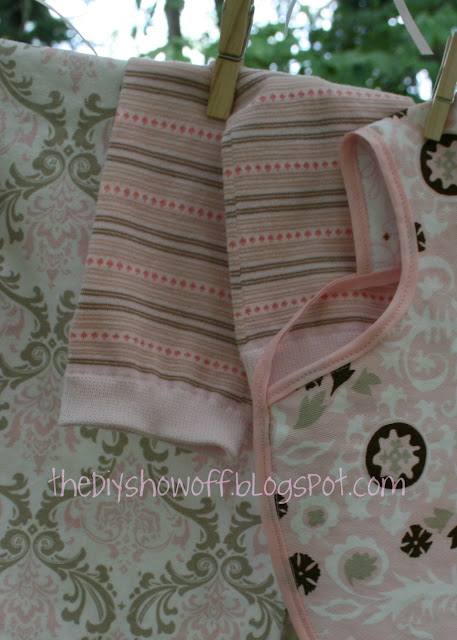
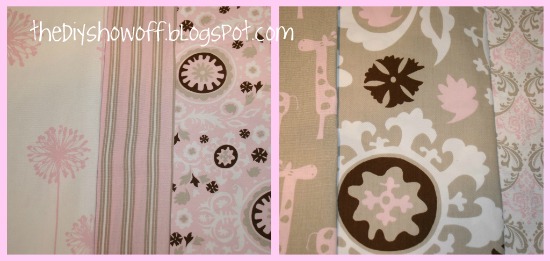
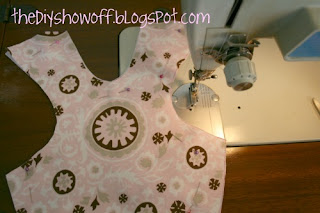
And using these beautiful fabrics (fabric.com) and baby flannel for the backing (reversible bibs, aprons and burp cloths from Joann Fabrics).
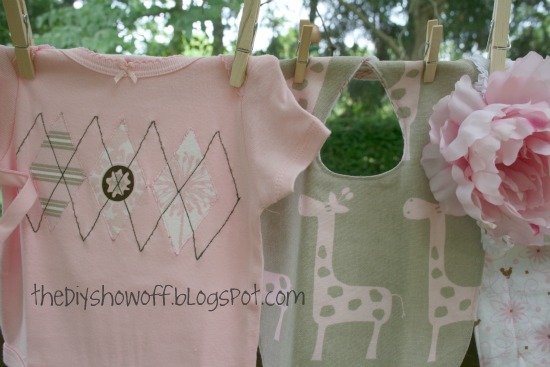
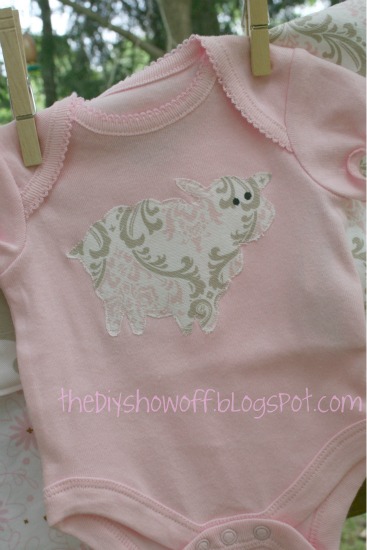
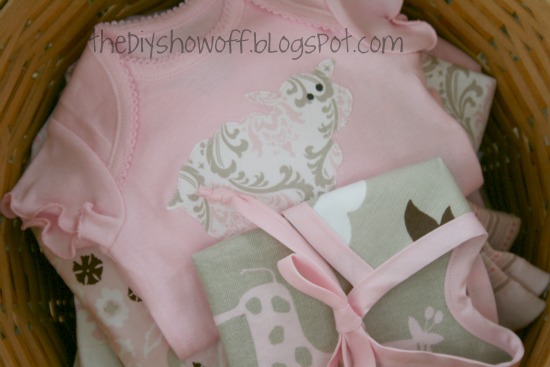
I sewed a few baby apron bibs, contoured burp cloths, a bib and some appliqued onesies.
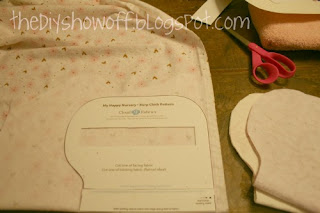
Contoured Burp Cloths
Bib
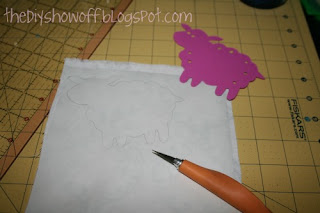
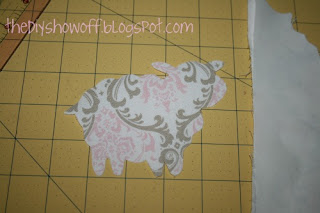
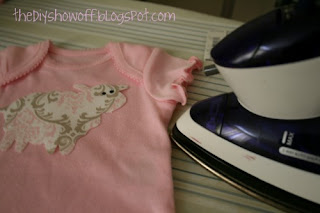
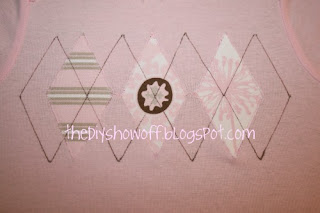
Appliqued Onesies Tutorial
1. Iron interfacing to fabric.
2. Trace shape onto paper side and cut out.
3. Peel away paper and iron onto onesie.
4. Iron applique into place in center of onesie.
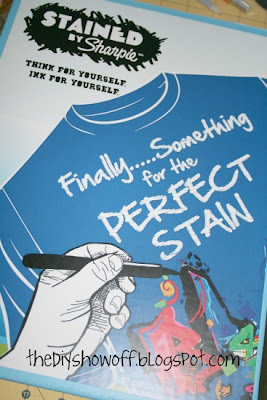
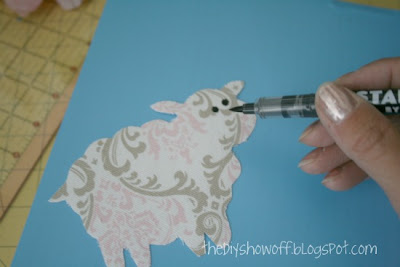
Note: I drew on eyes using these!!! Sharpie Fabric Stain Markers!
(another project non-baby related utilizing these coming up!)
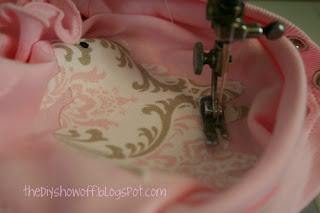
5. Stitch into place.
Ta-da!
Lots of “after” pictures. I’m just so proud that the entire collection is handmade and pretty cute. 🙂
What do you think? I think it makes me want a baby girl! I hope she likes it all and loves pink!
~*~**~*~
Okay. Okay. Now it’s your turn! What have you been doing this weekend?
If you’d like to link YOUR DIY project post to The DIY Show Off Project Parade:
1. You must use the button above (ADD BUTTON HTML CODE FROM SIDE BAR TO YOUR POST) and link to this post to share the linky love.
2.Include your name or blog name and project title. Add your permalink (not your blog url, but your DIY project post url). Feel free to link a Past Post, just invite your readers in a current post with a quick note.
3.Or email your link to thediyshowoff@gmail.com and I will add it for you.
4.If you notice your link has disappeared -please add the link back to The DIY Show Off to your post today, a button or a quick note to your readers about the party and try again! I love when everyone participates and readers check out everyone’s links, but I think the return favor of linking back is the nice thing to do so everyone plays fair and enjoys all of the projects and links. Also – this blog party is for DIY projects only. Links not related to DIY will be deleted.
5. NOW you can “like” the links! Most liked link moves to the top of the list! What a fun idea! Most liked links may be included in a post of DIY Project Parade highlights later in the week! 🙂
Sharing at:


