I’m honored to be blogging to you today from
The DIY Showoff. Thank you Roeshel for this amazing opportunity to be a guest contributor on your blog. You, your readers and your followers have been so very kind to me … and an amazing source of inspiration and instruction. About 13 years ago, I made ‘present pillows’ for our home. They were jewel-toned with gold bows. Seriously, those were the hot colors of the day splashed across the catalog pages …
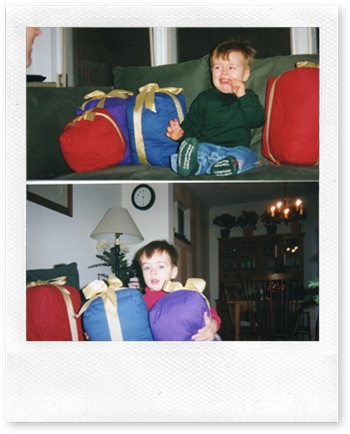 |
| … my creations (and photos) were a little rough around the ages in my pre-blogger days … |
… and the very pages where the inspiration for this project first sparked. It was either Pottery Barn or Crate & Barrel that featured ‘present pillows’ in a photo shoot. They weren’t for sale. Just a prop. But it was a prop that I knew I needed in our home for the holidays …Those jewel-toned present pillows were literally loved to death by my children and were ‘recycled’ many moons ago. Then I happened upon that picture above (the baby holding those pillows is now in high school) and decided it was high time to bring back the present pillow.This time around I jumped on my new passion of using drop cloth as fabric. With a $10 Menard’s rebate, I picked up a 4’ x 9’ drop cloth for under $5. Then I grabbed a bunch of different ribbon options. They were all marked 50% off and if I don’t use them in this project I’ll put them to good use elsewhere …
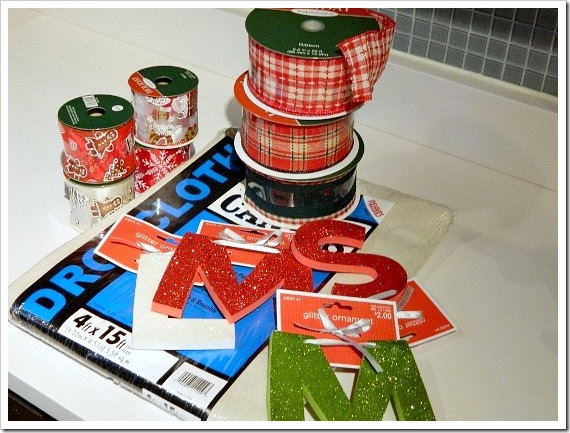
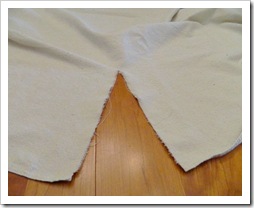
The first step was to wash the drop cloth with detergent and fabric softener. And then dry with a dryer sheet. I actually ran mine through the washing machine twice. It’s amazing how much it softens it up.I made two present pillows that are 8” x 6” in size. That meant I cut 4 pieces of fabric (tops and bottoms) 7” x 7”; and cut 8 pieces of fabric 9” x 7” for the sides.I cut — well, more like tore – the top and bottom pieces first. If you make a small cut in the drop cloth like so …
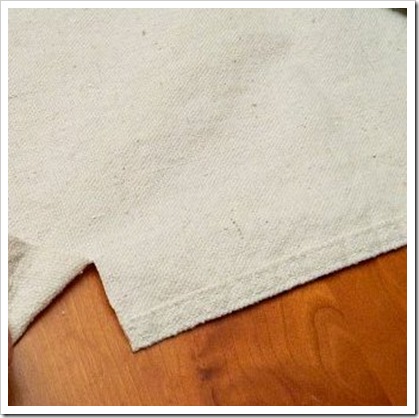 You can then tear it and end up with a perfectly straight line …
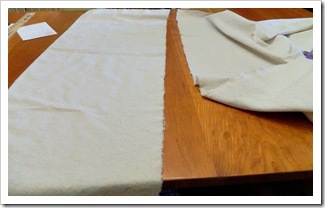 When all the cuts (tears) were made, I pinned the pillow “sides” together …
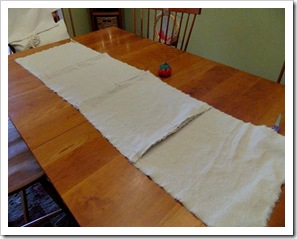
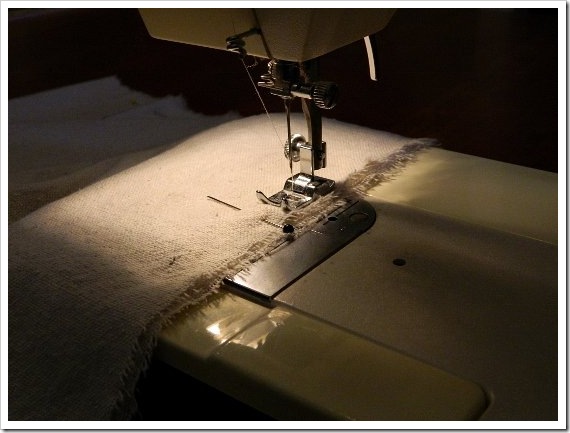
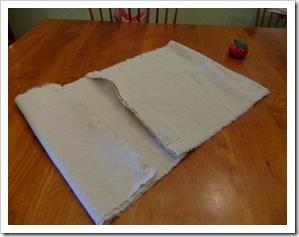 …and stitched them up…
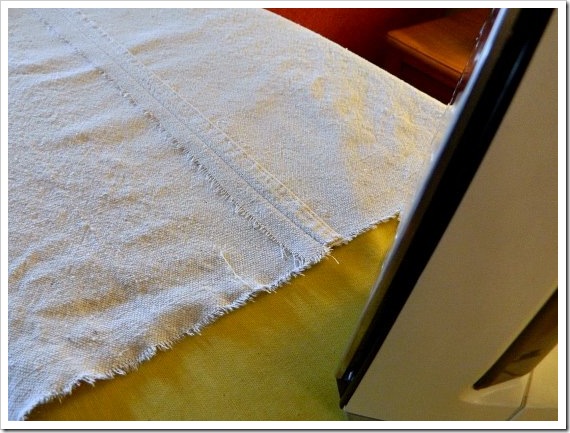
In an ideal world, I would add a zig zag stitch on the edges because the drop cloth frays so easily … but since these are seasonal pillows, I skipped that step and instead pressed open the seams …
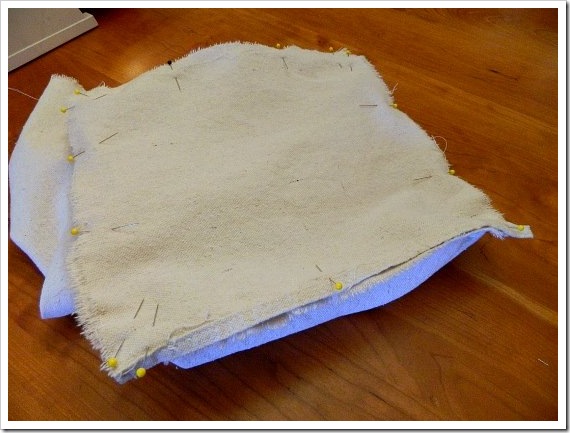
 I pinned the top on next, matching up the corners …
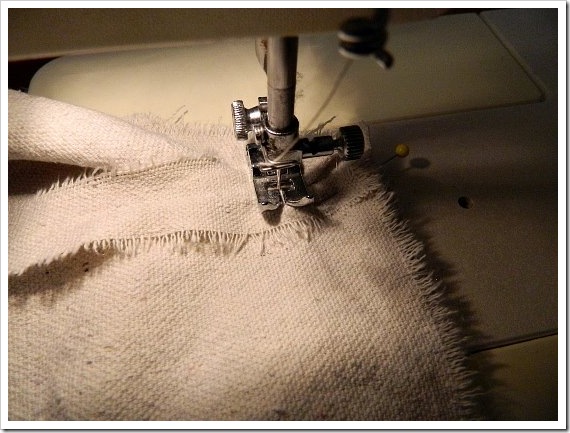
When sewing the tops and bottoms to the sides, when you get to a corner you need to lower the needle into the exact corner and lift the footer …
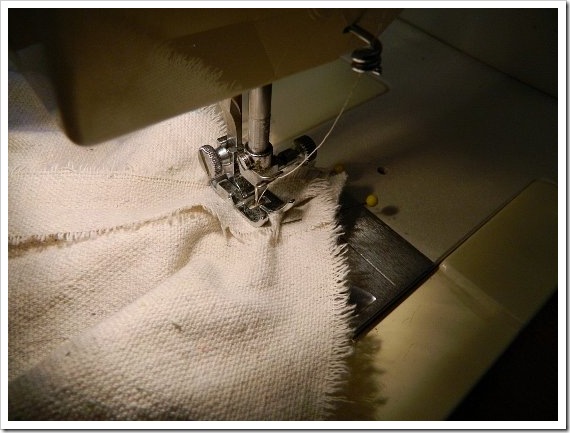
Pivot the fabric and spread the boxing around the corner … lower the footer and continue sewing. Repeat at each corner.
 I clipped the corners, pressed open the seams and turned right side out ..
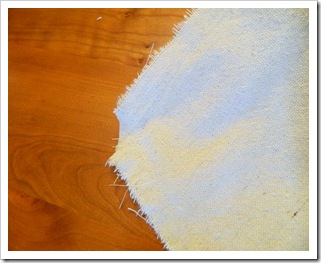
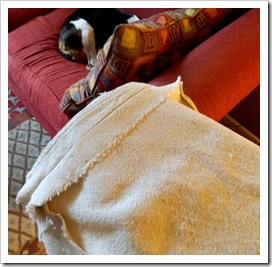
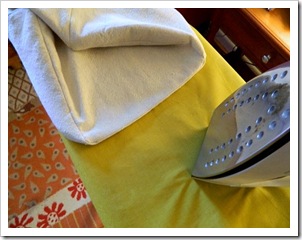
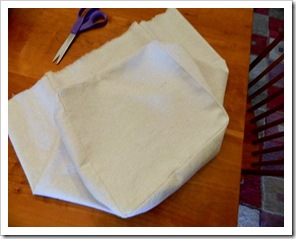
Then I pinned the bottom on the same way, only this time when I stitched it up I left an opening for the stuffing …
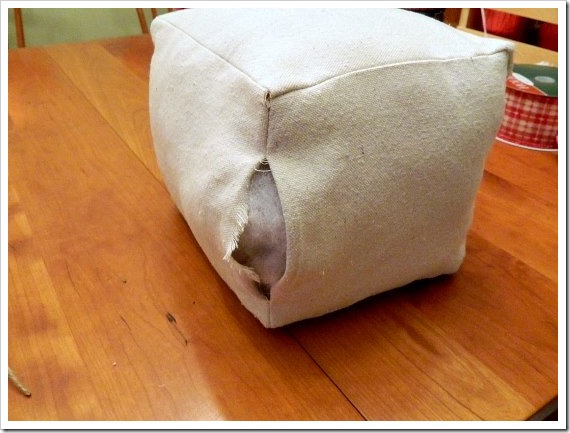
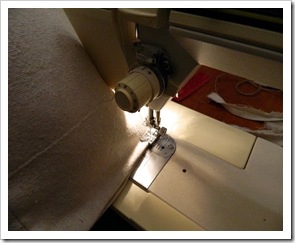
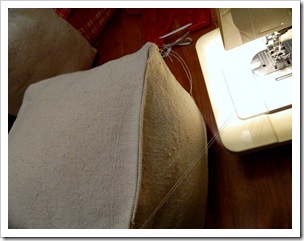
… and speaking of the stuffing, mine is from a ‘deconstructed’ $9.99 body pillow from Target. And no, really, I didn’t get that great money-saving tip from a fabric and craft store employee …You can slip stitch the opening closed … or do what I did and sew it shut using the machine …
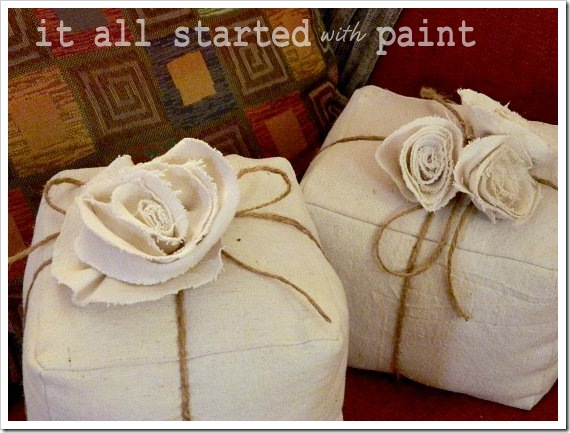
All that’s left to do is dress them up with some twine and rosettes ….
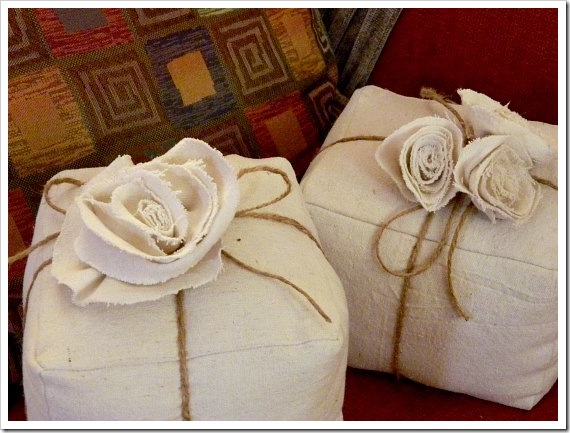
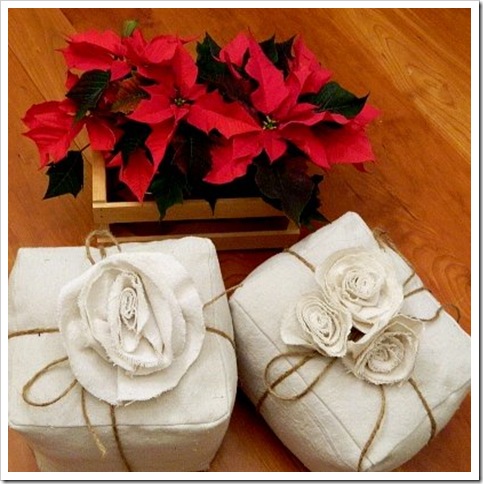
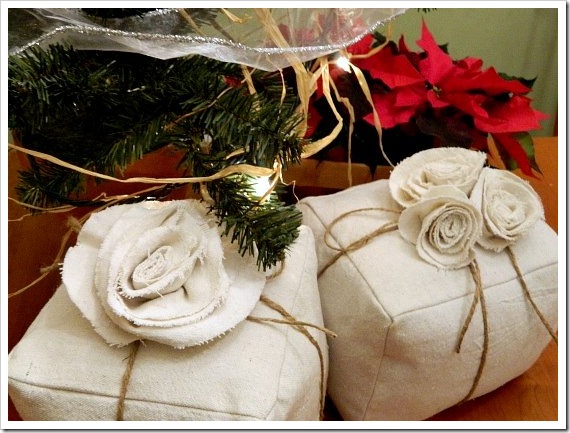
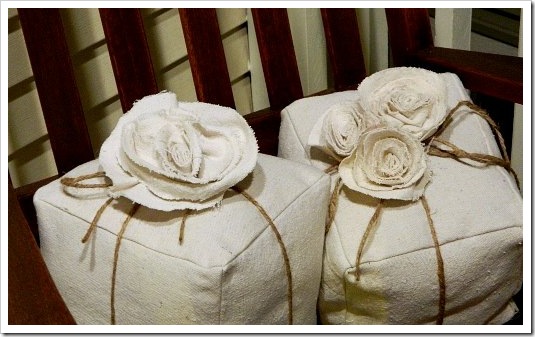 Or, if you prefer, with some ribbon and bows …
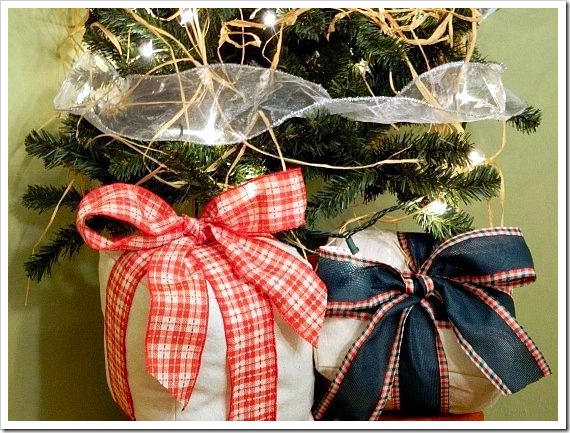
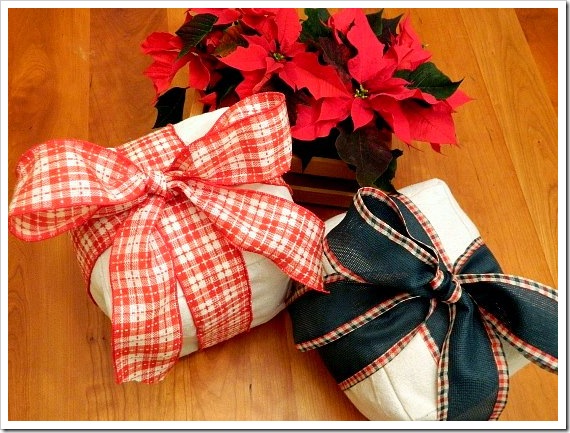 And, just because I couldn’t resist, I used a $2 fleece remnant to make a Tiffany blue pillow box …
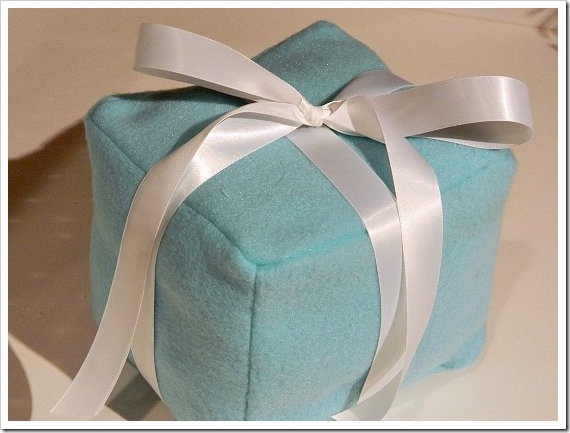
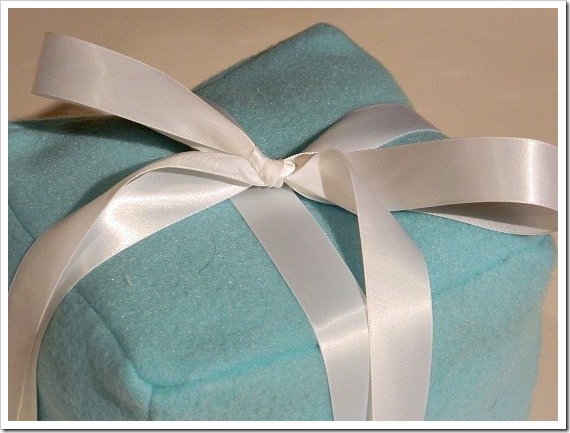
I’m not a huge jewelry person, but even my heart skips a beat when I see that robin’s egg blue all wrapped up with a simple white ribbon …

Thank you Roeshel for hosting my project! And “Happy Holidays” to all you DIY Showoff followers. If you happen to find yourself here through my blog, please be sure to check out all the great posts, projects and creativity featured on
The DIY Showoff …

 You can then tear it and end up with a perfectly straight line …
 When all the cuts (tears) were made, I pinned the pillow “sides” together …
 …and stitched them up…
 I pinned the top on next, matching up the corners …
 I clipped the corners, pressed open the seams and turned right side out ..


 All that’s left to do is dress them up with some twine and rosettes ….


 Or, if you prefer, with some ribbon and bows …
 And, just because I couldn’t resist, I used a $2 fleece remnant to make a Tiffany blue pillow box …


