Every single time I see an upholstered headboard, I’m tempted to repurpose our existing furniture so I can DIY one myself. Today Gemma from The Sweetest Digs shares her DIY headboard tutorial.
Tips on How to Make an Upholstered Headboard
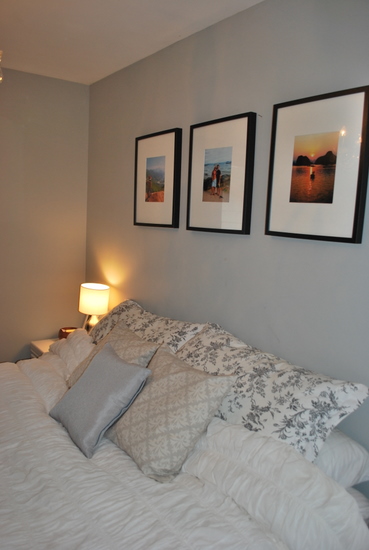
Gemma’s poor pillows on her “before” bed had no where to lean or rest…
Easy, affordable solution? A DIY upholstered headboard of course! Here’s how she did it…
She purchased her fabric and batting then had Home Depot cut her 1/4″ plywood to the right size (using measurements for her bed).
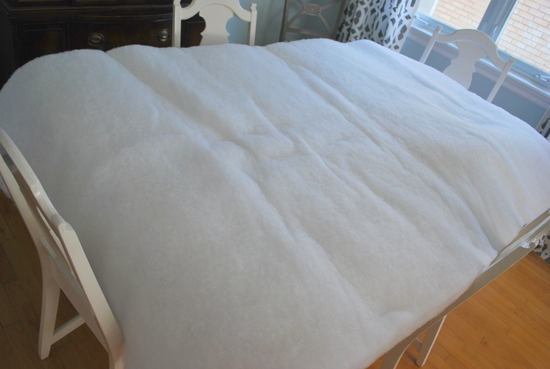
She laid out the batting on her dining room table.
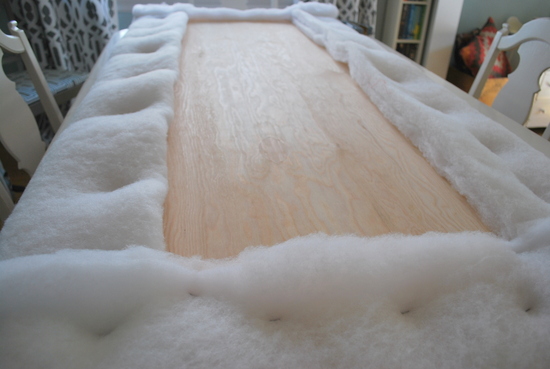
Next she laid her plywood in the center and stapled the batting to the backside.
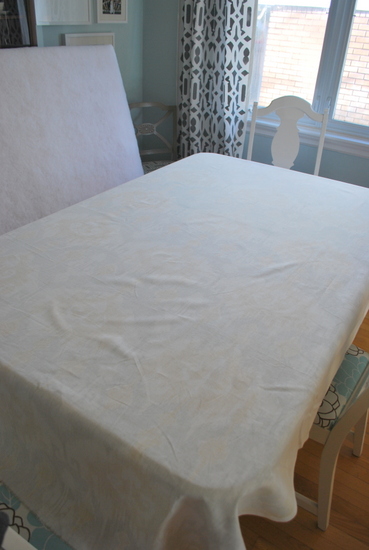
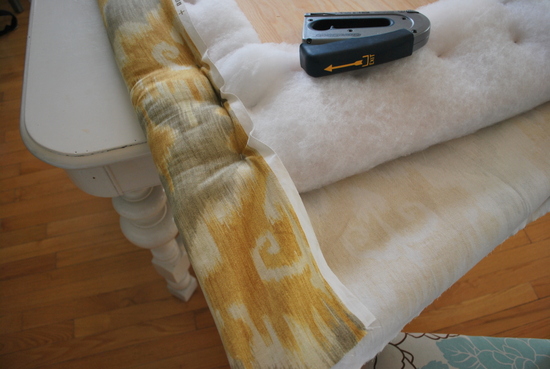
Next, she ironed her fabric and laid it out on the dining room table…
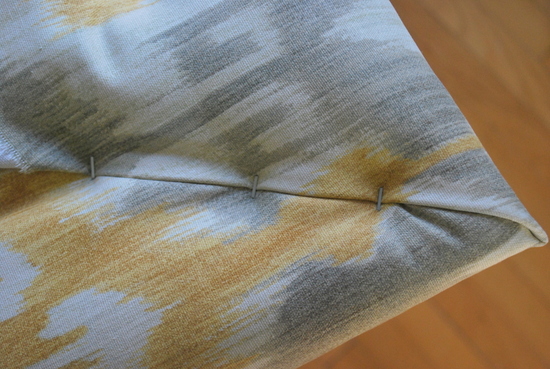
She laid her plywood in the center and stapled the fabric (starting with the long ends)…
and ending at the corners…
It’s hanging in place using French cleats (shown here).
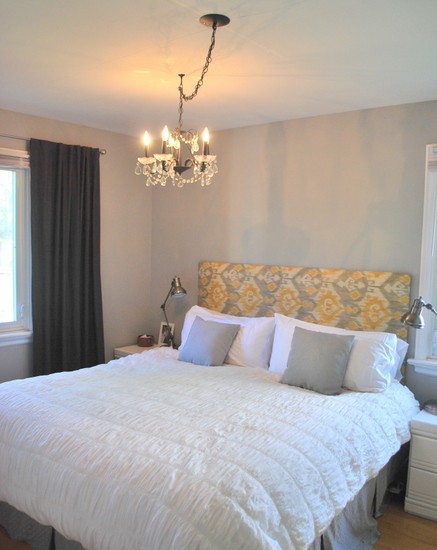
Ta-da! Seriously, she made that look so easy, didn’t she? Who knew it was THAT simple and the result? Stunning! The best part? Total cost: $98! Woo hoo! Thanks so much for sharing, Gemma!
Love it! A beautiful inexpensive way to accessorize with color and pattern! See the full original post with more detailed instructions {and more DIY from Gemma} at


