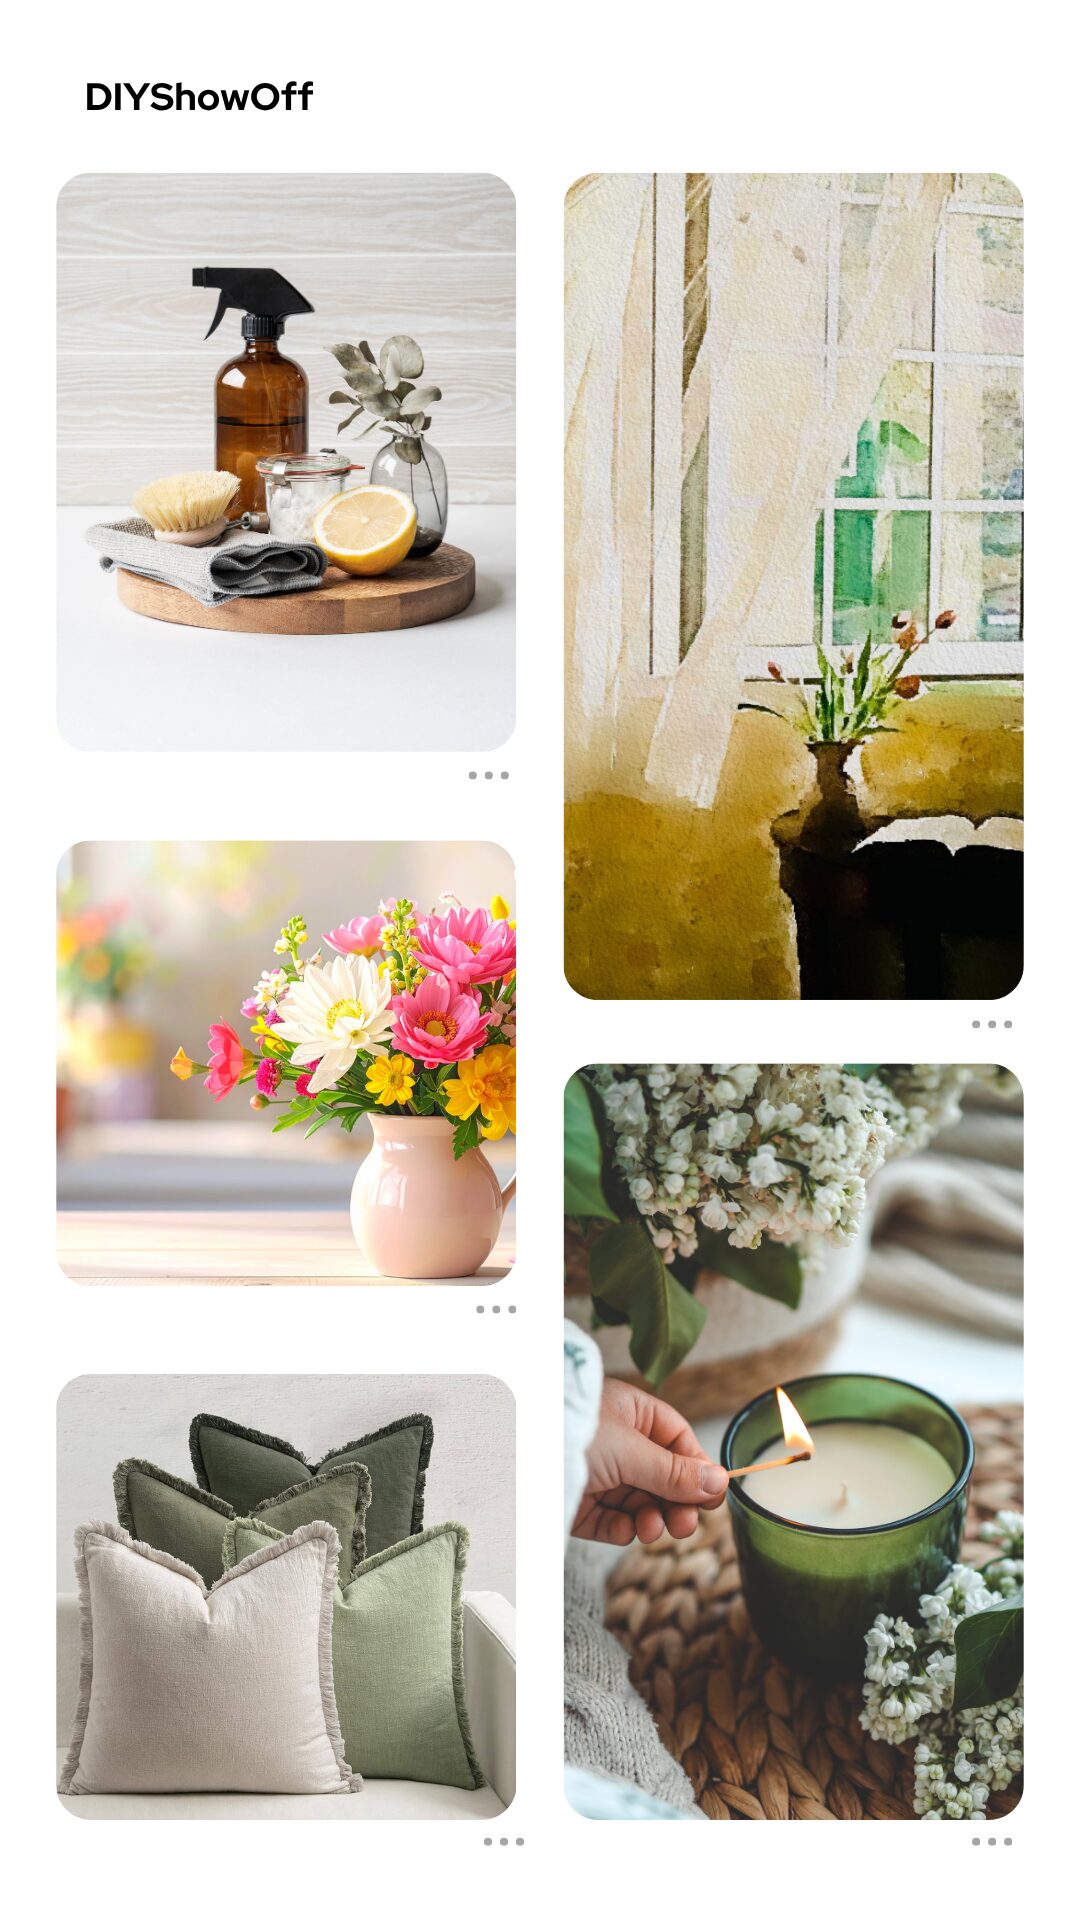
You don’t need to buy anything to make your space feel fresh again. Just a few simple tweaks can make a room feel new. Happy Spring! Spring = renewed energy! Who else is so ready for light, clean, and refreshed?! Here are 5 simple tips I do for an easy spring room refresh. No renovation required.

5 Room Refresh Tips
- Clear the clutter before adding anything new. Time for spring cleaning. Tackle just a corner or one room at a time. Clean under furniture. Wipe baseboards, window sills. Wash window treatments, vacuum under the cushions. Dust shelves and decor. Mop floors or freshen carpets. If we’re lucky, we just might get a window-opening day to let in the fresh air! Examine everything in the room and see what could use a little TLC. Okay, so not exactly in the “simple” category. Getting started is half the battle and so this is your gentle nudge. It makes a difference.
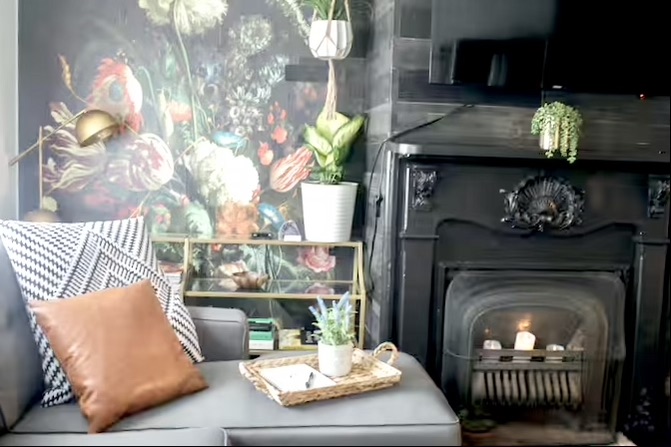
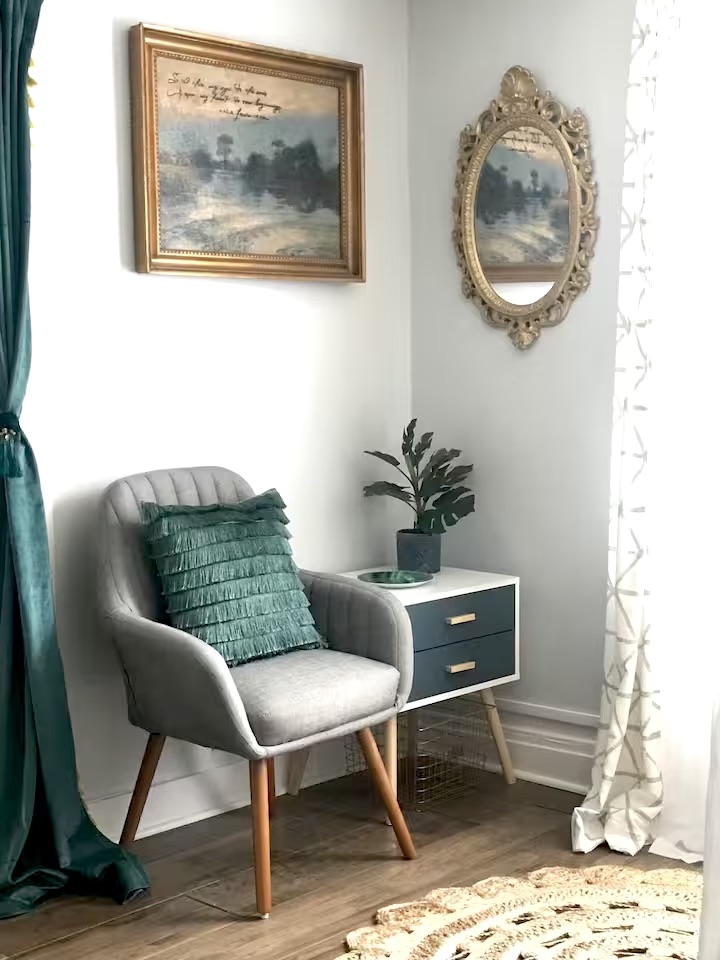
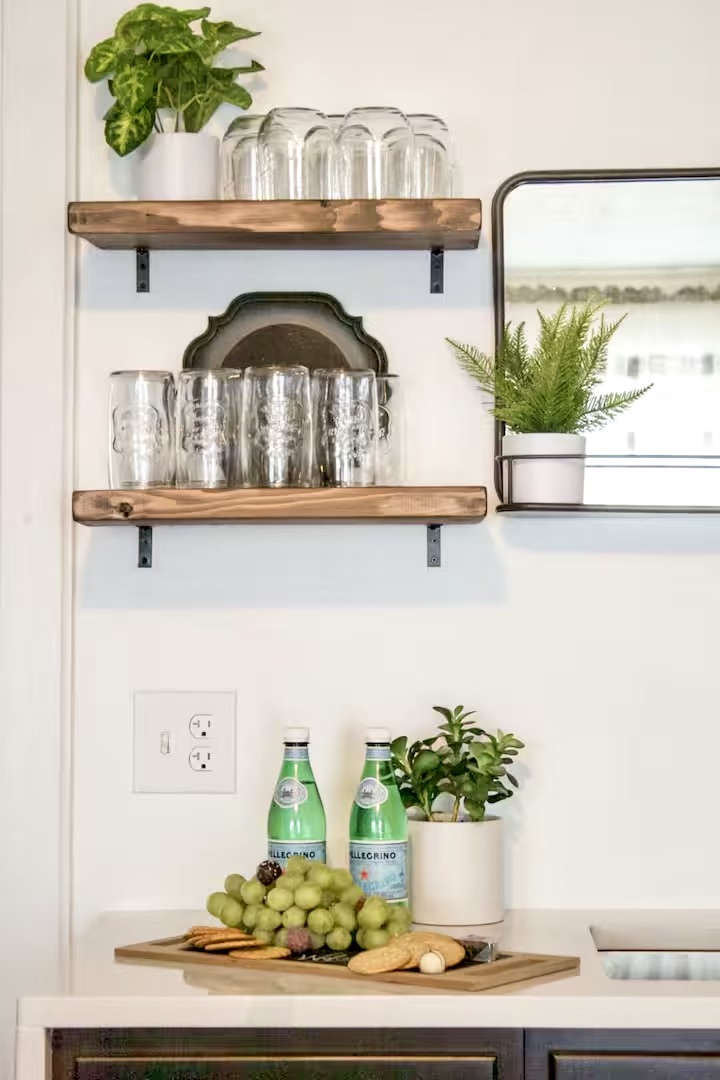
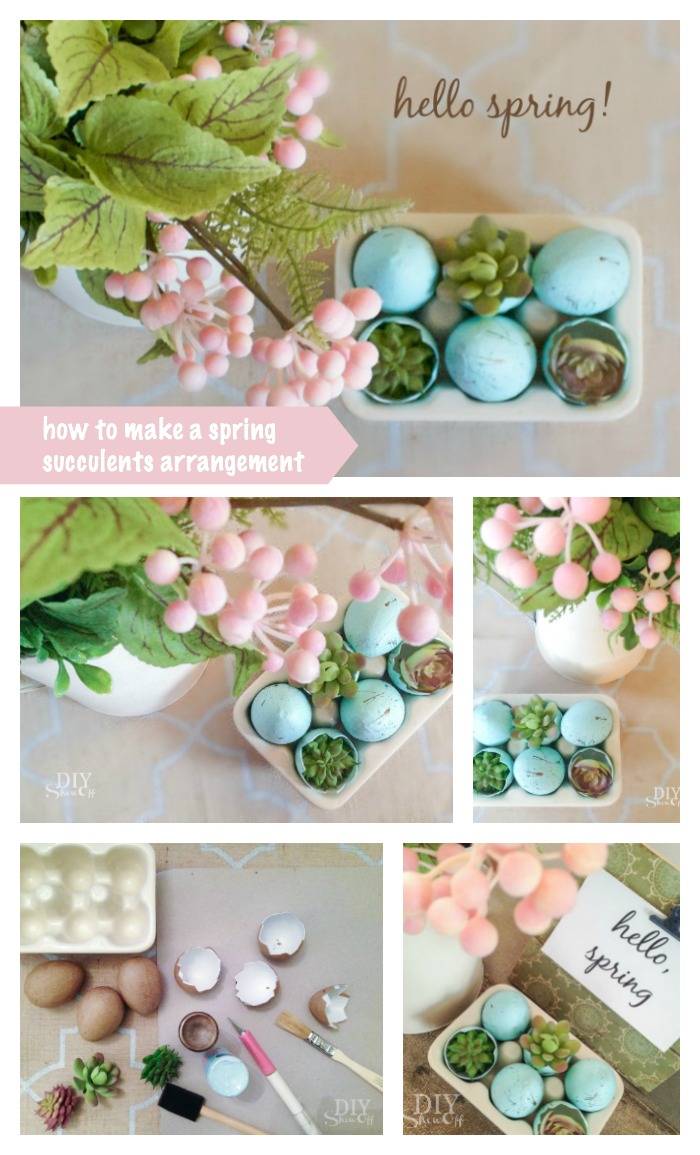
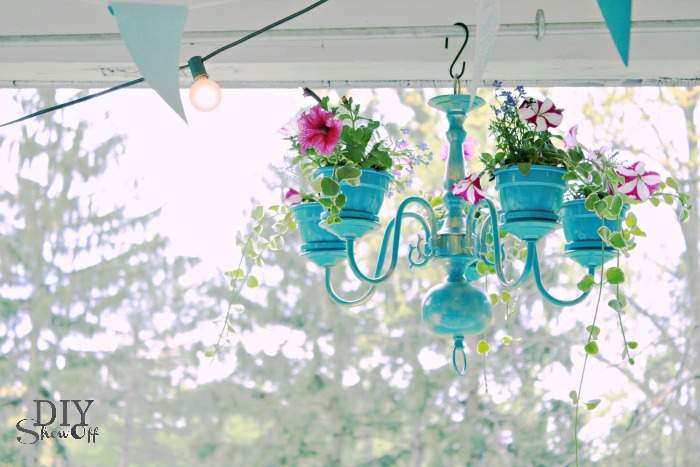
- Add greenery (real or artificial). ‘Tis the season for waking up and planting! I love to add a cheerful spring bouquet where my eyes land every day.
- Rearrange what you already own. Pull furniture a few inches away from the wall. Shop the house. Move things around. Head to the attic for spring or seasonal decor. Or just go from room to room and decide what might work in a fresh new way in another space. Shift personal items to a new spot. A favorite book near natural light and a window makes for pause with a view and a change of scenery.
- Swap out winter textiles (pillows, throws, quilts). I replace heavy, chunky, fuzzy, winter cozy with lightweight this time of year. I also love to swap out warm winter plaids for bright spring florals. Or a complimentary mix of patterns. If you’re not sure where to start, I created a simple room refresh planner that walks you through exactly what to keep, move, or change.
- Refresh the room scent. (Cleaning is a great start or opening the windows on a nice spring day for fresh air is the best!) Candles. Diffusers. Whatever your preference. I find citrus and florals (lemon, tangerine, LILAC) for spring re-energizing and take the place of more earthy and spice winter favorites (pine, vanilla, cinnamon).
Just a few simple tweaks to feel fresh again! Even just attention to a corner feels refreshing! Do you have a favorite way of refreshing your home?
Want more tools?
If you’re not sure where to start or want a clear plan, I created a simple Cozy Home Refresh Planner to guide you step-by-step. It’s a guide to help with what to change, what to keep, and how to pull it all together without overwhelm. It’s everything you need to plan a more detailed room refresh in a printable guide. Unlimited prints from 1 PDF …print one for designing each room refresh. Up for a challenge? Buy one, share with a friend and work together!
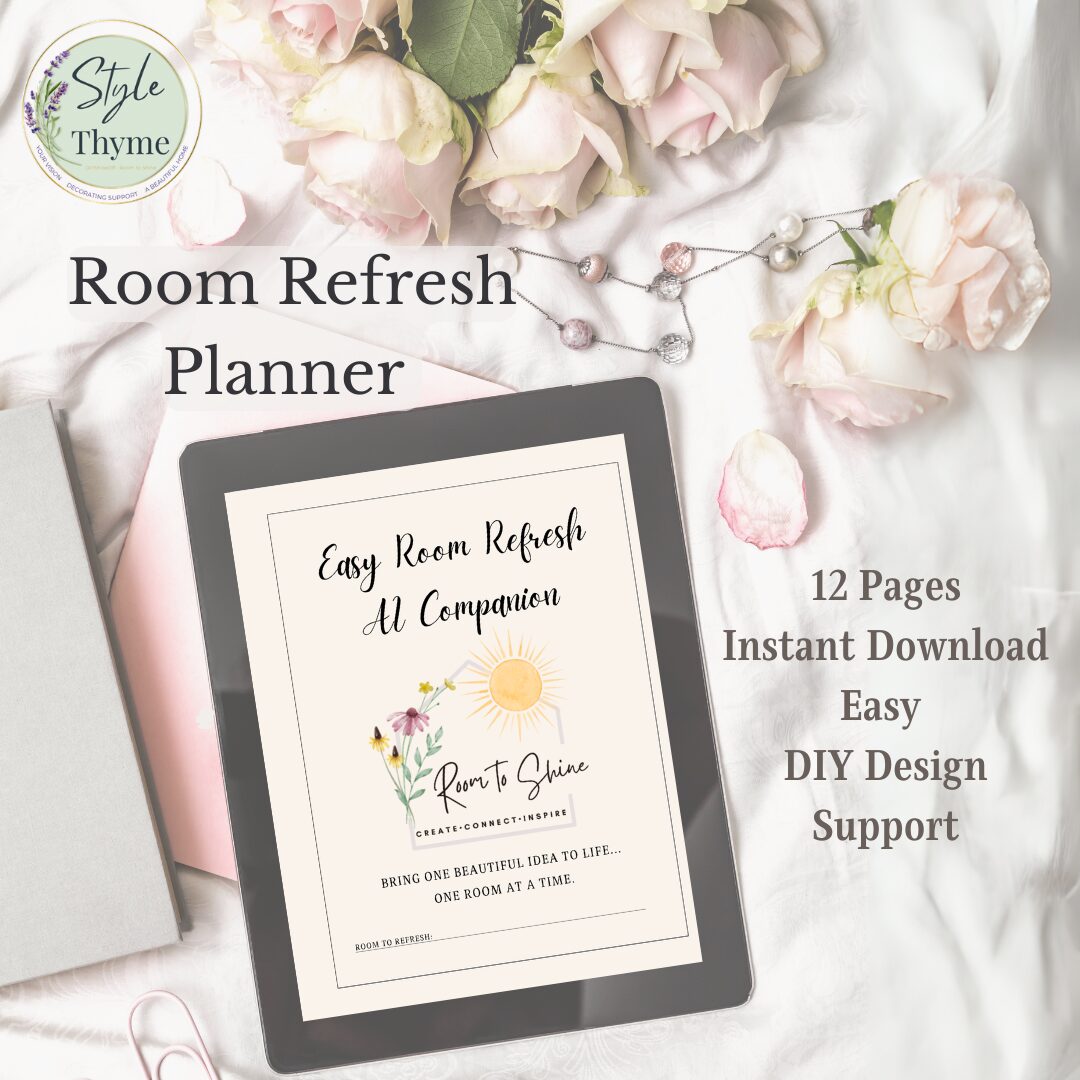
Room Refresh Companion
- Walks you step-by-step
- Includes prompts, planning and action steps
- Removes overwhelm (no stress, no pressure)
One room. One corner. One small change at a time.
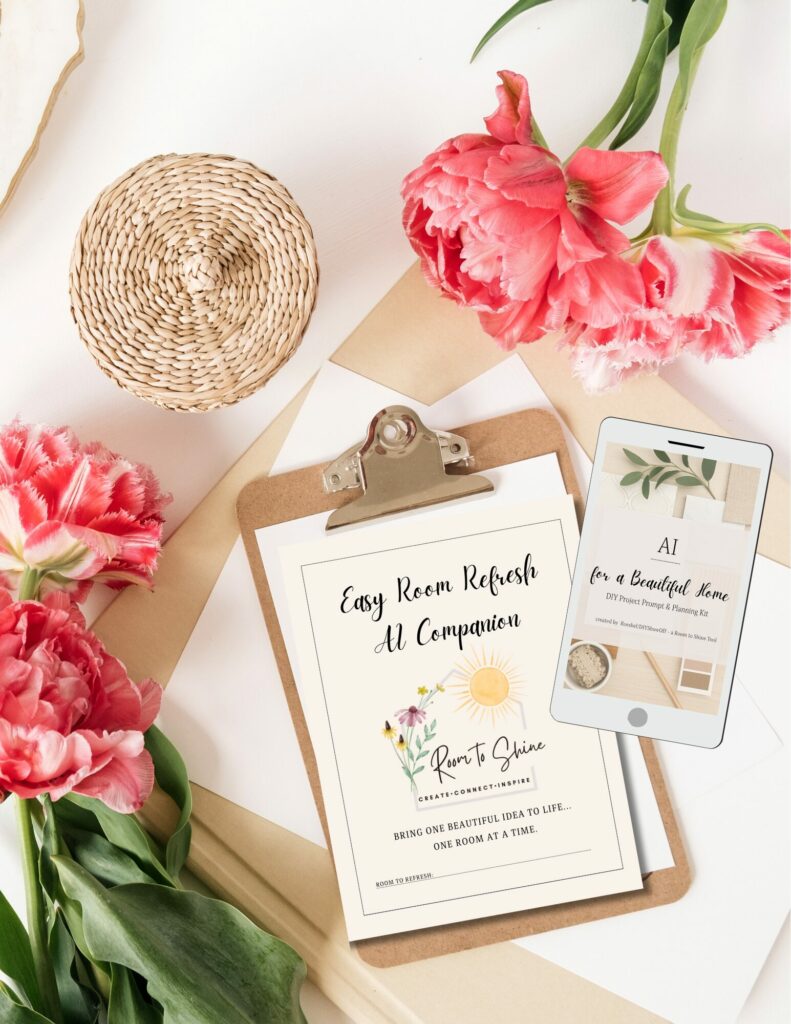
👉 Shop the planner here → Room Refresh Companion Guide

Need a second set of eyes from a design friend?
I also offer virtual design consults that include a video or email chat, mood board, shopping links and more. Email hello@diyshowoff.com or see the details in the DIYShowOff Shop.


Related Posts


DIY Chandelier Planter Tutorial

If you could change just one thing in your space right now, what would it be? Happy Home! Happy Spring!