A little cabin fever with sub-zero temps had me looking at areas of our home to “clean” up which lead to painting a striped gallery wall. Strange how my brain works but once I cleared the bookcases (so much dust!), that inspired the idea to dress up the entire area.
What I used:
- FrogTape® Multi-Surface
- paint – I used leftover paint from our laundry room. Color is Valspar Mineral Ash. Existing wall color is Benjamin Moore Smoky Taupe.
What I did:
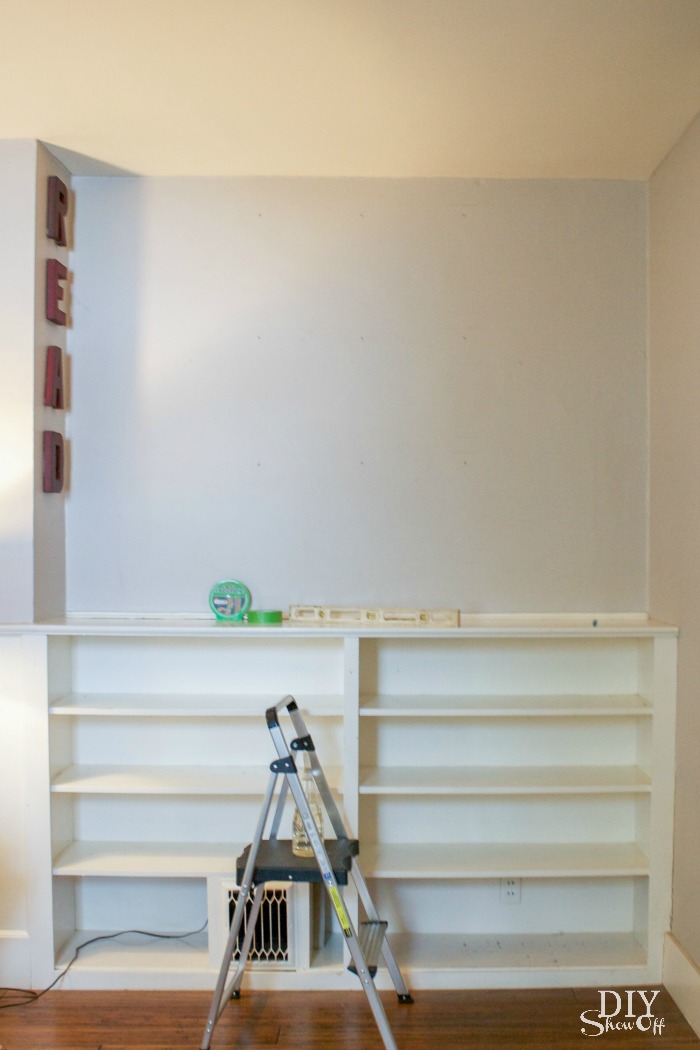
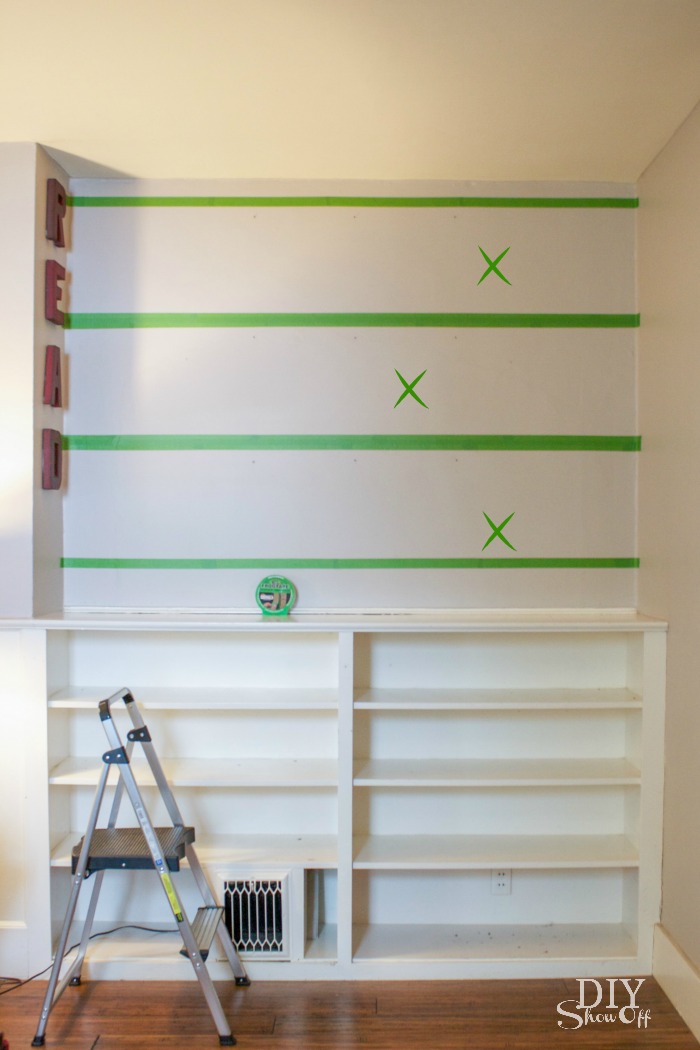
I cleaned the wall above our build in bookcases. I marked where the framed prints hang on the wall then using the level, marked light pencil lines horizontally.
Then I applied the FrogTape.
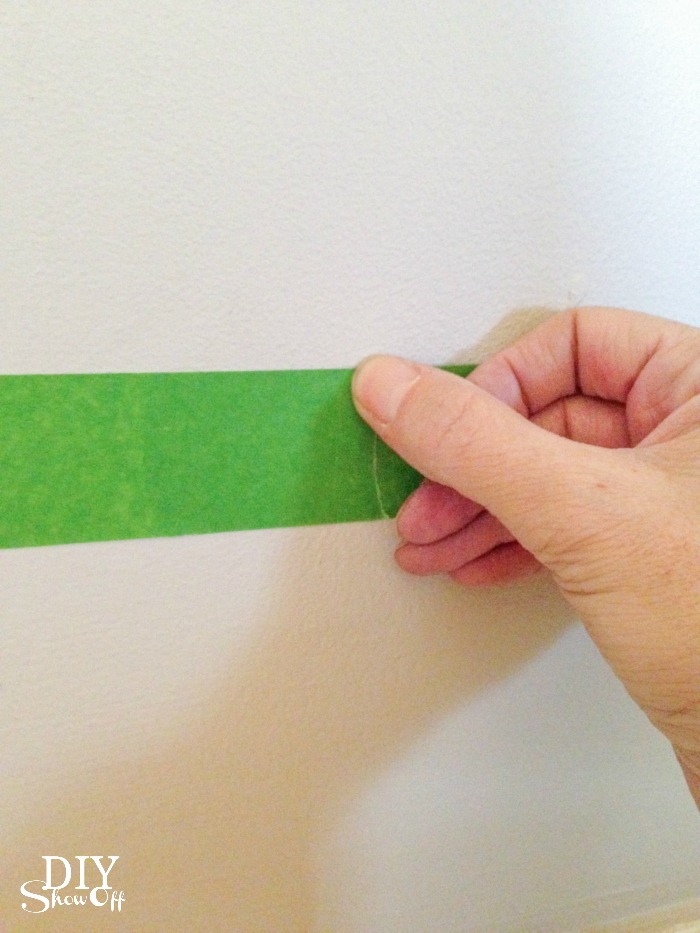
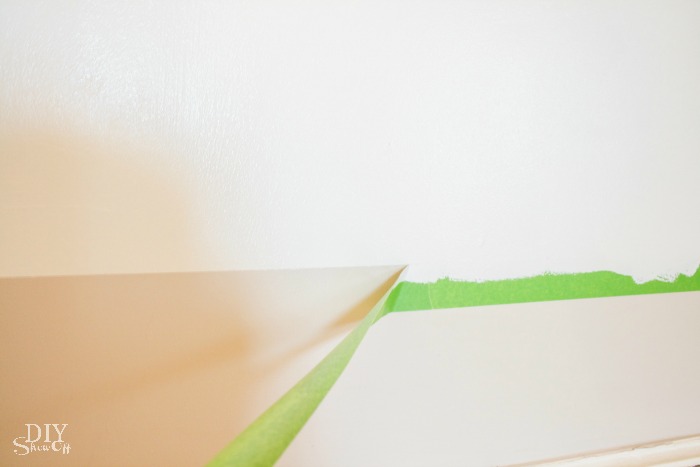
I used my thumbnail to secure the edges of the FrogTape to the wall in order to get nice crisp paint lines.
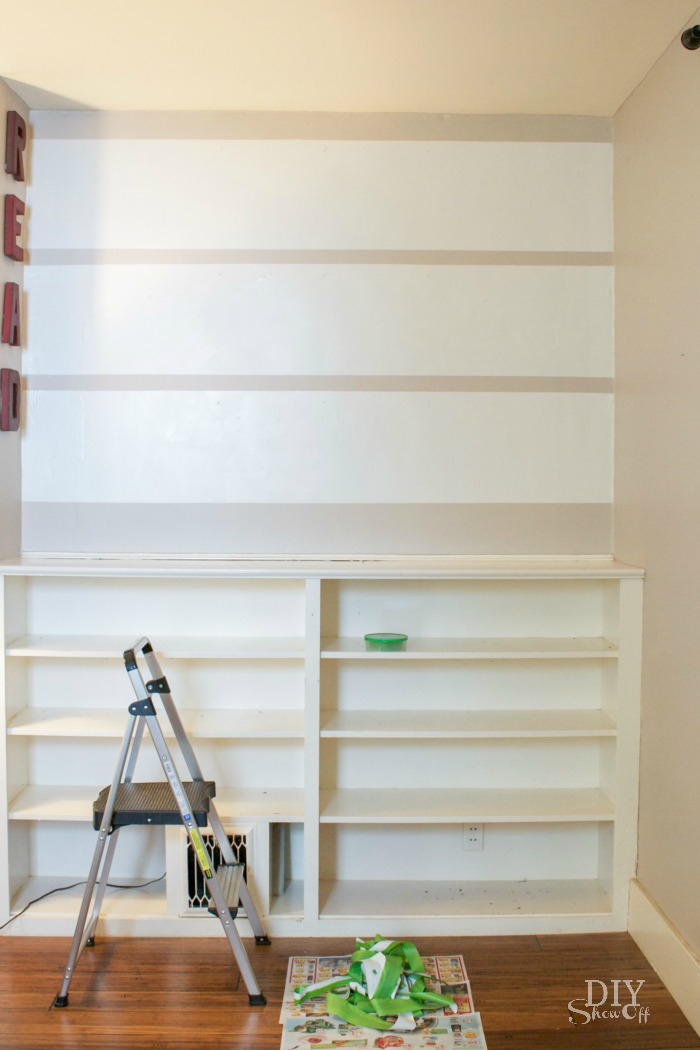
Then simply painted the wall two coats.
While the second coat was still wet, I removed the FrogTape and let the paint dry.
Then hung up my prints and restyled the bookcases. Paint is such an easy way to create a new look, add some interest and to freshen up the space.
Now to come up with some seating for this area. Stay tuned!
Disclaimer: I received compensation to complete this project for using FrogTape® products. All opinions, projects and ideas are based on my own experience.


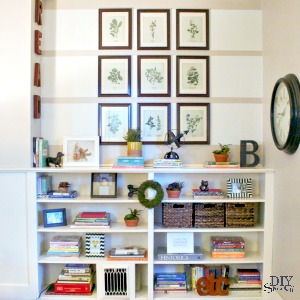
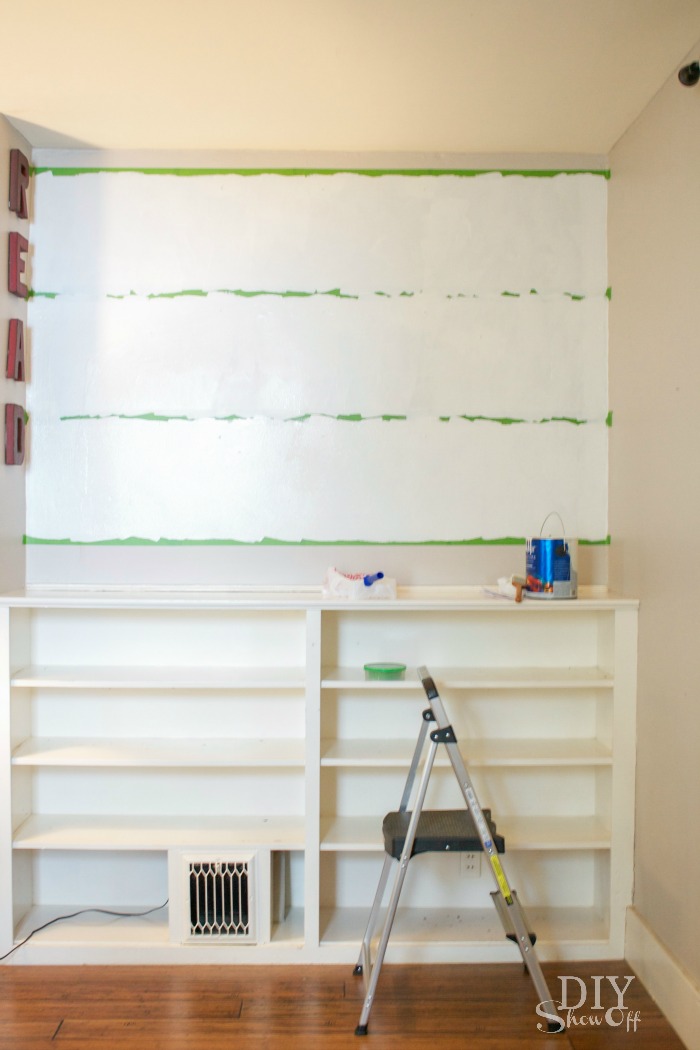
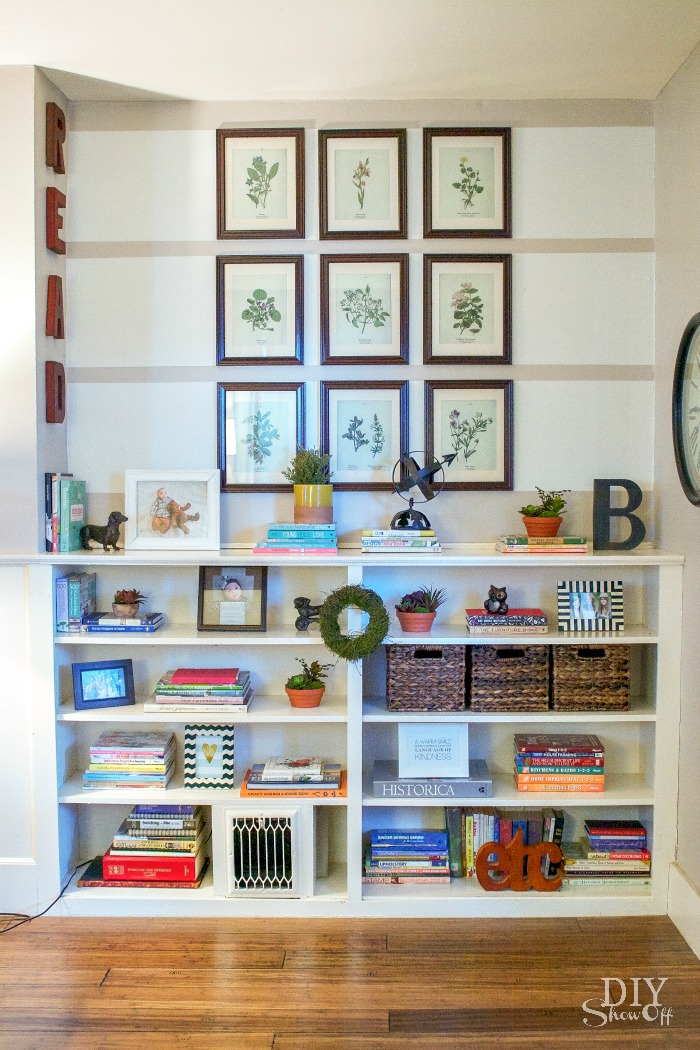
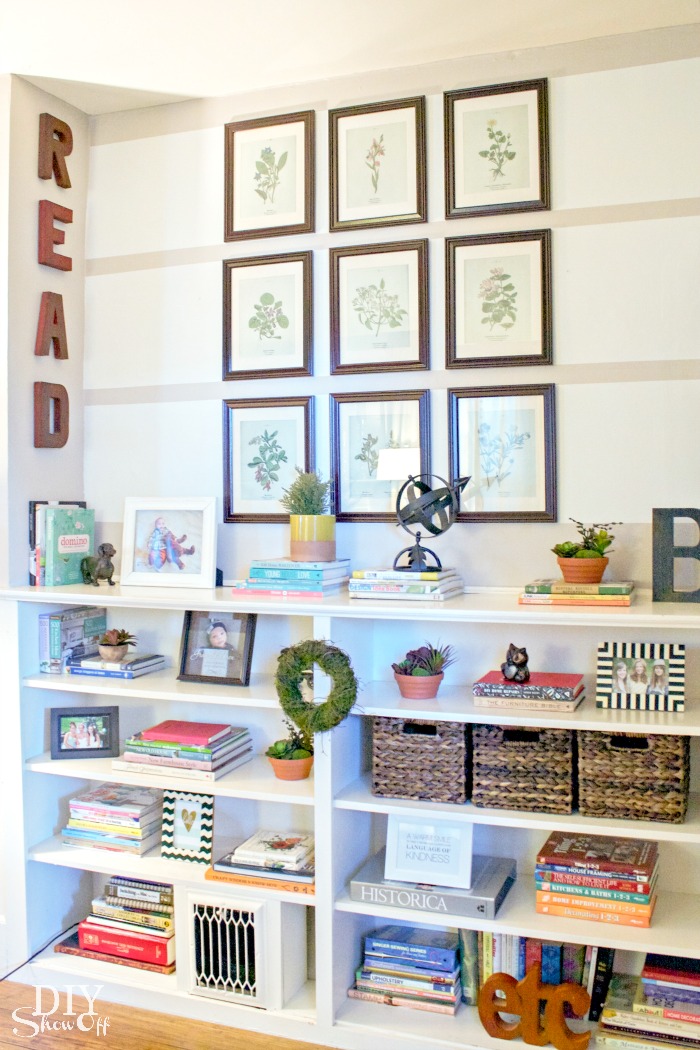
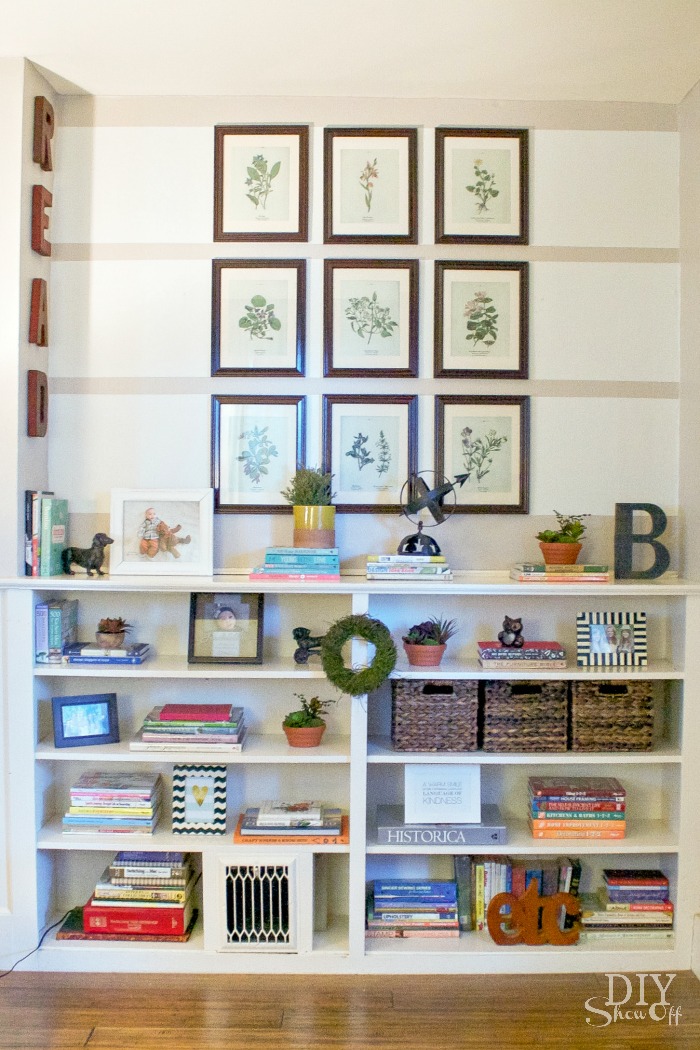

I love how this turned out! The stripes probably made hanging the frames that much easier as well. Bonus!
http://jax-and-jewels.blogspot.com
Your project turned out great, I would love for you to stop by and share today!!
Happy St Patricks Day!!!
Have a great day!!
Love the gallery wall over the bookshelves. And your styling on the shelves is awesome!
love it. adds just the right amount of interest. I may do this to my botanical wall. hope all is well and you are loving on a baby right now!
Excellent work. It looks stunning!
Oh my gosh – I just love this – the stripes are the perfect touch – makes your gallery wall even more elegant !
Thanks for sharing
xxx
Would love to know where your prints came from?
Becky
http://www.beckyandbrittany.com
Hi Becky!
You’re going to love this! I printed/framed them back in 2010 – downloaded/printed from home for FREE from this awesome site: http://vintageprintable.com. 🙂