Decorating the Christmas Tree
This is the weekend that we {I} decorate for Christmas! Yesterday and today {probably tomorrow too}, Christmas decorations have exploded in the living room, family room and dining room. There are boxes everywhere. Is it like that for you too? {I apologize for the poor quality pics…but it wasn’t a priority. Not like getting great “after” decorating pictures will be!}
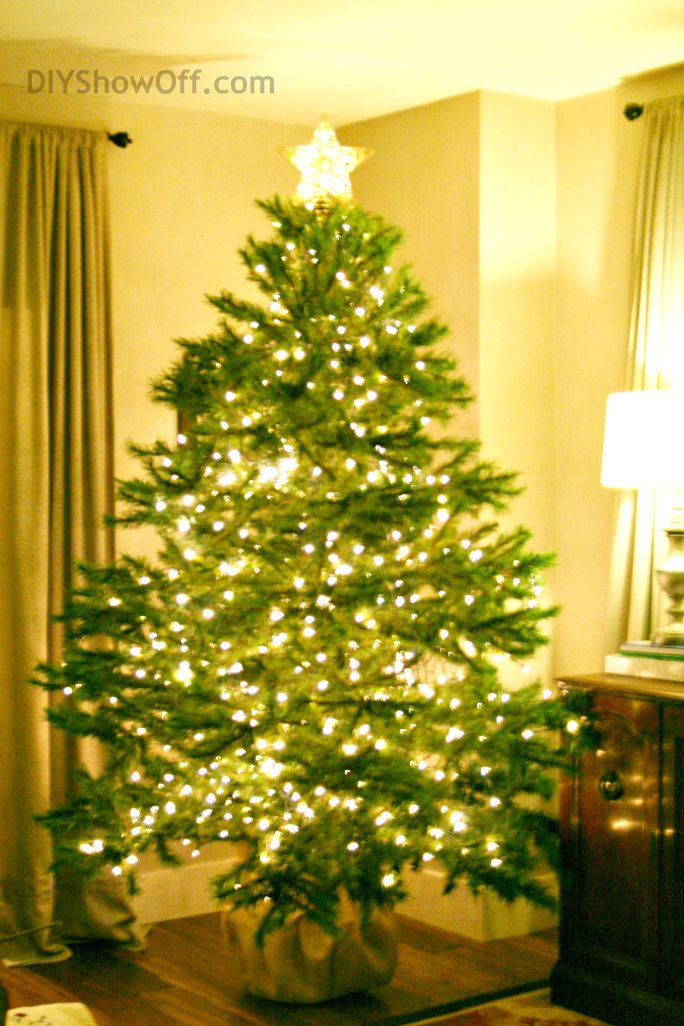
Today I wanted to share a few tips for setting up and decorating an artificial tree, some that help make it look more ‘real’ and full. For our living room, we have a rather nice artificial tree. It’s always mistaken for being real but there are some things I do to make the best of having a fake tree:
Pine Scent
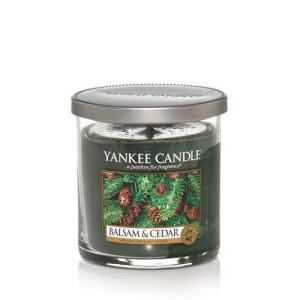
Tip #1: I do burn a Yankee Balsam and Cedar candle to create a real pine smell. Love it! Pretty pine scent without smelling like a pine tree car air freshener.
Faux Root Ball {and adding height}
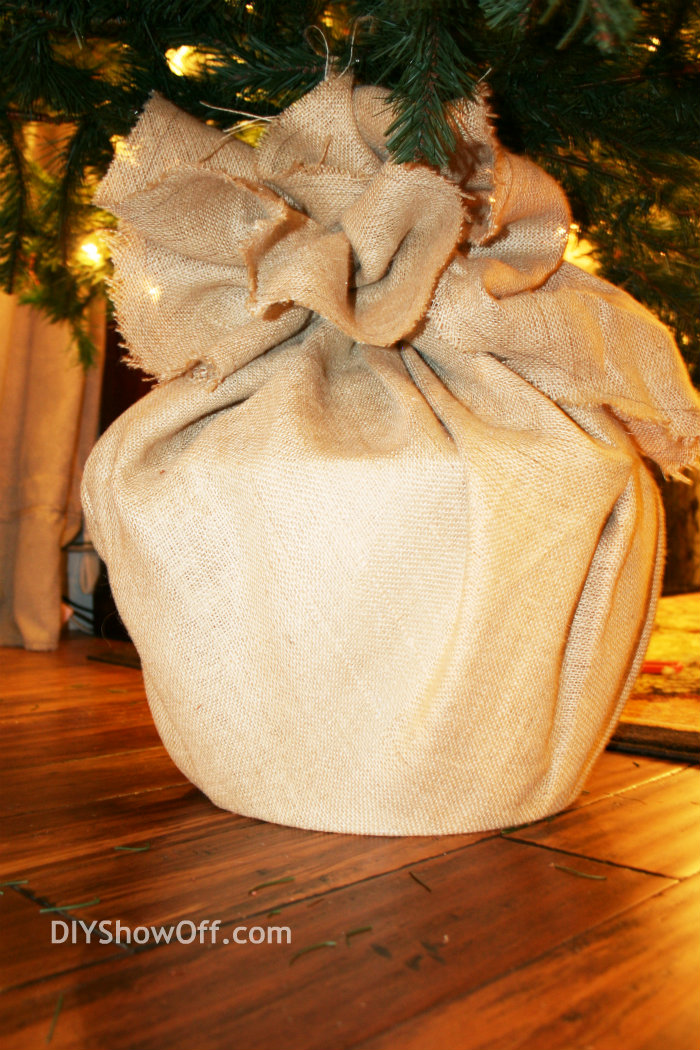
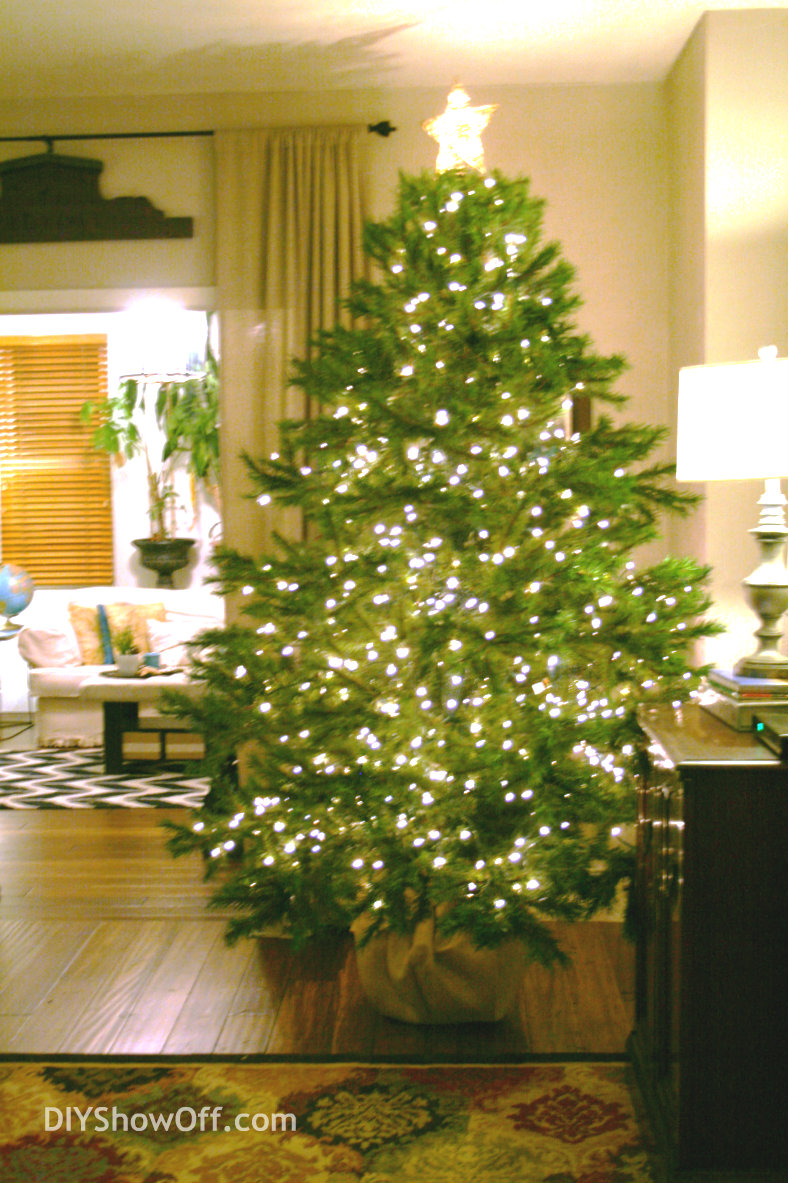
Tip #2+3: Rather than a skirt for this tree (our main one where Santa leaves the gifts), we create a faux root ball and giving the tree more height. First, make sure you have room to lift your tree about a foot higher! I set a galvanized tub in the center of a circle of burlap. We add weights to the tub {25 lbs.}. Then I set the stand of our tree onto the tub. I use twist ties to secure two of the feet of the stand to the handles of the tub. I gather up the burlap and tie it around the tub and stand and secure with twine at the “trunk”.
Pull the top of the burlap to make sure it’s over the tied twine. Fluff a little. Lots of room underneath as it lifts our 7.5′ tree about a foot higher. I love that about doing this too!
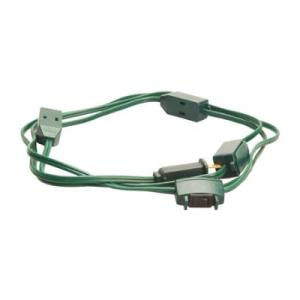
Tip #4: I also use a 9 outlet Christmas tree extension cord. I like that the outlets are spaced along the extension cord. One plug into the wall outlet and an off/on switch for the Christmas lights. I found mine at True Value Hardware along with lots of lights and decorations!
String lights vertically
Tip #5: I was surprised that not many Facebook fans knew this tip, so I’ll share here too: I add my lights to the tree vertically {up and down} rather than around. I can’t tell the difference and when the tree is in a corner like it is in our home, it’s a lot easier than trying to get around it’s width, pulling it out and pushing it back into the corner, moving a ladder all around while trying to “lasso” the tree with strings of lights.
Tip #6: If your artificial tree isn’t as full as you’d like it to be, add faux pine garland or silk flower bunches to fill in the gaps {large faux poinsettias help to fill in space and look pretty too}. Even dollar store green garland pushed near the center of the tree will help hide seeing the “pole” through sparse branches. Try larger ornaments and use wide ribbon or tulle as a garland to help fill the empty spaces.
I only have the lights on at the time of writing this post but will share it all decorated soon. I do a traditional tree in our living room with red and gold. Dining room gets a more rustic decorated smaller tree and I can’t wait to do something fun in the family room this year {to go with our eclectic colorful decor}.
Now, let’s get this party started! Remember, there’s the DIY Show Off Holiday Highlights party every Wed., but you’re welcome to link up holiday related posts today as well.
Show off your latest DIY project! I’ll be showing off your links all week, follow along:

{grab the html button code here}
1. Please use the button above or text and link to this post to share the linky love. Here is the link: https://diyshowoff.com/category/other/diy-project-parade/. I’d love for you to share a link on your FB or by tweeting too if you have the time. Thanks!
2. This blog linky party is for DIY projects only. Links not related to DIY will be deleted. Please share your link one week only. Please do not link recipes, giveaways, linky parties, promotions or a collection of inspiration.
3. By joining the party, you give permission for your project to be featured and ‘shown off’ via blog highlight, Twitter, Facebook, Pinterest, G+, etc.
Linky Tools subscription expired. List not available.
Getting ready for Cyber Monday! How about you?
We were chosen by True Value to be one of the members of the 2012 DIY Squad. I have been compensated for the materials needed for my DIY projects. However, the thoughts and opinions expressed are completely honest and my own. I have not been paid to publish positive comments and no one has twisted my arm to participate.





Your tree looks like it’s going to be gorgeous! It’s an explosion over here too, you’re not the only one 🙂 Thanks for hosting!
Cheers, Andrea
Wow, really nice tips Roeshel! The faux root ball and setting the lights vertically are new to me! Your tree already looks great! Thanks for hosting!
Your tipps are great!
Thank you for sharing and for hosting this party;)
Love and hugs from Germany…
http://pudel-design.blogspot.de/
Tip # 5… the vertical light trick will CHANGE MY CHRISTMAS LIFE. How oh, how am I going to remember to do this next year? (I have a prelit tree, but add more lights for extra bling.) Maybe I will put a big note on the tree before I put it away. Anyway, thanks for the GREAT tips!!!
Thanks for hosting Roeshel! Have a great Sunday!!
These are great tips for any kind of tree! Never knew there was such an extension cord, and never thought of hanging lights vertically. Thanks for sharing!
Great tips. I won’t use tip #1, though, as I buy a real tree (which it isn’t up until Dec 21st), but I will definitely try to find a way to add height as it looks so much better. Can you believe I never thought of it before?
Pingback: Bring on the Bling – Metallic Pinecone Place Settings
Pingback: Orange Pomander Monogrammed Place Setting
Pingback: Five Quick Handmade Gifts Under $2
Roeshel,
Help, I’m buried under Christmas bins! If you don’t hear from me by next week, call for help!
Love your burlap wrapped trunk – what a great idea!
Kelly
Thanks for hosting..
Here are a few of my tips as last year I had 17 trees of various sizes and shapes. Use large clear bulbs up the center of the tree so it looks like light is coming from within the tree itself. Place the lights all the way in to the center of the branch near the trunk and then weave back out. Usually 100 lights per foot of tree but this year I used Warm White LED lights and did not have to use my typical 900 for my 7 foot trees. And even though I use the cord you described, you can hook 30 sets of LED light together so I did not need to use all those plugs on the cord!! I have 8 trees up and counting…
Hugs,
Deb
Thanks for the party Roeshel!!! Hope you had a fabulous weekend!
Pingback: Not just another sweater stocking | : Repurposing a treasured heirloomThis (sorta) Old Life
Thank you so much for hosting, Roshel! Can’t wait to go through everyone’s projects!
xoxo,
Meredith & Gwyneth
great tips Roeshel, especially the one about filling the tree in. For a tree skirt sometimes I use a vintage white chenille bedspread.
Pingback: Catbird Seat Bookcase Transformation DIY |
Pictures are OK. No need to worry, Roeshel. 🙂
The Tip # 1, I always use in my tree decoration. Plus, linky party is as colorful and wonderful as ever.
Thanks for hosting and great tips! I love the vertical lights (maybe next year since this one is already done) but also the root ball is a great idea!
Pingback: Boy + Girl Design » Blog Archive » It’s Beginning To Look A Lot Like Christmas No.1 – Christmas Morning Table
It is always a delight to pop into your world to view all the tips, tricks and plethora of inspiration on view. Many thanks to you Roeshel, for sharing and hosting all the fun!
Thanks for hosting! Wishing you a beautiful week. Toodles, Kathryn @TheDedicatedHouse
Thanks for all the ideas! I definitely had never thought of putting the lights on vertically either. It’s funny how we get set in our ways!
Pingback: DIY Holiday Highlights linky party #3 DIY Show Off ™ – DIY Decorating and Home Improvement Blog
Pingback: DIY Transformer Necklace and Game - Spoonful of Imagination
Pingback: DIY Tomato Cage Christmas Tree tutorialDIY Show Off ™ – DIY Decorating and Home Improvement Blog