How I refinished the apartment hardwood floors…
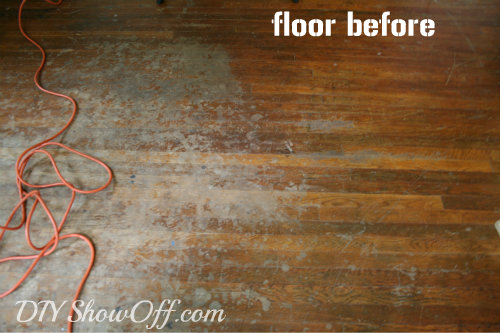
When we started the apartment renovation, I knew the hardwood floors would need to be refinished. Previous tenants had some sort of mishap and the finish was ruined…{I try not to think long and hard about the details of the mishap. ::shudder::}
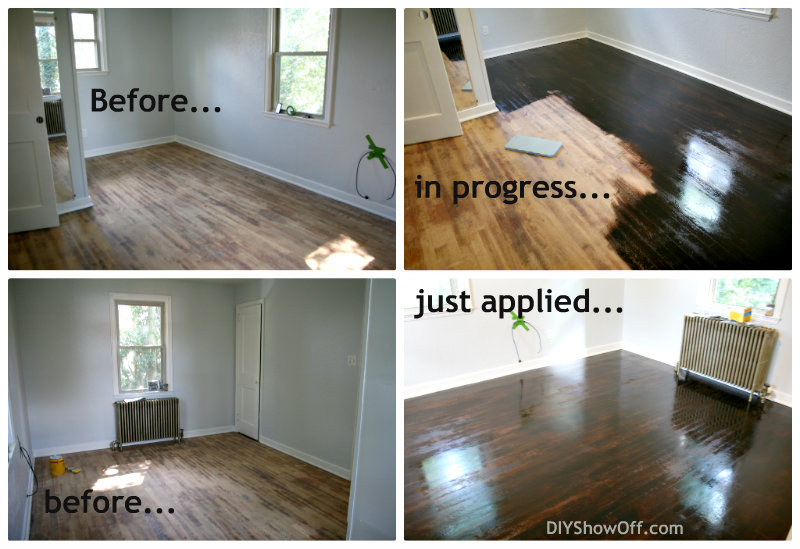
condition of hardwood floors before:
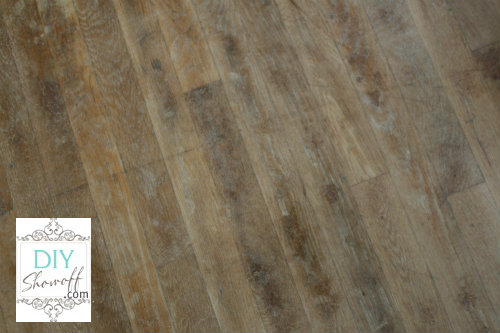
We started by sanding the floors (well, by “we” I really mean, I supervised while my nephew controlled the beast known as the orbital sander). Once the steps to strip the old finish was completed and floors and sawdust were cleaned up, we were ready to refinish the original hardwood for a new look.
All sanded!
I headed to True Value for the materials I needed {and a few other things too but more coming on that soon}:
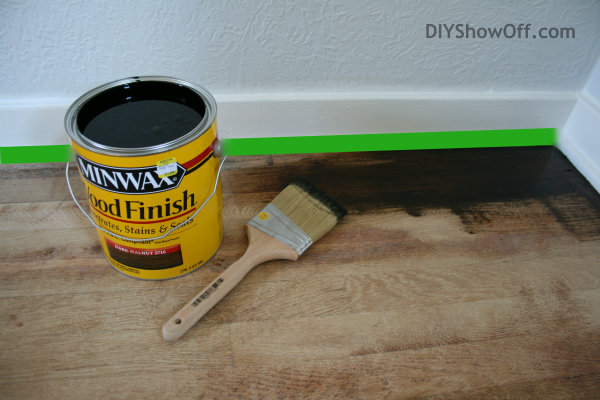
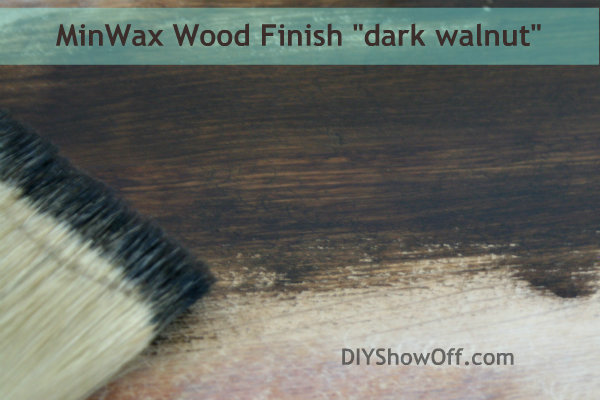
- Minwax Wood Finish, stirred not shaken {Color is “Dark Walnut”}. Minwax has great informational guide too.
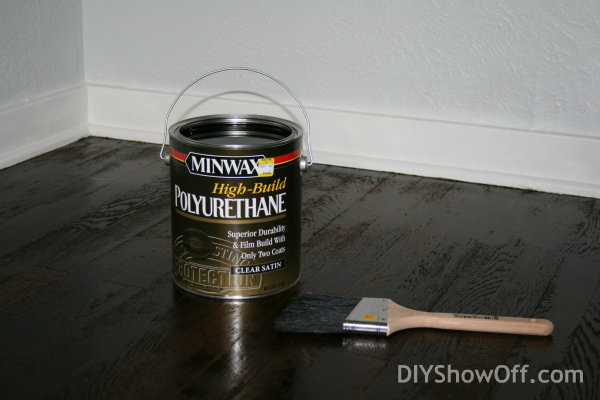
- Minwax High Build Polyurethane (clear satin), stirred not shaken (martini is optional)
- FrogTape
- angled 3.5″ Purdy paintbrushes – “White Bristle” {recommended for stain}
- angled 3 ” Purdy brush – “Black China Bristle” for polyurethane
- old clean rags {I actually had these on hand but you CAN buy them at True Value too!}
- Optional: latex gloves {I lived with brown stained nails for a day or two…oops.}
- Suggestion: pillow for knees and definitely old clothes {not sold at True Value}
- 220 grit sandpaper
- Mineral spirits and clean rags
Staining Hardwood Floors
The process is a fairly simple DIY. The task is just time consuming (and a little labor intensive because of my position on ‘old knees’). Since I was working with two small rooms, I opted to use a brush and work on my hands and knees vs. a roller.
I started in a far corner of the room, working with the wood grain, with the direction of the wood planks, working my way out of the room – don’t work yourself into a corner – no fun being trapped!
For extra protection, tape off baseboards/shoe molding using FrogTape.
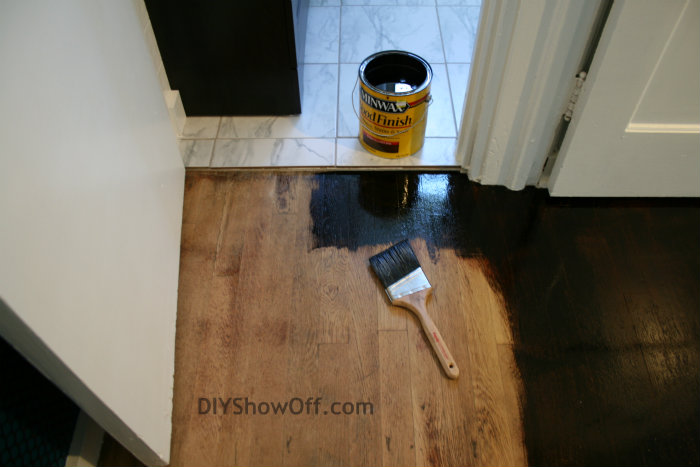
I dipped my Purdy brush into the can of Minwax stain, tapped off the extra and applied the stain in a corner, working along the baseboard along the length of the wood plank. When I noticed that some of the stain wasn’t absorbing, I let it sit for a few minutes then wiped away the excess with an old rag.
I worked in 2-4 foot sections in length as I went along right to left in my room, working my way towards the door. Sometimes I did a larger number of planks as well, just find a rhythm that works for you.
Bedroom done. I worked my way out into the hallway…
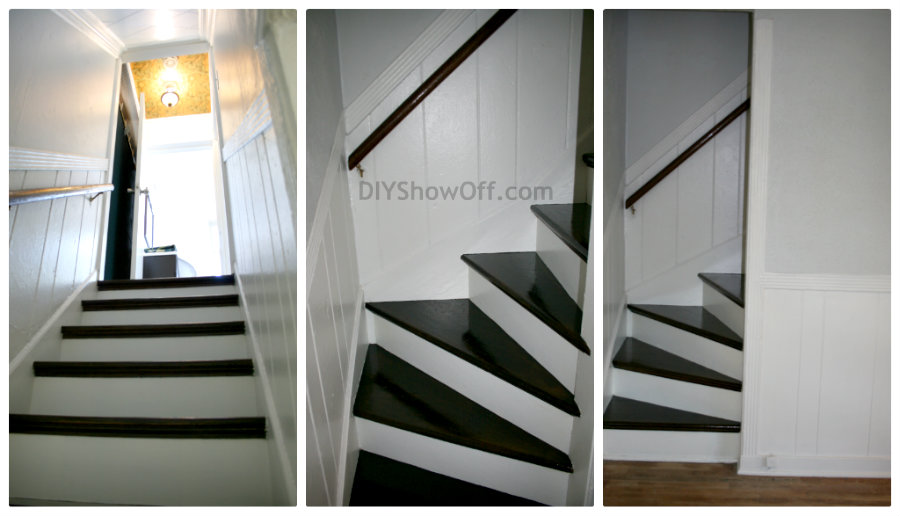
down the stairs and around the bend…
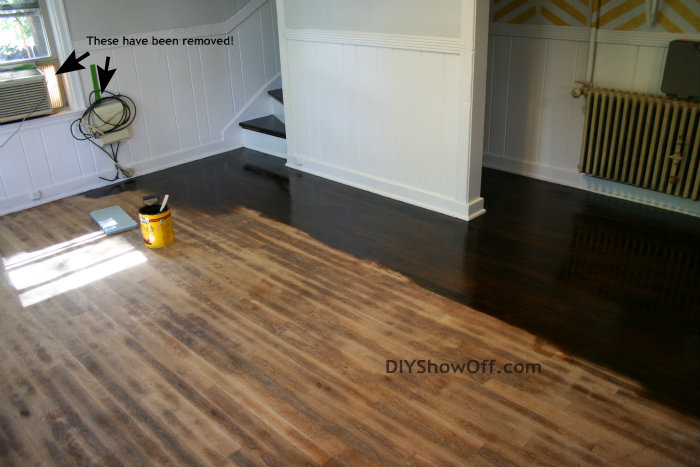
and started the main floor in a corner, working my way out the door.
Sounds like I ended up at Grandmother’s place (over the river and through the woods) and a lot quicker than it actually took. !
TIPS: Since I’m working my way actually out of the apartment, I had to make sure to grab things I needed like purse, keys, cell phone, etc. Turn off things that you don’t want to leave on during the drying period. The radio blasted during our drying time. Oops!
Note: Two coats can be applied (see Minwax for further instructions). I loved the color one coat achieved so I skipped this step. Sealing the floor will also darken the color a bit. One coat of stain:
I let my floors dry a few days but we were working in an unoccupied space. I applied the stain on a Friday and returned the following week to resume refinishing by sealing the floors. Sealing the floors is NOT optional, it’s required. It’s necessary. Stain does not protect the wood, only colors/enhances the beauty.
Sealing the floors…
I used the same process as above to seal the floors. Starting in the far corner of the room, I repeated the same steps of dipping my paint brush into the polyurethane, tapping, applying in the corner, brushing right to left (the direction I was personally working), along the baseboards and working my way out the door.
It really enhances the rich beautiful color:
I let the first coat of polyurethane dry 48 hours.
My most UN-favorite part: once the first coat is dry, lightly sand the entire floor with a 220 grit sandpaper. Clean floors of dust with mineral spirits and let dry. Then apply a second coat of polyurethane using the same steps. Repetitive. Time consuming. But so rewarding!
Allow to dry for 12 hours to resume “light use” (however – test the floor first!). Remove FrogTape.
Stand back, remember the before (try not to gag):
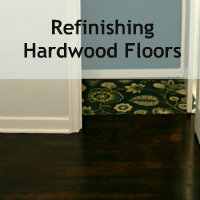
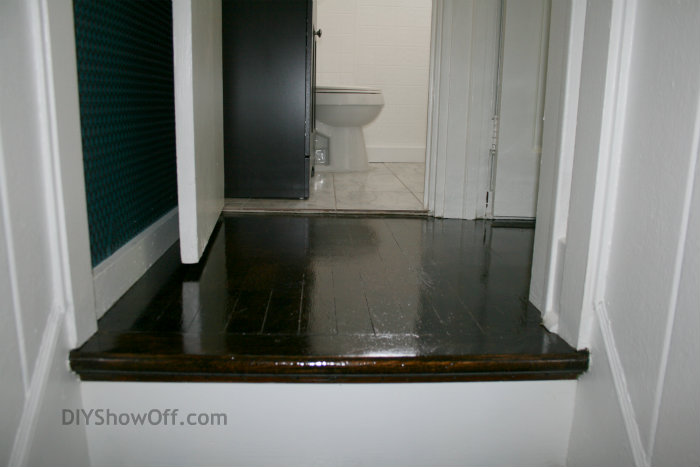
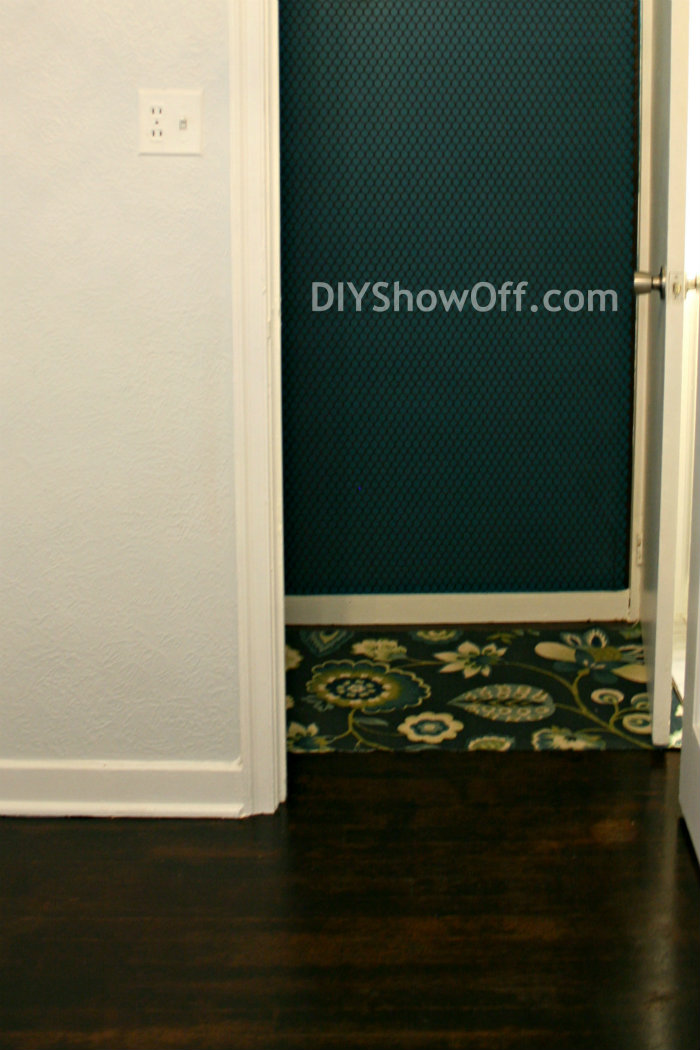
Admire the gorgeous after:
apartment sneak peek alert!
Pinterest tip: Did you know that if you rub a wood scratch (floors and furniture) with a walnut (circular motions, filling in the scratch), the walnut oils will fill in the scratch and heal the wood wound? Great snack, too!
Estimated total cost of DIY refinishing 2 small rooms of hardwood (approx. 250 sq. feet) = $250.00 and a few days of recovery…but nothing that would keep you out of your True Value hardware store to prepare for your next DIY. 😉
Joining Sarah’s party today:
We were chosen by True Value to be one of the members of the 2012 DIY Squad. I have been compensated for the materials needed for my DIY projects. However, the thoughts and opinions expressed are completely honest and my own. I have not been paid to publish positive comments and no one has twisted my arm to participate.
This is a sponsored post brought to you by FrogTape. The opinions are completely my own based on my own experience.






Great job, I love the color
There aren’t many things I appreciate more in a home than wood floors – and the Dark Walnut is my favorite stain color on the market. You did a great job. They are beautiful Roeshel!
Looks great!! What a transformation! I love old wood floors and am glad you were able to work with them and make them look so nice!
What a transformation! It looks fabulous! Really excited to see the rest of it!
Cecilia
Your floors are absolutely gorgeous!
Wow! I am so impressed that you took on such a big chore, but certainly not surprised as you are the queen of DIY.
I’ve loved this entire series. I can’t wait to see it when your sister moves in.
Gorgeous job, gorgeous color! Your sister is very lucky to have you!
whoa! that’s a lot of work, and just thinking about it makes my shoulder ache more than it already does. I couldn’t do anything like this right now, and that makes me oh so sad. 🙁
LOVE the new look of the floors, but my favorite picture is the steps! beautiful! good job mom (and helpful nephew)
gail
WOW! That looks amazing Roeshel. You put a ton of hard work into that. i want to refinish our wood floors so badly, but we have 6 rooms or them and I can’t bring myself to do it….yet 🙂
They are gorgeous! I want to do mine so bad. Maybe in a few years.
they look great! well worth the aching knees!
Amazing! Somewhere under several coats of unnamed things, I know I have hardwood floor in my house upstairs… And when I’ll remove them (because I will), I’ll remember all your tips… Especially turning the radio down…. Because my neighbours might not like that very much!!!
Lots of hard work Roeshel. Great job done, great finish and the floor colors are giving a yummy chocolaty chic look. 🙂
Pingback: How to Paint and Stencil a Herringbone Accent WallDIY Show Off ™ – DIY Decorating and Home Improvement Blog
Beautiful flooring..
HOLEY MOLEY! It looks AMAZING! I luv the dark walnut color u chose. Hmmm, I think I would need a spa DAY after staining/sanding/polyerathane-ing 🙂
Thanks, Ada! I know what you mean…I just got back from a week at the beach. Much needed break! 😉
Yes you sure did a wonderful (I think perfect) job. And I can imagine how bad your knees got from it. I am curious as to why you chose to do the brush all the way instead of just at the edges? I am wondering if the roller (with extension rod) soaks up too much stain?
I have very damaged Terrazzo floors (so let’s just say concrete) and can not afford the nice tiles or even that new vinyl sheeting that is so pretty by Armstrong so I will have to patch and /or use a leveler & paint them. Then I have to deal (worry about) with the black glue from the previous owners putting those 9 in linoleum tiles down. I am dreading it.
Hi Sheryll! Since it was such a small space (although it doesn’t feel that way when actually working on it), I decided to continue using the brush. I do prefer the way it goes on…I feel like brushing is a better application and feel that rolling sits on top more, slops it around. Probably not the case, but again, with the small square footage, I didn’t mind. I would definitely use the roller/extension rod for a larger project!
Your project sounds daunting! But I do love painted floors! Good luck!
Pingback: DIY Project ParadeDIY Show Off ™ – DIY Decorating and Home Improvement Blog
Gorgeous! I love darker floors but I can’t imagine how sore your back must be!