Die Cut Business Cards Giveaway

THIS GIVEAWAY IS NOW CLOSED. Winner of the UPrinting die-cut business card giveaway is:

I am trying to market my products with some local vendors, so I would hand them out at those initial meetings. Thanks for offering this great giveaway!

Doreen

CONGRATULATIONS, Doreen! I’ll contact you via email.

If you’re a blogger, it’s a good idea to have business cards on hand. Are you attending any blog conferences this year? I’m going to this one:

Haven Conference 2012

Do you try to explain to family and friends and acquaintances or people you meet that you have a blog? I find that having a supply of business cards in my purse is really helpful with introductions and explanations.

In the past, I’ve ordered my business cards from UPrinting.com. I simply upload my logo and create/design online. I loved the quality of my last order…

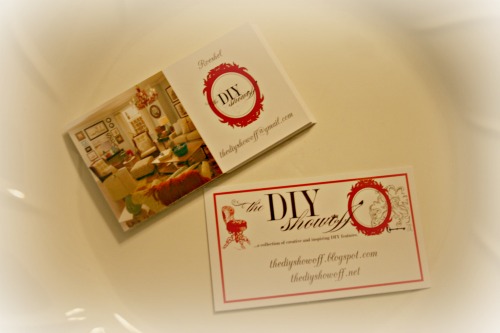
DIY Show Off blog business cards

with a new blog design and attending the Haven conference on my schedule, I’m ready for another order.

DIY Show Off header

UPrinting is my go-to place and now they’re offering one lucky DIY Show Off reader the chance to win business cards!

business card printing

Prize Details :

  • 250  Die Cut Business Card Printing for one(1) winner
  • Sizes to choose from : 2 x 3.5″ Rounded Corners, 2×2″ Rounded Corners, 1.75×3.5″ Rounded Corners, 2×3.5″ Leaf, 2×3.5
  • Rounded one corner, 2×3.5″ Half Circle Side, 2×3.5″ Oval, 2.5″ Circle
  • Paper to choose from : 14pt Cardstock Gloss / Matte / High Gloss (UV), or 13pt Cardstock Uncoated
  • 6 Business Days Turnaround
  • *Free shipping for US residents only

How to enter:

  1. Leave a comment telling us where you’ll hand out your business cards. Which UPrinting business card design do you like?

Optional Giveaway Entry Requirements: (leave a comment for each entry)

Giveaway starts today and ends Wed., 4/25/12 at midnight EST.
Open to US residents only.
Winner will be chosen randomly on 4/25 and announced shortly after.
Good luck!

*This DIY Show Off giveaway is sponsored by UPrinting.com.


Easy Ottoman Makeover

Wow! Martha from

Leone Design

makes her ottoman makeover so easy, I want to tear mine apart right now and give it a makeover! Take a look at this for inspiration:

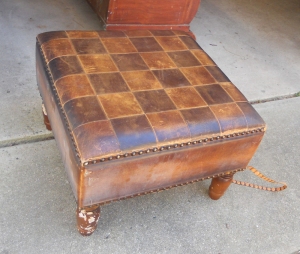
Thrift store ottoman – before shot:

1. First, remove upholstery nails and save for use on the finished piece.
2. She covered the top and sides with the same fabric (so that it would show through the burlap).
3. Next she covered the sides with strips of coffee sacks.

4. She painted the legs to bring the light cream.
5. Martha used tacky glue and duct tape (to hold in place) to tack down the sides/seams.

After an hour or so of drying, She simply removed the duct tape.

Isn’t this so fun? I love the mix of striped fabric with grain sack burlap! Great job, Martha!


What do you think? Love it, right?!

To pin from the original source and see more amazing DIY from Martha (so many furniture makeovers with lots of helpful tips) at

leonedesign.wordpress.com.


DIY Play Kitchen before and after

I’ve introduced you to Tanya from

Dans le Towhouse blog

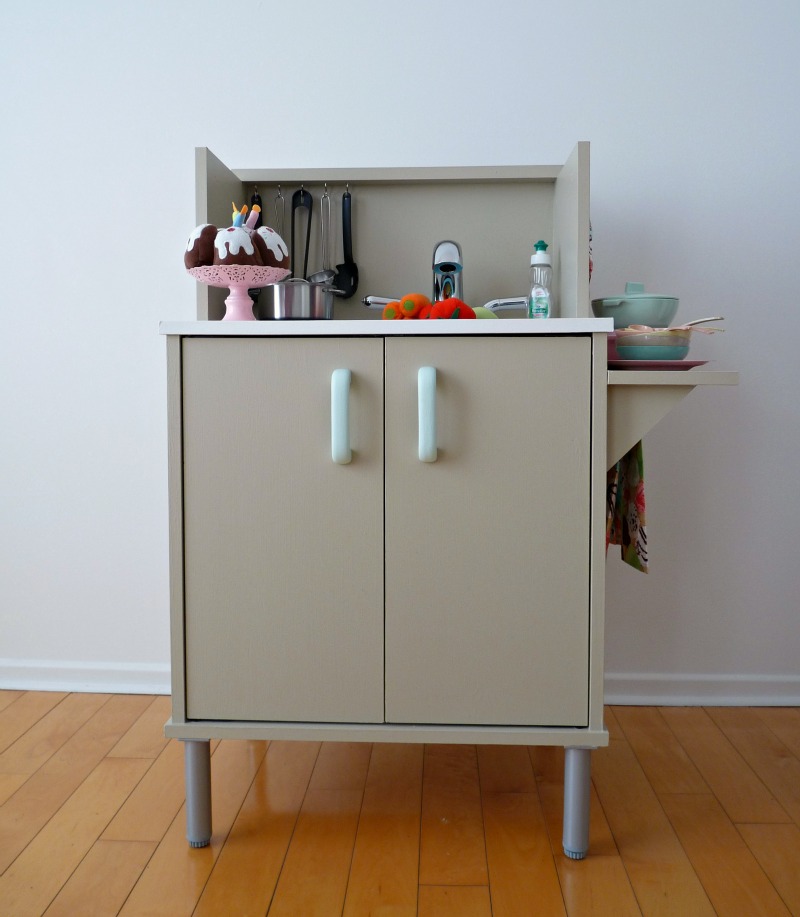
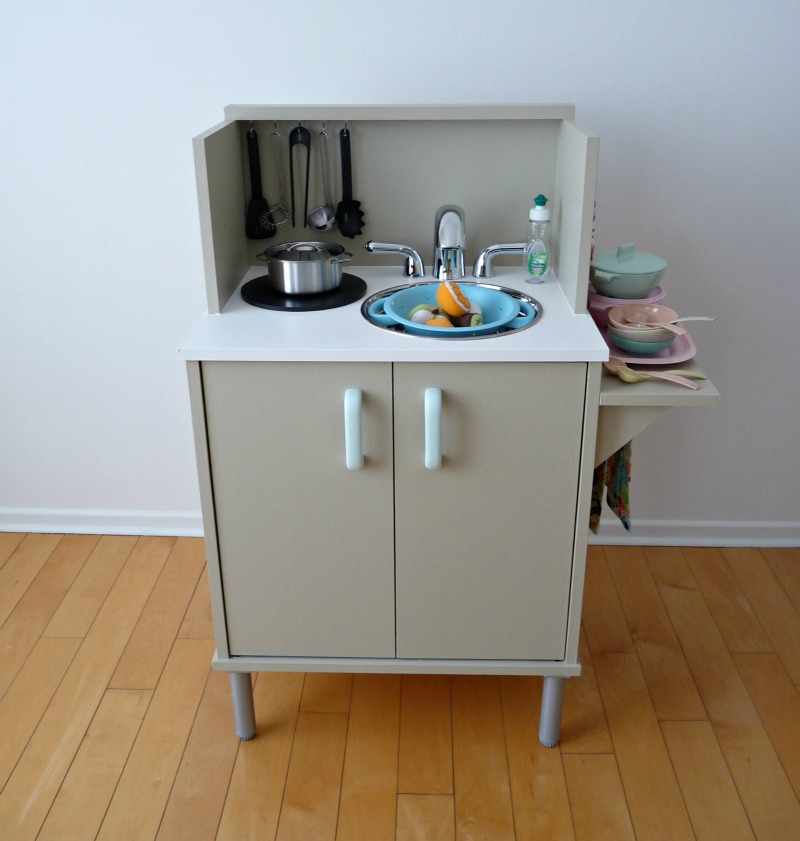
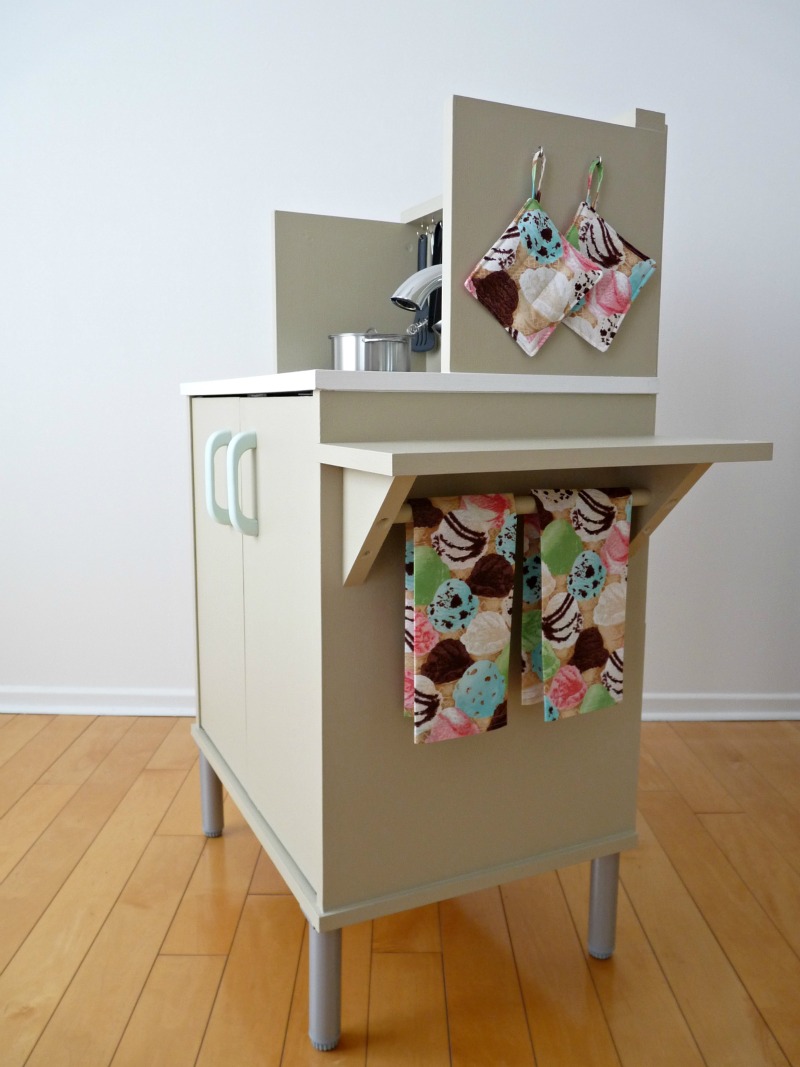
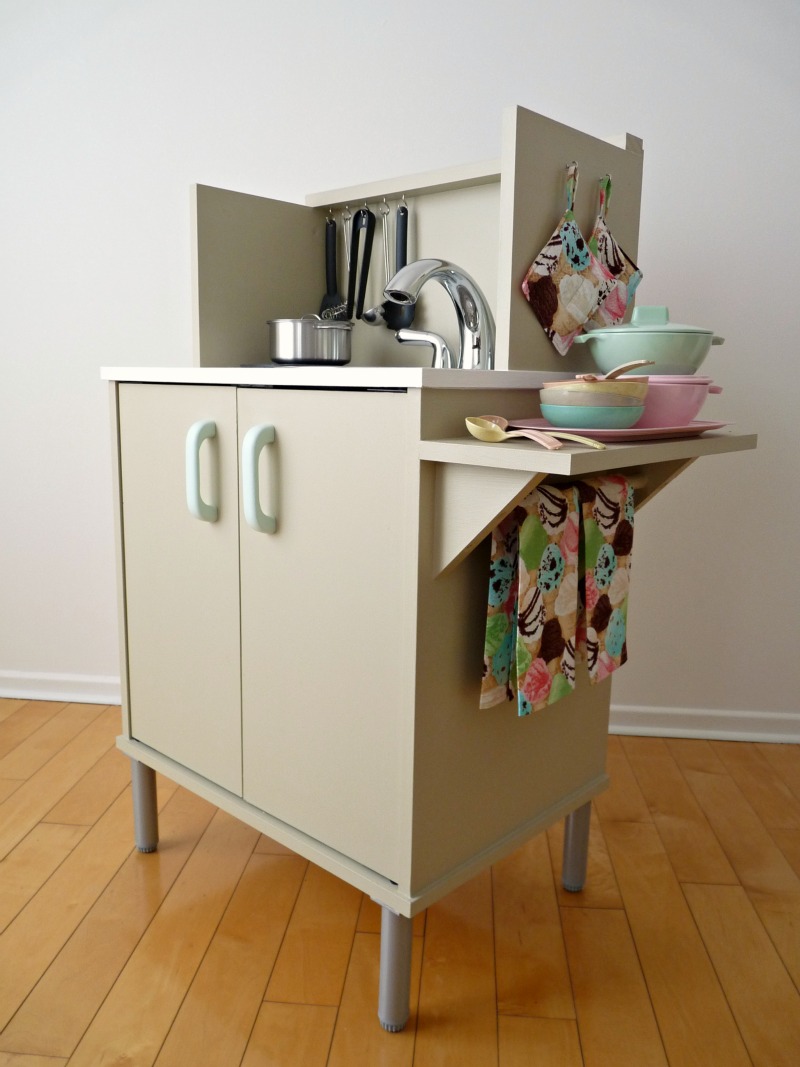
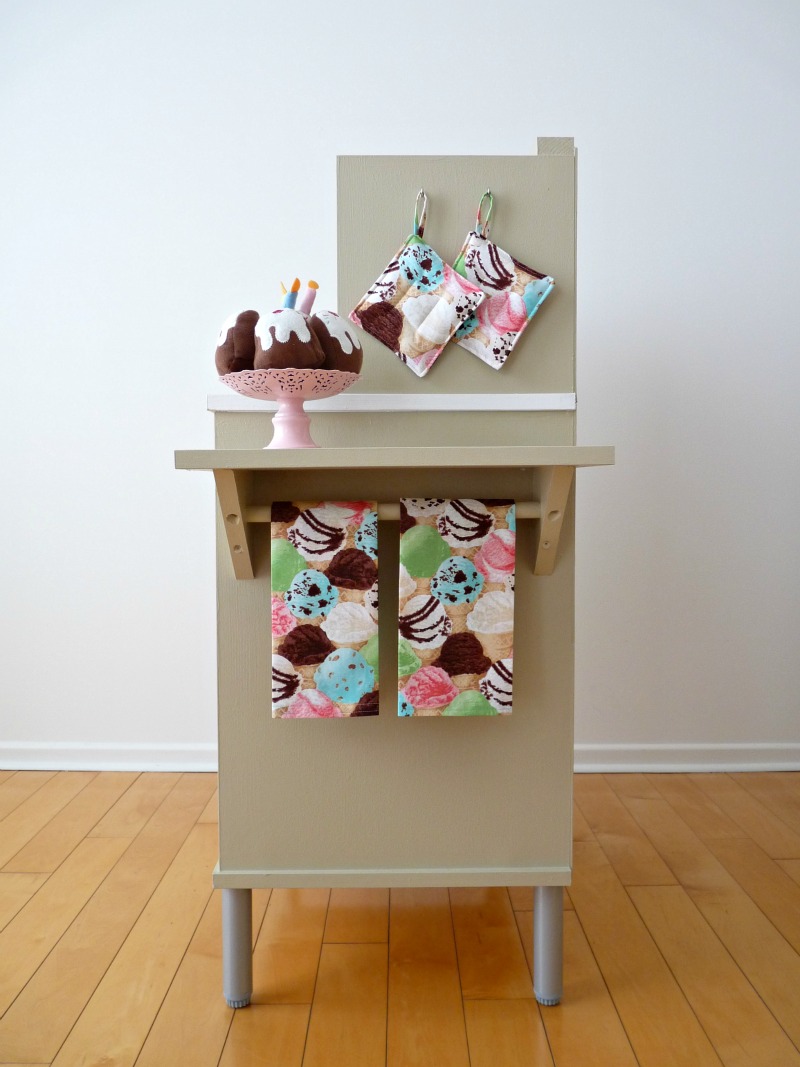
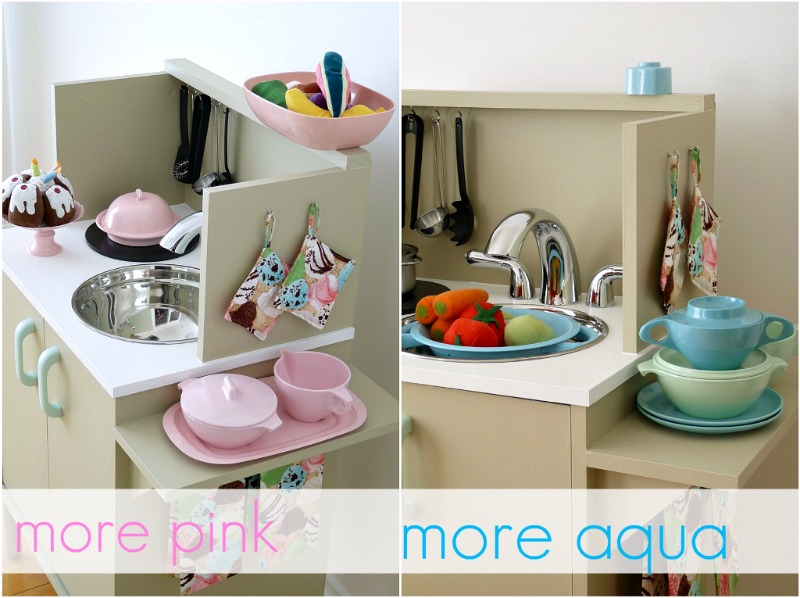
in the past. She has some awesome DIY skills and talent. She recently made a play kitchen for her little cousin. This is one of the sweetest hand made gifts ever!
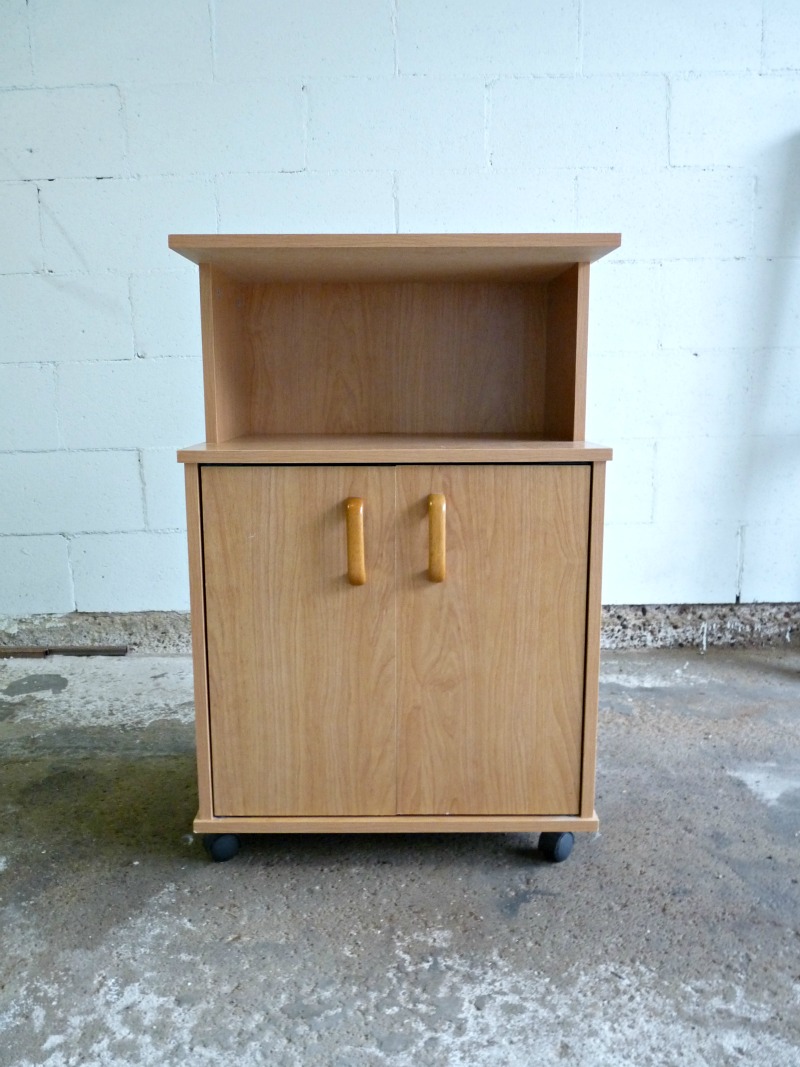
Before:

microwave cart


See full tutorial at DIY Play Kitchen Reveal.

Awesome after photos:

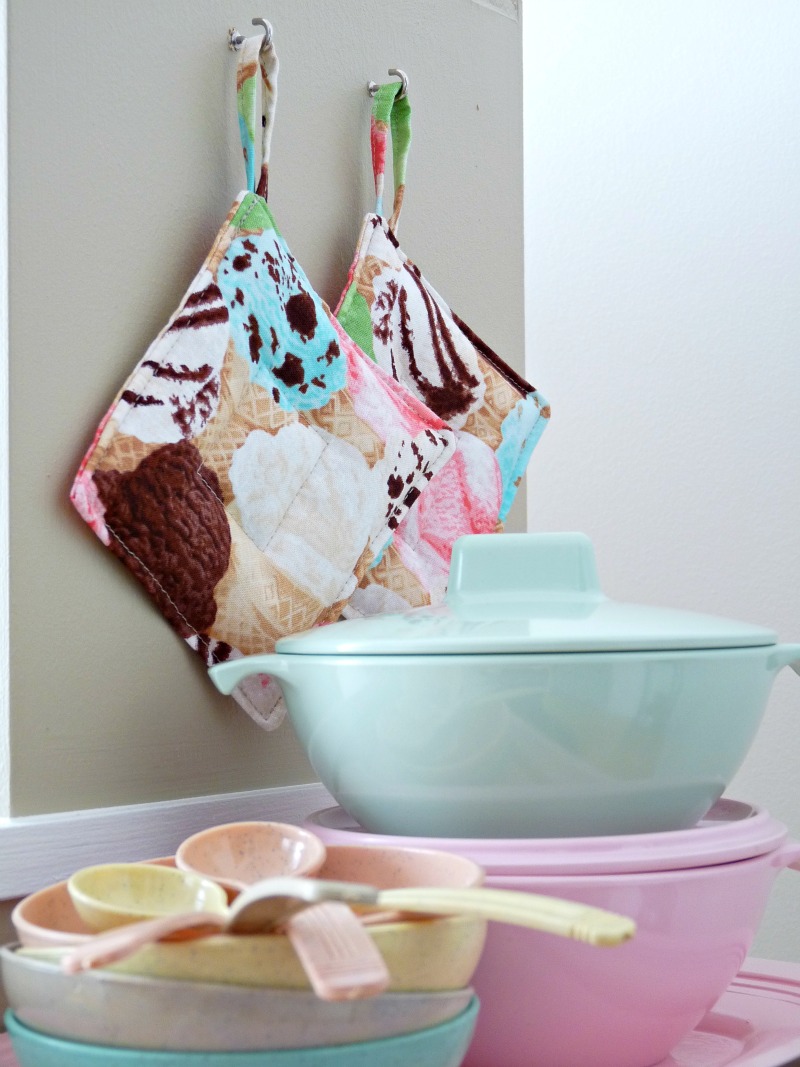
kids pot holders
DIY play kitchen 
DIY play kitchen from microwave cart
DIY kids kitchen
One more before and after:
old microwave cart, cheap furniture
Before
diy cute play kitchen
After
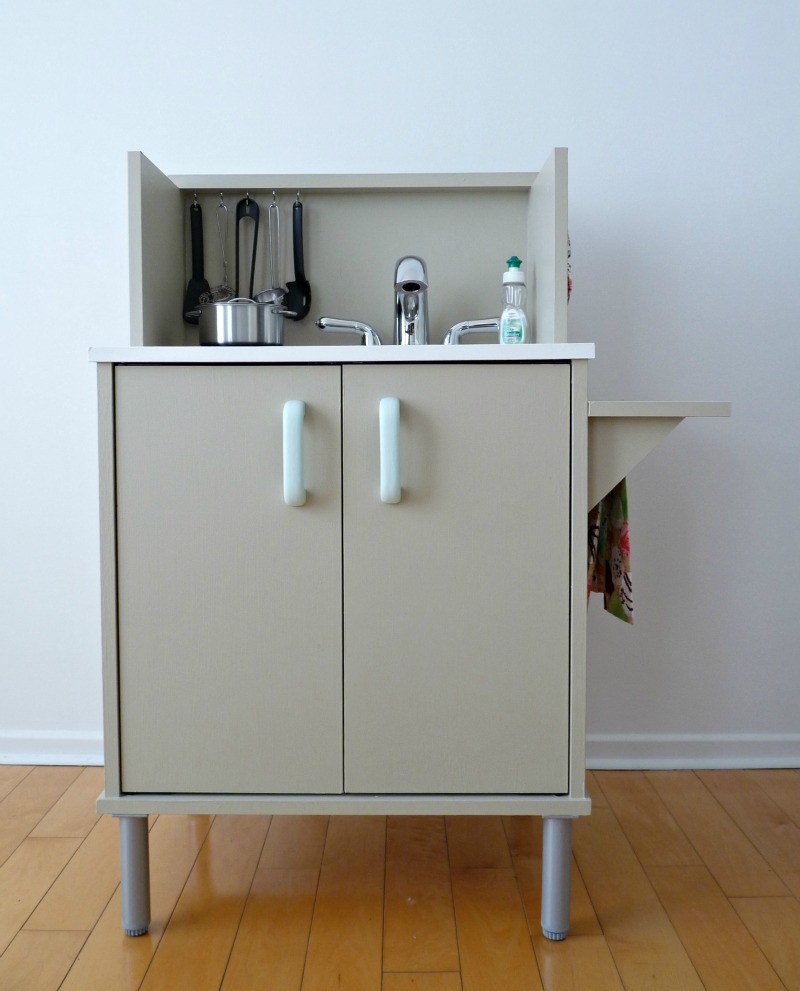
Super sweet! I want to play! Look how real, even down to the dish soap…
DIY play sink

I am so smitten with this kitchen and all of that fun food and accessories!

diy play kitchen
play kitchen, DIY
do-it-yourself play kitchen
I want the accessories for my real grown up kitchen. Adorable!
play kitchen
diy play kitchen
diy play kitchen
play kitchen
Cost breakdown (not including applicable taxes):
  • Microwave stand: $6.99 (included cute, wooden handles that I painted)
  • Faucet: $15.00 (with a bit of negotiating, bought from kijiji.ca)
  • “Sink”: $3.99 (it’s actually a stainless mixing bowl from the thrift store)
  • “Element”: $1.25 (a cork trivet from dollarama)
  • Wood for shelf brackets + dowel: $5.00
  • Primer & paint: leftovers
  • Legs: Free! (Mom had them lying around)

Total kitchen cost, having paid the tax man (but minus accessories):  $34.65 

LInks to the DIY accessories:

Tanya! You’re the best cousin ever! This is just so sweet, so amazing. I love it!  Thank you so much for sharing. I definitely need to add this to my DIY list for my nephew’s 3rd birthday. I love that you kept things neutral and included a set of ‘boyish’ accessories too…

diy play kitchen

I love ALL of Tanya’s DIY. She is super talented. Please visit her at

Dans le Towhouse blog

to pin from the original source and see MORE great DIY ideas!