I’ve been working hard on a project this past week in hopes of sharing it today. However, it’s not quite yet done so stay tuned {hopefully} Monday to see my guest room double as my dressing room along with a fun giveaway! {EDIT: Dressing Room/Closet Organization post here:} If I survive, that is. I must be using muscles I don’t normally use to drill into the studs and to screw into to studs and I am out of shape sore!
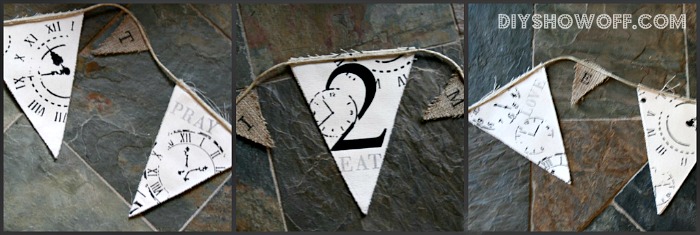
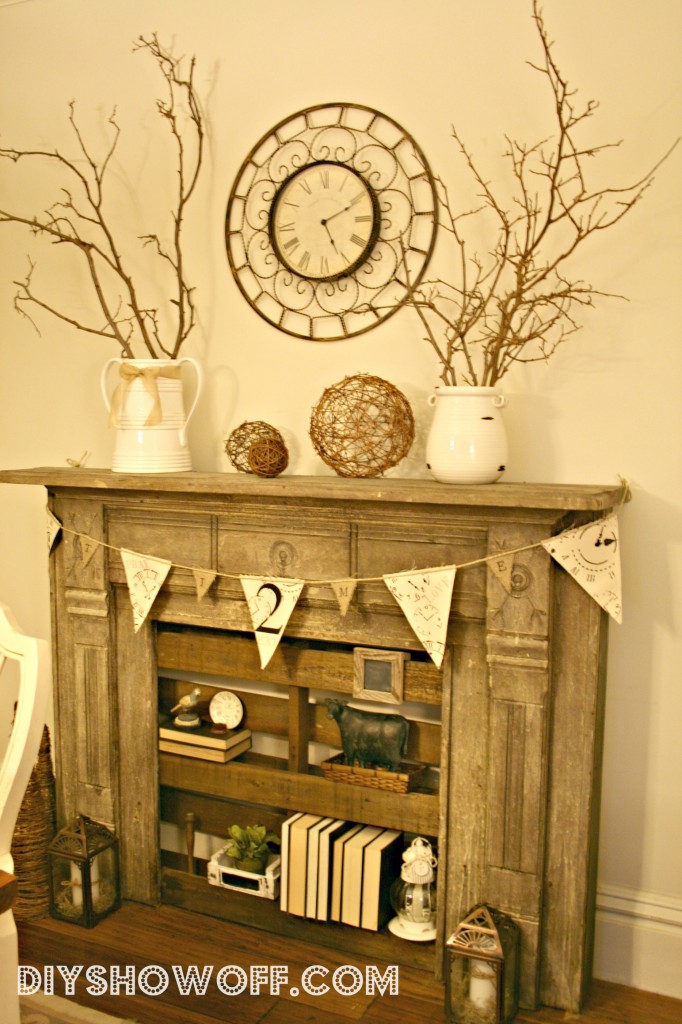
So, today I’m sharing the banner I made a few weeks ago and posted at the DIY Club. A banner for our dining room mantel – Time to pray, eat & love…

Materials:
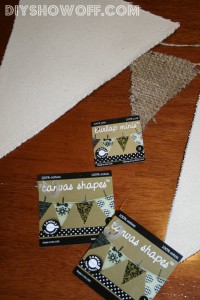
- Canvas Corp. Burlap Minis {4}
- Canvas Corp. Canvas Shapes {5}
- Deco Art Americana {black}
- Deco Art Number Stencils
- Clock Stencils {from scrapbooking store}
- Foam brush {Rockler}
- Sharpie permanent marker or fabric Stain marker {black}
- Twine
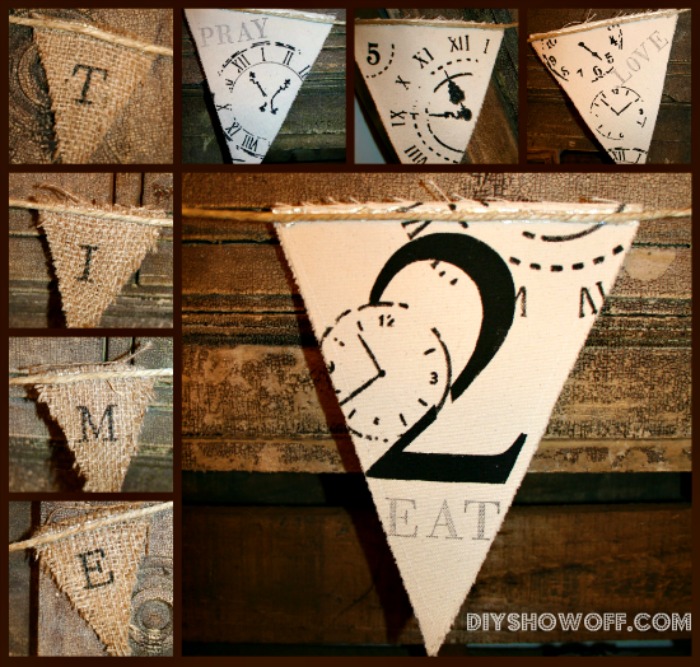
1. On the four Canvas Corp. burlap minis, I wrote “T”, “I”, “M”, “E”.
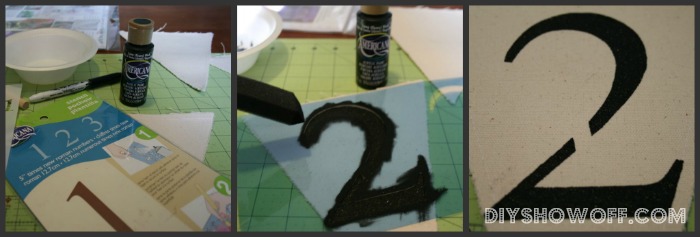
2. Using a foam brush with Deco Art Americana in black stencil directly onto Canvas Corp. canvas shapes (triangles). I used Deco Art’s number stencils number “2” (love these stencils 0-9. They’re a great size and are going to get so much use!) and various clock stencils.
3. I stamped the words “love”, “eat” and “pray” on a three out of the five canvas shapes.
4. I laid out my five canvas shapes with “love”, “eat {2}” and “pray” as the center three. In between, I used the four burlap minis spelling “t-i-m-e”.
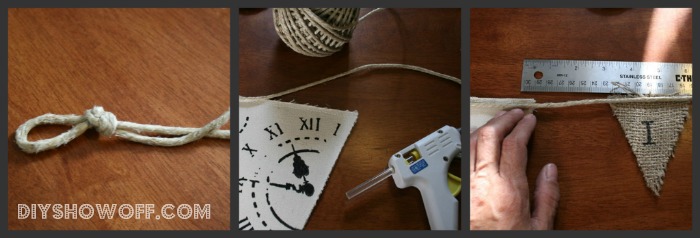
5. Using hot glue, I attached each banner triangle to twine, measuring a distance of 3 inches between each and tying a loop for hanging on the ends.
Each banner triangle has it’s own character…
Decorative reminder for dinner time to “pray, eat & love”.
Let’s see what you’ve been up to!




thanks for hosting! love your banner! 🙂
Love your banner, such a clever subtle way to add your message, too. Thanks for hosting the party. 🙂
So cute Roeshell! You can make me one if you want…;) Can’t wait to see the project reveal!
Heather
I love everything you make, they remind of things I see in magazines. Thank you for all the inspiration and for hosting.
I love how the typography came out on the banner. Great job!
Thanks SO MUCH for hosting!!! XO, Aimee
Thanks SO MUCH for hosting!!! XO, Aimee
your bunting turned out great! thanks for hosting
The banner is fantastic! Thanks for hosting…
Pingback: Connect the Dots | Felt So Cute
Your banner looks awesome! You’re the most creative one and thank you for hosting your fun party.
Be a sweetie,
Shelia 😉
Your banner looks awesome! You’re the most creative one and thank you for hosting your fun party.
Be a sweetie,
Shelia 😉
Hey Roeshel – Is that a pallet in your fireplace surround? Love it! Do you have it posted somewhere here on the blog?
Michael
Hi Michael! Thanks! Yes – I think it was last week’s DIY Project Parade that I shared about the pallet in the fireplace hole. Although there wasn’t much DIY about it – it’s just placed there and acting as shelving. That ‘hole’ bothered me for the longest time. I LOVE the pallet there too! 🙂
Happy Monday morning to you! My Springy, Silky Scarf Shirt. It’s easy to make, fun to wear and looks good on everyone.Thanks for hosting the party once again. Have a great week!
Rebekah-www.potholesandpantyhose.com
Thanks for the party! It’s so fun to get inspiration – especially right around Valentine’s Day! 🙂
Thank you for hosting Roeshel! I love the banner on your mantel, the neutral colors are fantastic. Can’t wait to check out some of the other links!
That is the cutest banner – thanks for sharing! Just linked up a couple Valentine projects!
Kelly
Love the banner, Roeshel! And…your fireplace, too! Thanks for hosting!…hugs…Debbie
Pingback: DIY Project Parade Highlights | DIY Show Off