In honor of the
Silhouette Giveaway, I’ve been using my Silhouette machine like crazy. You’d do the same! I know it! I’d say one of the best things about cutting vinyl is the ability to label things. I imagine my entire house will be organized and labeled before the end of the week.
Please bear with me as I post a few Silhouette tutorials for those looking for tips.
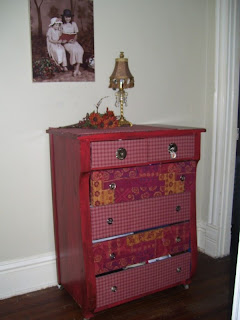
We have a dresser in our upstairs hall that holds an extra supply of toiletries and towels. I gave the dresser a makeover a little over a year ago (
dresser/stairway/hall makeover). But being upstairs in the hallway, I love that I can get a little whimsical with it so I decided to label the drawers. Makes it a lot easier for our family to know exactly which drawer to open and serves as a reminder to where extra supplies are (no more yelling where the toilet paper, soap or clean towels are).
Here is how creating vinyl labels works for me:
Open the Silhouette software. On the left is a ‘text button’ (the letter “A” in a box). Click that and type out the labels. To the right are the font and size options. (Click pictures to enlarge.)
Make sure everything fits within the red cutting area. Click the “send to Silhouette” button on the upper left task bar. On this page, I change settings according to the vinyl packaging (speed and thickness).
Insert vinyl shiny side up and press “enter” to feed. I find that trying to flatten the “rolled” vinyl works best in helping to keep the machine from peeling up vinyl as it cuts. Use the blue cutting tip.
Click “Cut Page” – let the Silhouette work it’s magic!
Press “enter” on the Silhouette machine to unload vinyl. Cut the project off of the roll of vinyl.
Peel away the unused part of the vinyl.
I use my fingernail to peel away the extra vinyl inside of the letters where needed.
You could finish here and peel the vinyl like you would stickers, but the next steps help to keep everything aligned and evenly spaced when applying.
Cut transfer paper the same size as the page of vinyl.
Peel away the grid backing…
Place transfer paper over vinyl lettering. Smooth and rub.
Cut apart words if needed and trim a little.
Rub the transfer paper side with a credit card to transfer the vinyl from the blue wax paper side to the thin transfer paper.
Peel off the transfer paper. If the vinyl isn’t sticking to the thin transfer paper, put it back together and rub then try again.
I placed the transfer sticky side down where I wanted the label.
Using the credit card, rub the transfer paper in place.
Peel away the transfer paper.
That’s it. The more you do it, the better and quicker it goes! Hope this helps. If you don’t have a Silhouette, ordering from custom vinyl cutters these places will achieve the same results!
Here is the dresser way before:
before:
NOW:
(Please pardon the blurriness. Multi-tasking going on during project and photography.)
Looks like I have a diva on my hands too!


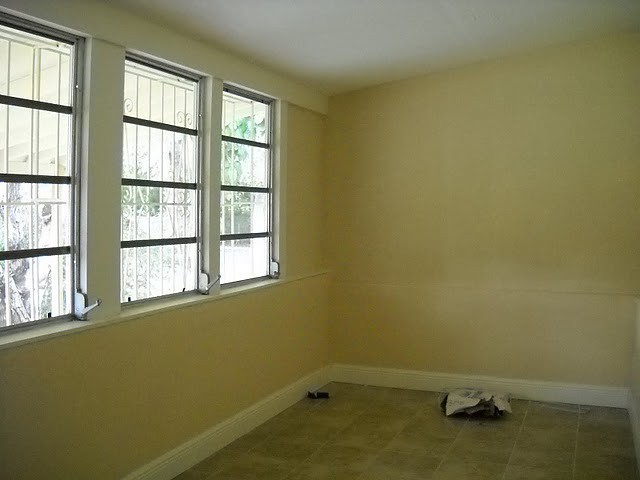

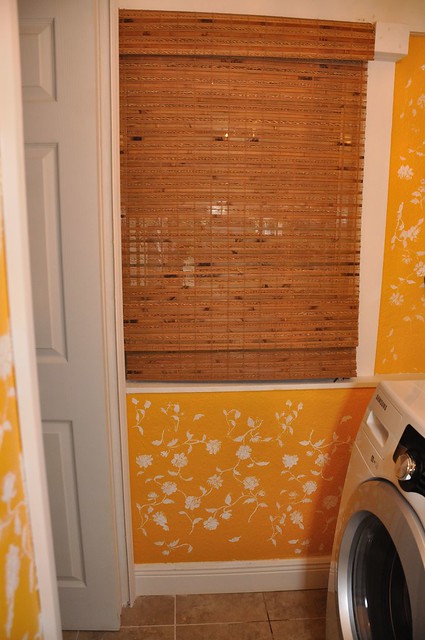
 The paint is (290B-6) Squash by Behr.