We have this little step stool that we use to reach higher cupboards in the kitchen or quickly sit to put shoes on. It’s sort of boring…
Always looking for a way to spruce things up and a fun DIY project, I decided to give it a little makeover. I love the MiniCards at
Moo.com. You can personalize a template or upload a complete design for both sides – so many cool uses. I think creating personalized gift tags would be cool too but I couldn’t resist this cute ready made design:
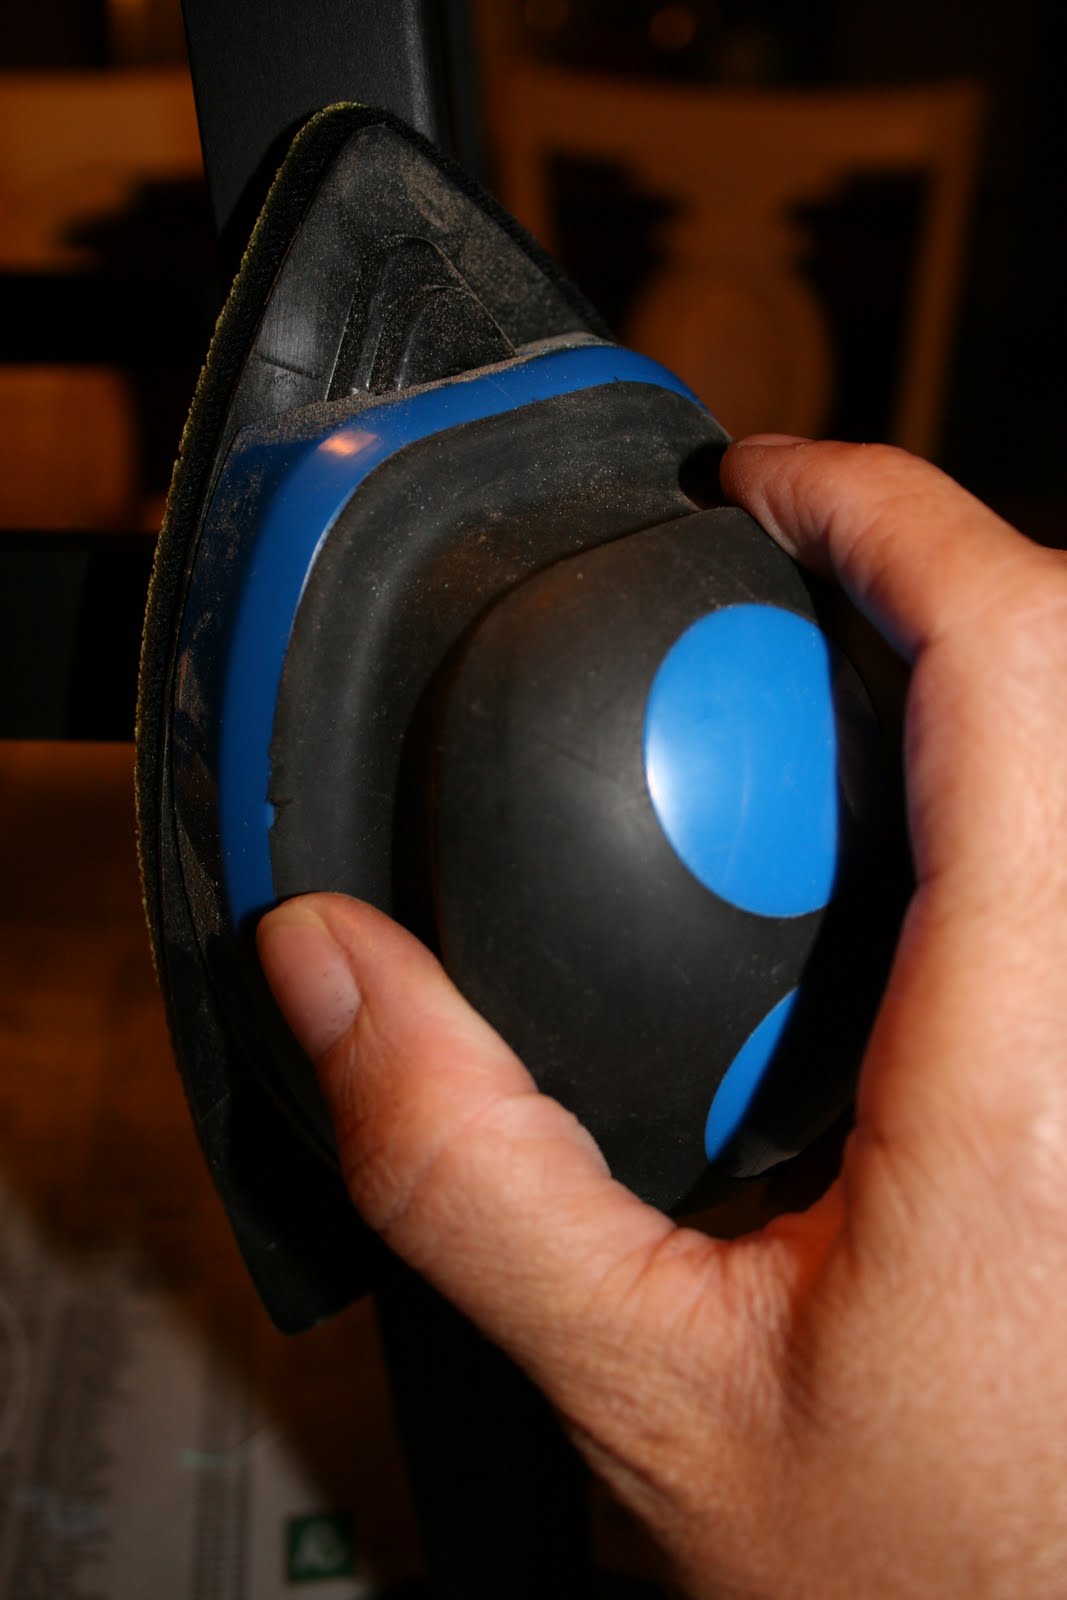
First, using my Dremel Multi-Max, I sanded the entire stool. This tool is awesome. If your projects involve a lot of sanding – this thing reaches where a palm sander can’t. See how it gets in the cut out on the top and in the corners? Love it!
Next, using
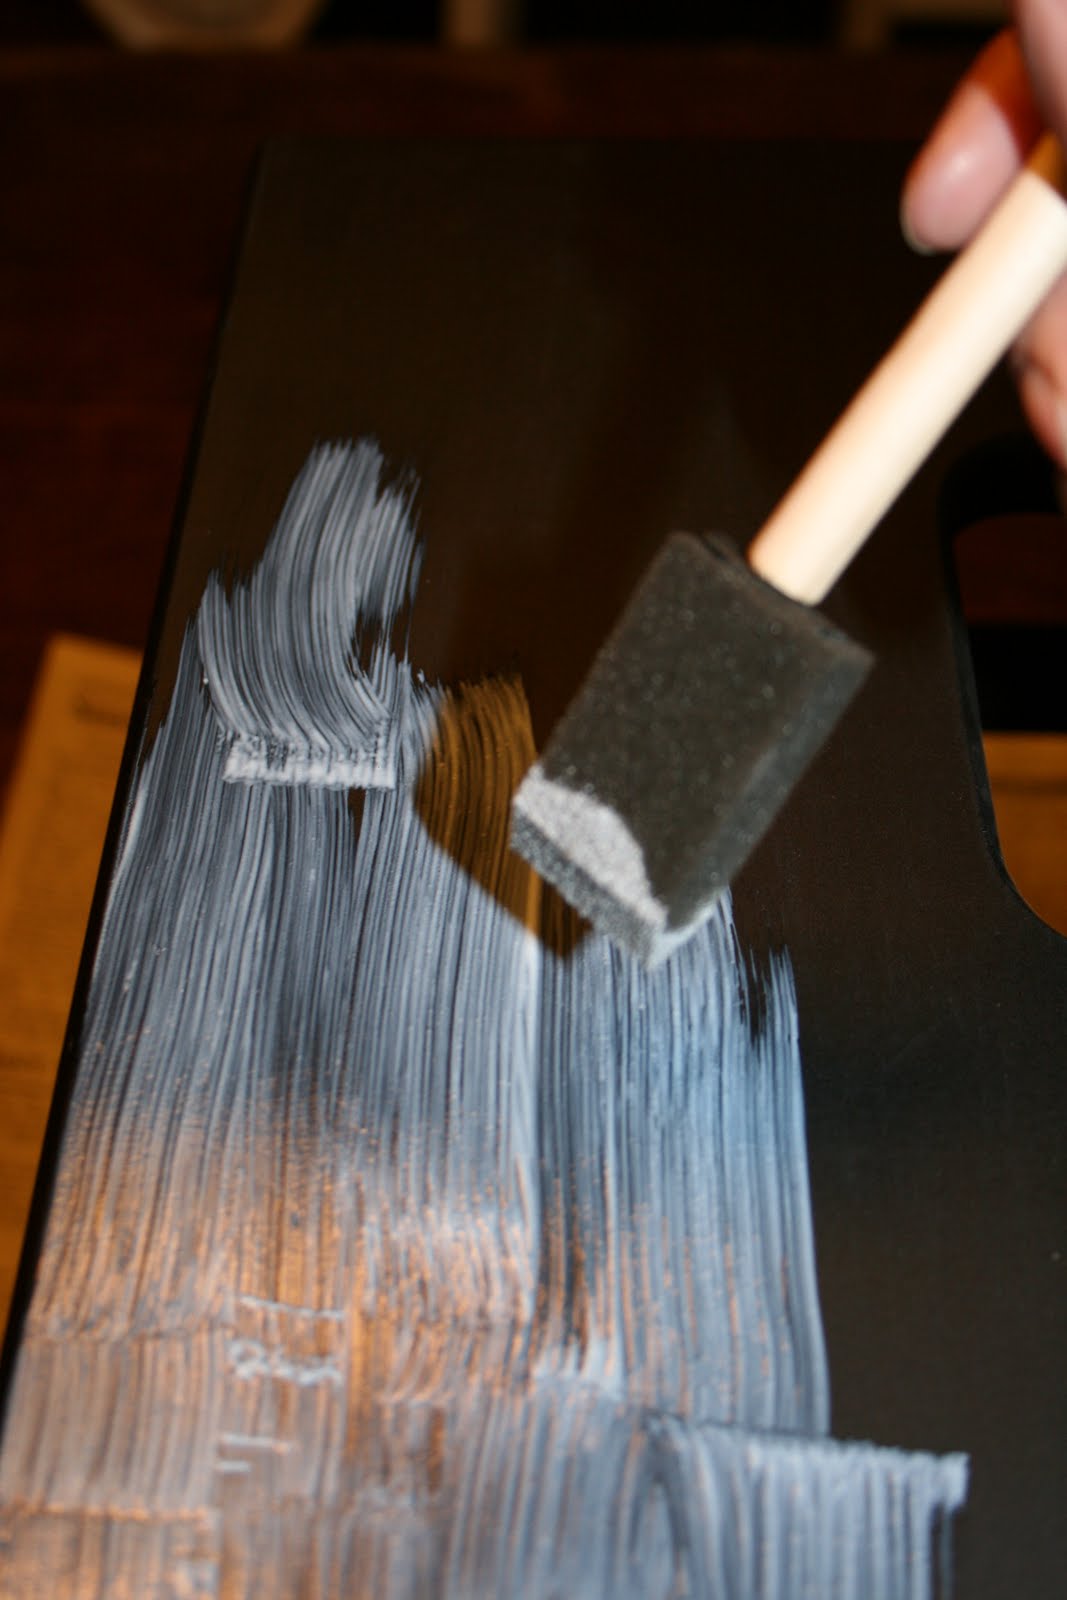
X-O Rust spray paint in flat black (available at
True Value), I gave the entire stool 2 coats. This is a Paint + Primer and the coverage was awesome! I’m sold. No clog. Even spray. I sprayed the bottom and sides first and once that was dried, flipped and sprayed the topside and where needed on the sides.
Now the fun Moo part! I first laid my Moo MiniCards in a pattern on the top. I had to trim some of them, shorten others to make it work. Then I moved the template (exactly as laid out on the stool top) onto the table.
Beginning in a corner, I began applying the Moo MiniCards, pressing down with my finger/nail until secure in the decoupage glue. Continue. The MiniCards easily slide around into place, allowing for adjusting as you go.
Once all of the cards were in place and the top was covered, I let it dry for about an hour.
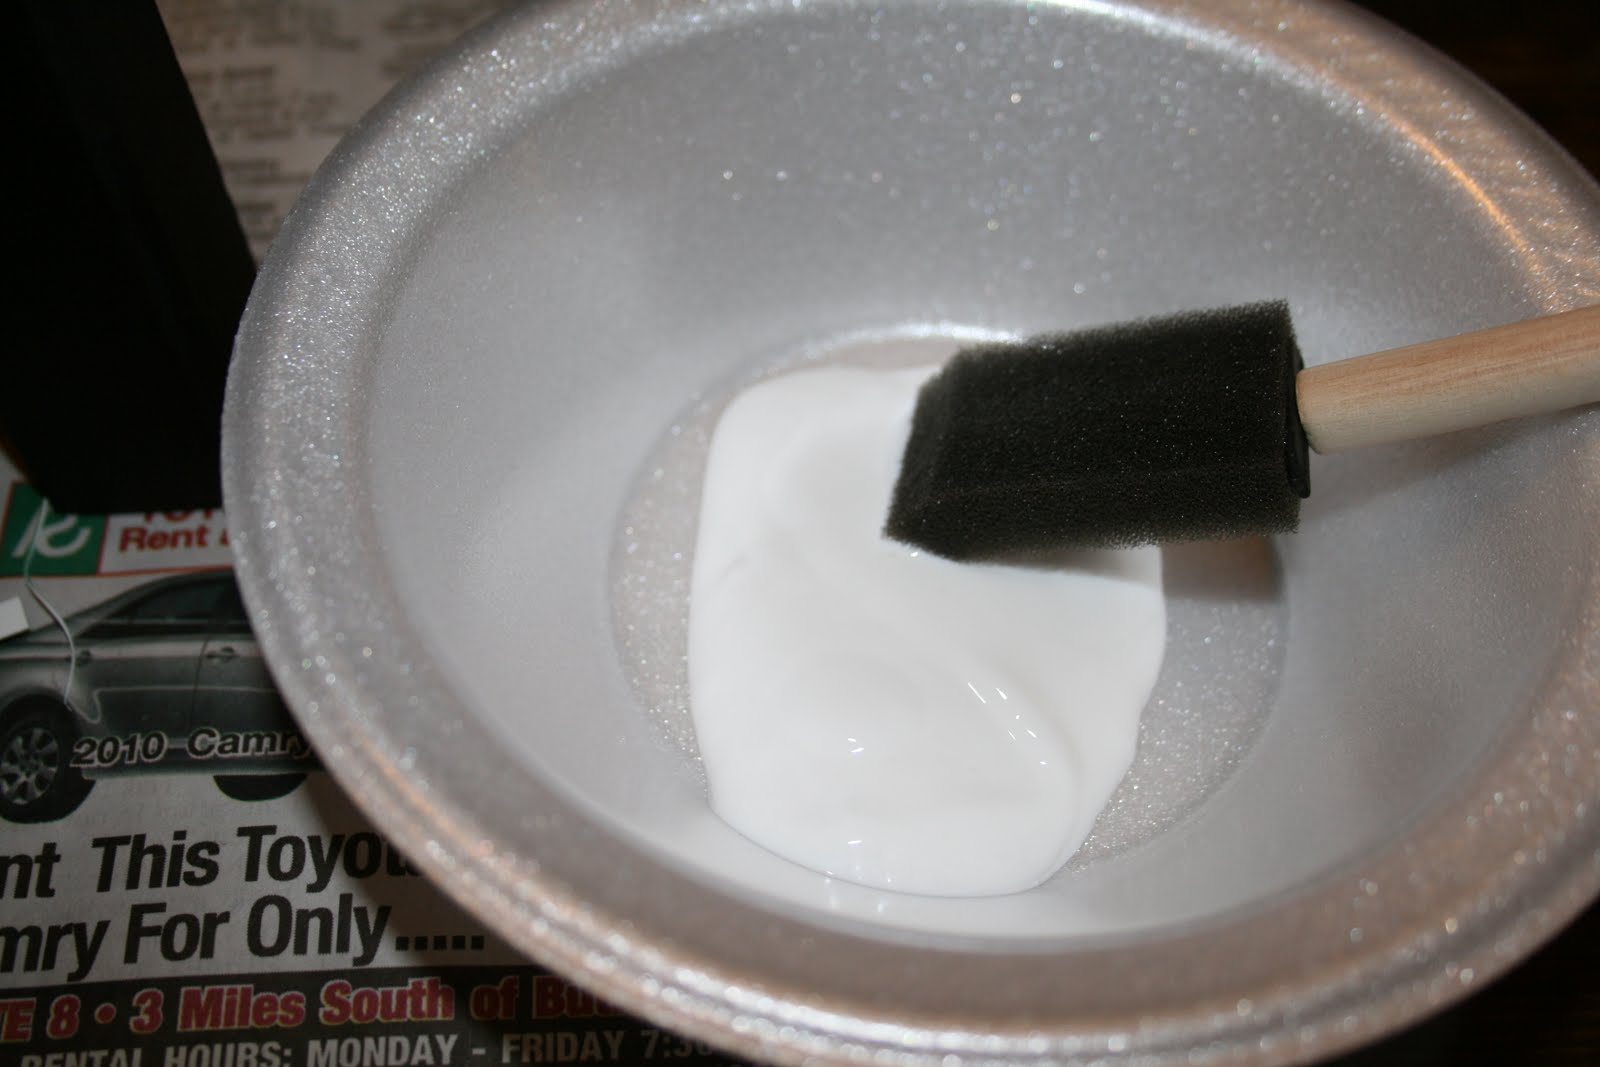
Then I covered the entire top and all of the MiniCards with a coat of decoupage glue, let dry for 1-2 hours and repeated with another coat and let that one dry over night.
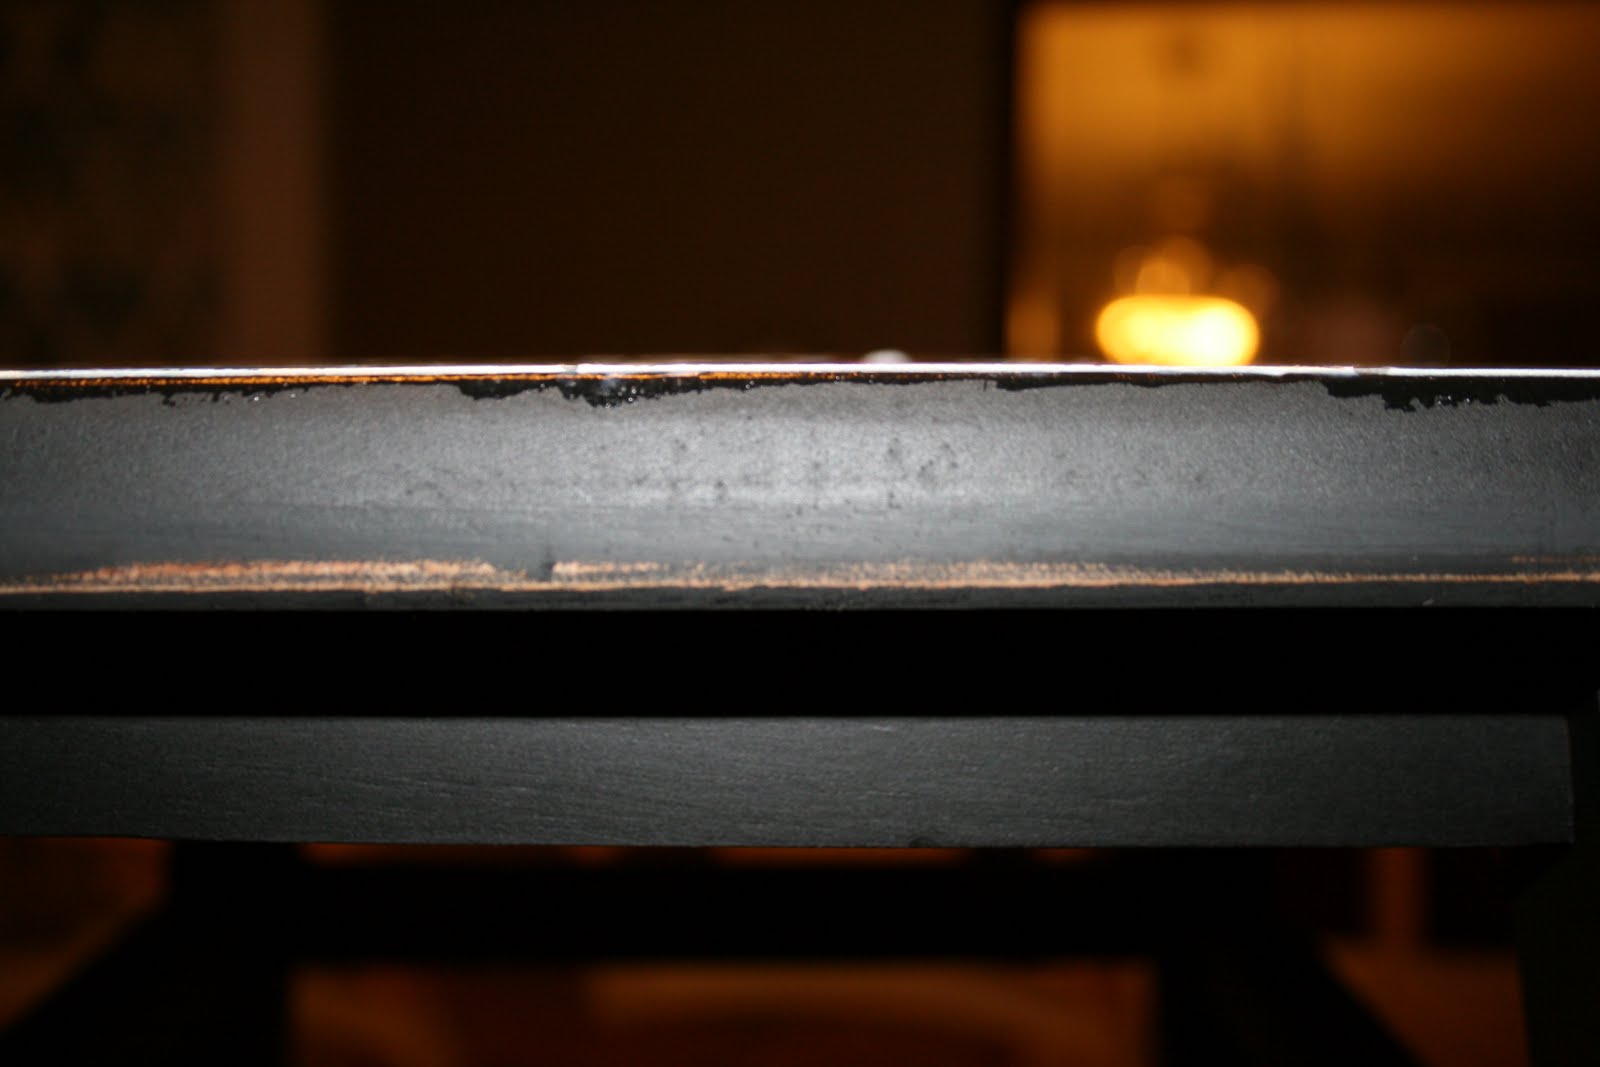
I wanted it to be a little distressed, so using my
Norton Sanding Bug, I sanded the edges of the legs and around the top:
Wipe down. Using Deft Clear Wood Finish in High Gloss, I gave it thorough spray on the bottom first, let dry, then the top and sides to help protect and seal everything:
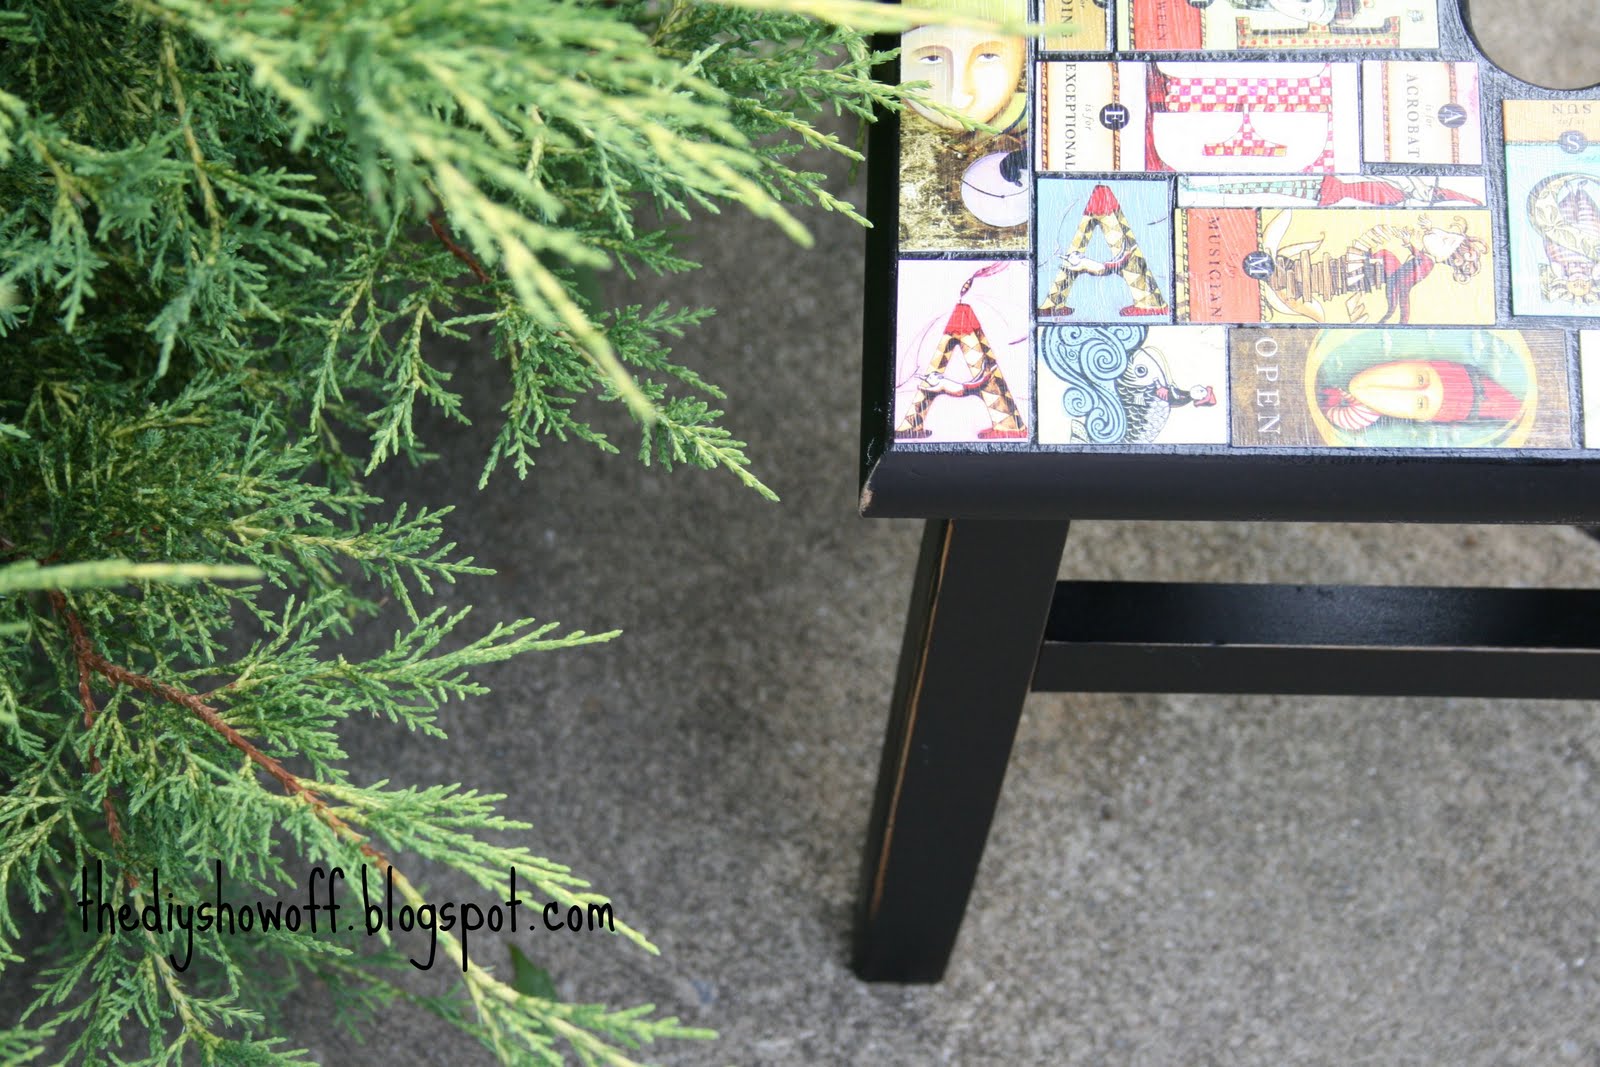
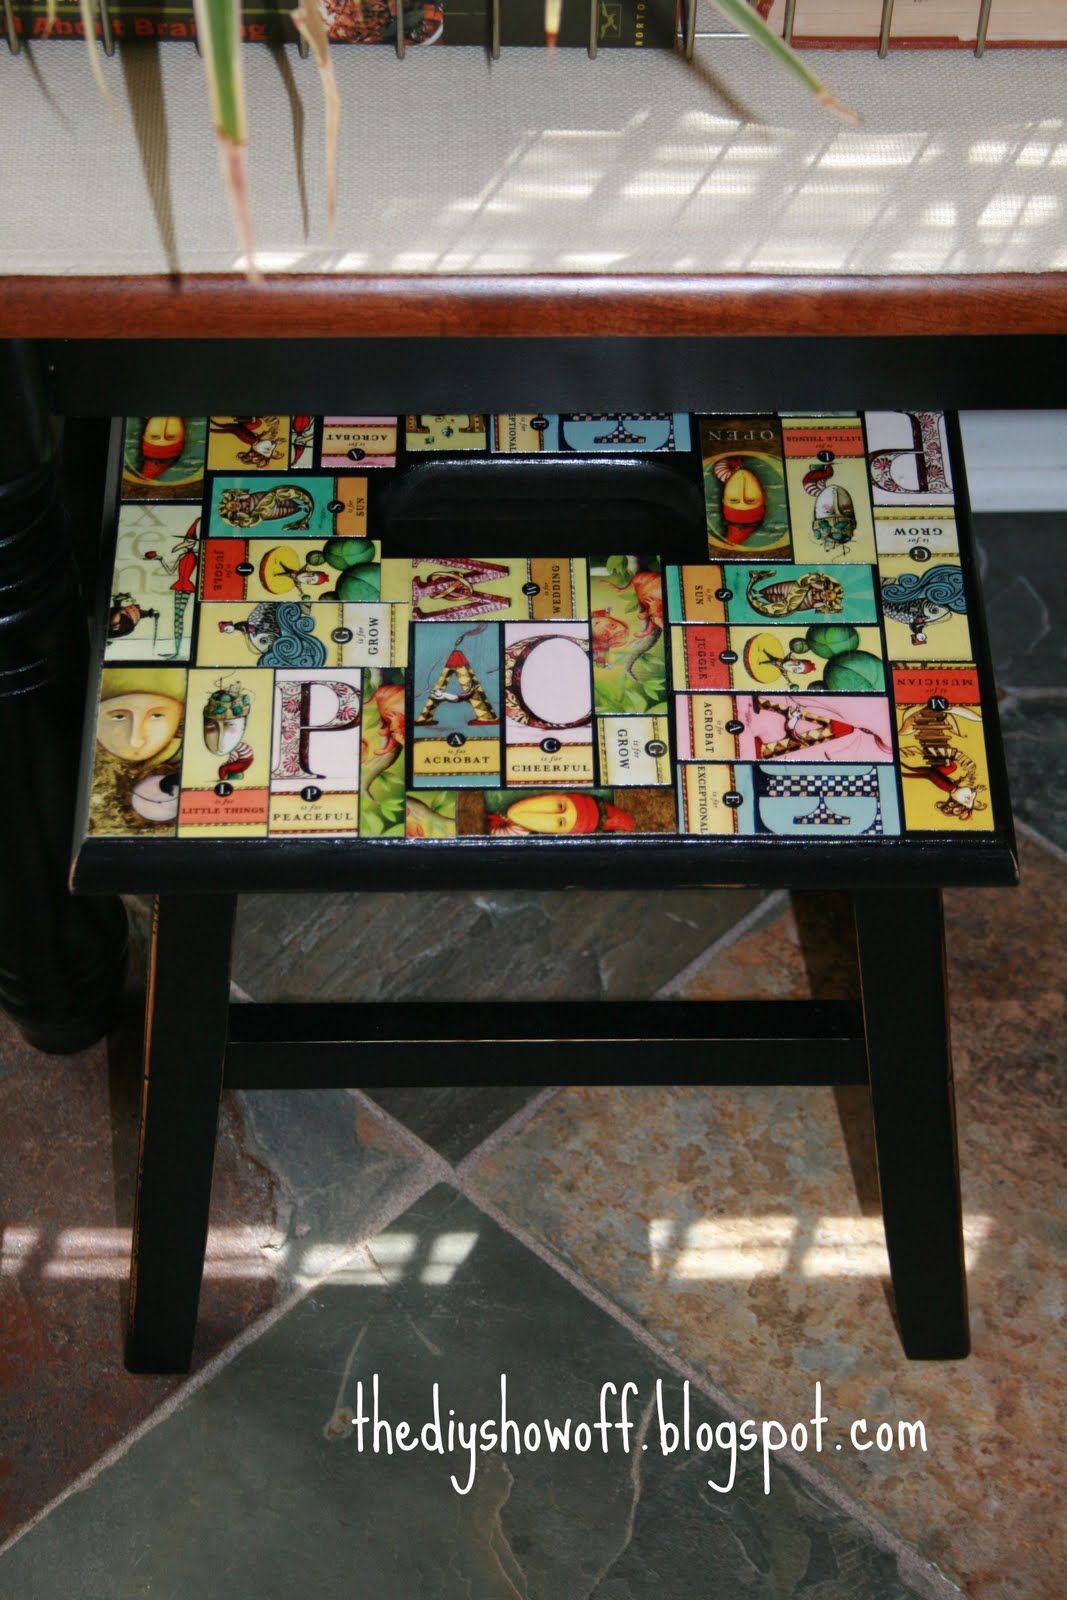
All done and we love it – Boring No More! A little character now. See the Deft High Gloss sheen? It’s really not so glossy, but just perfect.
Here it is. This would be a fun project for ‘saving’ ruined tabletops/etc. too. Or for decorating furniture for a nursery or playroom. What do you think?
Moo + stool = milking cows? We have a farmhouse but the barn is empty!
Have an idea for a project (you’d qualify to enter the DIY Club Inc. contest too!) Use your own images/designs (just upload) or choose from the huge selection of ready made.
Need more incentive? Moo is offering a 10% discount!
*~*~*~*~*~*~*~*~*~*~*~*~*~*~*~*~*~*~*~
I was one of the bloggers selected by True Value to work on the DIY Squad. I have been compensated for my time commitment to the program as well as my writing about my experience. I have also been compensated for the materials needed for my DIY project. However, my opinions are entirely my own and I have not been paid to publish positive comments.


 And here is her do a double-take reveal: