Our kitchen is undergoing a makeover and one of our goals is organizing and making the most of the space we have. Mr. DIY loves to cook and has a HUGE spice collection (this is only a small fraction of his spices) so we’ve come up with a way to make the most of wasted space. This area is still undergoing some work but I wanted to share one of the easy projects we’ve completed. We created a Spice Loft in a space that was blank and unused before. The Lazy Susans swivel, allowing for a spin and easy grab. How to reach? Well, because they swivel, Mr. DIY who is 6’2″ has no problem reaching but you can see from the picture what we have in mind. More on that coming soon!

Materials:
3 Lazy Susans (Rockler 12″ – a little overkill on the weight for this purpose but we LOVE the size and industrial look)
Screws (we used spare screws we had lying around) (12 total, 4 for each Lazy Susan)
Magnetic Spice Tins (We already had 18 Grundtal tins from Ikea but you could also add magnets to the back of favor tins found in party supply stores.)
Tools:
Drill/screwdriver
Old wrapping paper
Marker
Tape
Dry Erase Marker
Tutorial:
1. Use a piece of wrapping paper to make a template close to the size of the area/wall accommodating the spice loft and measure the center/place the Lazy Susans symmetrically and evenly spaced on the paper template.

2. Trace the Lazy Susans using a marker and mark the screw holes. The Lazy Susans have a larger hole on the front, just spin to see the small screw holes on the piece used for mounting.


3. Tape the paper template to the area where Spice Loft will be placed.

4. Drill pilot holes using the template. We drilled 4 holes for each Lazy Susan.

5. Remove paper (we didn’t do this until the end but learn by my mistake – it’s hard to remove when done!)
6. Secure the Lazy Susans to the wall with 4 screws each (depending on your wall surface, you might opt to use plastic anchors). I had Mr. DIY do this part. (Remember – you won’t have paper up still when done. I recommend taking paper down after pilot holes are drilled.)

7. Add spices to the tins (loved this part – so many good scents) and write name on front using a dry erase marker (or make a label).
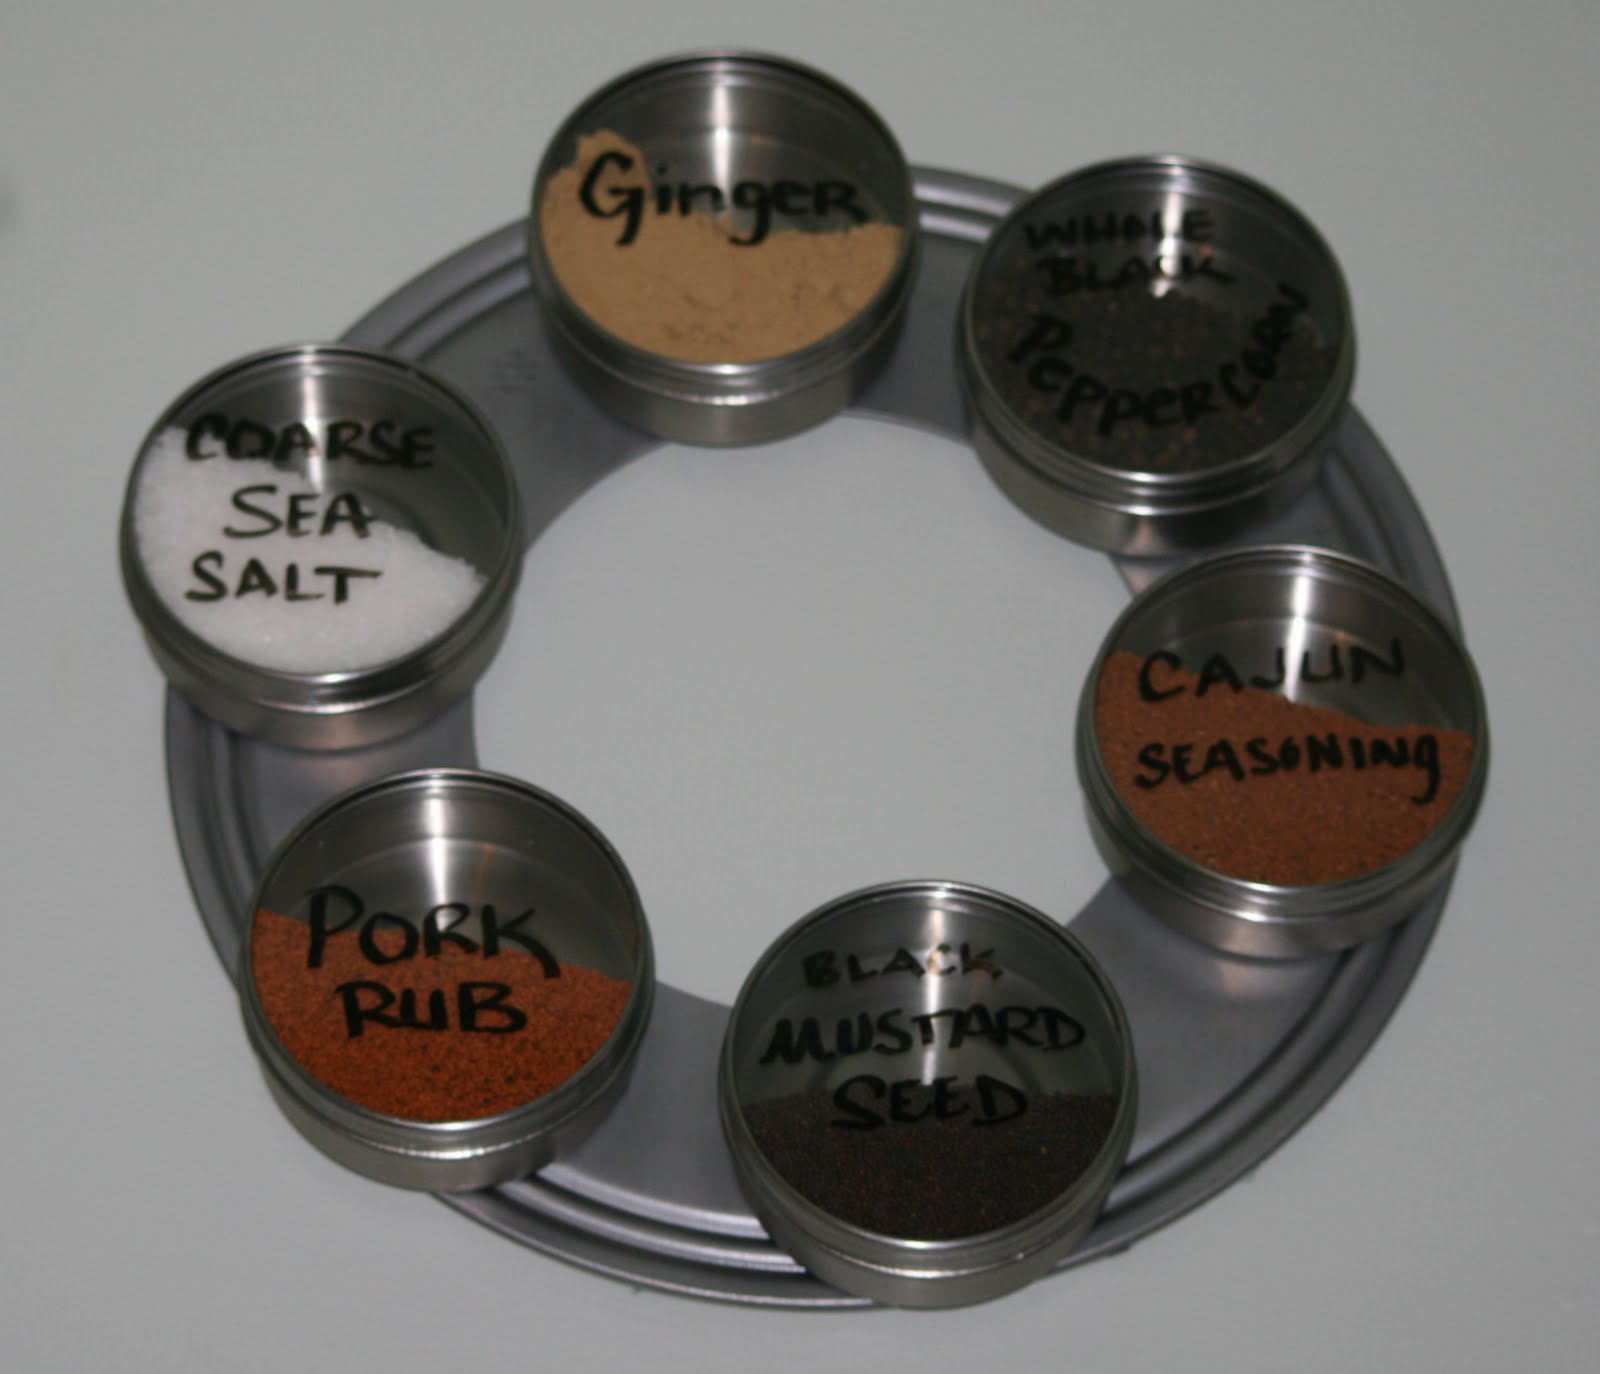


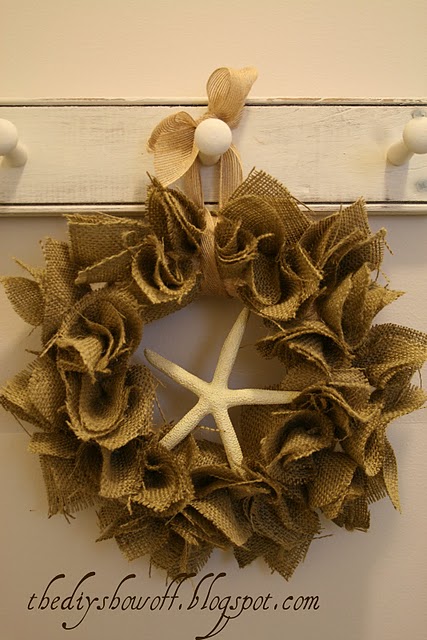
Swivel Spice Wreaths
All done! A great space saving idea that frees up much-needed cabinet storage. Also better than storing near the heat of the stove. This area of our kitchen has no lighting so it’s dark too. They look like wreaths, don’t they? I love being able to see the spice through the lid. I like that they’re not only handy and storage-saving – they’re decorative as well.
What do you think?


Thanks to Mr. DIY for his ‘muscle’ behind this project. We had to drill through drywall over plywood. It was also minutes before the football game. And he is sick. Somebody must love me. 🙂

The winner of the Delta Giveaway from last week is…
- WOW do I ever need the Addison 9192-DST in my kitchen. What a gorgeous faucet! Thanks for the party.
Congratulations gnee! Email me and I’ll put you in contact with Delta to collect your prize!
~*~*~
SHOW IT OFF! What did you DIY lately?

If you’d like to link YOUR DIY project post to The DIY Show Off Project Parade:
- You must use the button above and link to this post to share the linky love.
- Include your name or blog name and project title. Add your permalink (not your blog url, but your DIY project post url). Feel free to link a Past Post, just invite your readers in a current post with a quick note.
- Or email your link to thediyshowoff@gmail.com and I will add it for you.
- If you notice your link has disappeared – please add the link back to The DIY Show Off to your post today with a quick note to your readers about the party and try again! I love when everyone participates and readers check out everyone’s links, but I think the return favor of linking back is the nice thing to do so everyone plays fair and enjoys all of the projects and links. Also – this blog party is for DIY projects only. Links not related to DIY will be deleted.
I’m linking to Funky Junk Interiors SNS.
It’s So Very Creative.
Sunday Showcase at Under the Table and Dreaming.