


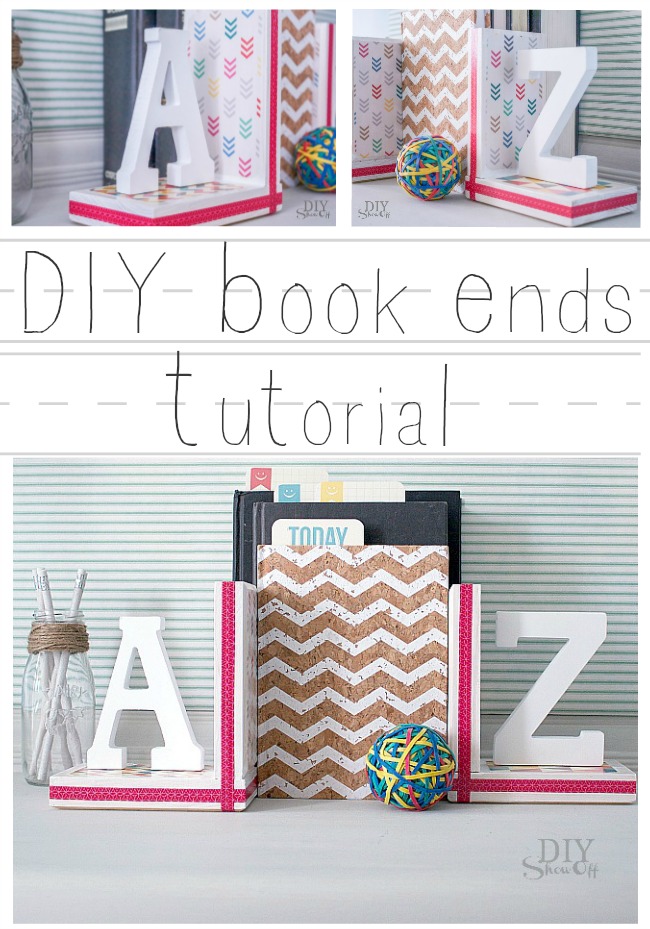
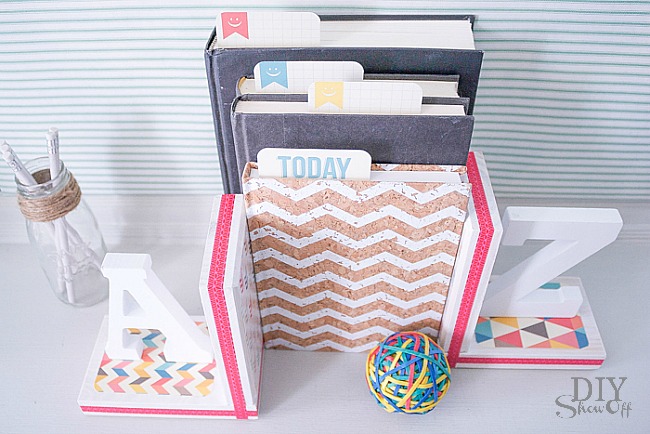
Back to school time! Time to restock the desk area for homework assignments and school projects. Add cute set of DIY book ends to perk things up.
As a part of the Michael’s Makers team, I have the opportunity to create a monthly themed project. This month’s challenge is “Back to School”. A bit of a ‘challenge’ when your nest is empty but these will work in grand-baby boy’s nursery too. 😉
What I used:
- 4 wood blocks
- wood glue and clamps
- scrapbook paper and scrapbook cards
- multi-surface acrylic craft paint and foam brush
- gloss finish decoupage and foam brush
- {thin} washi tape
- letter A
- letter Z
- hot glue gun & glue
What I did:
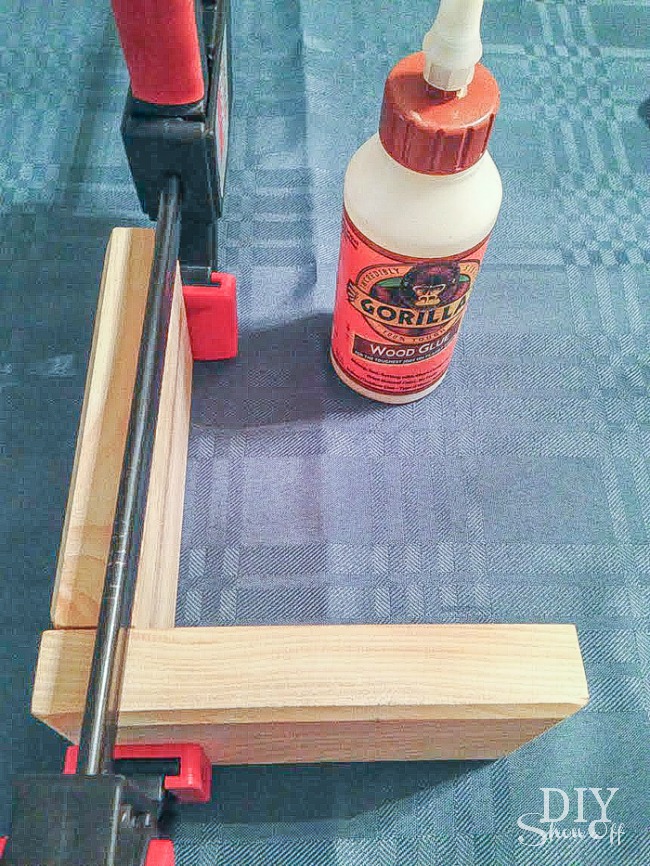
Start with applying a bead of wood glue to each block to create an “L” shape. Clamp, wipe away any excess glue and let dry.
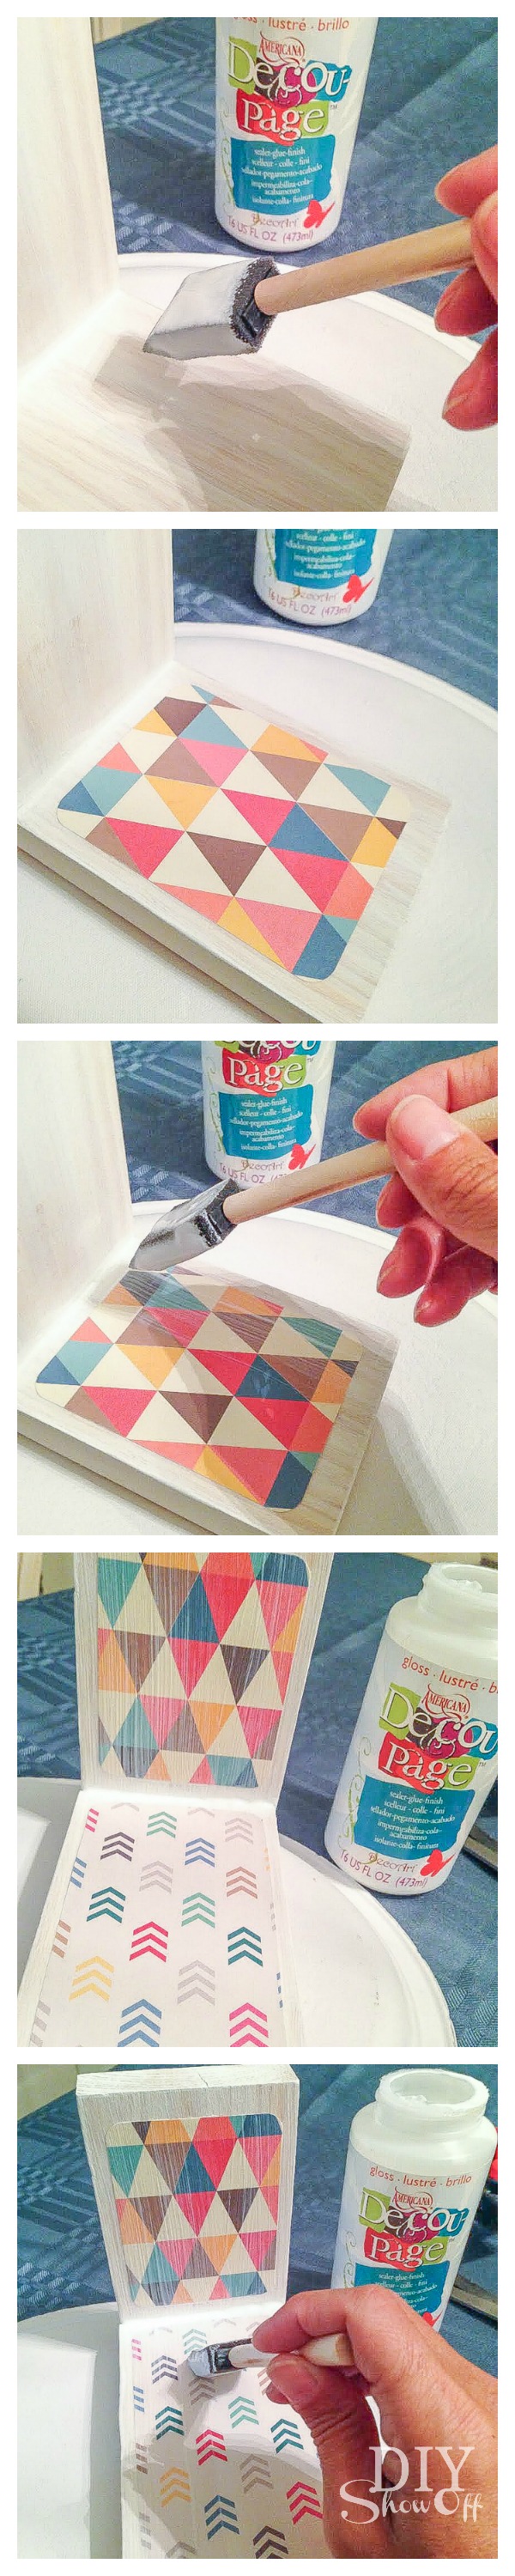
Once glue was dry, I removed the clamps and applied a ‘white wash’ look using a foam brush and multi-surface acrylic craft paint. I only applied one coat so that the wood grain still showed through. Let dry.

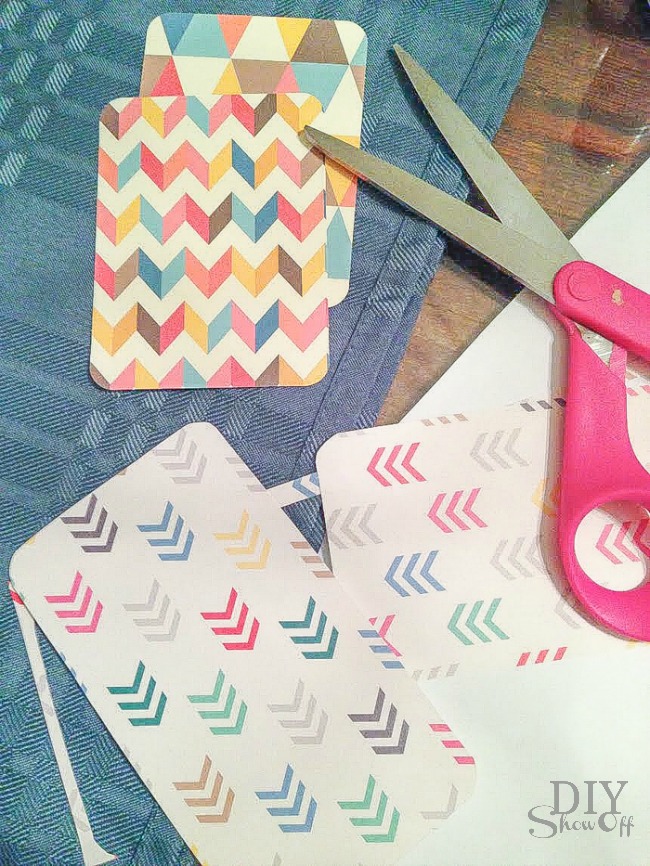
Cut scrapbook paper to size for inside of the “L” shape and the outside of the vertical wood piece. I used scrapbook paper and cute patterned scrapbook cards.
Apply a coat of decoupage to one side at a time as a glue. Place scrapbook paper onto decoupaged surface. Smooth out air bubbles. Apply another coat of decoupage over the scrapbook paper, sealing it. I brushed on the decoupage in the same direction as the wood grain. Repeat decoupage + scrapbook paper to all sides. Decoupage will go on with a ‘milky’ look but dry transparent.
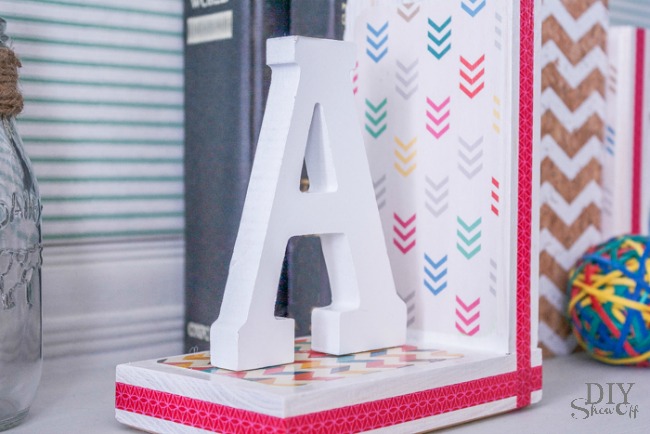
Add washi tape to sides, smooth out bubbles/make sure it’s adhered. Apply a coat of decoupage to seal. *There’s also the option to apply the decoupage before the washi tape to act as a ‘glue’.
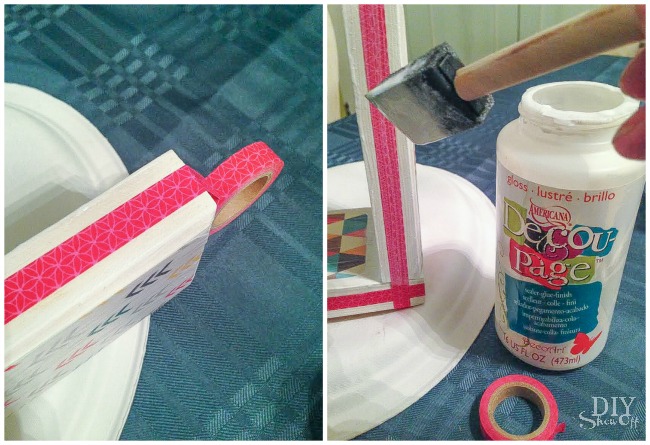
Apply a second coat of decoupage to all surfaces. I let mine dry overnight.
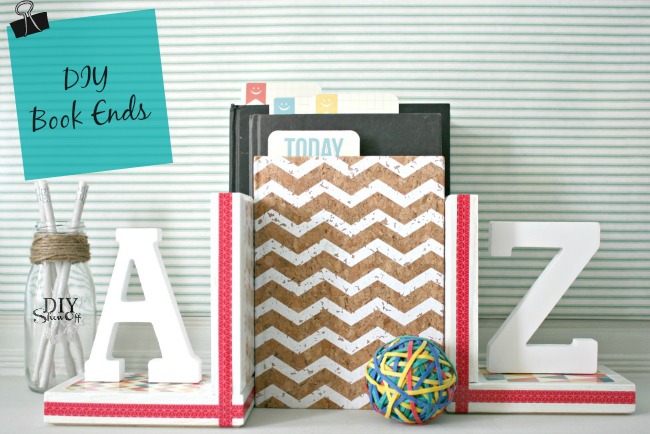
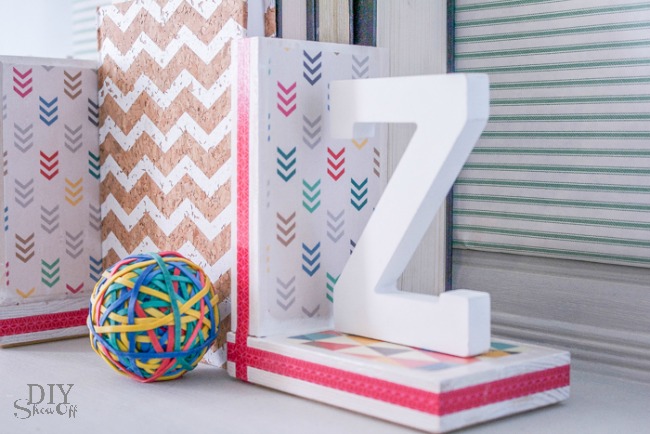
Attach wood “A” and “Z” using hot glue gun. Wouldn’t they be cute with succulent planters, plastic animals, vases, figurines instead too?
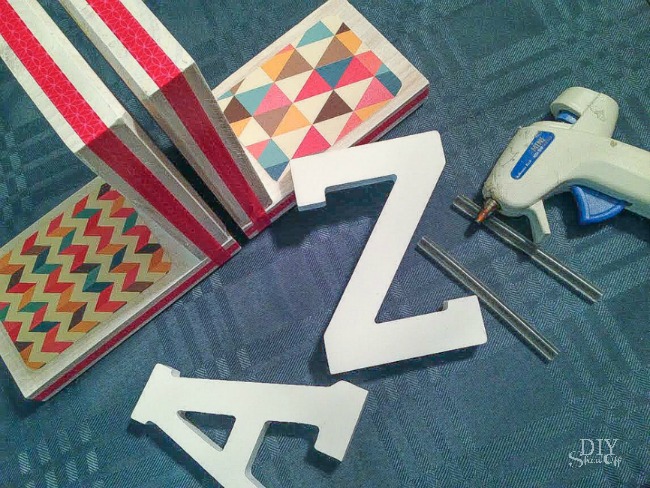
Once hot glue sets, you’re good to go!
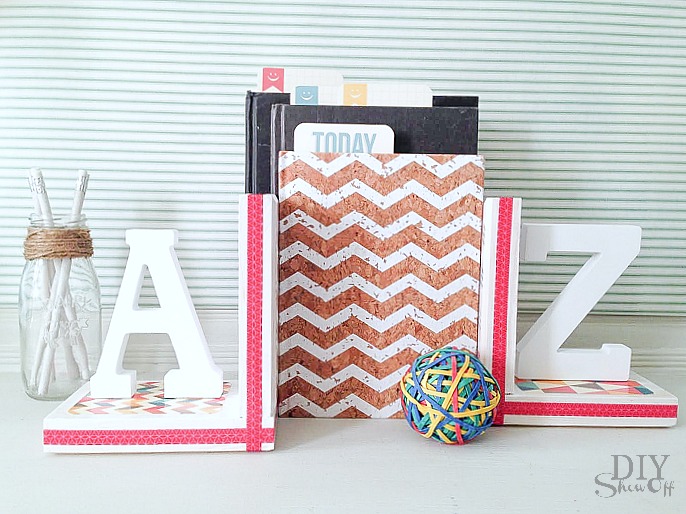
Ready for keeping school books within easy reach and an organized desk top. Useful, functional book ends that coordinate with your home office, library, reading room, craft room, nursery or homework station…love it!
See MORE ‘back to school’ crafts from these blog friends:
Teachers – It’s time to start planning for the new school year and Michaels has all of the ideas and supplies you need to create a one-of-a-kind classroom, plus you get a 15 percent discount on all classroom purchases!
In addition to the products available for teachers, parents and students can find organizational tools to keep on track throughout the year as well as project ideas to personalize school supplies
Check out Michaels’ Back to School Pinterest Board to find fun and creative project ideas to kick the year off right!
As a member of the Michael’s Makers team, I receive a gift card to complete and share fun craft challenges.
I just love this. I don’t have anywhere to put such, but what a cute gift idea. I want to make one.
Nice touch! I like the design and the ribbon, good DIY tutorial Roeshel!
hi, I am so happy to have found this as I’ve been looking for book ends for both my kids room and just can’t find what I like. I was just wondering if the wood blocks came from Michaels too? I’m pretty sure the letters are there as well as the other supplies but am not sure if they carry wood like that or if I would need to have it cut from a supply store? thanks for your help!
Hi Trish! Thanks so much! I got the wood blocks at Michael’s too! They were in the same aisle (bottom shelf) with the letters/all things wood like crates, wood discs, wood burning kit, etc. at our local store. Hope that helps! Good luck!
These are so adorable Roeshel- I love the idea of decoupaging over the washi tape to keep it all sealed!! Pinned:)
How well do these hold books in the traditional sense? I love these and would love to try making them, but all the wood I saw at Michaels is pretty light weight.
Hi Nicole! They’re holding up a line of children’s board books, 1 photo album and 1 hardback covered book without problem. 🙂 Hope that helps!