


I recently revealed our bathroom makeover…
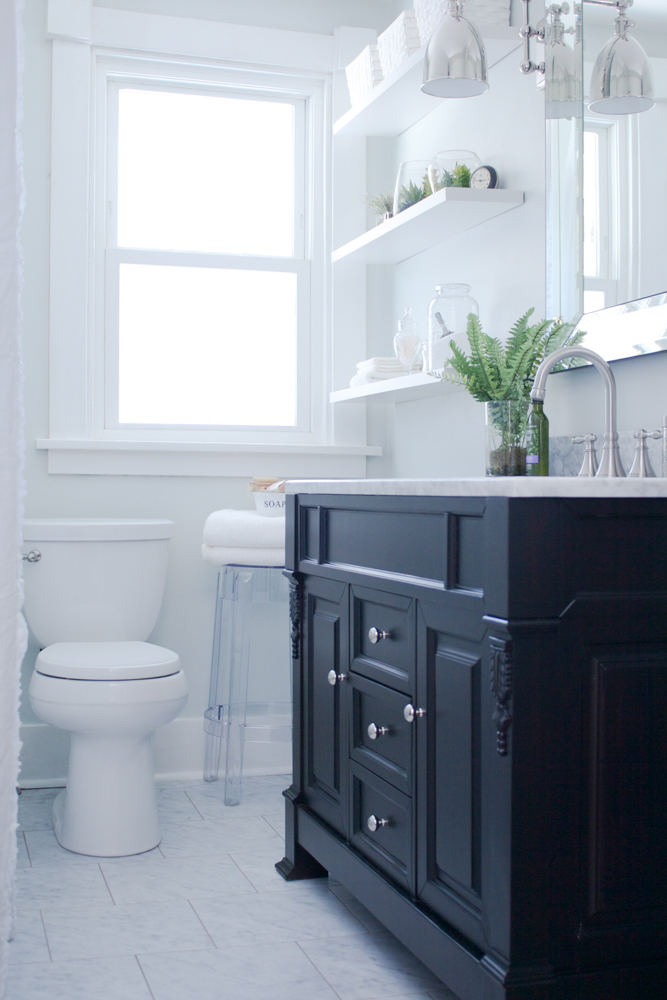
and you may have noticed that the window is bare.
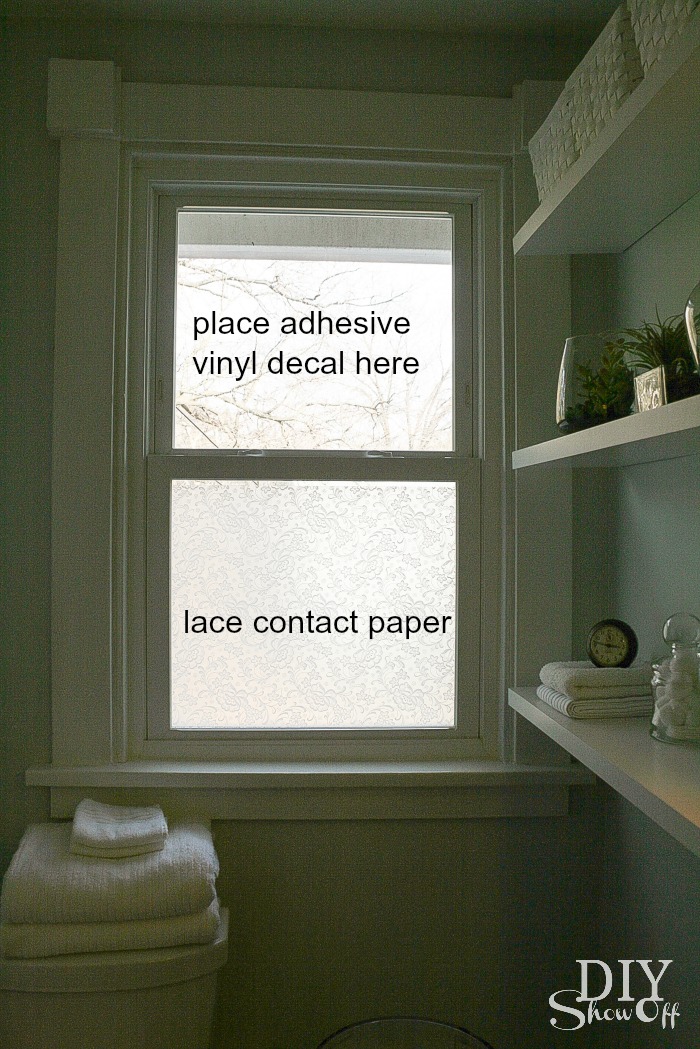
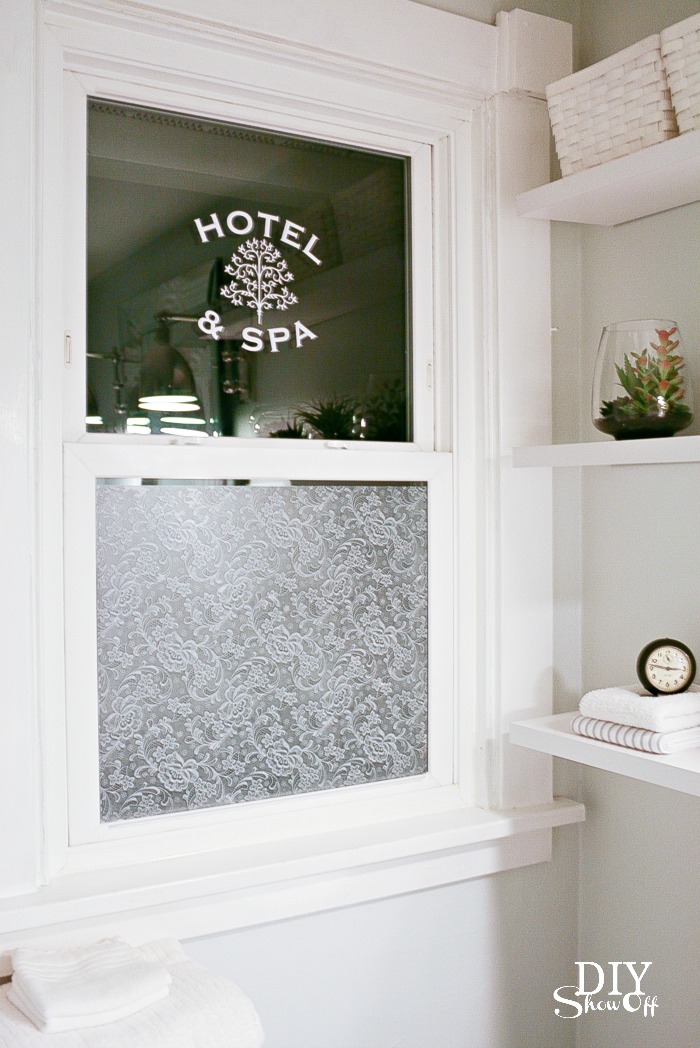
Problem: I haven’t been able to decide on curtains…the length would be awkward with placement of the toilet. I like the natural light during the day since I use this space to get ready in the mornings. But I don’t like the lack of privacy even if it is on the second floor. Pictures of the window in the day time are tricky…but here goes!
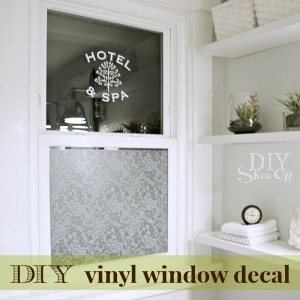
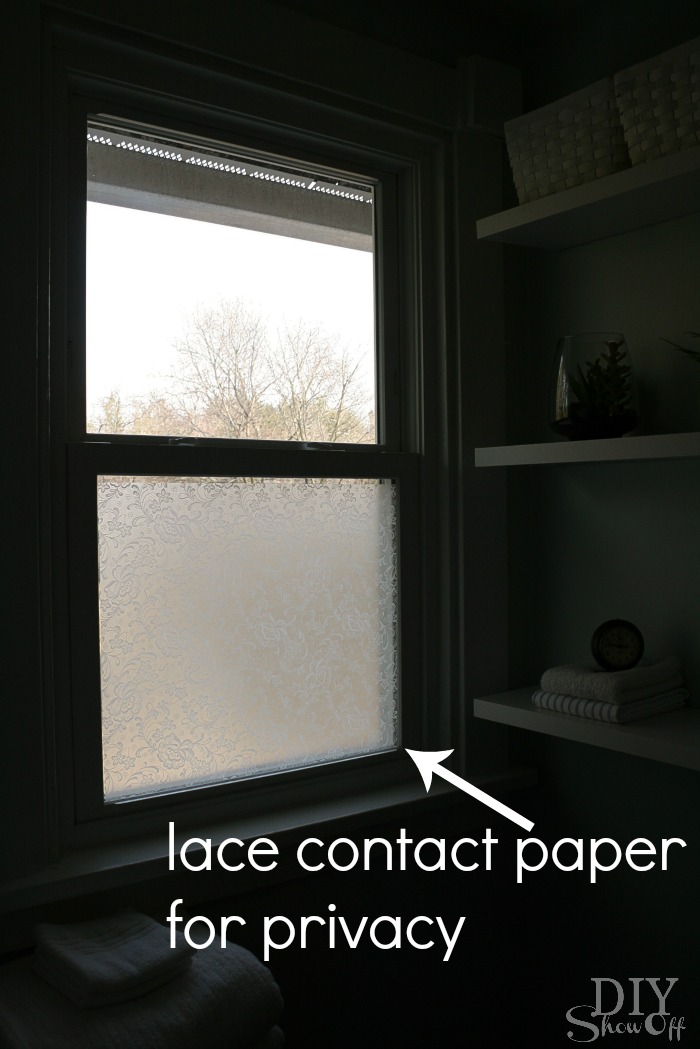
Solution: I applied a lace contact paper {affiliate link} to the bottom window which is where someone from the outside looking up from a distance would be able to see someone standing in the bathroom with the light on at night. Then I created a fun decorative vinyl decal for the top window.
Materials:
- White adhesive vinyl from Happy Crafters
- Transfer paper
Tools:
- Silhouette Cameo and Silhouette Studio Designer Software
- Scissors
- Credit/gift card for rubbing
What I did:
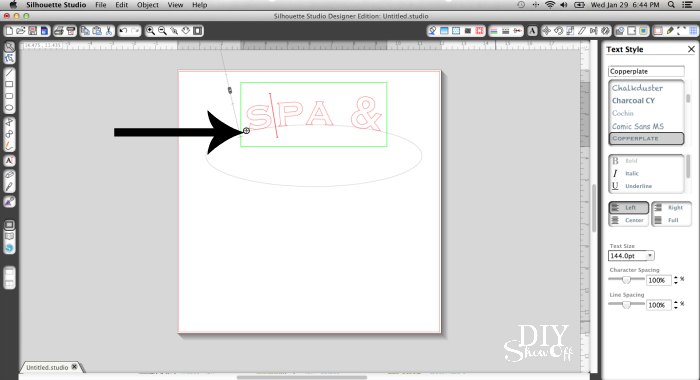
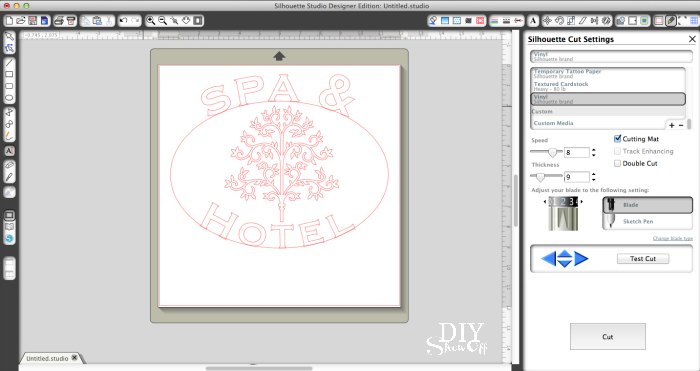
Using the Silhouette Studio Designer software, I created my design. I purchased a tree shape from the online Silhouette store and surrounded it with curved “Hotel & Spa” text since my new bathroom has a relaxing spa feel.
How to curve text: Click the circle shape on the left. Drag to size, shape and center on design. Next click the font button on the left and create your text. While the text box is surrounded with a green window, click the circle with a cross. Drag text to the inner or outer circle border. (You can also change the character spacing in the font tool.)
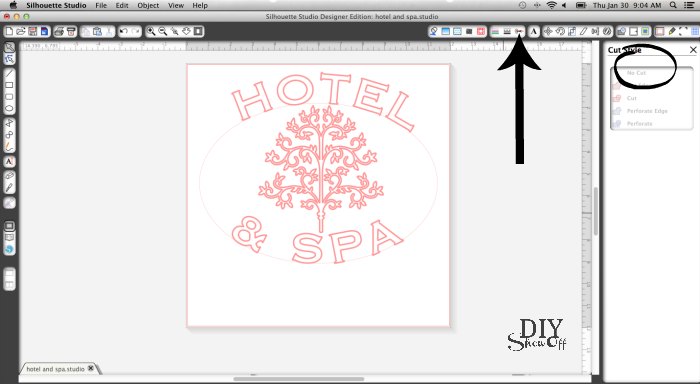
Next, select the circle again by clicking on it. Then click the scissors button in the right hand corner. Choose “no cut”. Now the text in the design will be cut but the circle won’t. (As you can see, I played around with rearranging my text too.)
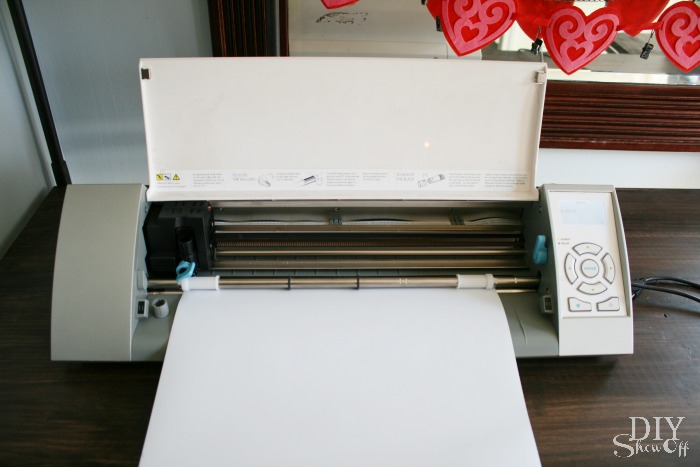
Load vinyl into the machine color/vinyl side up. Change blade and settings for adhesive vinyl cutting. Send design to cut.
Remove vinyl from the machine and trim to a more manageable size around the design.
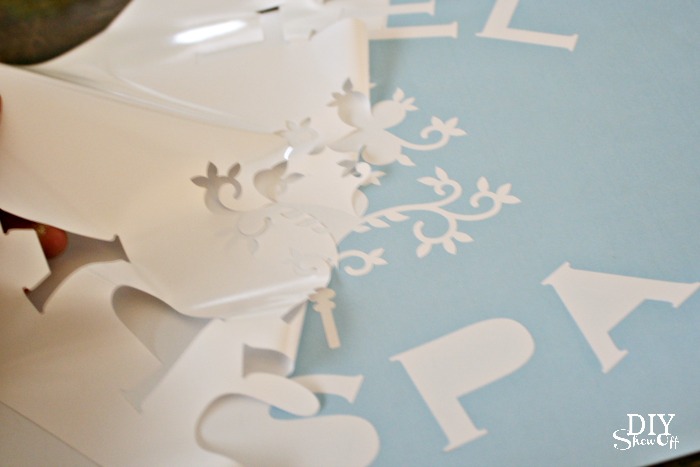
Weed away the unused part of the vinyl design.
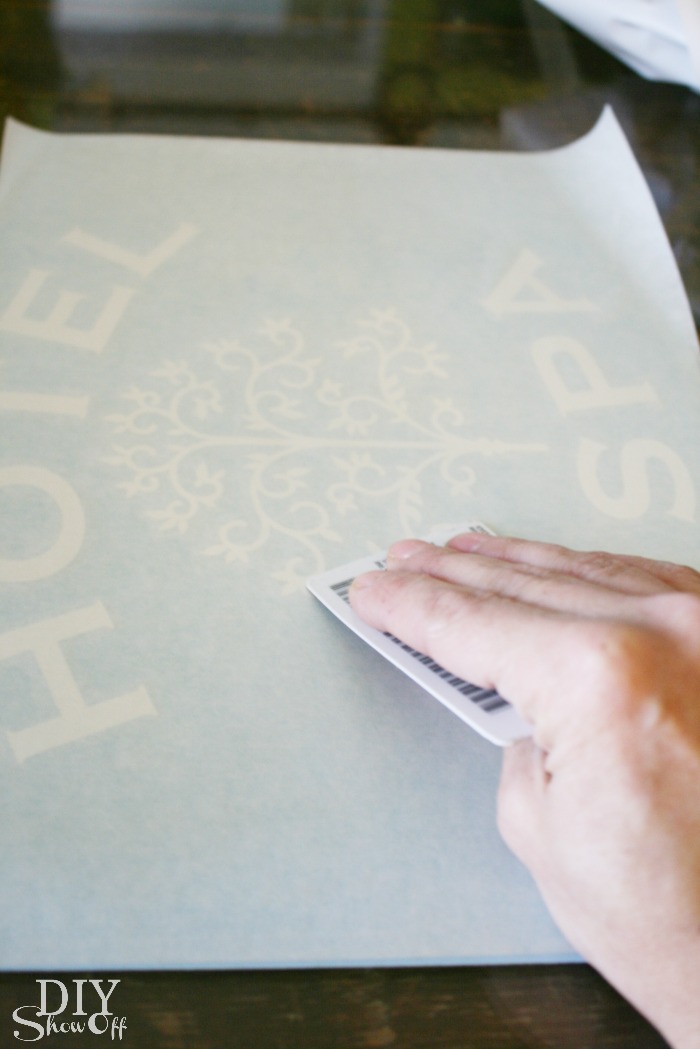
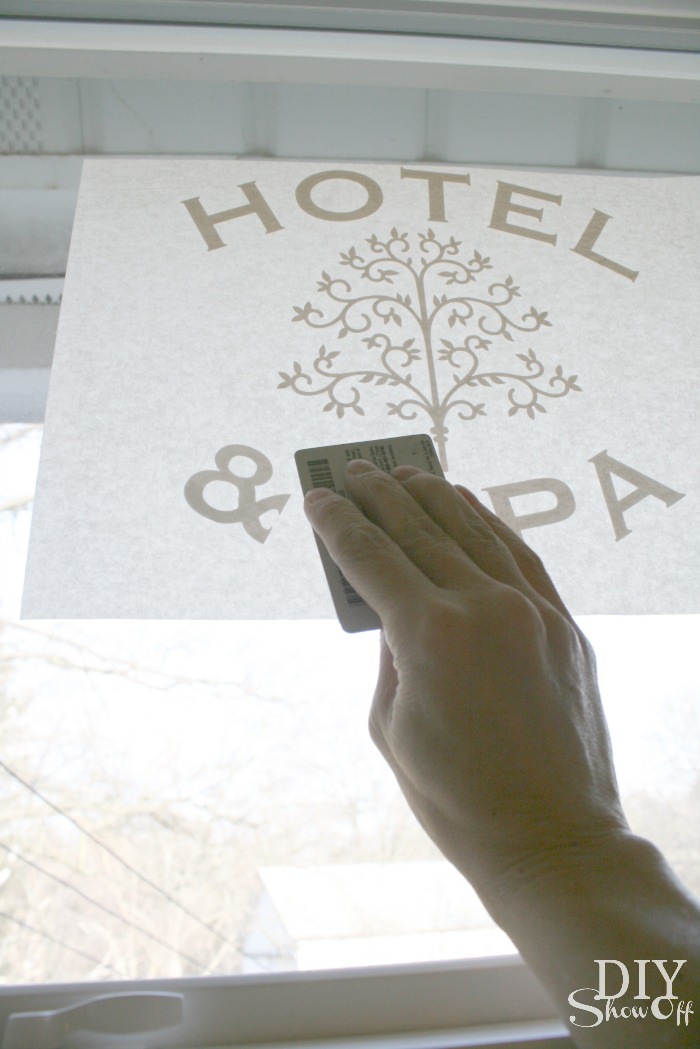
Cover vinyl decal with transfer paper. Rub with a credit card.
Clean window.
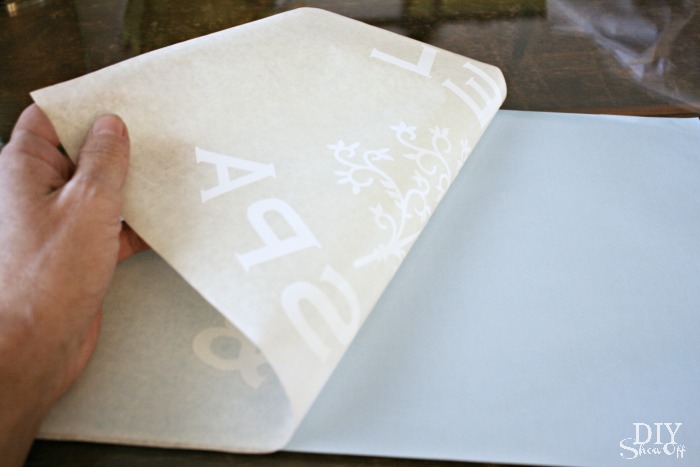
Peel away paper backing, transferring the vinyl decal to the sticky transfer paper.
Place design on window. Rub with a credit card and peel away transfer paper.
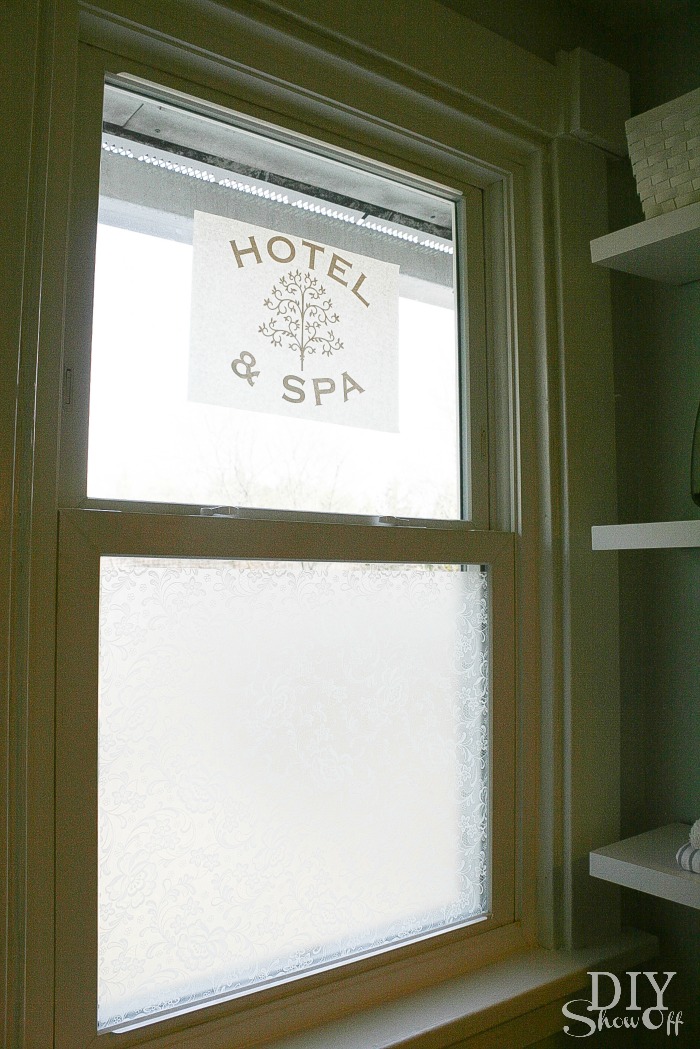
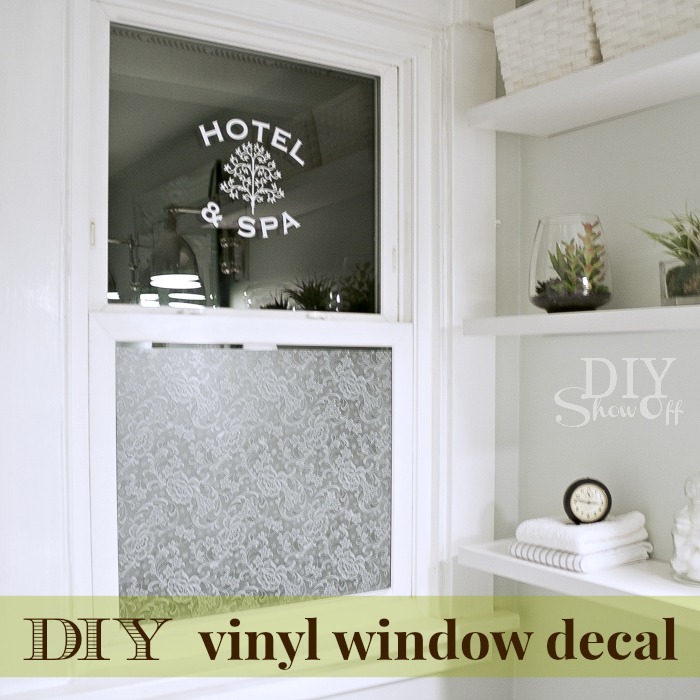
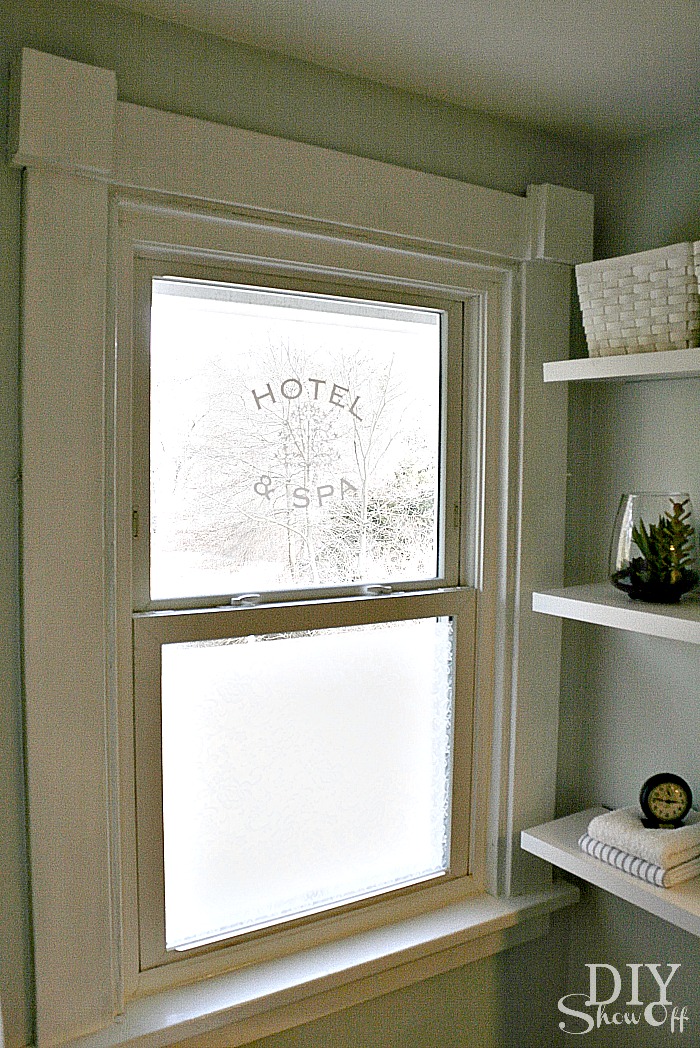
Ta-da! Now my window has some decorative type detail without curtains or a blind. I have privacy and natural light. What do you think?
day time
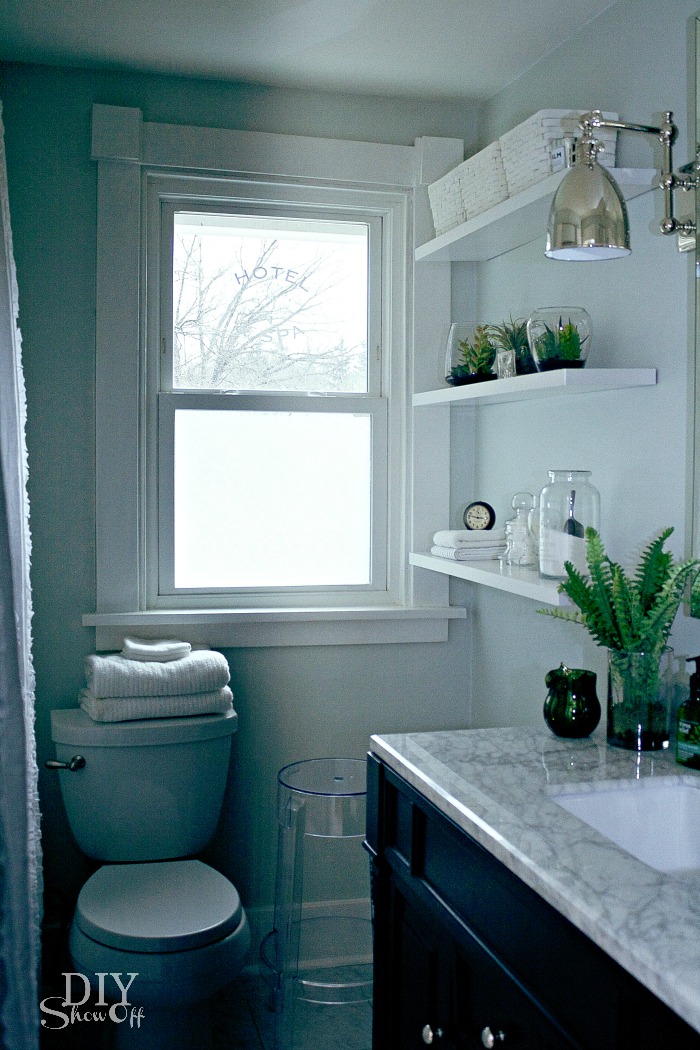
{It’s difficult to capture in a photo of a window in day light but it’s very visible in real life.}
night time
*This post is sponsored by Happy Crafters. Tutorial, experience and opinion is my own. I really love working with this vinyl. Check out all the supplies at Happy Crafters for inspiration for your next project.

very cute idea! Your bathroom looks lovely!
I love it, what a fabulous idea. It looks wonderful Hugs, Marty
It looks awesome! What a great solution 🙂
I love this!!! I love the idea of not covering the whole window, just the part people can see into. Genius!
How cute is this?! Great idea!
Can you tell me if what the dimensions of your window panes are? The contact paper is 18’x9′ and so I’m not sure if I would need a seam. Did you need to seam it and if so, did you run it vertically or horizontally? I cannot see a seam in the pictures, so if you did seam it, you did a fantastic job!
Thanks. It turned out so darling!
Hi Karen, placement on this window is horizontal and my window measures 18.25 x 21…so there is the smallest of gaps (near the top of the window). However, I also used it vertically on another window downstairs that is 20 inches wide and had to do 18″ + a 2″ strip and the seam is not something that stands out/isn’t very noticeable. Hope that helps!
Yes, Roeshel, thank you! That helps me. I am renting a house with a window in the kitchen right next to the stove that looks into the neighbor’s house only feet away. I have a curtain there now but feel it’s a fire hazard. And the cling coverings I’ve found at the big box stores are up to $47!! This is much more sensible. Thanks again.
I love this treatment of your window! I need to do something for our half bath window that is adjacent to our back deck. Anyone coming to the back door can see right in. This would be perfect.
I LOVE this!!! I have been wanting a Silhoutte and this sold me on getting one!! I think your whole bath makeover is great. Thanks for sharing!
I use my Silhouette for so many projects, Julie. Making cards, cutouts, labels, TONS of vinyl projects, stencils…so many different things. I love that I can create a gift by creating a vinyl decal for a t-shirt or tote or towel. Starting tomorrow 3/20-31, use the code SHOWOFF to get a special discount! http://www.silhouetteamerica.com/print&cut
That looks awesome! I have a window that could use this in my house! Thanks for the inspiration!
Susan
Homeroad.net
I love the lace and the above decal….. so much. I wish I could do this. I just love your choices.
I forgot to say that I so love your entire bathroom makeover. I truly do love it.
Such a pretty decal design you created Roeshel!! I’m smitten with your new bathroom! I would never want to leave! ~ Heather
Super cool Roeshel! You are a decorating genius.
Nice makeover.