Some of you were wanting more details on the lighting when I shared the pantry reveal. The lighting in the open pantry area was a challenge. 1. There was no overhead/ceiling light to begin with. 2. Walls and ceiling are plaster. 3. Outlet was old and controlled by a switch on the wall.
Electrical work for the lighting was not DIY. My husband has installed recessed lighting in the kitchen but he was able to run electrical from the previously installed ceiling light, so it wasn’t quite so challenging. For the pantry area, no previous lighting meant pulling the wires from the wall to the ceiling. He started with drilling holes in the plaster wall and ceiling but the wood beam where wall meets ceiling had us realizing this job was ‘over our heads’ and not just literally. It was at this point that we decided to hire an electrician.
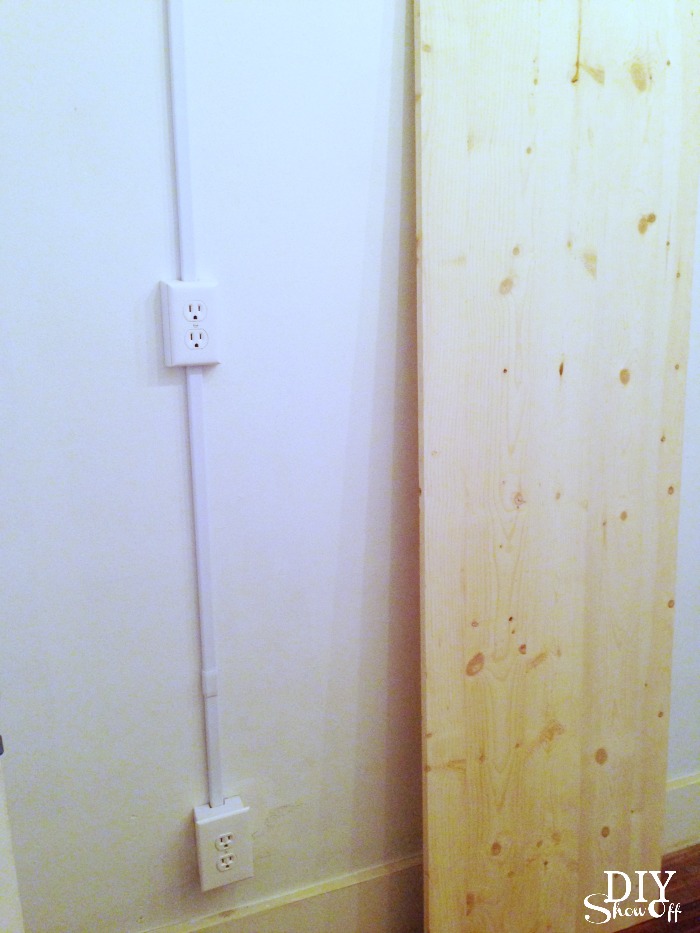
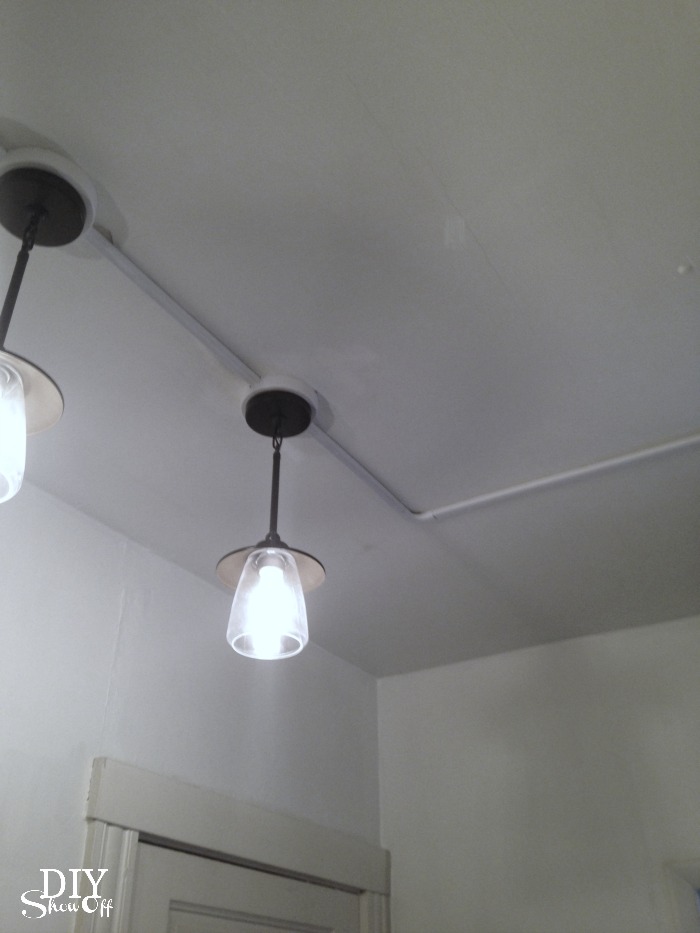
Then after some thought and to keep labor costs down, I let the electrician know that I wanted the wiring to run on the outside of the wall. He changed the old outlet near the floor (the old type that meant I needed an adapter anytime my plug had three prongs), added another outlet a little higher up to accommodate the microwave sitting on the pantry shelf (so I wouldn’t have to drill holes into the wood shelves for the cord to reach down to the lower outlet) and ran the lighting wiring up the wall, to the ceiling with a 90 degree turn to place the lighting. He also made the switch work for the lighting only, disconnecting the switch from the outlets. In hind site, I think this was something we could have done, but when in doubt, seek professional advice!
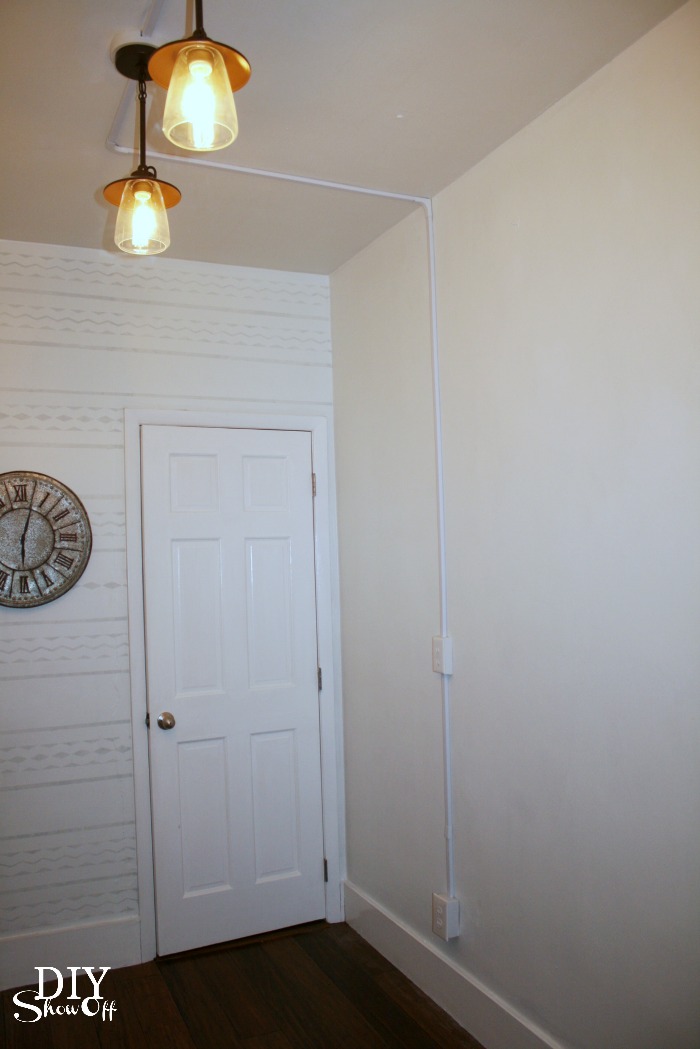
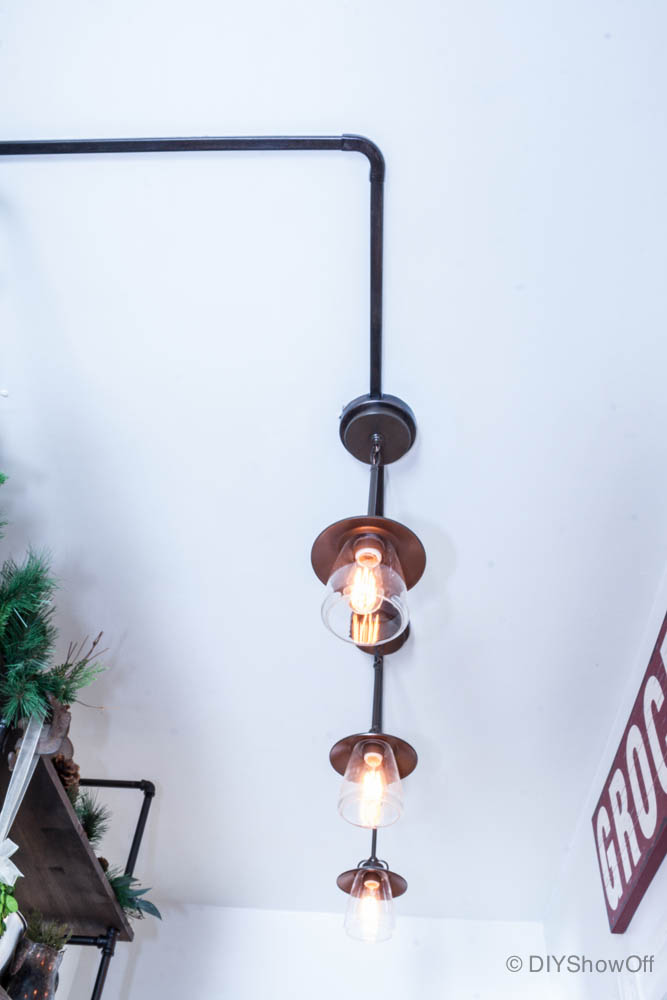
Cord covers for the wiring from outlets, along the outside of the plaster wall, along the ceiling and connecting each individual light fixture.
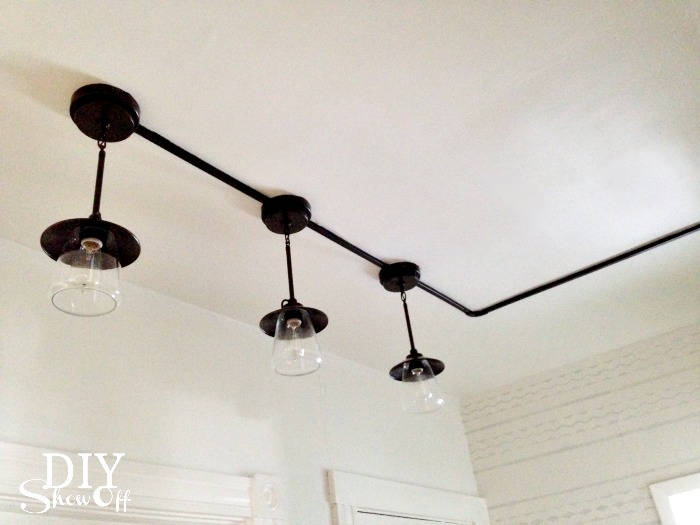
I centered the lighting from the front edge of the shelving to the other wall and since I chose pendant lights, I made sure they were out of the way of an opening door.
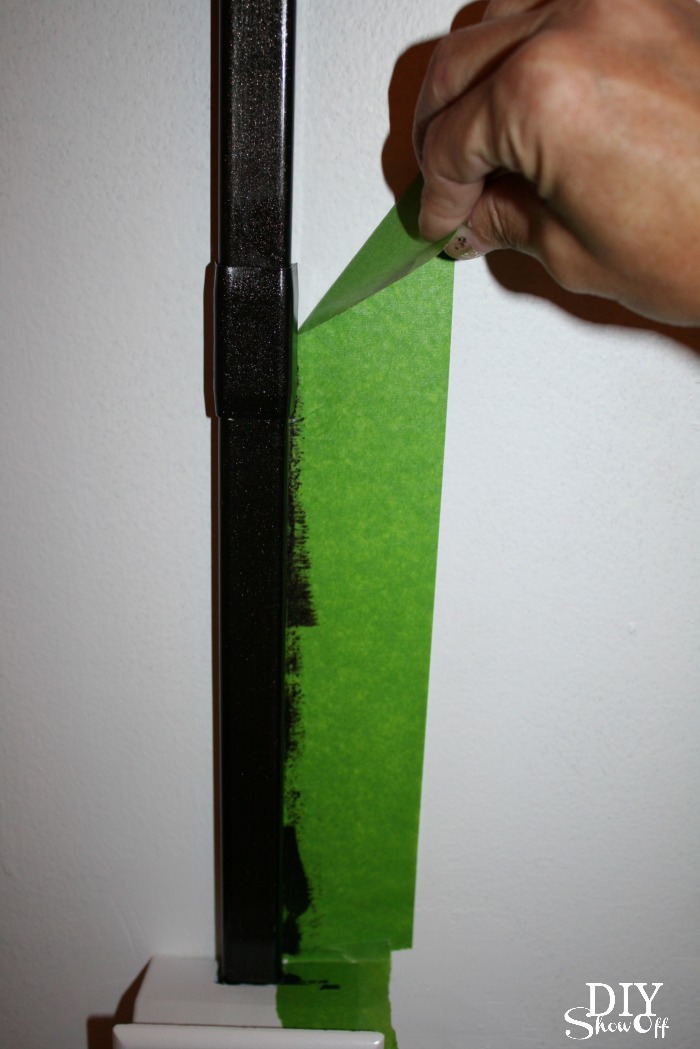
Then with the help of FrogTape® Multi-surface, I painted the track oil rubbed bronze.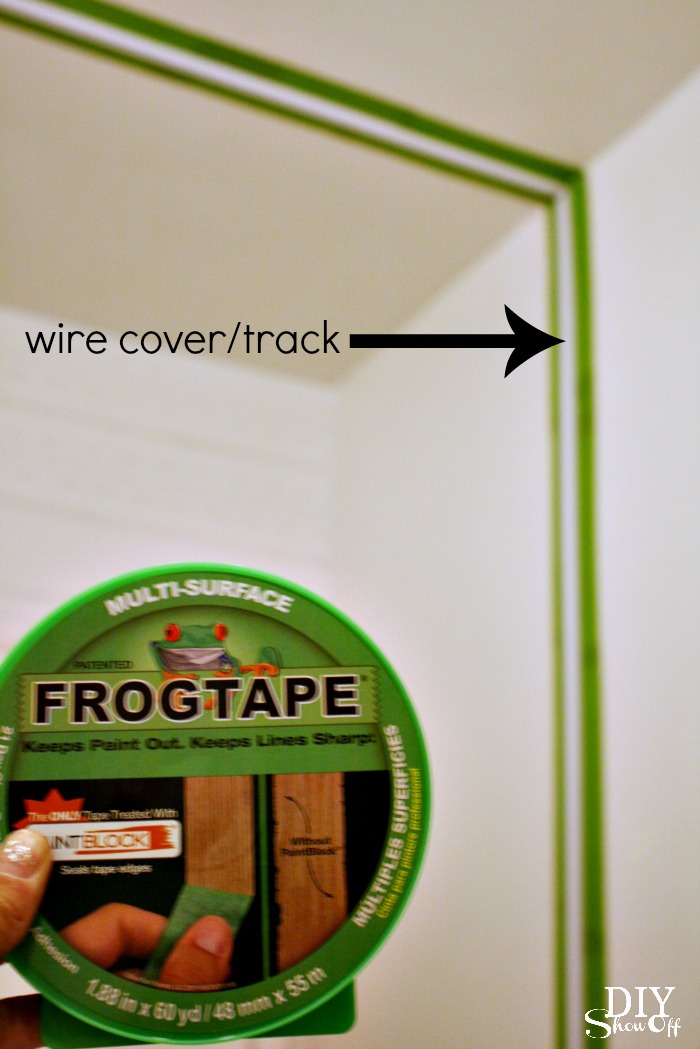
I simply taped off either side of the conduit track along the wall and ceiling with my FrogTape and used my thumbnail to activate the PaintBlock® Technology. Then just painted the track. The oil rubbed bronze paint is sticky since it’s oil based so drying time is longer but still worth the work. It took two coats.
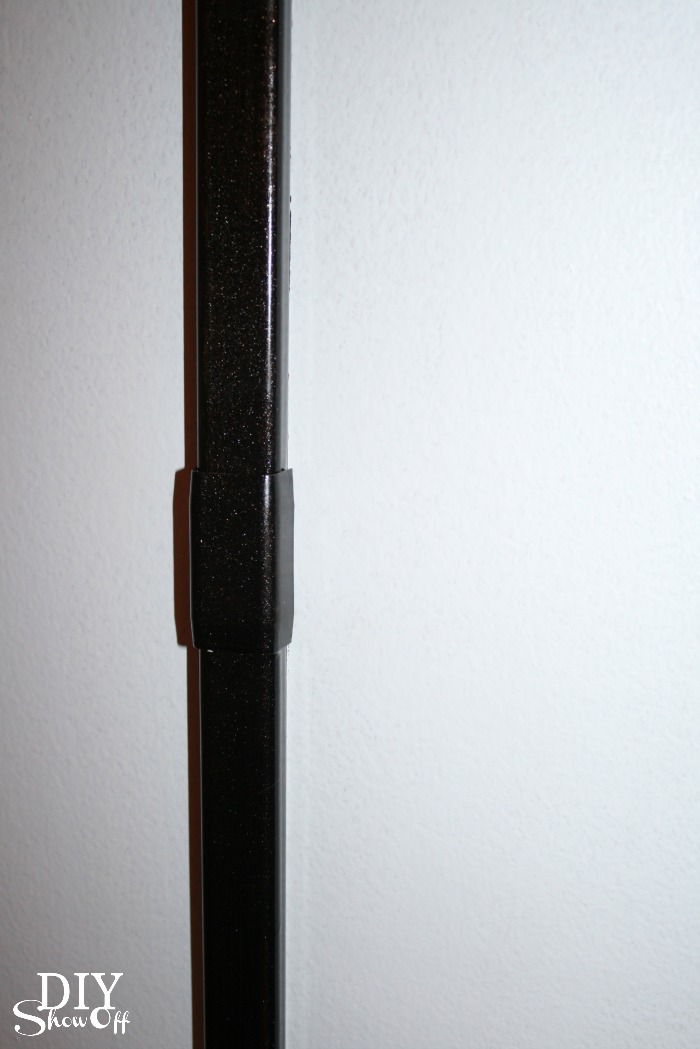
As soon as I finished applying the second coat, I removed the FrogTape. Nice and clean! Note: paint will take a long time to cure!
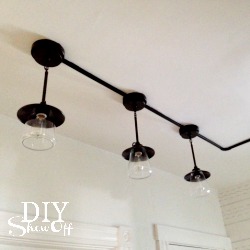
Painting the conduit the same color as the walls and ceiling would help disguise it more but I think the oil rubbed bronze against the white ceiling adds to the industrial charm, don’t you? Especially with the pipe shelving.
I love it!
Project Supplies:
- FrogTape® Multi-Surface painter’s tape
- 3 round plastic electrical boxes
- 3 pendant lights
- low voltage cord cover with peel and stick tape backing, wide radius elbow (for where ceiling meets wall) and elbow (for 90 degree turn on ceiling) and couplings (for seam coverage where needed).
- Rust-Oleum Painter’s Touch – oil rubbed bronze (brush on/in a can)
- Note: Electrician supplied the romex.
We also added a dimmer…

Disclaimer: I received compensation to complete this project for using FrogTape® products. All opinions, projects and ideas are based on my own experience. See the FrogTape® Blog Squad for more inspiration!



Brilliant! Your pantry looks amazing! Life to the full! Melissa @ DaisyMaeBelle
Brilliant! Thanks for sharing this easy, yet major impact tip.
http://jax-and-jewels.blogspot.com
Great idea to paint it bronze it does make it industrial looking!
How creative! I thought that was somehow a part of the wonderful pipe shelf you made!
Fantastic job! You made something unsightly into something quite beautiful. Good work:) I have a friend with one of those wire tubes running along her wall and will definitely be passing on this article.
Thanks,
Victoria
Where did you get your light fixtures from?
Hi Eileen! They’re from Lowe’s. There’s a link in the post that goes directly to them! 🙂
Oh so very gorgeous…… I wish I had your mind just for a day…… okay, maybe two or three?
Wish I had room for that pantry! You are totally right, it looks so much bigger! Great job!
Great job! I love it.
What is the drop length on the pendants? I’m thinking of doing this, but i don’t have very high ceilings 🙁
They’re somewhat adjustable. I apologize – it’s been over a year so I’m not 100%…you should be able to see from looking at the box/packaging at Lowe’s if they still carry them. Mine hang about 20″ from the ceiling but again, I believe I could have gone shorter or longer. 🙂 Good luck!